Español
Hola mis estimados lectores, ¿quién no ha tenido rollos de cartón en su casa? ¿quién no se ha imaginado hacer algo con ellos?
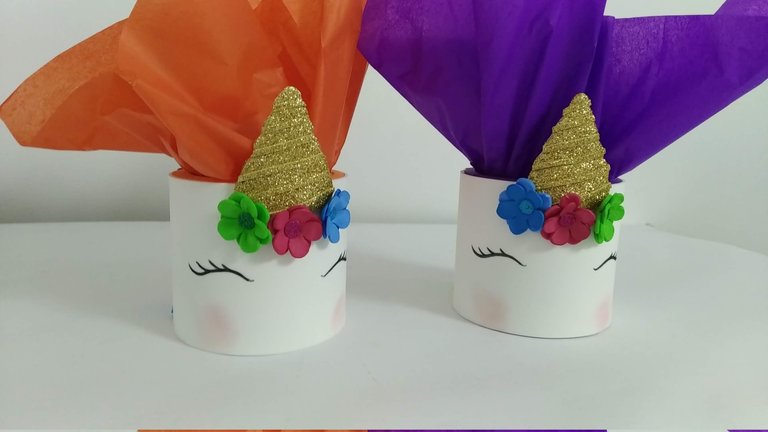
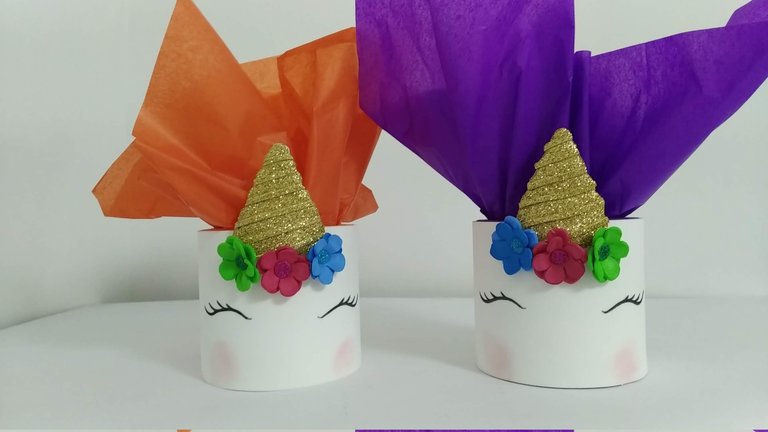
Hoy quiero mostrarles unos dulceros que hice, con rollos de papel higiénico Industrial, son grandes y super resistentes por el grosor de los mismos. Y aunque no tienen capacidad para muchas golosinas, entran las suficientes para un buen regalo.
Estos dulceros fueron hechos con mucho amor para dos (2) amigas del colegio de mi hijo y les debo confesar quedaron encantadas porque aman los unicornios y las flores.
Sin más, y esperando disfruten del trabajo realizado les dejo los materiales utilizados, el proceso y las imágenes del trabajo.
- 2 Rollos de cartón de papel higiénico Industrial.
- Cartón reciclado (un trozo).
- Foami plano de colores: blanco, morado, naranja, azul, verde y rosado.
- Foami escarchado de color dorado.
- Foami escarchado de color: azul, verde y rosado (solo un pedacito de cada color).
- Marcador permanente negro punta fina.
- Papel de seda de color morado y naranja.
- Silicón frío.
- Silicón caliente.
- Tijera.
- Cutter.
- Plancha de ropa.
- Jeringa grande sin aguja.
- Alfileres de cabeza.
- Golosinas.
English
Hello my dear readers, who hasn't had cardboard rolls at home? Who hasn't imagined doing something with them?
Today I want to show you some candy boxes that I made with Industrial toilet paper rolls, they are big and super resistant due to their thickness. And although they don't hold a lot of candy, they hold enough for a good gift.
These candy boxes were made with a lot of love for two (2) friends from my son's school and I must confess they were delighted because they love unicorns and flowers.
Without further ado, and hoping you enjoy the work done, here are the materials used, the process and the pictures of the work.
- 2 cardboard rolls of industrial toilet paper.
- Recycled cardboard (one piece).
- Flat Foami in colors: white, purple, orange, blue, green and pink.
- Gold colored frosted Foami.
- Colored frosted Foami: blue, green and pink (only a small piece of each color).
- Black permanent marker with fine tip.
- Tissue paper of purple and orange color.
- Cold silicone.
- Hot glue.
- Scissors.
- Cutter.
- Clothes iron.
- Large syringe without needle.
- Head pins.
- Candy.
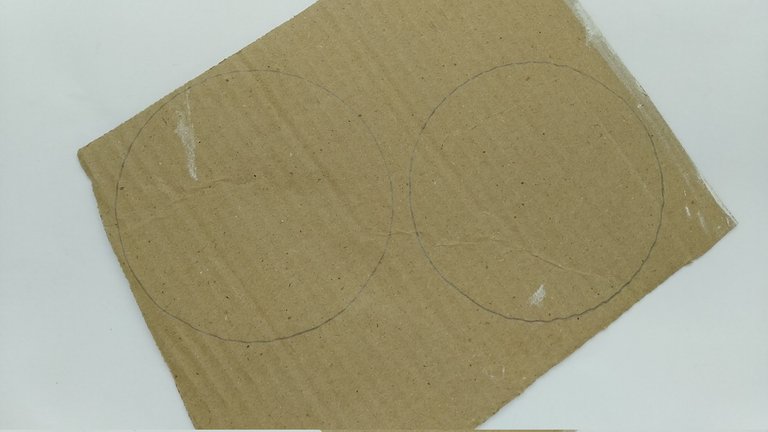
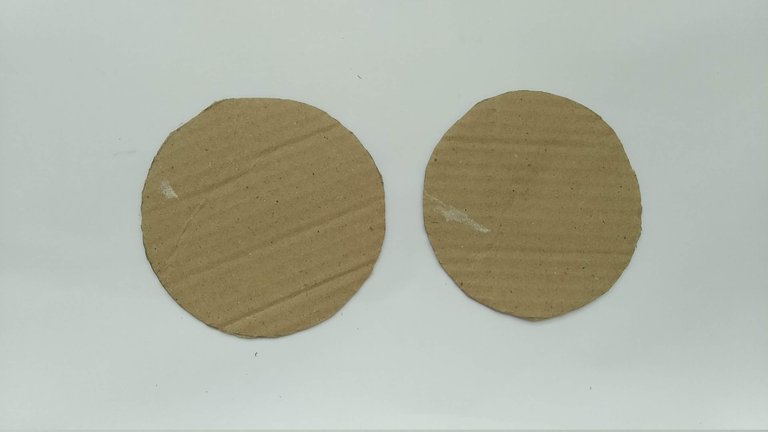
1.- Tomar los rollos de cartón y marcar sus bordes sobre el trozo de cartón reciclado.
1.- Take the cardboard rolls and mark their edges on the piece of recycled cardboard.
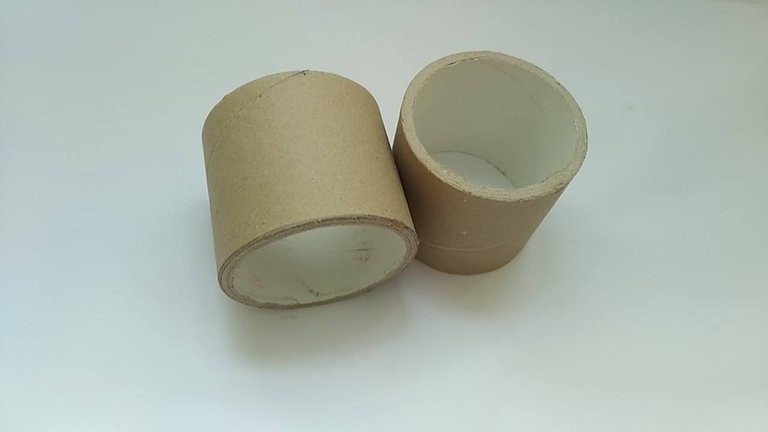
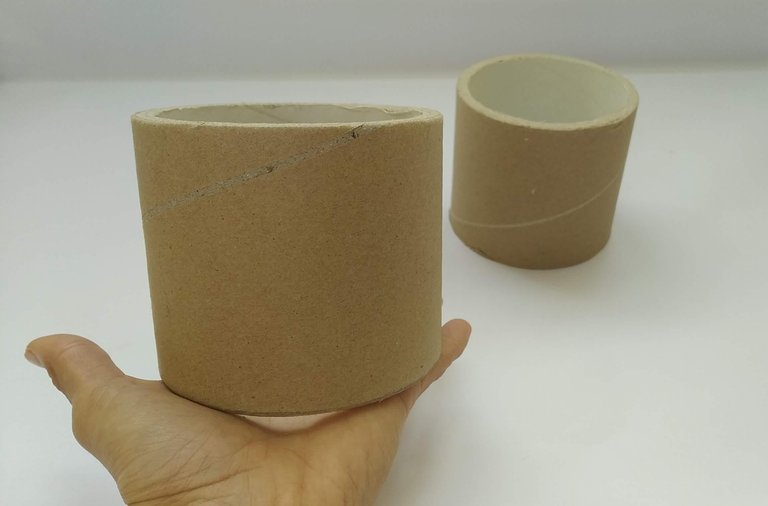
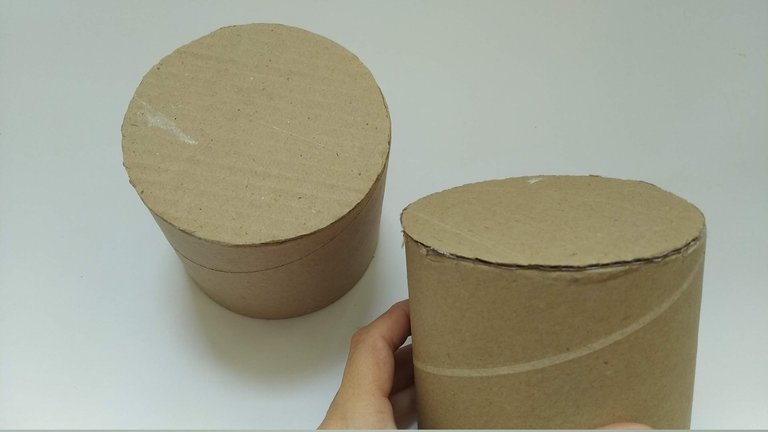
2.- Recortar los círculos creados y pegarlos con silicón a uno de los extremos del rollo de cartón.
2.- Cut out the circles created and glue them with silicone to one end of the cardboard roll.
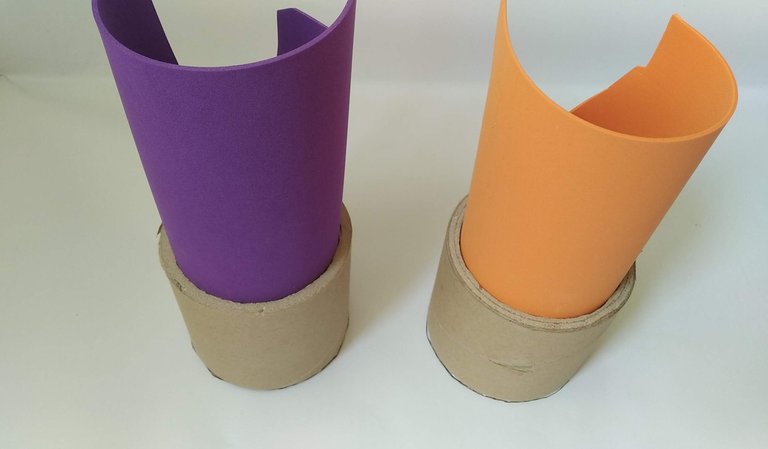
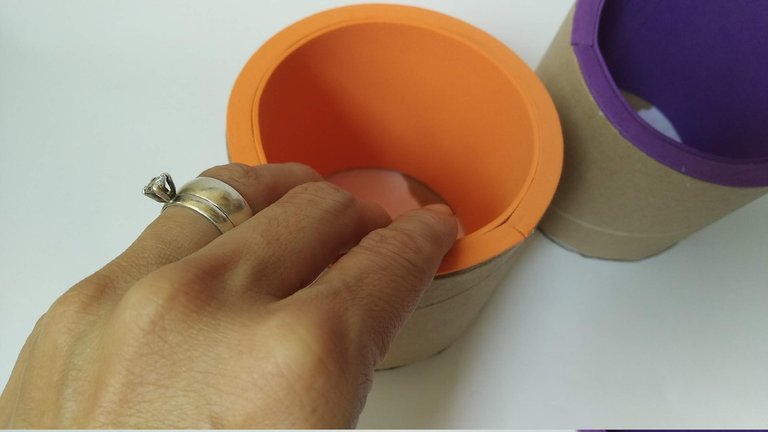
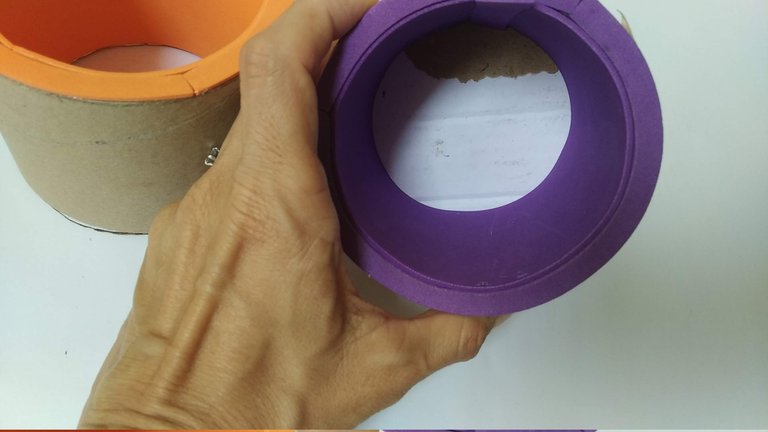
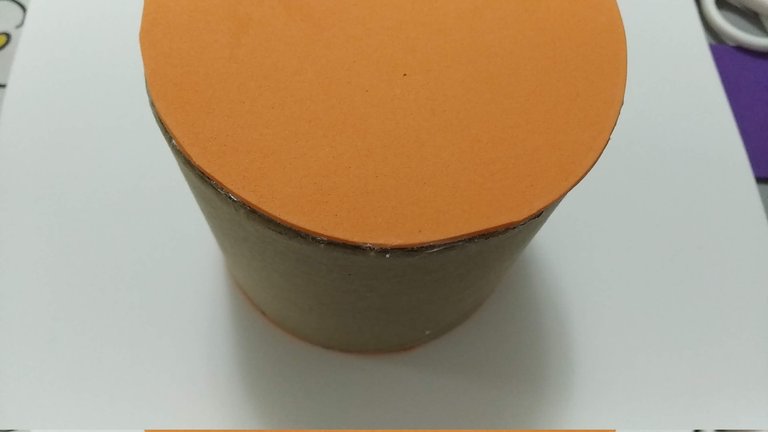
3.- Decorar los rollos por la parte interna con el foami de color morado y naranja. Para ello cortar a la medida del rollo el foami y pegar cuidadosamente con silicón. Se debe forrar incluso el borde del cartón (ya que es grueso) y la base del mismo (interna y externamente).
3.- Decorate the inside of the rolls with the purple and orange foami. To do this, cut the foami to the size of the roll and carefully glue it with silicone. Even the edge of the cardboard (since it is thick) and the base of the cardboard (internally and externally) should be lined.
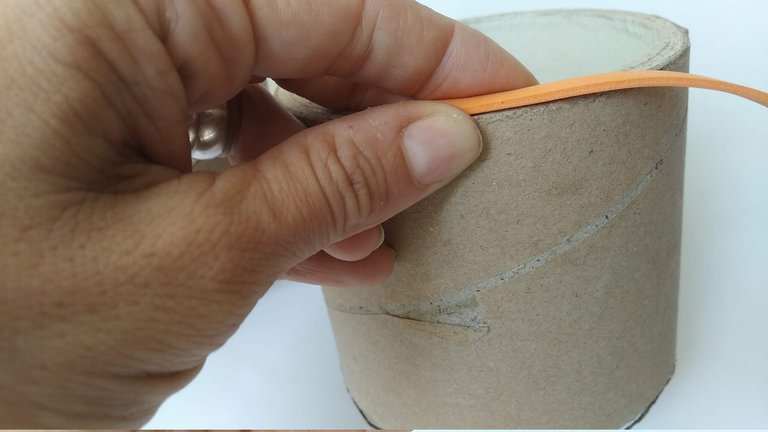
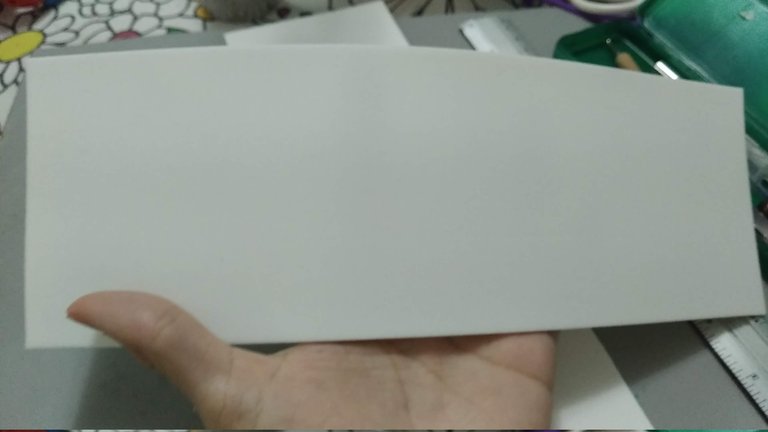
4.- Cortar el foami blanco del ancho del rollo de cartón y del largo que cubra por completo a toda la pieza. Pegar con silicón frio, cuidando de no derramar los bordes.
4.- Cut the white foami to the width of the cardboard roll and the length that completely covers the whole piece. Glue with cold silicone, taking care not to spill the edges.
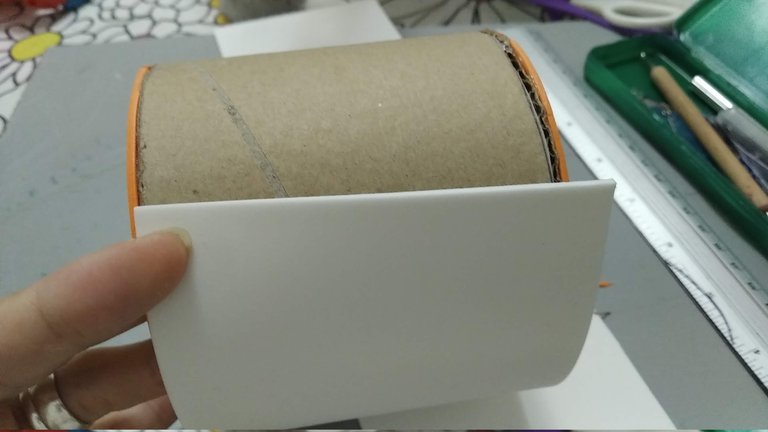
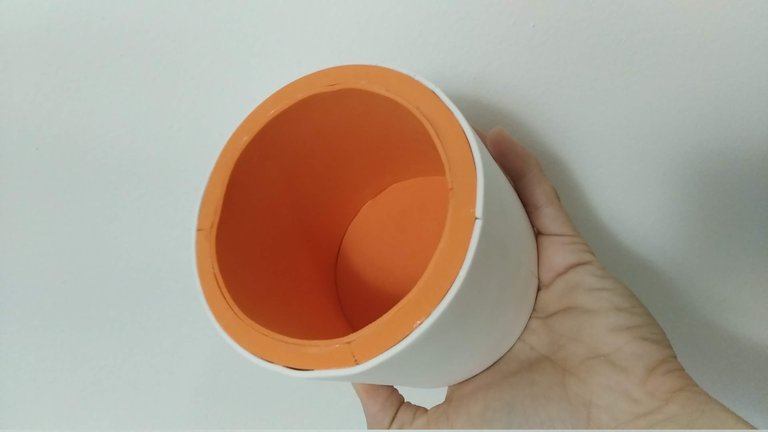
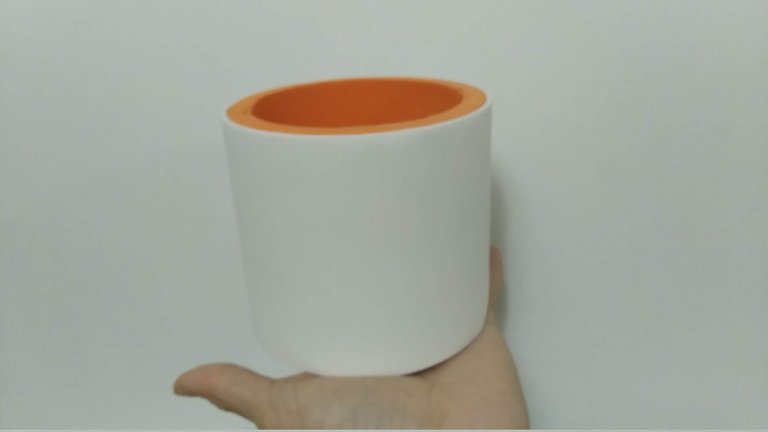
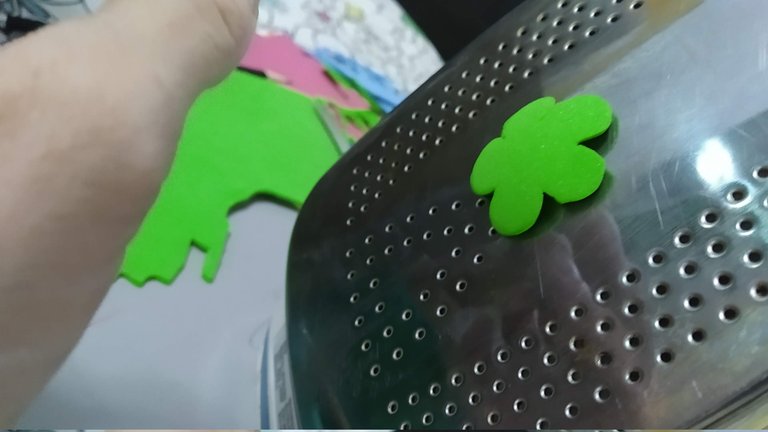
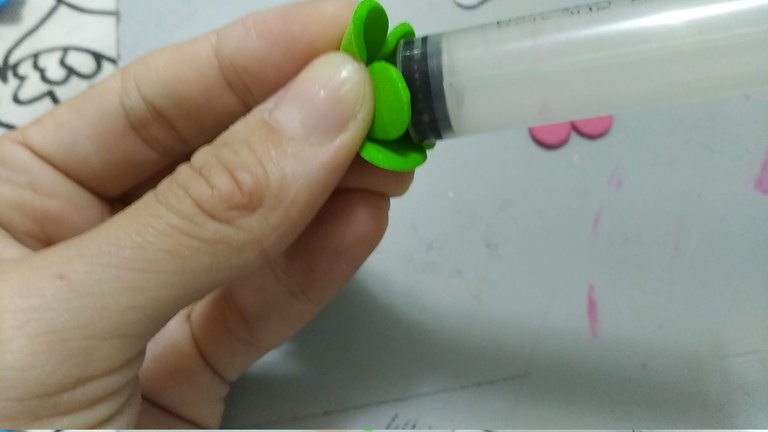
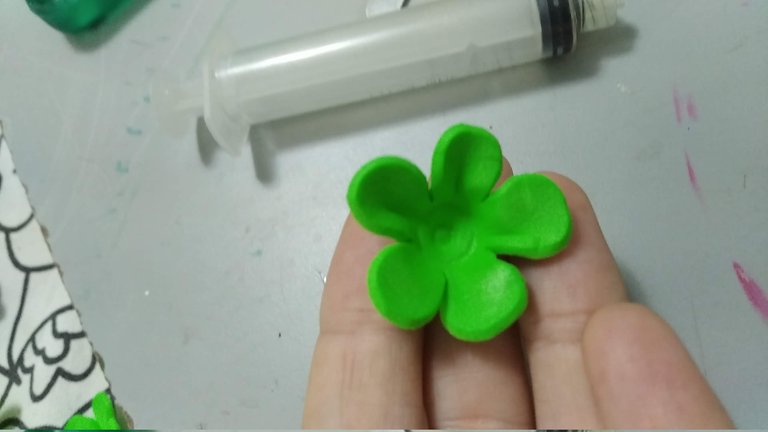
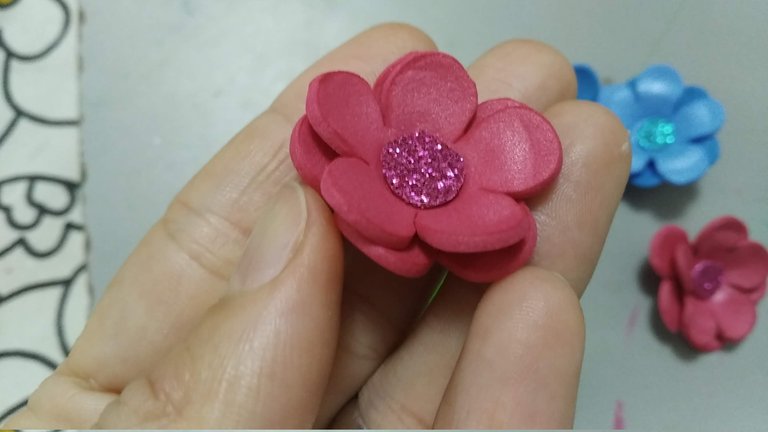
5.- Para la decoración de las flores, marcar y cortar dos siluetas por cada color (azul, rosada, y verde), pasar cada pieza por la plancha de ropa y para darle curvatura, hacer presión con la jeringa grande en el centro. Luego pegar una pieza sobre otra, y en el centro pegarle un circulo de foami escarchado, de acuerdo al color que corresponda. Para el cuerno, marcar y recortar el cacho de acuerdo al ancho y alto deseado.
5.- To decorate the flowers, mark and cut two silhouettes for each color (blue, pink, and green), pass each piece through the clothes iron and to give it curvature, press with the large syringe in the center. Then glue one piece on top of the other, and in the center glue a circle of frosted foami, according to the corresponding color. For the horn, mark and cut out the horn according to the desired width and height.
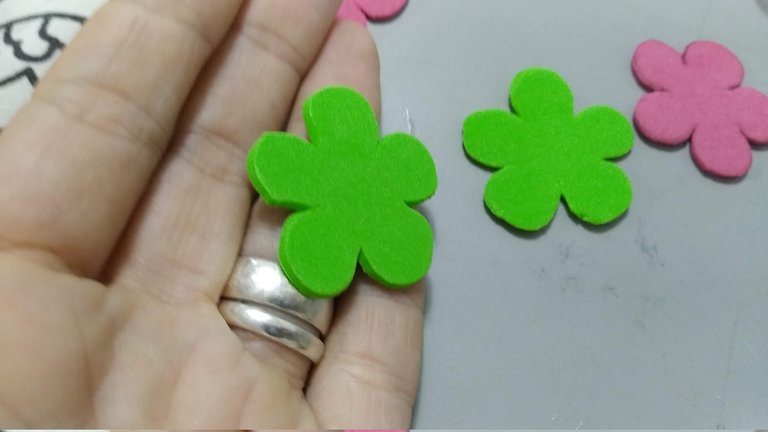
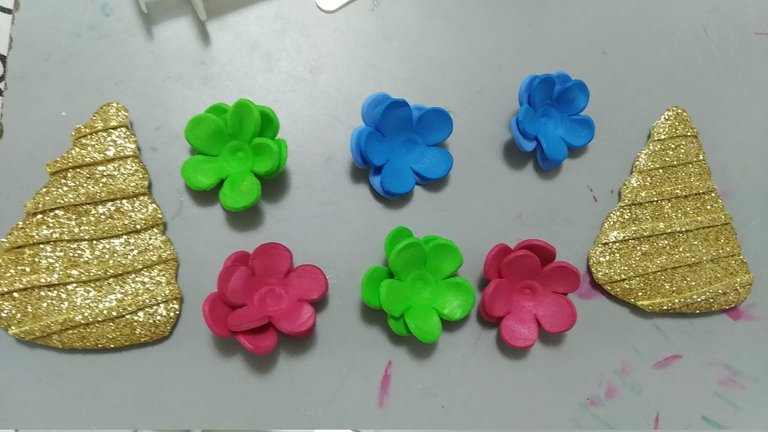
6.- Una vez listas las flores y cuerno, pegar a la base cilíndrica blanca, para una mejor fijación a la base usar los alfileres de cabeza, mientras se seca bien.
6.- Once the flowers and horn are ready, glue them to the white cylindrical base, for a better fixation to the base use the head pins, while it dries well.
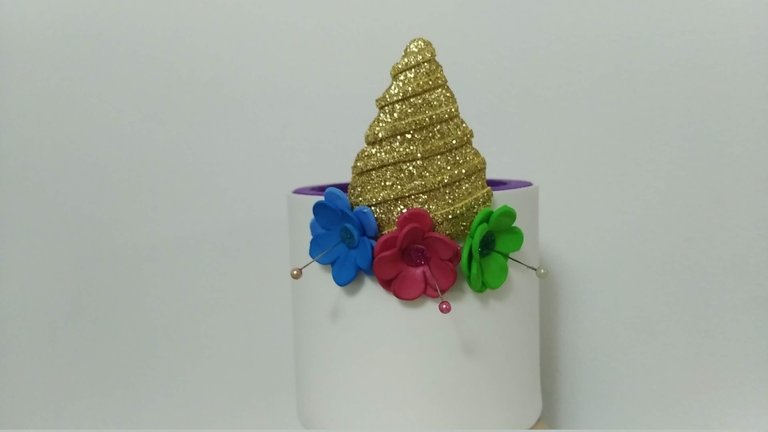
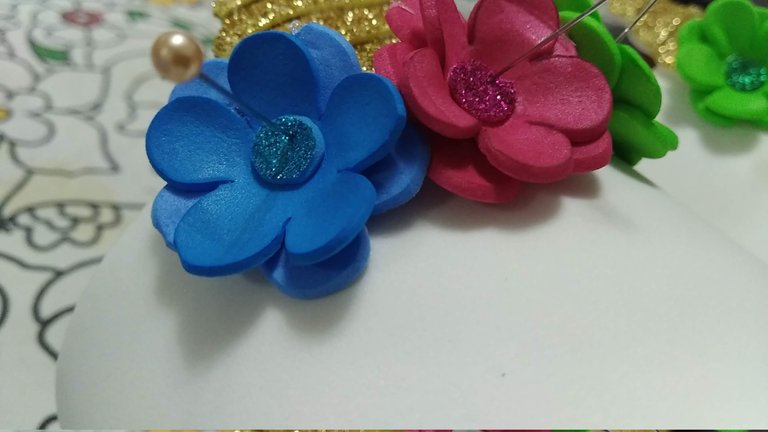
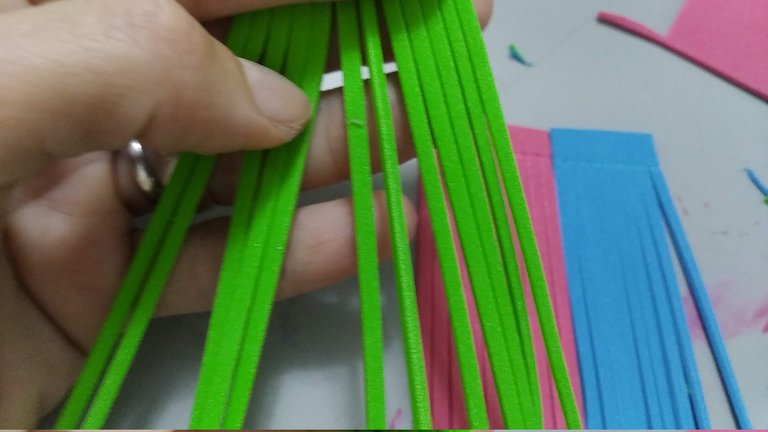
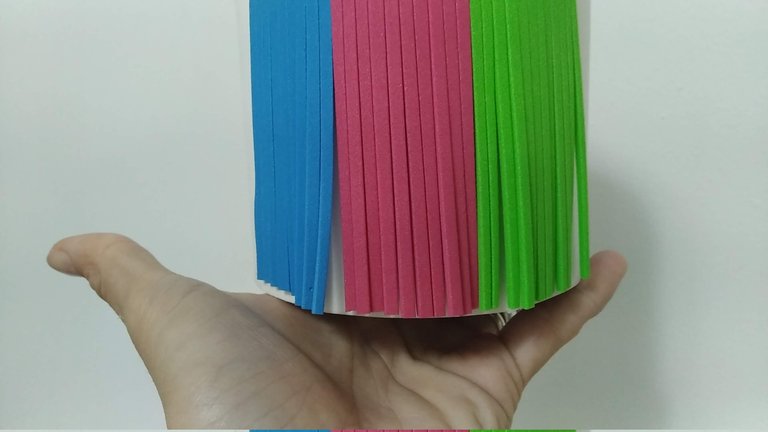
7.- Para mayor colorido en el dulcero, tomar el foami (azul, rosada, y verde), cortarlo en rectángulos del alto del rollo y picar en tiritas para hacer el efecto de pelo. Luego pegarlo en la base del lado contrario de donde se pegaron las flores.
7.- To make the candy box more colorful, take the foami (blue, pink, and green), cut it into rectangles the height of the roll and cut into strips to make the hair effect. Then glue it to the base on the opposite side from where the flowers were glued.
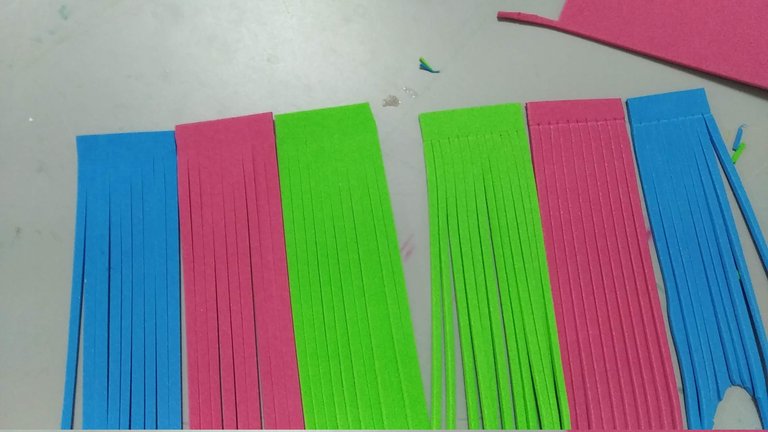
8.- Luego de pegado las flores, el cacho y el cabello, pintar con el marcador los ojos y sombrear con rosado las mejillas.
8.- After gluing the flowers, the hair and the hair, paint the eyes with the marker and shade the cheeks with pink.
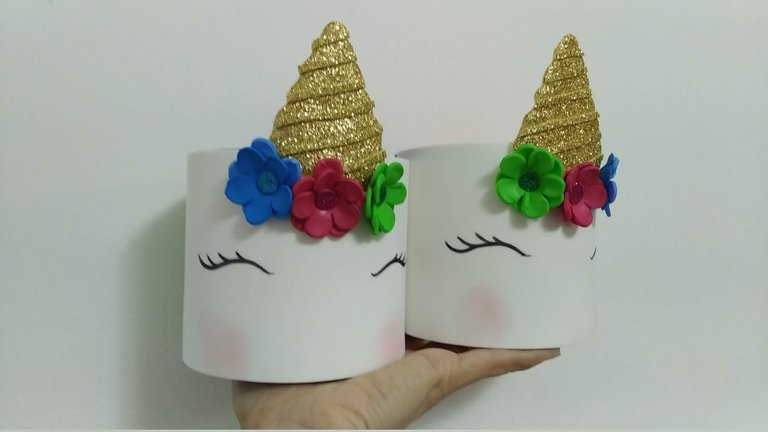
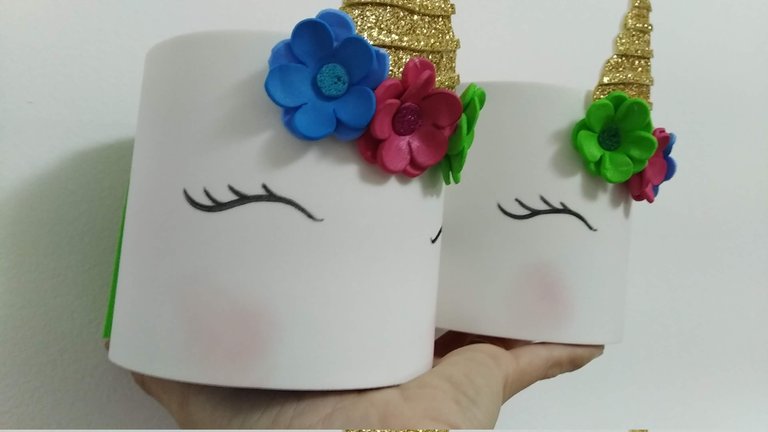
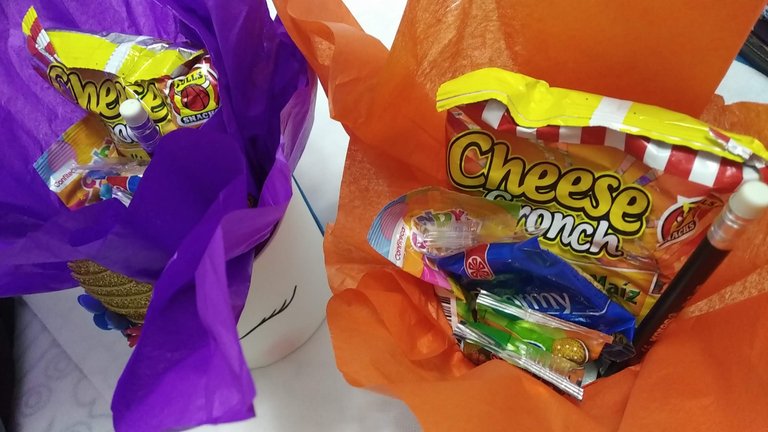
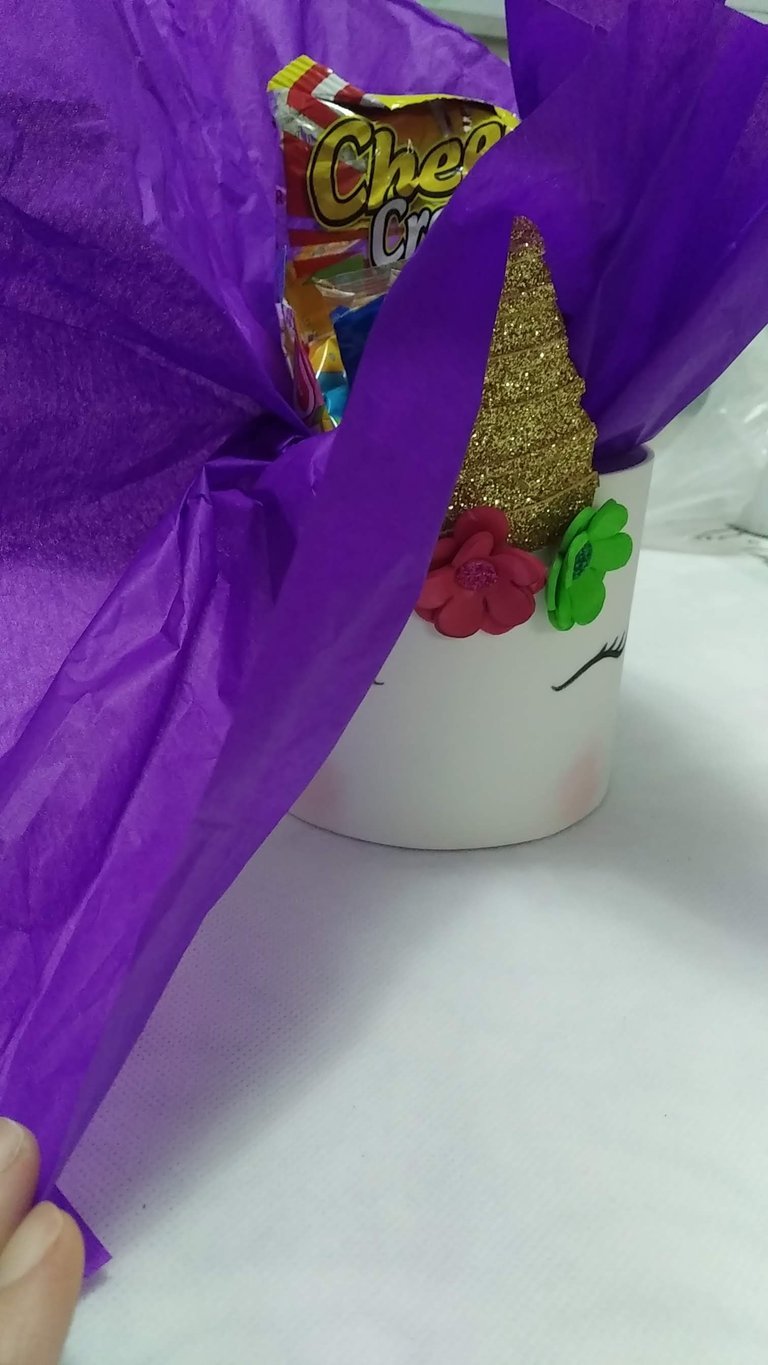
9.- Para terminar la decoración y colocar las golosinas, poner el papel de seda dentro de cada cilindro e introducir las golosinas al gusto; en este caso, como era un regalo para dos compañeras de clase, le coloqué adentro, un lápiz, una borra y un sacapuntas.
9.- To finish the decoration and place the candies, put the tissue paper inside each cylinder and insert the candies to taste; in this case, as it was a gift for two classmates, I placed inside, a pencil, an eraser and a pencil sharpener.
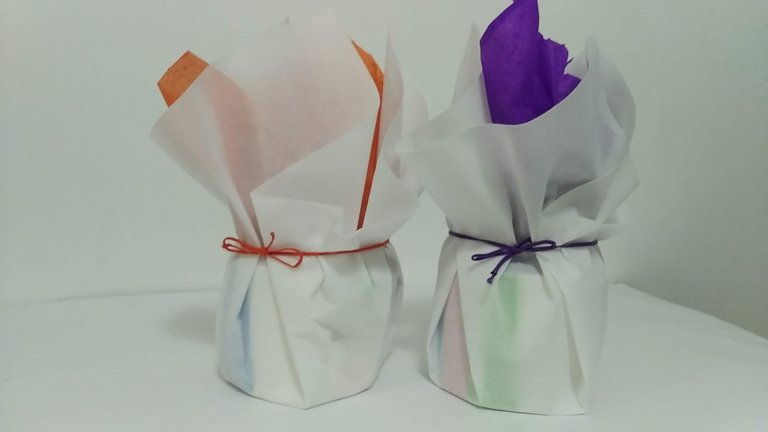
10.- Y como los dulceros debía envolver, les forre con tela blanca POP para entregar...
10.- And as the candy boxes had to be wrapped, I lined them with white POP fabric to deliver...
Espero les haya gustado y sobre todo se entusiasmen a crear algo parecido para sorprender a familiares y amigos.
I hope you liked it and, above all, I hope you get excited to create something similar to surprise your family and friends.
SALUDOS / REGARDS
Todas las Fotos fueron tomadas con mi teléfono Redmi 7A.
Contenido original de @keco (fotos y texto) - Todos los derechos reservados Publicado en HIVE así como en mi instagram : http://instagram.com/carton_pintura_algo_mas
All Photos were taken with my Redmi 7A phone.
Original content from @keco (photos and text) - All rights reserved Posted on HIVE as well as on my instagram: http://instagram.com/carton_pintura_algo_mas


