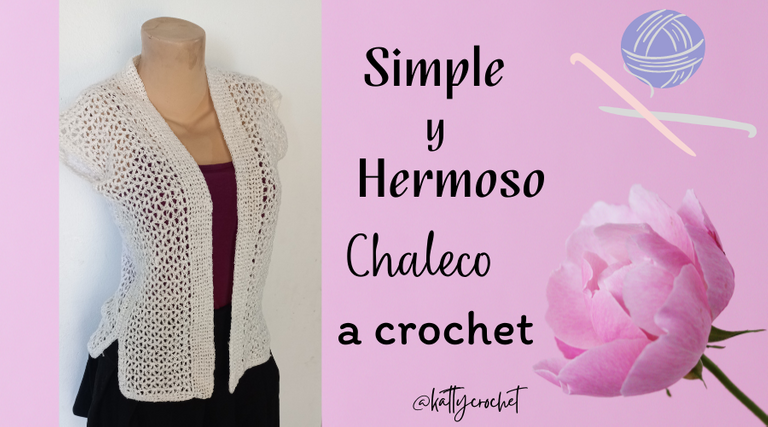

Blessed day my dear and appreciated NeedleWorkers! Today I am very happy to share with you once again, especially on this special day for all of you. Today's post is dedicated to all NeedleWorkMonday mothers, to all the crafters, seamstresses, knitters and embroiderers who make life in our beautiful community. My most sincere congratulations to all of you for celebrating Mother's Day today in many parts of the world.
Mothers, those special women, chosen by God to form and educate with love and good values the owners of the future. For God, there is no difference between an adoptive mother and a biological mother; we all have the same mission and responsibility. "God's love is only comparable to a mother's love", so great and immense is the love that moves mothers to give their lives for their children if necessary.

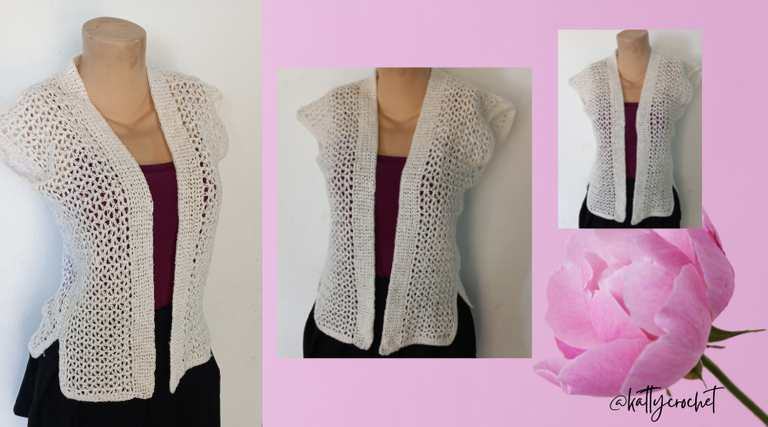
Por eso para este día decidí compartir una prenda que tejí pensando en mi bella madre. Se trata de un chaleco a crochet muy sencillo, fácil y rápido de elaborar.
Although we are mothers 24/7 365 days a week, there is a day to express our affection, admiration and gratitude to those special mothers in our lives.
That's why for this day I decided to share a garment that I knitted thinking of my beautiful mother. It is a very simple, easy and quick to make crochet vest.


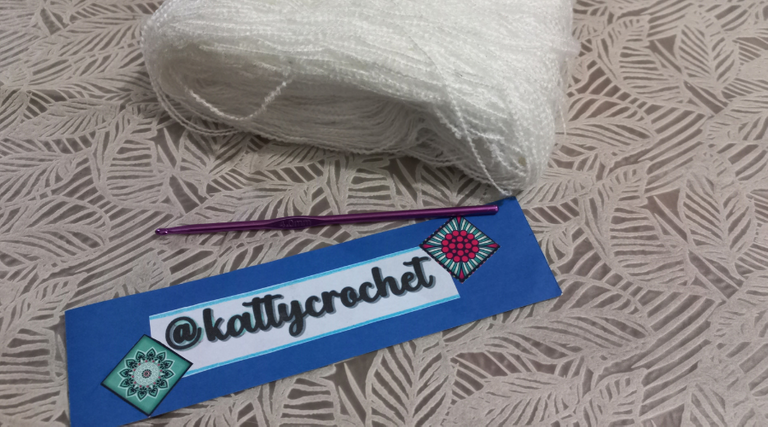
To make this vest I chose a double strand acrylic yarn in a white color. As I wanted to get a very light garment, I decided to use only one strand, so before I started knitting I had to separate the two strands into different balls.


I found this pattern some time ago on a You tube channel and it seemed so simple that I knew I had to knit it at some point. What pleased me the most about this vest pattern is that it can be knitted with a basic stitch, such as stockinette or garter stitch, as well as with an openwork stitch or fantasy stitches. It is so fast to knit that it only took me three days to finish it, knitting it only in short bursts.
La estructura de este chaleco está constituído por tres rectángulos, Un rectángulo grande para la parte de la espalda y dos rectágulos del mismo largo de la parte trasera, pero más delgados, para ser usados como la parte delantera.
The best way to start knitting garments is to analyze the structure of the garment and associate it with a geometric figure; this is something that has worked very well for me.
The structure of this vest is made up of three rectangles, one large rectangle for the back part and two rectangles of the same length as the back part, but thinner, to be used as the front part.
Con la cantidad de centímetros para el ancho, comenzé a tejer cadenas hasta obtener una cadeneta con la medida requerida.
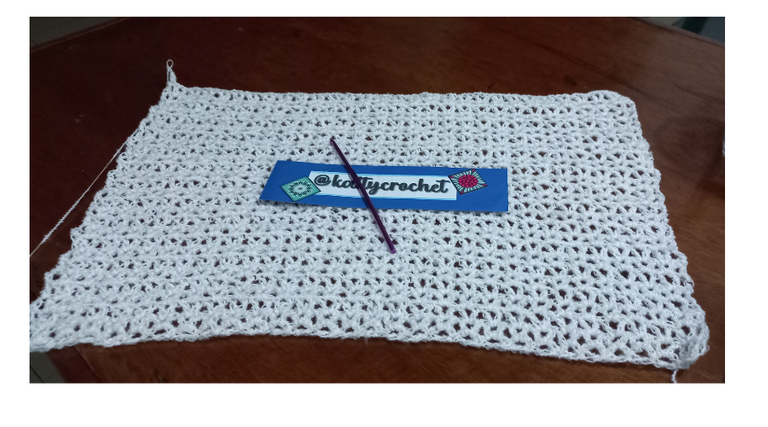
To know what size I should knit the main rectangle, which is the back of the garment, I measured my mannequin size M since that was the approximate size I wanted for my challeco. For the length, I measured the centimeters from the shoulder to the hips. For the width, I took the bust measurement, added a few centimeters so that the garment would fit loosely, and then divided the measurement in two.
With the number of centimeters for the width, I began to weave chains until I obtained a chain stitch with the required measurement.
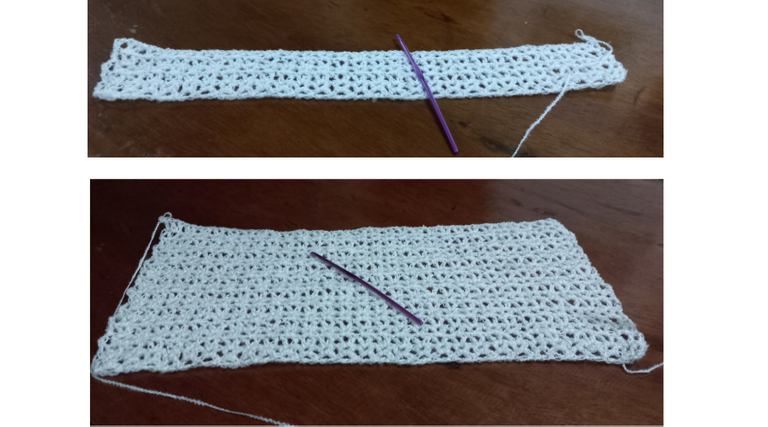
With the number of centimeters for the width, I began to knit chains until I obtained a chain stitch with the required measurement. From there, the next step was to knit back and forth until I got a rectangle with the length of the garment. For this vest, I chose a very simple stitch, the "V" stitches, which helped me a lot to knit faster.
En la cadeneta de inicio se comienzan a tejer, uno por uno, cada uno de los rectángulos de la parte delantera. Se tejen en ida y vuelta y con la misma puntada del rectángulo principal.
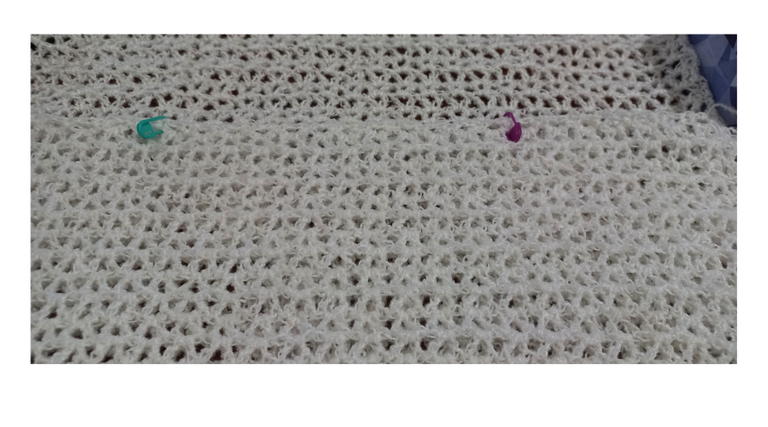
After the back rectangle is finished, turn the garment over and divide it into three parts with the help of fabric markers. The center part should be narrower than the end parts.
On the beginning chain stitch, start weaving, one by one, each of the rectangles of the front part. They are woven in back and forth and with the same stitch as the main rectangle.
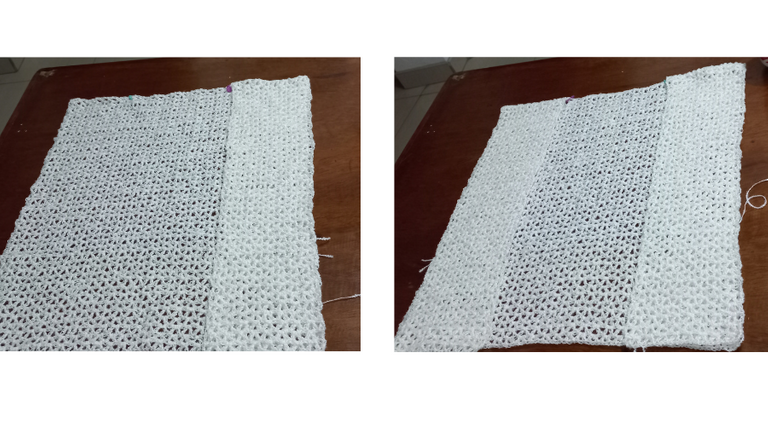
The last step, once you have the back and front, is to knit the border of the garment. This border is knit in single crochet. For the side border, knit 4 rows of single crochet. Then the sides are sewn with the help of a wool needle, leaving a space without sewing to introduce the arms. For the neck edge, knit 8 rows of single crochet for a simple collar. If you want to knit a lapel collar that can be folded, double the number of rows of single crochet stitches.
Gracias por leer, mi publicación, espero se animen a tejer esta prenda en algún momento. Deseo que pasen un día genial en compañia de sus seres amados. Saludos y bendiciones.
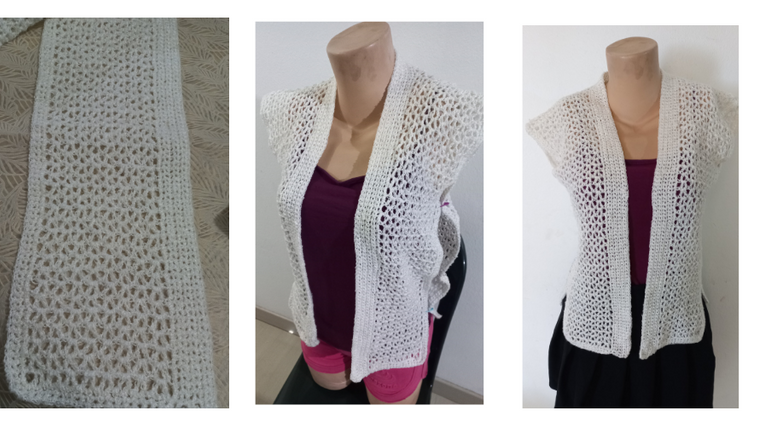
The end result is a very simple but also very nice, comfortable and versatile vest. I loved this pattern so much that I already want to try knitting it in a different color and with a different stitch. I think it looks great and I'm sure my mom will love it. What do you think?
Thanks for reading my post, I hope you are encouraged to knit this garment sometime. I hope you have a great day with your loved ones. Greetings and blessings.

Todas las fotos fueron tomadas con mi celular Samsung A32.
El banner de portada y los separadores de textos son diseñados por mi en Canva.com
Uso traductor Deepl


