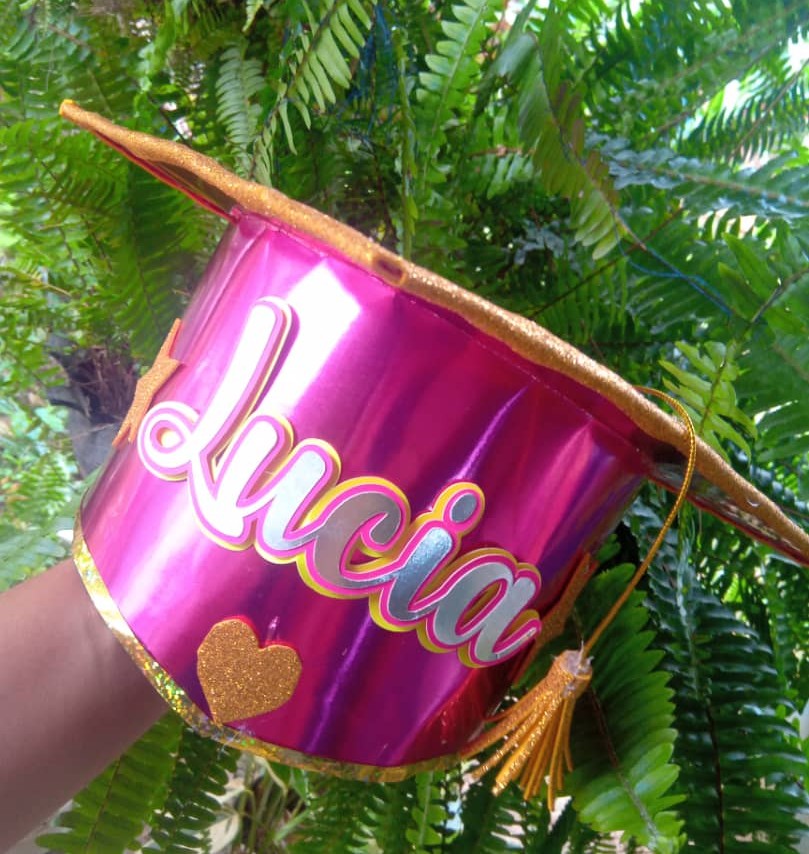
Hola mis queridos amigos creativos, un gusto de compartir este contenido con ustedes, en mi publicación de hoy les muestro como hacer un birrete decorado personalizado, lo hice en color fucsia con el nombre de mi sobrina, la cual se acaba de graduar del preescolar y se lo hice para la fiesta de caravana, pensé que me iba costar un poco porque hace mucho tiempo que no hacia uno, pero la contrario fue muy facil y rápido de hacer.
Hello my dear creative friends, a pleasure to share this content with you, in my post today I show you how to make a personalized decorated cap, I made it in fuchsia with the name of my niece, who just graduated from preschool and I made it for the caravan party, I thought it would cost me a bit because I haven't made one for a long time, but on the contrary it was very easy and quick to do.
Los materiales que use fueron:
- cartulina metalizada color fucsia.
- Foami escarchado color dorado.
- Cinta plástica color dorado.
- Cordón delgado color dorado.
- Pegamento de silicón.
- Tijeras.
- Escuadra para medir.
The materials I used were:
- metallic fuchsia cardboard.
- Gold frosted foami.
- Gold colored plastic tape.
- Thin gold cord.
- Silicone glue.
- Scissors.
- Square to measure.
Paso 1
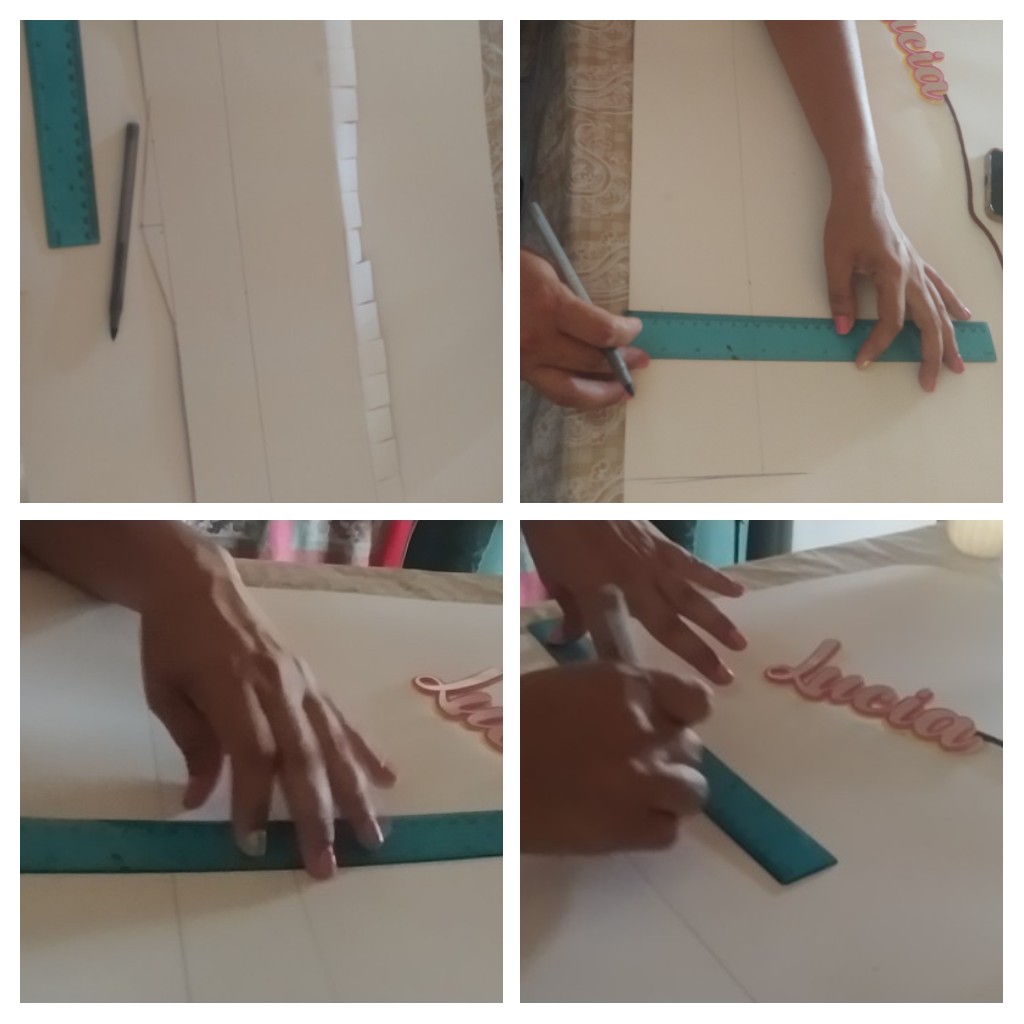
Comence por trazar las dimensiones de lo que seria la circunferencia del birrete, trace un rectángulo de 59 cm de largo por 12 cm de ancho, luego tome el centro y realice un pico que 1.5 cm y trace una línea desde ese centro a cada lado, con esto logre hacer la punta sobresaliente del birrete en la frente. Luego recorte el rectángulo con 2 cm de borde para luego pegar la tapa, realice pequeños cortes de unos dos centímetros de separación para dar la forma circular a la hora de pegar.
step 1
Start by drawing the dimensions of what would be the circumference of the cap, draw a rectangle 59 cm long by 12 cm wide, then take the center and make a peak that is 1.5 cm and draw a line from that center to each side, With this I managed to make the protruding tip of the cap on the forehead. Then cut the rectangle with a 2 cm edge to then glue the lid, make small cuts about two centimeters apart to give the circular shape when gluing.
Paso 2
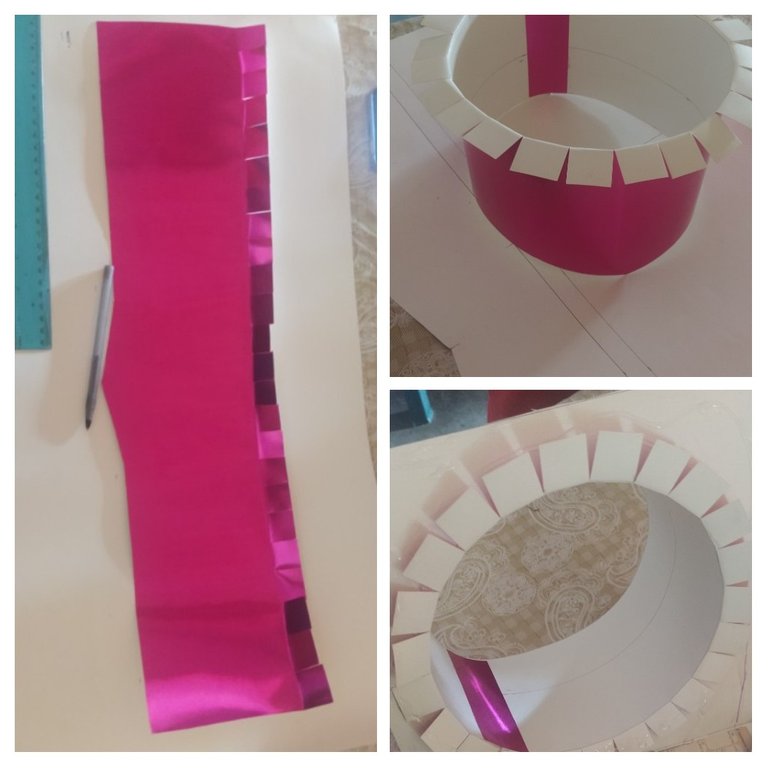
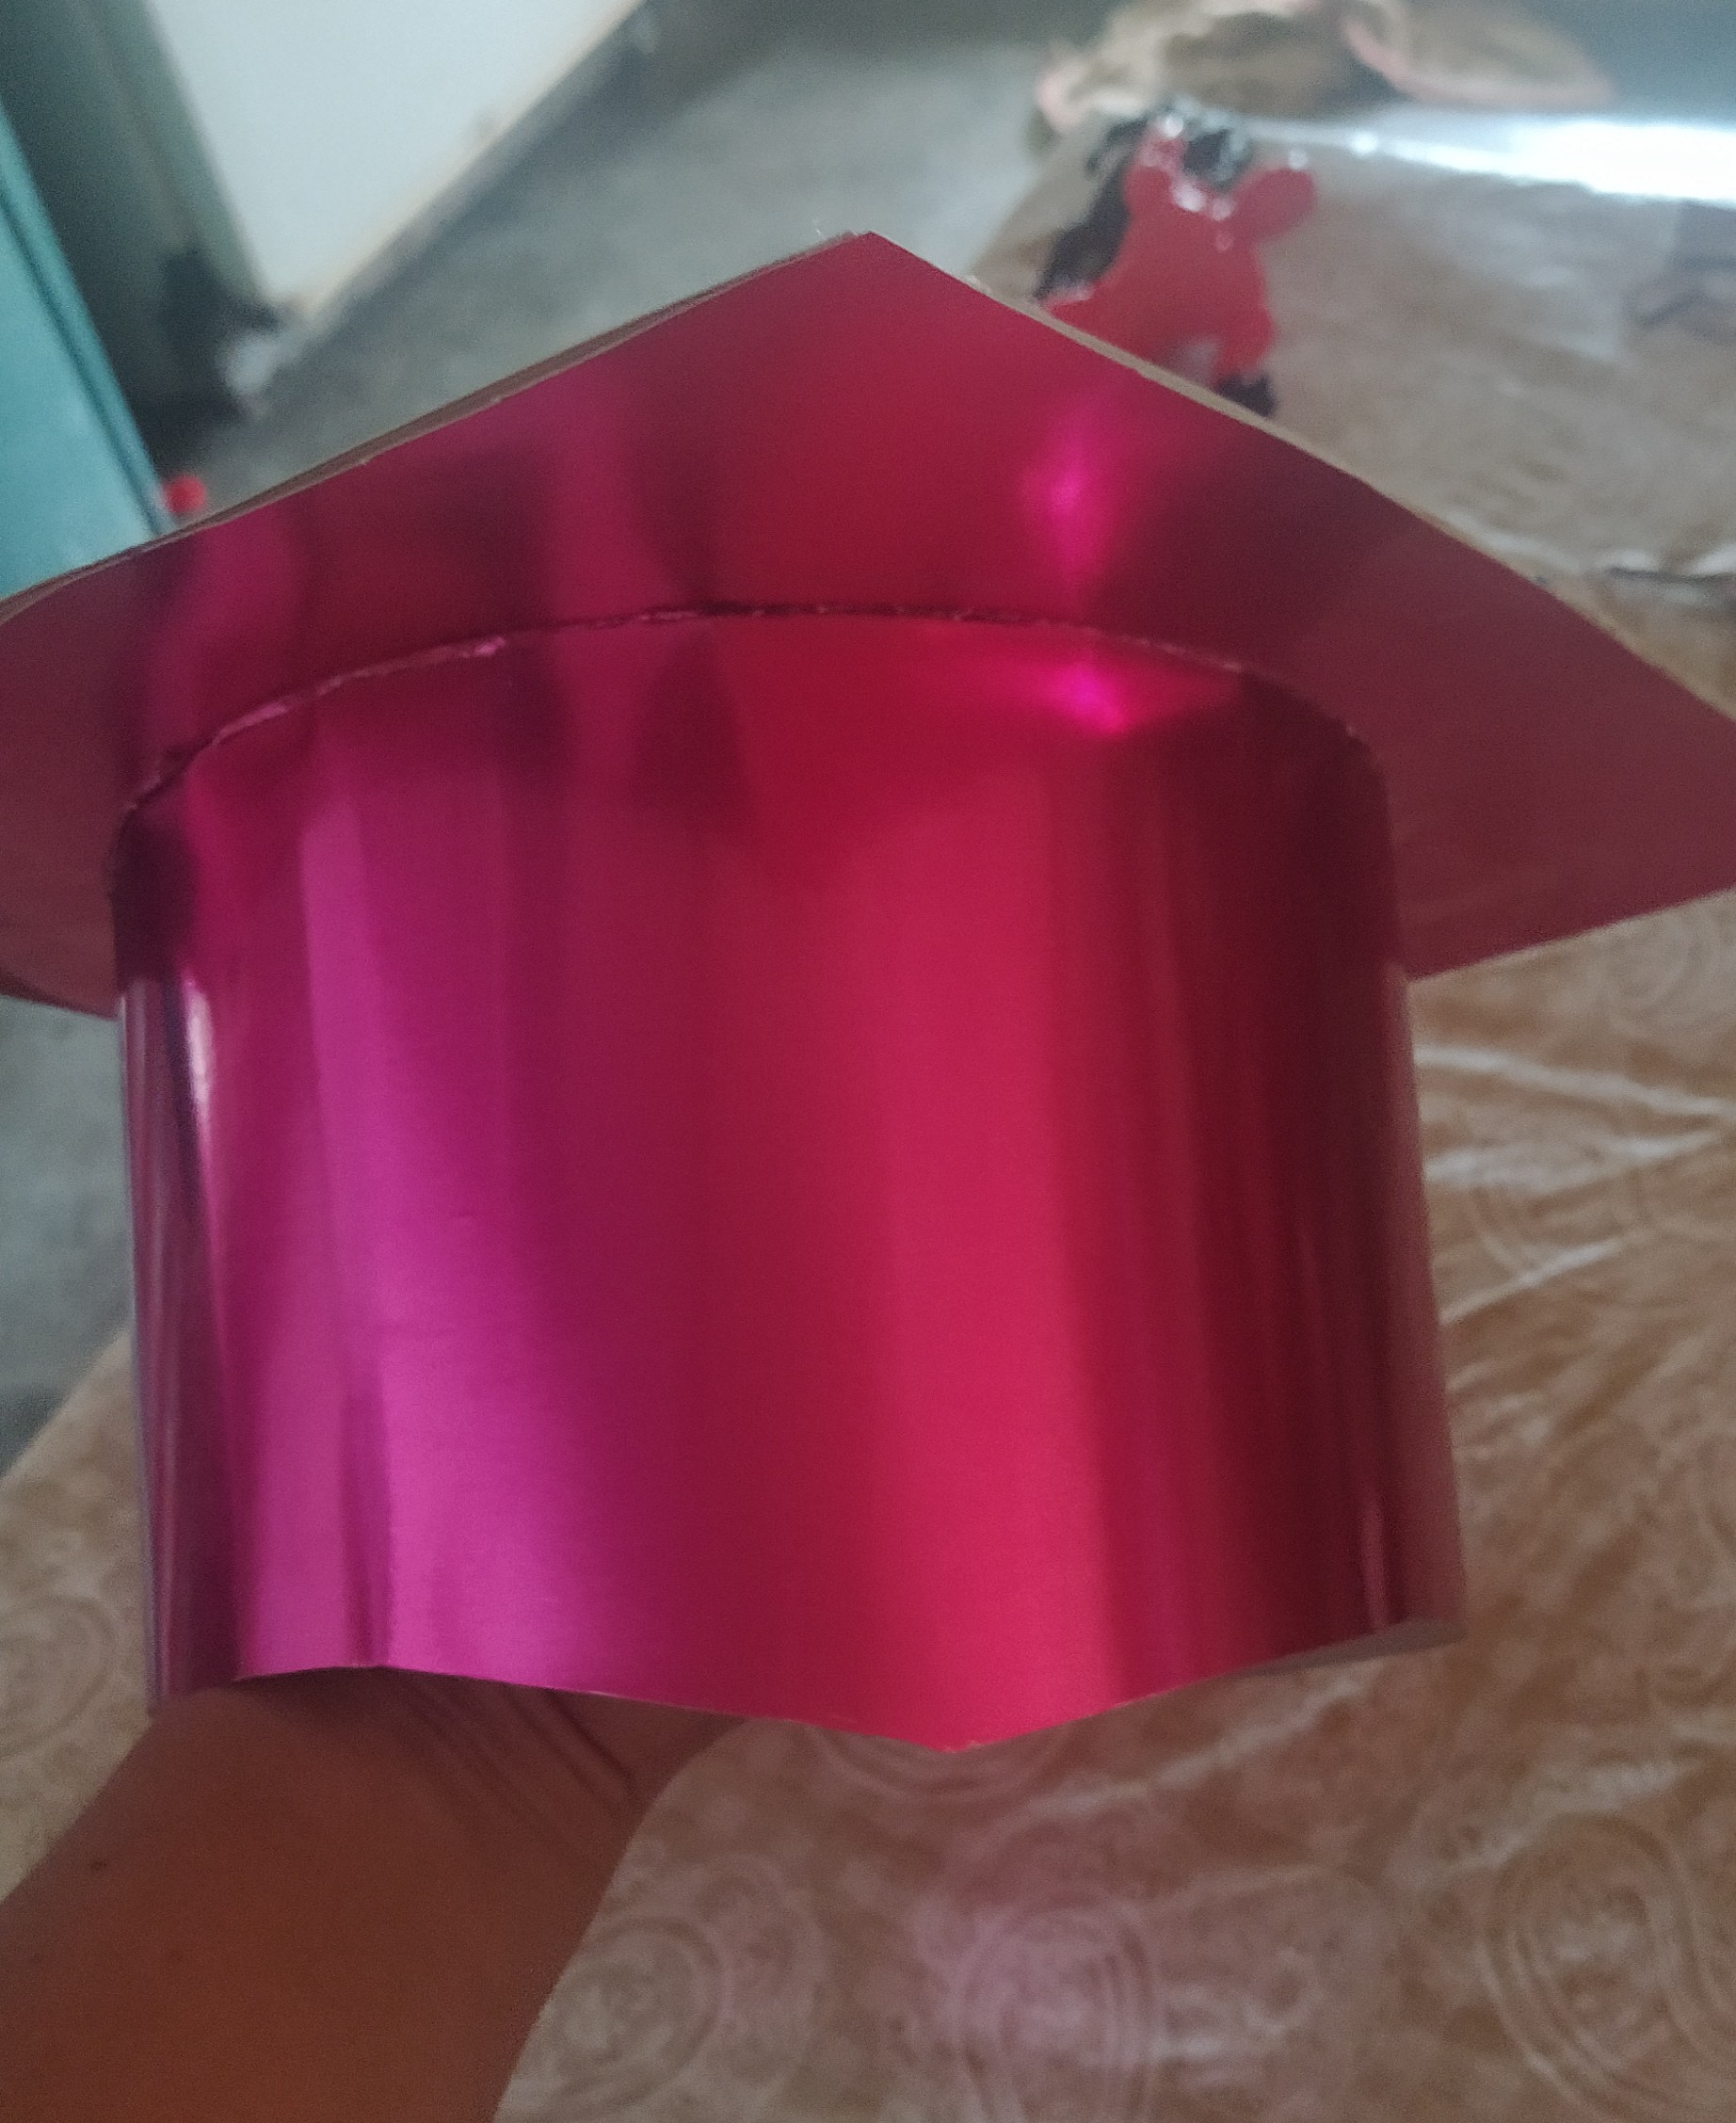
Para la parte de arriba o tapa, realice dos cuadros juntos de 26 cm por cada lado, los recorte sin separarlos los doble de manera de colocar uno sobre otro, a uno de los dos le trace un circulo en el centro del tamaño de la circunferencia del gorro, procedí a pegar el gorro en el lado completo y luego introduje el gorro por el orificio de manera que pisara la aletas de la circunferencia, el circulo que recorte lo coloque en el fondo del gorro.
Step 2
For the top or lid, make two squares together 26 cm on each side, cut them without separating them, fold them so as to place one on top of the other, draw a circle in the center of one of the two the size of the circumference of the cap, I proceeded to glue the cap on the full side and then I inserted the cap through the hole so that it stepped on the fins of the circumference, the circle that I cut out I placed at the bottom of the cap.
Paso 3
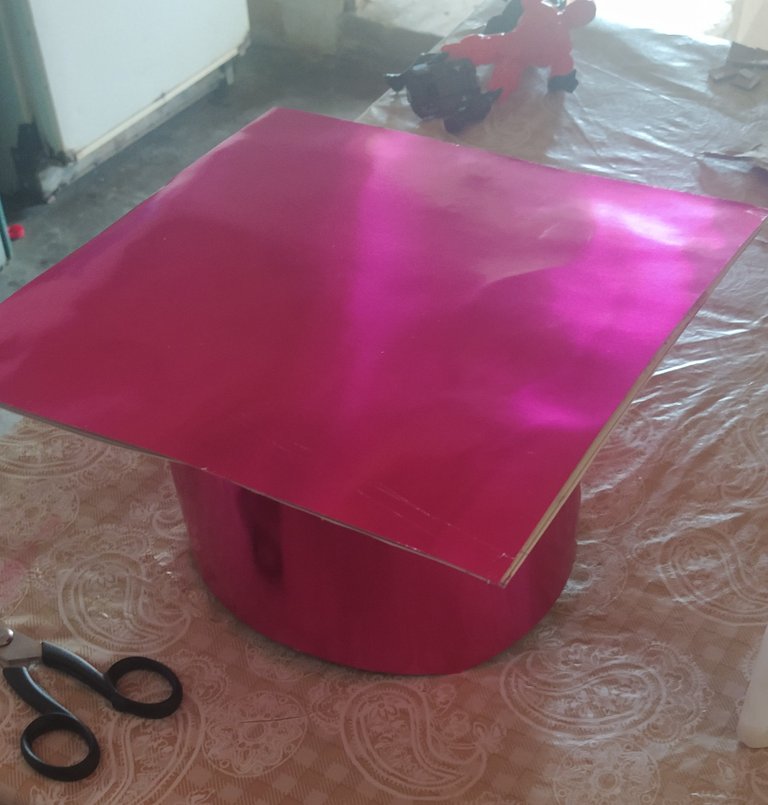
El proceso de pagar y dejar secar solo por unos minutos fue muy facil y rápido, en pocos pasos y tengo un birrete color fucsia listo. El proceso de la decoración es a gusto y de acuerdo a los materiales que tengas al alcance de tu mano.
Step 3
The process of paying and letting it dry for just a few minutes was very easy and fast, in a few steps and I have a fuchsia cap ready. The decoration process is to taste and according to the materials you have at your fingertips.
Paso 4
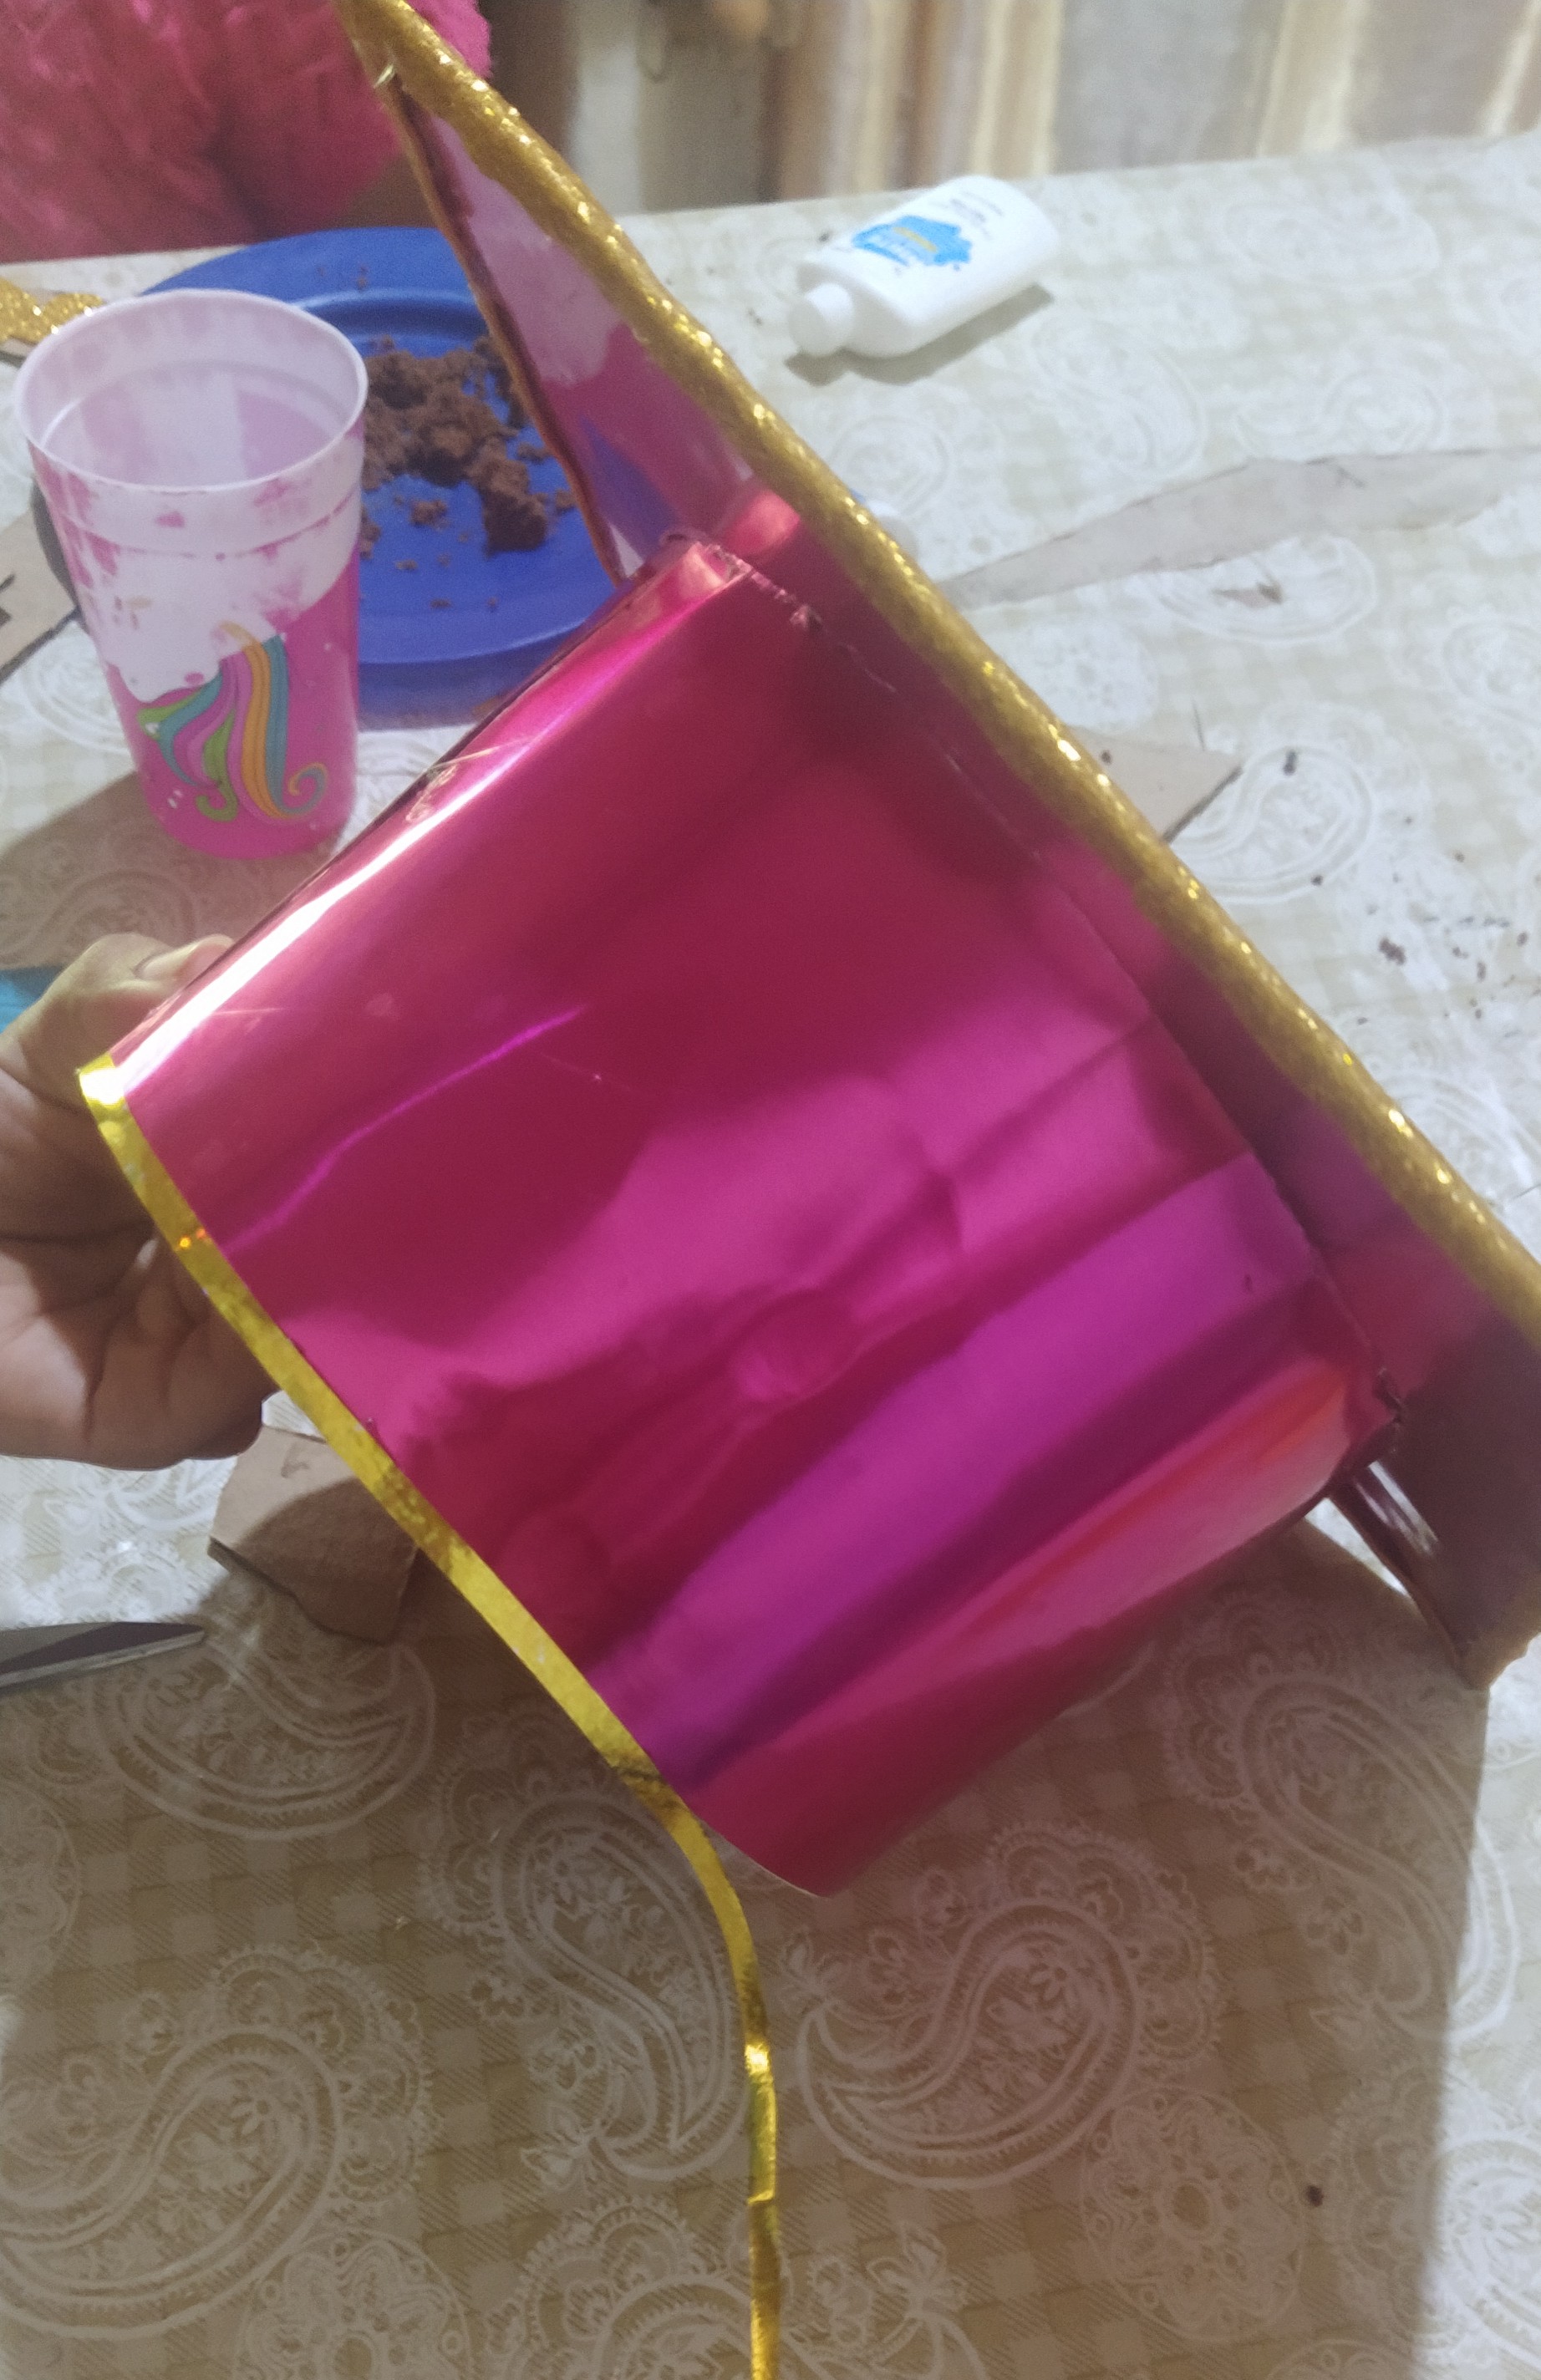
Con el foami recorte unas pequeñas tiras de 1.5 cm de ancho y fui pegando en el contorno de la parte de arriba de manera de cubrir la orilla de las dos tapas.
Step 4
With the foami I cut some small strips 1.5 cm wide and I was sticking on the contour of the upper part so as to cover the edge of the two lids.
Paso 5
Con la cinta dorada y un poco de pegamento, cubrí el contorno de la parte de abajo que agusta en la frente.
step 5
With the gold ribbon and a bit of glue, I covered the outline of the bottom part that fits on the forehead.
Paso 6
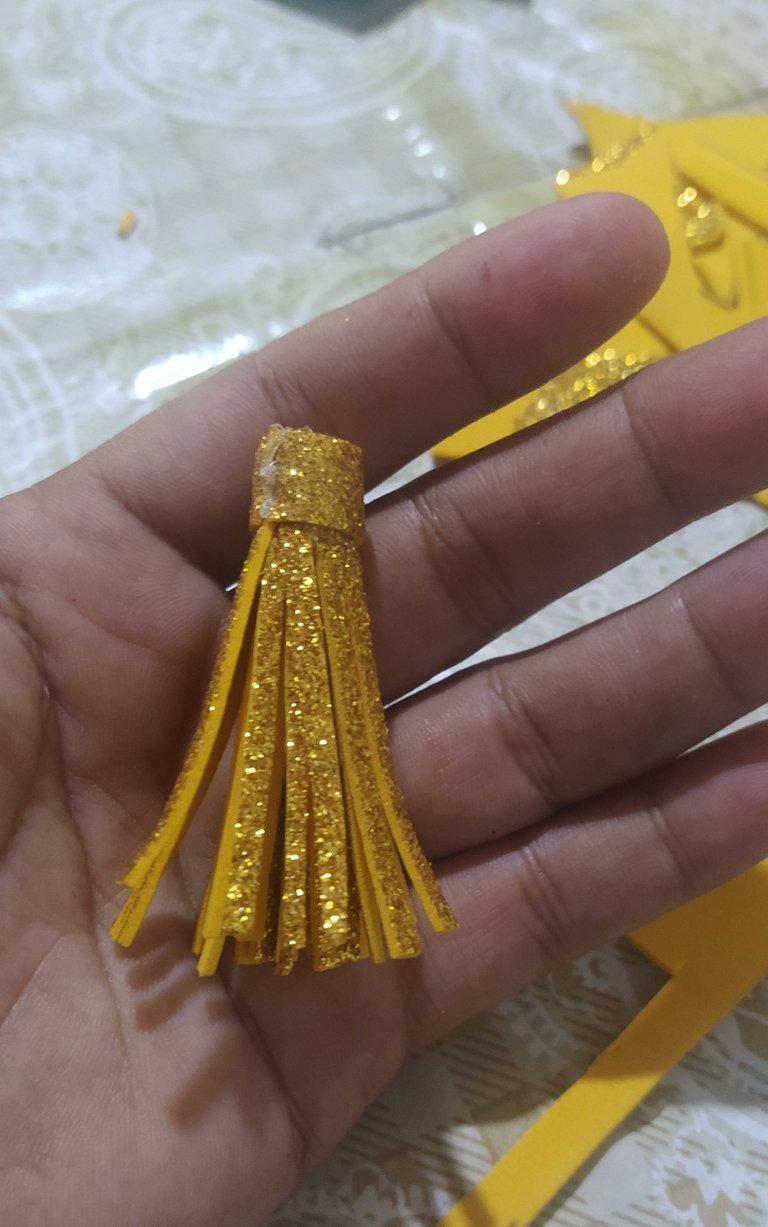
Con una tira de foami de unos 3 cm realice la borla, realice unos cortes muy finos y luego fui enrollando de manera de dar forma, un poco de pegamento y luego la pegue el cordón.
Step 6
With a strip of foami about 3 cm make the tassel, make some very fine cuts and then I was rolling it in a way to give shape, a little glue and then stick the cord.
Paso 7
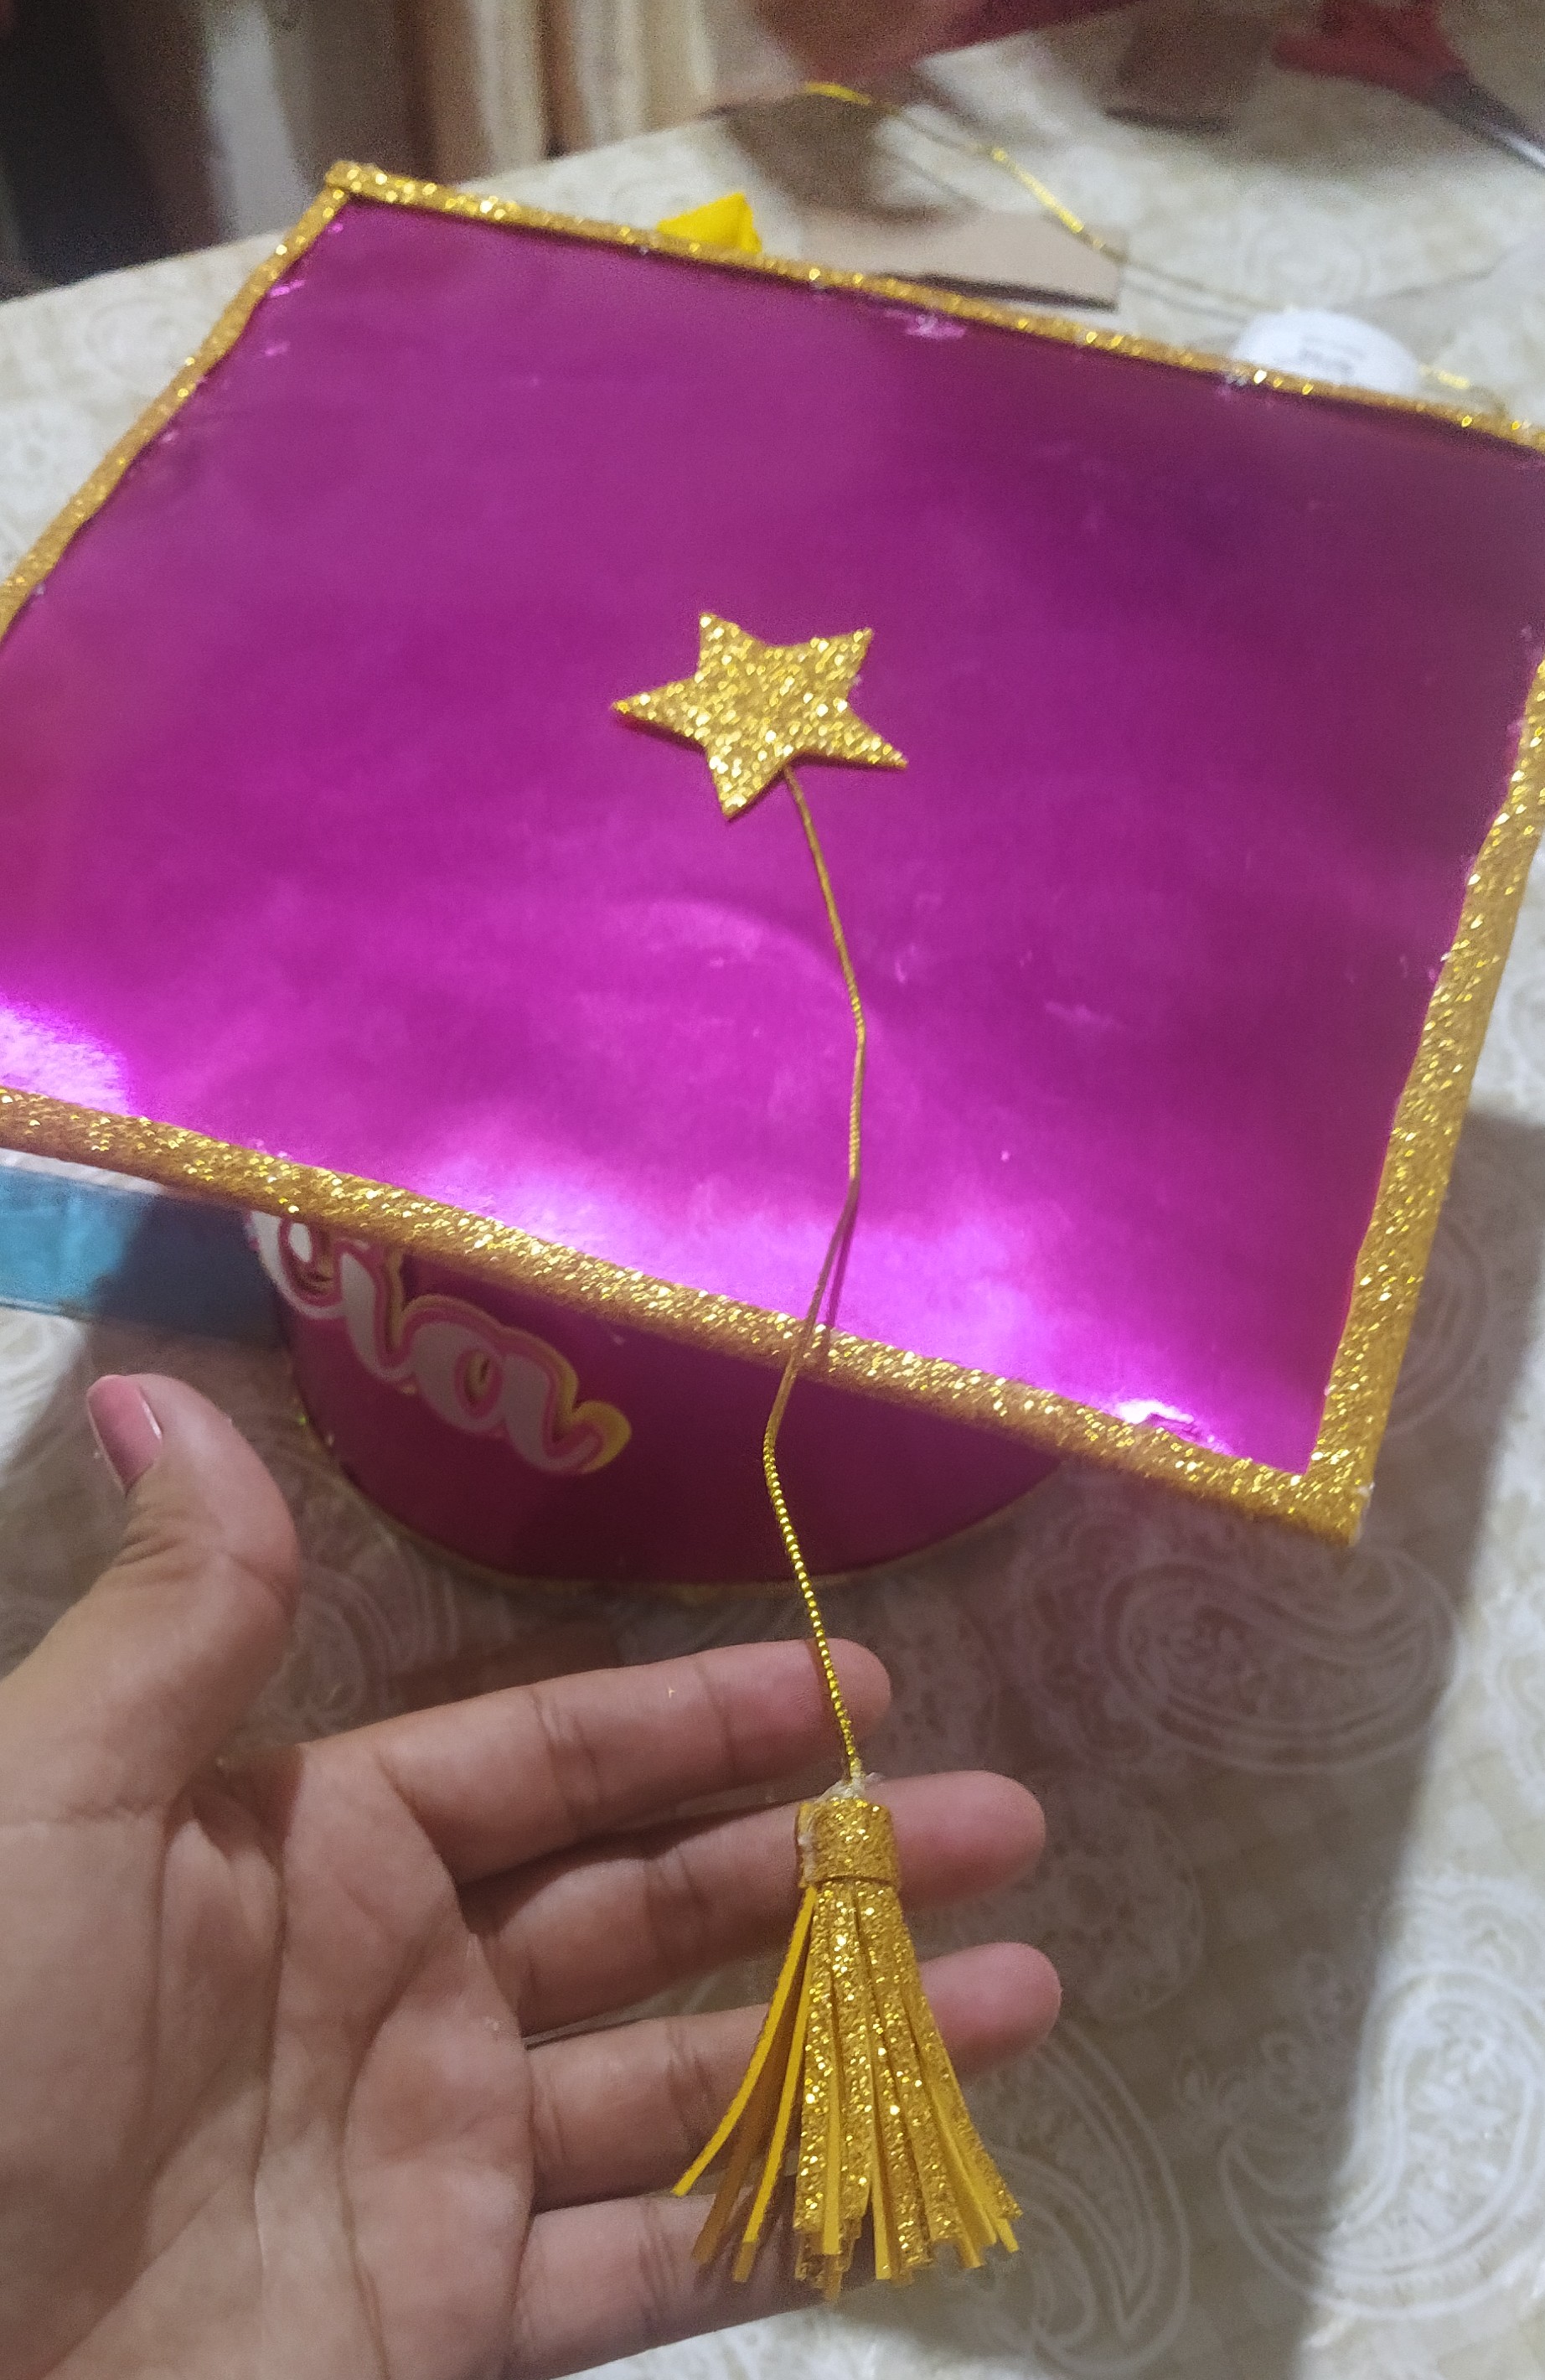
Con foami realice un corazón y varias estrellas y use una para sujetar el cordón de la borla, y coloque una a cada lado del nombre, ese bello detalle me lo hizo una gran amiga que trabaja con esos detalles. Espero que hallan disfrutado de este proceso, un gusto haber compartido este contenido.
Step 7
With foami make a heart and several stars and use one to hold the cord of the tassel, and place one on each side of the name, that beautiful detail was made for me by a great friend who works with those details. I hope you have enjoyed this process, a pleasure to have shared this content.
Amigos gracias por el apoyo a todas mis publicaciones, @karen16.
Fotos: 💯 % originales.
Capturadas con mi teléfono inteligente 📲
Foto, efectos.
Autor: @karen16.
TELEPHONE: XIAOMI Mi A3
Friends thanks for supporting all my posts, @karen16.
Photos: 💯% original.
Captured with my smartphone 📲
Photo, effect.
Author: @karen16.