DO IT YOURSELF
HENNA APPLICATOR
I was taught by my friend how to make my own henna bottle back year 2016 for the reason that it is useful for my doodle artworks.
So I'm going to share with you guys the step-by-step how to do it.
I know you can easily order or buy one online without any hassle but in case you need one right away, you can make your own and you will not wait for a week to have it...
So the materials needed are
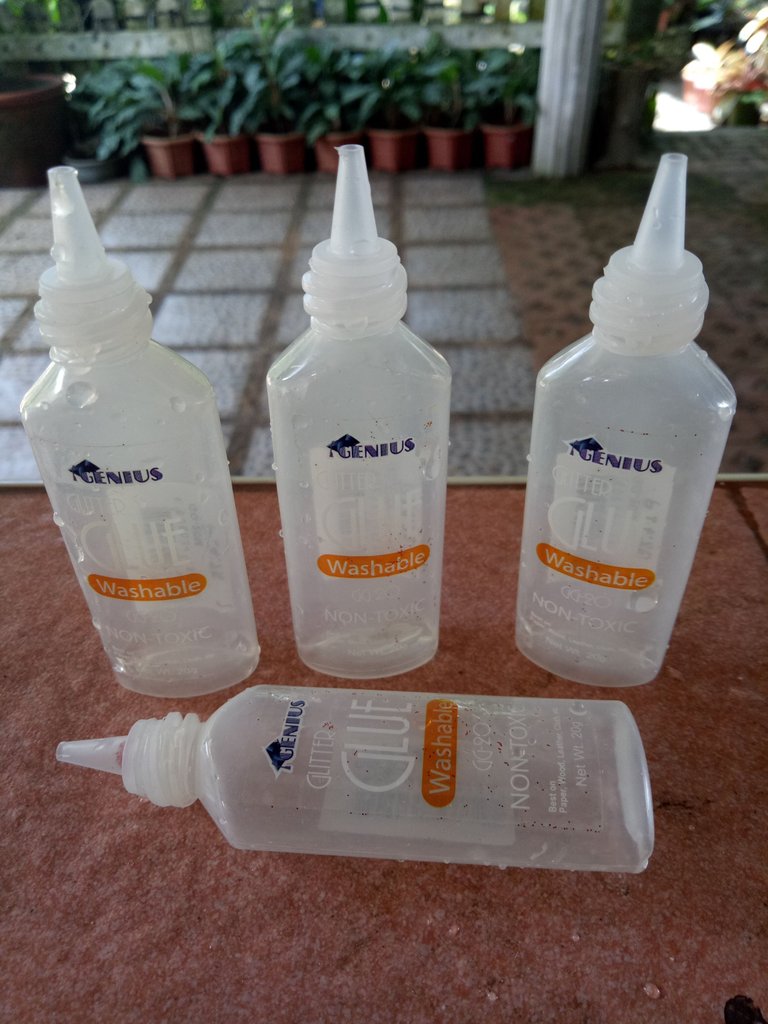
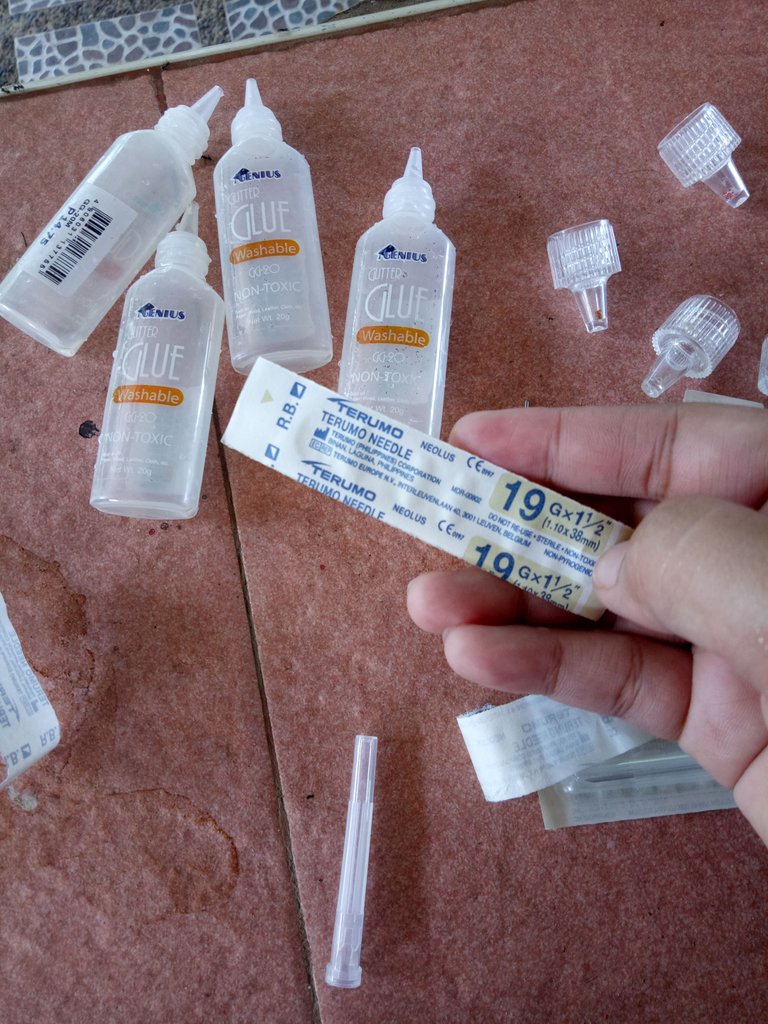
- Glitter glue containers
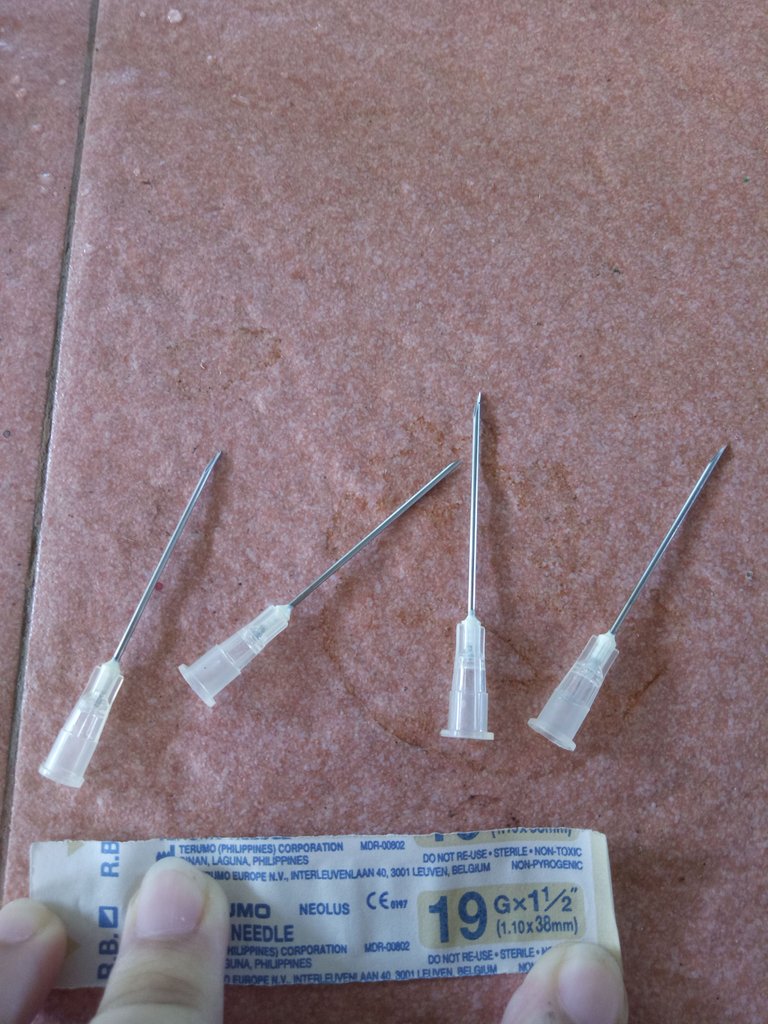
- syringe needle size 19 (Depends on what size you like)
- Epoxy
- Nail cutter
- Guitar string no. 0 or 1
Use the nail cutter to cut the sides of the syringe, as shown in the pictures below, do be careful not to injure yourself from the pointy needle
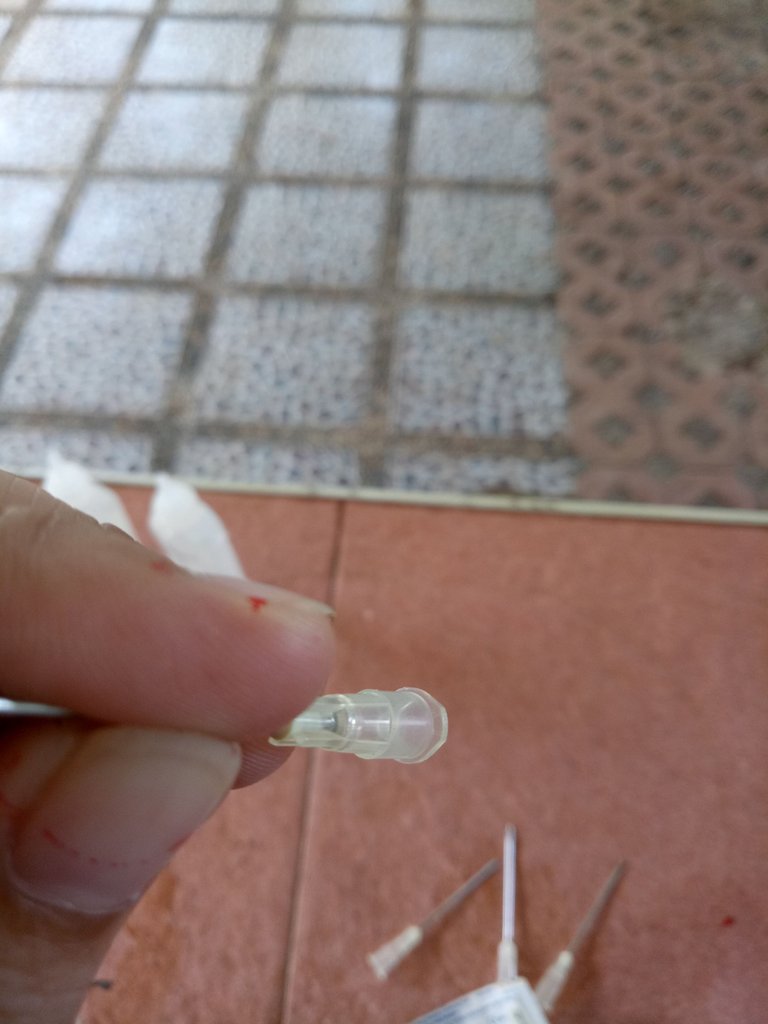
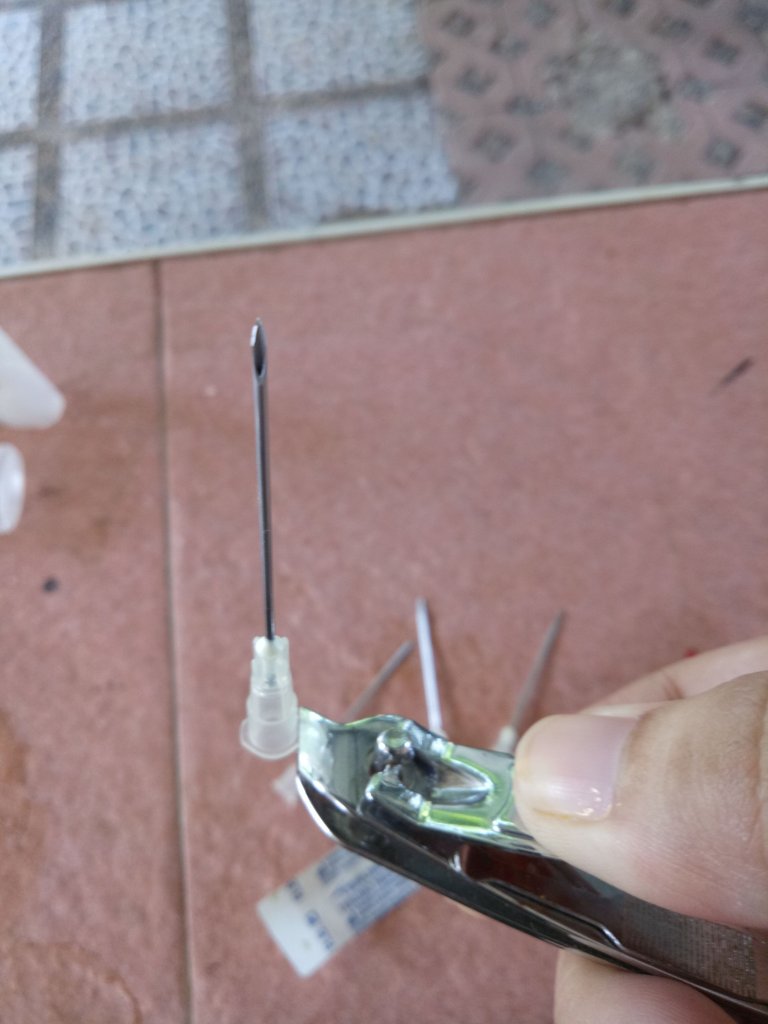
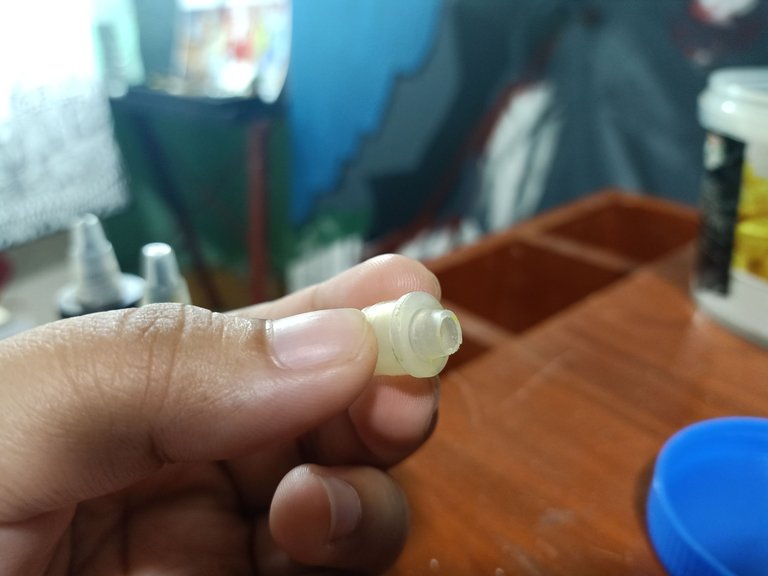
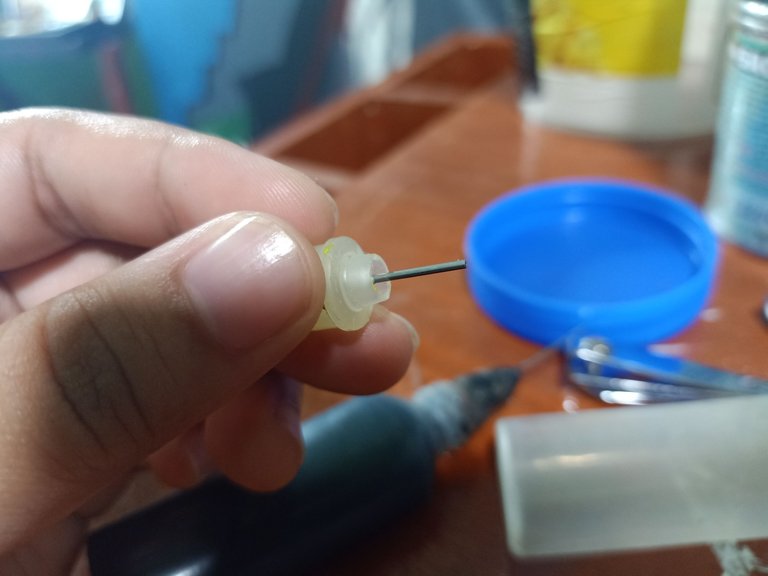
cut the glitter glues tip like this and insert the needle
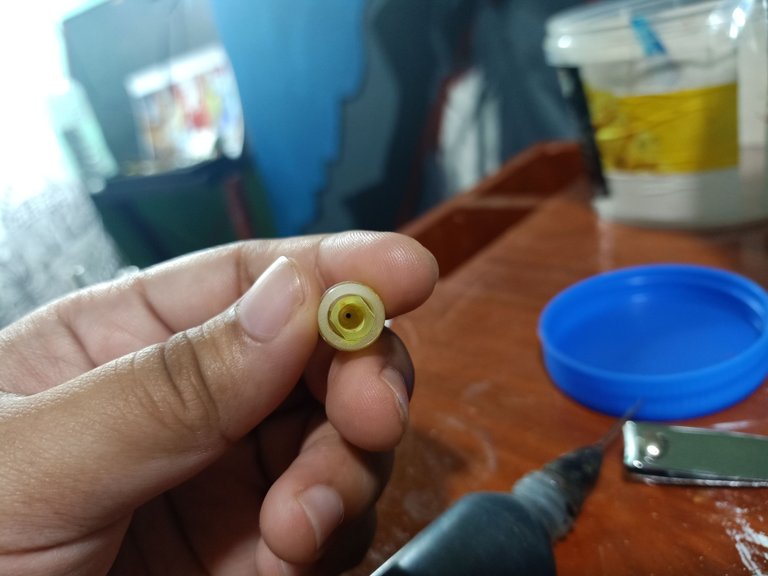
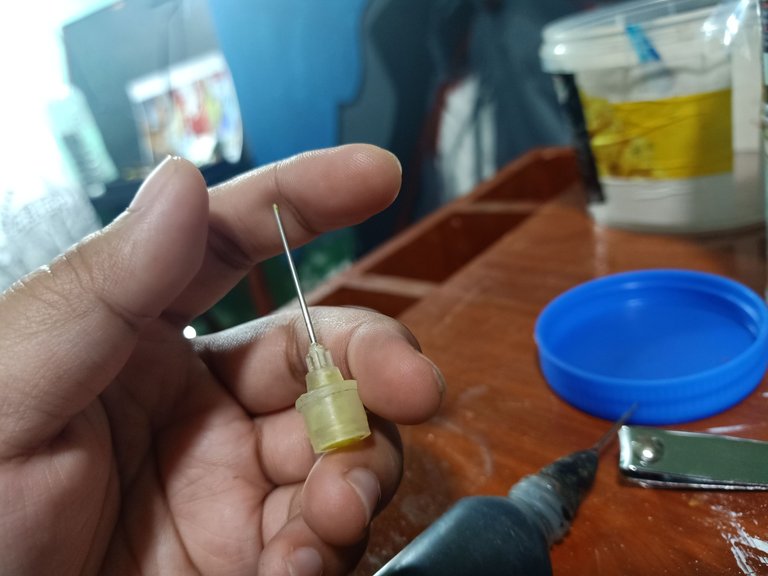
push till it fits perfectly and in the second picture, if you notice the needle isn't very pointy anymore, that's because I cut it using the nail cutter as well... Again, be careful on doing it.
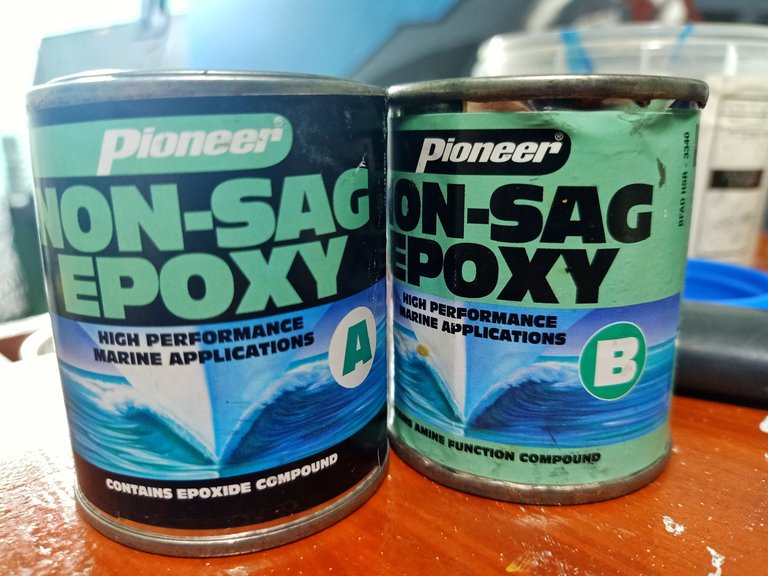
Mix the epoxy A and B then apply it to the lower part,
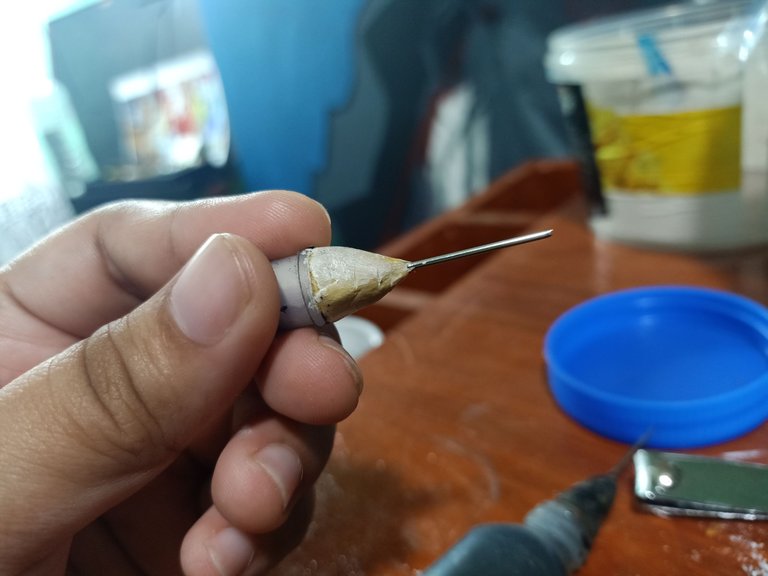
like this, so it won't leak when you use it.
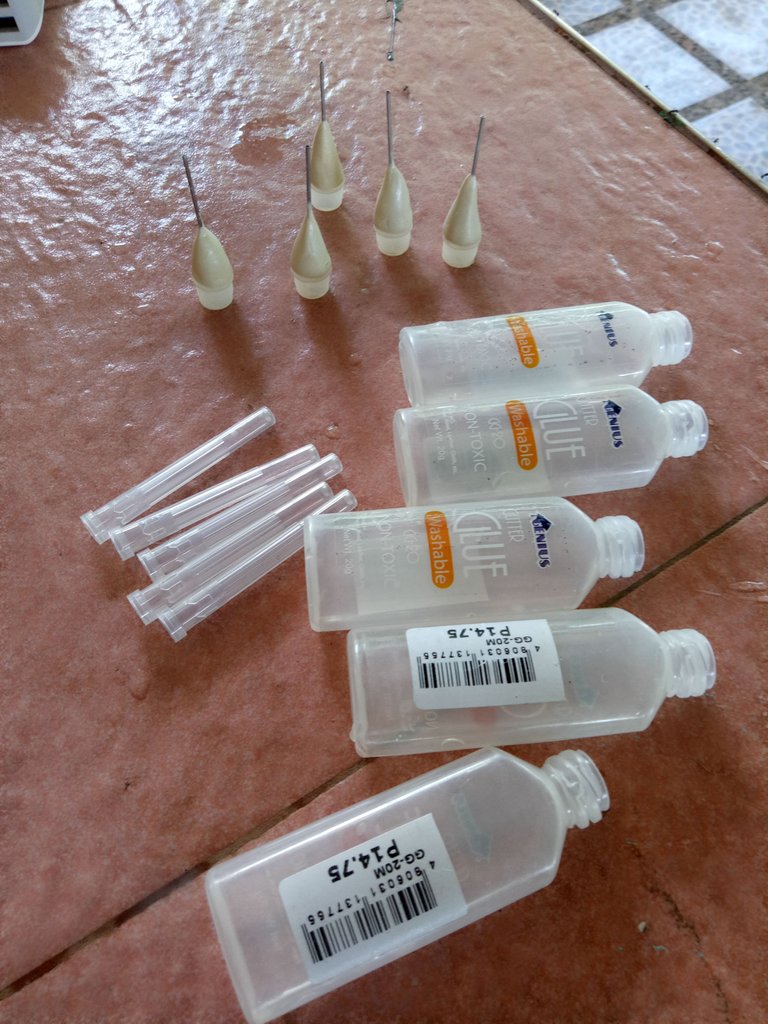
Once you are done making the needle, ready the containers and put the colors you prefer.
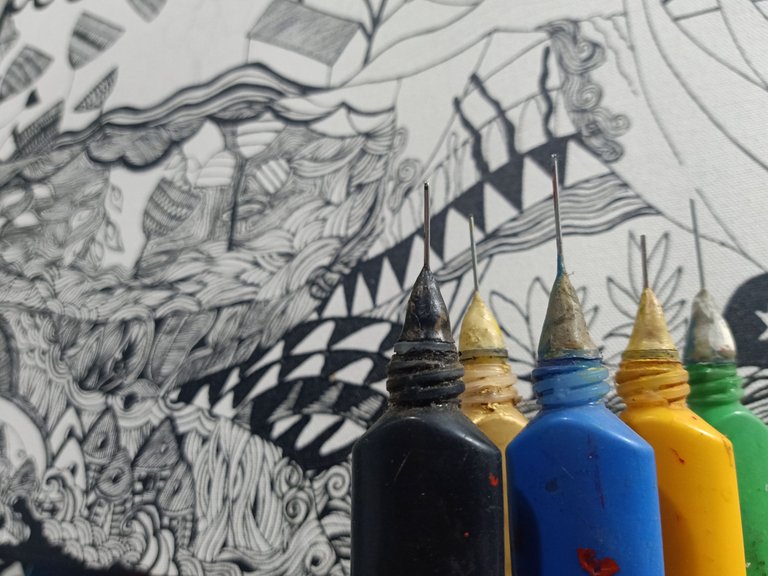
and this is what it will look like if you put paints inside and its ready for doodle paint, or if you are a tattoo artist you can also make a henna liquid and use this.
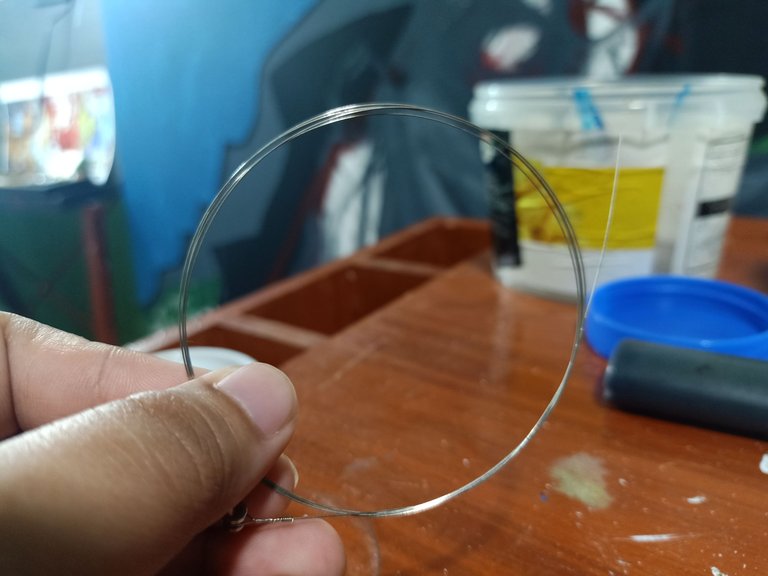
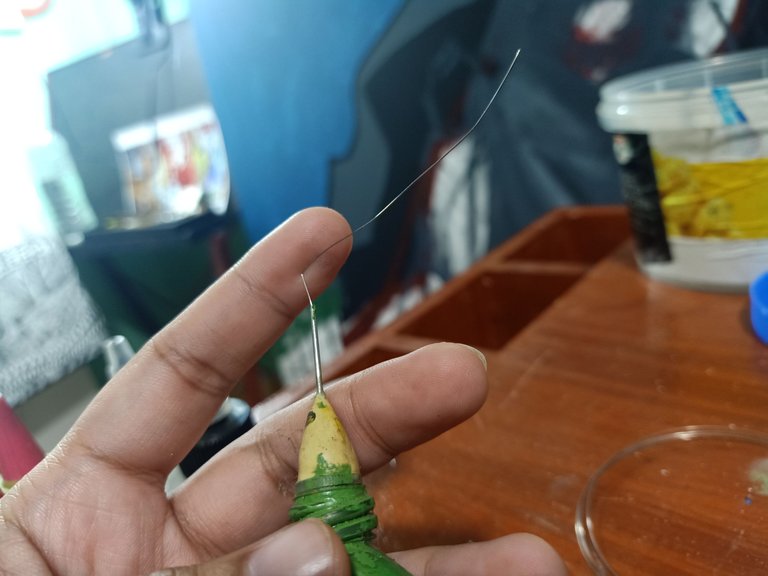
Also buy a #0 and #1 guitar string to stick inside the needle in case it clogs.
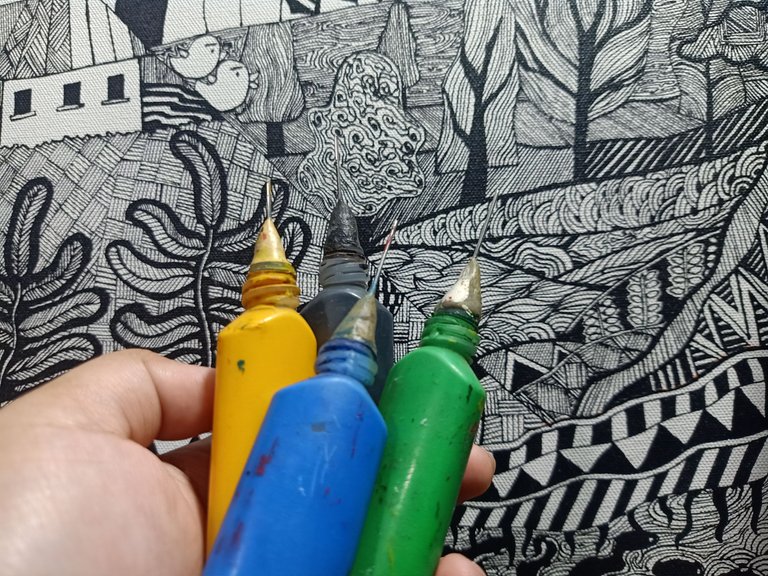
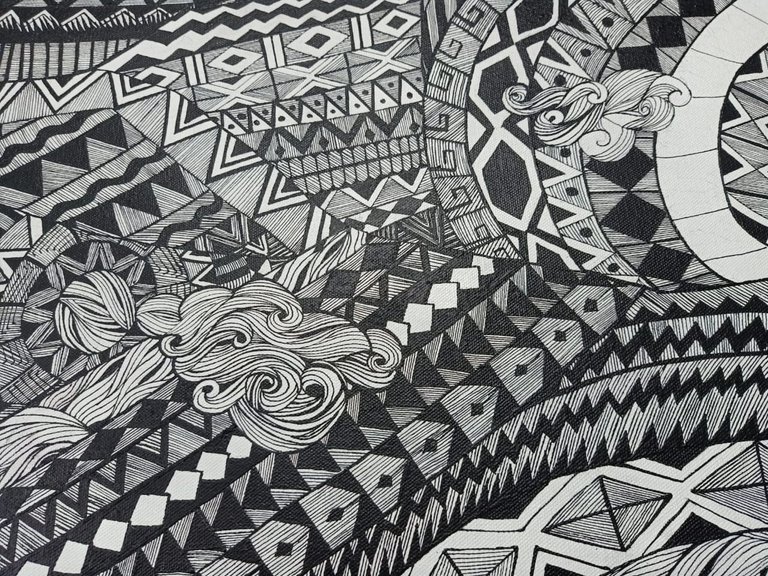
the details of my paintings which are mainly doodle art can be achieved by the use of these henna bottles just like a color pen in a color book.


