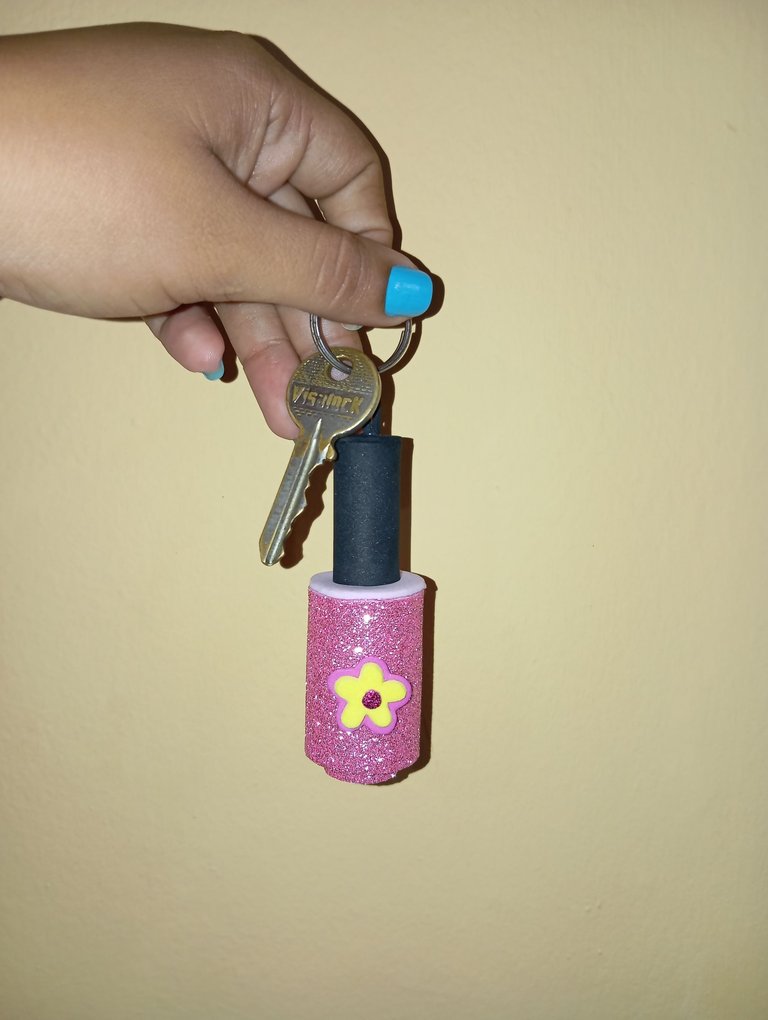
Hola buenas noches amigos , espero que se encuentren bien saludables y que hayan tenido un excelente día , hoy les quiero compartir un tutorial para elaborar un adorno inspirado en una pintura de uña para nuestras llaves y tenerlas siempre en un lugar seguro , un procedimiento sumamente facil y rápido de realizar para las personas qué recién comienzan en el mundo de las manualidades
Hello good evening friends, I hope you are well healthy and have had a great day, today I want to share a tutorial to develop an ornament inspired by a nail polish for our keys and always have them in a safe place, an extremely easy and quick procedure to perform for people who are just starting in the world of crafts.

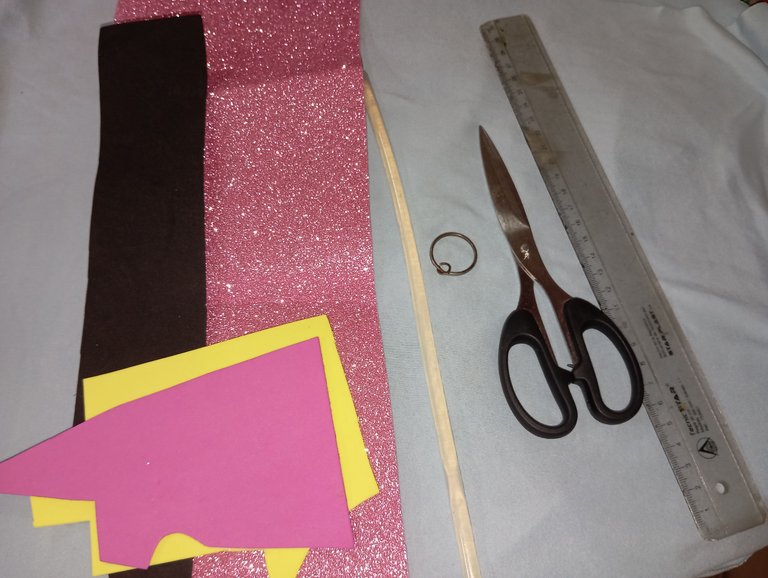
Materiales qué utilice para mí llavero :
-Foamis
-Tijera
-Silicon
-Regla geométrica
-Aro para las llaves
Materials I used for my keychain:
-Foamis
-Scissors
-Silicon
-Geometric ruler
-Ring for the keys
A continuación los pasos a seguir:
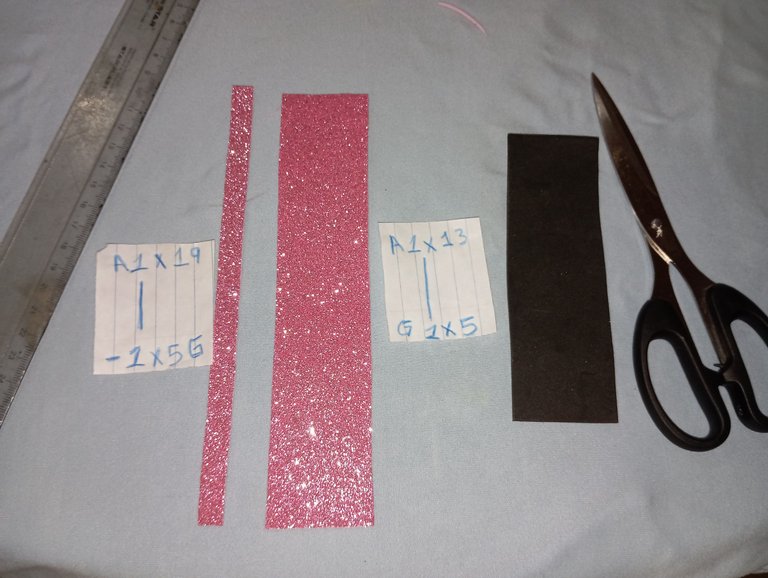
Para realizar nuestra pintura de uña de foamis necesitaremos tiras , iniciaremos recortando tres tiras , dos para la pintura y una para la tapa , para el cuerpo de la pintura recortaremos una tira rosada escarchada de 1x19 cm de altura y 1x5 cm de ancho ( grosor ) y una delgada del mismo color para la base , seguidamente una tira negra para la tapa de 1x13 cm de largo y 1x5 cm de ancho, la medida con la que trabajé es del tamaño de una pintura de uña que disponía en casa , si ustedes desean pueden realizar una mas grande o mas pequeña
Here are the steps to follow:
To make our foamis nail painting we will need strips , we will start by cutting three strips , two for the painting and one for the lid , for the body of the painting we will cut a frosted pink strip of 1x19 cm in height and 1x5 cm wide ( thickness ) and a thin one of the same color for the base , then a black strip for the lid of 1x13 cm long and 1x5 cm wide, the measure with which I worked is the size of a nail polish that I had at home, if you want you can make a bigger or smaller one.
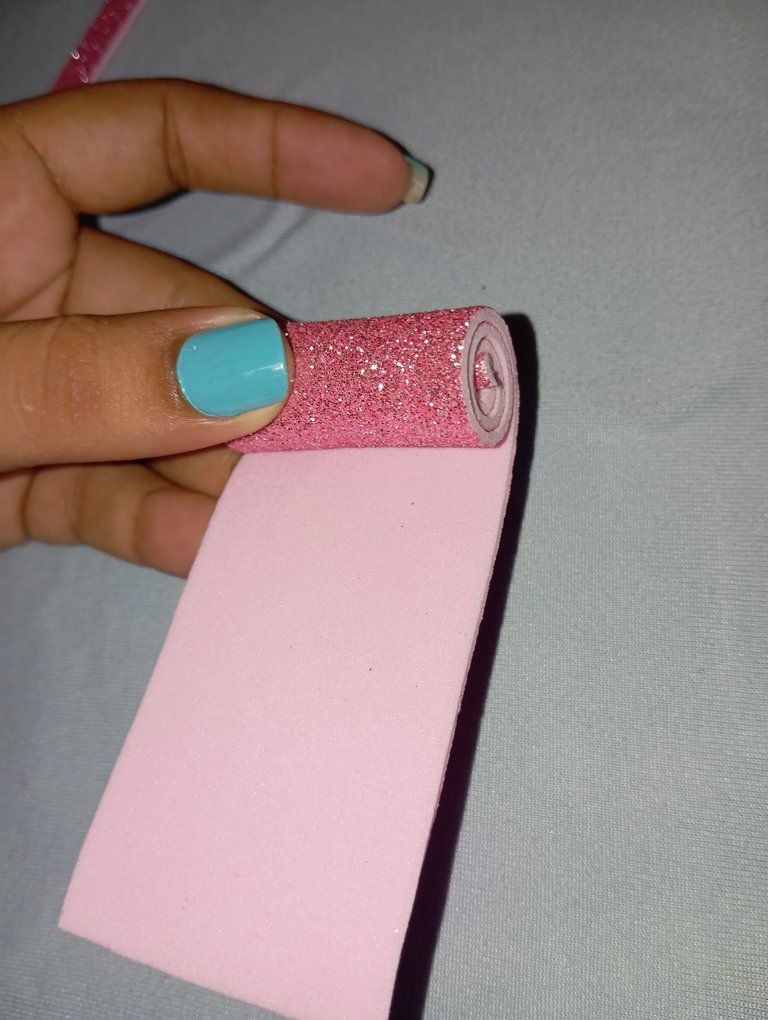
A continuación iniciaremos realizando el cuerpo de nuestra pintura de uña , tomaremos nuestra tira y comenzamos enrollando hasta realizar un pequeño rollo ,así mismo haremos con la tira delgada que será la base de la pintura
Next we will start making the body of our nail painting, we will take our strip and start rolling it up to make a small roll, in the same way we will do the same with the thin strip that will be the base of the painting.
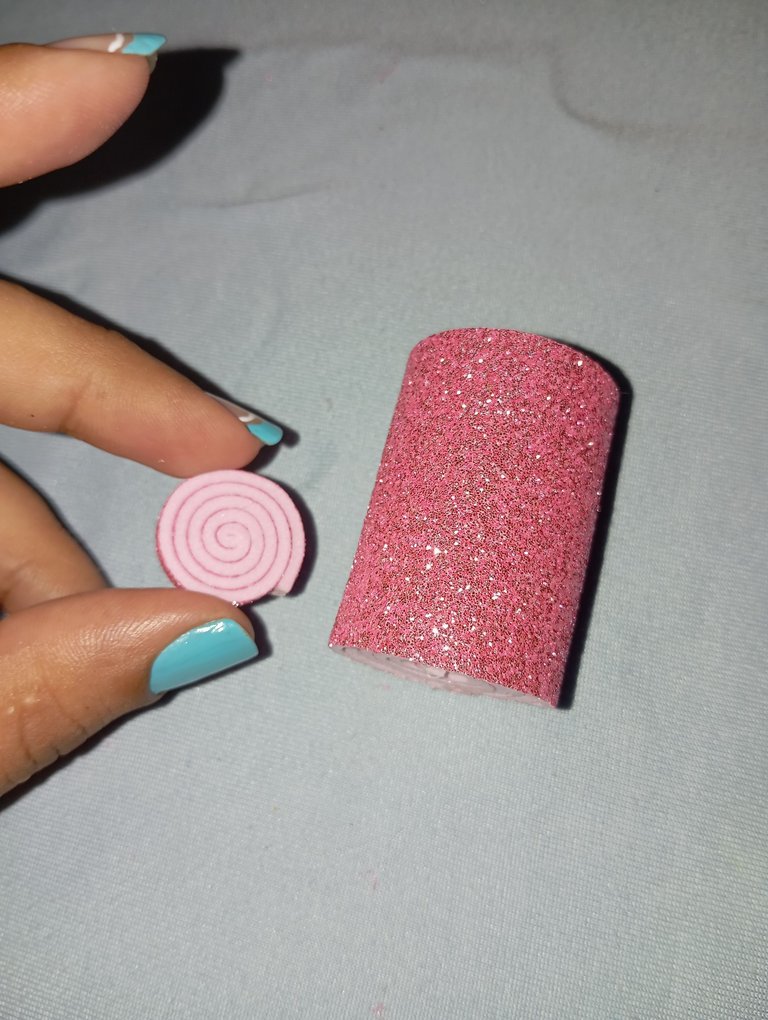
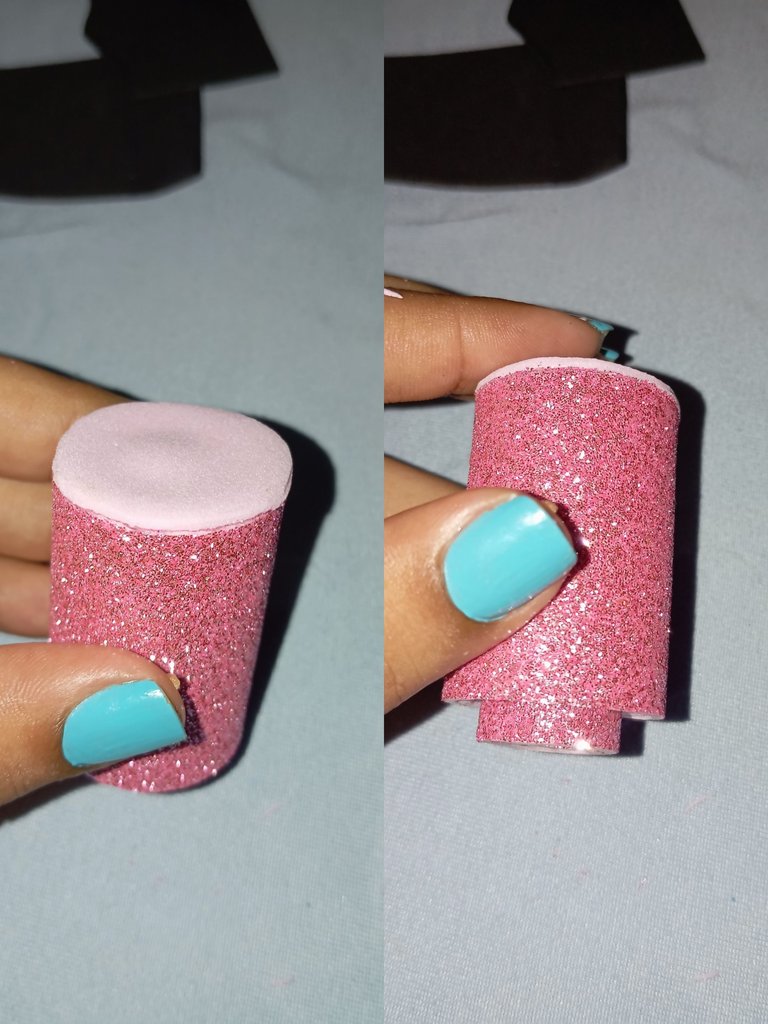
Luego vamos a continuar pegando un circulo en la parte de arriba del rollo ( cuerpo de la pintura) , en la parte de abajo vamos a pegar un pequeño rollo en todo el centro , esto será la base de nuestra pintura de uña
Then we will continue gluing a circle at the top of the roll (body of the paint), at the bottom we will glue a small roll around the center, this will be the base of our nail polish.
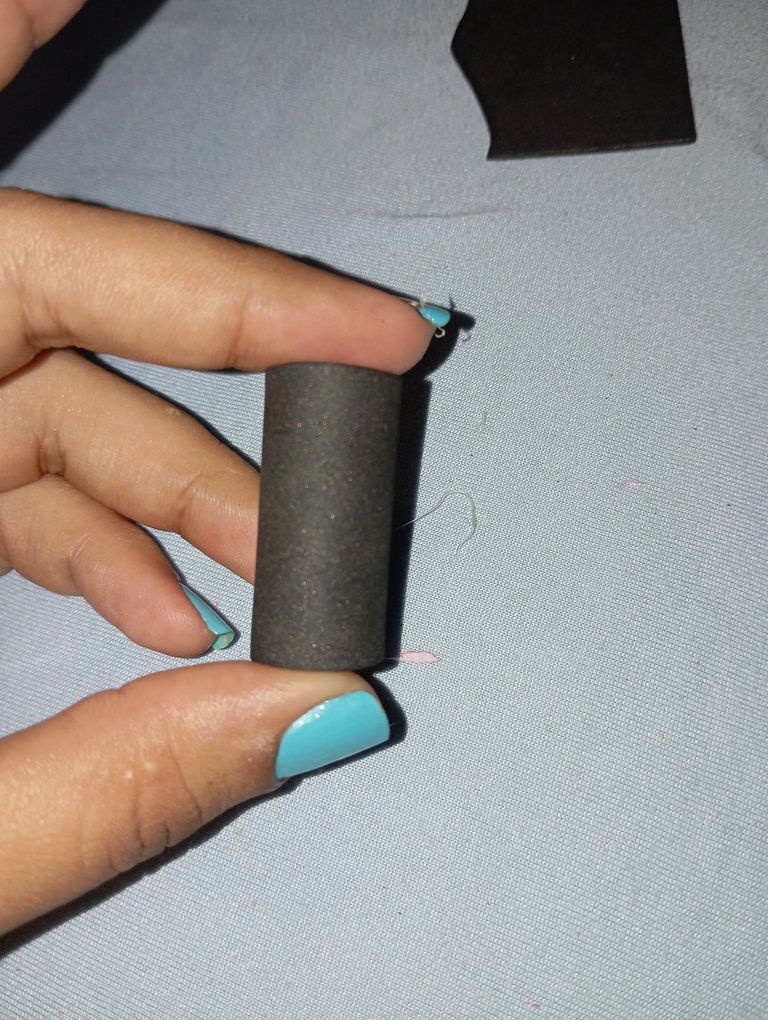
Luego continuaremos tomando la tira negra y enrollamos de la misma manera que hicimos con la pintura , agregamos silicón en el borde , enrollamos y pegamos ,realizando así la tapa
Then we will continue taking the black strip and roll it in the same way we did with the paint, add silicone on the edge, roll it and glue it, making the lid.
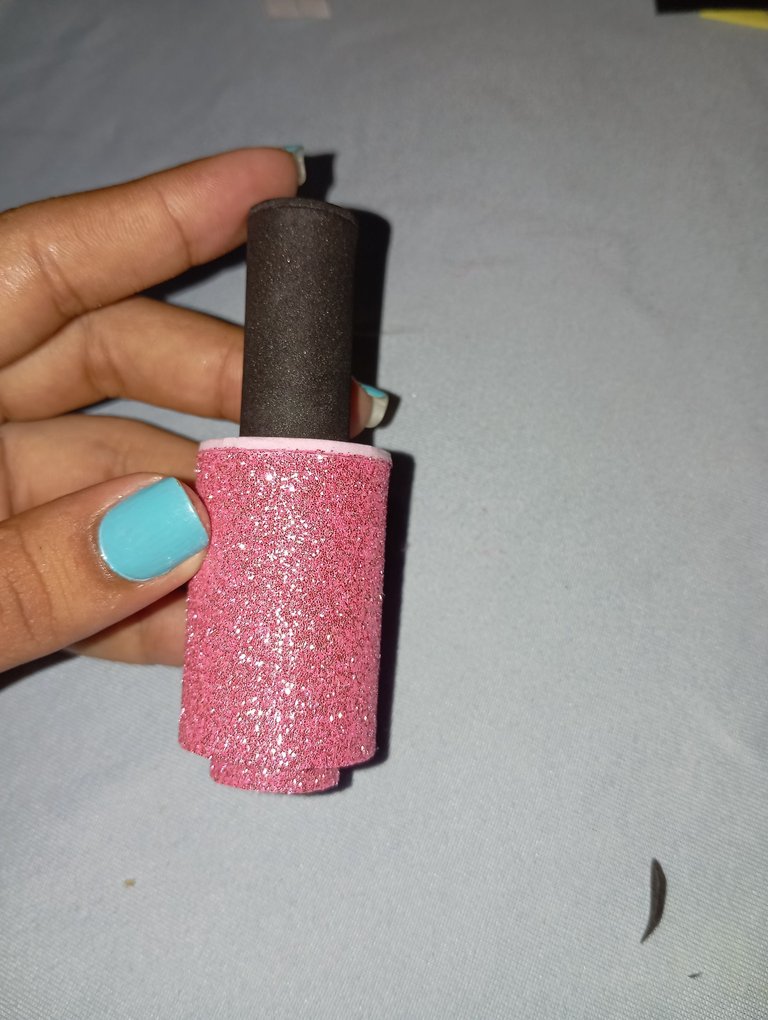
Por último tomaremos la tapa de la pintura y la procederemos pegando en todo el centro de la pintura de uñas
Finally we will take the top of the paint and proceed by gluing it all over the center of the nail polish.
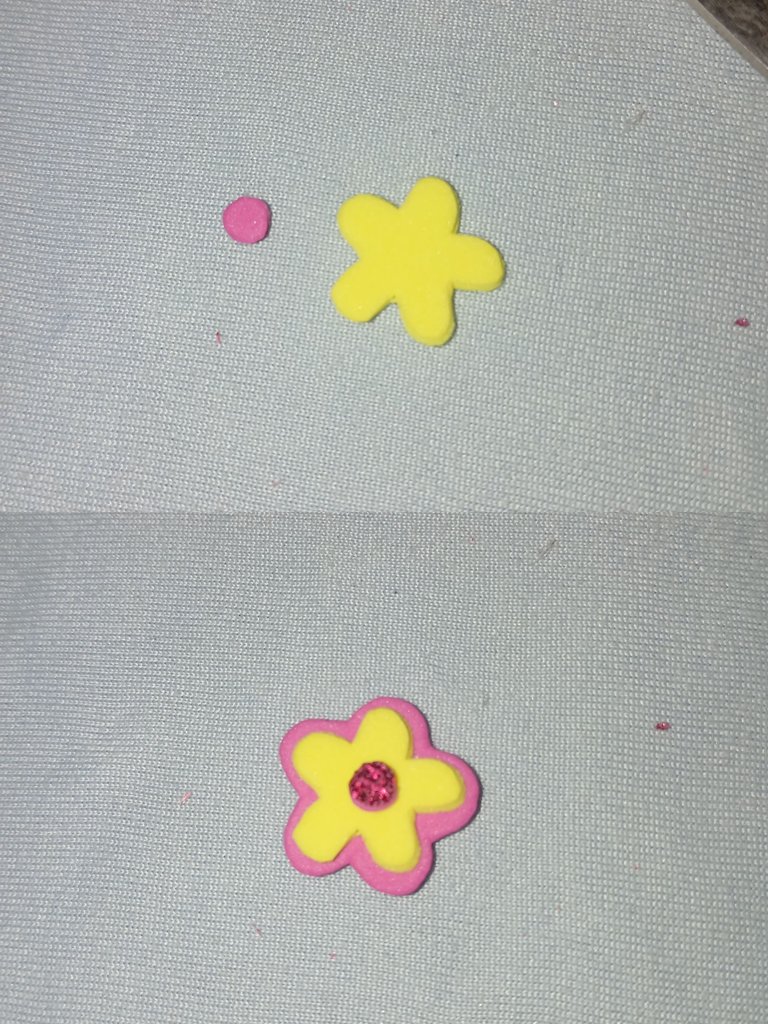
Seguidamente continúe realizando un pequeño diseño adicional, recorté una pequeña flor amarilla con un centro fucsia, en la parte de abajo pegué una base fucsia para resaltar la flor
Then I continued making a small additional design, I cut out a small yellow flower with a fuchsia center, at the bottom I glued a fuchsia base to highlight the flower.
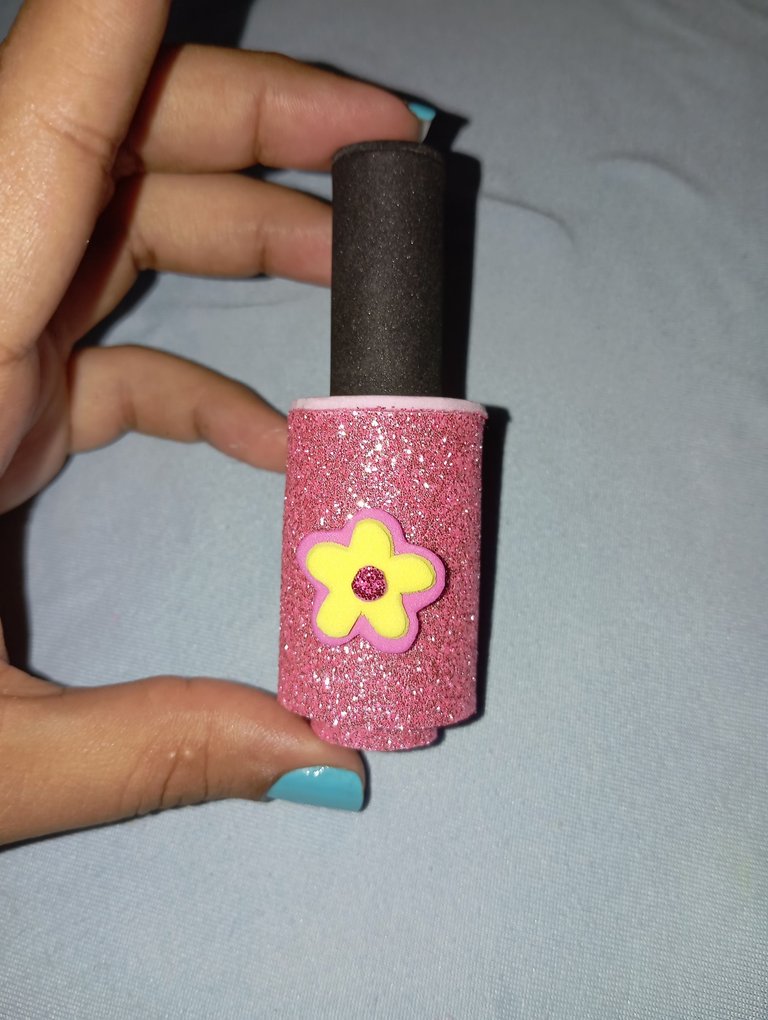
Finalmente continúe pegando la flor en todo el centro de la pintura de uña
Finally I continued gluing the flower all over the center of the nail polish.
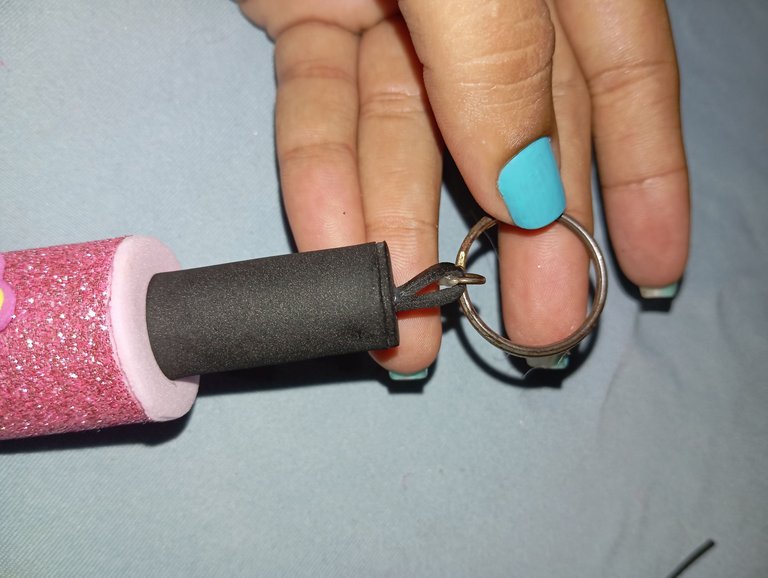
En la tapa de la pintura, continúe pegando una tira negra sosteniendo el aro de metal para colgar de esta manera las llaves , finalizando así nuestro llavero
On the top of the painting, continue gluing a black strip holding the metal ring to hang the keys, thus finishing our keychain.
Este es el resultado final de mi llavero en forma de pintura de uña de foamis , ideal para tener en un lugar seguro nuestras llaves .
Créditos: las fotos las tomé con mi redmi 12 y traduje mis textos con el traductor deepl, feliz noche amigos
This is the final result of my keychain in the form of foamis nail polish , ideal to have in a safe place our keys .
Credits: the photos were taken with my redmi 12 and I translated my texts with the translator deepl, happy evening friends
