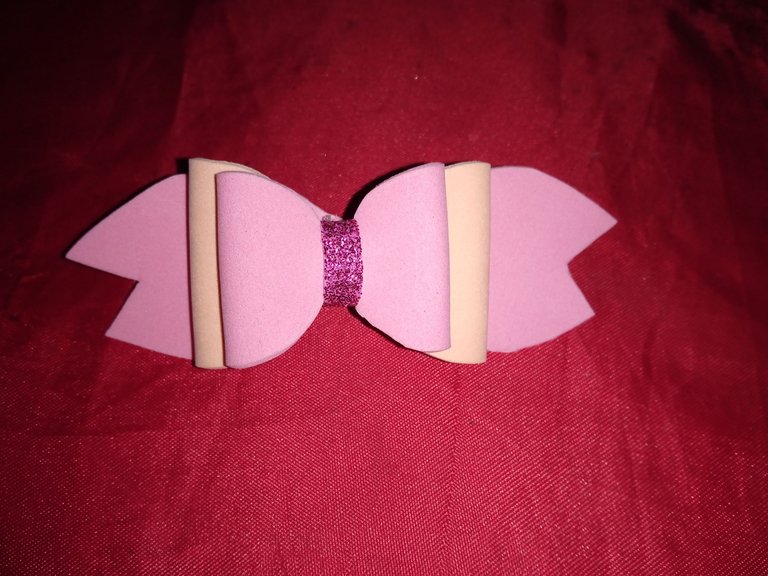
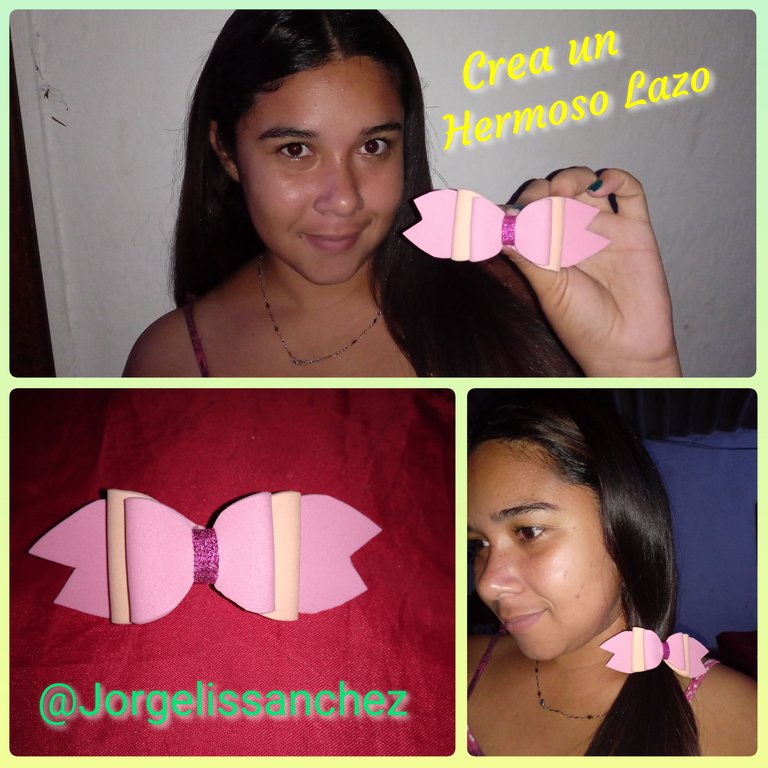
Muy buenas noches tengan todos mis amigos de esta bella plataforma , espero que hayan tenido un bonito y agradable día , en esta noche les quiero compartir un tutorial para decorar las colas (moñeras ) de nuestras niñas , con lazos de foamis (goma Eva ) , y así nuestras niñas luzcan lindas cuando salgan de paseo o al Cole
Very good evening to all my friends of this beautiful platform, I hope you have had a nice and pleasant day, tonight I want to share a tutorial to decorate the tails (bows) of our girls, with bows of foamis (Eva rubber), and so our girls look cute when they go out for a walk or to school.
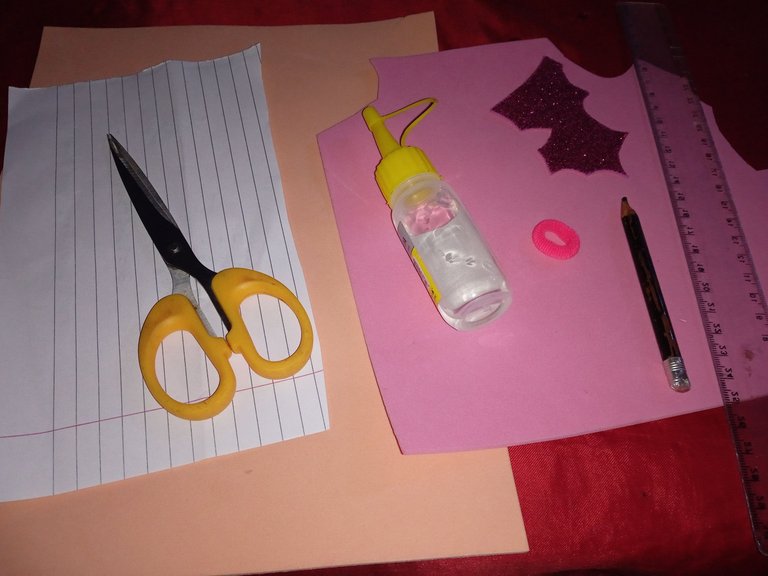
Materiales para nuestros lazos :
Foamis (dos tonos distintos )
Cola para decorar
Tijera
Silicón
Lápiz
Hoja(para el patrón)
Materials for our ribbons :
Foamis (two different shades )
Glue for decorating
Scissors
Silicone
Pencil
Sheet (for the pattern)
Pasos a seguir:
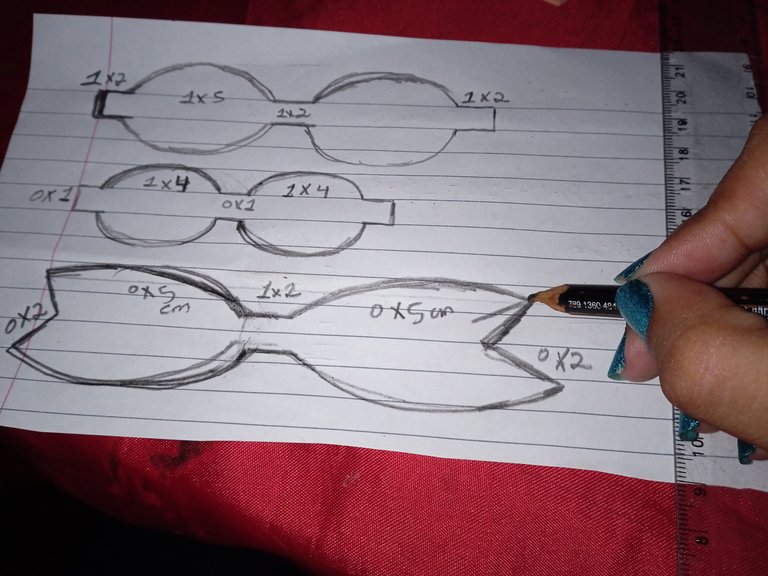
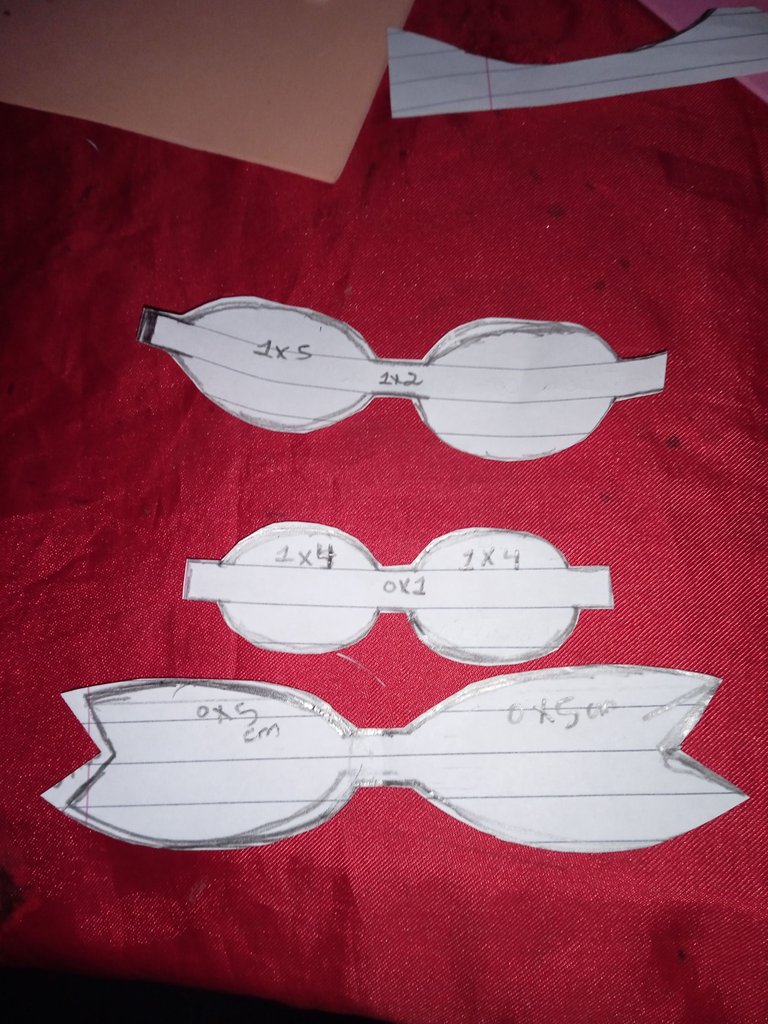
Iniciaremos dibujando nuestros patrones para así realizar el lazo con medida exacta , necesitaremos tres patrones , dos iguales con diferentes tamaño , y uno distinto que será la base , el primer patrón tiene una media de 1x2 cm en cada esquina , 2 arco de 1x5 cm de ancho con una división en el centro de 1x2cm .
El segundo patrón es el más pequeño que irá en la parte de arriba ,posee 0x1 cm en cada esquina ,y ambos arcos 1x4 cm con una división en el centro de 0x1 cm
El último patrón que es la base ,posee en cada esquina puntiaguda 0x2cm y en cada arco 0x5 cm ancho
Steps to follow:
We will start drawing our patterns in order to make the bow with exact measurement, we will need three patterns, two equal with different sizes, and a different one that will be the base, the first pattern has an average of 1x2 cm in each corner, 2 arc of 1x5 cm wide with a division in the center of 1x2cm.
The second pattern is the smaller one that will go on the top ,it has 0x1 cm in each corner ,and both arches 1x4 cm with a division in the center of 0x1 cm .
The last pattern which is the base, has in each corner 0x2cm pointed and in each arc 0x5 cm wide.
Una vez que nuestros patrones estén listos ,ya recortados , procedimos a marcar los en los foamis , para la base y el lazo pequeño de arriba utilice el color rosa y para el lazo del centro utilice el color melón
Once our patterns were ready, we proceeded to mark them on the foamis, for the base and the small loop at the top we used the color pink and for the center loop we used the color melon.
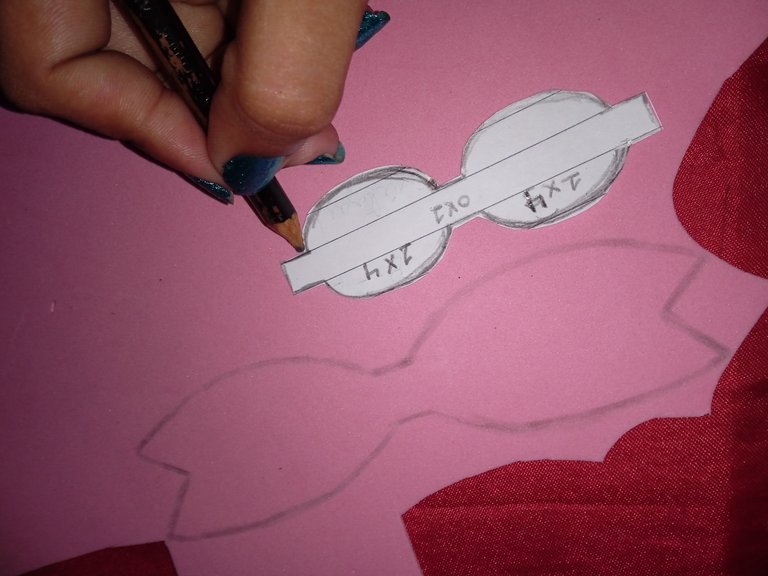
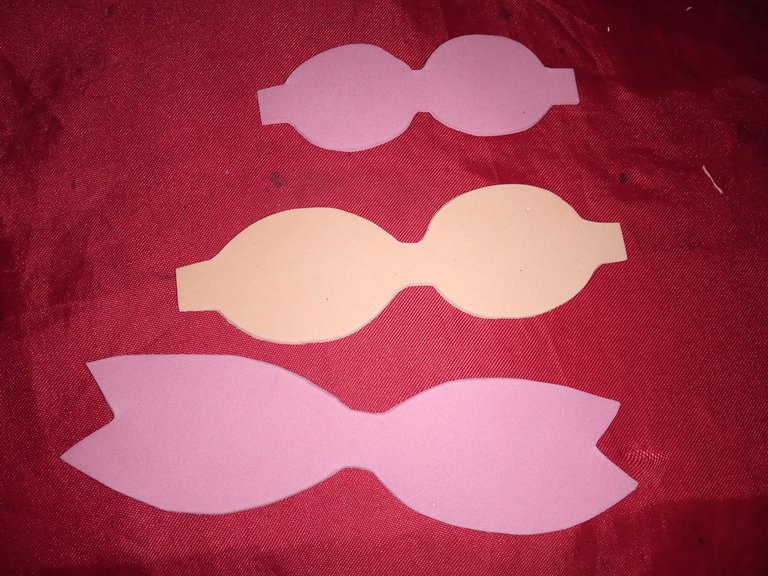
Una vez que marcamos los patrones para los lazos en el foamis , continuamos recortando ambas piezas con la ayuda de nuestra tijera
Once we have marked the patterns for the loops on the foamis , we continue cutting out both pieces with the help of our scissors.
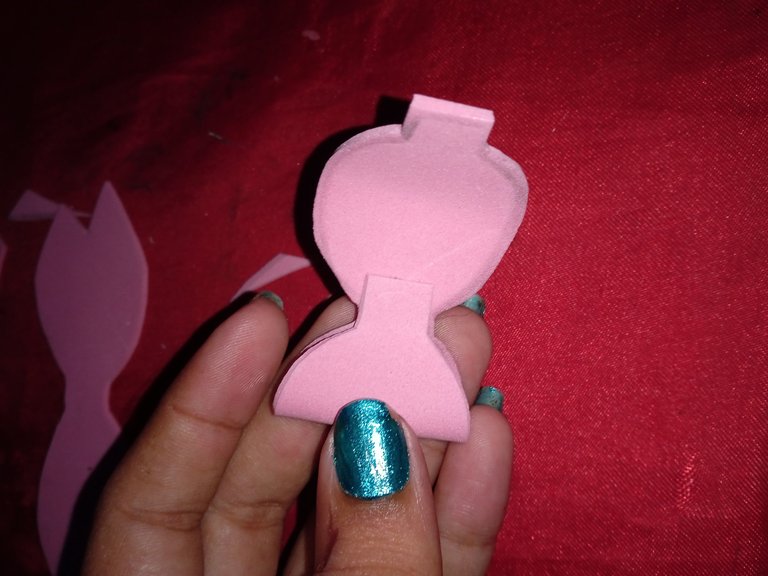
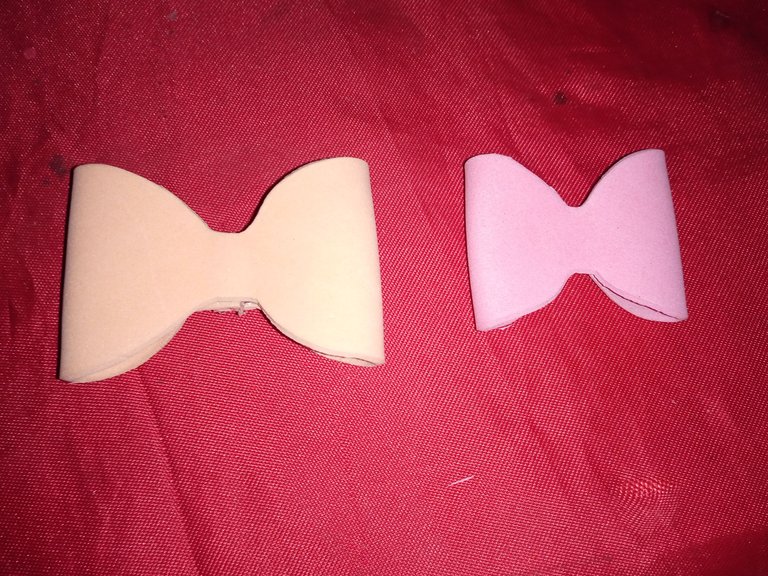
Continuaremos realizando nuestros lazos , iniciaremos con el lazo más grande , tomamos una esquina ,agregamos silicón y pegamos hacia el centro , luego tomamos la otra esquina y pegamos al lado de la esquina que pegamos primero
We will continue making our loops, we will start with the biggest loop, we will take one corner, add silicone and glue it to the center, then we will take the other corner and glue it next to the corner we glued first.
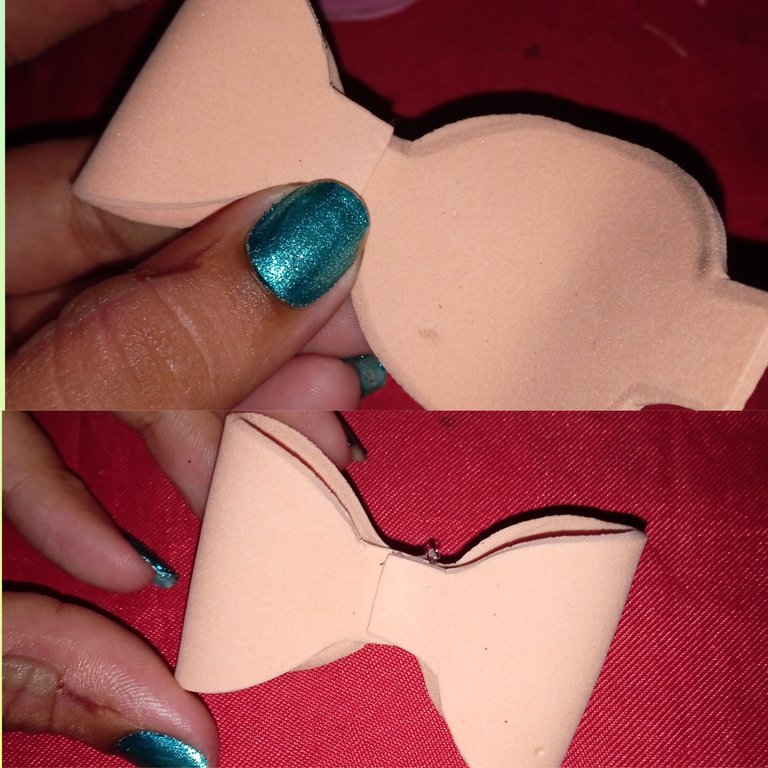
Luego continuamos pegando el lazo más pequeño que irá en la parte de arriba , tomamos una esquina ,agregamos silicón y pegamos ,luego continuamos realizando el mismo paso con la otra esquina ,al igual que en el paso anterior
Then we continue gluing the smaller loop that will go on the top, we take a corner, add silicone and glue, then we continue doing the same step with the other corner, as in the previous step.
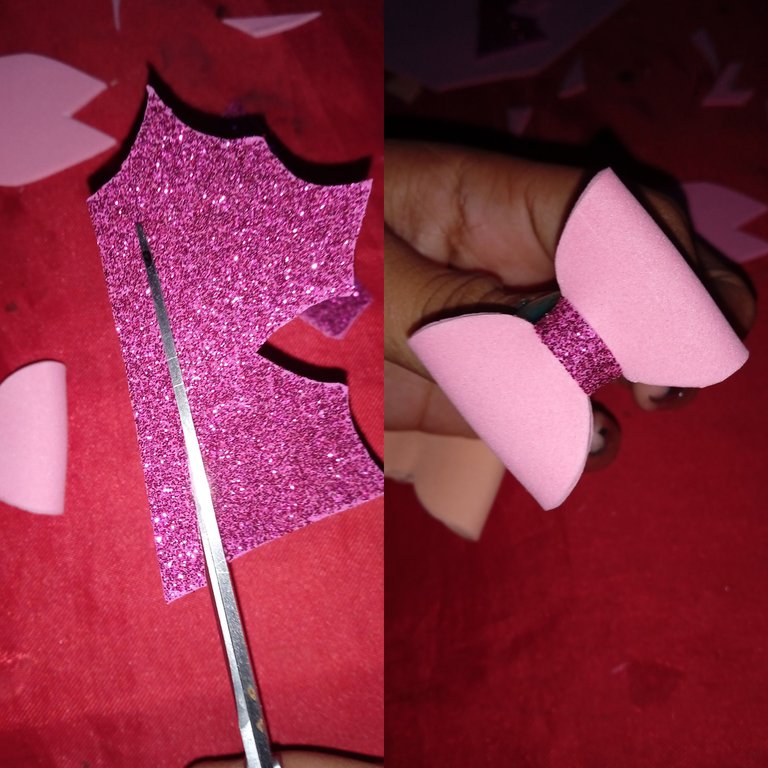
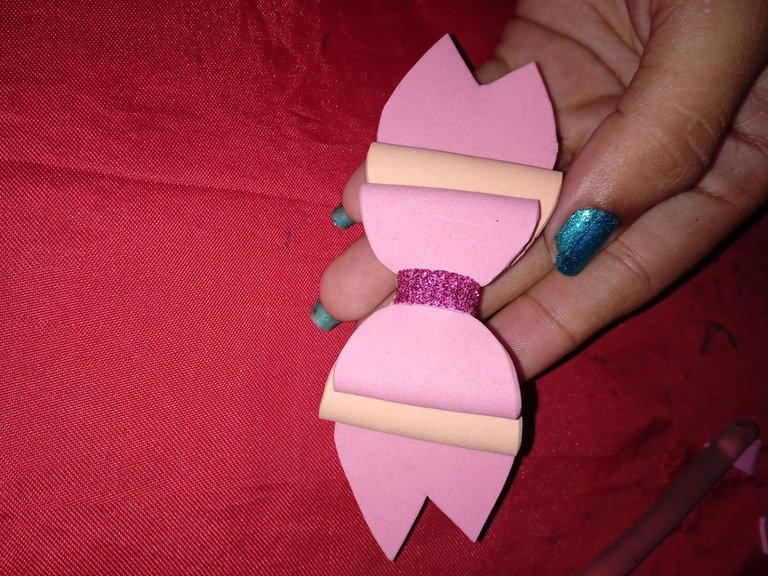
Una vez que nuestros lazos estén listos , procedimos a recortar una pequeña tira de foamis escarchado y la pegamos en el centro del lazo pequeño color rosa ya que irá en la parte de arriba de nuestro lazo
Once our ribbons are ready, we proceed to cut a small strip of frosted foamis and glue it in the center of the small pink ribbon as it will go on top of our ribbon.
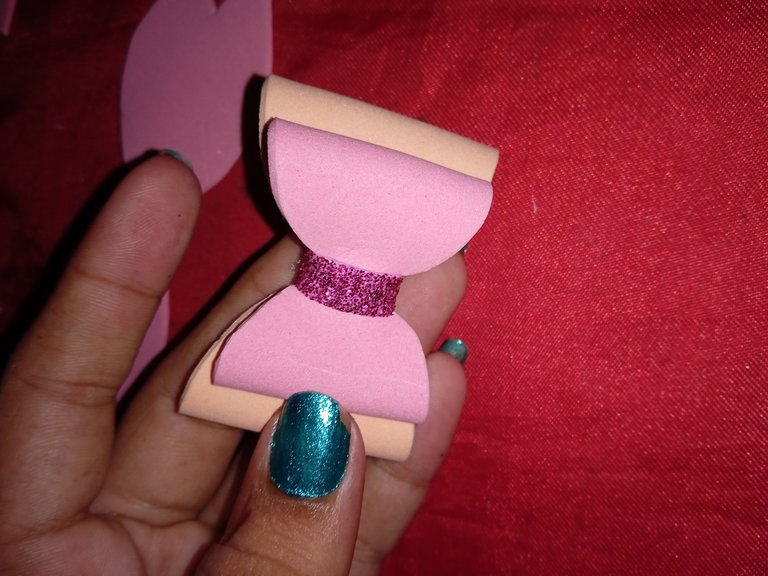
Para finalizar nuestro lazo ,tomamos el lazo pequeño y lo pegamos encima del lazo más grande , una vez listo este procedimiento ,agregamos silicón en la parte de atrás y pegamos ambos lazo a la base color rosa
To finish our ribbon, we take the small ribbon and glue it on top of the larger ribbon, once this procedure is done, we add silicone on the back and glue both ribbons to the pink base.
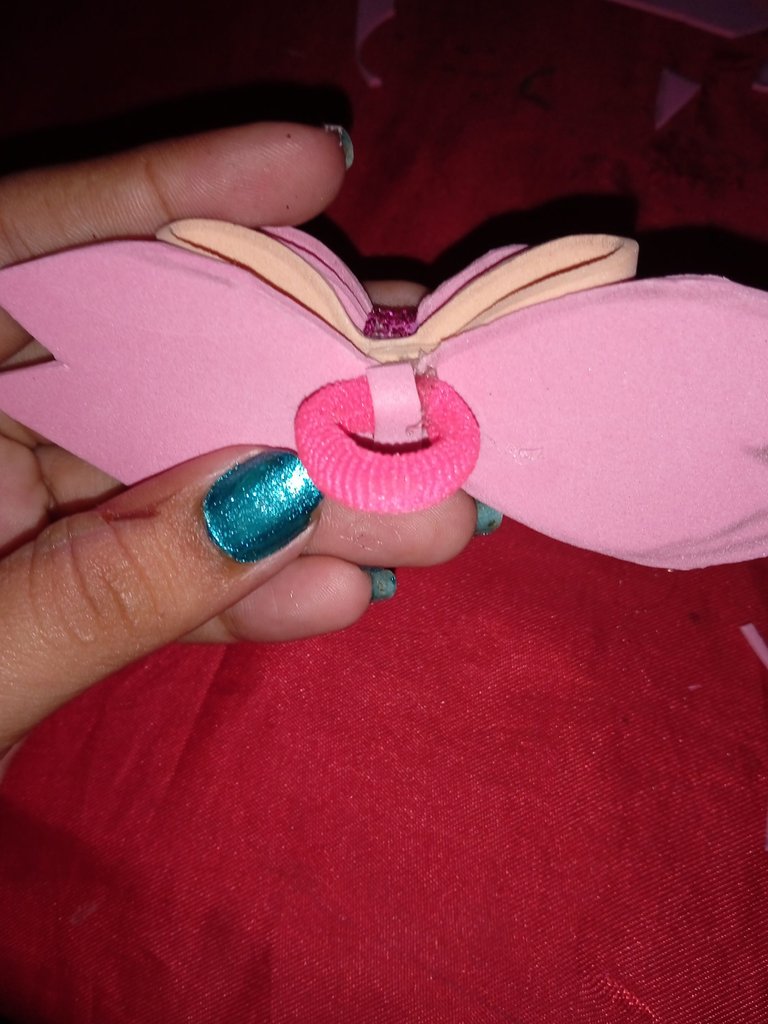
Por último tomamos la cola ,agregamos silicón y pegamos en la parte de atrás del lazo , una vez seco tomamos una tira de foamis y pegamos encima de la cola para asegurar nos que quede muy bien
Finally we take the glue, add silicone and glue on the back of the bow, once dry we take a strip of foamis and glue on top of the glue to make sure it is very well.
De este modo culmine mi hermoso Lazo para decorar mi cola , tomé las fotos desde mi celular Redmi 9C y traduci mis textos con el traductor www.DeepL.com
In this way I finished my beautiful ribbon to decorate my tail, I took the pictures from my Redmi 9C cell phone and translated my texts with the translator www.DeepL.com
