¡¡¡Saludos!!!
Welcome to my blog, it’s been a while I passed by this community. I remember a few months back I shared a post here on how I made a bracelet for my self. Last week my friend was celebrating his birthday and for his birthday present he requested I give it to him. He had been admiring it ever since I made it. So I had to honor his wish and give it to him. And you know me, I just can’t leave my hands bare like that so I’ve decided to make a similar one to replace the one I gave out.
Bienvenidos a mi blog, hace tiempo que paso por esta comunidad. Recuerdo que hace unos meses compartí una publicación aquí sobre cómo hice una pulsera para mí. La semana pasada mi amigo estaba celebrando su cumpleaños y como regalo de cumpleaños me pidió que se lo diera. Lo había estado admirando desde que lo hice. Así que tuve que honrar su deseo y dárselo. Y ya me conoces, simplemente no puedo dejar mis manos así, así que decidí hacer una similar para reemplazar la que regalé.
I prefer buying the beads and twine and customizing and making it myself rather than just buying the already made jewelry. I feel it’s a lot more cheaper than buying it from the market. And also you get to make it to your liking because you can easily put the beads together to please your taste. So without wasting much time let’s go straight into it.
Prefiero comprar las cuentas y el cordel y personalizarlos y hacerlos yo mismo en lugar de simplemente comprar las joyas ya hechas. Siento que es mucho más barato que comprarlo en el mercado. Y también puedes hacerlo a tu gusto porque puedes juntar fácilmente las cuentas para complacer tu gusto. Entonces, sin perder mucho tiempo, vayamos directamente a eso.
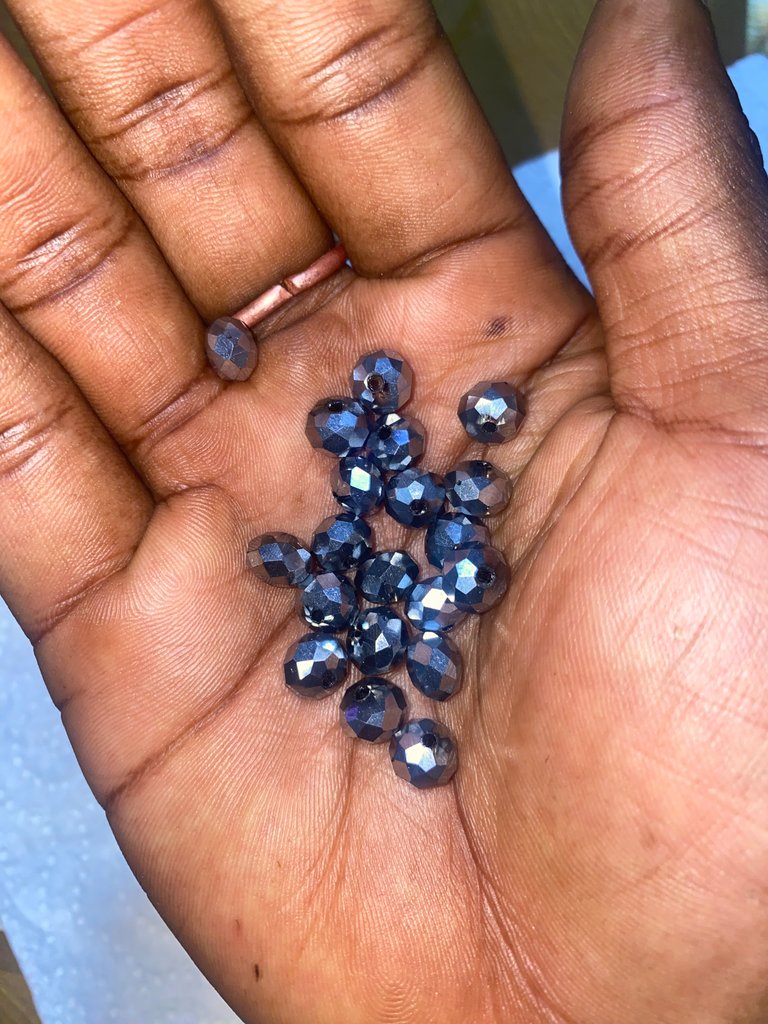
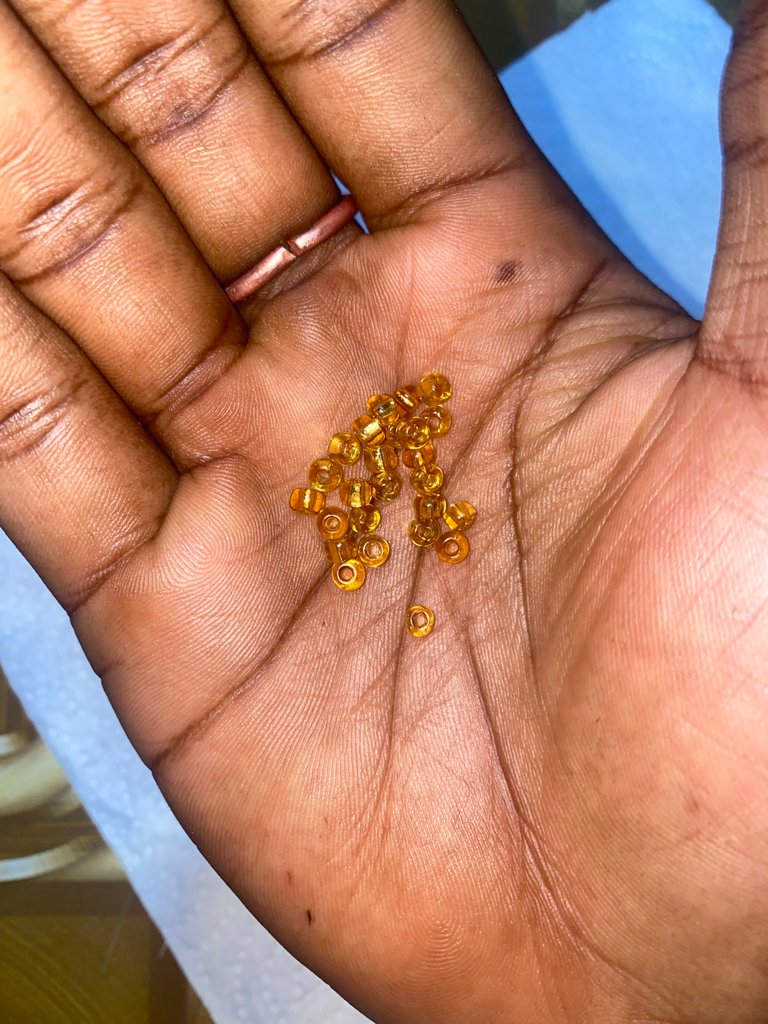
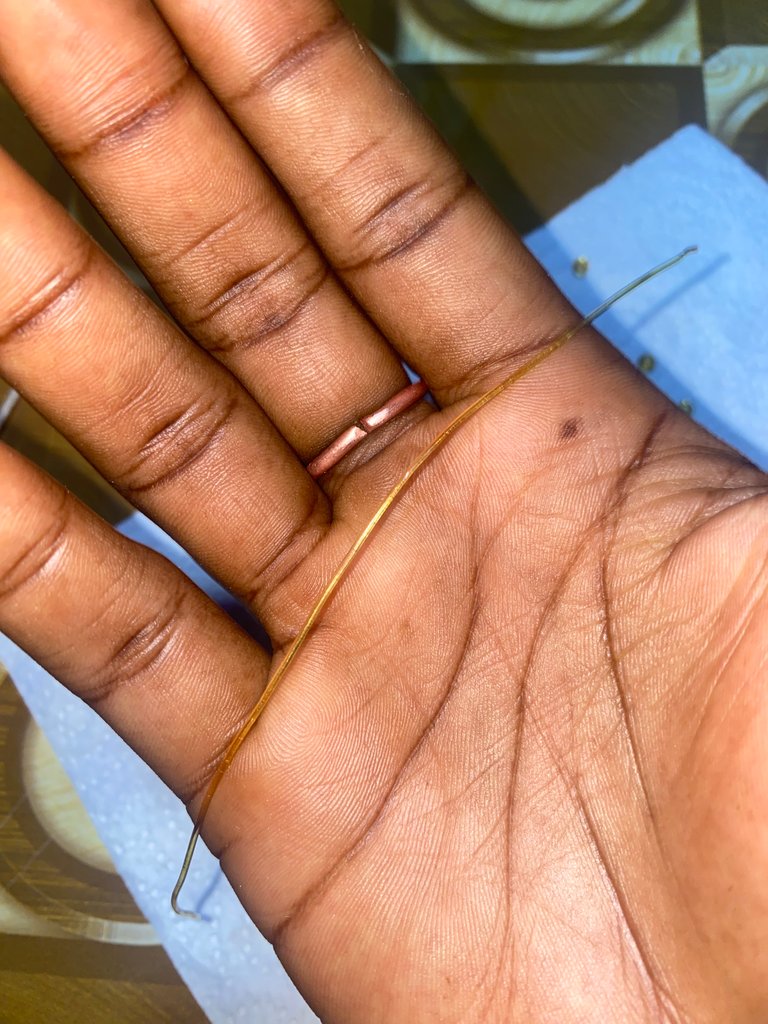
Now first off, we need to get the materials that will be needed to make the jewelry. So I went to my local shop and bought the beads.(I bought the smaller ones and the bigger ones). I also bought the twine I will be using. Since it’s a simple bracelet, there is no need to get a lot of materials. Of course you will need a scissor or blade or maybe a stencil knife. This would be used to cut the twine. I prefer the stencil knife. Let’s start.
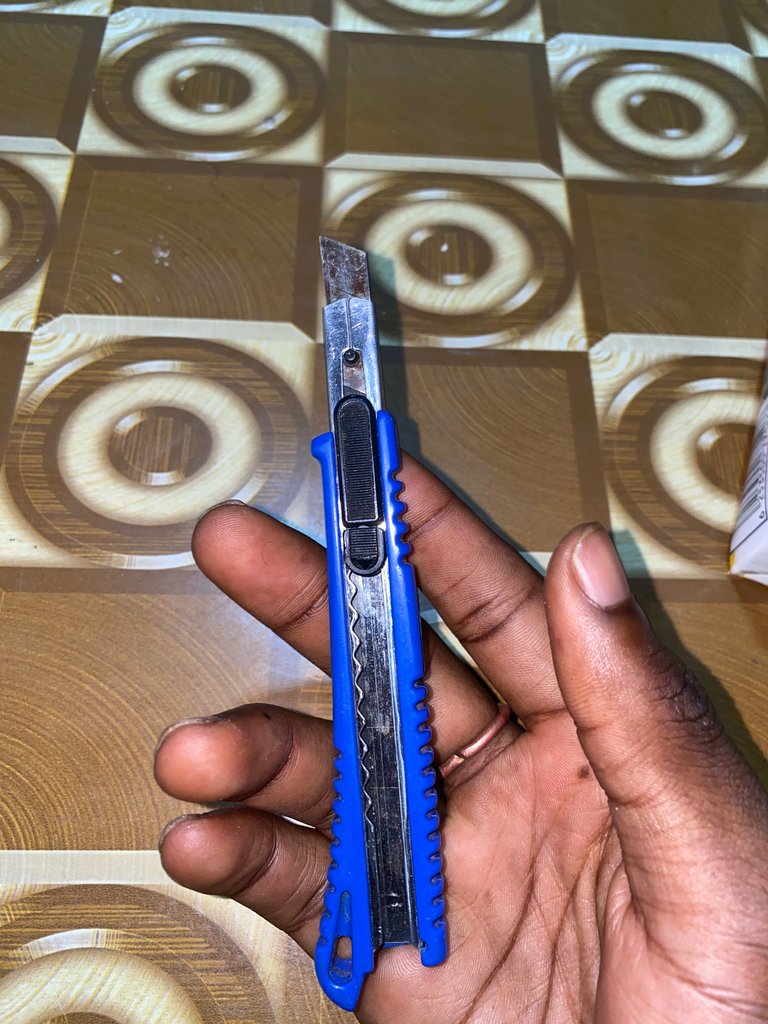
Ahora, en primer lugar, necesitamos obtener los materiales que se necesitarán para hacer las joyas. Así que fui a mi tienda local y compré las cuentas (compré las más pequeñas y las más grandes). También compré el cordel que usaré. Como es una pulsera simple, no hay necesidad de conseguir muchos materiales. Por supuesto, necesitará una tijera o una cuchilla o tal vez un cuchillo de plantilla. Esto se usaría para cortar el cordel. Prefiero el cuchillo de plantilla. Empecemos.
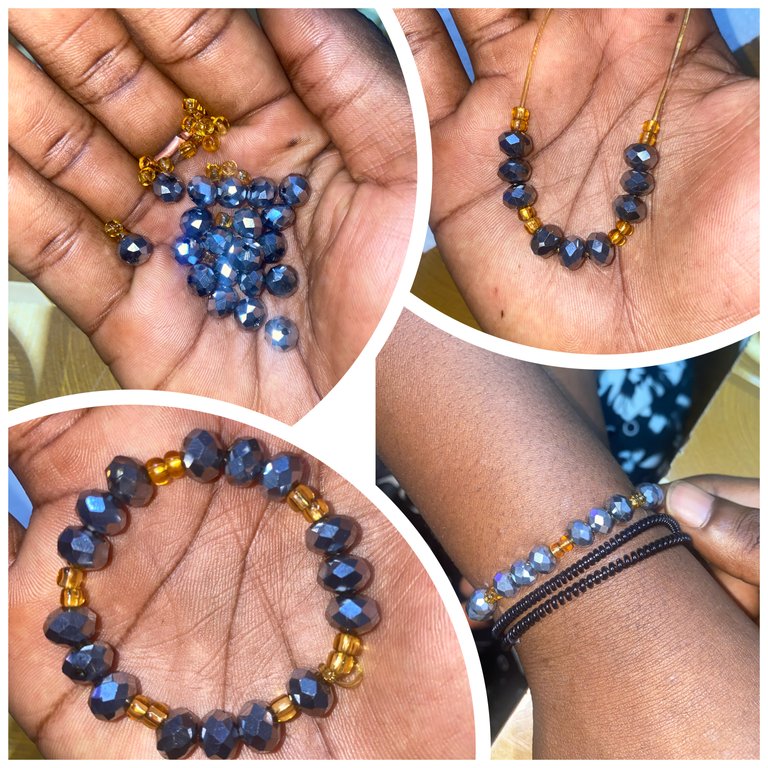
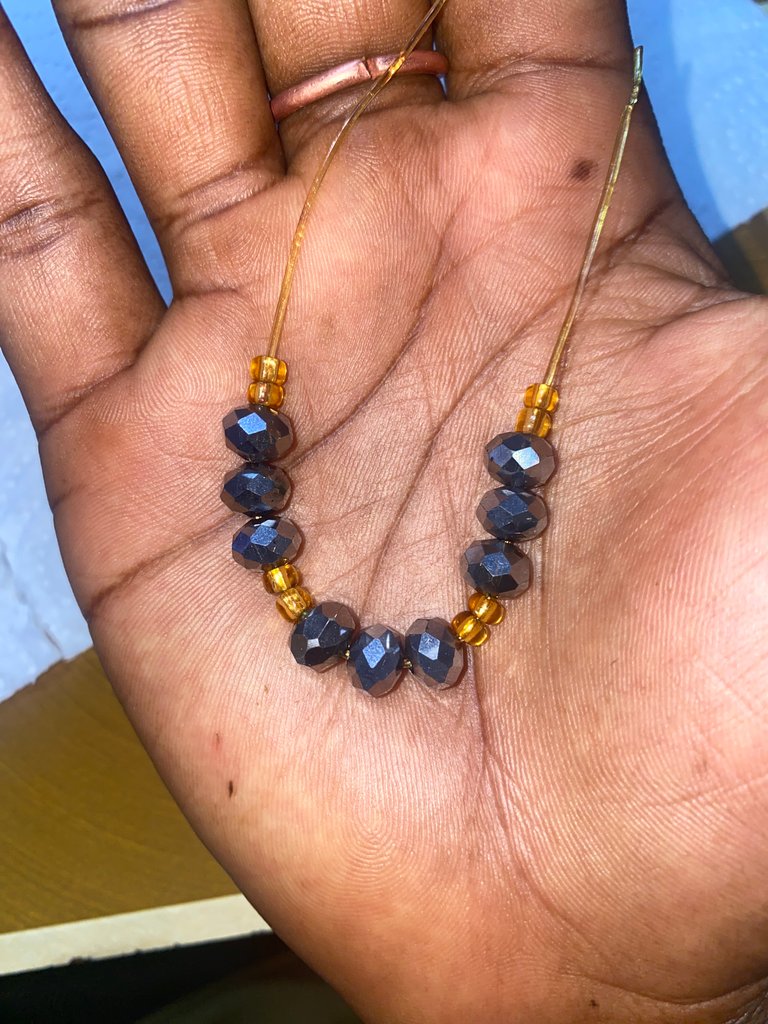
For the first step, I thought of starting the bracelet with the two golden beads, followed by three of the bigger ones to give it more beauty and boldness. Initially I had thought of going for one or two bigger beads in the middle but I thought it would look skinny. So I picked the twine, place two of the golden beads first and then placed three bigger ones and followed it again with two golden beads. Below is a image of how it looked like.

Para el primer paso, pensé en comenzar el brazalete con las dos cuentas doradas, seguido de tres de las más grandes para darle más belleza y atrevimiento. Inicialmente, había pensado en colocar una o dos cuentas más grandes en el medio, pero pensé que se vería delgado. Así que tomé el cordel, coloqué dos de las cuentas doradas primero y luego coloqué tres más grandes y seguí nuevamente con dos cuentas doradas. A continuación se muestra una imagen de cómo se veía.
After I was done with this, I had wanted to alternate the pattern. so that after the three bigger beads I would put two and the next one I would put three in that other, I tried that but it looked complete off. It wasn’t nice so I taught it wise to stick to the original pattern which was the three bigger beads followed by the two golden beads. And this is how it looked after adding more of the bigger beads and the golden ones.
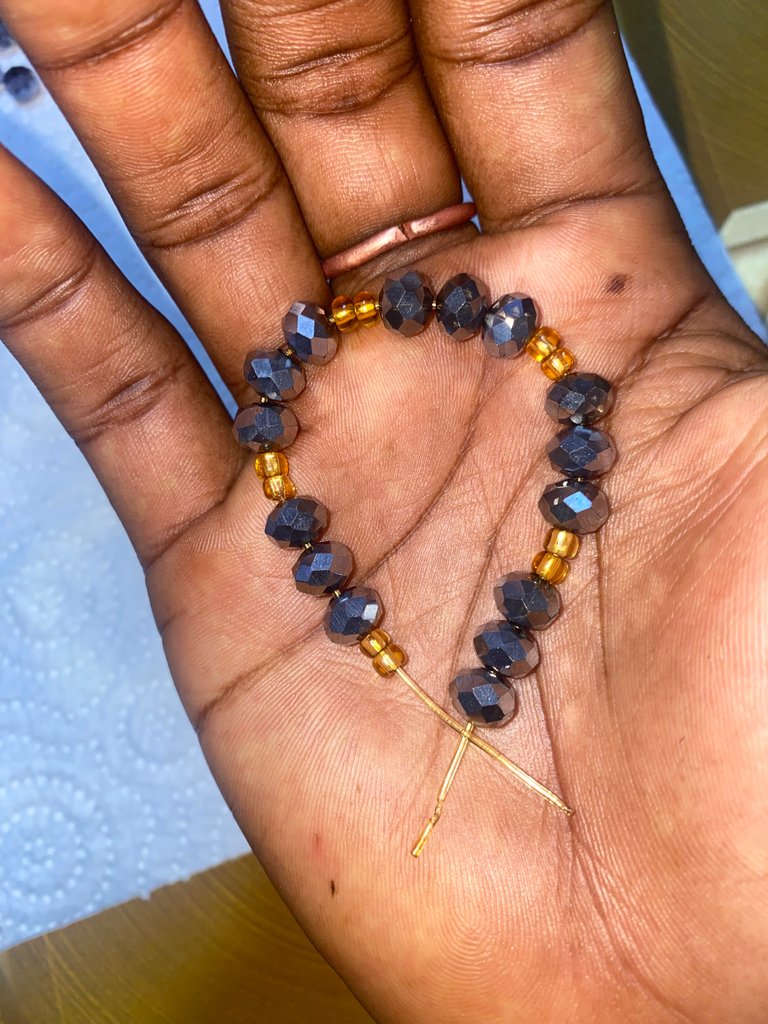
Después de que terminé con esto, quería alternar el patrón. así que después de las tres bolitas más grandes le ponía dos y a la siguiente le ponía tres en esa otra, lo intenté pero se veía completo. No fue agradable, así que le enseñé que era prudente seguir el patrón original, que consistía en las tres cuentas más grandes seguidas de las dos cuentas doradas. Y así quedó después de agregar más cuentas de las más grandes y las doradas.
From this stage, everything becomes very simple the pattern is know known. After every two golden beads, add three of the bigger beads and end it with two golden beads. I kept repeating this process until I had reached almost the end of my twine. But remember you need to leave just enough space to be able to tie the bracelet. This is how it looked after consistently Adding the three big beads and the two golden beads.
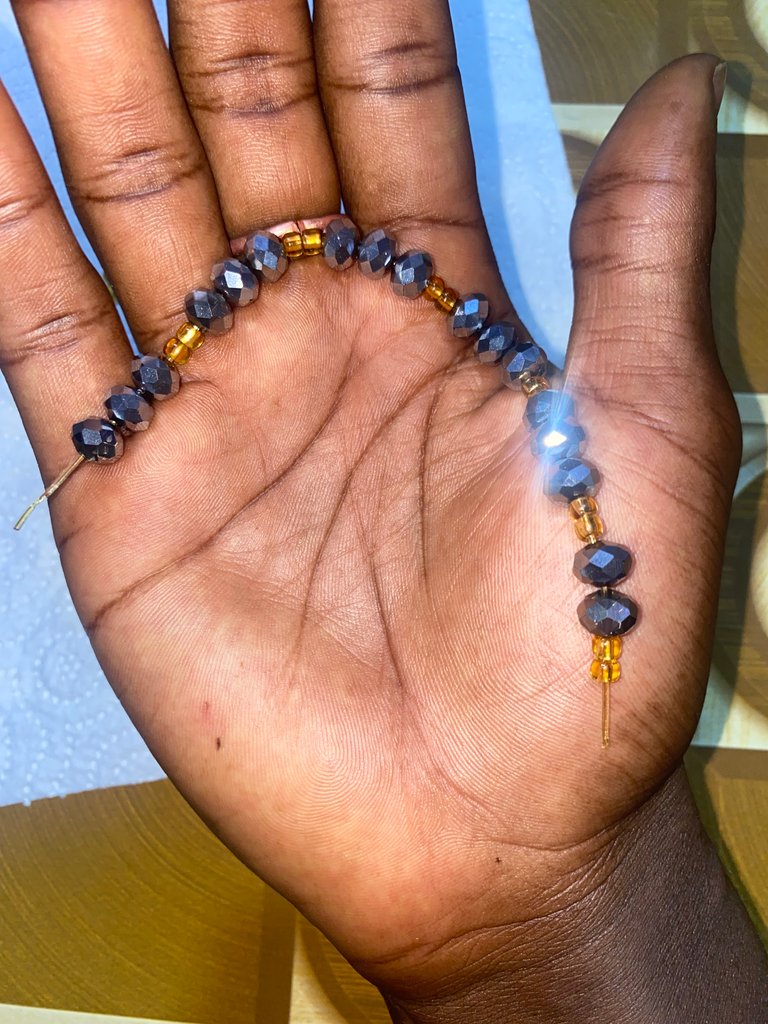
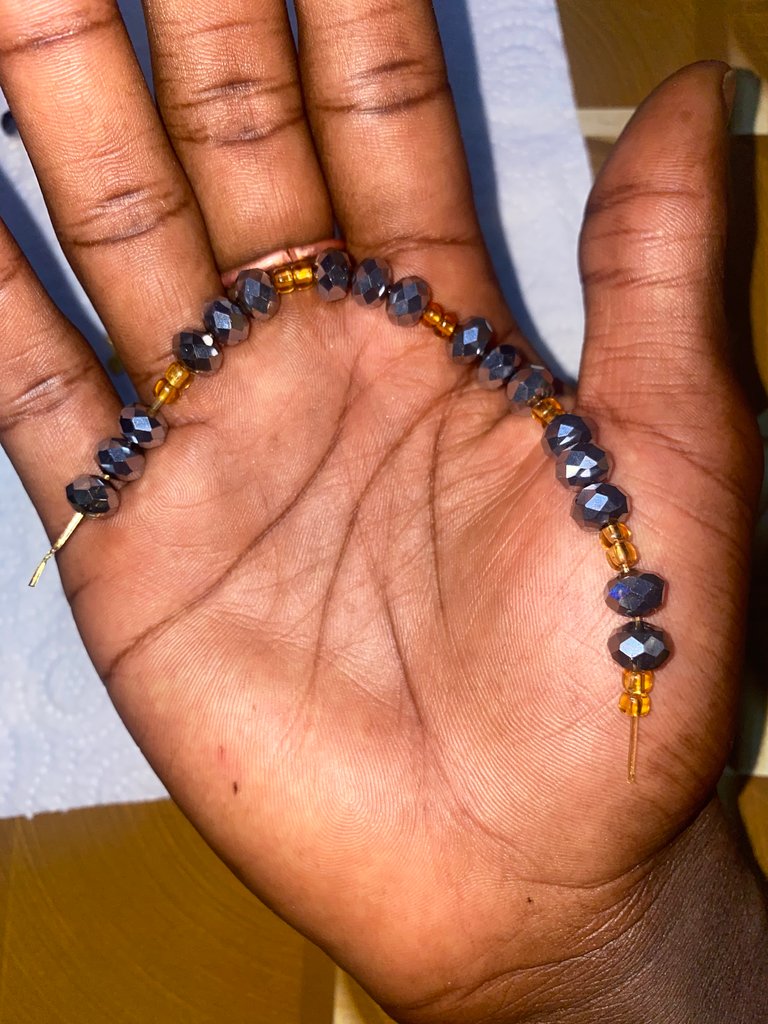
A partir de esta etapa, todo se vuelve muy simple, el patrón se conoce. Después de cada dos cuentas doradas, agregue tres de las cuentas más grandes y termine con dos cuentas doradas. Seguí repitiendo este proceso hasta que llegué casi al final de mi cordel. Pero recuerda que debes dejar suficiente espacio para poder atar el brazalete. Así quedó después de agregar consistentemente las tres cuentas grandes y las dos cuentas doradas.
Now that we are almost done with the bracelet, all we have to do is to tie it and cut the unwanted twine off with the stencil knife or your scissors. Which ever one you have at your disposal. Tying my bracelet was a bit tricky because I had used up most of the twine but I got it done. And this is how it looked like.

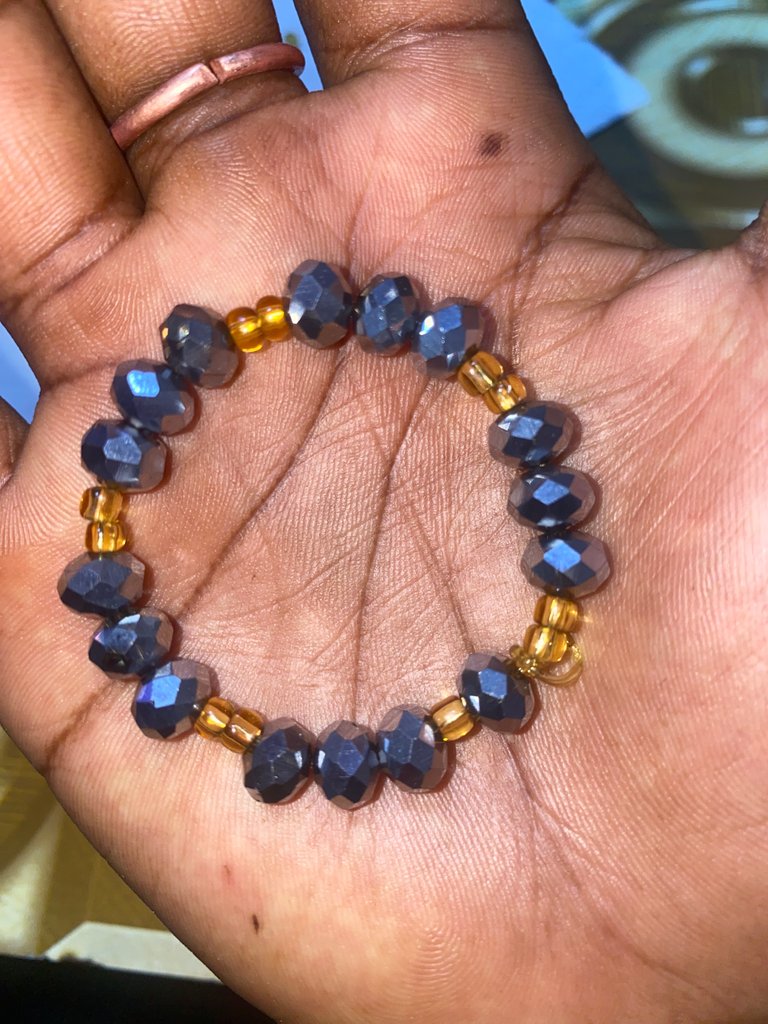
Ahora que casi hemos terminado con el brazalete, todo lo que tenemos que hacer es atarlo y cortar el cordel no deseado con el cuchillo de plantilla o las tijeras. Cualquiera que tengas a tu disposición. Atar mi pulsera fue un poco complicado porque había usado la mayor parte del hilo, pero lo logré. Y así es como se veía.
Unfortunately it was too tight on my hand so I had to give it to my little sister. The twine I used was too small. Maybe today was her lucky day. I will find another materials to make my own. But today’s jewelry, I will be giving it to my sister. This is how it looked on her.
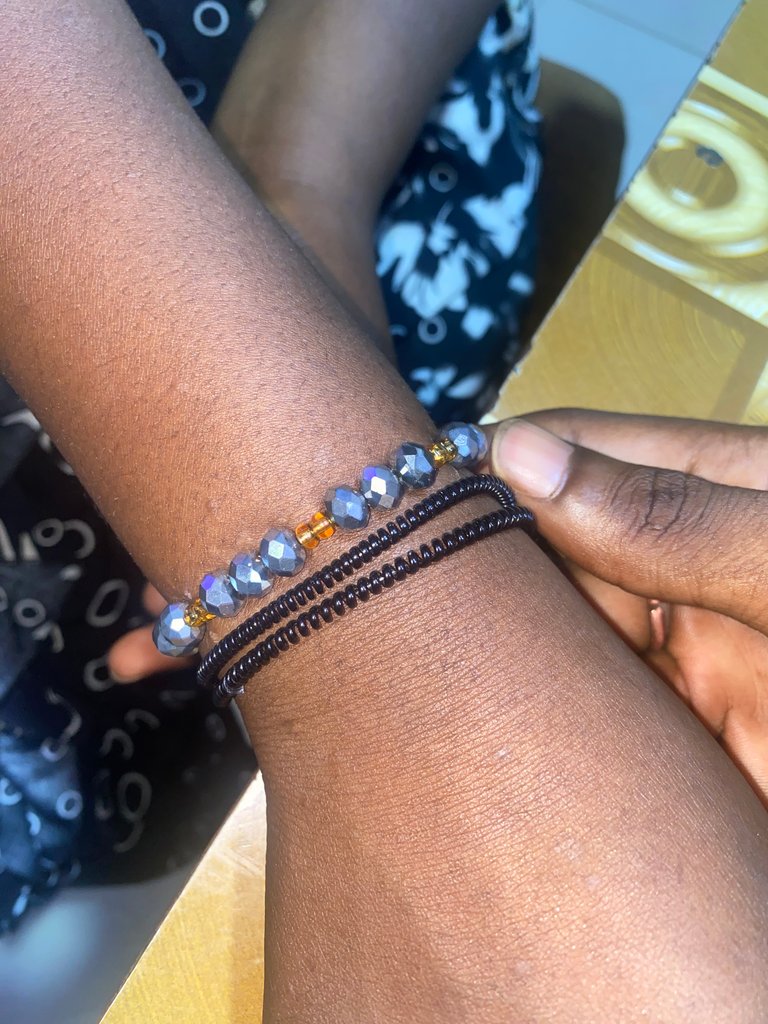
Desafortunadamente, estaba demasiado apretado en mi mano, así que tuve que dárselo a mi hermana pequeña. El cordel que usé era demasiado pequeño. Tal vez hoy era su día de suerte. Encontraré otros materiales para hacer los míos. Pero las joyas de hoy, se las daré a mi hermana. Así es como se veía en ella.