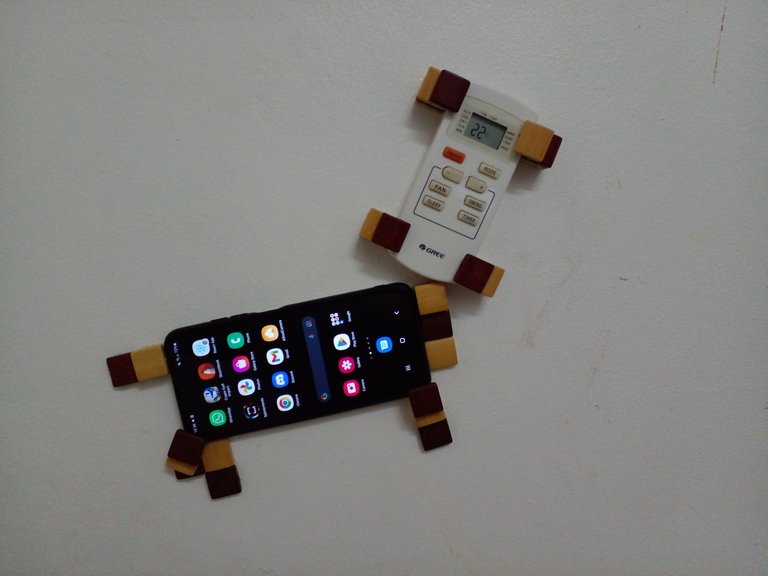
Are you tired of holding your phone or sick of it falling on the ground? It only takes a few minutes to make your own mount to put it in the perfect spot.
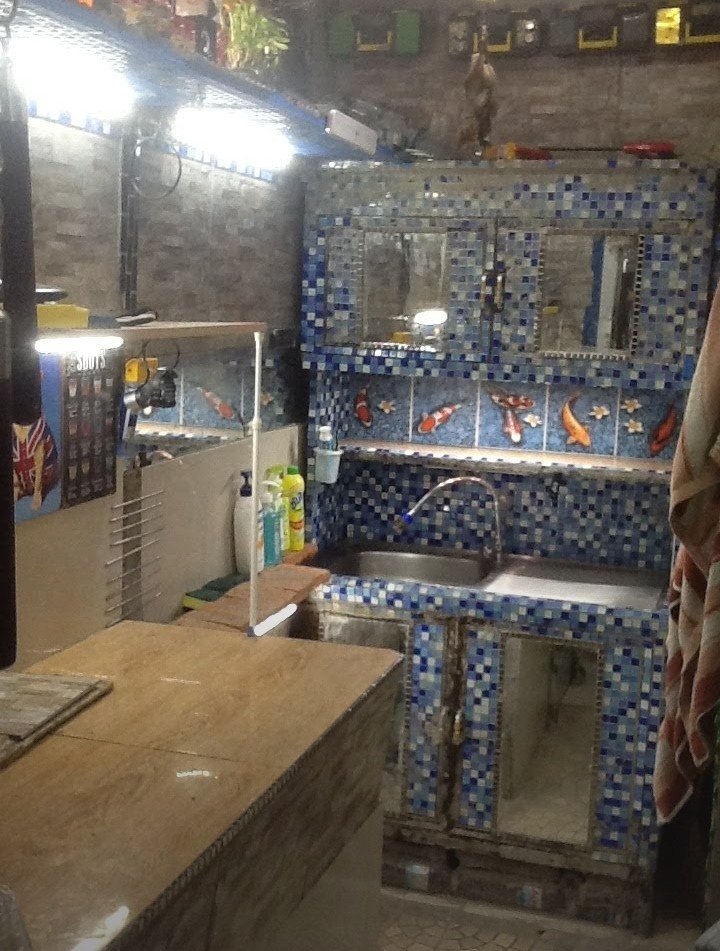
I love DIY tiling. This sink in my kitchen in Bangkok was just a cheap ugly brown thing until I added magnets, mirrors, and some tiles to brighten up the room. It also had two LED light strips. One was connected to the grid on a switch and the other was a battery-powered one that would only turn on if the sensor was triggered. This would come in handy whenever the power went out, a common occurrence in Bangkok. I bought thousands of magnets and put them on the walls as well. This was a massive space saver and organizer. At 7 feet tall, it kept things out of reach of children and made it easy to find my stuff. If something wasn't magnetic, I'd just glue a strip of steel to it. The little toolboxes would hold different things like my son's toys, batteries, tools, and cash. I spent thousands of dollars buying these tiles and magnets to make my room look cool. Looking back, I wish I'd invested all that money into Bitcoin and Splinterlands, but hindsight is 20/20 right?
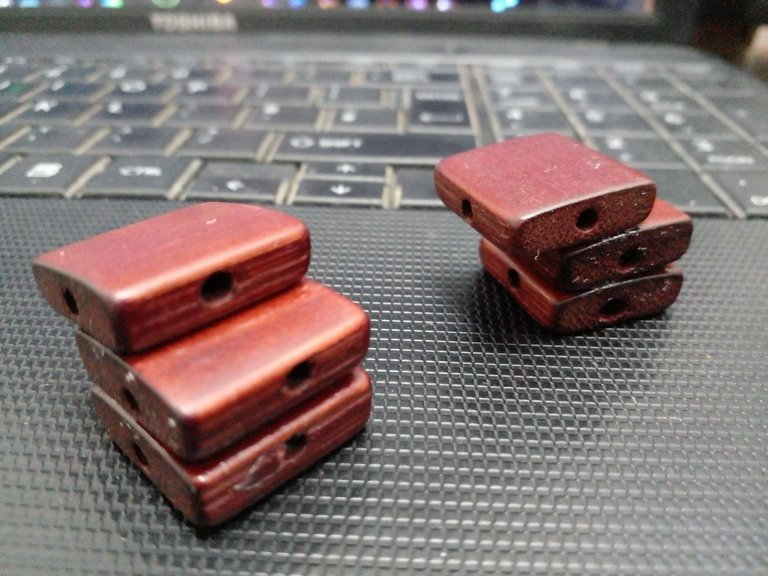
You can glue three tiles together first.
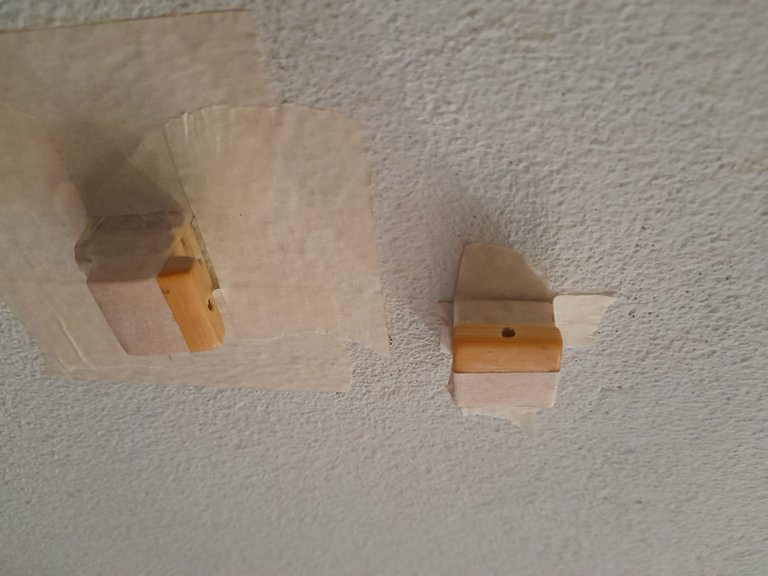
Or you can mold them around your phone for the perfect fit. You can let the glue dry for an hour, but I think it's best to wait at least a day before adding any weight.
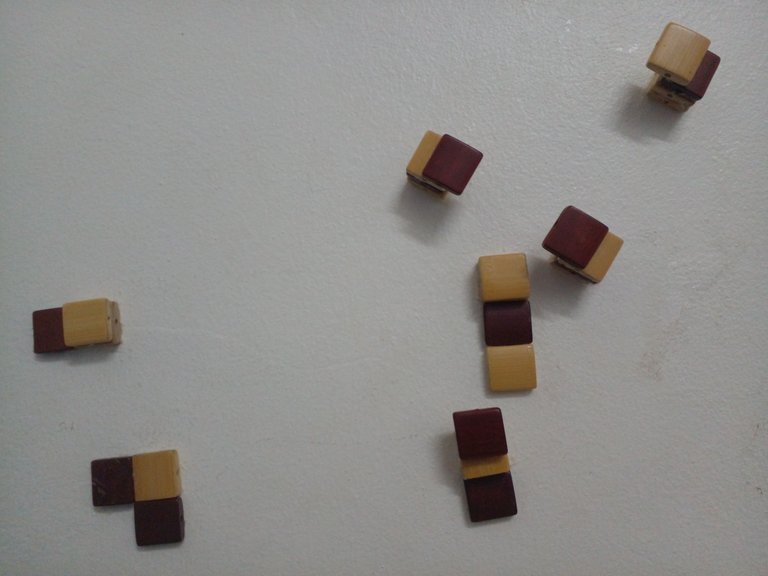
Sometimes pieces will fall off or you'll want to add some tiles over time. I put my mount at a slight angle so it matches my view when I'm laying in bed.
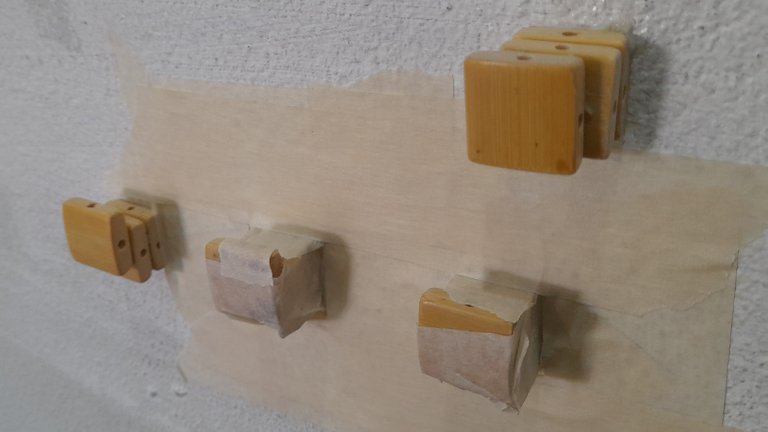
You need to also think about where your charger cable and phone's speaker are so you don't get in their way. When the phone is against the wall the sound will seem to double in volume.
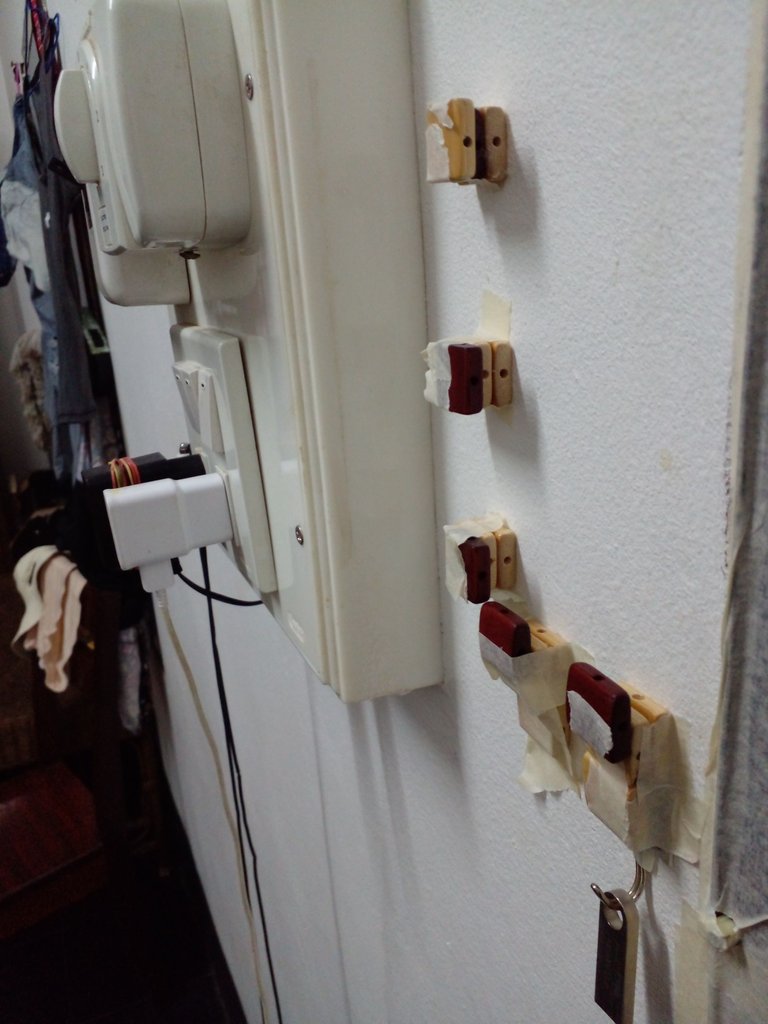
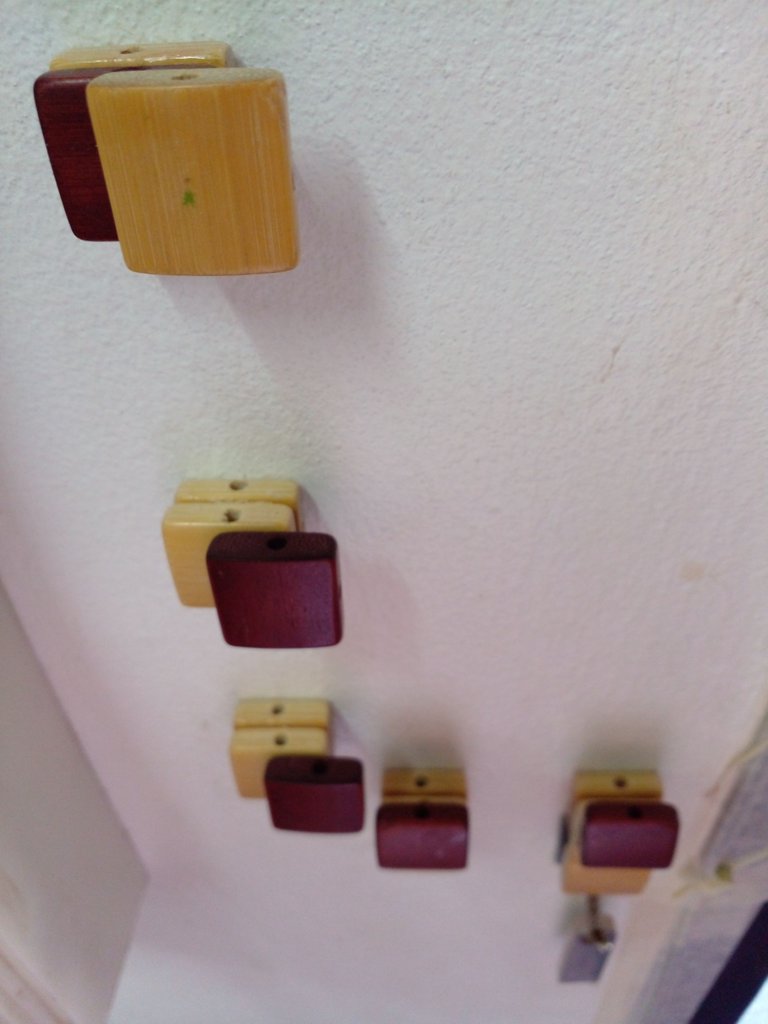
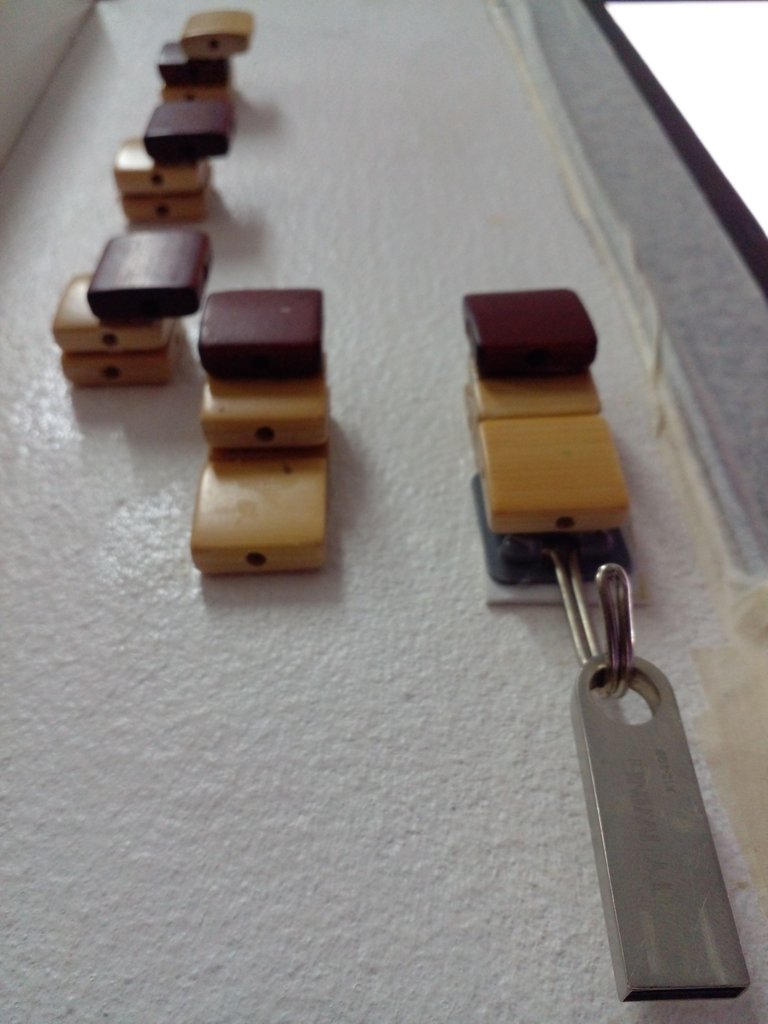
I put this one by the door because it's close to a power socket and is a great spot to turn on the CCTV app Alfred because it has a clear view of my room.
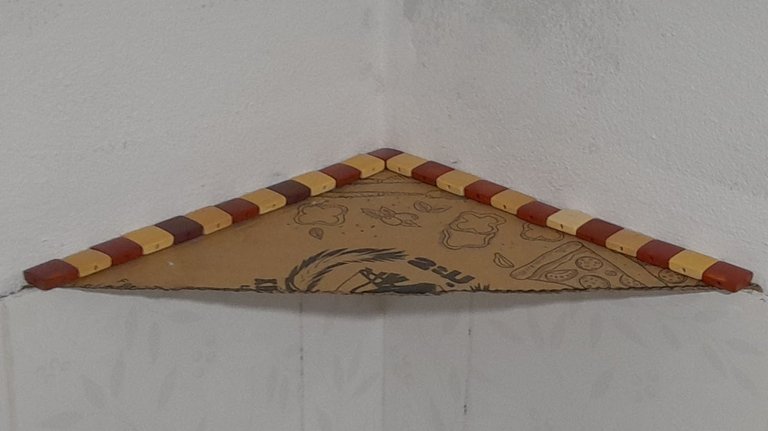
You can also make corner shelves quite easily.
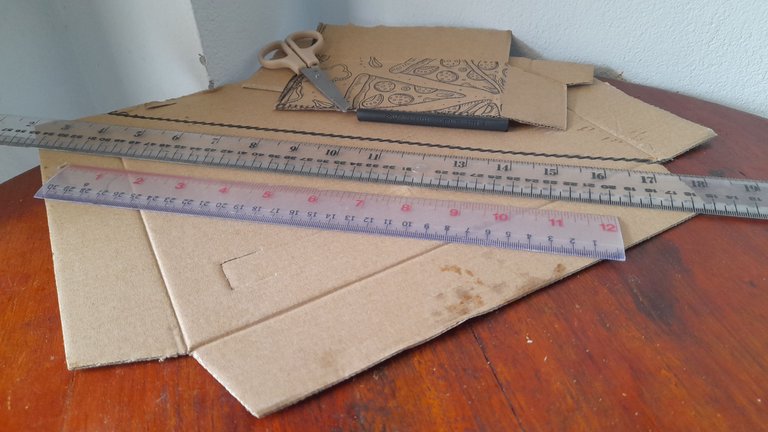
As long as you're not going to be adding too much weight you can use cardboard. If you want to use something stronger you can use cardboard as a template.
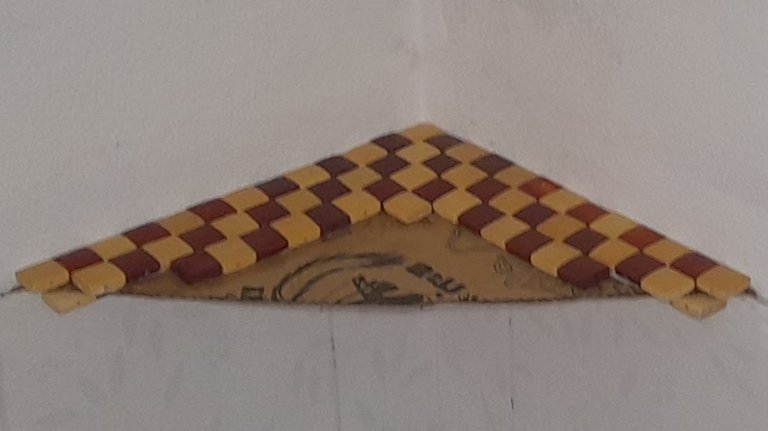
If you do use cardboard, it's best to add the tiles slowly or you will get a sag in the shape as I have here.
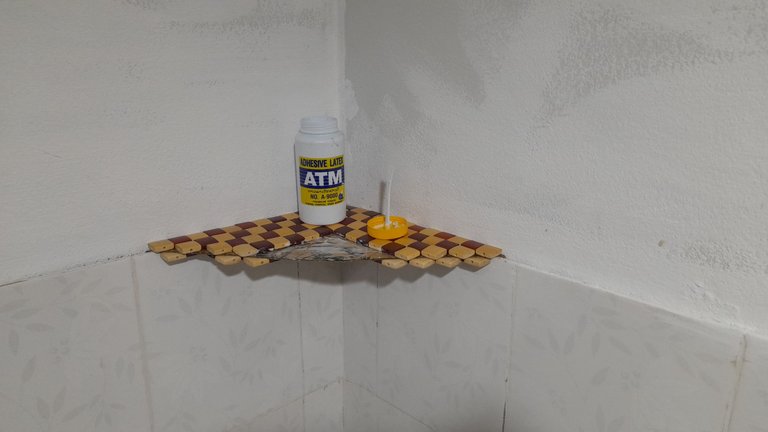
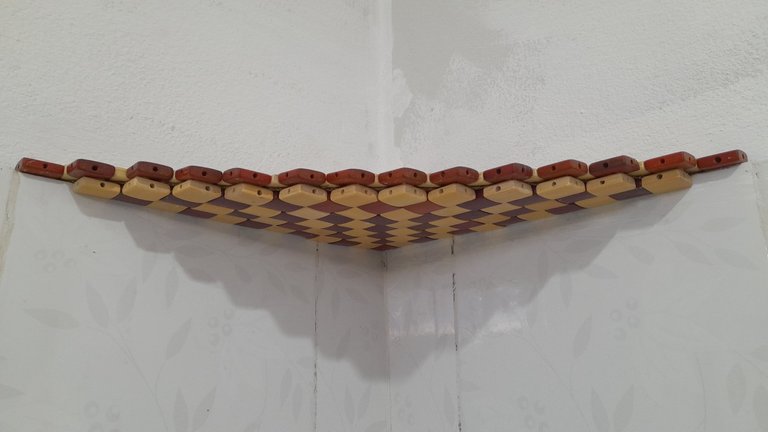
It turned out OK in the end because this was in the bathroom and the sag helped keep it dry in case any water got sprayed onto it.
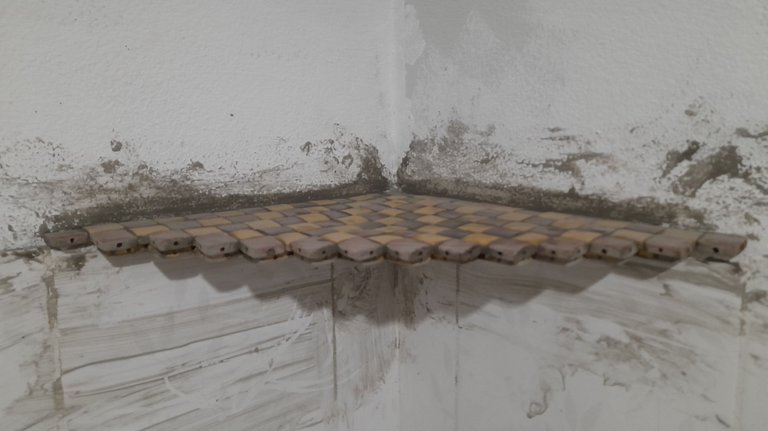
It's not necessary, but adding some watery cement will make it a lot stronger.
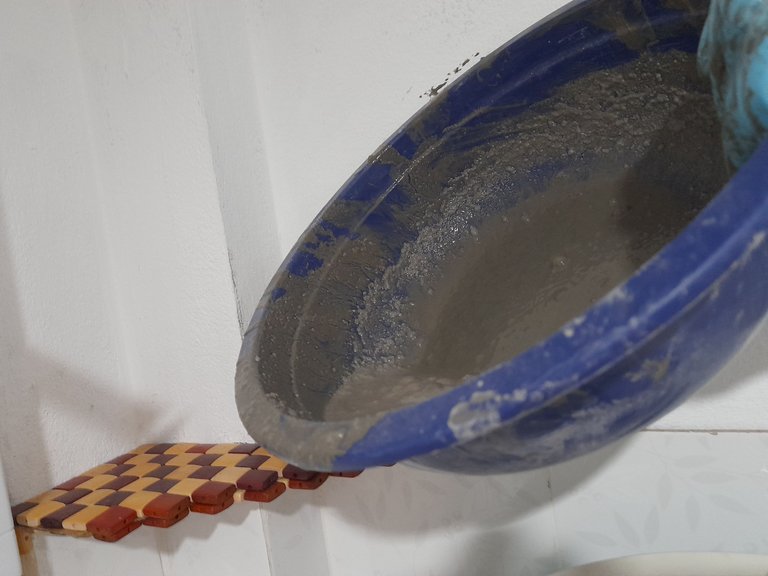
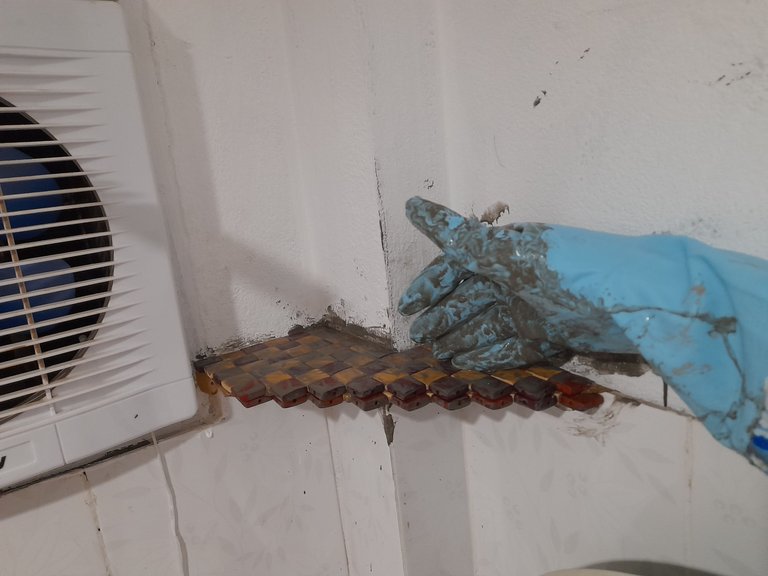
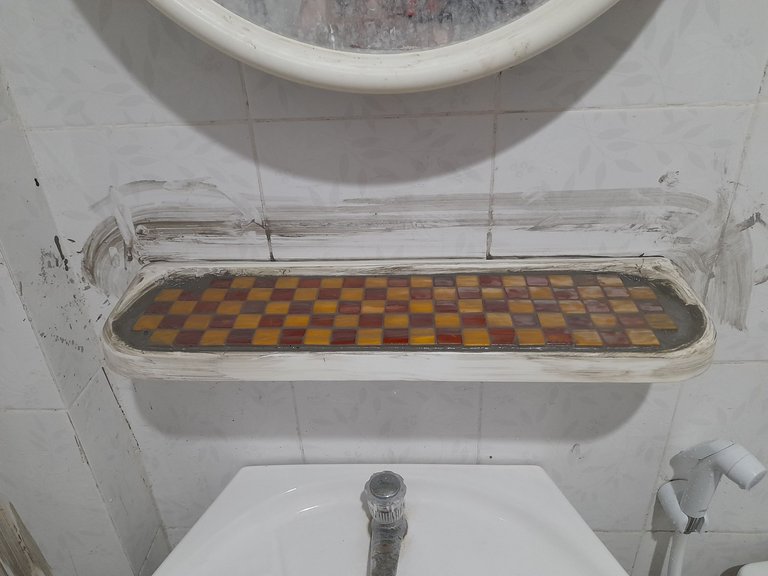
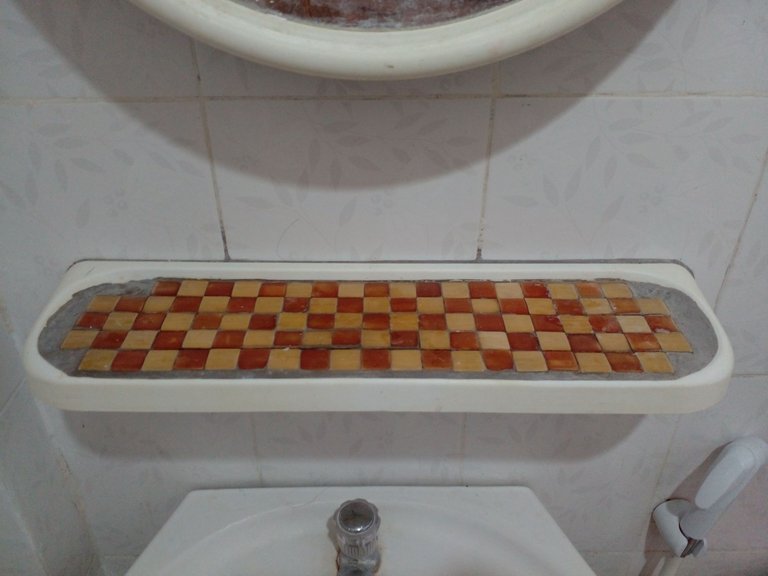
This shelf was always wet so it wasn't a good place to put my phone, but after adding the tiles and cement it was always dry and the tiles kept the phone upright.
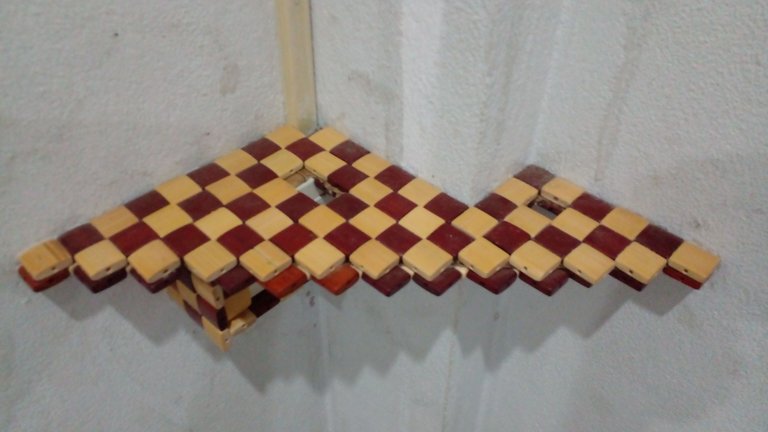
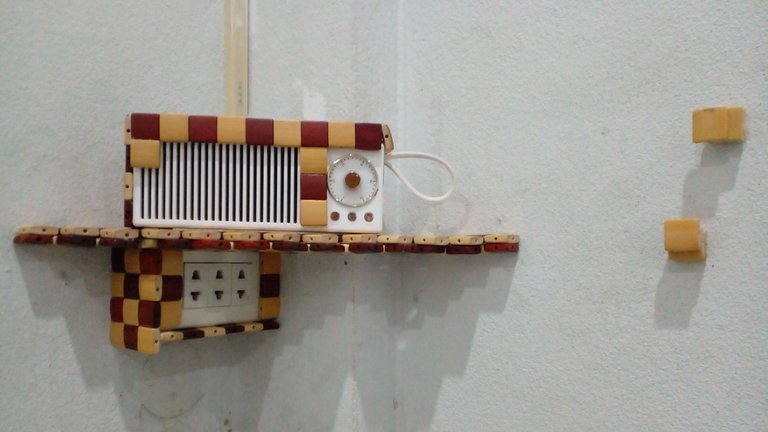
Before adding this shelf, there was a table in the corner that used up too much space. It now works as a great place to put a phone and a Bluetooth speaker because the sound bounces off the corner of the room.
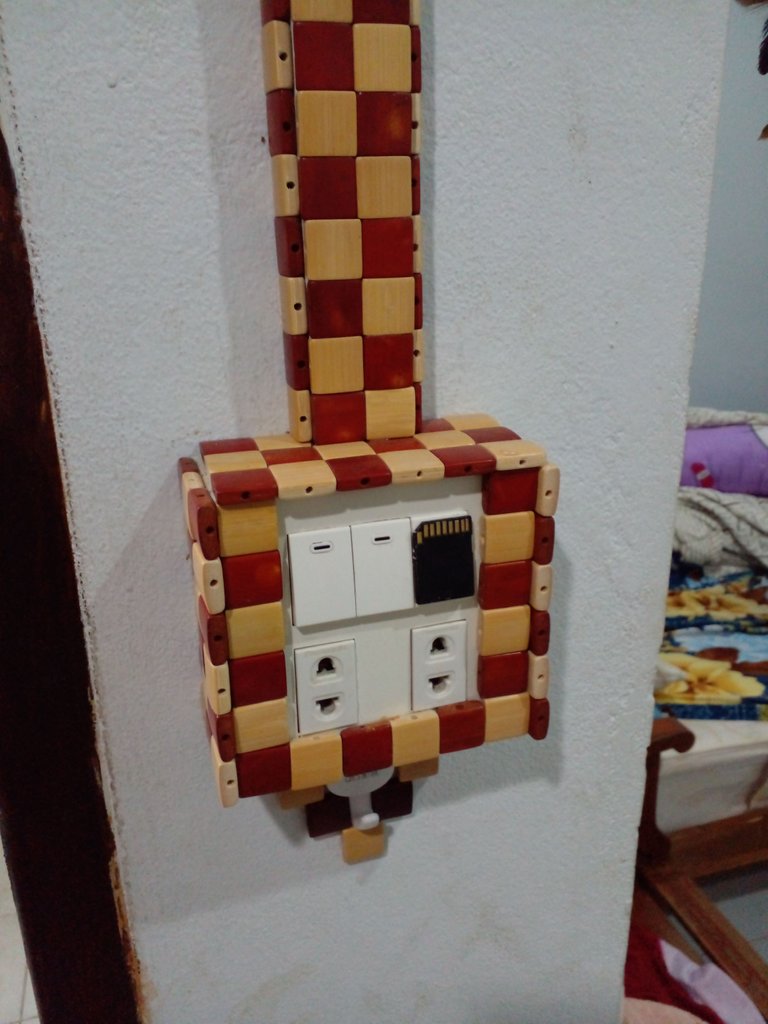
I used the extra tiles to make this light switch look better. Adding the tiles also added to the surface area allowing for larger things to be able to be placed like beer or soda cans. I always forget which switch is what so I used an empty and broken SD mini to SD converter over the light switch. The tiles also added a lot of support to the plastic hook below.

How strong is my corner shelf? It passed this puppy weight test. No animals were harmed in the making of this post. Thanks for reading. I hope you got some good ideas from my DIY tile projects today.
