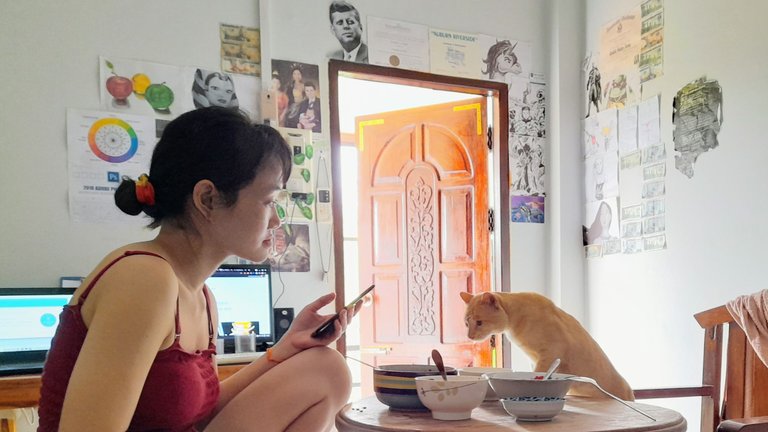
Do you have a bunch of wooden furniture, doors, or windows that are looking a bit crusty? It's fun, easy, and cheap to fix. My girlfriend didn't think I should spend one dime or any time doing this because it's not our property, it's just a rental, but I feel that you should always leave a place in better condition than when you found it.
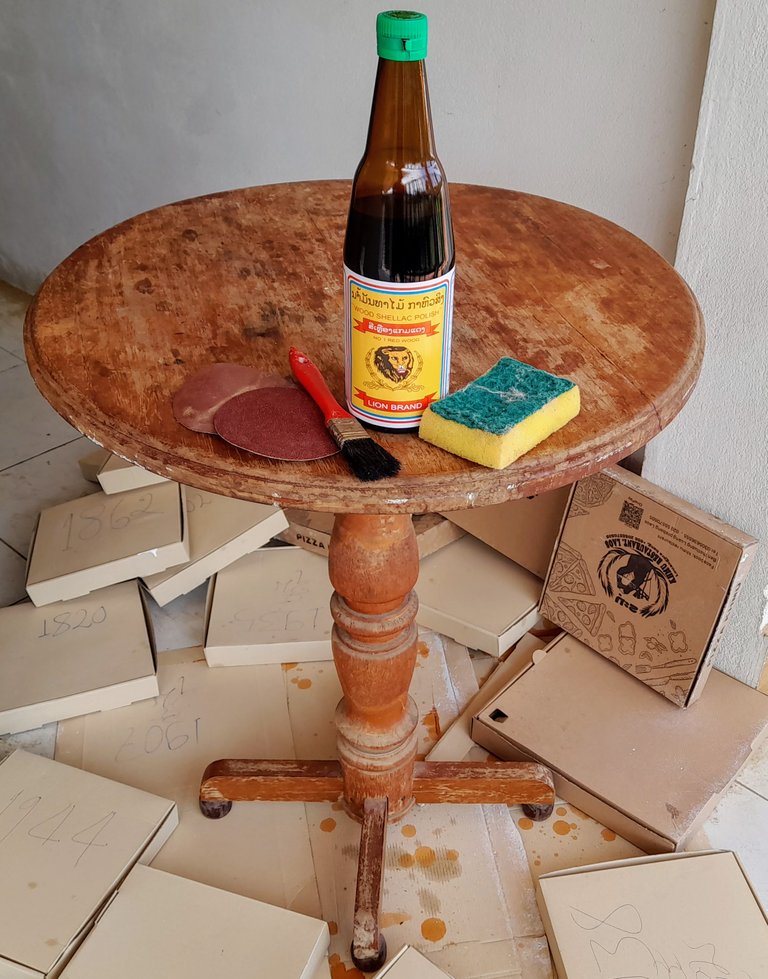
Materials needed:
some kind of wood treatment (I used shellac.)
cardboard or something to protect the floor and walls
brush
sandpaper
sponge or rag to smooth out the treatment
maybe some tape
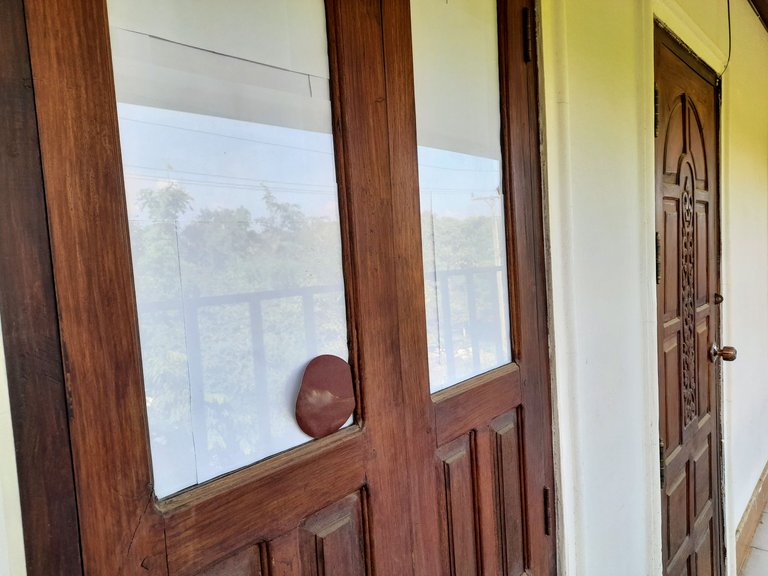
Do you hate sanding stuff? I hate it too, but you shouldn't have to do too much of it. These circular pieces are for use with an electric sander, but I just bought a few and did it by hand. It should only take a minute. Make sure you blow or wipe away the residue. If you're treating something like a window you will want to put up some tape so you don't stain the paint. It's easy to clean it off the glass though.

I don't know where you live, but I'm in Luang Prabang, Laos, and this shellac is all they have at the hardware store. It only costs about $1. You will want to take it easy and not splash it around too much or you'll just make more work for yourself when you have to clean it off the non-wood parts of your house you got it on. Sometimes a single coating will do, but on something really old or new it can take up to three times.
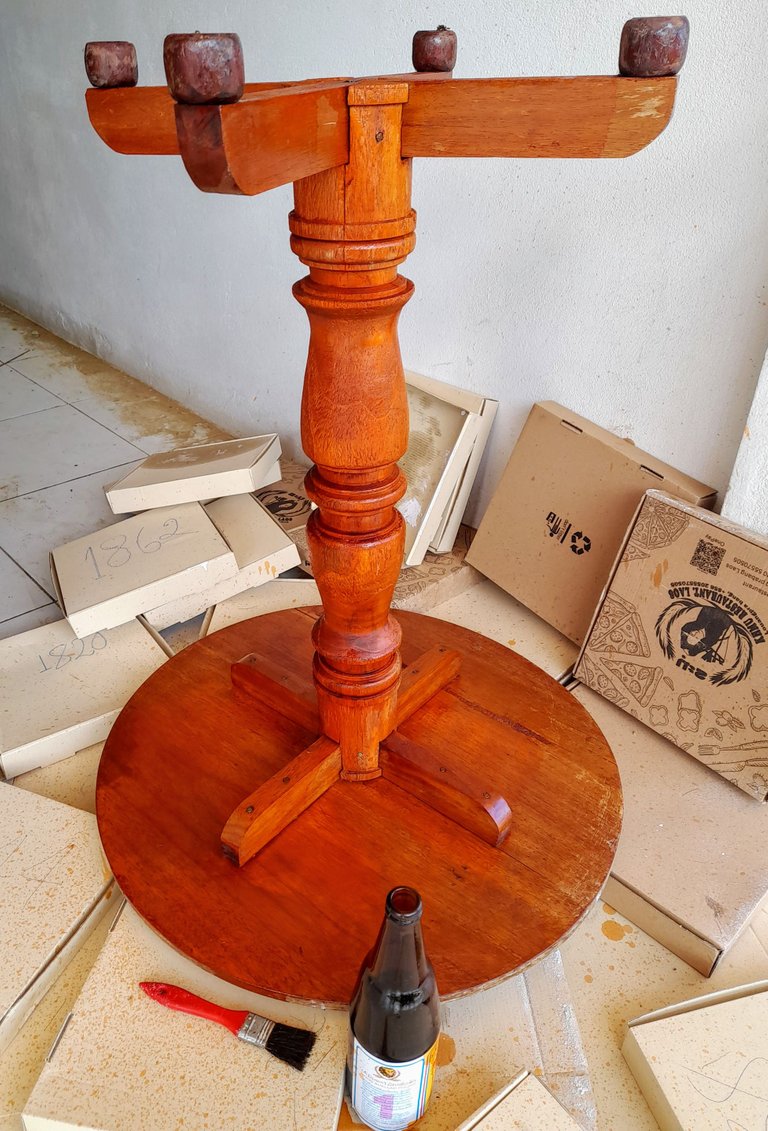
It's best to do tables and chairs upside down first. My girlfriend thought I was wasting it by applying it here, but I told her it will help keep away the annoying insects that like to live in the cracks.
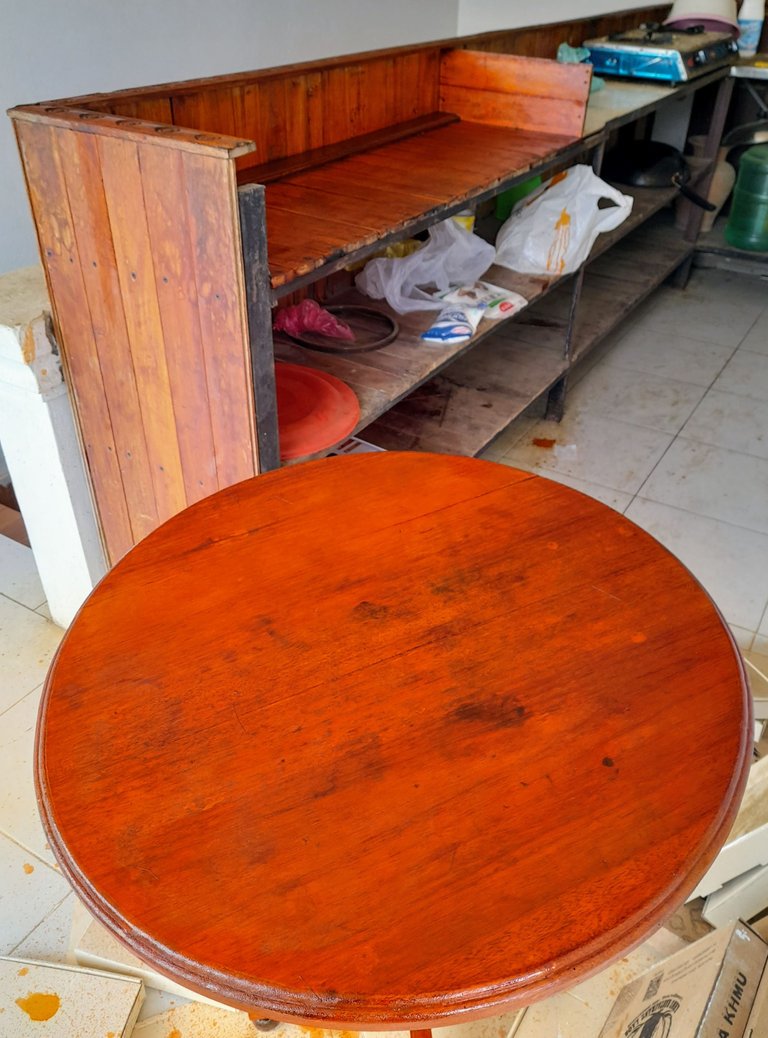
This old table absorbed the shellac like a sponge. I used what was left in the bucket to start on the wooden kitchen area behind it. It was full of cobwebs and dust before.
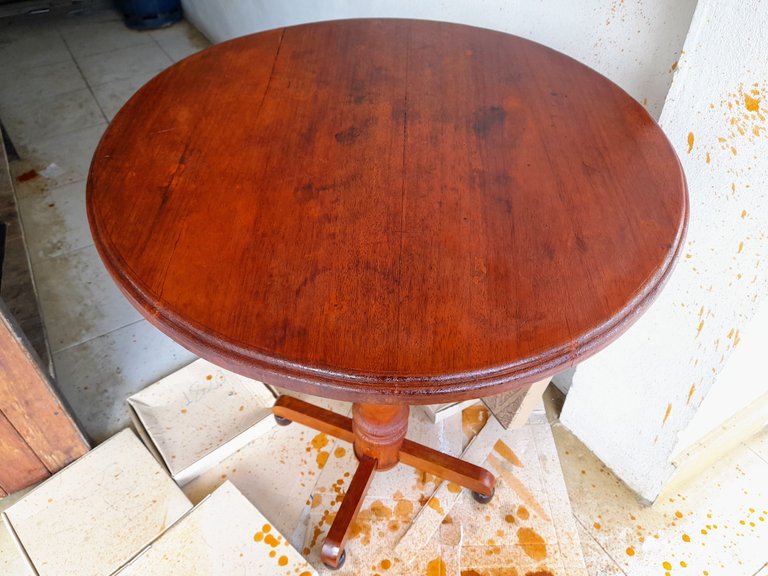
One more coat and this old table was looking like new. It took a few days to dry but it looked much better. When I moved out of this apartment I told the landlord that they can't deny that my being there made the room better and that no one has ever left it in better condition. This left them with zero arguments when it came time to get my deposit back.
Thank you for reading about my DIY project. I used to live on a sailboat where you have to do a seriously good job at preserving your wood every year or the sea and sun will eat away your home so doing stuff like this was a piece of cake. I hope it gave you some ideas or motivation to make the wood around you look more beautiful. Have a great day!
