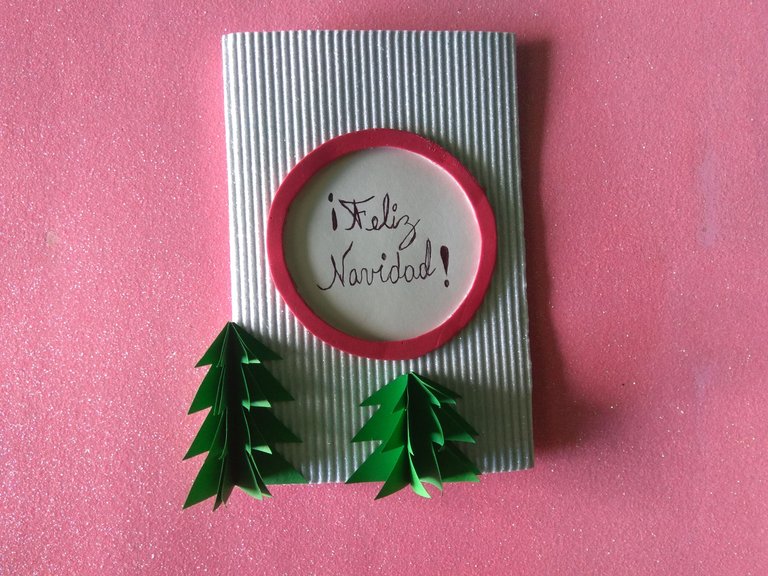
En mi caso haré varias y las dejaré en blanco, para que cada integrante de mi familia anote en ese momento de la cena sus próximas metas, para comenzar el 2023 con enfoque, no hay manera de llegar a la meta si no trazamos el camino, es algo que he aprendido en los últimos años, me gusta recordarles en cada uno de mis tutoriales que son una simple guía, ustedes pueden sentirse libre en cambiar algo, usar otro material o experimentar en la decoración, disfruten del procedimiento.
In my case I will make several and leave them blank, so that each member of my family will write down at that time of dinner their next goals, to start 2023 with focus, there is no way to reach the goal if we do not trace the path, it is something I have learned in recent years, I like to remind you in each of my tutorials that are a simple guide, you can feel free to change something, use another material or experiment in decorating, enjoy the procedure.


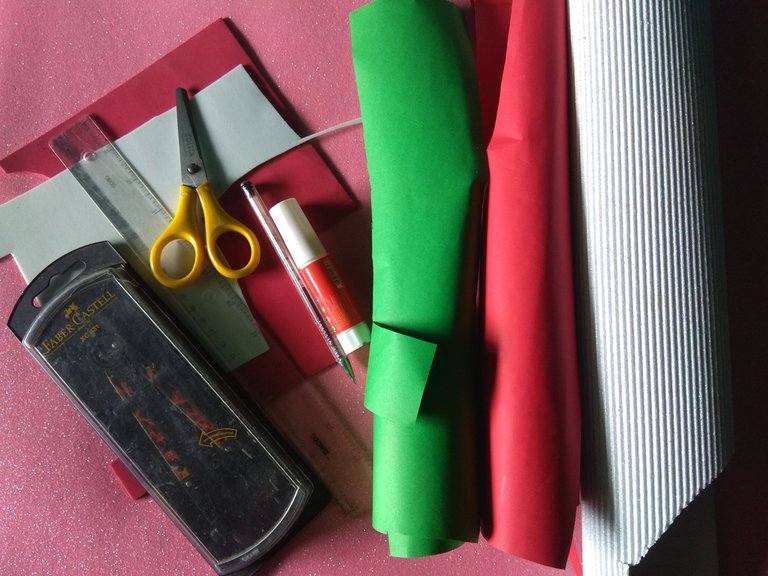
Materiales: || Materials:
▪️ Cartulina corrugada blanca, cartulina verde, foami (rojo y amarillo), marcador negro, cartulina blanca, lápiz, pegamento en barra, silicón líquido, tijeras, compás, regla geométrica.
▪️ White corrugated cardboard, green cardboard, foami (red and yellow), black marker, white cardboard, pencil, glue stick, liquid silicone, scissors, compass, geometric ruler.

Paso a paso: || Step by step:
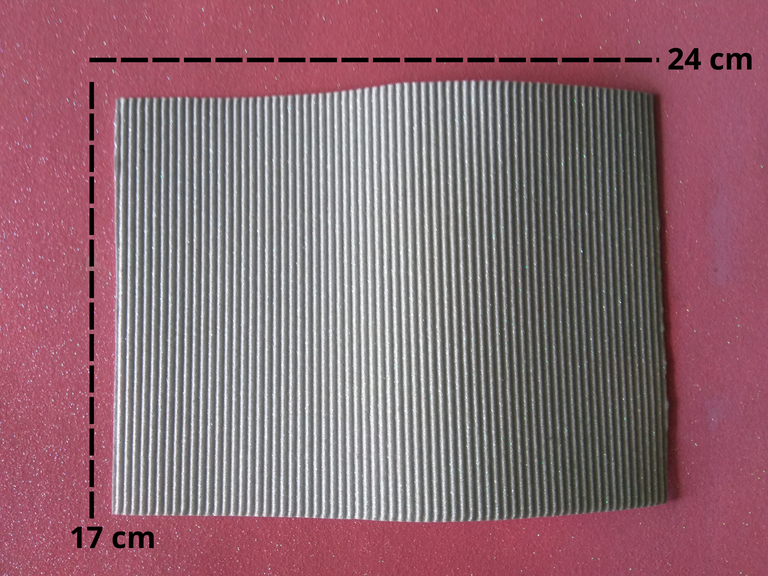
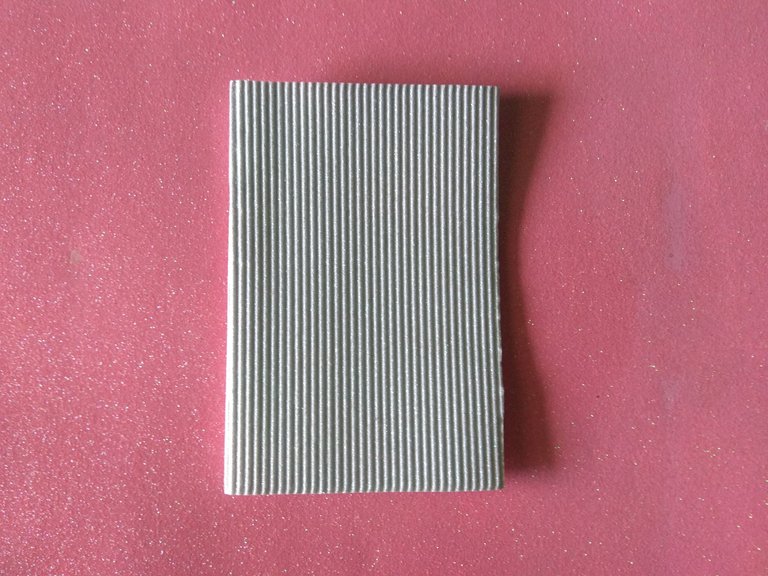
Se debe trazar un rectángulo de 24 cm x 17 cm en la cartulina corrugada, luego se recorta y este será la tarjeta,el siguiente paso es doblar a la mitad el rectángulo.
Draw a 24 cm x 17 cm rectangle on the corrugated cardboard, then cut it out and this will be the card, the next step is to fold the rectangle in half.
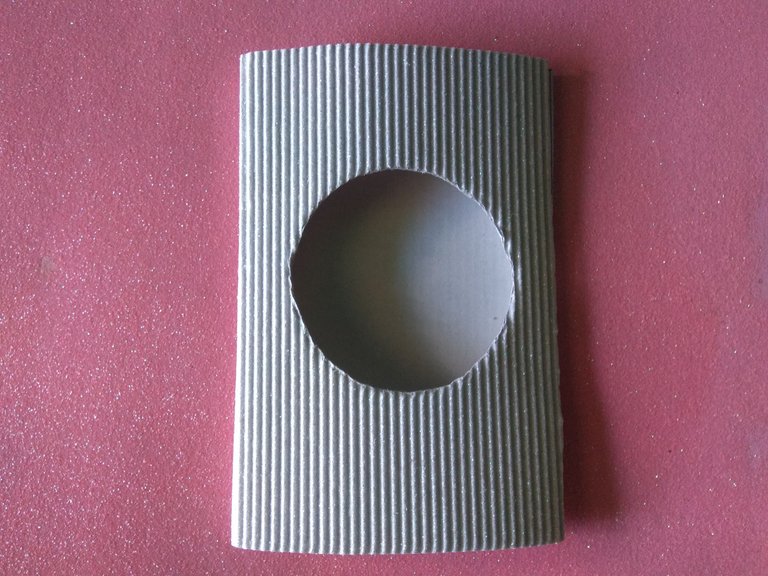
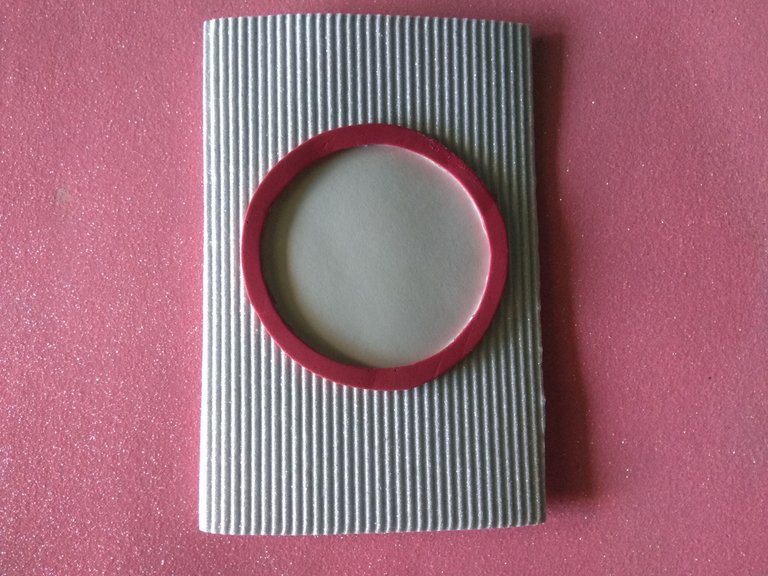
Usando el compás tracé un círculo de 8 cm y recorté el centro, con la misma medida tracé un borde de foami rojo para el círculo, esto lo hice para dar un mejor acabado, luego en la cartulina blanca lisa tracé un círculo de 9 cm y lo pegué en la parte interna de la tarjeta para escribir y que se vea por el círculo recortado.
Using the compass I traced a circle of 8 cm and cut out the center, with the same measure I traced a red foami border for the circle, I did this to give a better finish, then on the plain white cardboard I traced a circle of 9 cm and glued it on the inside of the card to write and show through the cut circle.
Como parte de la decoración hice arbolitos de cartulina verde, para hacerlos se deben recortar varios rectángulos, 3 de 5 cm x 4 cm, y 3 de 4 cm x 3 cm, los doblaremos a la mitad y haremos diversos cortes como se observan en la imagen, luego cortaremos de manera que formemos picos es decir las ramas del árbol.
As part of the decoration I made green cardboard trees, to make them you must cut out several rectangles, 3 of 5 cm x 4 cm, and 3 of 4 cm x 3 cm, fold them in half and make several cuts as shown in the image, then cut so as to form peaks, that is, the branches of the tree.
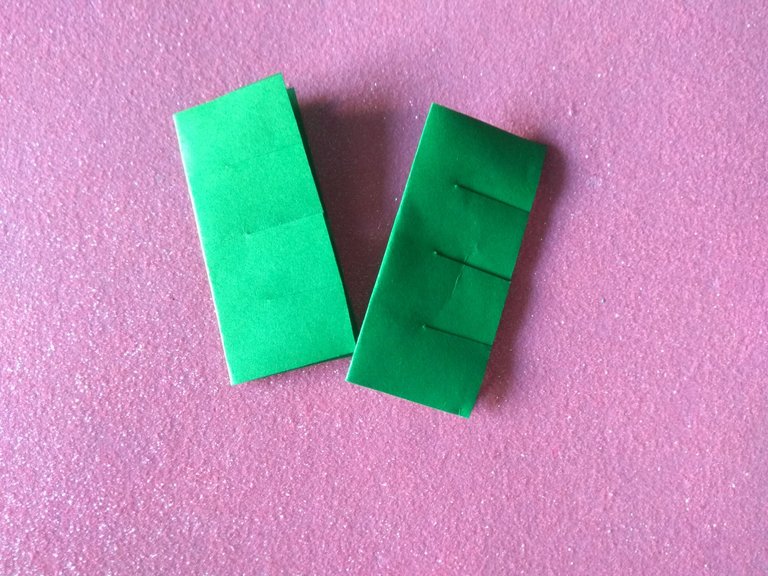
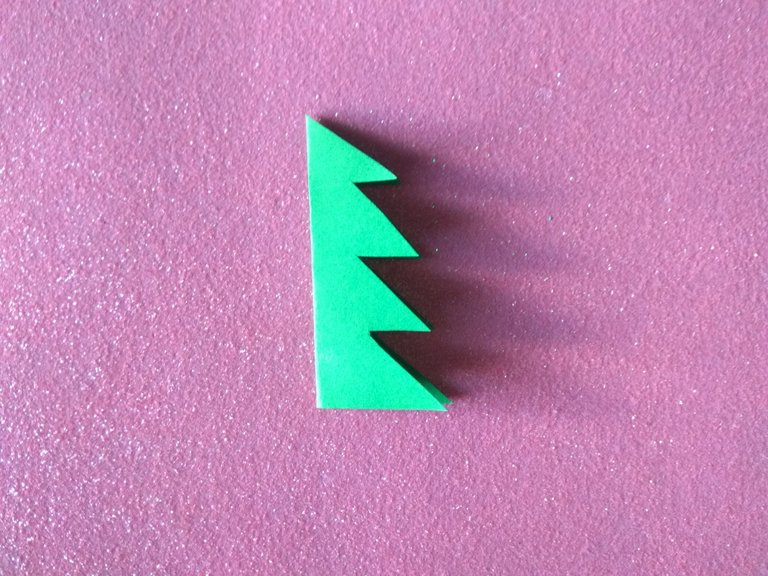
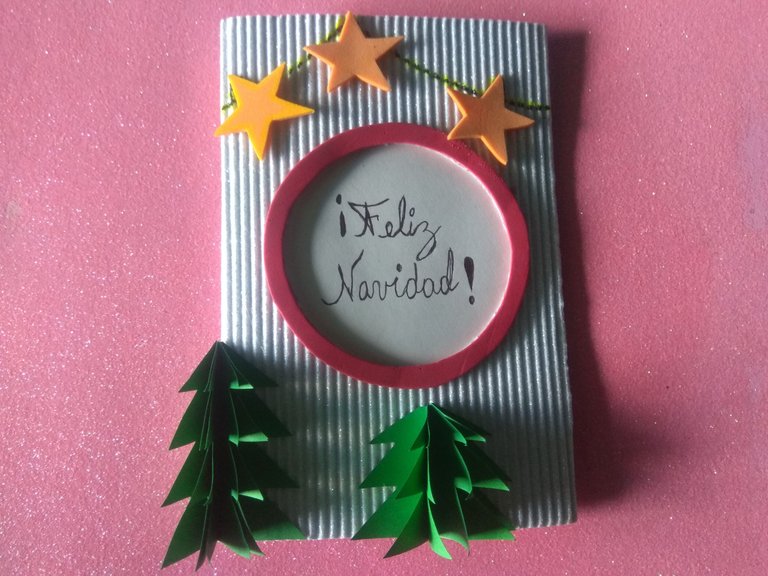
Un arbolito estará conformado por tres de las piezas antes hechas, deben pegarse una a la otra y luego ser pegado en la tarjeta, el resto de la decoración es hacer una guirnalda de estrellas, que hice con el marcador negro, y varias estrellas de foami amarillo, también deben escribir en el centro del círculo ¡Feliz navidad!
A tree will be made up of three of the pieces made before, they should be glued one to the other and then glued on the card, the rest of the decoration is to make a garland of stars, which I made with the black marker, and several yellow foami stars, you should also write in the center of the circle Merry Christmas!
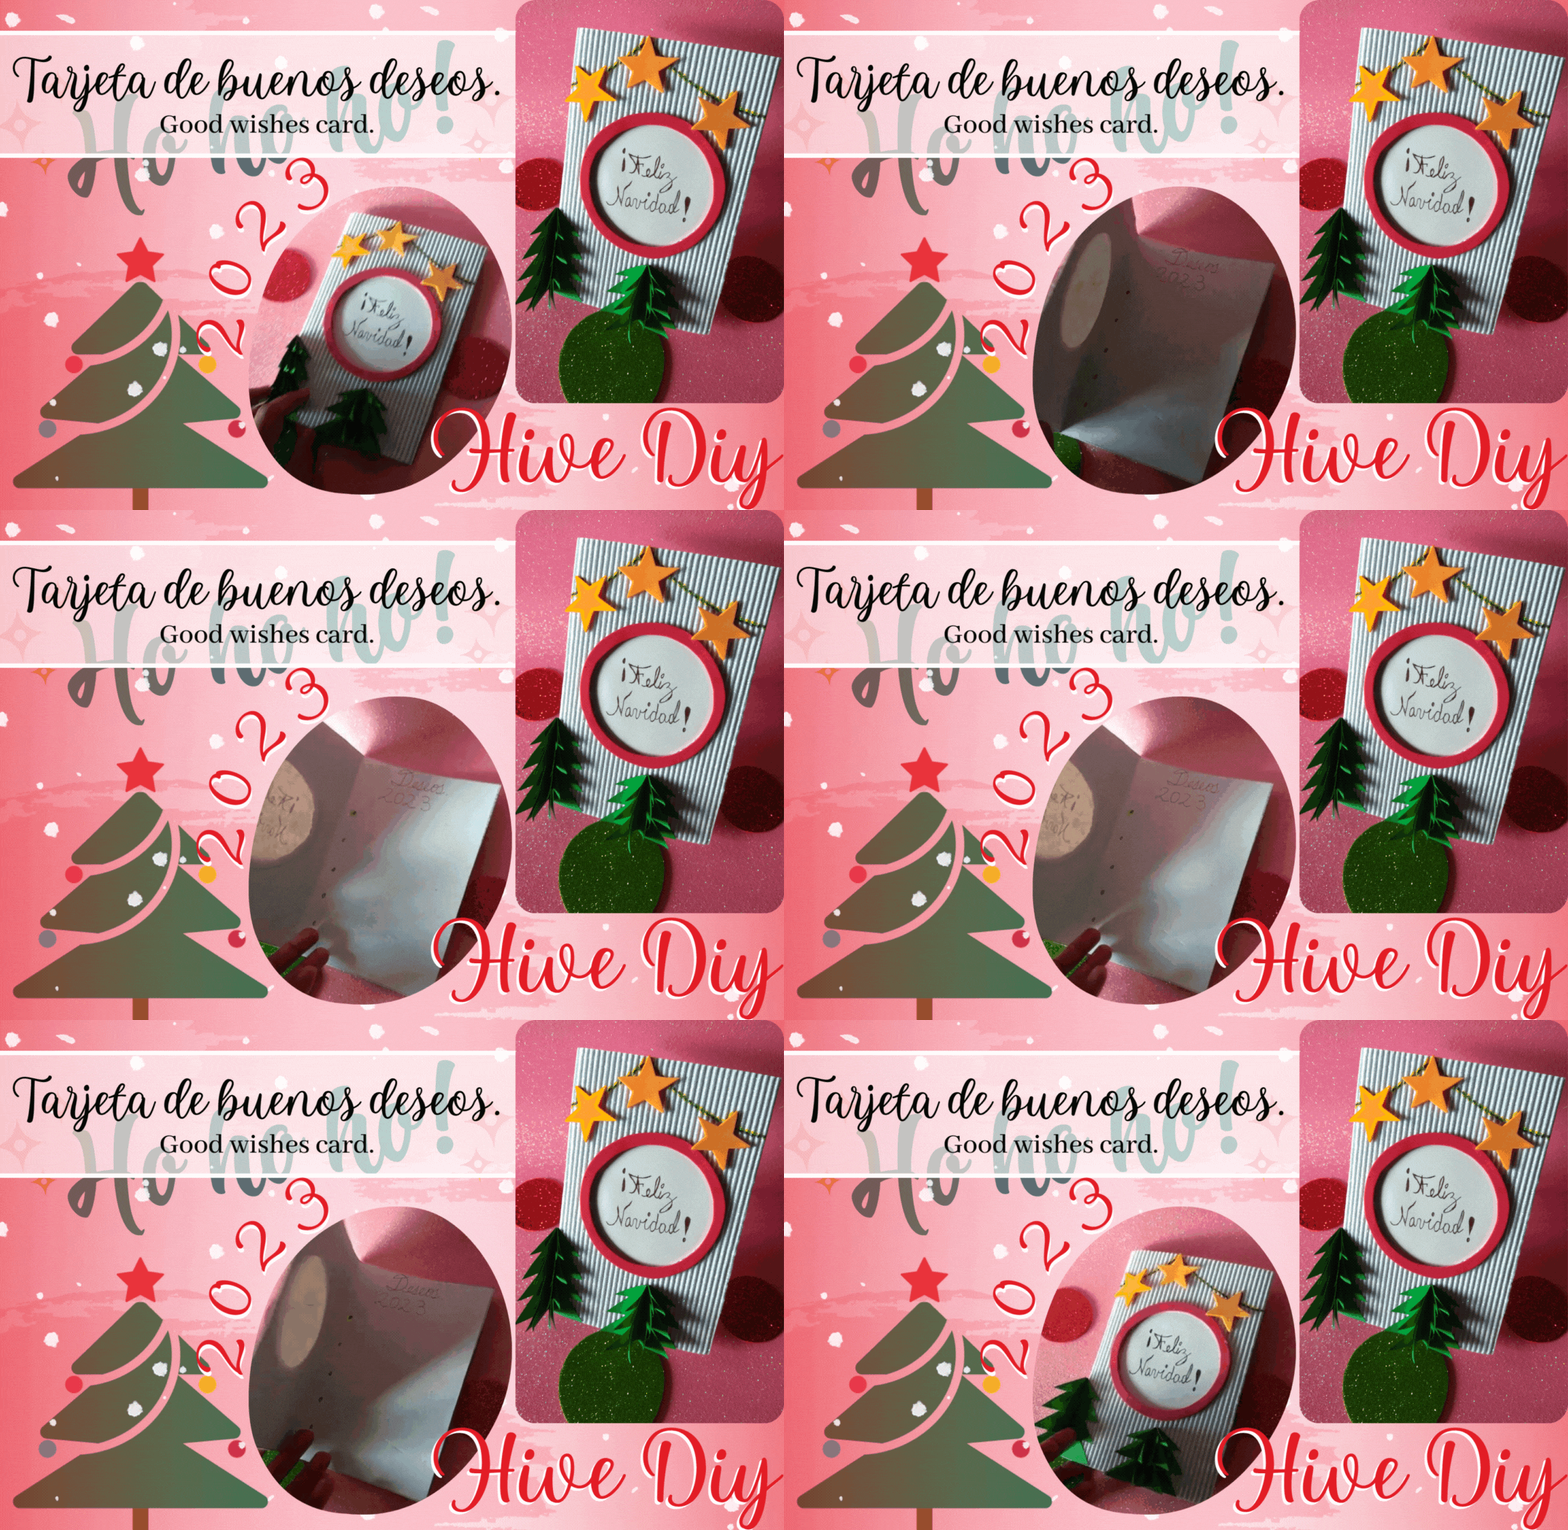
 Tarjeta de buenos deseos para el 2023. || Good wishes card for 2023.

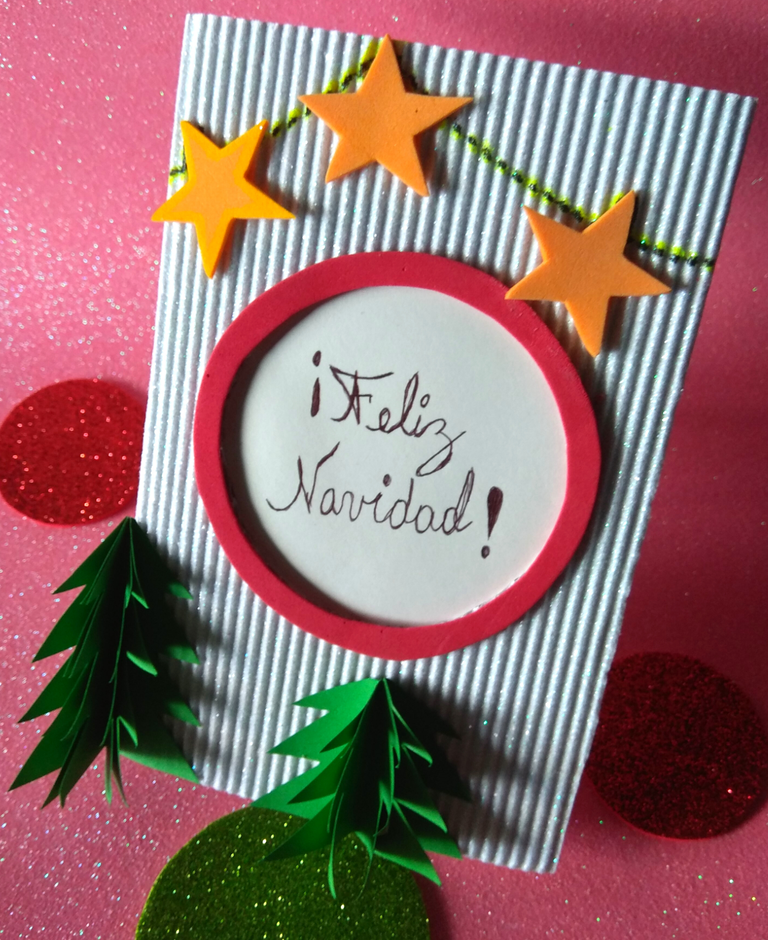
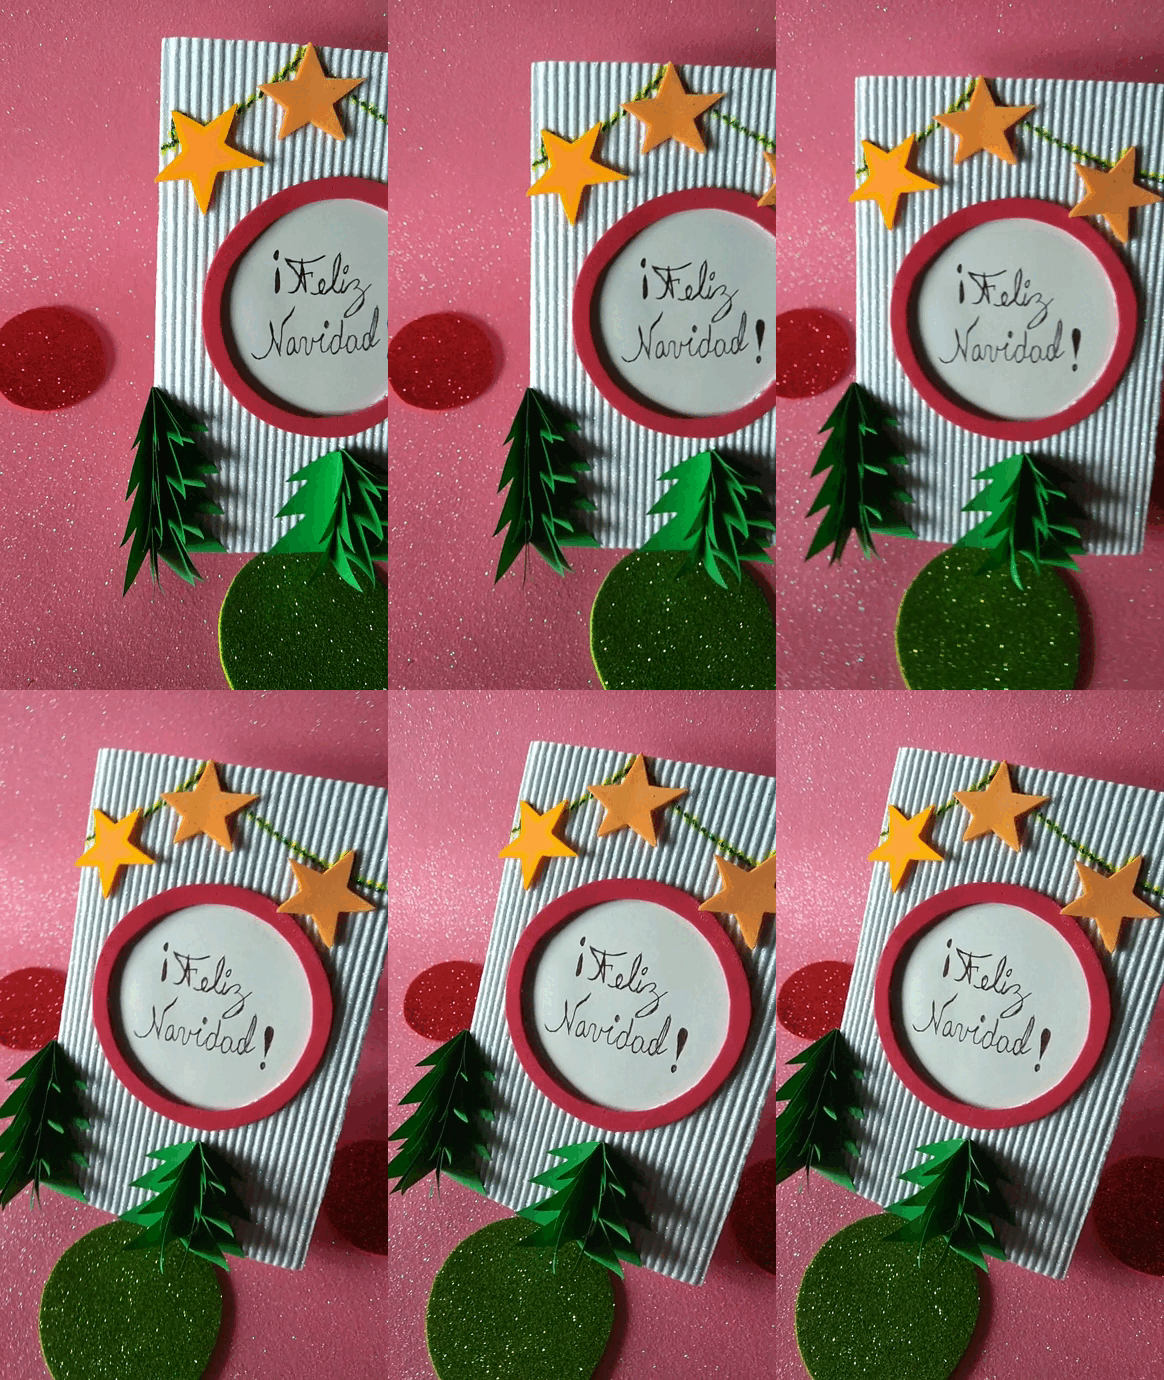
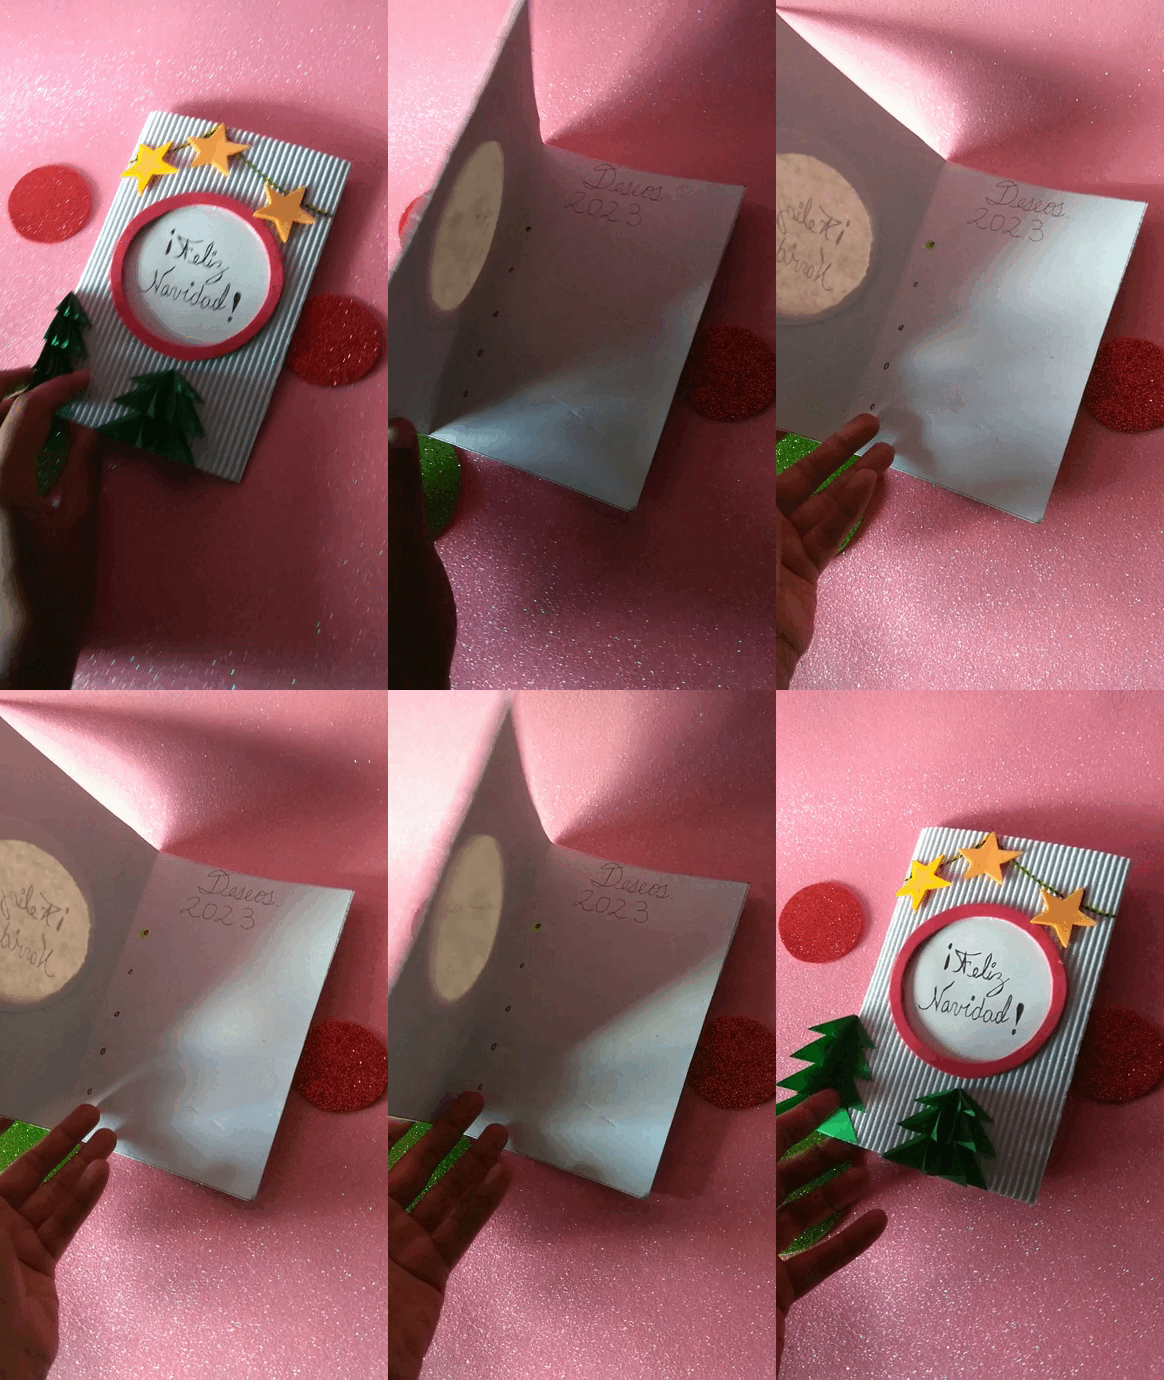

De esta manera pueden obtener una linda carta de buenos deseos, es una linda actividad que pueden llevar a cabo durante la cena navideña en familia, recuerden hacer una para cada integrante y personalizar lo más que puedan no sientan límites al decorar, quiero saber en los comentarios que piensan de esta idea, gracias por llegar hasta aquí.
This way you can get a nice letter of good wishes, it is a nice activity that can be carried out during the family Christmas dinner, remember to make one for each member and customize as much as you can do not feel limits when decorating, I want to know in the comments what you think of this idea, thanks for coming here.


Imágenes tomadas desde mi Xiaomi Redmi Note 4. || Images taken from my Xiaomi Redmi Note 4.
Separadores hechos en Canva. || Dividers made in Canva.
Ediciones hechas en Canva. || Editions made in Canva.
Vídeos convertidos en gif || Videos converted to gif IMG2GO
Translator Deepl.
