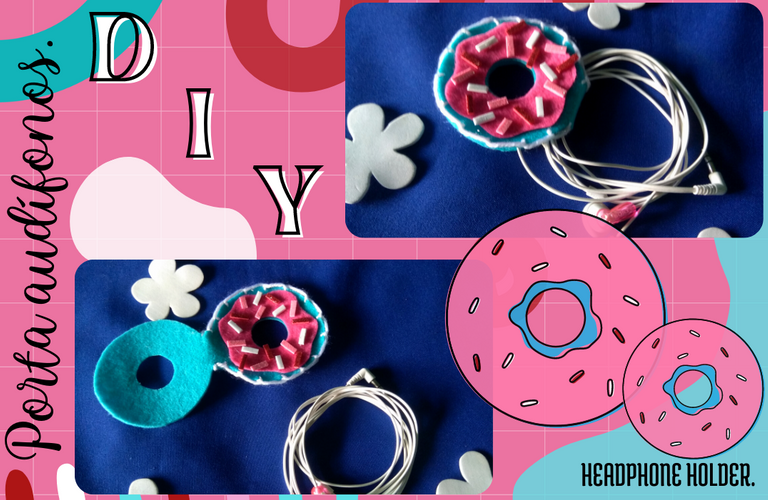
It is an organizer with a colorful and kawaii shape, needless to say that you can make the shape you want, in previous occasions I have created headphone organizers in the shape of emojis, using foami instead of felt, but this time I wanted to do something different with a more resistant material, rest assured that you will have an organizer for a while, watch the tutorial below.
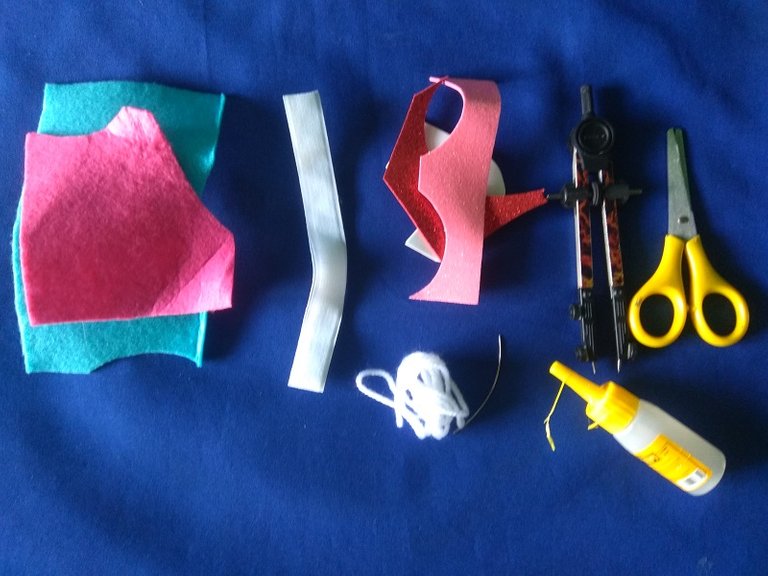
▪️ Fieltro (fucsia y azul), retazos (blanco, rojo y rosado), compás, tijeras, estambre blanco, aguja grande, silicón líquido, hoja de papel, velcro.
▪️ Felt (fuchsia and blue), scraps (white, red and pink), compass, scissors, white yarn, large needle, liquid silicone, sheet of paper, Velcro.

Paso a paso:
Step by step:
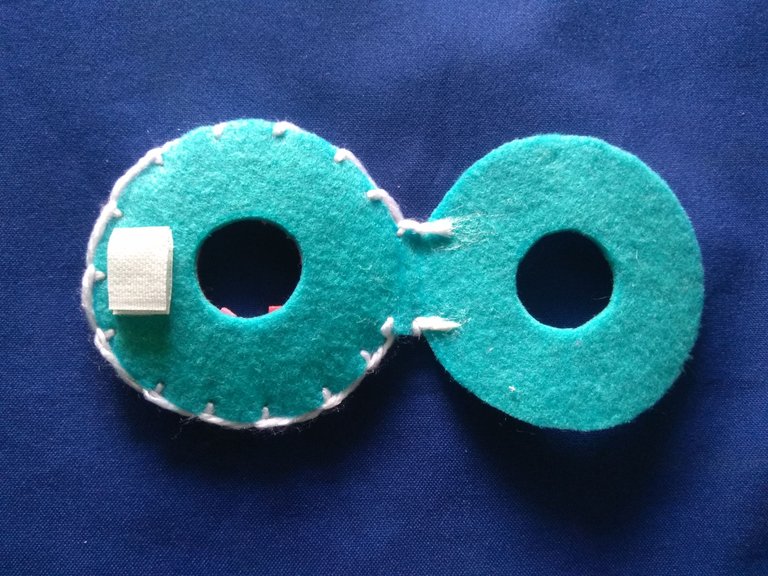
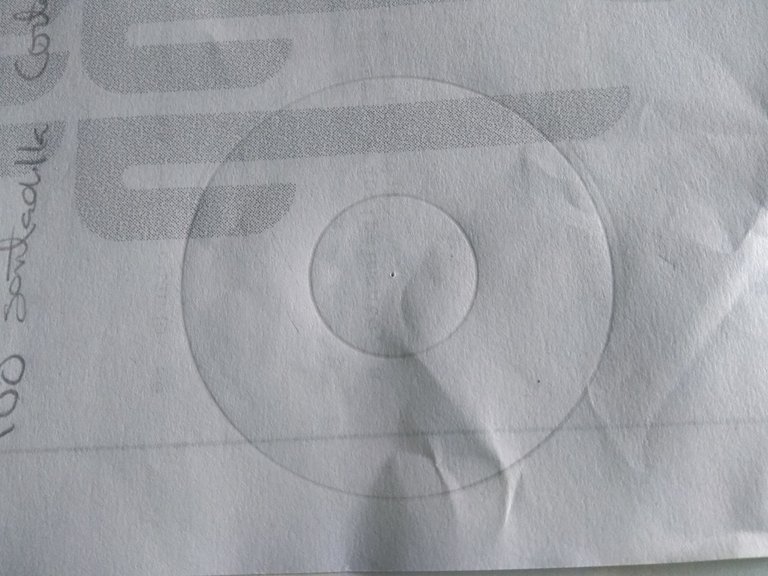
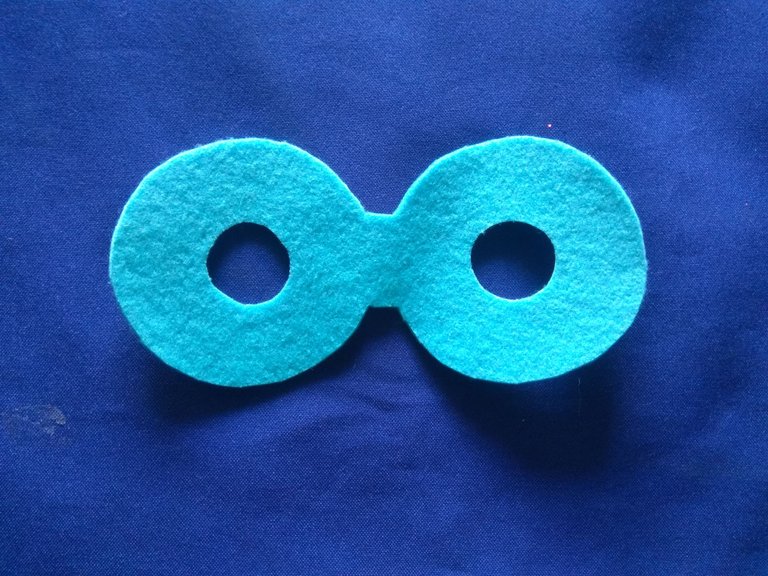
Inicié por crear un patrón con el compás, hice en un papel un círculo de 7 cm, dentro de este hice otro círculo, pero más pequeño de unos 3 cm. Recorté la pieza u la remarqué en el fieltro azul, en el fieltro remarqué dos veces la pieza circular y las uní para que sea una sola pieza.
I started by creating a pattern with the compass, I made a 7 cm circle on a piece of paper, inside this I made another circle, but smaller of about 3 cm. I cut out the piece and outlined it on the blue felt, on the felt I outlined the circular piece twice and joined them together to make a single piece.
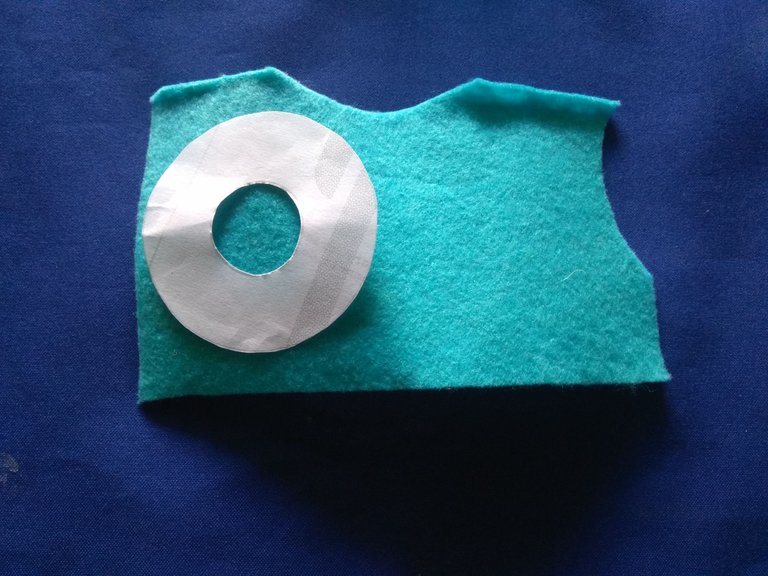
Recorté la pieza de fieltro para empezar a decorar el porta audífonos, intenten sacar el centro lo mejor que puedan el acabado debe ser prolijo.
I cut out the felt piece to start decorating the headphone holder, try to get the center out as best you can, the finish should be neat.

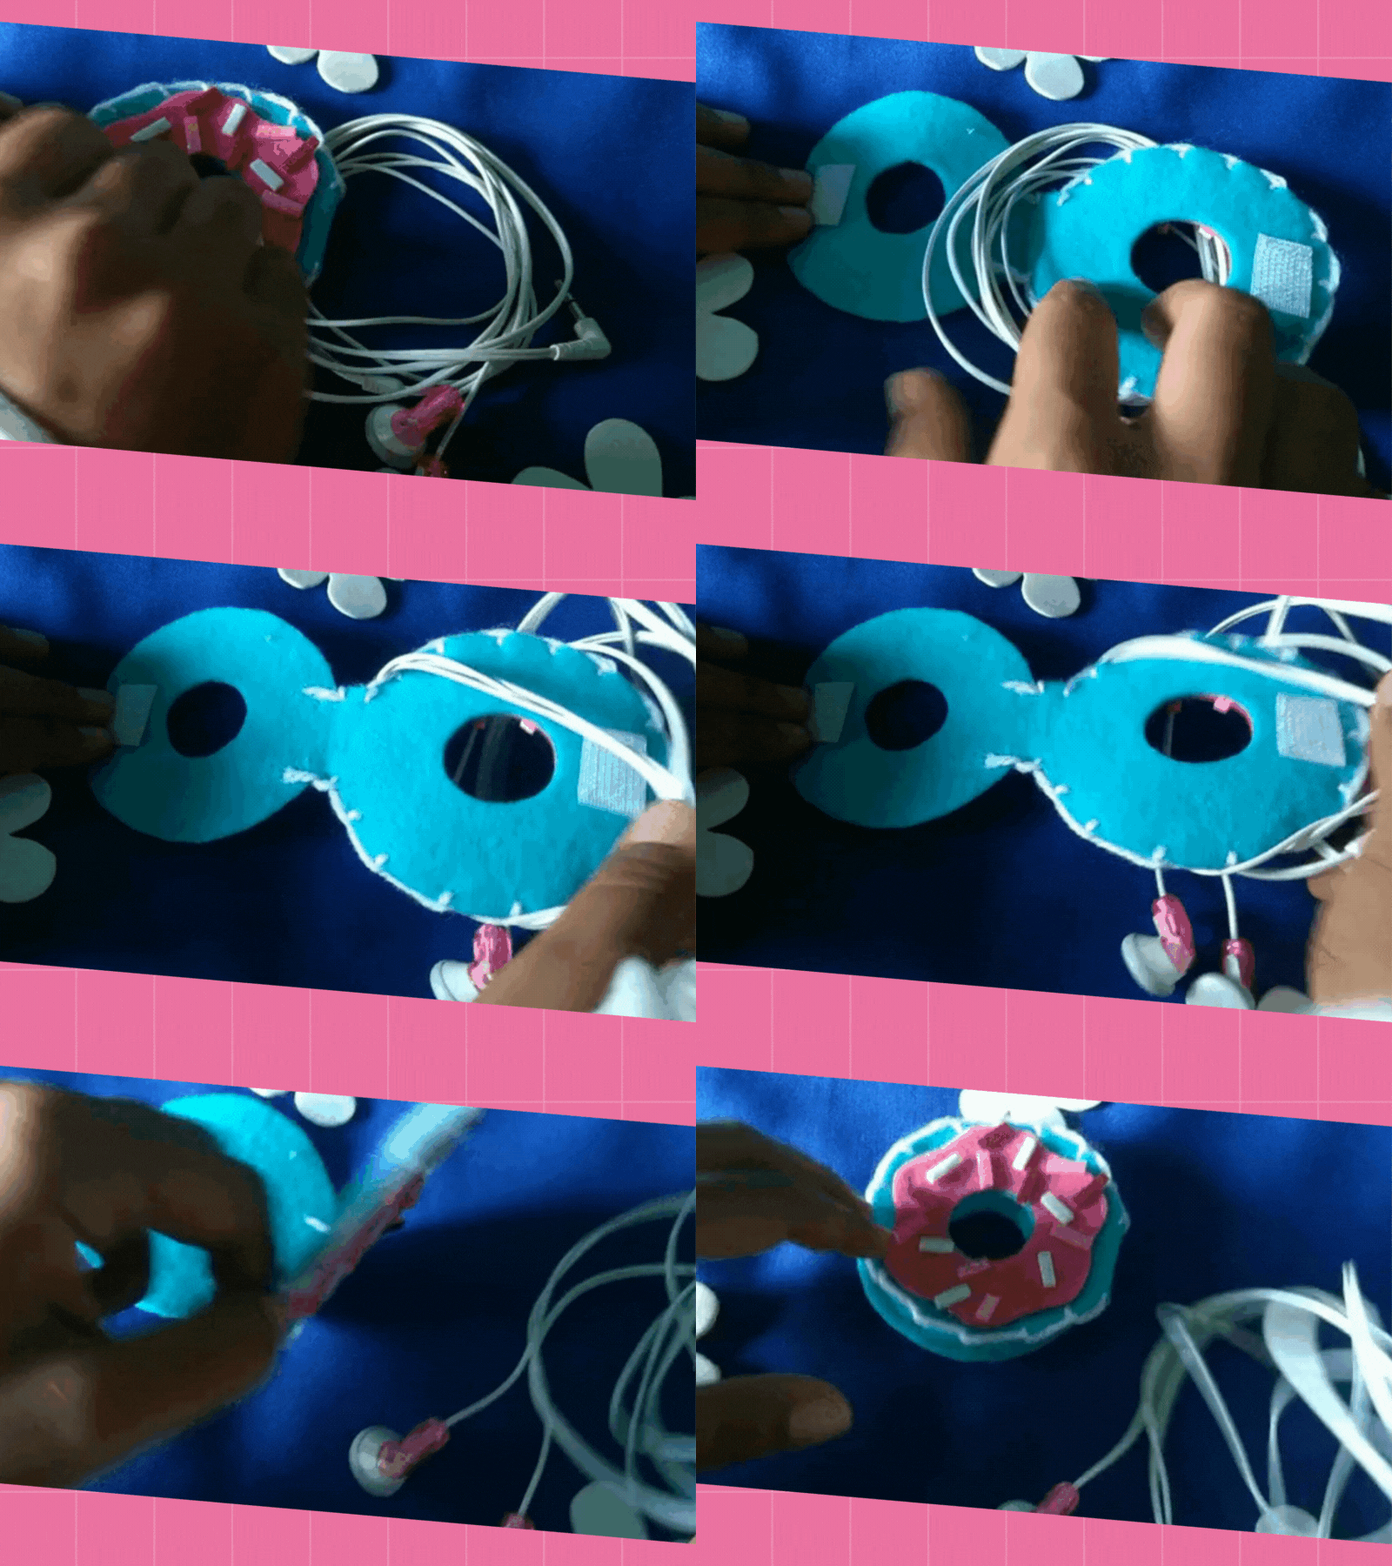
Recorté otro círculo, pero esta vez en color fucsia, el patrón es el mismo usado anteriormente, pero esta vez los bordes del círculo deben recortarse dando forma de glaseado, midan este nuevo círculo con el anterior para asegurarse de que encajen, guárdenlo hasta que deben unirlo al porta audífonos, ahora se debe coser los bordes frontales de la pieza, hice una costura de ojal.
I cut out another circle, but this time in fuchsia color, the pattern is the same used before, but this time the edges of the circle must be cut out giving a frosting shape, measure this new circle with the previous one to make sure they fit, keep it until you must join it to the headphone holder, now you must sew the front edges of the piece, I made a buttonhole seam.
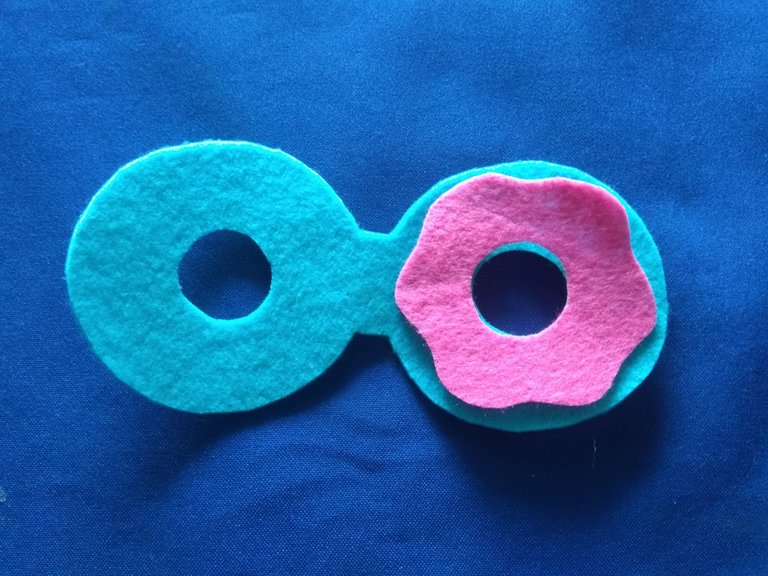
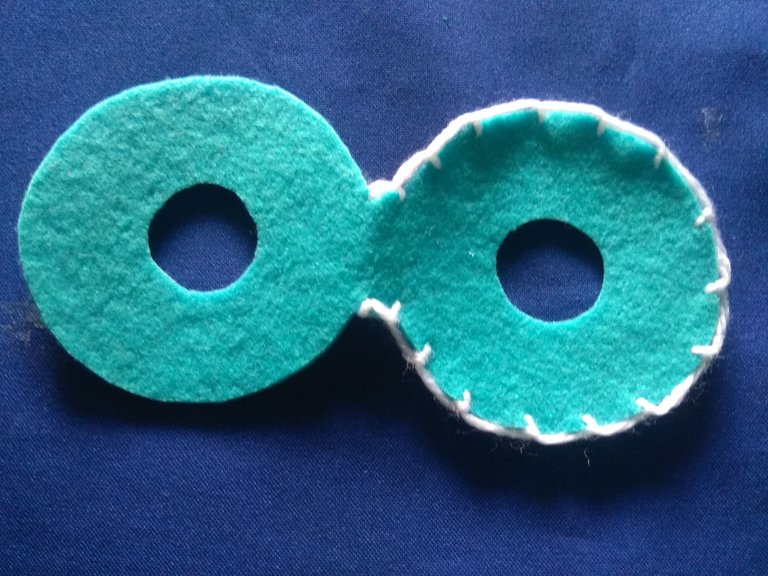
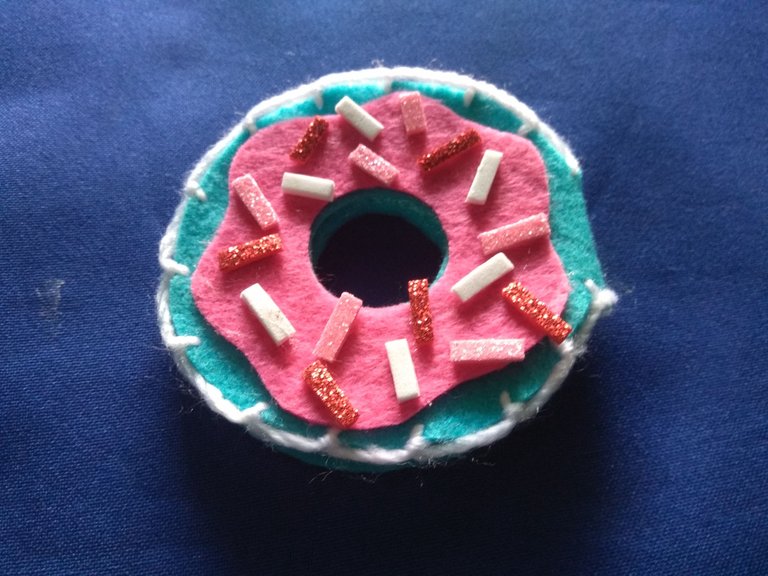
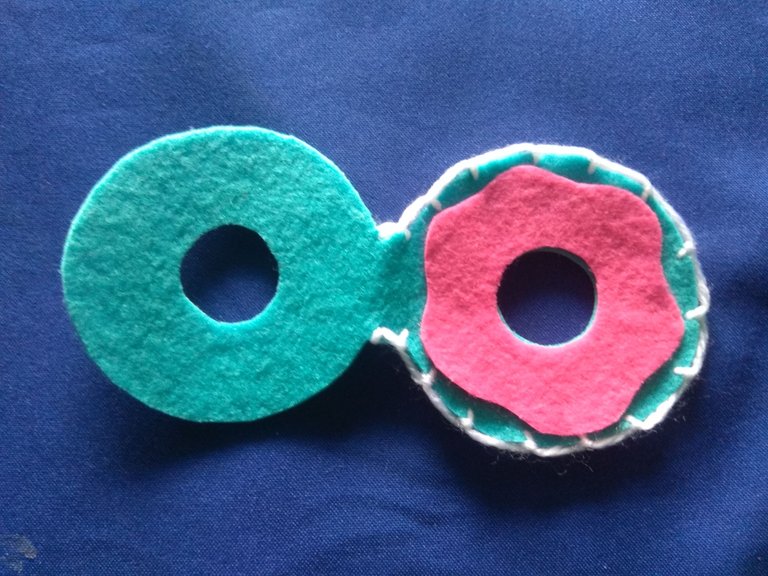
Ahora si se debe pegar el círculo fucsia guardado anteriormente, intenten quede justo en el centro solo necesitan un poco de silicón líquido, para las chispas de colores recorté trocitos de foami en color rojo, blanco y rosado, las pegué por todo el glaseado fucsia.
Now you have to glue the fuchsia circle previously saved, try to keep it right in the center, you only need a little liquid silicone, for the colored sprinkles I cut out small pieces of foami in red, white and pink, I glued them all over the fuchsia icing.
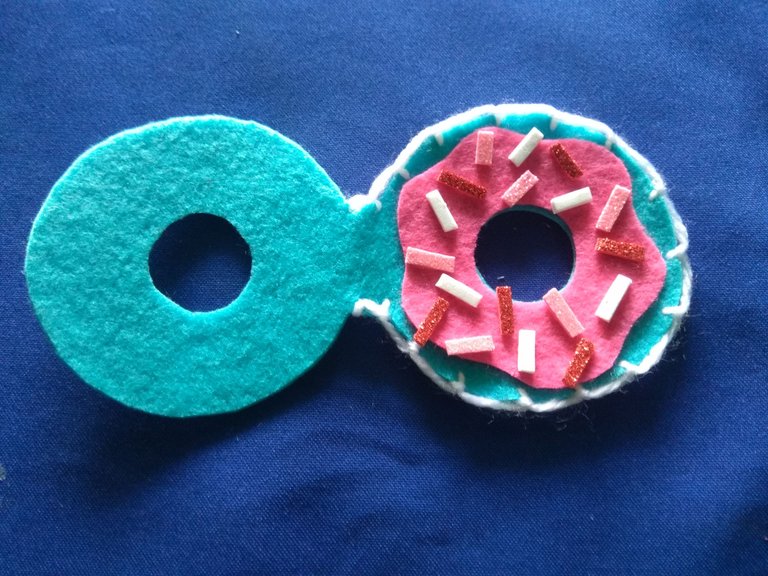
El paso final es recortar un poco de velcro y pegarlo dentro del porta audífonos, con un poco de silicón líquido bastará, la idea es dejar la pequeña dona cerrada hasta que se seque, no queremos que el velcro dañe la creación o que no pegue como se debe.
The final step is to cut some velcro and glue it inside the headphone holder, with a little liquid silicone will be enough, the idea is to leave the little donut closed until it dries, we don't want the velcro to damage the creation or not stick as it should.
 Porta audífonos. || Headphone holder.
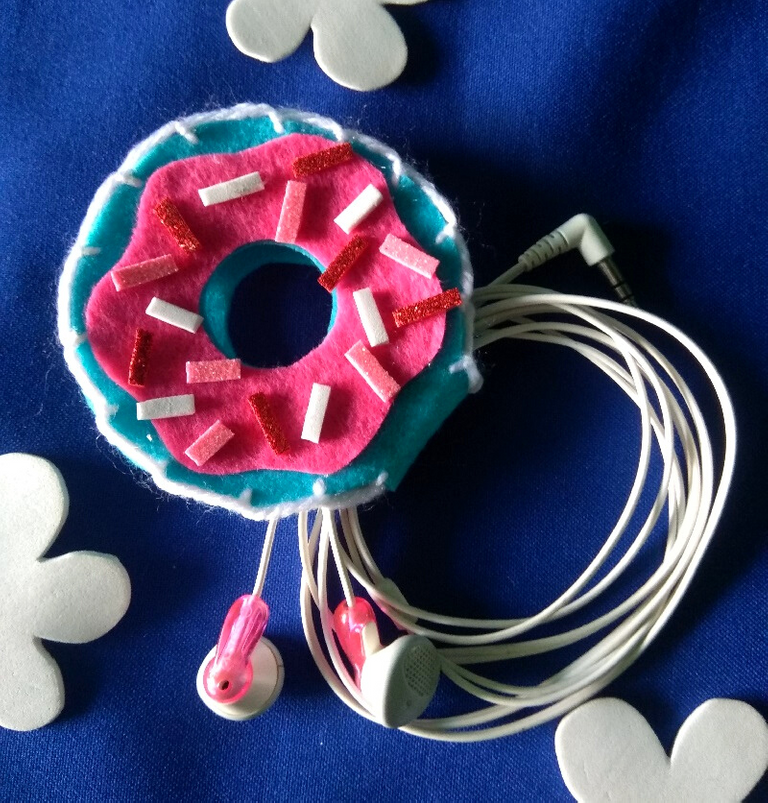
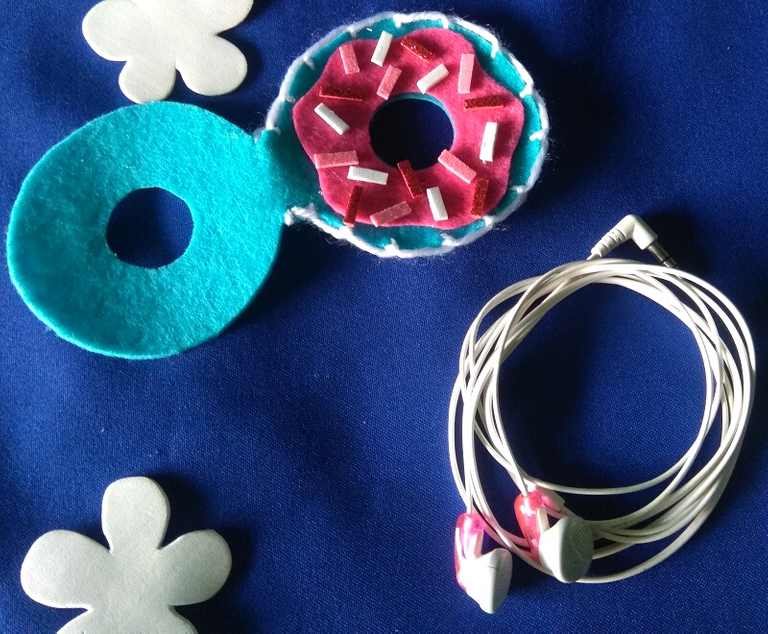
No puede ser más simple hacer este organizador, aunque no es obligatorio seguir el tutorial al pie de la letra, pueden jugar con los colore y materiales, creen esa forma que más les guste, lo importante es que puedan obtener un porta audífonos que les será de mucha utilidad, al terminar de usar mis audífonos los coloco en esa pequeña dona colorida y lo dejo en mi escritorio para cuando los necesite, que este tutorial sea de agrado gracias por llegar hasta aquí.
It can not be simpler to make this organizer, although it is not mandatory to follow the tutorial to the letter, you can play with colors and materials, create that way you like, the important thing is that you can get a headphone holder that will be very useful, when I finish using my headphones I put them in that little colorful donut and leave it on my desk for when I need them, I hope this tutorial is to your liking, thank you for coming here.


Imágenes tomadas desde mi Xiaomi Redmi Note 4. || Images taken from my Xiaomi Redmi Note 4.
Separadores hechos en Canva. || Dividers made in Canva.
Ediciones hechas en Canva. || Editions made in Canva.
Vídeos convertidos en gif || Videos converted to gif IMG2GO
Translator Deepl.
