Hola comunidad de NeedleWorkMonday!
Espero que estén pasando un bonito día!
En esta oportunidad les quiero mostrar cómo hice estas flores siguiendo un patrón de youtube, ya que como les conté en mi post anterior, es el segundo diseño de flores que tejo. Estas que voy a hacer ahora son unos tulipanes muy bonitos y ESTE ES EL VIDEO TUTORIAL DE YOUTUBE.
Hello NeedleWorkMonday community!
I hope you are having a nice day!
This time I want to show you how I made these flowers following a youtube pattern, because as I told you in my previous post, this is the second flower design I crochet. These ones I'm going to make now are very pretty tulips and THIS IS THE YOUTUBE VIDEO TUTORIAL.
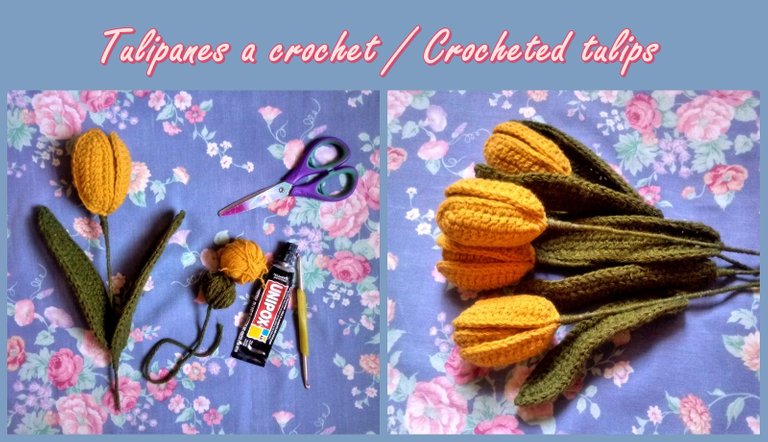
Los materiales que yo utilicé son:
- hilo acrílico verde
- hilo del color de tulipan que quieras (el mío es amarillo)
- ganchillo
- tijera
- palillos (yo uticlicé un alambre forrado)
- pegamento o silicona
The materials I used are:
- green acrylic yarn
- yarn in the colour of your choice for tulips (mine is yellow)
- crochet hook
- scissors
- chopstick (I used a wire wrapped with wire)
- glue or silicone

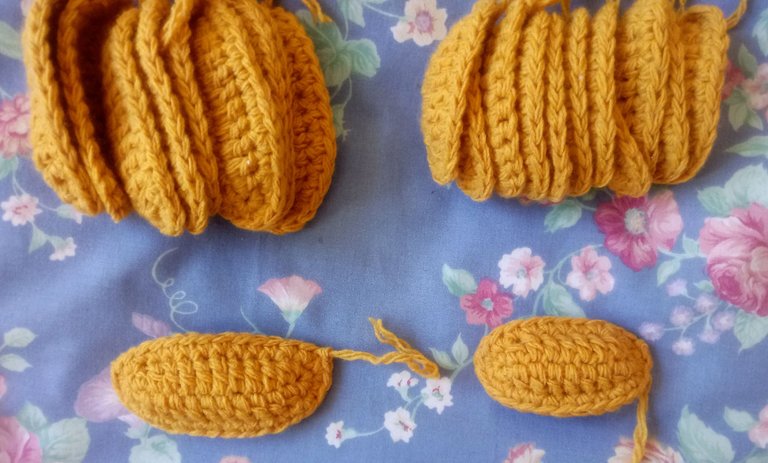
Para comenzar hay que tejer los pétalos pequeños, cada flor lleva 3 de ellos. Se utilian puntos básicos: punto medio alto y punto bajo.
To begin with we have to crochet the small petals, each flower has 3 of them. Basic stitches are used: , half double crochet and single crochet.


Luego hay que tejer los pétalos más grandes, tamibién son 3 para cada flor y se tejen igual que los pequeños, solo que con 4 puntos más.
Then you have to crochet the larger petals, there are also 3 for each flower and they are crocheted in the same way as the smaller ones, only with 4 more stitches.

Yo quería hacer 4 flores, así que hice 12 pétalos pequeños y 12 grandes.
I wanted to make 4 flowers, so I made 12 small and 12 large petals.

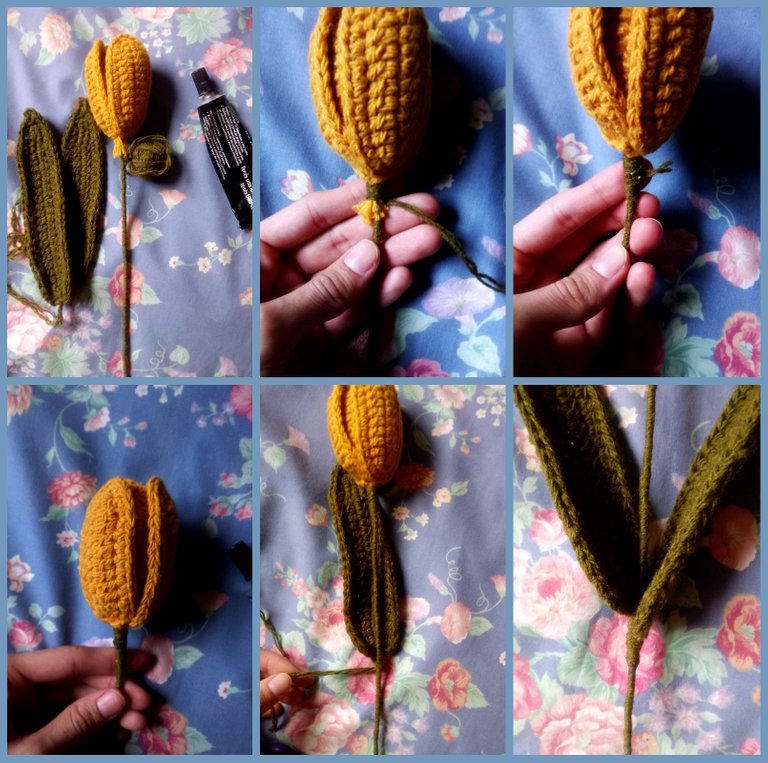
Ahora hay que continuar por las hojas. Algo que aprendí y que nunca había hecho fue tejer con el alambre al lado de las cadenetas, esto fue un poco difícil para mí, pero la verdad es que con esta técnica las hojas quedan muy bonitas y firmes.
Now we have to continue with the leaves. Something I learned that I had never done before was to weave with the wire next to the chains, this was a bit difficult for me, but the truth is that with this technique the leaves are very nice and firmer.


Ahora viene la parte más divertida, que en cuando comenzamos a usar el pegamento para armar nuestra flor.
Now comes the fun part, which is when we start using the glue to assemble our flower.
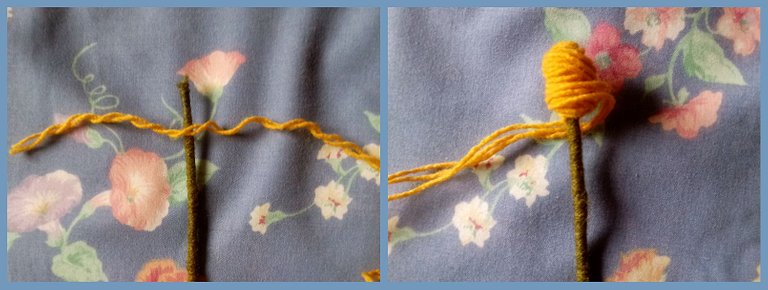
Primero debemos hacer una "pelotita" con hilo amarillo en la punta del palillo y sellarla con pegamento. Luego comenzar a pegar nuestros pétalos prolijamente, primero los 3 pétalos pequeños y luego los 3 grandes.
First we must make a "little ball" with yellow yarn on the end of the chopstick and seal it with glue. Then start gluing our petals neatly, first the 3 small petals and then the 3 larger ones.
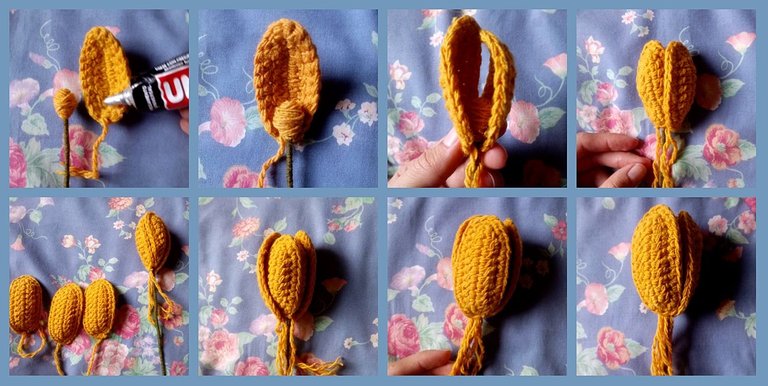
Para finalizar envolví con hilo verde los hilos restantes de los pétalos y sellé con pegamento, ya que tenía mi tallo previamente forrado, pero si no, hay que continuar forrando todo el palillo.
Lo mismo hice con las hojas, les puse pegamento y envolví el alambre restante con hilo verde para unirlo al tallo.
To finish I wrapped the remaining strands of the petals with green yarn and sealed them with glue, as I had the stem of the flower previously covered, but if not, you have to continue covering the whole stick.
I did the same with the leaves, put glue on them and wrapped the remaining wire with green yarn to attach it to the stem.

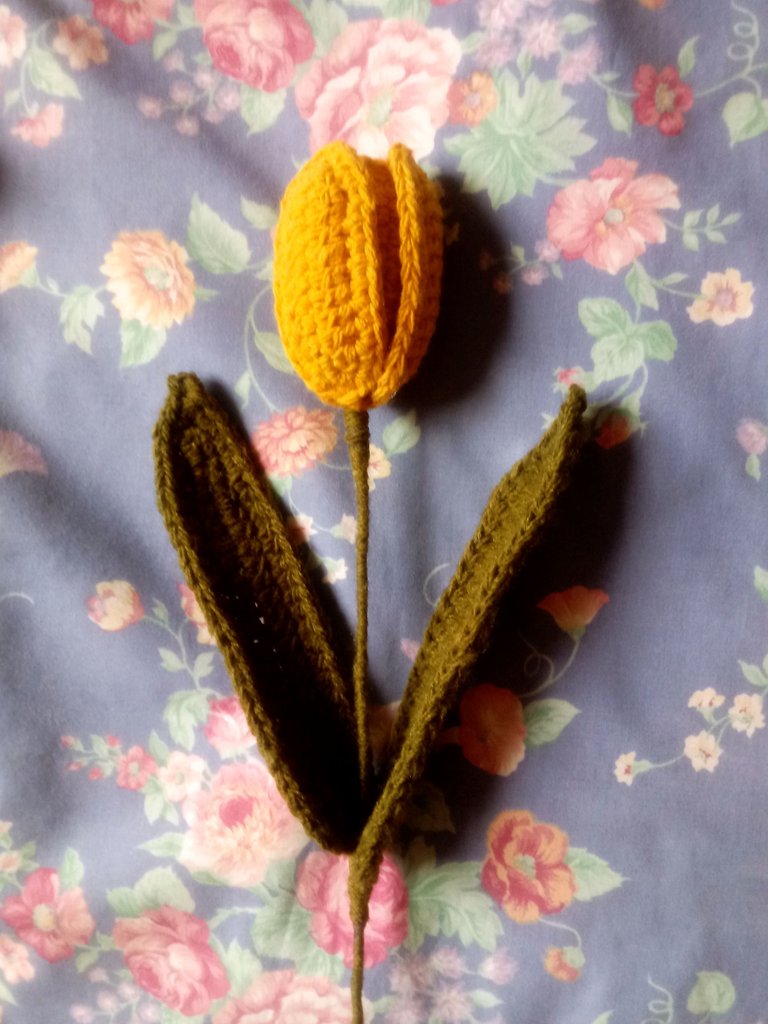
Y listo!! así es como quedó el tulipán terminado.
And that's it! This is what the finished tulip looks like.
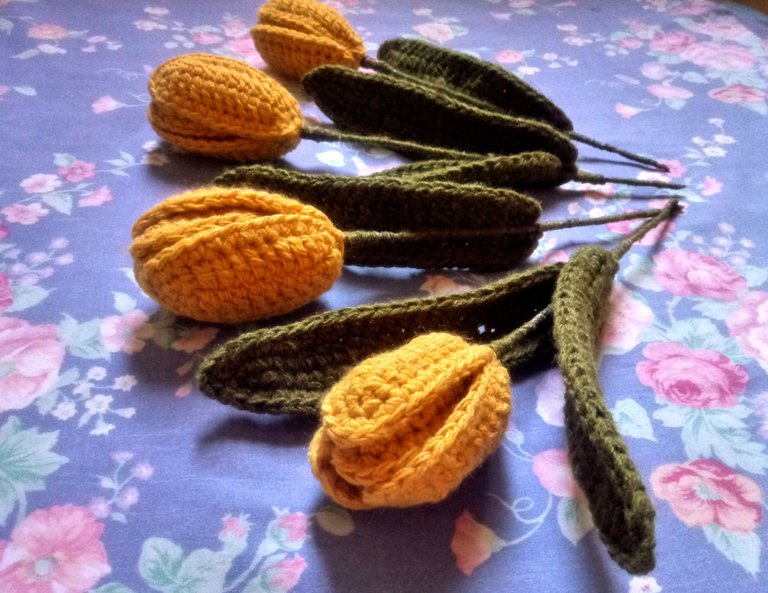
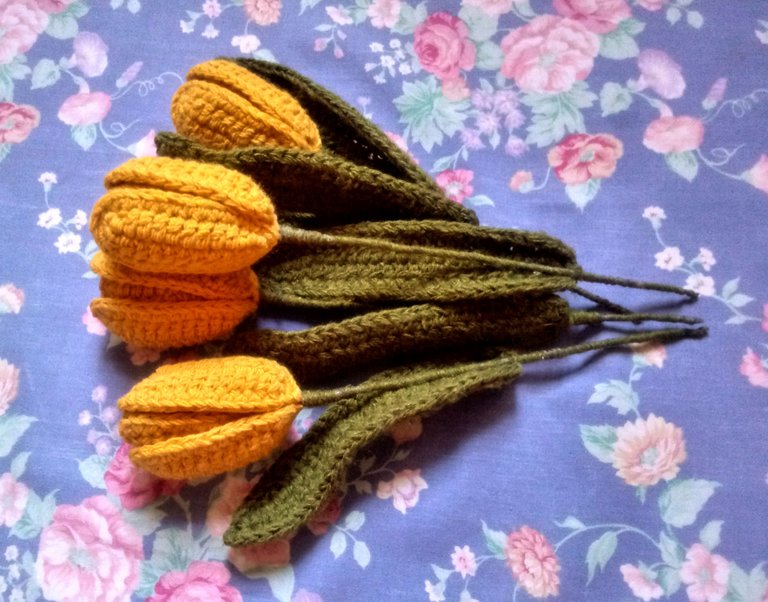
🌼🌺🌸Estoy bastante conforme con ellas porque, aunque no pude pasar por fuego los pétalos y las hojas para darles firmeza porque mi hilo se volvía más oscuro, quedaron parecidas a las del video tutorial. También me sorprendió el poco tiempo que lleva tejerlas.
Espero que a ustedes también les haya gustado el resultado.🌸🌺🌼
🌼🌺🌸I'm quite happy with them because, although I couldn't fire the petals and leaves to firm them up because my yarn was getting darker, they turned out similar to the ones in the video tutorial. I was also surprised at how little time it takes to crochet them.
I hope you also liked the result.🌸🌺🌼


