Hello #NeedleWorkMonday comunity
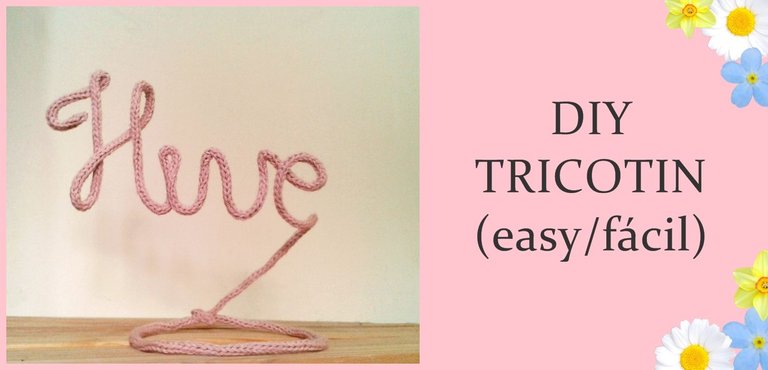
In this post I will tell you about "tricotin".
What is tricotin?
It is a very easy technique, which is used to create many things, mainly very showy deco of all kinds. You can make words, flowers, animal figures, silhouettes and everything you can imagine.
It involves making a I-cord and inserting a wire into it, then we must bend it to shape it, and in this way create our figures.
Hola comunidad #NeedleWorkMonday
En este post voy a contarles sobre el "tricotin".
¿Qué es el tricotin?
Es una técnica muy fácil, que sirve para crear muchas cosas, principalmente decoraciones muy bonitas y de todo tipo. Puedes hacer palabras, flores, figuras de animales, siluetas y todo lo que puedas imaginar.
Se trata de tejer un cordón e introducir un alambre en él, luego debemos doblarlo para darle forma, y de esta manera crear nuestras figuras.
How to make the i-cord?
there are many ways
- with a little machine called "knittin mill"
- with a mini loom, which you can buy or make yourself
- knitting
- make a crochet cord
I chose to crochet my i-cord because my yarn is thick and 3 stitches is enough to cover the wire. If you have a fine yarn, it is better do it in the other ways.
¿Cómo tejer el cordón?
Hay muchas formas
- se puede hacer con una "maquinita" en la que solo debes girar un molinete y ésta lo teje.
- con un mini telar, que se puede comprar o fabricarlo tú misma
- tejiendo con 2 agujas
- hacer un cordón a crochet
Yo elegí hacer mi cordón a crochet porque mi hilo es grueso y con 3 puntos es suficiente para cubrir el alambre. Si tienes un hilo fino, es mejor usar los otros métodos.

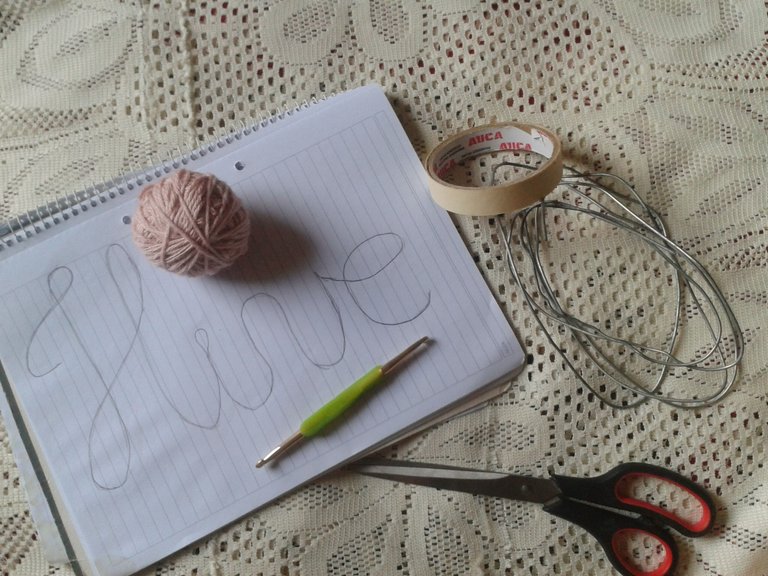
Materials you need:
- a drawing of your design
- crochet hook
- yarn
- wire
- scissor
- adhesive tape
- wool needle or glue
Materiales que necesitas:
- dibujo del diseño
- lana
- alambre
- tijera
- cinta de pegar
- aguja lanera o pegamento

Make the cord
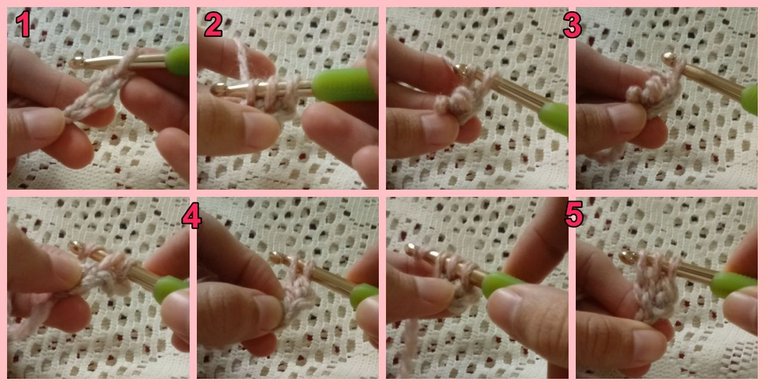
- chain 3
- 3 stitches with the hook
- "knit" the 1st stitch, the 2nd and finally the 3rd stitch
- repeat the last step until you have the length you need (I needed 2 mts)
Hacer el cordón
- montar 3 cadenetas
- levantar 3 puntos con el ganchillo
- "tejer" el 1er punto, luego el 2do y por útimo el 3er punto
- repetir el último paso hasta tener el largo que necesites (yo necesité 2 metros)
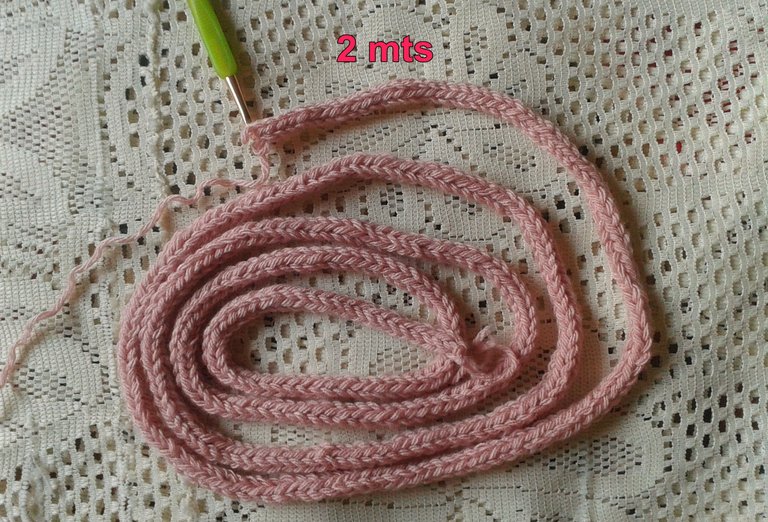

When we have our cord ready, we must also have a wire of the same length.
- bend the ends of the wire and wrap it with the adhesive tape
- insert the wire into the cord
- seal the ends of the cord by sewing or with glue so that the wire does not come out
Cuando tengamos nuestro cordón listo, también debemos tener un alambre del mismo largo.
- doblar las puntas del alambre y envolverlas con la cinta de pegar
- introducir el alambre en el cordón
- sellar los extremos del cordón cosiendo o con pegamento para que no salga el alambre


Our tricotin is ready to be shaped.
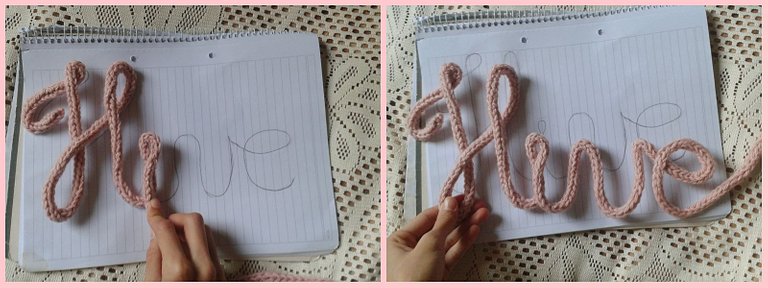
My design is drawn in this notebook and now I will follow this pattern and when I finish the word, I will make a circular base with what is left.
Nuestro tricotin está listo para darle forma
Mi diseño está hecho en esta hoja y ahora seguiré este patrón y cuando termine la palabra, haré una base circular con el resto..
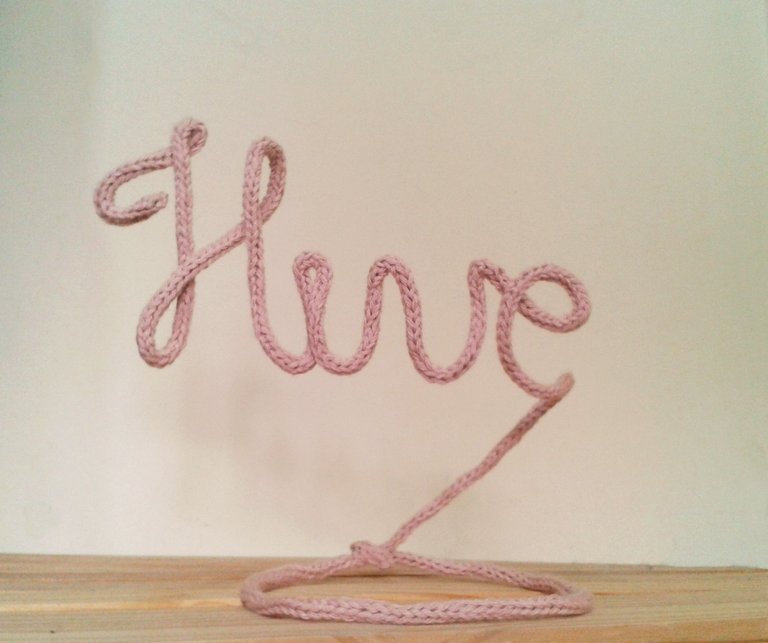
Our word is ready to put it somewhere in our house.
I hope you liked this and try it.
Nuestra palabra está lista para ponerla en algún lugar de nuestra casa.
Espero que les haya gustado y lo prueben.

Photos edited by me in Photoscape.
P/D: This is a crosspost because I was so wishful to post this then I forgot to do it in this community and post it on my blog.
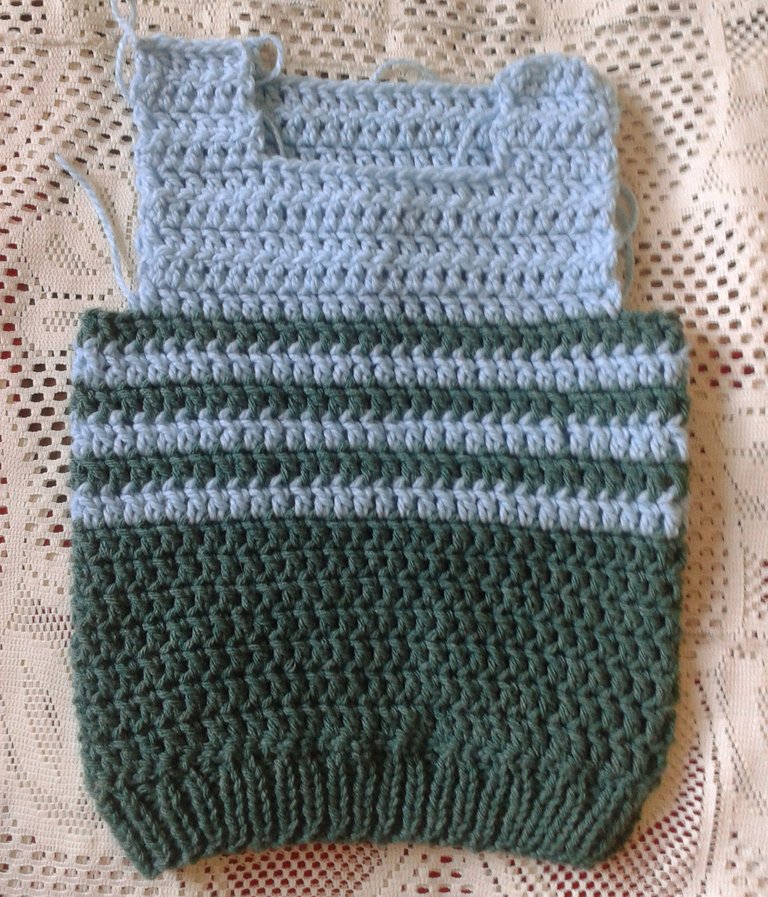
I also use this edit to show you the spoiler of my next project.
Este es un crosspost porque estaba tan ansiosa por publicarlo que me olvidé de poner la comunidad y lo hice en mi blog.
Aprovecho esta edición para mostrarles el spoiler de mi próximo proyecto.
