Se acerca esa fecha importante, especial, las reinas de nuestra casa celebran su día, que mejor forma de darles todo nuestro amor y cariño que consintiéndolas, para demostrarles cuantos nos importan y las queremos.
Existen muchas formas de demostrar ese amor, ya sea con un regalo, un abrazo, unas palabras, en fin, el cielo es el límite, y no hay excusa para expresarles lo que sentimos.
Como dicen por allí, mamá es única, es ese ser humano que Dios te regalo para darte la vida, para estar siempre a tu lado, en las buenas y en las malas, cuando más solo y triste te sientas, allí esta mama para decirte cuanto te ama, cuanto le importas, que no estás solo, y que ella siempre estará allí para ti.
Yo al igual que la gran mayoría, siempre decimos, mi mamá es la mejor del mundo, y siempre le doy gracias a Dios y a la vida por tenerla, por acompañarme, y estar conmigo, en los momentos difíciles.
Amigos de Hive Diy, este día, quise compartirles este sencillo detalle para mamá, porque como dije antes, para un buen regalo, que mejor forma de acompañarlo con una carta especial para ella.
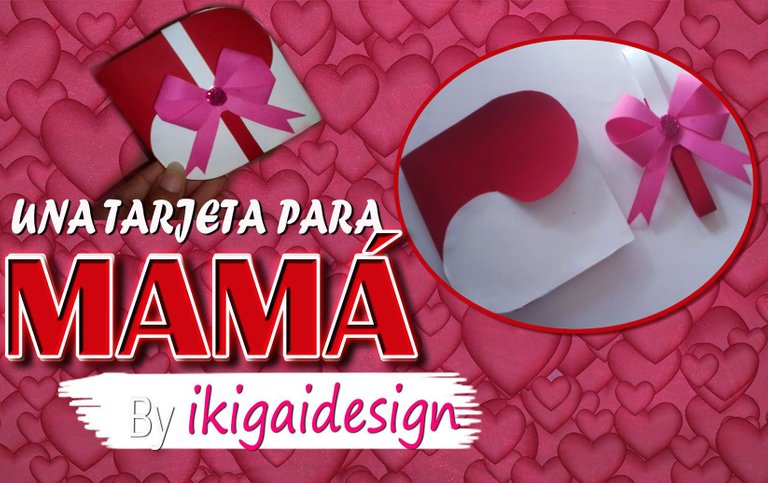
En esta ocasión, y como ya se ha convertido en mi tendencia, les muestro el paso a paso de una carta en forma de corazón para mamá, con cartulina.
Los materiales a utilizar:
🖍️ Cartulina roja y rosada
🖍️ Hoja de papel
🖍️ Tijera
🖍️ Regla
🖍️ Compás
🖍️ Pega blanca
Como lo hice:
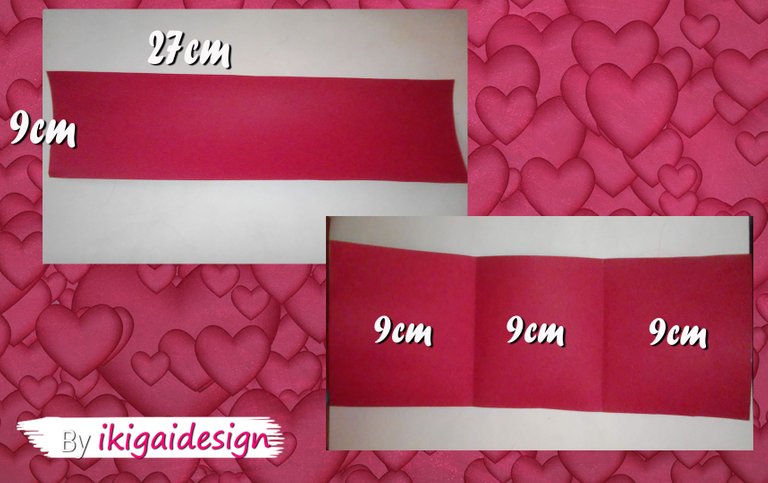
Ahora les muestro como lo hice, para iniciar tomaremos una cartulina roja, de 9x27cm, la dividiremos en tres partes, con 9 cm cada uno.
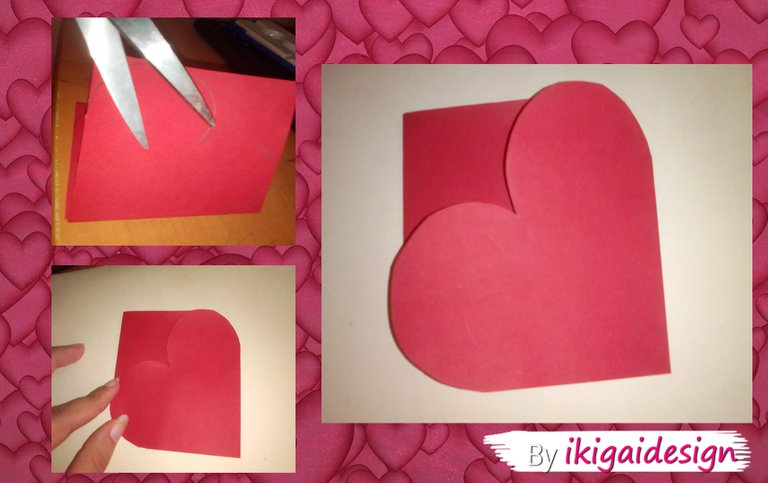
Seguidamente, tomaremos una hoja de papel, de igual medida 9 x 9 cm, y con un compás, haremos unos pequeños círculos, dando de esta forma un corazón.
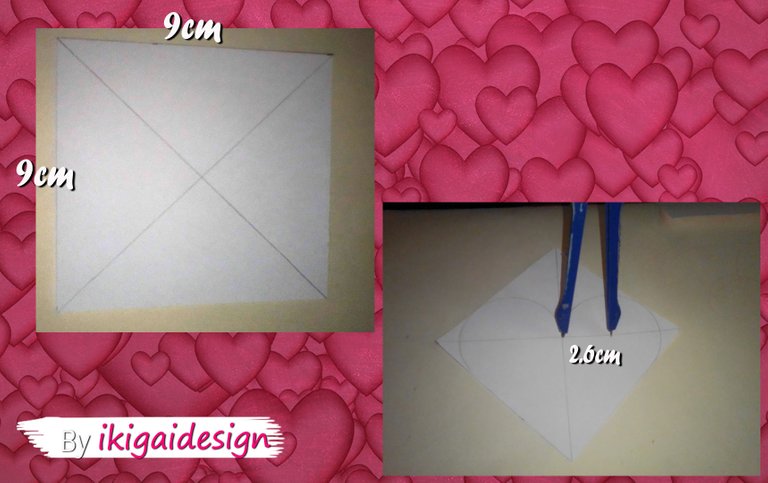
Con esto procederemos a recortarlo, y una vez hecho esto, lo que haremos será remarcarlo en nuestra cartulina roja, para también luego recortarlo, quedando de esta manera.
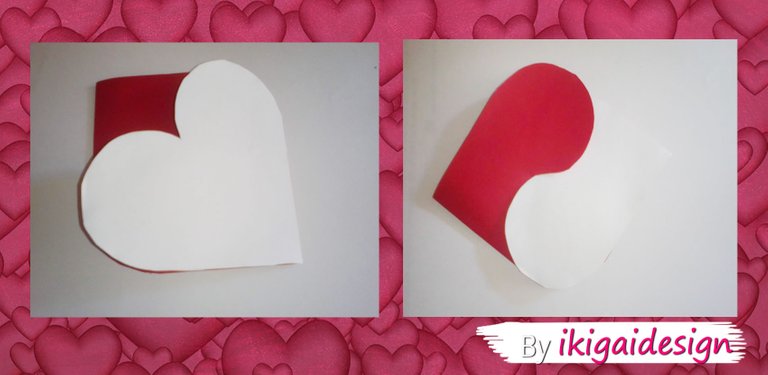
Con esto, tomaremos nuestra hoja blanca con forma de corazón, y la pegaremos en un lado de la cartulina.
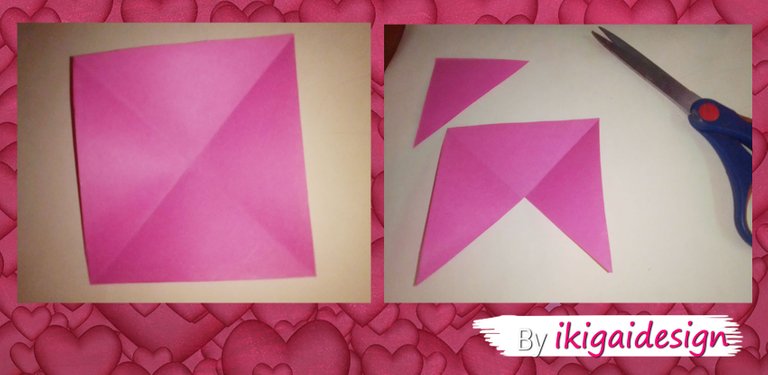
Para decorar nuestra carta, tomaremos otro cuadro de cartulina con las mismas medidas, en esta caso de color rosado (puede ser del color que gustes) para crear un pequeño lazo, y para darle un toque, le pondremos en el medio un pequeño círculo de foami.
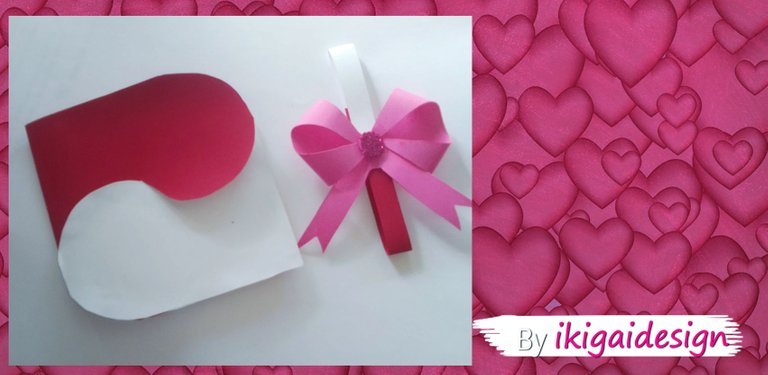
Este lazo lo pegaremos a una pequeña cinta, hecha también con cartulina, para cerrar nuestra carta, quedando de esta forma:
Amigos, como ven, fácil, práctico, sencillo, y llamativo, dentro de la carta, podemos escribir lo que queramos, felicitando a nuestra madre, o a esa persona especial para ti.
No me queda más nada que desearles un feliz día a todas las mamis bellas de esta linda comunidad, y de nuestra blockchain, espero pasen un maravilloso día, reciban muchas muestras de amor y cariño, que Dios las siga bendiciendo.
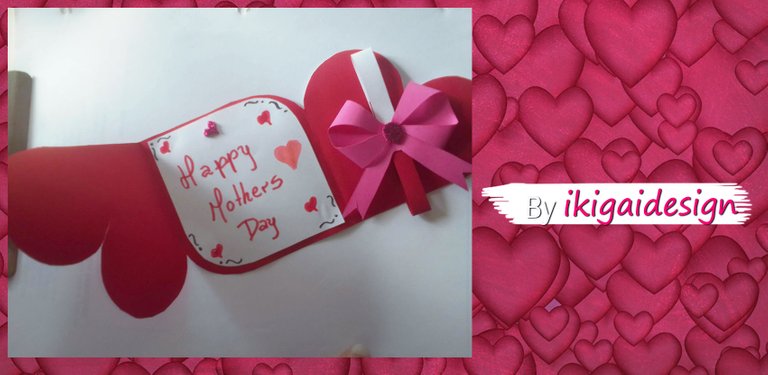

Portada y Banner editado con Photoshop
Fondo imagen
Fotos de mi Propiedad
Teléfono: ZTE BLADE A3
ENGLISH VERSION
A Card for Mother
That important, special date is approaching, the queens of our house celebrate their day, what better way to give them all our love and affection than by spoiling them, to show them how much we care about them and how much we love them.
There are many ways to show that love, whether with a gift, a hug, a few words, in short, the sky is the limit, and there is no excuse to express what we feel.
As they say over there, mum is unique, she is that human being that God gave you to give you life, to always be by your side, in good times and bad, when you feel most lonely and sad, there is mum to tell you how much she loves you, how much she cares, that you are not alone, and that she will always be there for you.
I, like most people, always say, my mum is the best in the world, and I always thank God and life for having her, for being with me, and for being with me, in the hard times.
Friends of Hive Diy, this day, I wanted to share with you this simple detail for mum, because as I said before, for a good gift, what better way to accompany it with a special letter for her.
On this occasion, and as it has already become my trend, I show you the step by step of a heart-shaped letter for mum, with cardboard.
Materials to be used:
🖍️ Red and pink construction paper
🖍️ Sheet of paper
🖍️ Scissors
🖍️ Ruler
🖍️ Compass
🖍️ White glue
How I did it:
Now I show you how I did it, to start we will take a red cardboard, 9x27cm, we will divide it into three parts, with 9 cm each.

Next, we will take a sheet of paper, of the same size, 9 x 9 cm, and with a compass, we will make some small circles, giving a heart shape.

With this we will proceed to cut it out, and once we have done this, we will mark it out on our red cardboard, and then cut it out in this way.

With this, we will take our white sheet in the shape of a heart, and we will stick it on one side of the cardboard.

To decorate our card, we will take another square of cardboard with the same measurements, in this case pink (it can be any colour you like) to create a small bow, and to give it a touch, we will put a small circle of foami in the middle.

This ribbon will be glued to a small ribbon, also made with cardboard, to close our letter, and it will look like this:
Friends, as you can see, easy, practical, simple, and eye-catching, inside the letter, we can write whatever we want, congratulating our mother, or that special person for you.
I have nothing left but to wish a happy day to all the beautiful mommies of this beautiful community, and our blockchain, I hope you have a wonderful day, receive many tokens of love and affection, may God continue to bless you.

Thank you for reading me so far, if you like it let me know in the comments, see you in the next one.
Cover and Banner edited with Photoshop
Picture used
Photos of my Property
Phone: ZTE BLADE A3
Traductor de Deepl
