ESPAÑOL
Les mando un saludo a cada uno de los hivers que hacen vida en esta comunidad.
Les cuento que, a lo largo de mi vida y de mi carrera como docente no soy de tener mucha habilidad en la parte de manualidades, sin embargo llegan a mi ciertos casos dónde debo esforzarme demás para que dichas manualidades se me den, y pues este es uno de ellos.
Ayer la maestra de mis gemelas, las cuales tienen 3 años, manda un mensaje por el grupo que tenemos de WhatsApp para todo el salón, informando que, el grupo el día lunes tendrá una actividad de títeres, pero que dichos títeres no sean grandes, que sean títeres para dedos, específicó los animales que debían llevar cada niño, a Georgette mi gemela mayor le todo una jirafa y a Sabira mi gemela menor le todo un conejo.
Les voy a ser sincera, cuando mandan este tipo de mensajes de las escuelas, que yo sé que conlleva algo que tenga que ver con manualidades, yo sufro jajajaja, es que de verdad trato de buscar paso a paso, tutoriales y lo que sea que me lleve a elaborar bien este tipo de trabajos, pero siento que aún me falta mucho por aprender, realmente siempre se los digo a las maestras de mis hijos y ellas lo que hacen es reírse, pero siempre coloco todo mi empeño para que los trabajos de mis hijos queden bien y así, ellos puedan disfrutarlo.
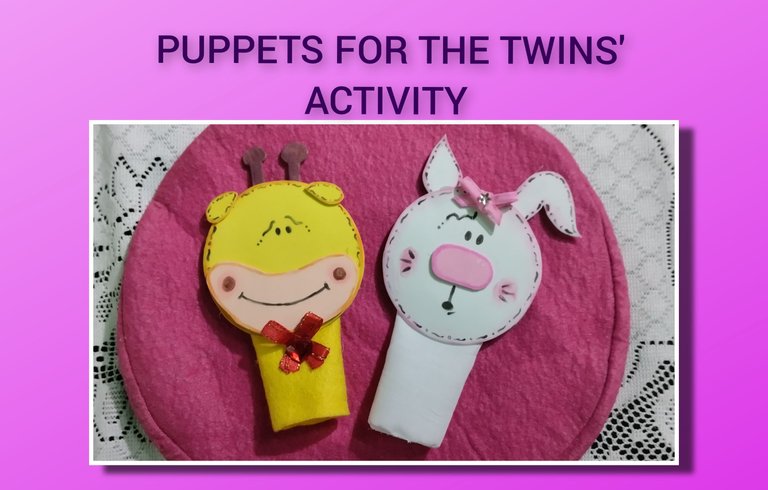
Así que, les voy a mostrar el paso a paso de como realice el titere de jirafa, que fue por el que comencé, luego el de conejo, realmente no me quedaron idénticos a los que la maestra me pasó como referencia pero, para serles honesta pienso que, no me quedaron tan mal.
MATERIALES A UTILIZAR:
- Foami de color amarillo.
- Creyones y marcadores variados.
- Fieltro o tela.
- Lápiz.
- Tijera.
- Aguja e hilo para coser.
ELABORACION
En el Foami se dibujan 2 círculos, el tamaño de los mismos dependerá de que tan grande o tan pequeño lo quieras hacer, en este caso coloque como molde un vaso pequeño.
Luego de ello recorte ambos círculos para que me quedarán del mismo tamaño.
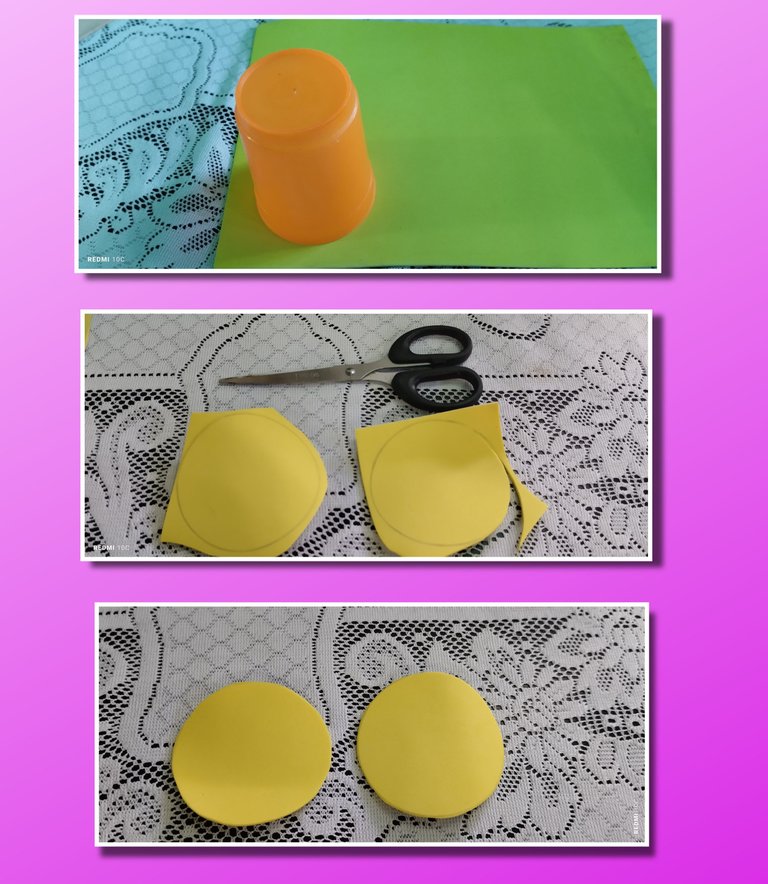
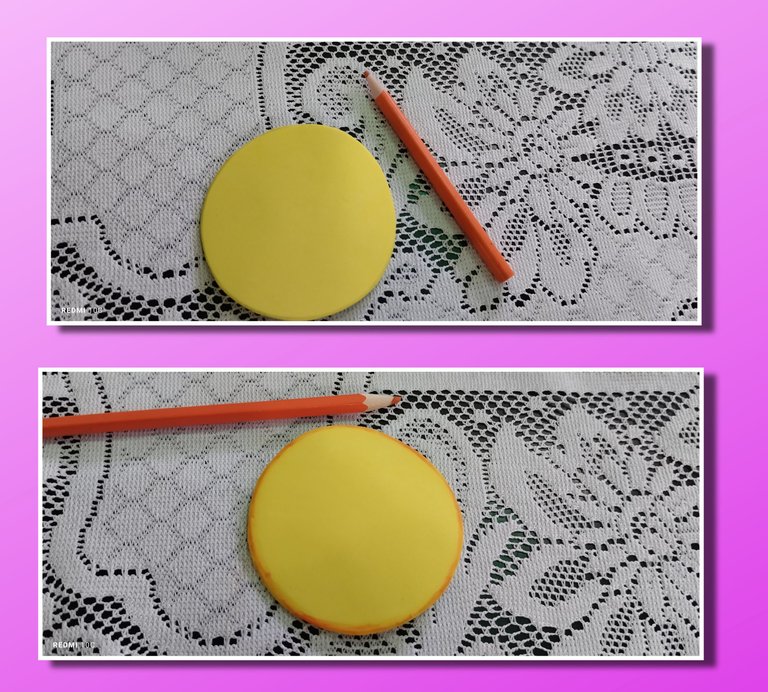
- Cómo el círculo es amarillo, el color que contrasta para difuminarlo es color naranja, usualmente se realiza con pintura, pero como tenía, lo realice con un creyon, por todo el borde.
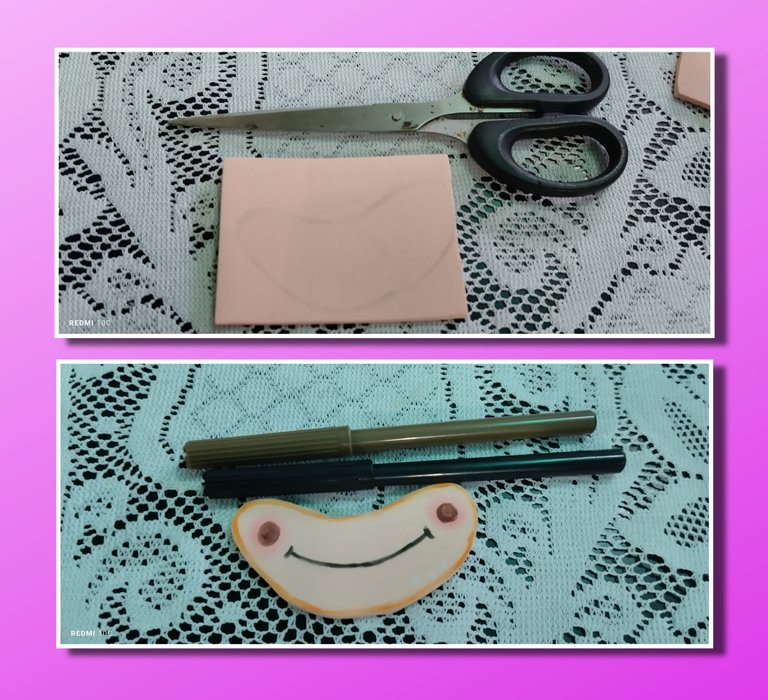
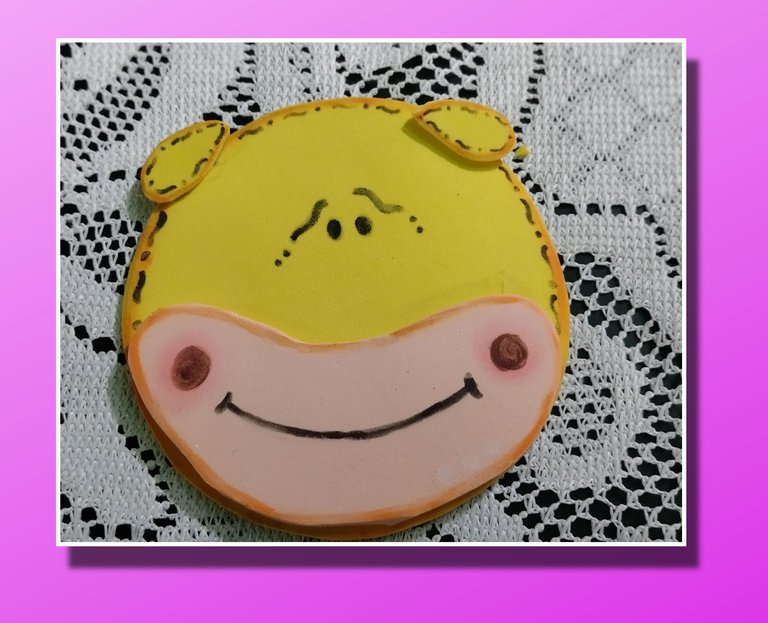
- Posterior a ello, con un foami color piel, dibuje lo que sería la parte de los cachetes y la boca de la jirafa, la difuminé también con color naranja, sin apoyar mucho para que quedara más claro, luego le dibuje con negro la sonrisa y las mejillas le coloque 2 círculos pequeños colo marrón.
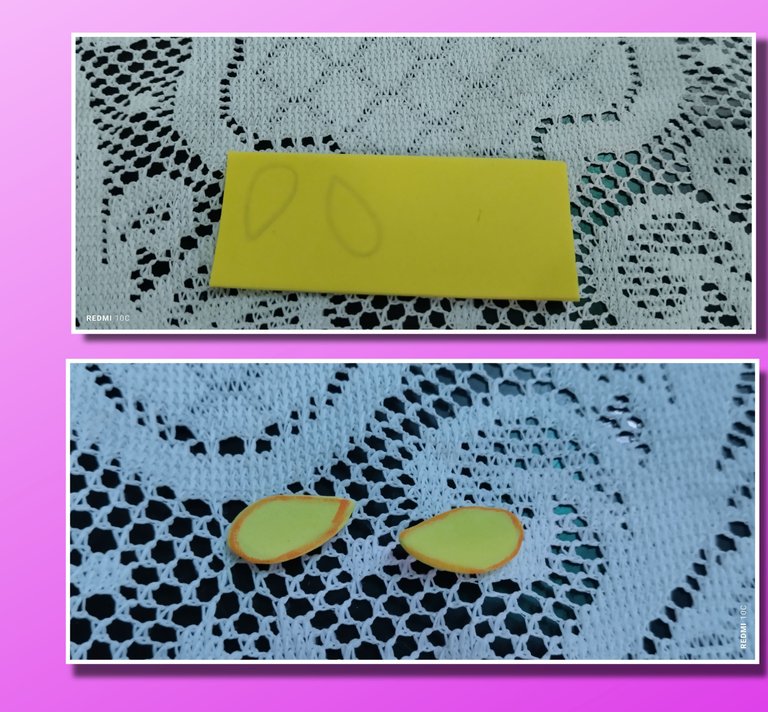
- Aparte, dibuje lo que vendría siendo las orejas y de igual manera las difumine con color naranja.
- Al tenerte todo esto, procedí a pegarlos para que la cara de la jirafa empezará a tomar forma.
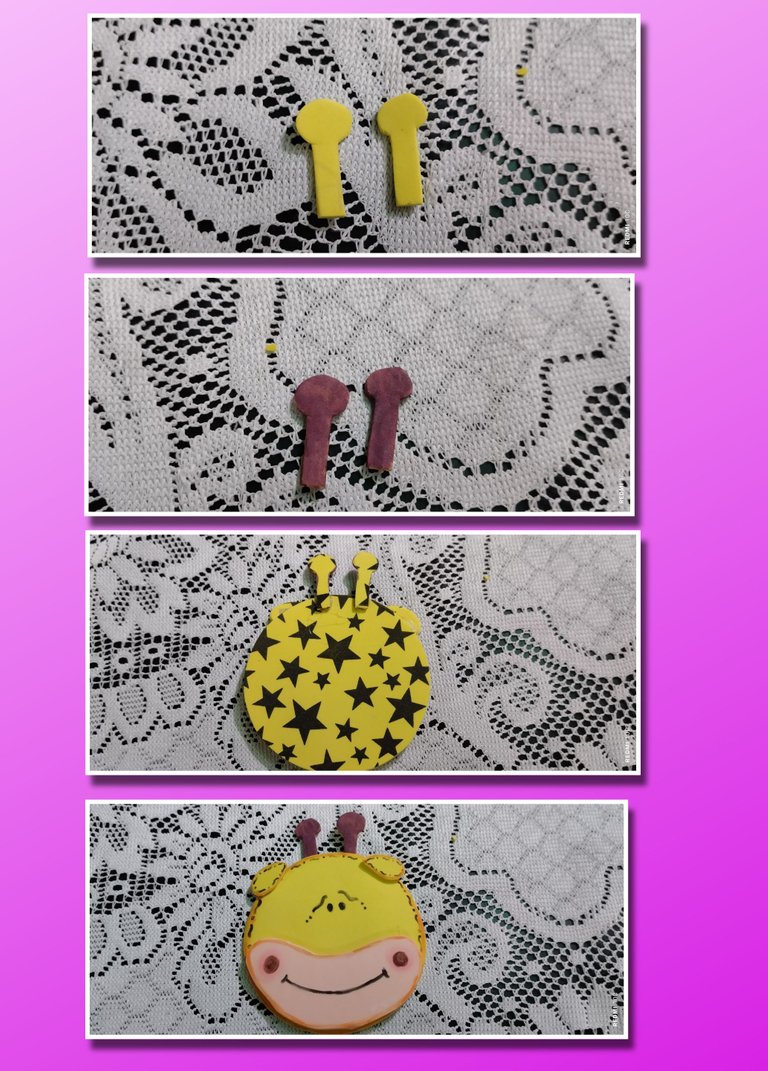
- Aún me faltaba los cachos, pero no tenía foami color marrón, así que los dibuje y los recorte con el Foami color amarillo y lo que hice fue, pintarlos con un creyon color marrón y los pegué por la parte de atrás de la cabeza.
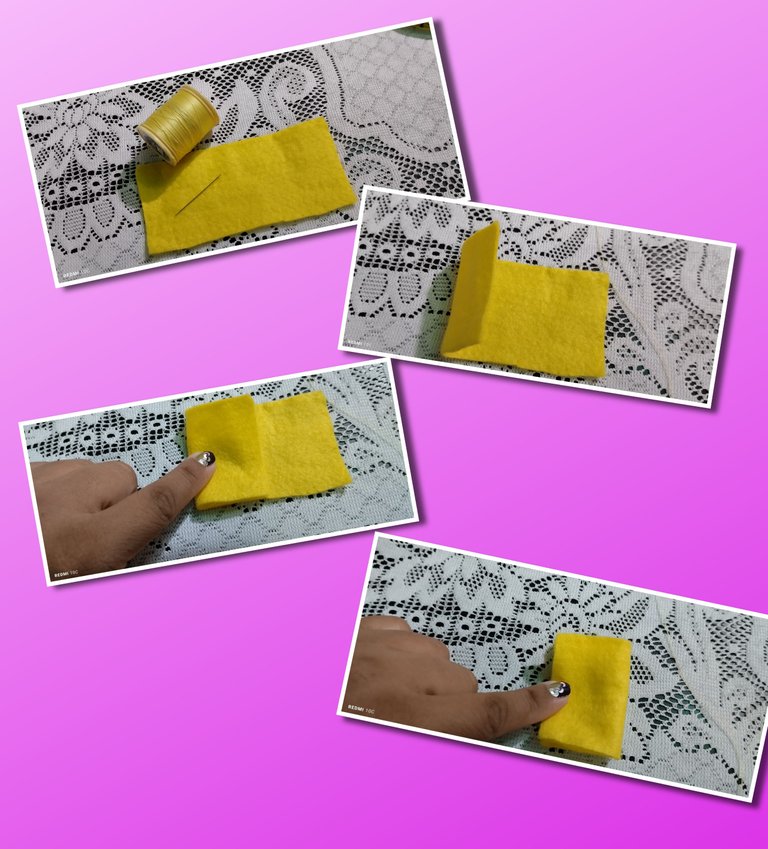
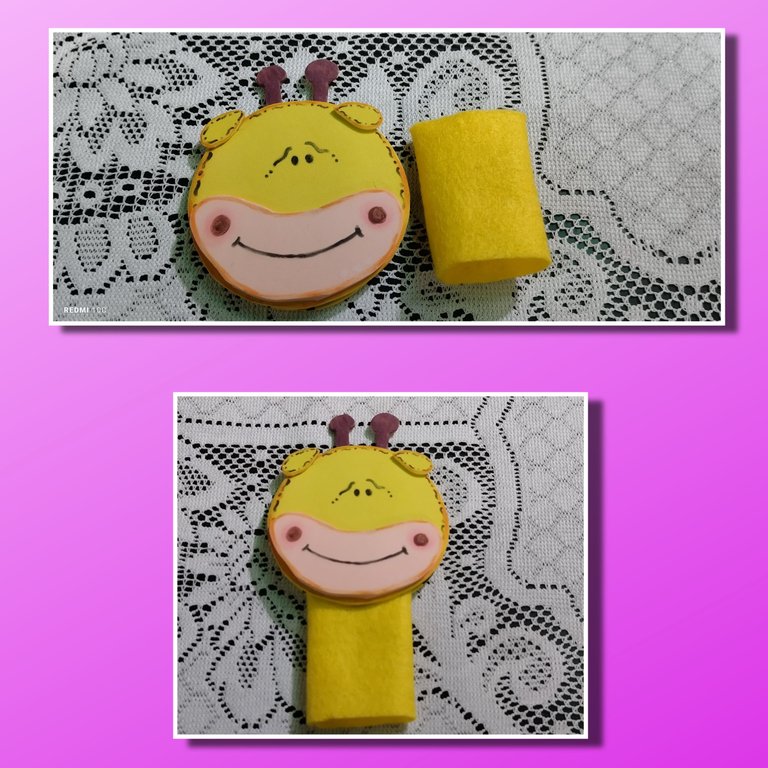
Ya teniendo la cabeza lista, tomé una tela de fieltro y corte un rectángulo de 10 centímetros de largo, le doble cada punta y procedí a coserlo para hacer el cuerpo de la jirafa, que a su vez es donde van los dedos de las niñas, luego lo pegue por la parte de atrás de la cabeza en conjunto con el otro círculo amarillo y así obtuvimos un lindo titere en forma de jirafa.
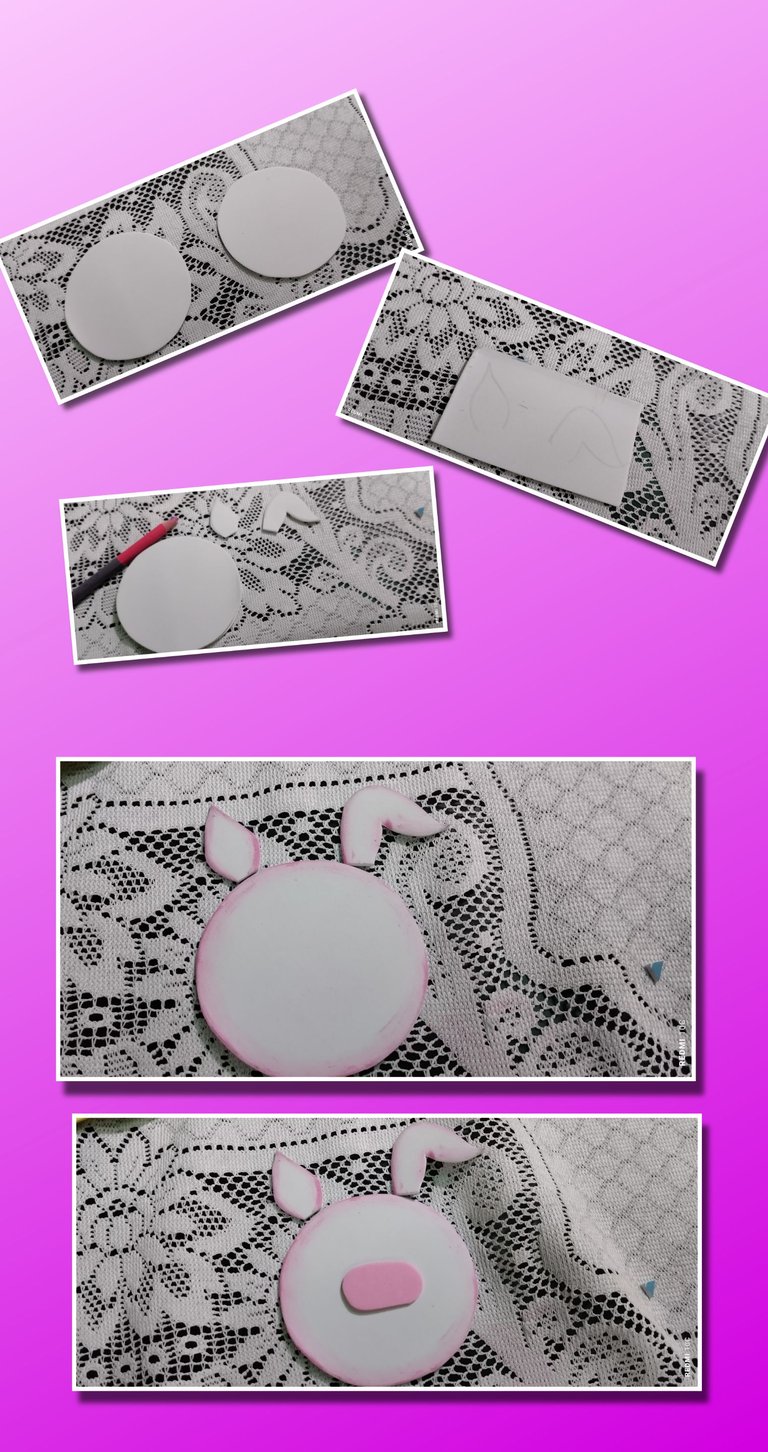
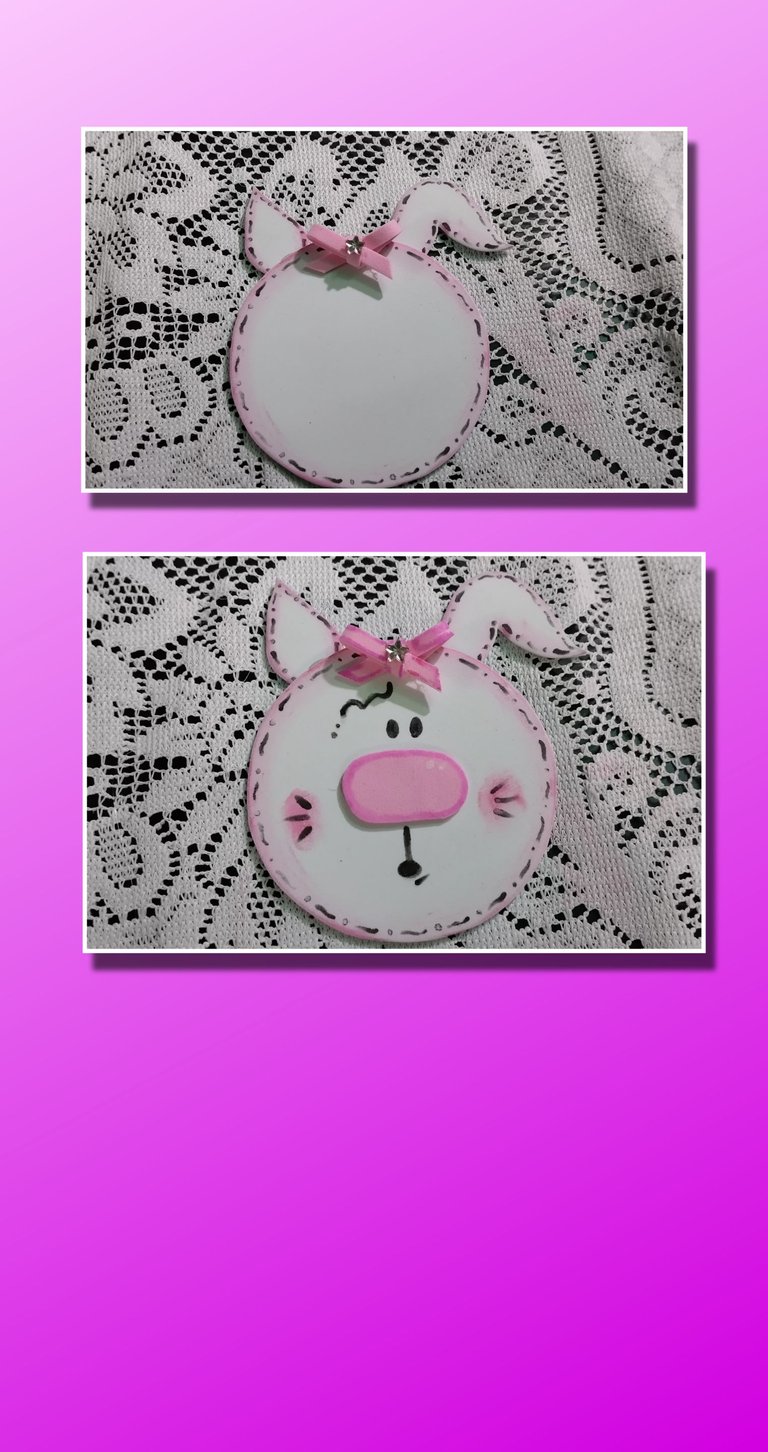
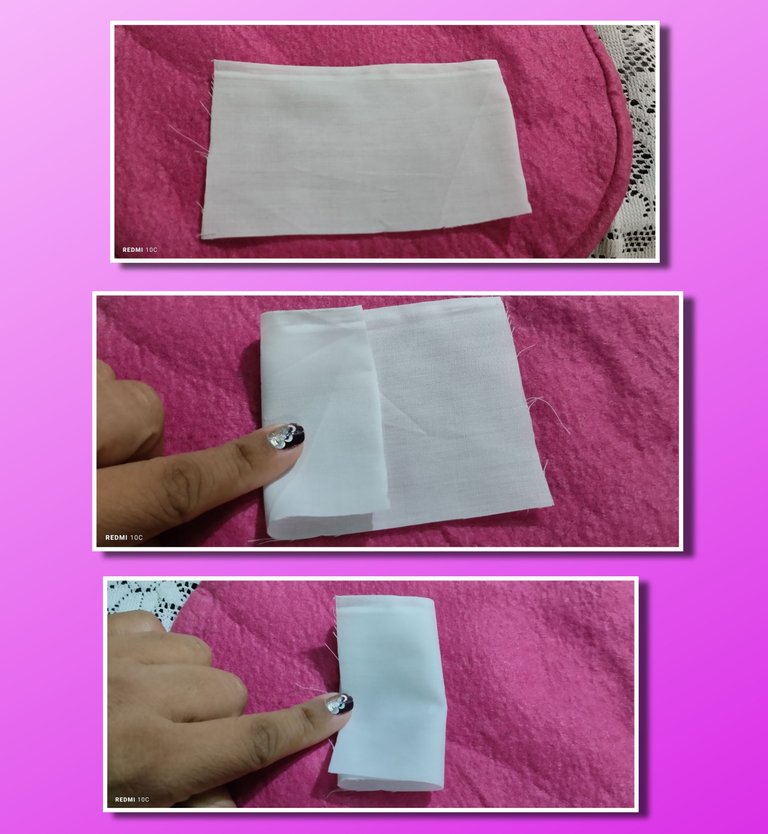
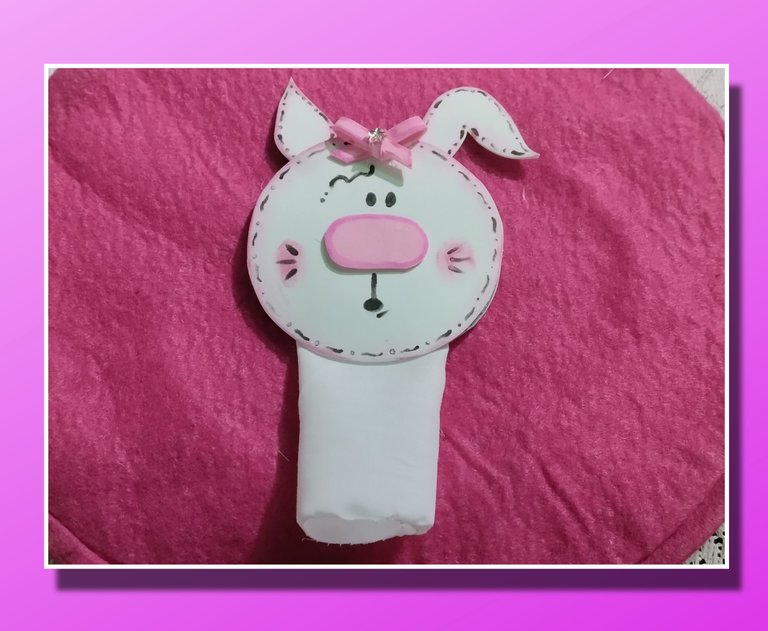
- Para el conejo utilizamos los mismos materiales, lo único que varía es el color, ya que el conejo es de color blanco y la difuminación es de color rosado, aquí les dejo las fotos para que vean.
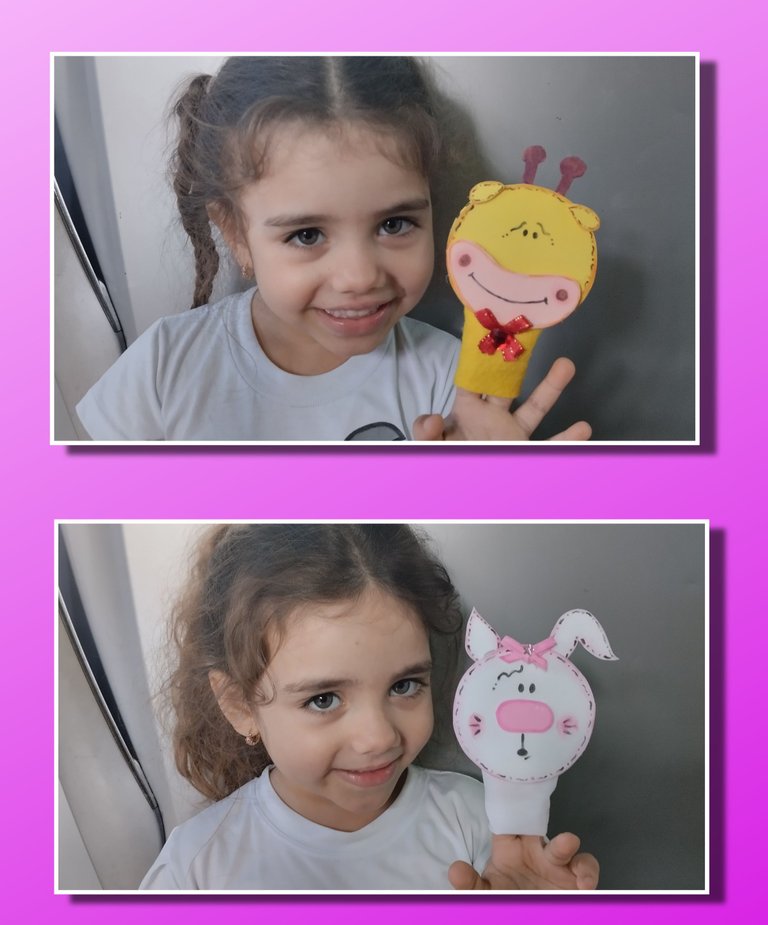
A mis gemelas les encantaron sus títeres, espero disfruten de su actividad.
Gracias por leer parte de mí, les envío un abrazo cargado de bendiciones.
ENGLISH
I send greetings to each one of the hivers that make life in this community.
I tell you that, throughout my life and my career as a teacher I am not very skilled in the crafts part, however there are certain cases where I have to make an extra effort so that these crafts are given to me, and this is one of them.
Yesterday the teacher of my twins, who are 3 years old, sent a message through the WhatsApp group that we have for the whole classroom, informing that, the group on Monday will have a puppet activity, but that these puppets are not big, that they are finger puppets, she specified the animals that each child should bring, Georgette my older twin got a giraffe and Sabira my younger twin got a rabbit.
I am going to be honest, when they send this kind of messages from schools, which I know involves something that has to do with crafts, I suffer hahahaha, is that I really try to look for step by step tutorials and whatever it takes me to elaborate well this kind of work, but I feel that I still have a lot to learn, I really always tell the teachers of my children and what they do is laugh, but I always put all my efforts to make my children's work well and so they can enjoy it.
So, I am going to show you the step by step of how I made the giraffe puppet, which was the one I started with, then the rabbit one, they were not really identical to the ones the teacher gave me as a reference but, to be honest I think they were not that bad.
MATERIALS TO USE:
- Yellow Foami.
- Crejones and assorted markers.
- Felt or fabric.
- Pencil.
- Scissors.
- Needle and thread for sewing.
ELABORATION
Draw 2 circles on the Foami. The size of the circles will depend on how big or small you want to make it, in this case I used a small glass as a mold.
Then cut out both circles so that they will be the same size.

- As the circle is yellow, the color that contrasts to blur it is orange, usually it is done with paint, but as I had, I did it with a creyon, all around the edge.

- After that, with a skin-colored foami, I drew what would be the part of the cheeks and mouth of the giraffe, I also blurred it with orange color, without supporting much to make it clearer, then I drew with black the smile and the cheeks I placed 2 small circles with brown color.

- Besides, I drew what would be the ears and in the same way I blurred them with orange color.

- Once I had all this, I proceeded to glue them so that the giraffe's face would begin to take shape.

- I still needed the horns, but I didn't have brown foami, so I drew them and cut them out with yellow foami and what I did was to paint them with brown creyon and glued them on the back of the head.

Once the head was ready, I took a felt fabric and cut a rectangle of 10 centimeters long, folded each end and proceeded to sew it to make the body of the giraffe, which in turn is where the fingers of the girls go, then I glued it on the back of the head together with the other yellow circle and thus we obtained a nice giraffe-shaped puppet.


- For the bunny we used the same materials, the only thing that varies is the color, since the bunny is white and the blur is pink, here are the pictures for you to see.


My twins loved their puppets, I hope they enjoy their activity.

