Hello dear hive community! 😉
¡Hola querida comunidad de hive! 😉
No sé si a los demás hivers que hacen bisutería para ésta comunidad les ocurre lo mismo que a mí, y es que cuando voy a comprar material para realizar encargos casi siempre me compro un dije o algo para hacerme una pulsera o un collar para mí. Cómo hoy es mi cumpleaños, compre un dije de “H” para hacerme una pulsera ya que tengo varios collares con mi inicial, además de ser la inicial de mi nombre también lo es de esta plataforma Hive.
Así que se me ocurrió hacer una pulsera en tejido macramé con el dije en el centro y las puntas colocar balines de acero. Me decidí por este sencillo diseño ya que es ideal para usar a diario… Así que sin más que decir, comencemos.
I don't know if the other hivers who make jewelry for this community have the same thing that happens to me, and when I go to buy material to make orders I almost always buy a pendant or something to make a bracelet or a necklace for me. As today is my birthday, I bought an "H" pendant to make me a bracelet because I have several necklaces with my initial, besides being the initial of my name it is also the initial of this Hive platform.
So I came up with the idea of making a macramé bracelet with the charm in the center and the ends made of steel balls. I decided on this simple design because it is ideal for everyday wear... So without further ado, let's get started.
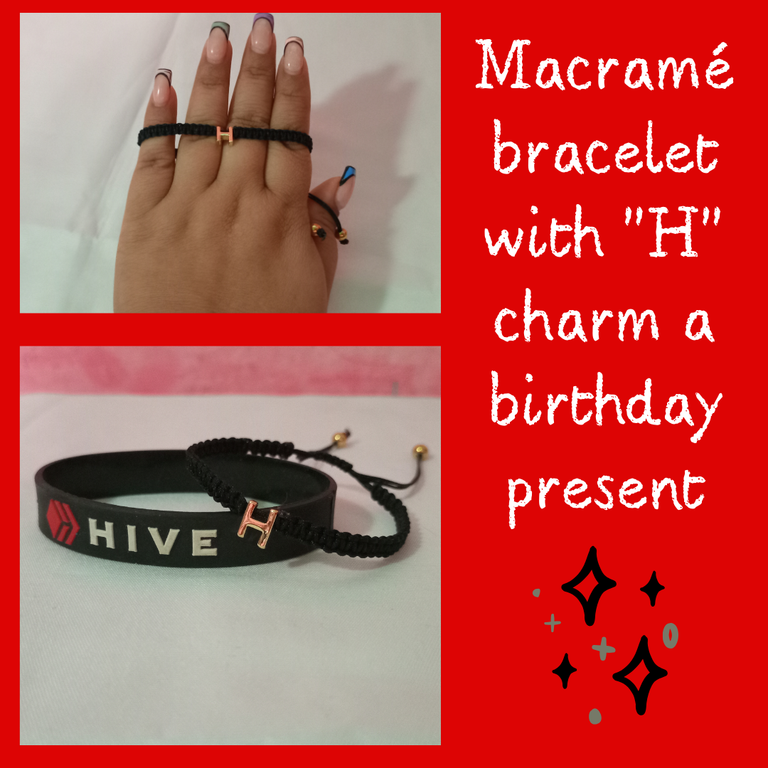
Imagen realizada con la página web de diseño gráfico y composición de imágenes Canva // Image made with the graphic design and image composition website Canva.


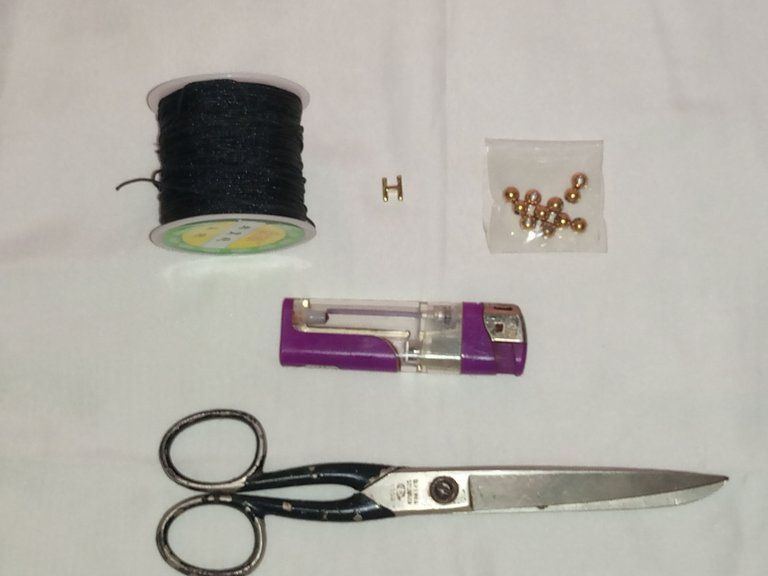
- Hilo Chino (Del color de tu preferencia)
- Dije de letra en acero
- Dos balines de acero
- Tijera
- Encendedor
- Chinese thread (color of your choice)
- Steel letter charm
- Two steel balls
- Scissors
- Lighter


Para comenzar con la construcción de la pieza, procedemos a tomar el hilo, colocarlo doble y medimos el largo deseado para nuestra pulsera. Una vez tengamos la medida procedemos a cortar, a lo que llamaremos el hilo base porque en él vamos a tejer la pulsera.
To begin with the construction of the piece, we proceed to take the thread, place it double and measure the desired length for our bracelet. Once we have the measurement we proceed to cut what we will call the base thread because we are going to weave the bracelet with it.
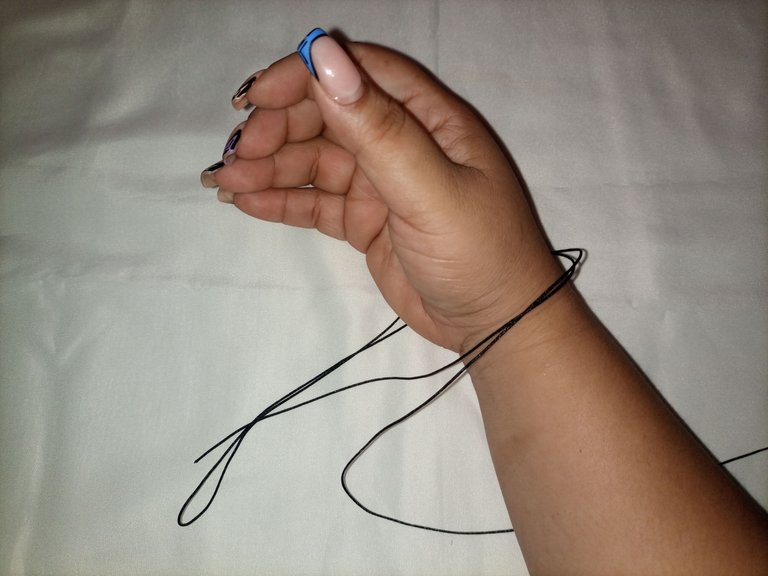
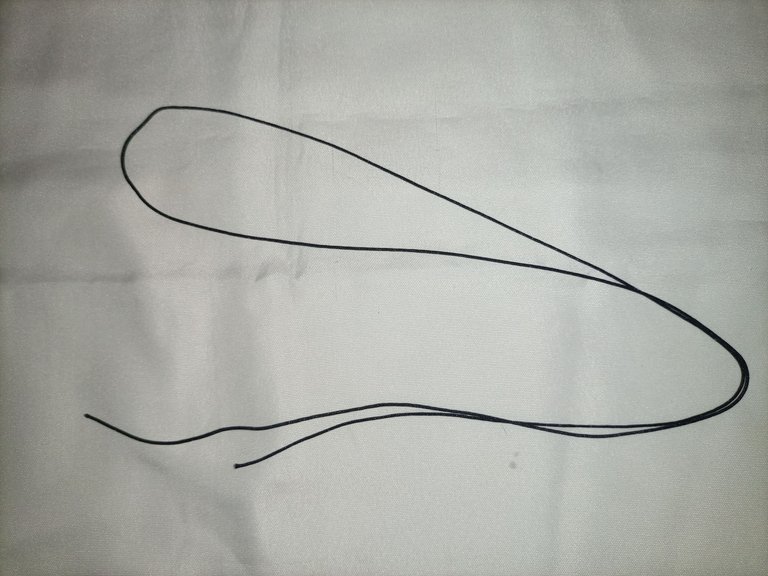
Una vez hayamos cortado el hilo, tomamos las puntas, las juntamos y hacemos un nudo.
Once we have cut the thread, we take the ends, join them together and tie a knot.
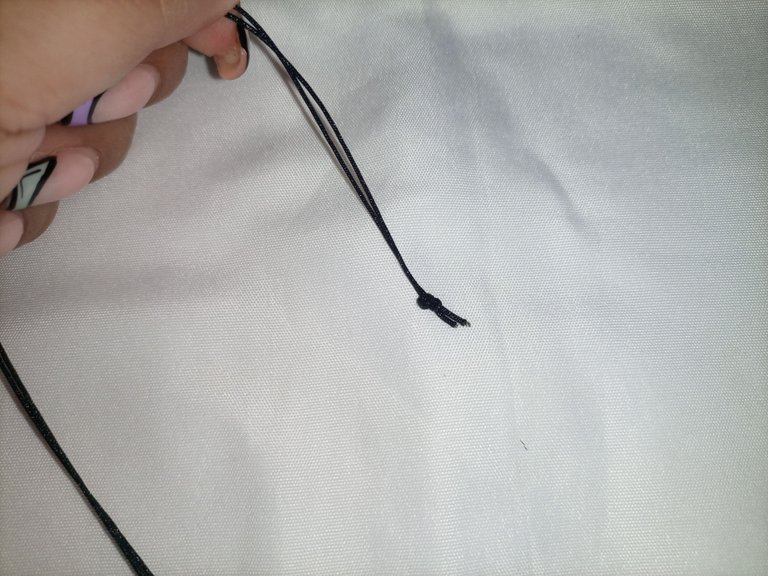
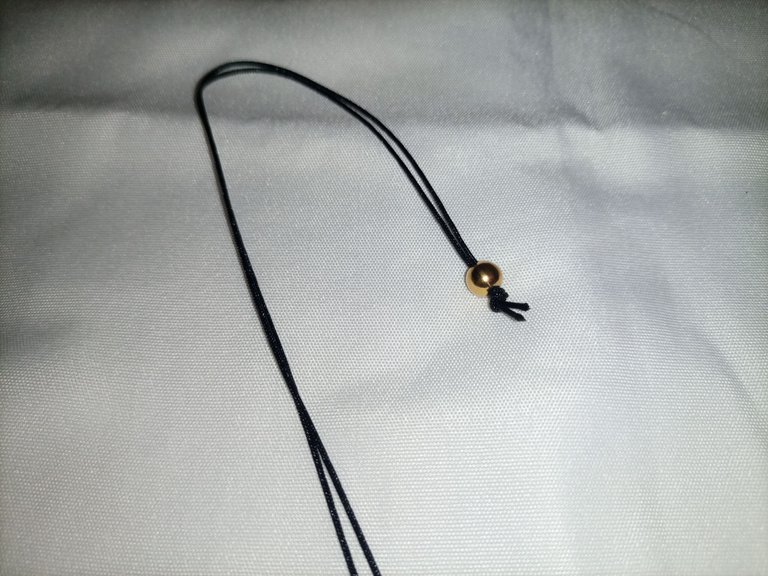
Ahora procedemos a incorporar uno de nuestros balines y lo colocamos en el extremo, justo donde hicimos el nudo.
Now we proceed to incorporate one of our pellets and place it at the end, just where we tied the knot.
Es momento de tejer la primera parte de la pulsera. Entonces tomaremos nuevamente el hilo y mediremos el doble del primer trozo de hilo y cortaremos.
It is time to weave the first part of the bracelet. Then we will take the yarn again and measure double the first piece of yarn and cut.
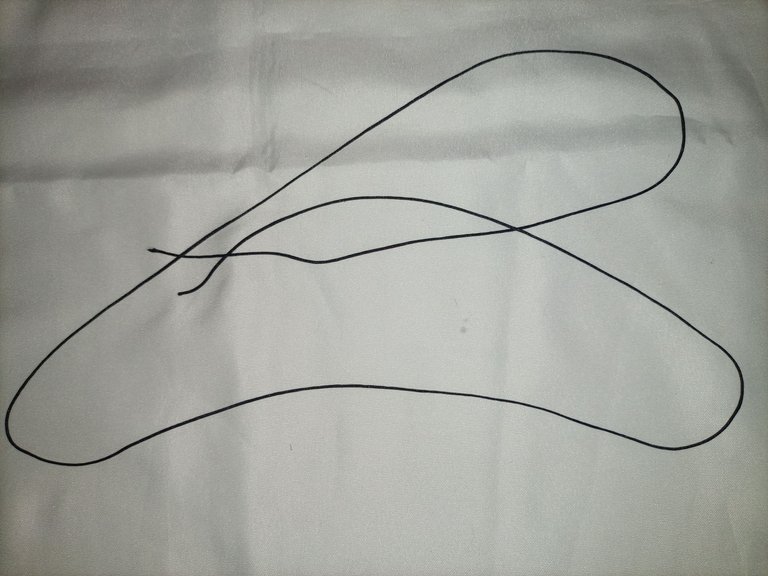
Luego lo ubicamos debajo de nuestro hilo base, justo donde queremos que comience nuestra pulsera. Hacemos un lazo como se ve en la imagen a continuación:
Then we place it under our base thread, right where we want our bracelet to start. We make a loop as seen in the image below:
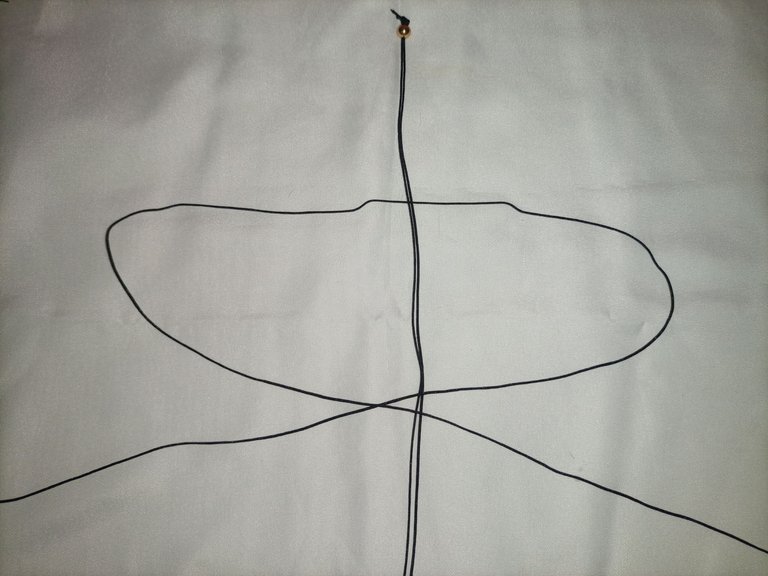
Procedemos a tejer el macramé, recordando alternar cada lado. Visualicemos las siguientes imágenes.
We proceed to weave the macramé, remembering to alternate each side. Let's visualize the following images.
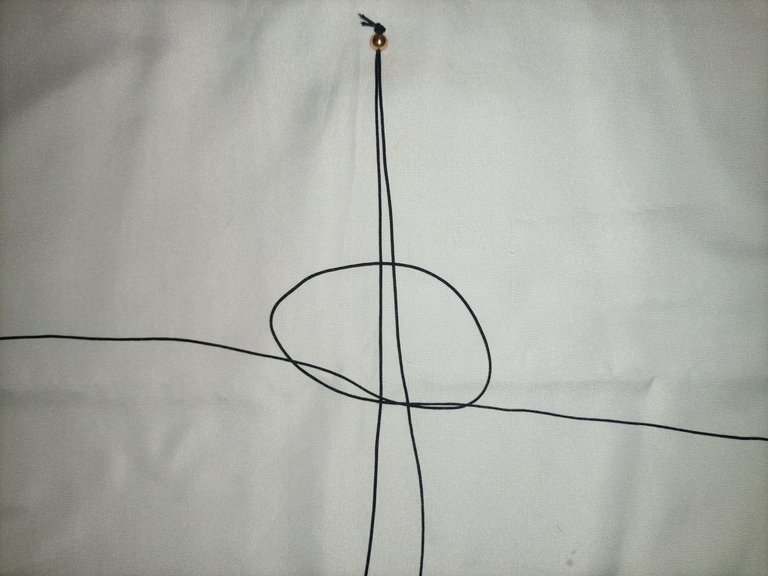
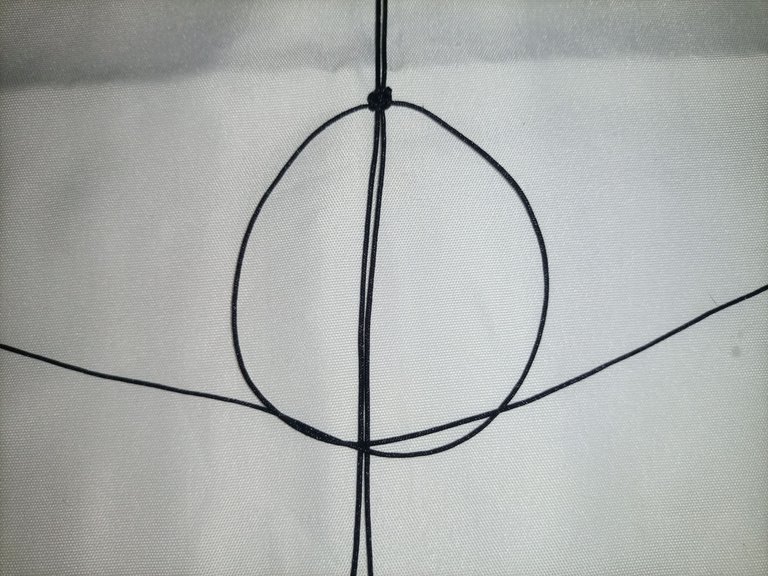
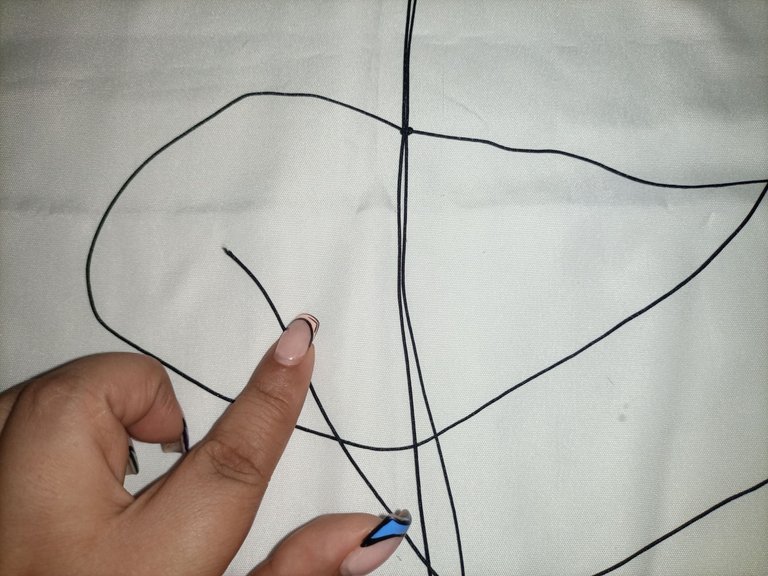
Vamos a tejer justo hasta la mitad de nuestra pulsera.
We are going to weave right up to the middle of our bracelet.
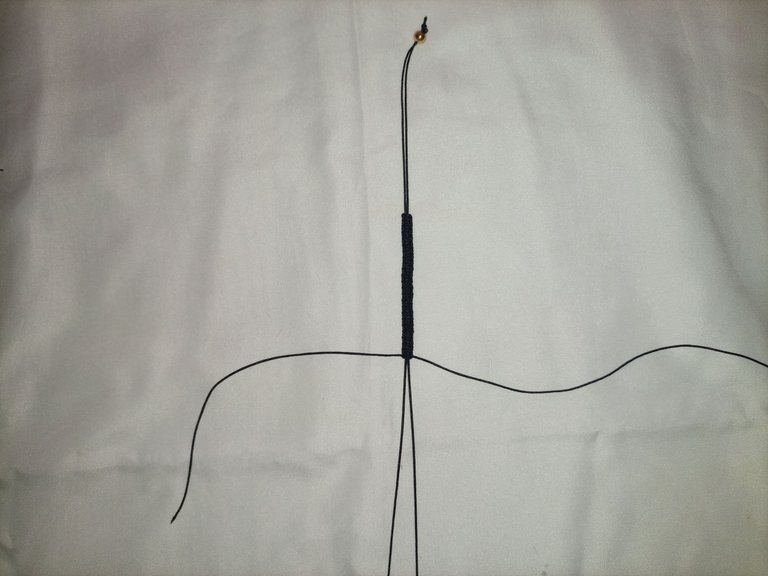
Entonces cuando ya tengamos listo nuestro primer tejido, colocaremos nuestro dije.
Then when we have our first weave ready, we will place our charm.
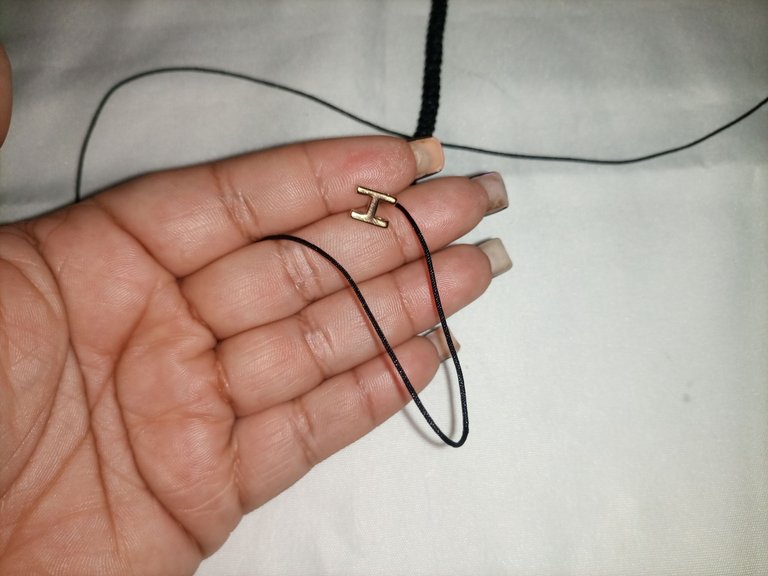
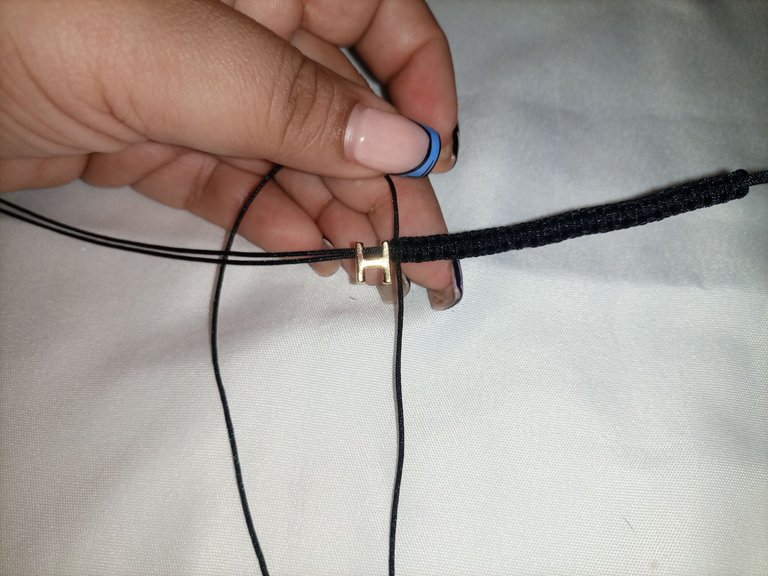
Entonces después de colocar el dije, nuevamente comenzaremos a tejer la otra mitad de la pulsera, repetiremos el tejido macramé como lo hicimos en la primera parte.
Then after placing the charm, we will again start weaving the other half of the bracelet, repeating the macramé weaving as we did in the first part.
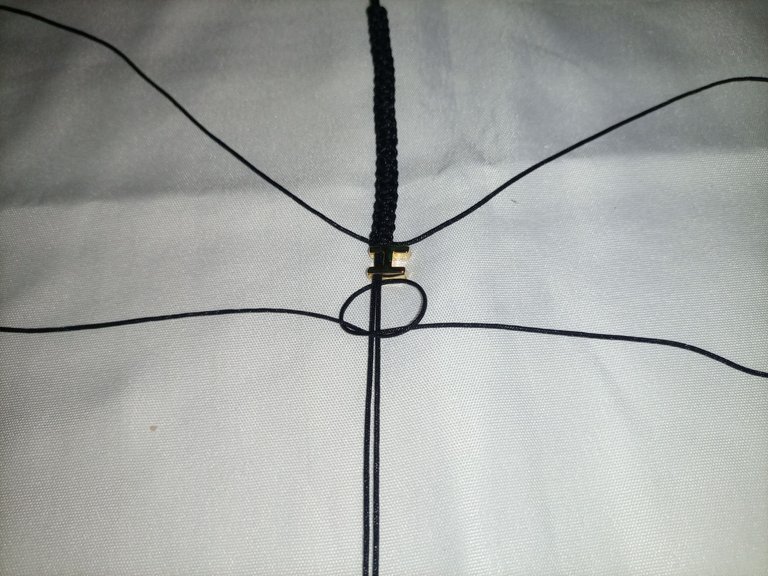
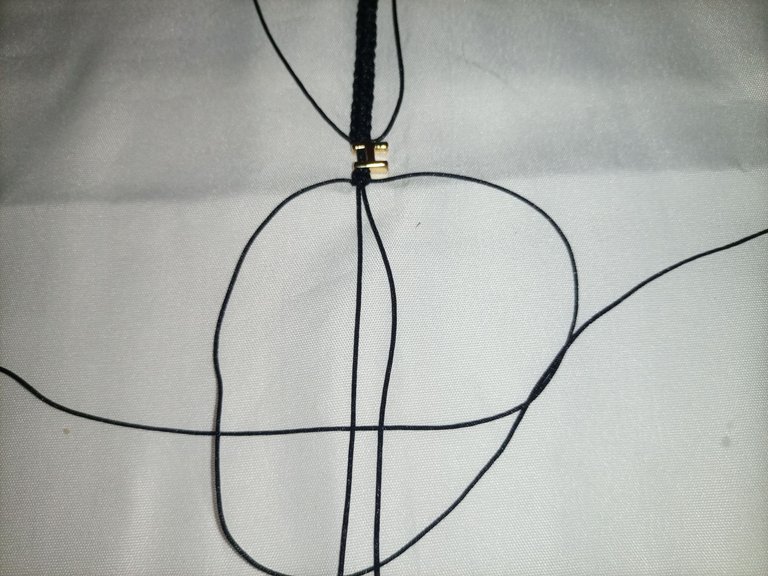
Al tener listo nuestro tejido, procederemos a incorporar el siguiente balin en el otro extremo de la pulsera y procedemos a hacer un nudo para sujetar el balin.
Once our weave is ready, we will proceed to incorporate the next ball on the other end of the bracelet and proceed to tie a knot to hold the ball.
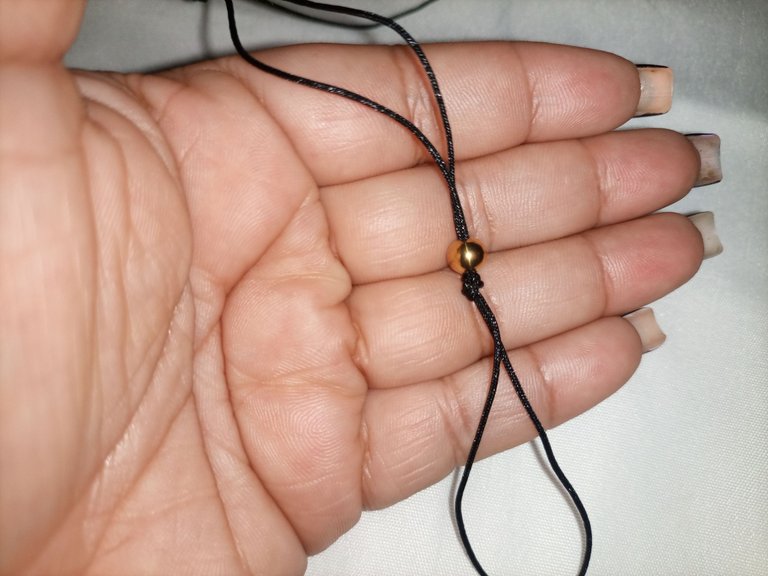
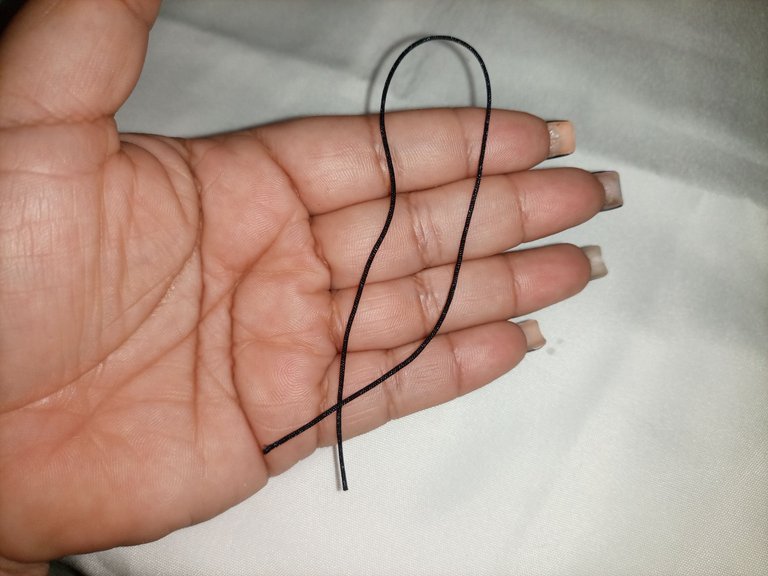
Ahora vamos a tomar nuevamente el hilo y cortaremos un trozo pequeño para poder cerrar nuestra pulsera.
Now we are going to take the thread again and cut a small piece to close our bracelet.
Con la ayuda de unas pinzas y el hilo que recién cortamos vamos a tejer un macramé que nos ayudará a abrir y cerrar la pulsera, tal como lo vemos en las imágenes.
With the help of tweezers and the thread we just cut, we are going to weave a macramé that will help us to open and close the bracelet, as shown in the images.
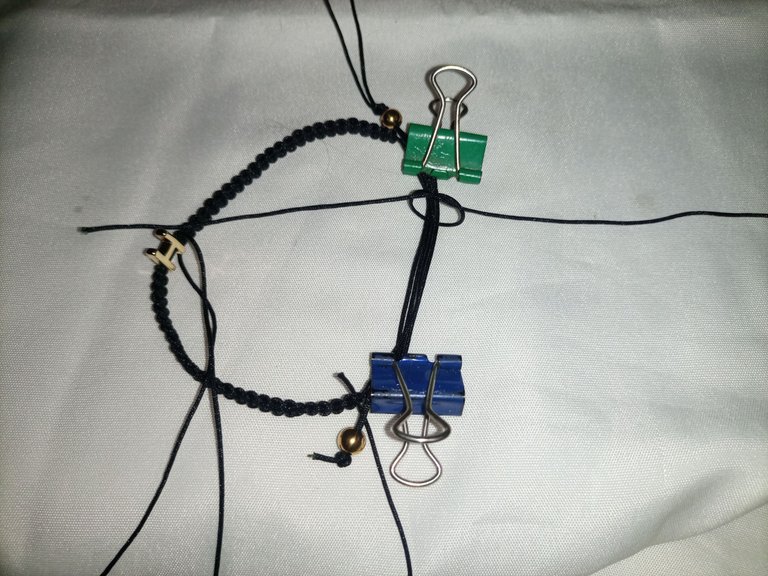
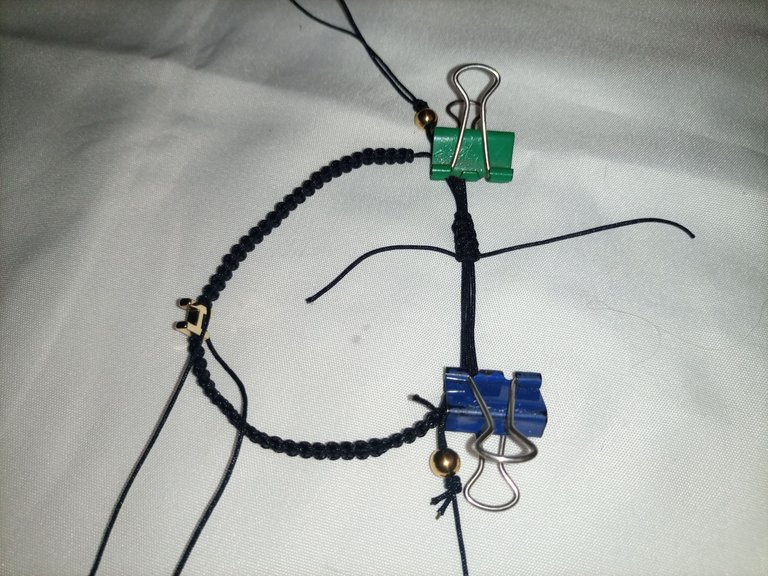
Una vez ya terminamos de tejer y cerrar la pulsera, entonces cortamos los excedentes y quemamos los extremos para darle seguridad a la pieza.
Once we have finished weaving and closing the bracelet, we then cut off the excess and burn the ends to secure the piece.
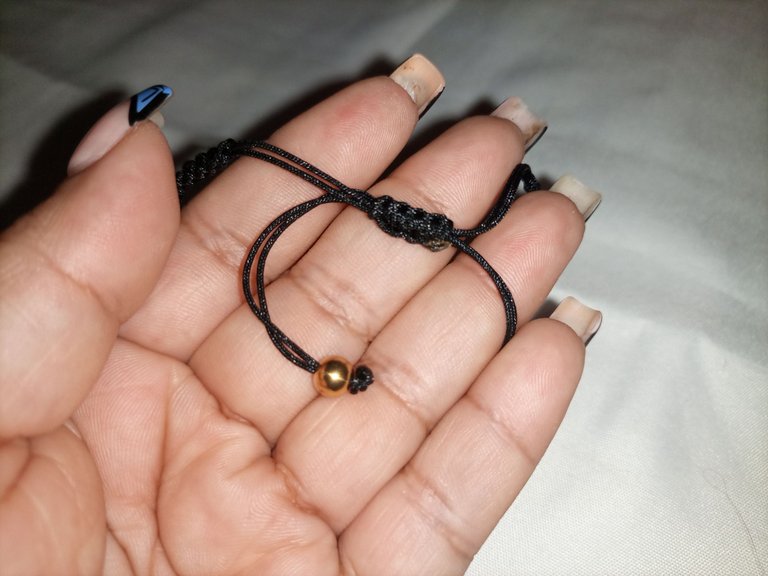
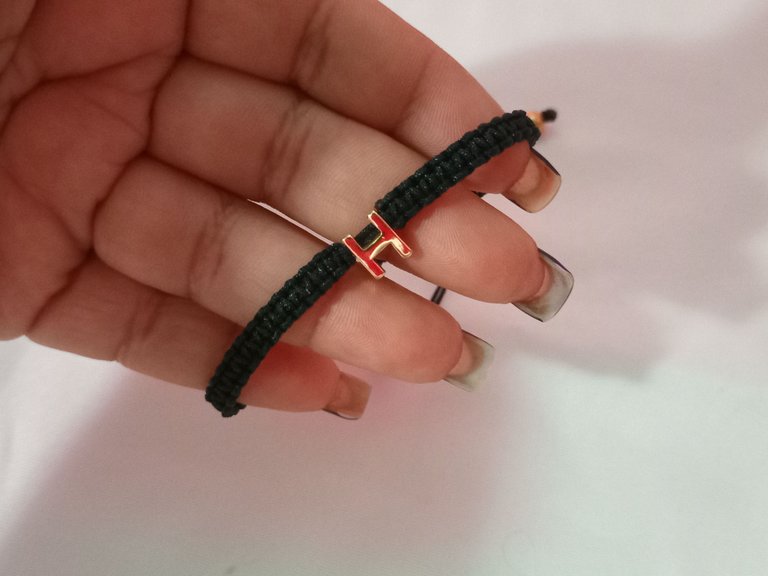
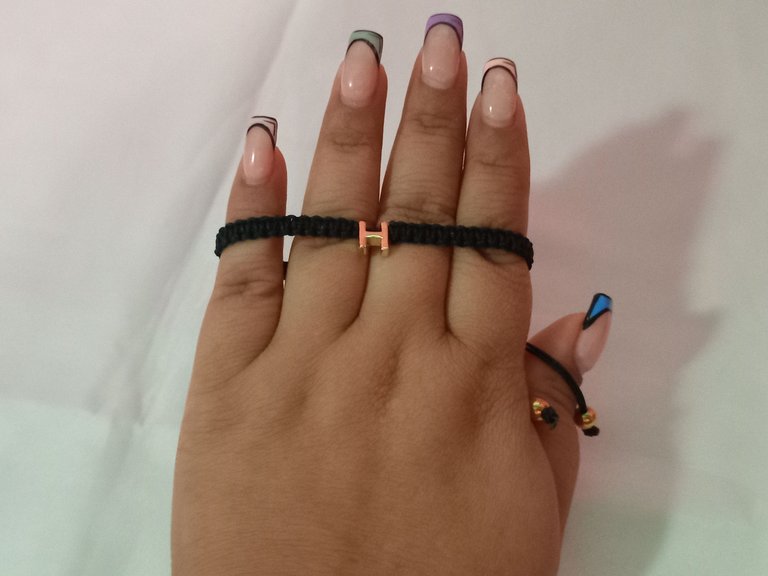
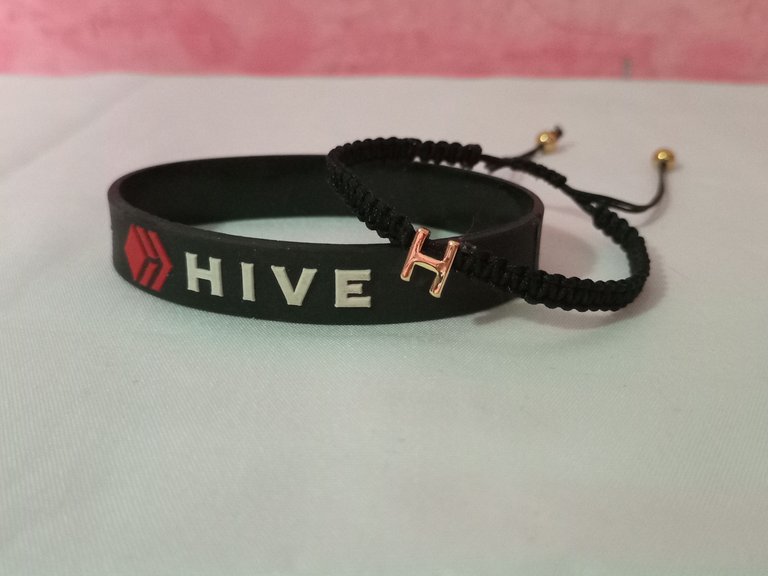
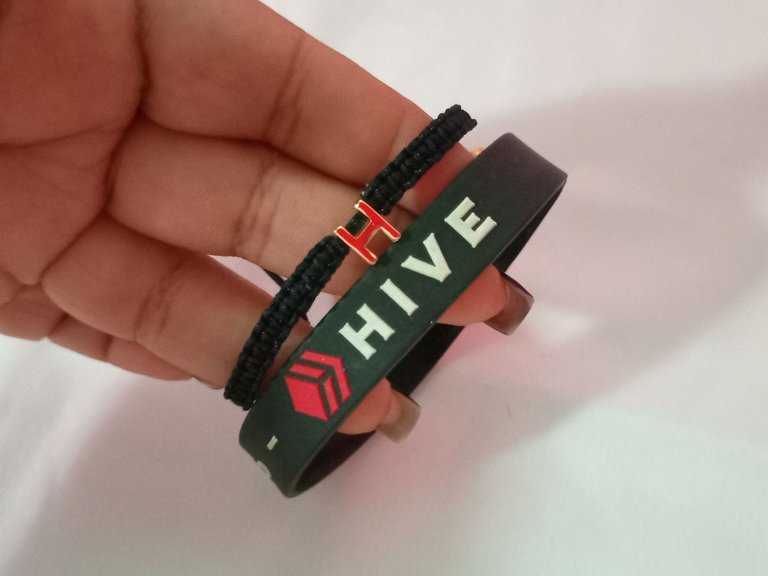
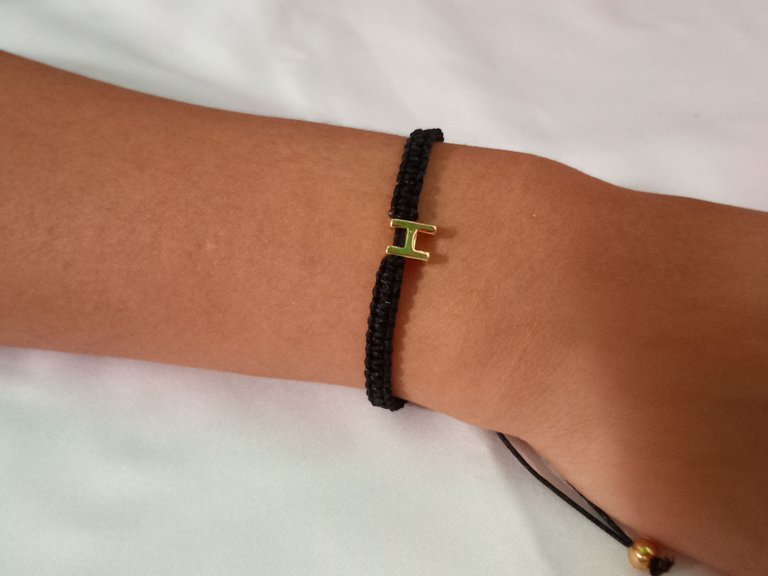
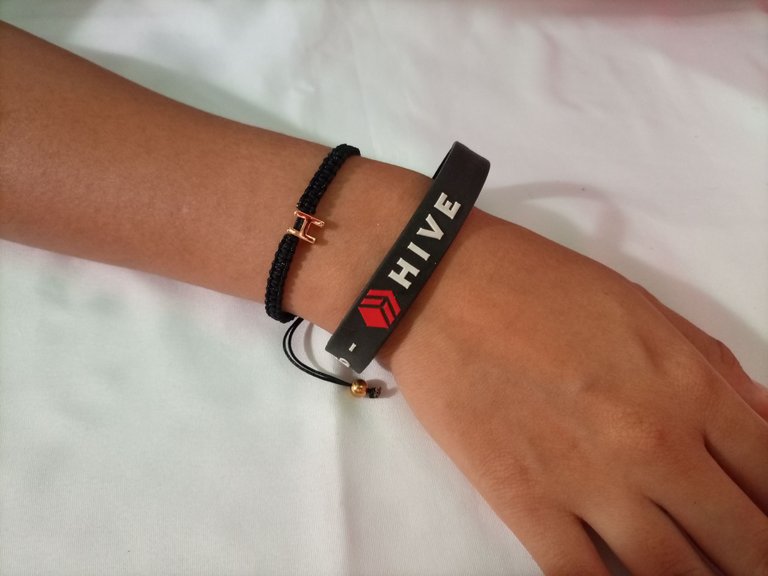
Listo… Después de quemar los excedentes tenemos una linda pulsera. Una manualidad super sencilla de realizar, que además resulta ser muy linda y es una pieza unisex; es ideal para dar un presente, para combinarla con tus atuendos diarios o para emprender tu propio negocio.
Ready... After burning the surplus we have a nice bracelet. A super simple craft to make, which also happens to be very cute and is a unisex piece; it is ideal to give a present, to combine it with your daily outfits or to start your own business.


Translator Deepl


