Hello, Hive artists! Today I bring you the tutorial on how to color a realistic mouth. The process is long, but I swear it's really worth it. I hope you like it a lot, let's start....
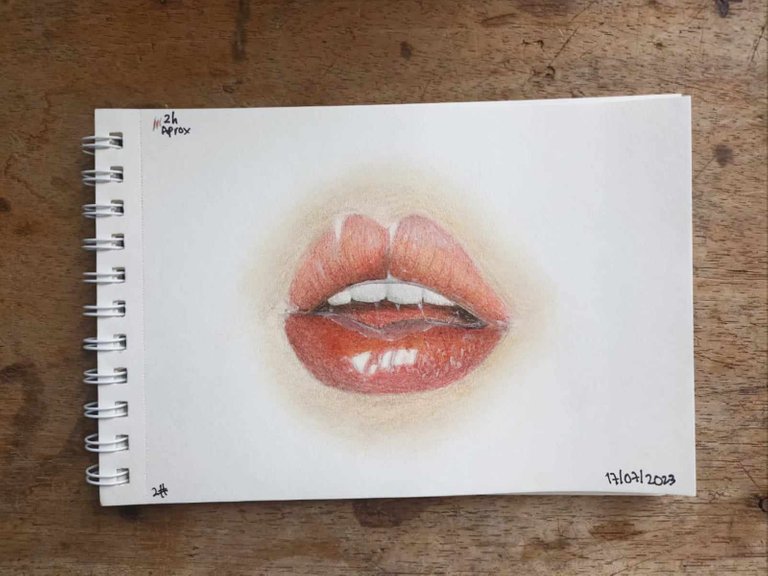
To begin with, we must make a simple sketch, without much detail, since that will be done with the colored pencils.
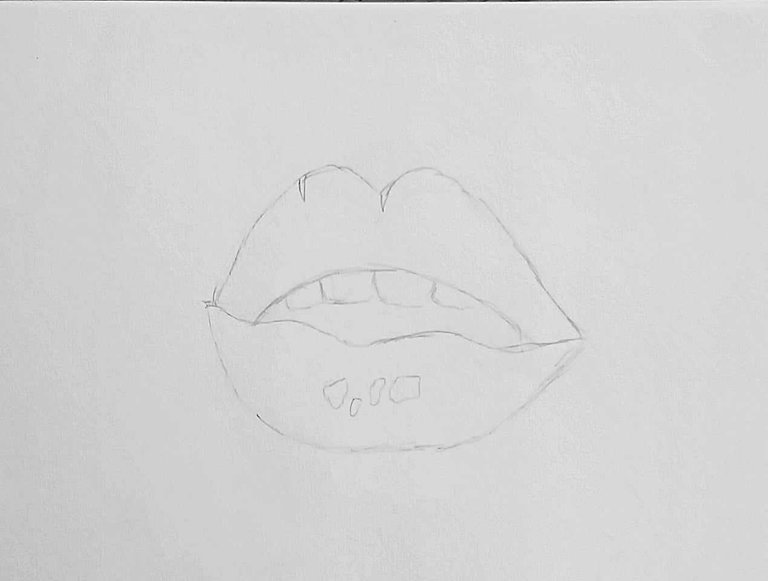
After we have the sketch, we will start painting the upper part of the lip with a thin layer of dark brown.
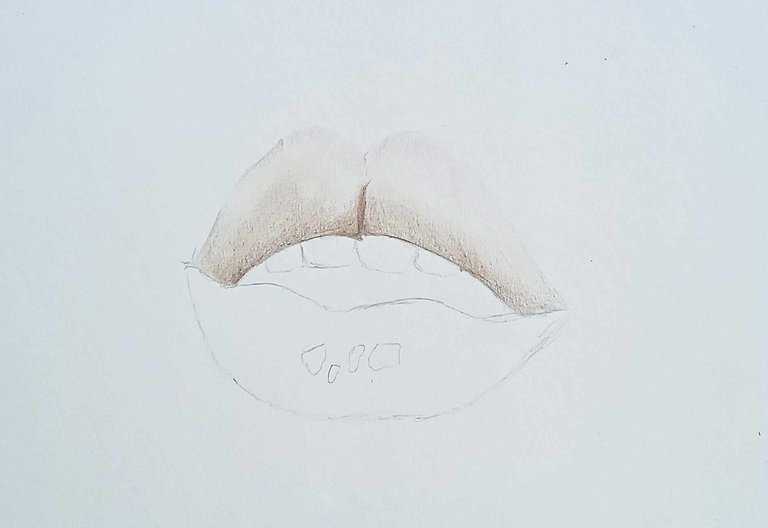
After adding the darkest color, we will add a soft layer of the colors: brick red, orange and carmine red; in this way:
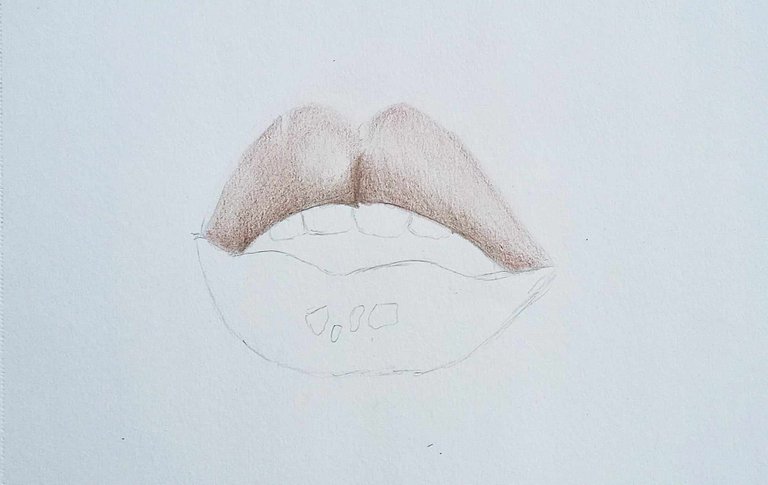
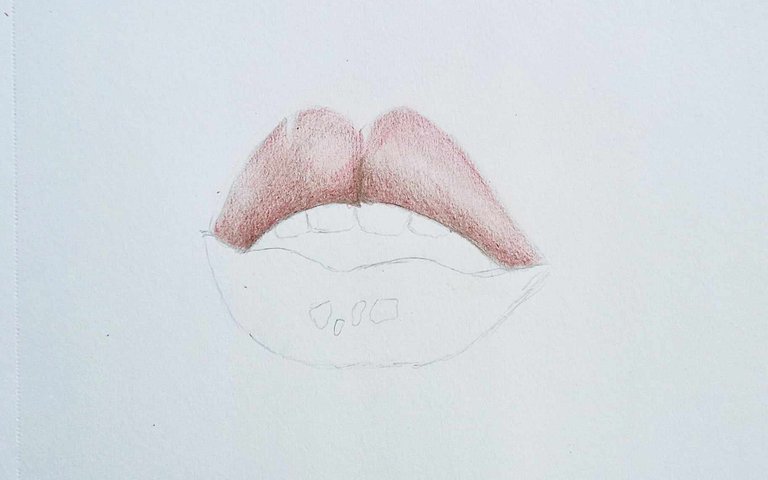
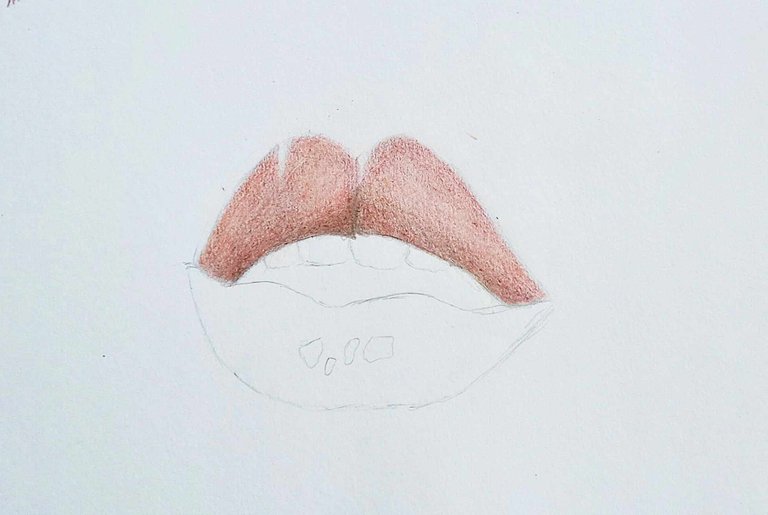
Then we blended everything with a coral color and added a little yellow in the center.
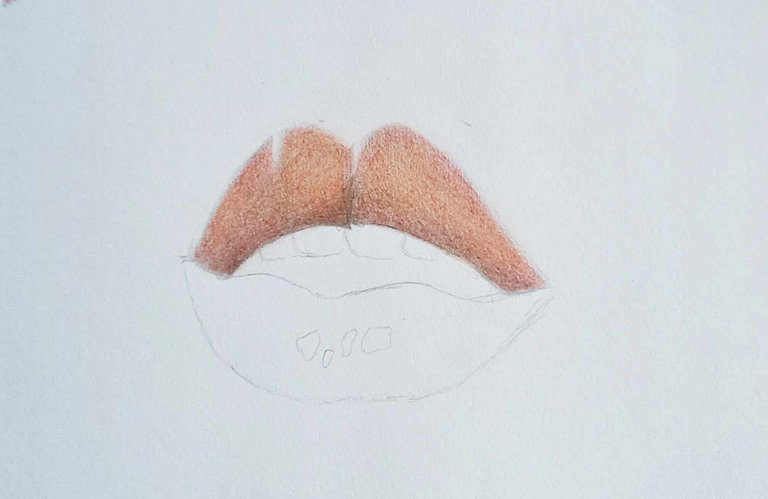
Para los dientes, solo necesitas un color gris o plateado y el truco es pasarlo ligeramente por los bordes de los dientes para crear efecto de profundidad.
After this, we started to add the lines, which I did with the dark red color, from bottom to top; and light details. The latter you can do with a white pen, although in my case I didn't have one, so I used watercolors.
For the teeth, you only need a gray or silver color and the trick is to run it lightly along the edges of the teeth to create depth effect.
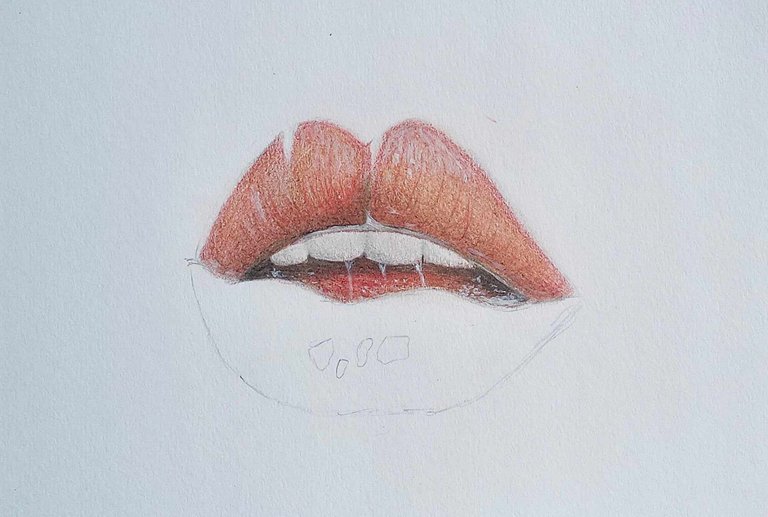
For the inside of the mouth, I used dark brown as a base color and then added layers of carmine red, dark red and orange. The depth was given with black, only on the edges.
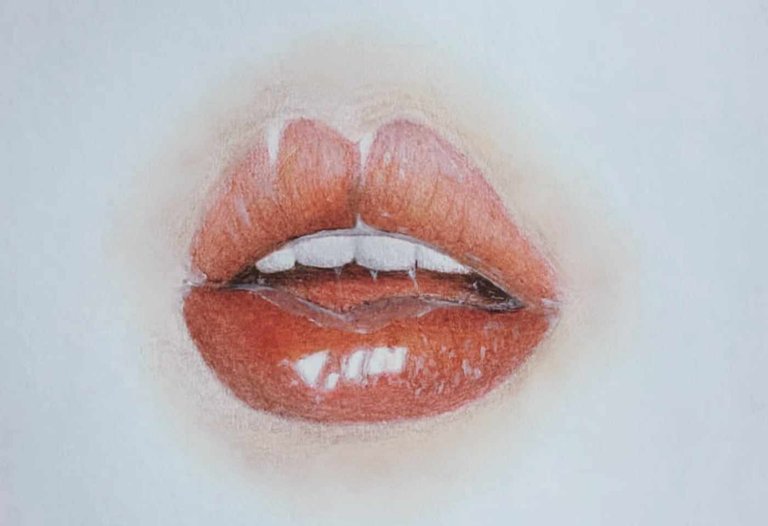
Espero les haya gustado mucho el tutorial, si tienen alguna duda o alguna critica constructiva la leo en los comentarios. Gracias por leerme y observar, nos vemos.✌️
For the lower lip, I used the same technique as above and as you can see, I left a lot of white spaces to simulate glitter. After that I did the skin using only three colors: dark brown, gold and peach. AND THAT'S IT!
I hope you liked the tutorial, if you have any questions or constructive criticism I'll read it in the comments. Thanks for reading and watching, see you.✌️
