Hello Hive Creatives, Valentine's Day is coming and there's nothing nicer than giving something made with your own hands.
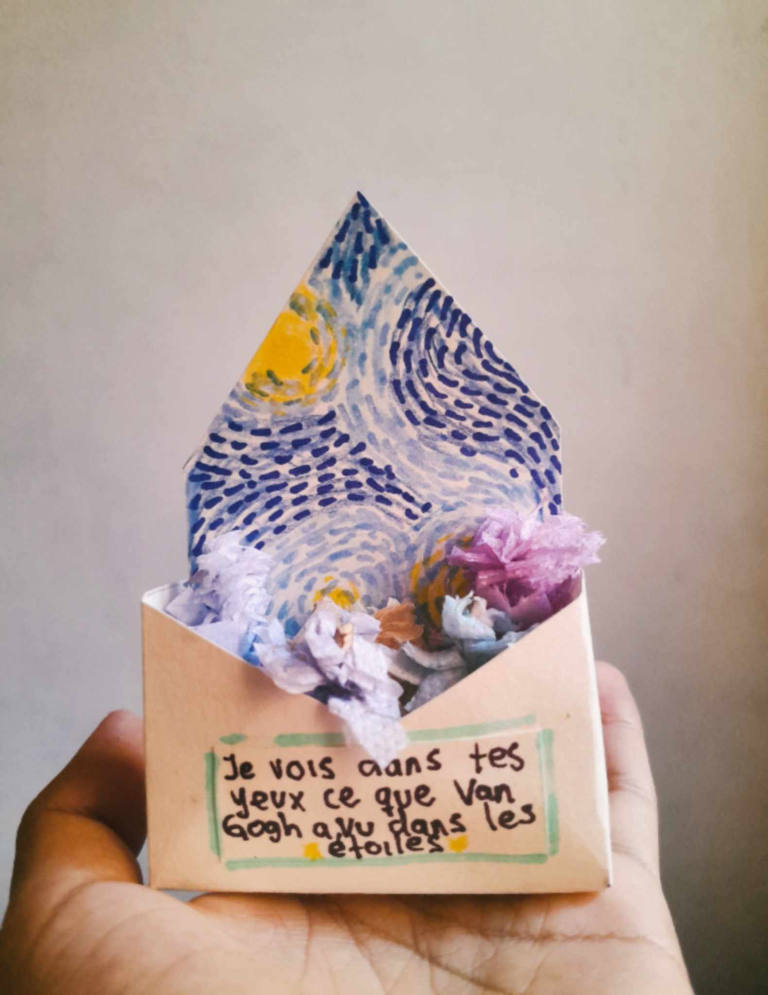
Today I bring you the tutorial of how we can make a little box to put little things you want to give to your special someone; this can be used to put candy, paper flowers, some accessory and even if we can be creative, it could be used to keep something bigger. I leave you with the detailed step by step below, I hope you like it very much:
MATERIALES // MATERIALS
- Cartulina o papel grueso color blanco.
- Lápices de colores (azul, amarillo y celeste)
- Marcadores (azul, amarillo y celeste)
- Tijeras
- Marcador punta fina negro
- Colbón
We will use materials that we all have at home, but, in case we don't, they can be easily obtained and are usually inexpensive:
- Cardboard or thick white paper.
- Colored pencils (blue, yellow and light blue).
- Markers (blue, yellow and light blue)
- Scissors
- Black fine point marker
- Colbón
PROCESO // PROCESS
We will start by drawing the following figure on the sheet of cardboard or paper of our choice:
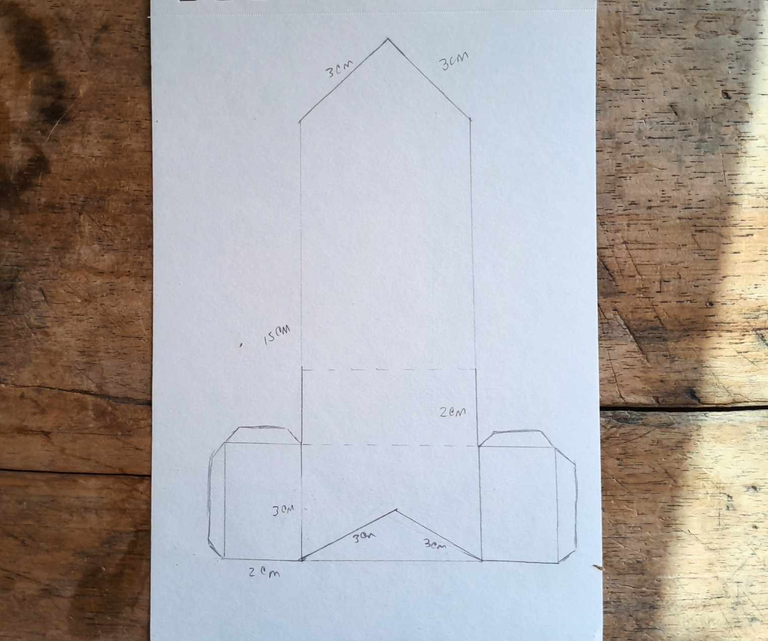
With the help of a ruler, we will draw a horizontal line of 6cm at the bottom edge of the sheet, and then draw two vertical lines of 12 or 15cm at each edge of the horizontal line. After that, we will draw two perpendicular lines at the top, which will form a kind of pyramid. At the bottom of the figure, we will do the same as we did above, but this time, we will make the pyramid less pronounced.
On the sides of the lower part of the figure, we will make a horizontal line of 2cm on each side and from there, a vertical line of 3cm going upwards. After drawing the vertical line, we make another line of 2cm, to join the lateral figures with the main one.
Basically the figure is ready, now what remains to be done is to draw a kind of fins on each side and at the top of the two lateral figures. We will also draw, with a thin line, the parts where the paper will be folded. In the image above you can see everything I just explained ♥️
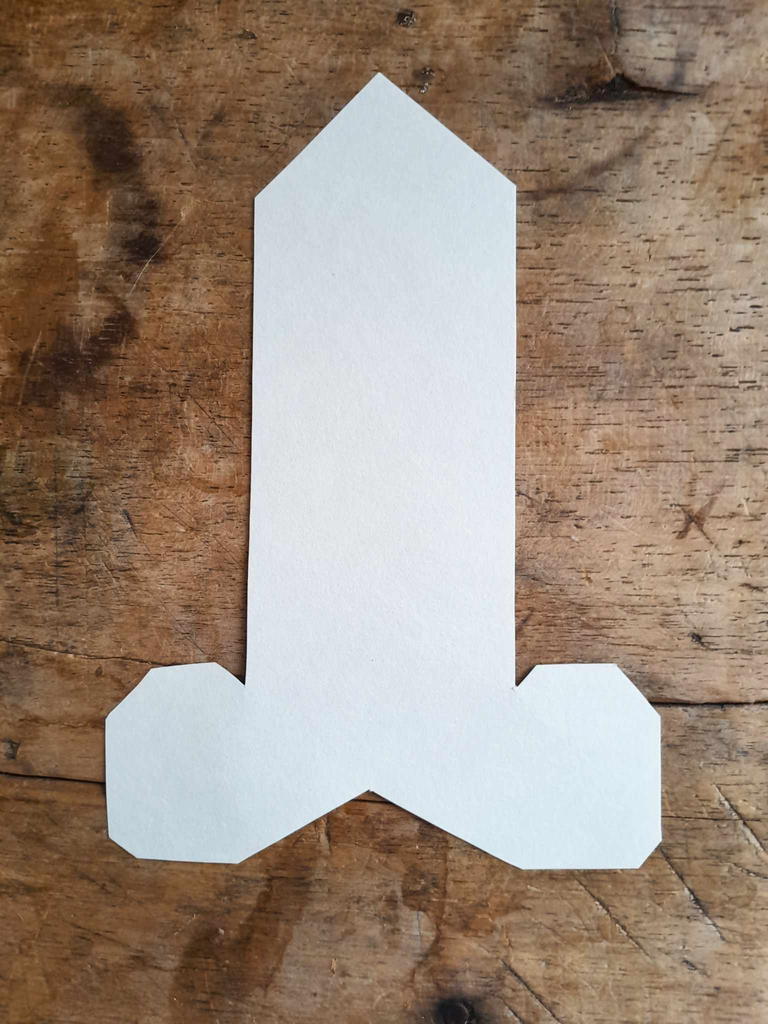
Al recortar la figura nos debe quedar algo así ⬆️
Cutting out the figure should give us something like this ⬆️
After we have this, we are going to make the decoration, because it will be more complicated to do it later with the box already assembled. The drawing was quite simple, as you can see in the title of the post, I was inspired by the art of Van Gogh to do it, specifically in his work "The starry night".
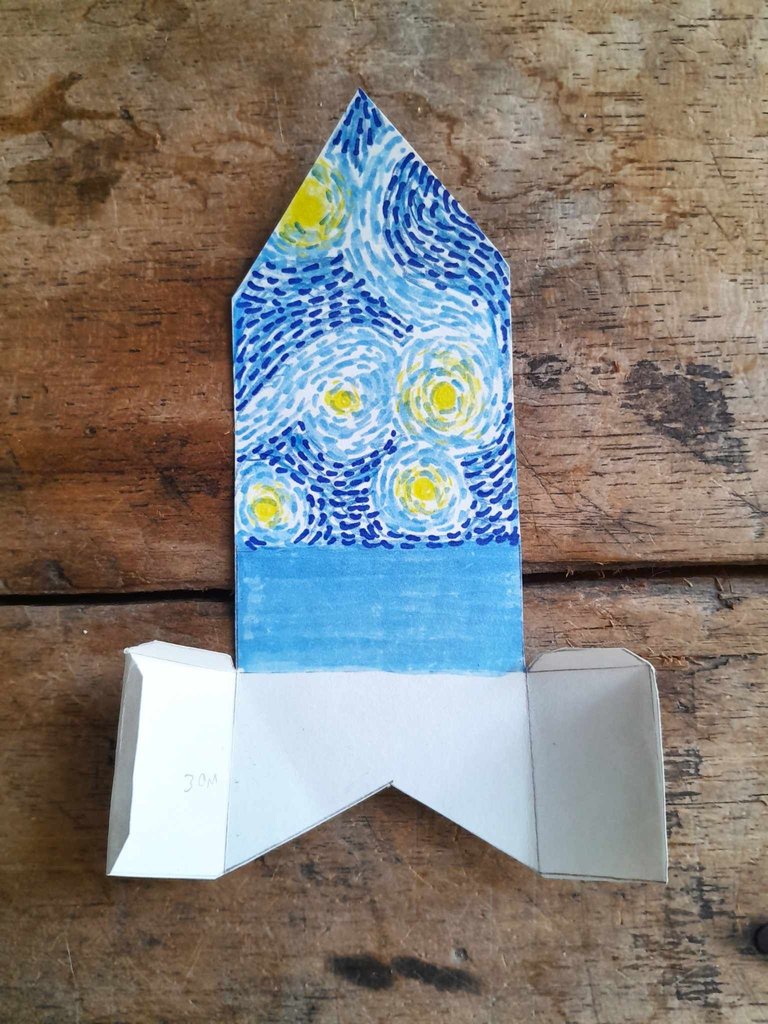
- Doblaremos hacia adentro la parte donde finaliza el dibujo y también donde finaliza la parte pintada de azul.
- Luego de esto, doblaremos la parte sin pintar hacia arriba y los cuadros hacia adentro, al igual que las aletas.
Debe quedar algo así:
After having made the illustration, it is time to close the box, we will do it in the following way:
- We will fold inwards the part where the drawing ends and also where the part painted in blue ends.
- After this, we will fold the unpainted part upwards and the squares inwards, as well as the fins.
It should look something like this:
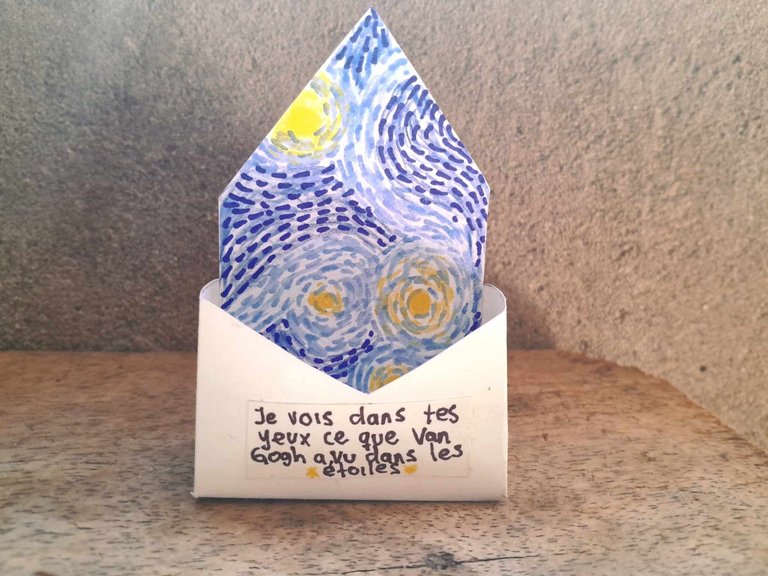
I added a phrase in front of it because I felt it was missing something, you can leave it without anything or draw something nice on it.
Once I have the box ready, I can fill it with whatever I want, in my case I put some flowers made of paper (very easy to make, by the way), but as I said before, put whatever you want in it c:
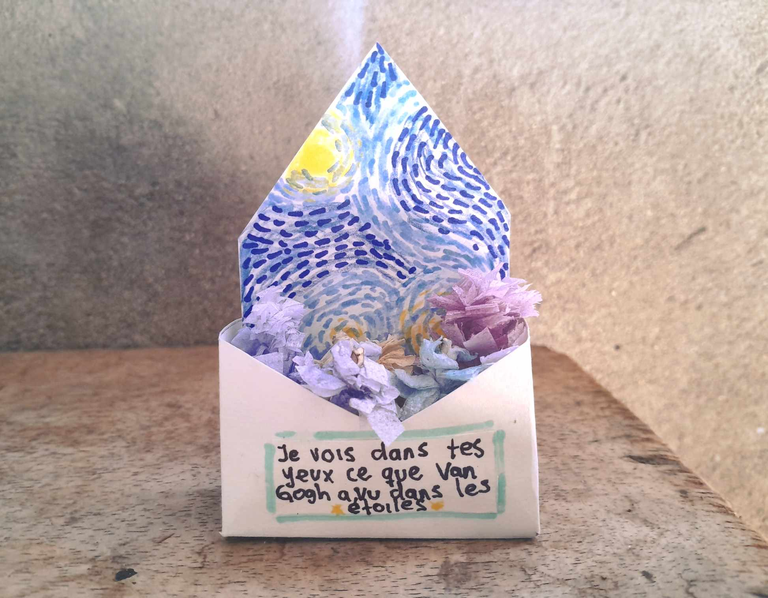
And that's it. I hope you liked the tutorial, I'll be back with more very soon!
Thanks for reading and watching.
