How do you spend your free period? For me I make sure to involve sewing activities during these periods, especially since I started a declutter program, you can check a previous post of mine about one of the dresses I made using leftover fabrics.
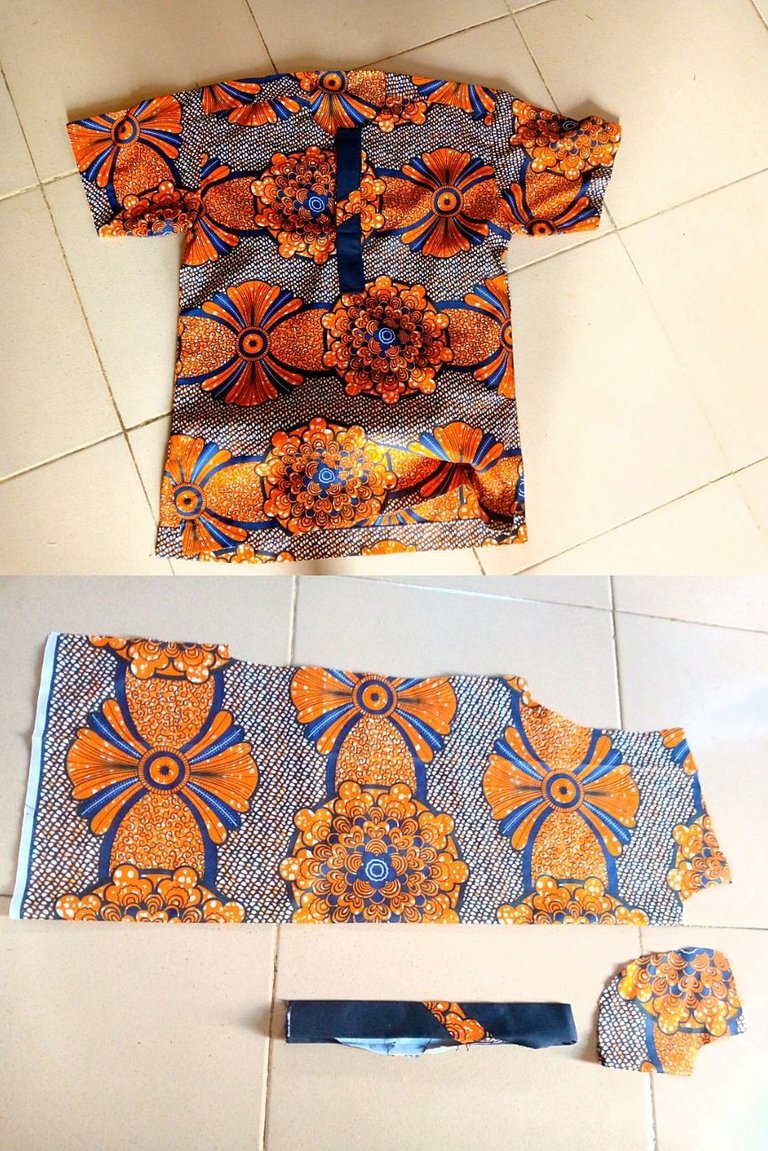
It's been an amazing journey ever since I started this program,and even with my tight schedule at work, I try to make sure I meet up and not give up, finishing at least one project in a week to put a smile on someone's face, and for today's project, I will be sharing the making process of a T-shirt I made for an 11 year old boy in my neighbourhood using an African print fabric, so I've been making dresses for girls only so far, and decided it should be a boy receiving a new outfit this time. David is a friend's son, who lives in same area as mine, I just select randomly who to make the next outfit for, luckily when I was trying to decide, he came around to get textbooks from a book shop nearby, we exchanged pleasantries an I got asked him if he would like a new shirt, you should see the excitement in his face, taking permission from his mum, he came for measurements, then I set to work.
One good thing about a boy's shirt is how easy it is to make, and anyone with a little knowledge in sewing and pattern making should be able to replicate this shirt design following these step-by-step processes.
Materials/ Tools needed
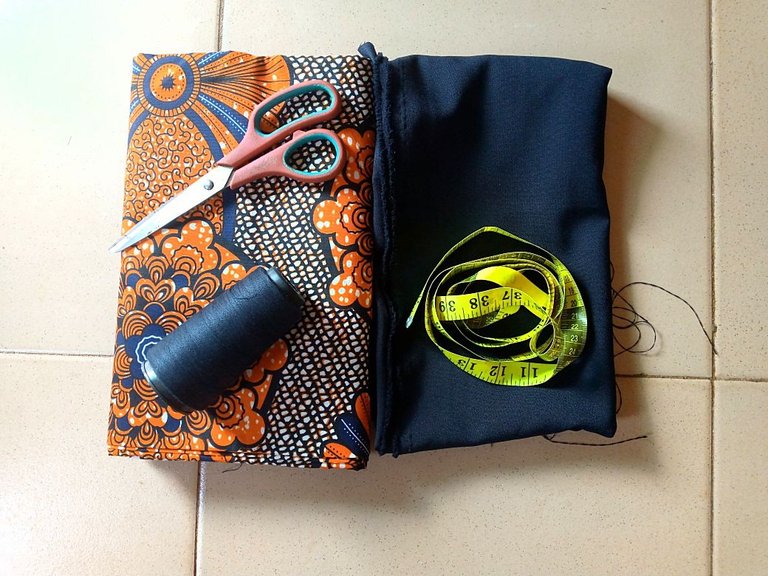
- African Print
- plain crepe fabric
- Thread
Sewing machine, tape rule, scissors
Cutting and sewing process
STEP 1
I started by drafting the front and back pattern of the shirt
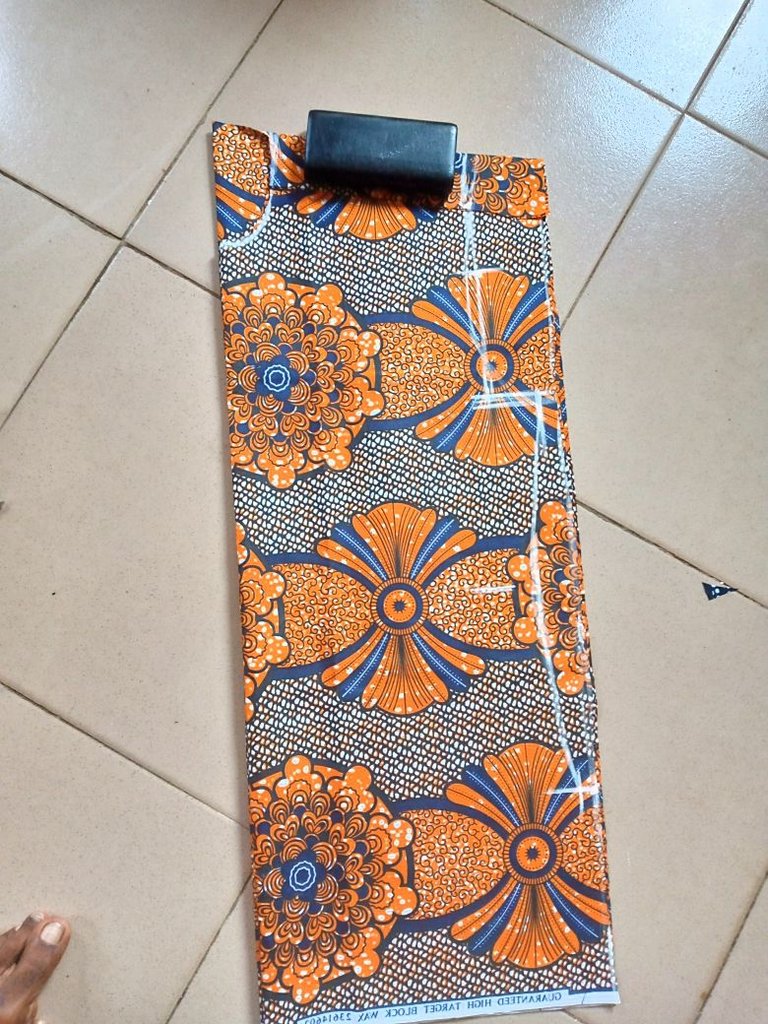
Separating them, here is how the front looks with its facing,
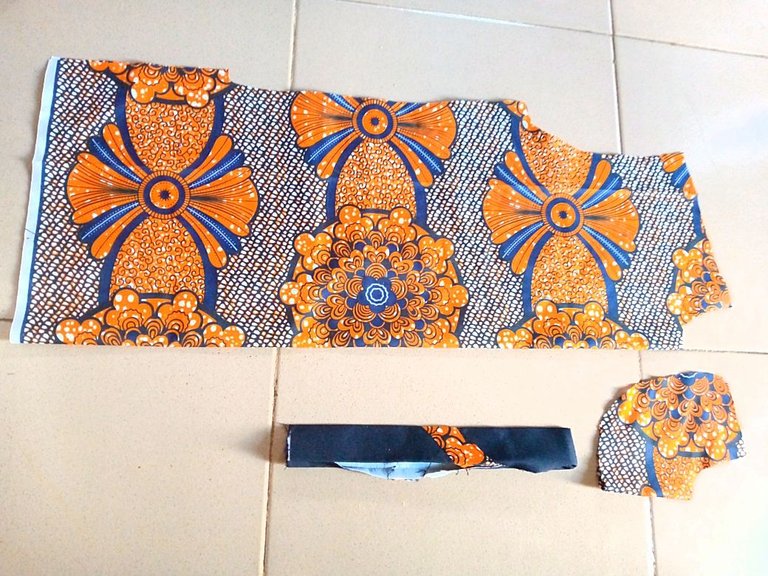
And here is how the back looks alongside its facing
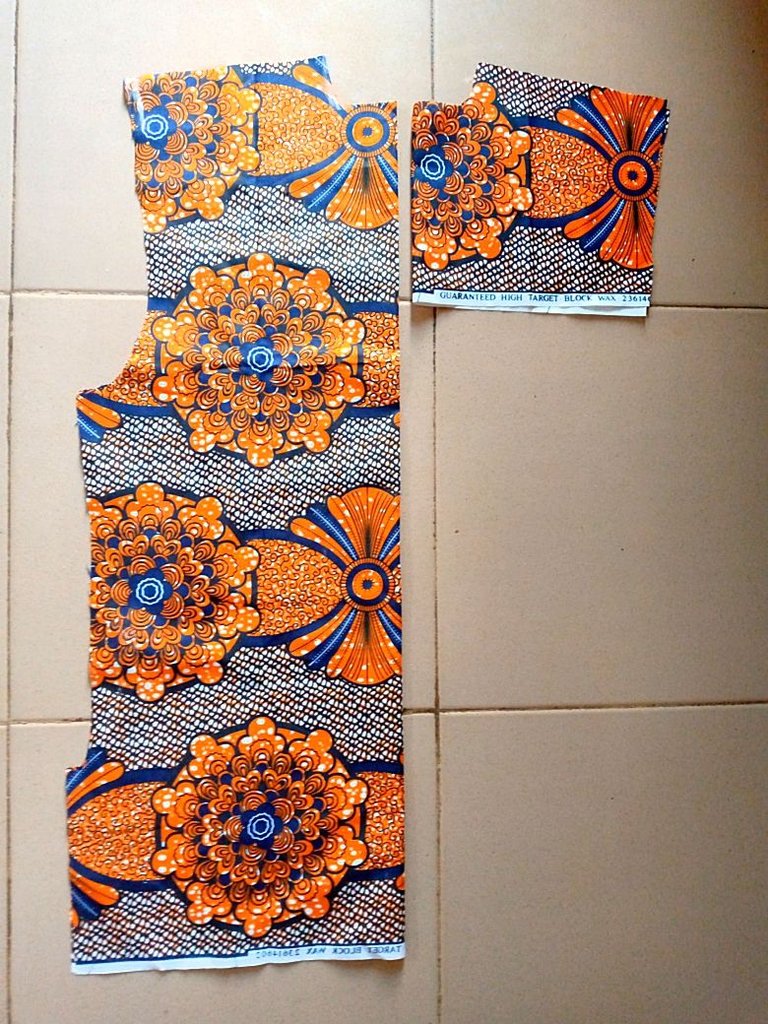
STEP 2
Using the crepe fabric, I designed a placard for the front part of the T-shirt pattern, there will be an opening so the shirt can pass through the neck easily.
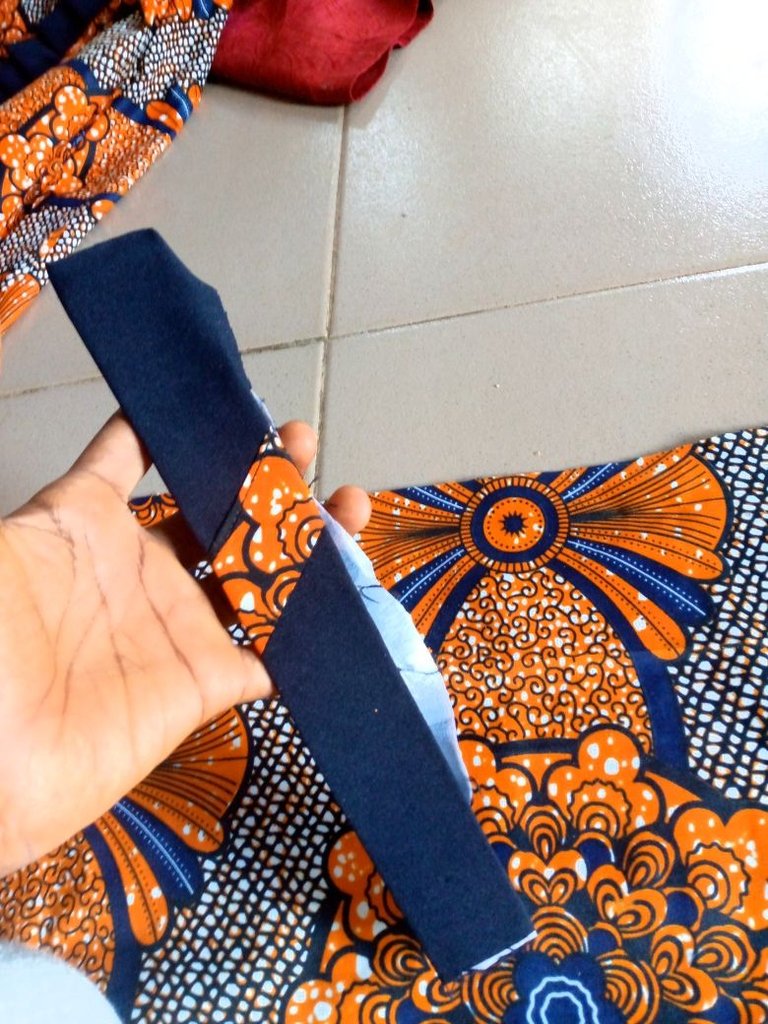
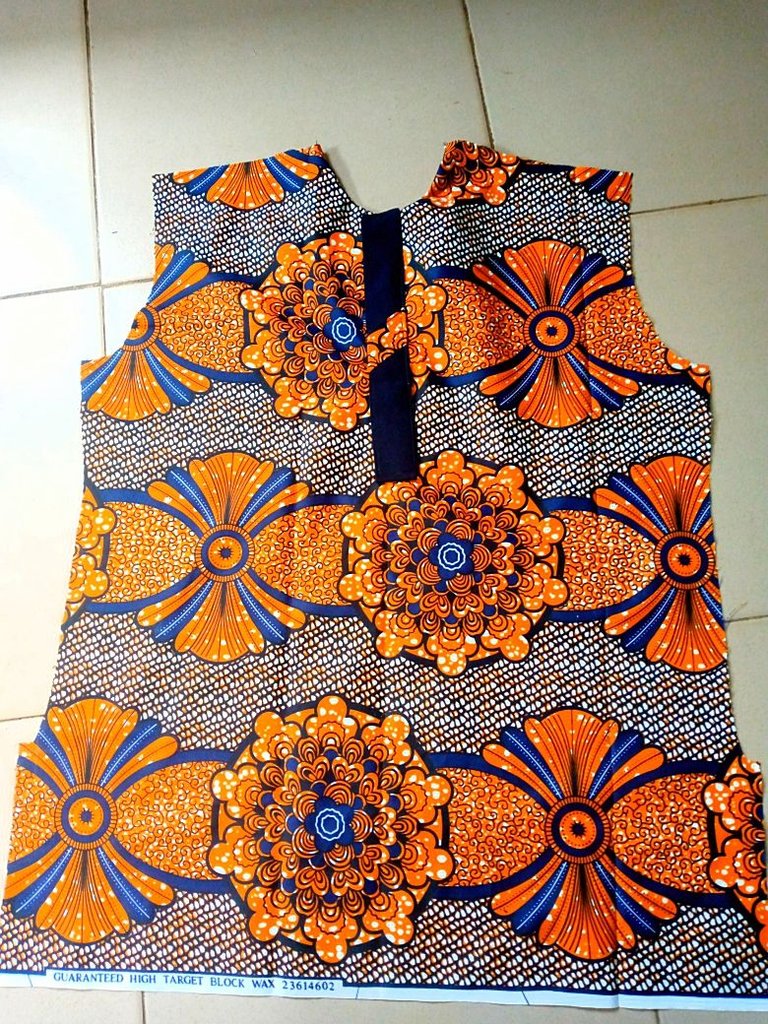
Step 3
I draft and cut out a short sleeve pattern, using a basic shirt sleeve pattern
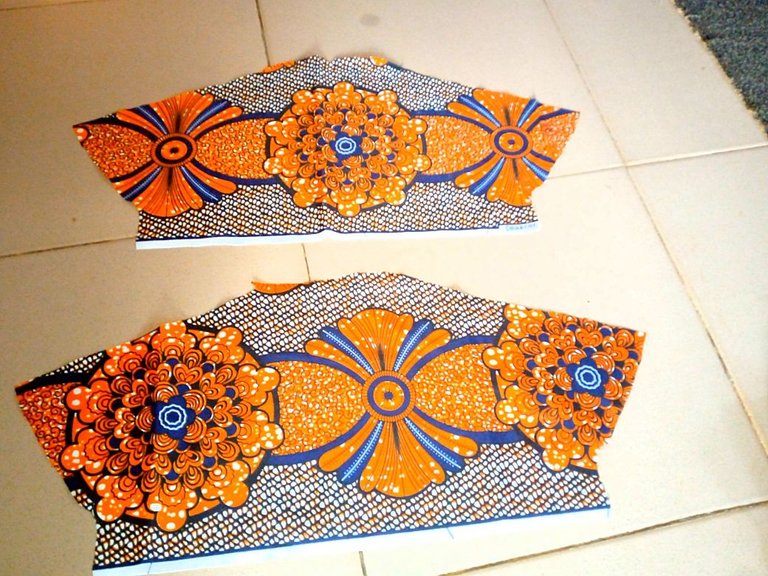
Step 4
Here, I joined the front and back pattern by the shoulders after turning the necklines with their facing and also joined the sleeves around the armhole.
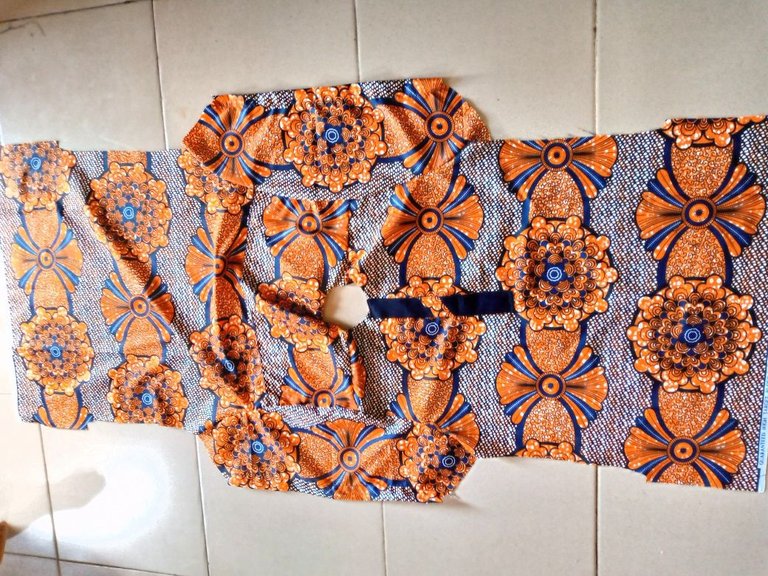
Step 5
I joined the shirt by the sides and hemmed the base of the T-shirt.
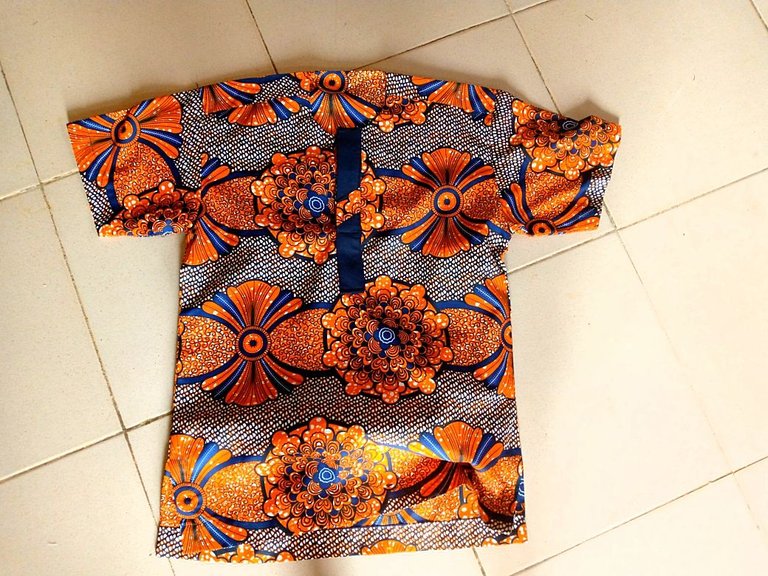
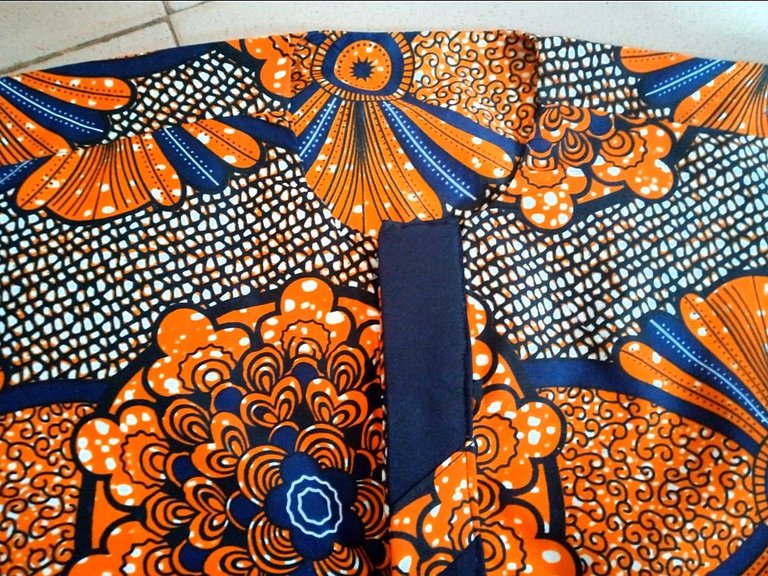
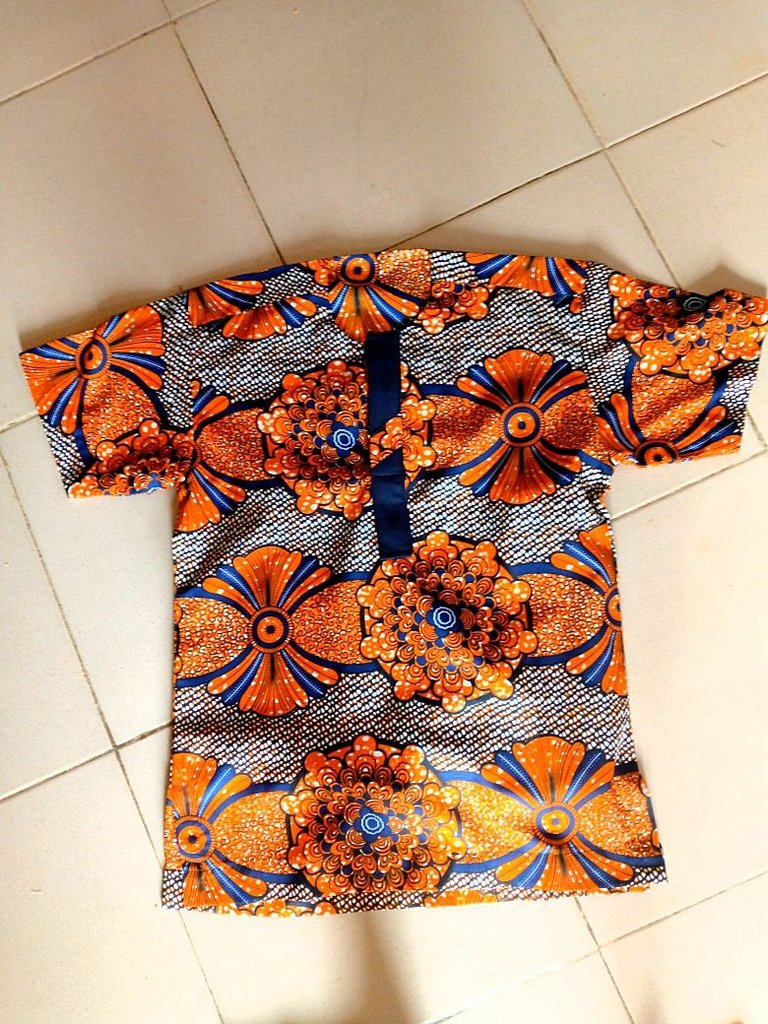
Here is the final look, It looks elegant, easy righ Itit can be paired with black trousers, and I'm sure David will love his new shirt, now looking forward to that smile when he comes around in the evening time.
Thank you very much for visiting my blog and for your support, don't forget to leave feedback on what you think about this African print shirt.
All images used in this post are mine


