¡Hola hivers!💜
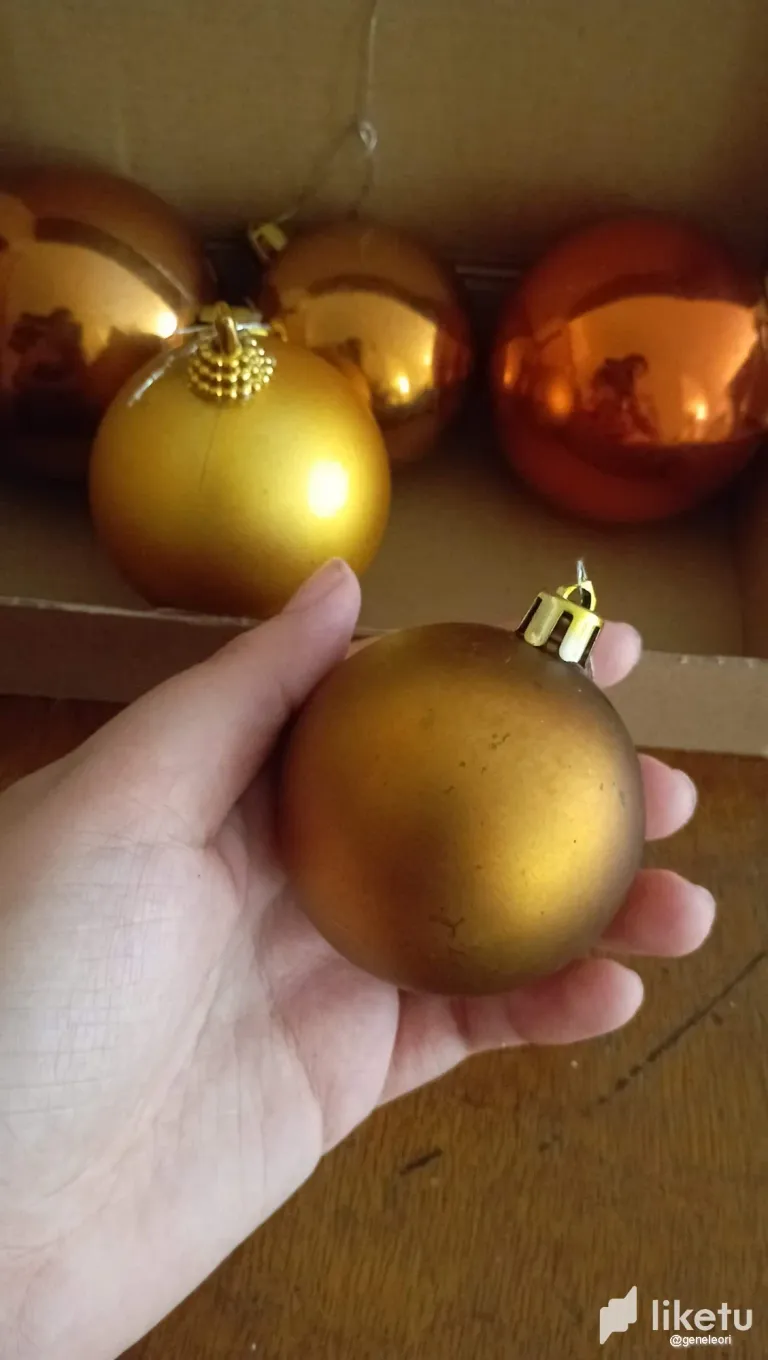
Un placer estar de regreso por aquí, esta vez vengo a contarles cómo transformé unas bambalinas de navidad que tenían años guardadas. Primero, eran de colores naranja y dorado y ya no me gustaban, así que decidí intervenirlas con lettering. Les cuento del proceso:
Materiales:
- Bambalinas navideñas
- Pinturas acrílicas
- Pinceles
- Marcadores de pintura acrílica
- Sellador
PASO 1
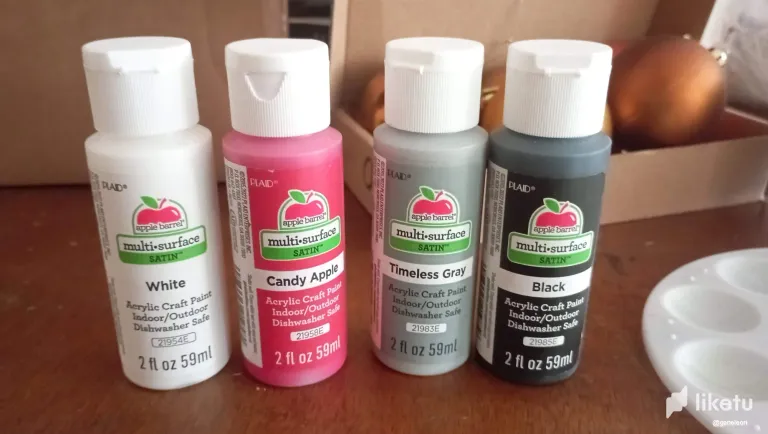
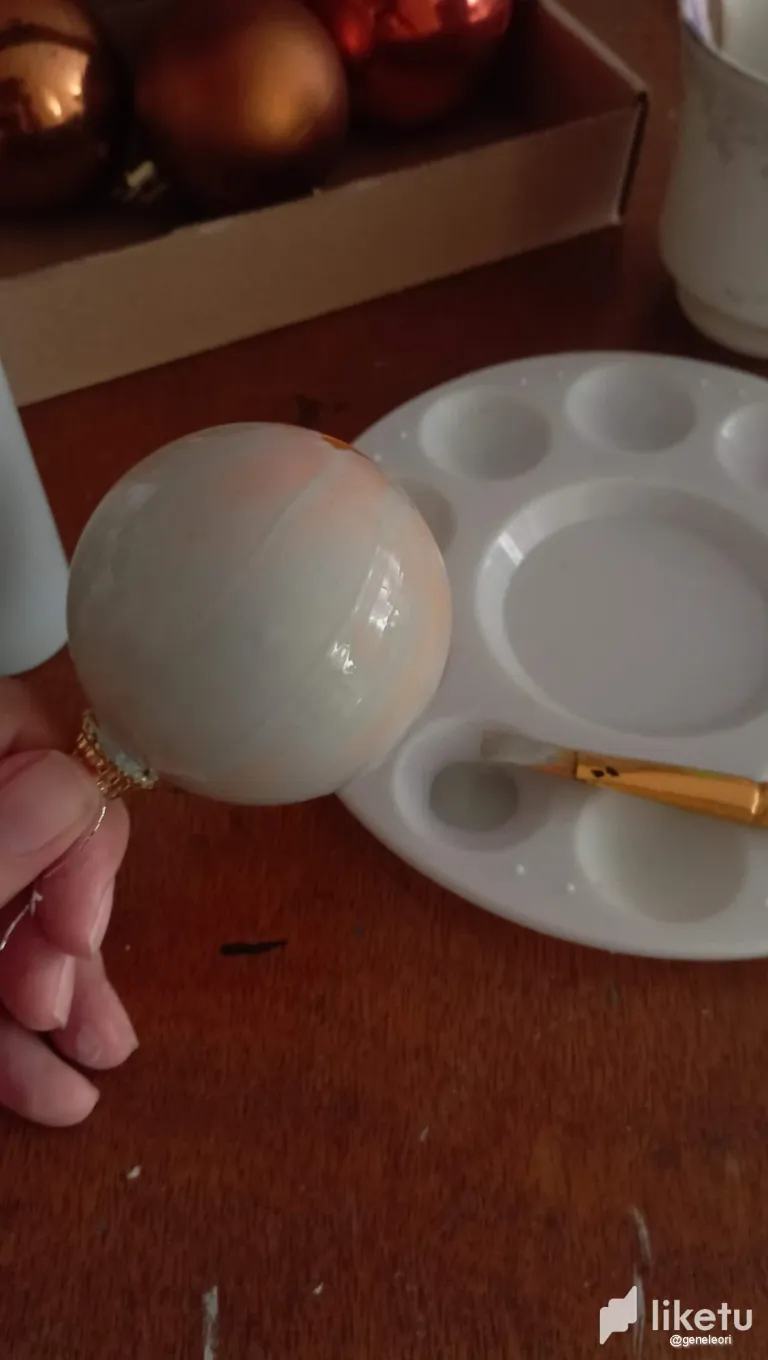
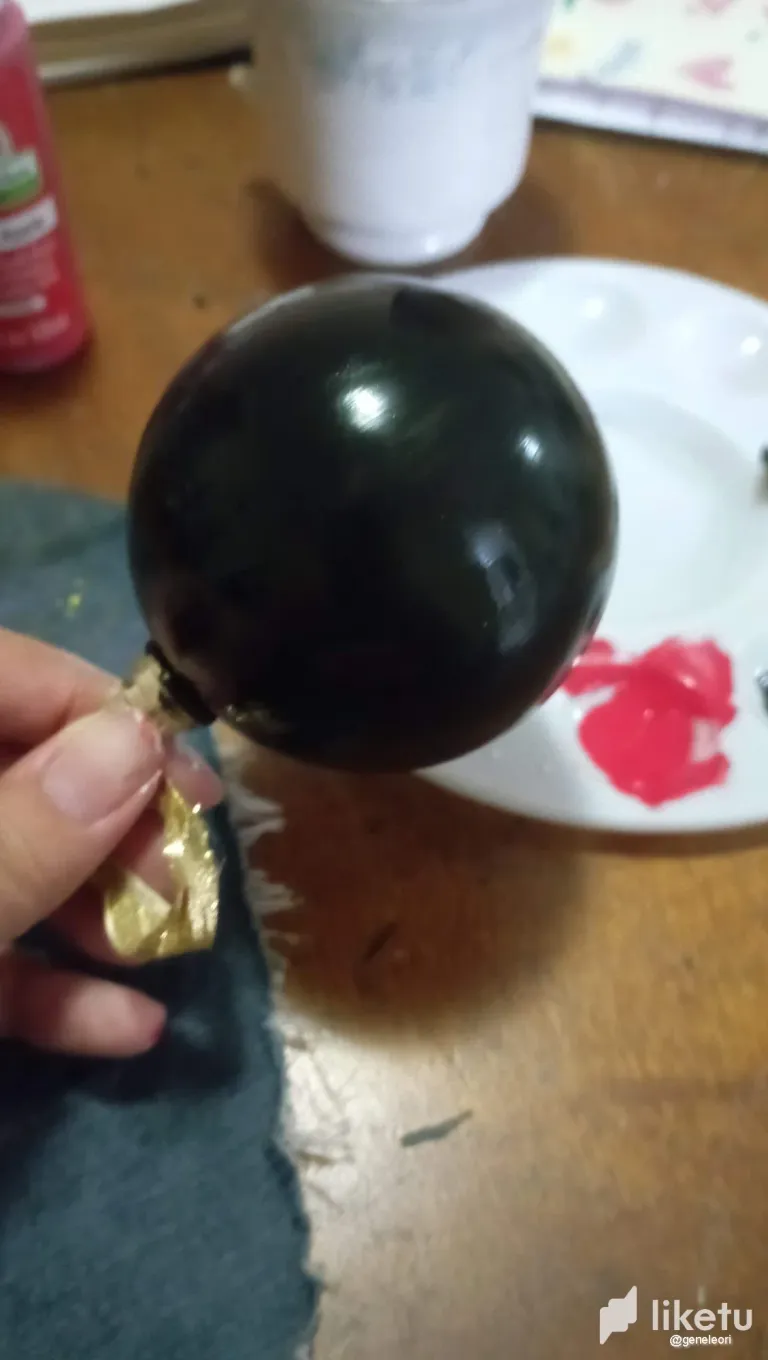
Limpié las bambalinas navideñas y procedí a aplicar la primera capa de pintura. Utilice pintura blanca, negra, roja y gris. Necesité unas 3 capas de pintura negra para cubrir la base y unas 5 capas de pintura blanca, gris y roja para cubrir la base. Se tomó unos 2 días en secarse bien, ya que aplique la primera capa, espere unas horas, aplique la siguiente, espere otras horas y así sucesivamente.
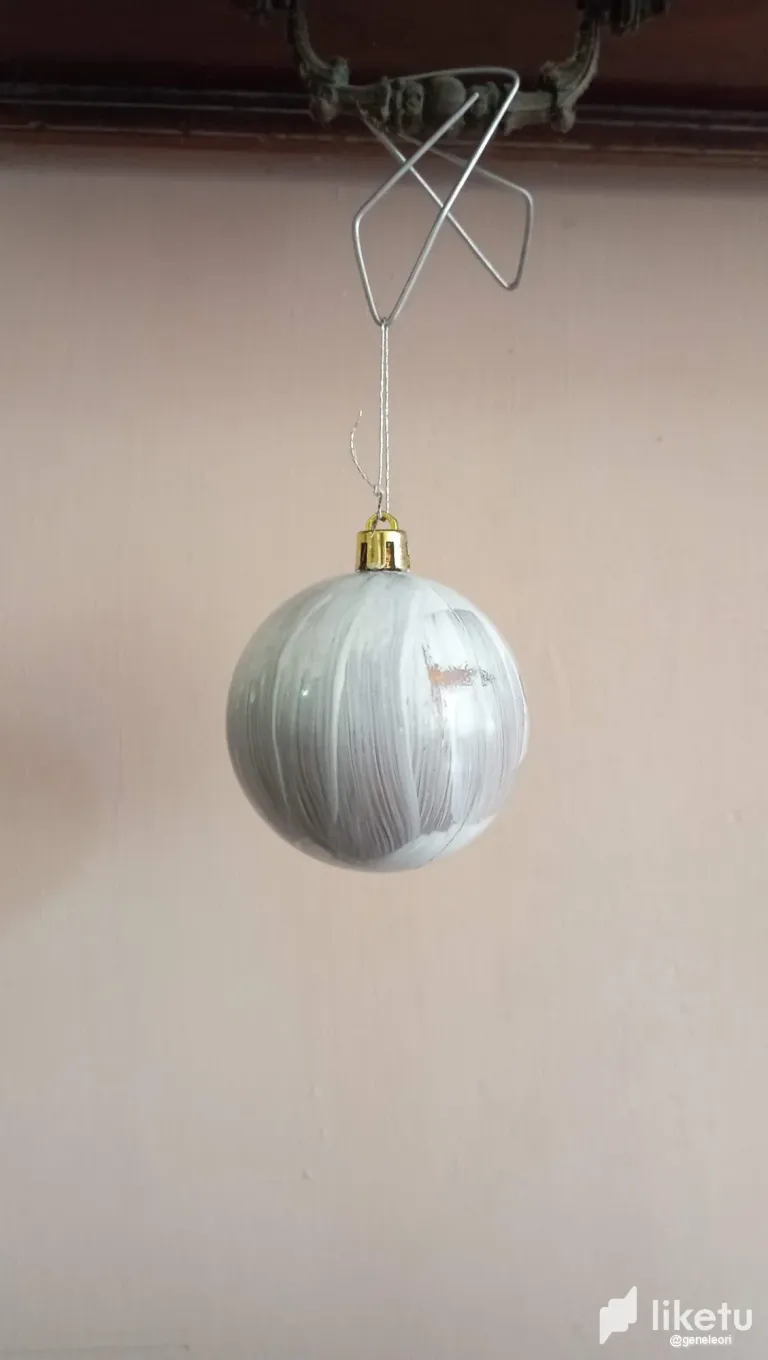
Tip: para que se secaran sin tener marcas de superficies, utilice unos ganchos para que quedaran guindando mientras se secaban.
PASO 2
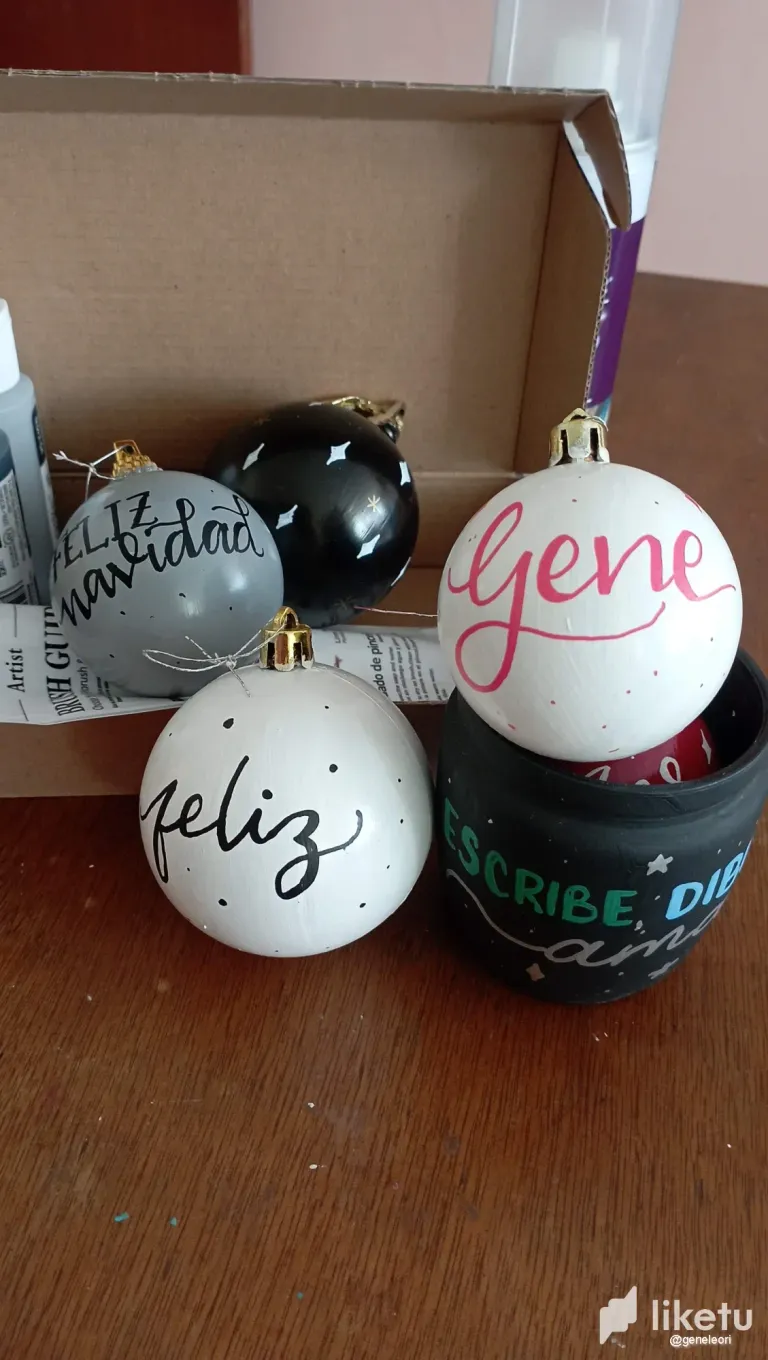
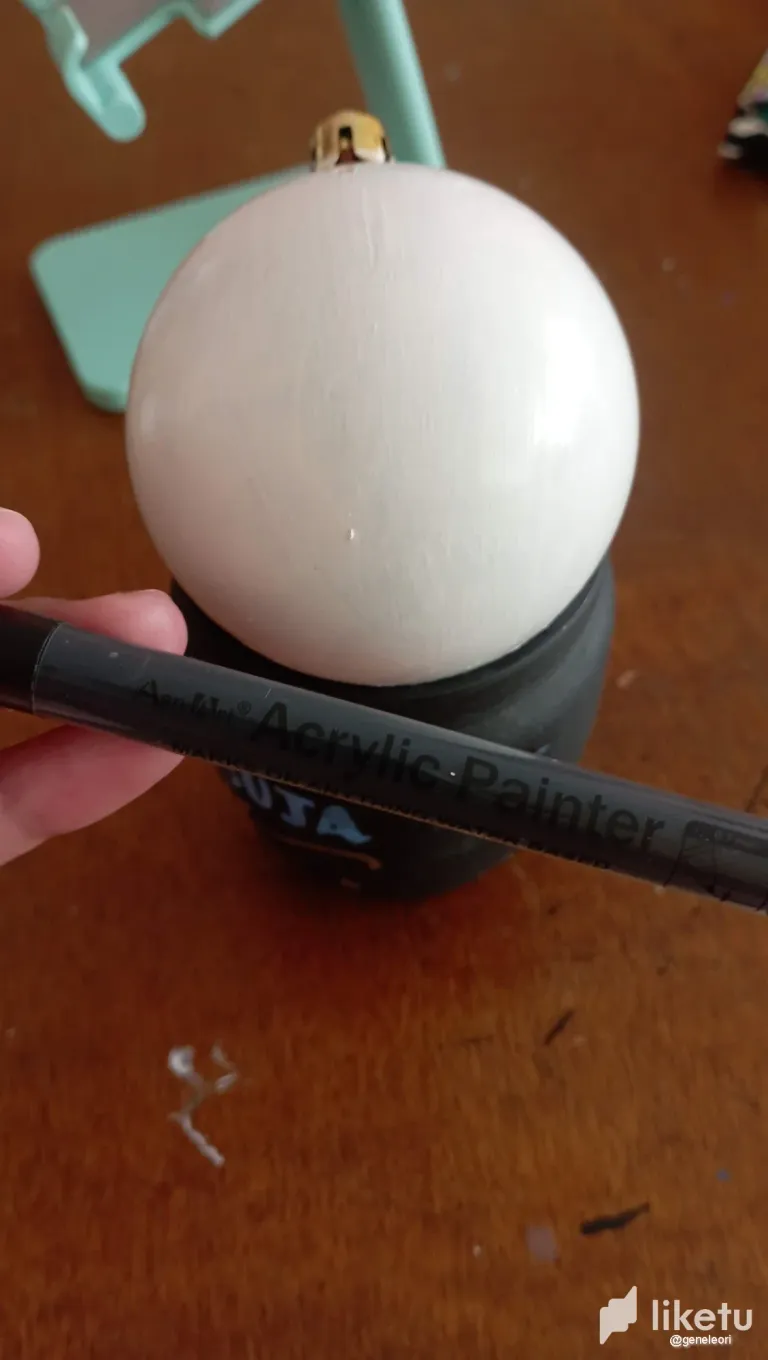
Una vez estuvieron secas las bambalinas, empecé a aplicar lettering sobre ellas, más que todo un estilo cursivo. Dibuje: feliz navidad, feliz y Gene. Además de dibujar puntos y destellos para completar el diseño
Tip #2: use un frasco para apoyar la bambalina y que fuera más facil decorarla.
PASO 3
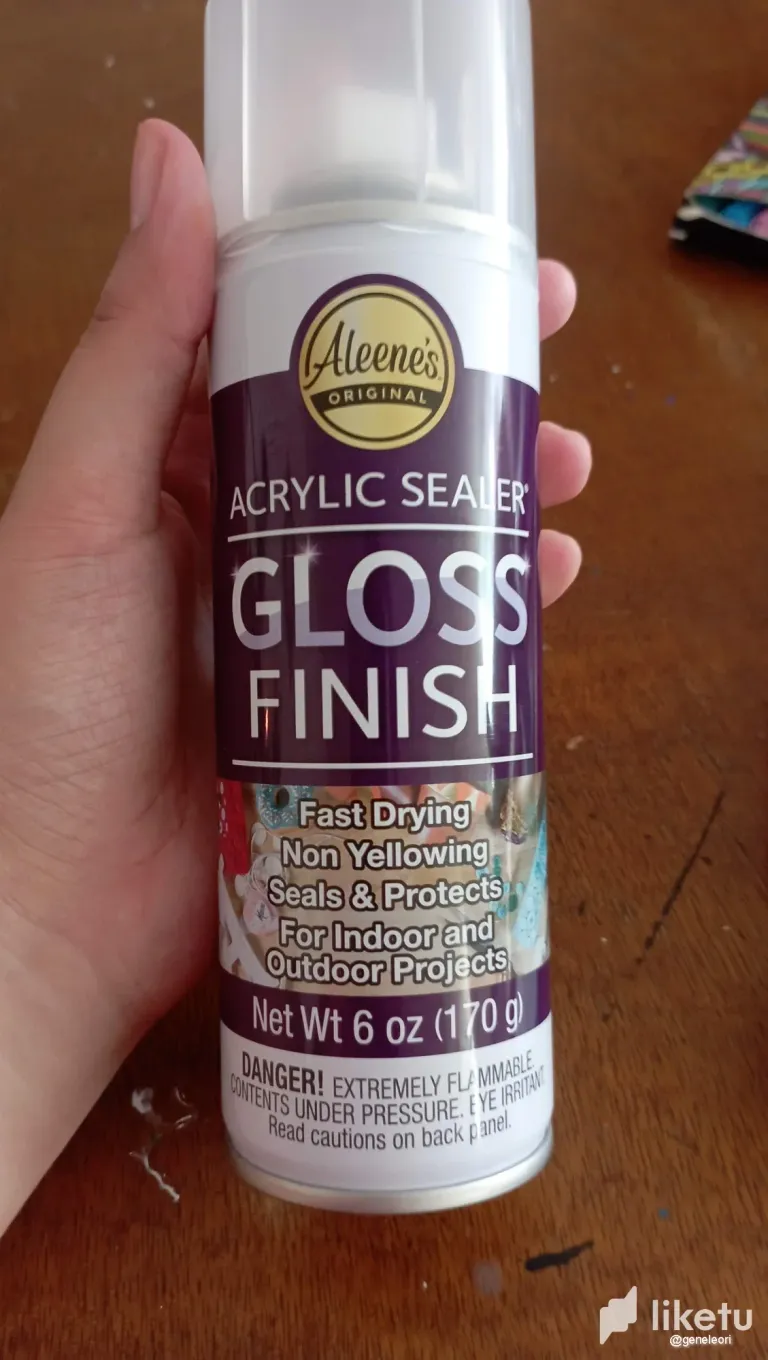
Aplique un sellador para pintura en spray, dice que es perfecto para conservar luego de aplicar la pintura.
¡Bambalinas listas para adornar tu arbolito!
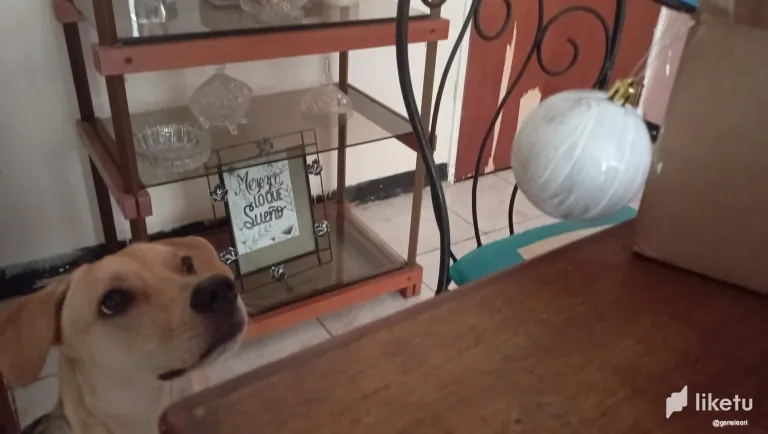
Me pareció una forma fácil de renovar tus adornos navideños y darles un cambio. Espero que les sirva para decorar las suyas y personalizarlas. La ultima foto es la trabajadora estrella (alias Buda) vigilando que se secara bien la primera capa o que se cayera para ella poder usarla de pelota.
Gracias por leerme
Con cariño, G.
Hi hivers! 💜
A pleasure to be back here, this time I come to tell you how I transformed some Christmas banners that had been stored for years. First, they were in orange and gold colors and I didn't like them anymore, so I decided to intervene them with lettering. I tell you about the process:
Materials:
- Christmas Bambalinas
- Acrylic paints
- Brushes
- Acrylic paint markers
- Sealer
STEP 1
I cleaned the Christmas backdrops and proceeded to apply the first coat of paint. I used white, black, red and gray paint. I needed about 3 coats of black paint to cover the base and about 5 coats of white, gray and red paint to cover the base. It took about 2 days to dry well, as I applied the first coat, waited a few hours, applied the next coat, waited another few hours and so on.
Tip: to get them to dry without getting surface marks, I used some hooks to hang them while they dried.
STEP 2
Once the scrims were dry, I started to apply lettering on them, mostly in a cursive style. I drew: Merry Christmas, Merry and Gene. I also drew dots and sparkles to complete the design.
Tip #2: use a jar to support the backdrop to make it easier to decorate.
STEP 3
Apply a spray paint sealer, he says it's perfect for preserving after the paint is applied.
Bambalinas ready to decorate your tree!
I found it an easy way to renew your Christmas decorations and give them a change. I hope you find it useful to decorate yours and personalize them. The last photo is the star worker (aka Buda) watching the first layer dry well or fall off so she can use it as a ball.
Thank you for reading me
With love, G..
FUENTE
Fotos: tomadas por mi desde mi redmi 10
Traducción: Deepl
SOURCE
Photos: taken by me from my redmi 10
Translation: Deepl

For the best experience view this post on Liketu