¡Hola hivers!💜
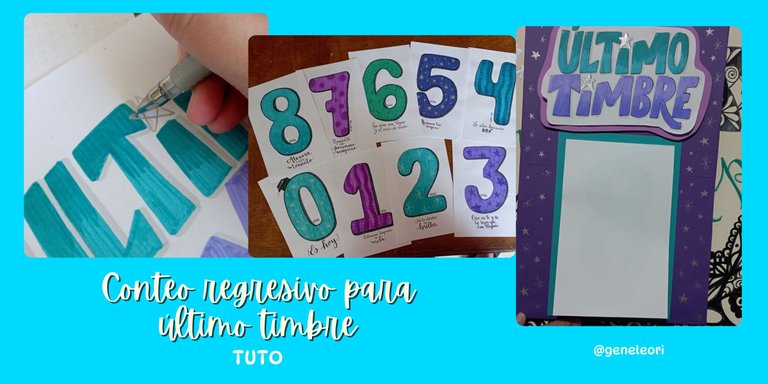
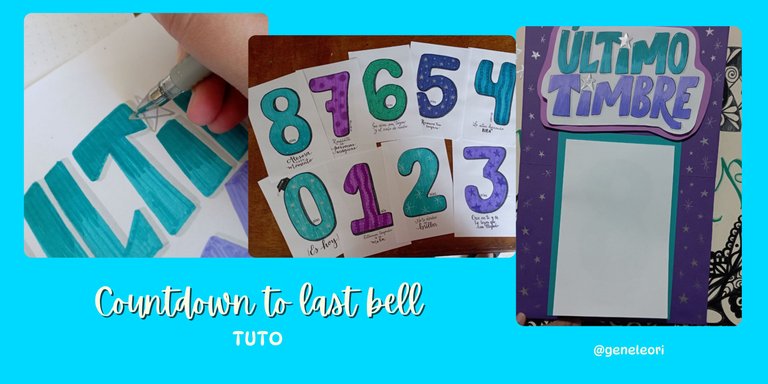
Espero que se encuentren bien y felices, queridos crafters. Hace unos días me llamo @rulirecomienda con una misión de última hora: hacer un conteo regresivo para su pequeño, que es mi mini tajada y lo quiero mucho. Aunque me puso a correr por el poco tiempo, la idea me encantó y no tarde en formar una idea de como seria. Acordamos usar los colores de la promoción que eran lila y turquesa y me embarqué en esta aventura y ahora les cuento como quedo:

MATERIALES
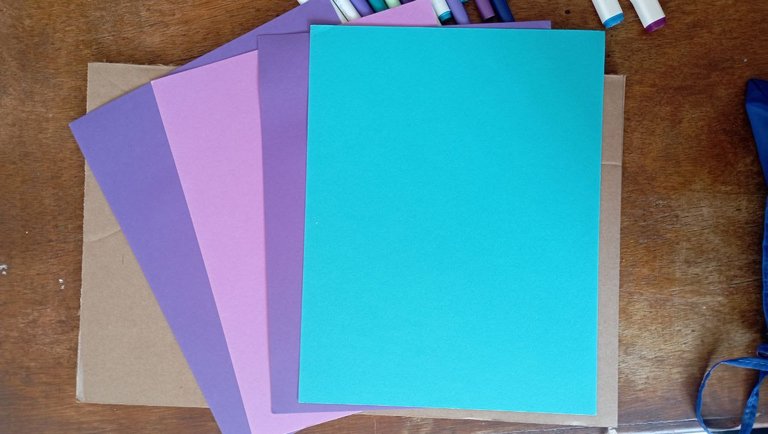
Cartón (para la base del conteo regresivo)
Lápiz
Exacto o cutter
Cartulina (en mi caso morada, turquesa y blanca)
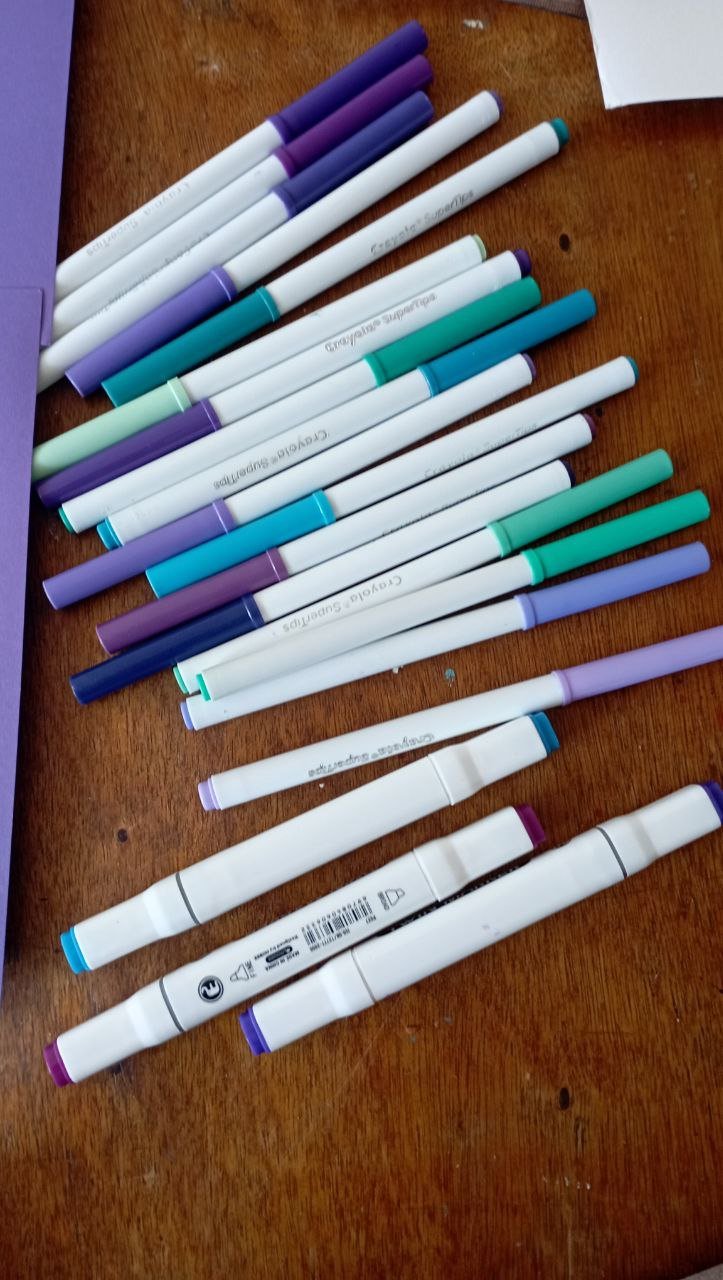
Marcadores de agua y alcohol
Lapicero de gel blanco y plateado
Lapicero negro
Cinta adhesiva doble faz
Foami (use de cualquier color)
Pegamento blanco
Pinzas
 |  |
|---|

PASO A PASO

 |  |
|---|
PASO 1
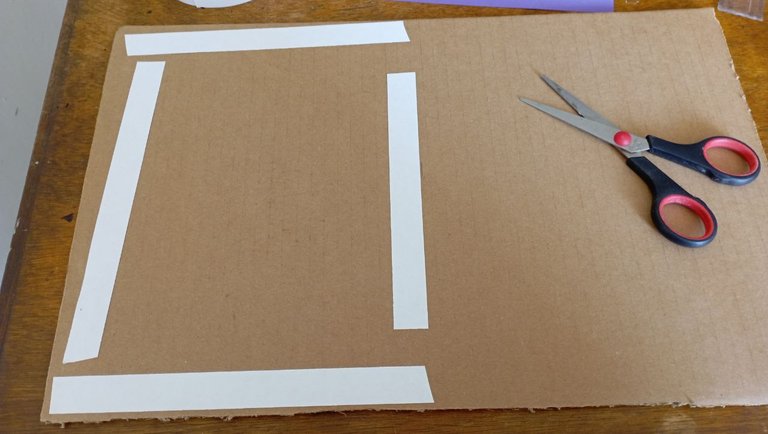
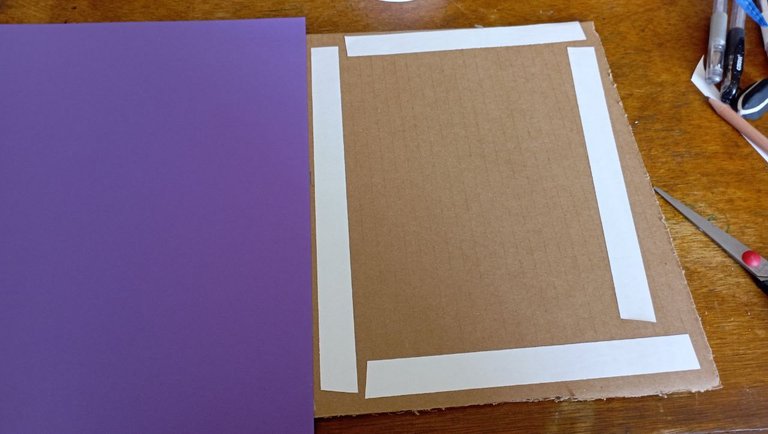
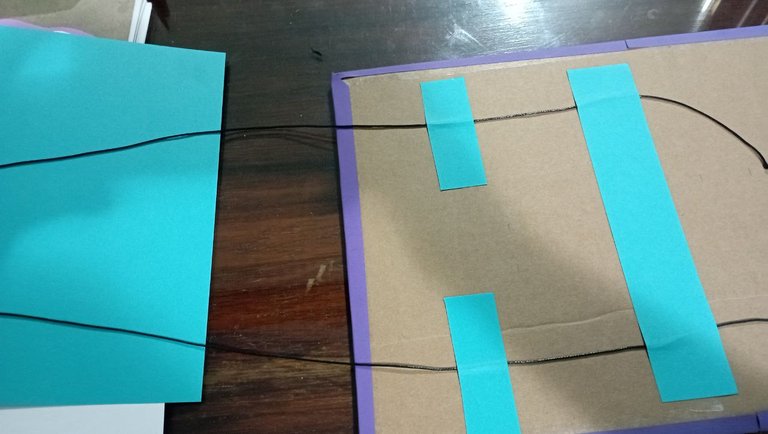
Primero saque la base del conteo regresivo. Para esto use un cartón de 45 cm de alto por 25 cm de ancho, lo corte de las medidas usando un exacto. Para forrarlo use cartulina de color morado intenso y las pegue al carton con ayuda de la cinta doble faz. En la parte trasera añadí un hilo para que pudiera guindarse en la puerta.
 |  |
|---|
PASO 2
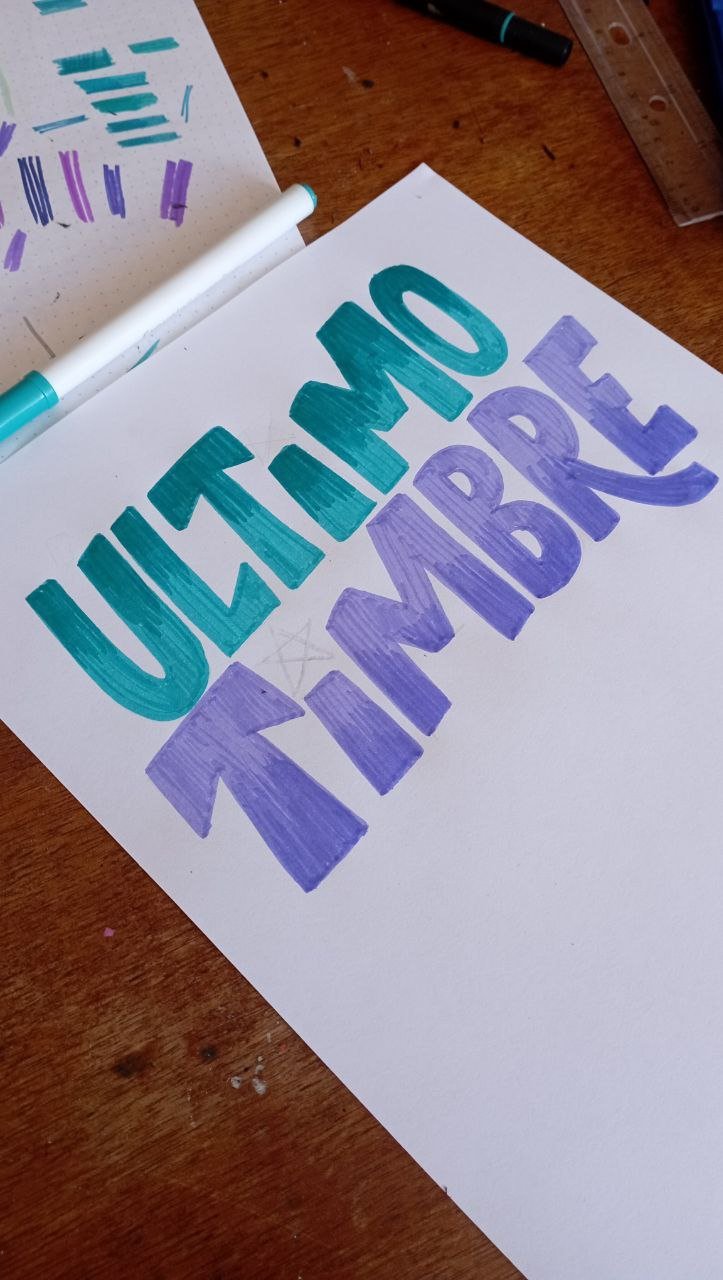
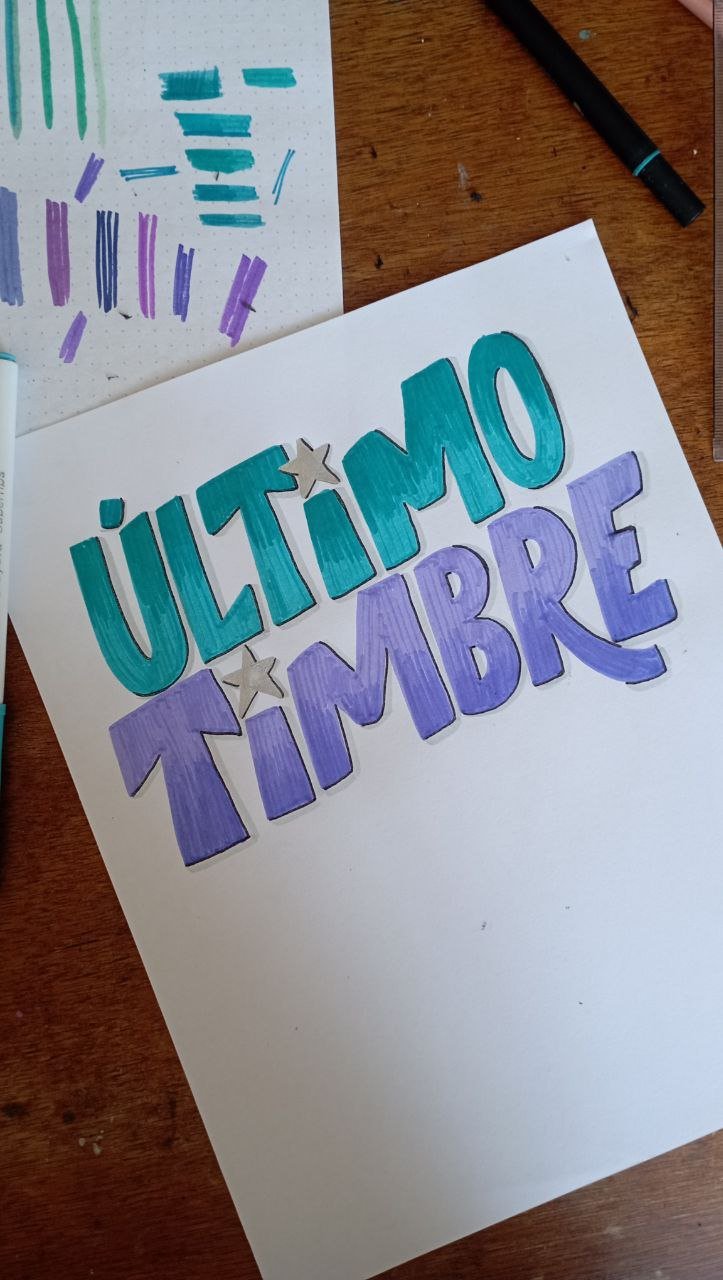
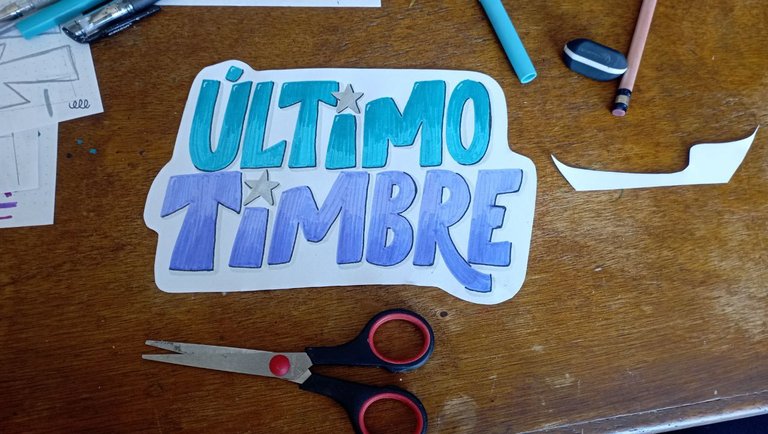
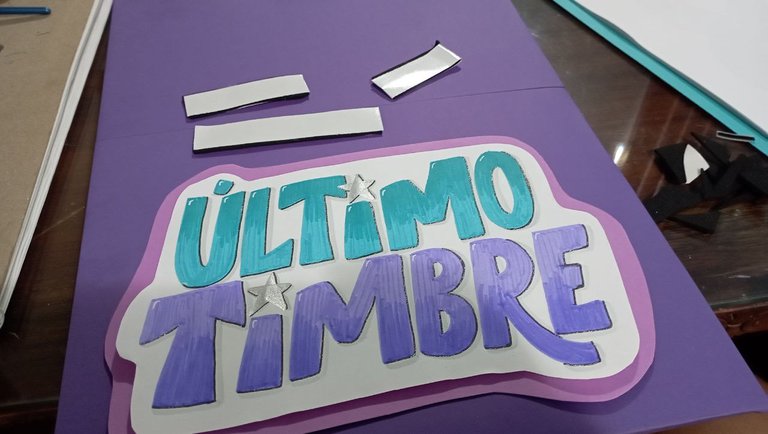
Con la base lista, inicie con el título con una base de cartulina blanca. Usamos la frase: “Último timbre” en un estilo de palo seco, pero que evocara un poco a las letras de carteles callejeros, usando los colores lila y turquesa y haciendo degradados en las letras, delineando con negro, sobra gris y detalles como estrellas con plateado.
 |  |
|---|
PASO 3
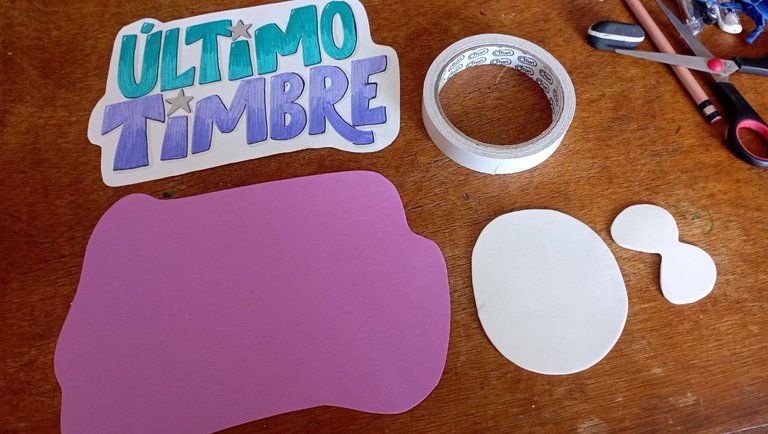
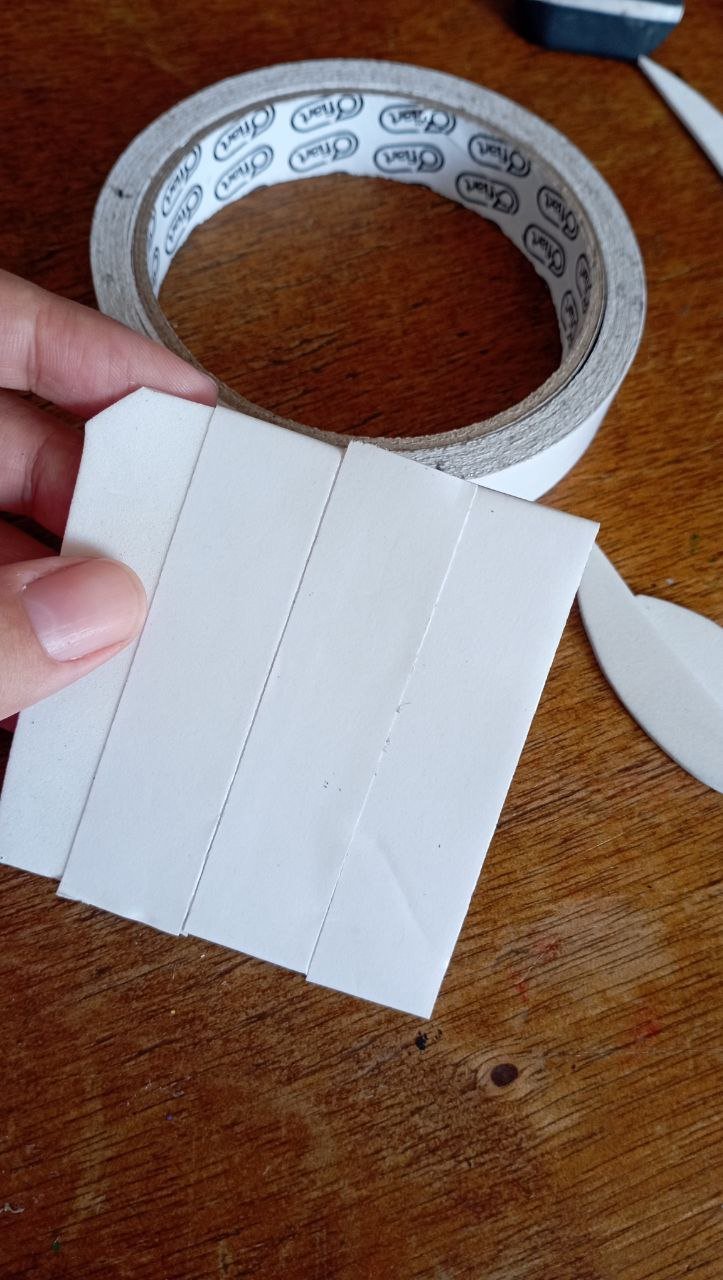
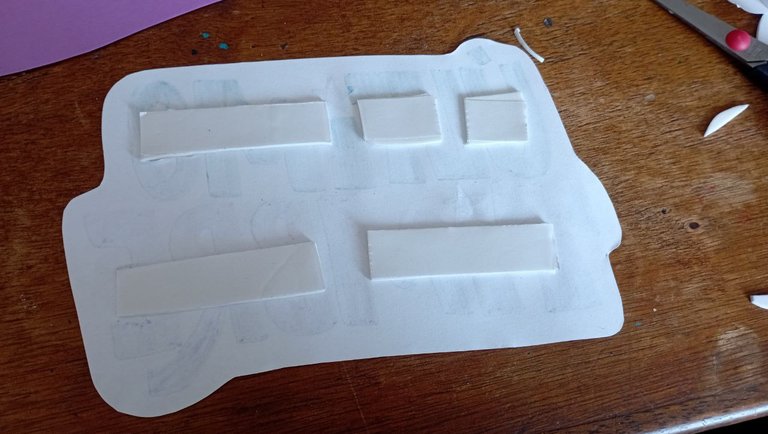
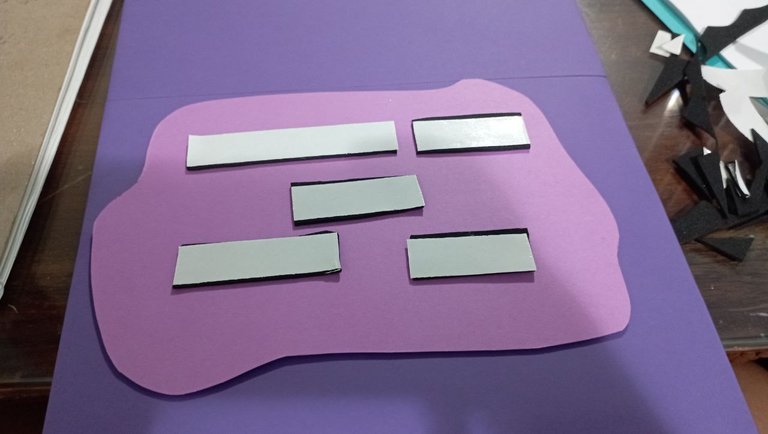
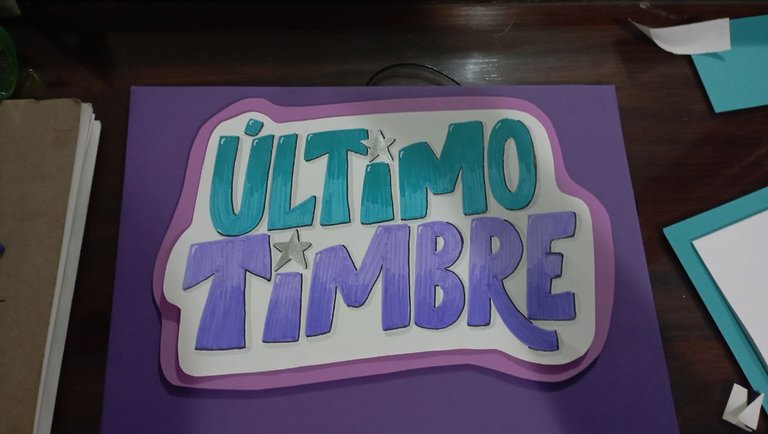
Con el titulo listo, lo recorte segun el molde, y con otra cartulina de color lila le hice otra base para poder armarlo tipo topper con dos capas. Para darle volumen, usan una cinta doble faz que es gruesa, pero vimos un tutorial donde usando foami y forrandolo por ambos lados con la cinta doble faz fina podía hacer lo mismo. Así que lo intenté y funcionó genial.
 |  |
|---|
PASO 4
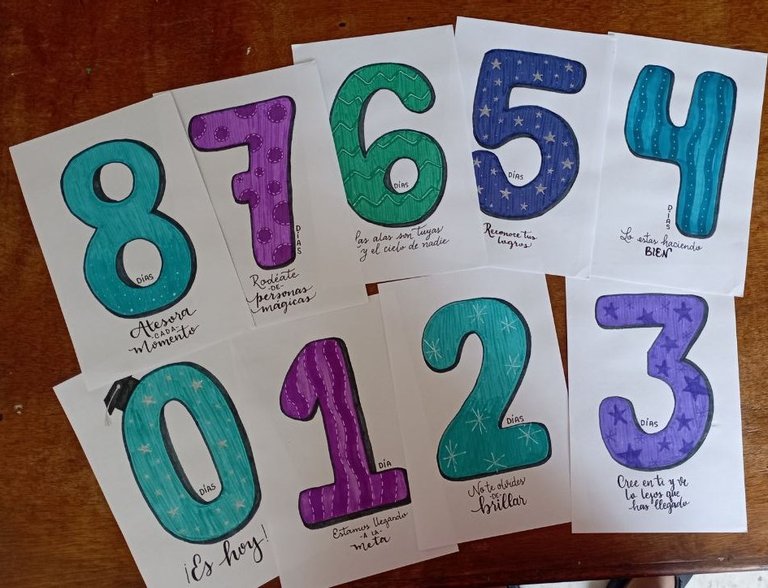
La parte más importante: el conteo regresivo. Quedamos que lo haríamos del 8 al 0, pero quería añadirle algo más, no que fueran los números y ya. Es la finalización de una etapa importante, así que añadí pequeñas frases motivadoras en cada uno de los días.
Para cada número use media cartulina tamaño carta. Intente que fueran grandes y use distintos tonos de morado y turquesa, usando degradados, puntos, lineas dentro de cada uno y delineandolos con marcador negro.
 |  |
|---|
PASO 5
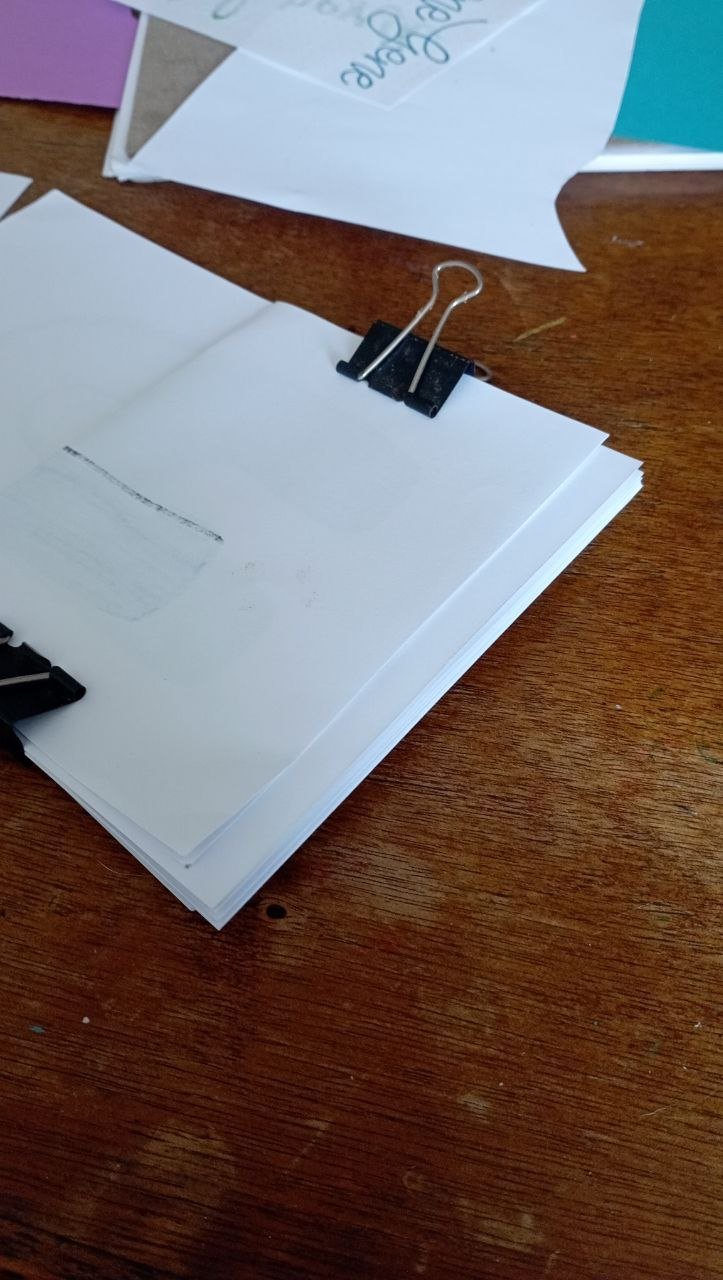
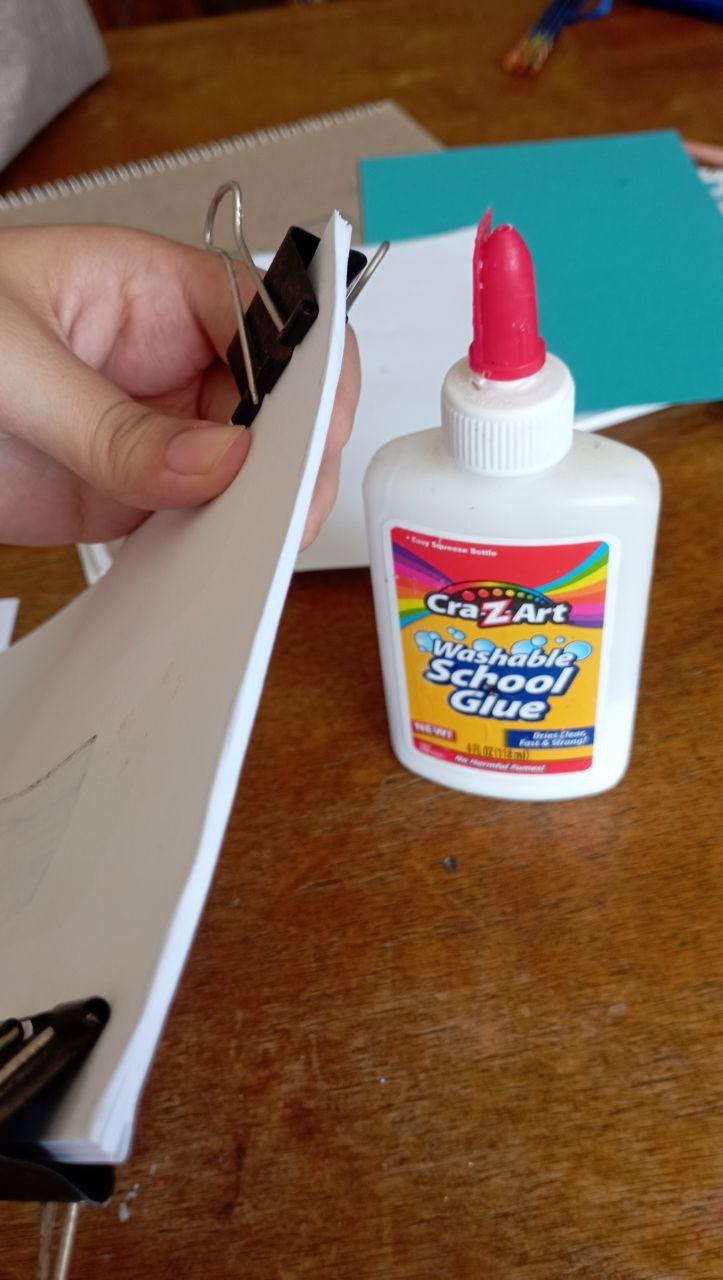
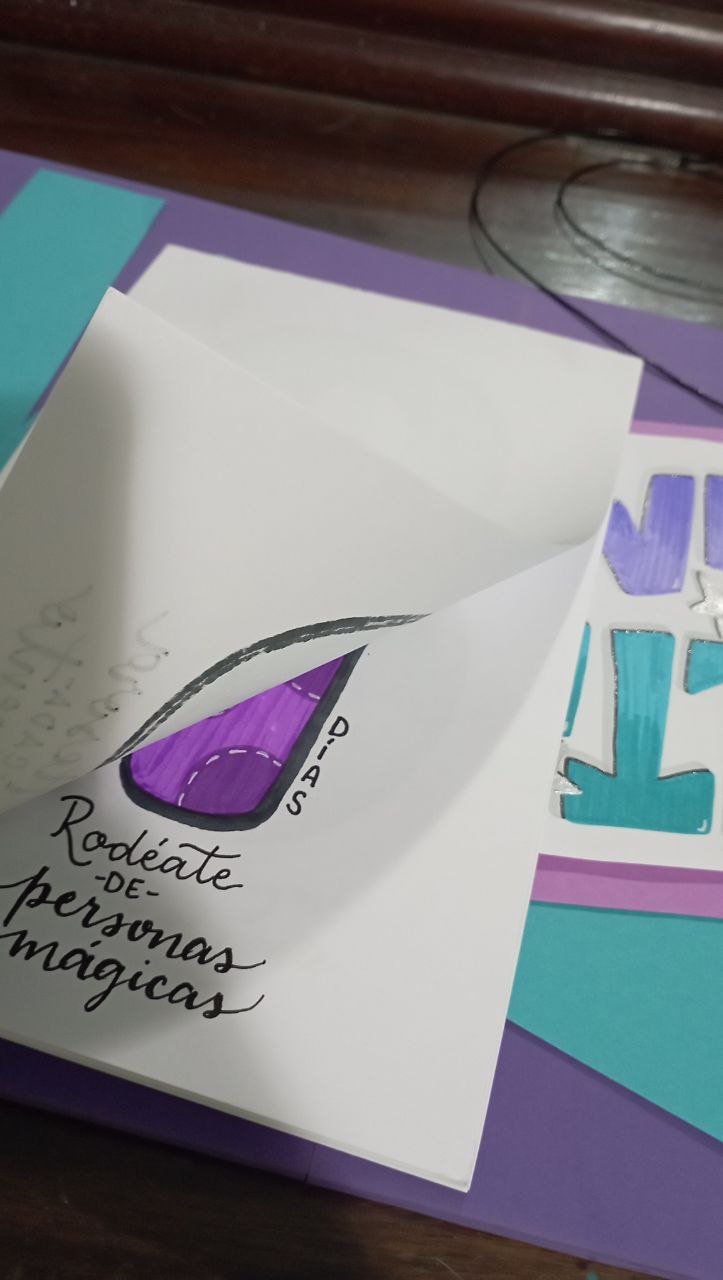
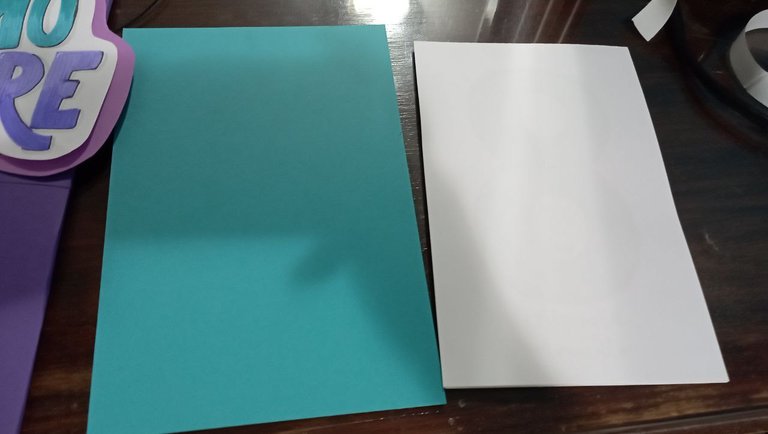
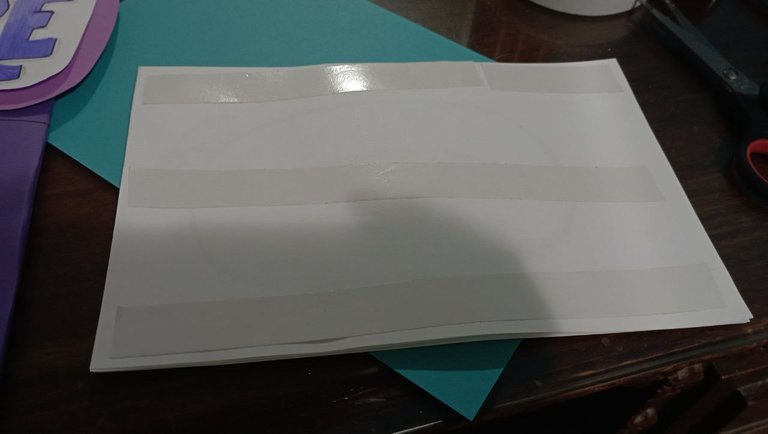
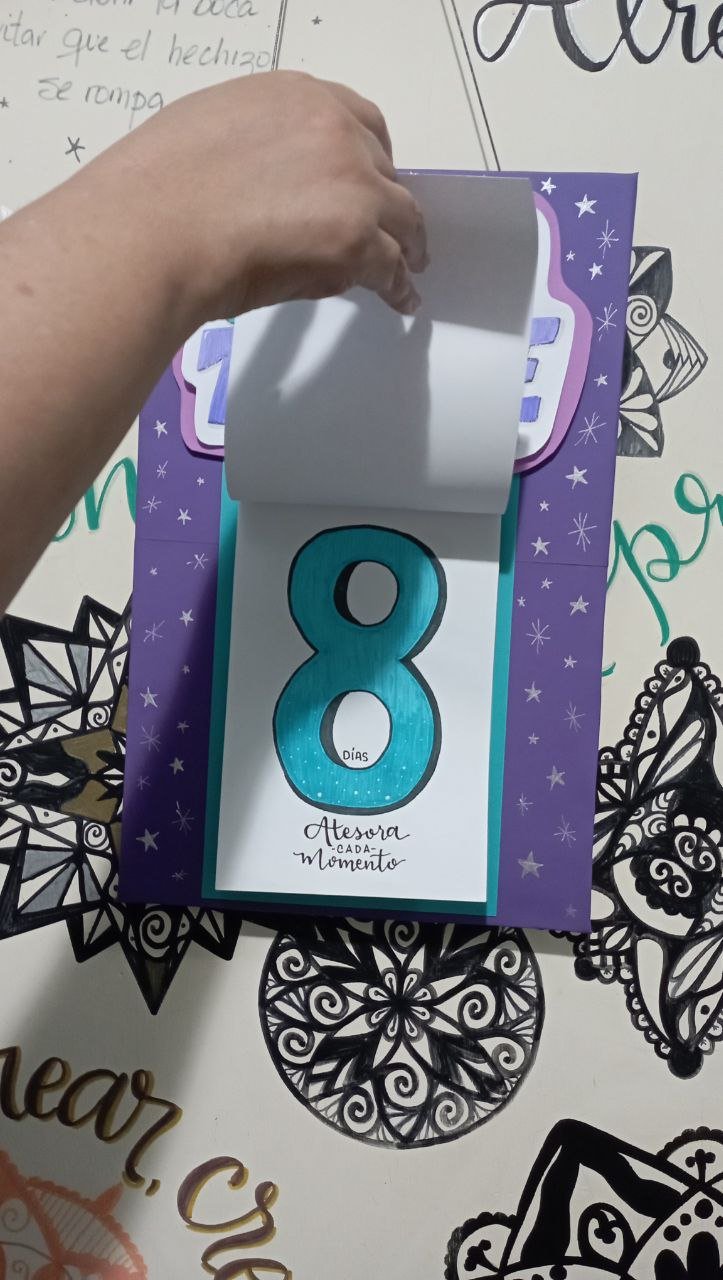
Una vez los números estuvieron listos era hora de pegarlos y darles el efecto calendario para que día a día pudieran arrancarlos. Para esto añadí una hoja delante y una hoja al final, ambas en blanco. Cuadre las hojas y con las pinzas las sujete bien para que no se movieran. Usando un pincel con pegamento blanco, unte de forma generosa en la parte superior de las hojas. Luego lo deje secando toda la noche.
 |  |
|---|
 |  |
|---|
PASO 6
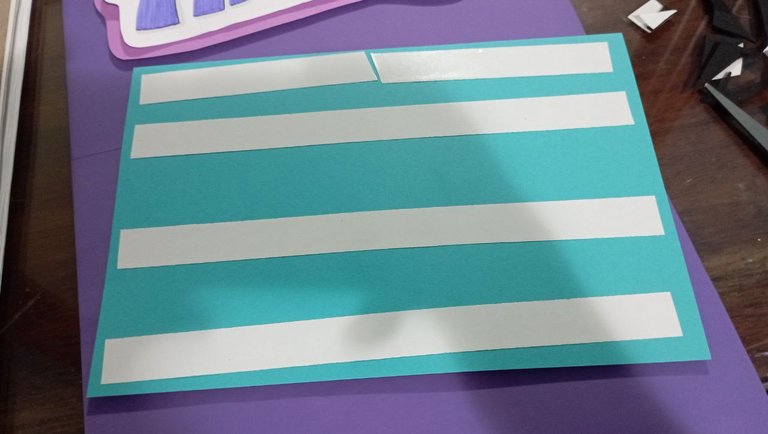
Una vez seco el lote de hojas, corte una cartulina color turquesa para hacerle un fondo a los números. Para la medida, busqué que fuera 1 centímetro más grande en sus cuatro lados, para hacer tipo un marco. Pegue las hojas a su marco usando cinta doble faz.
 |  |
|---|
PASO 7
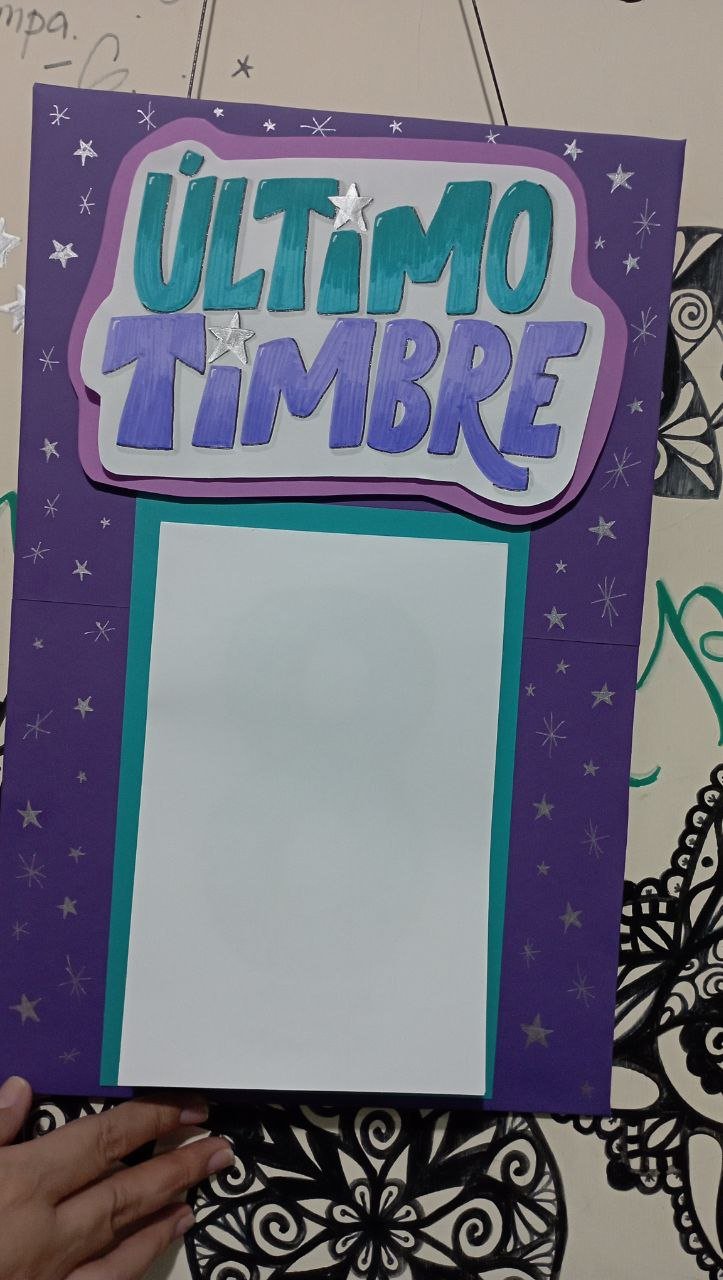
Hora de ensamblar. Primero, usando el foami con la cinta doble faz pegue el título en la parte superior de la base. Luego con la cinta doble faz pegue mas abajo la base con los números del conteo regresivo. ¡Conteo listo!
 |  |
|---|
 |  |
|---|

Al otro día hice la entrega y debo decir que quedé encantada con el resultado. Me emocione con ellos en cada video que me enviaron donde arrancaban cada hoja y aunque ya hoy fue el último timbre, se que todavía conservan las hojas y leen las frases. El lettering me enseñó que con una frase con letras bonitas puedes influir y hacer sentir mejor y feliz a alguien.
Gracias por leerme
Con cariño, G.

Hi hivers! 💜
I hope you are well and happy, dear crafters. A few days ago I got a call from @rulirecomienda with a last minute mission: to make a countdown for her little boy, who is my mini slice and I love him very much. Although it put me on the run because of the short time, I loved the idea and it didn't take long to form an idea of what it would look like. We agreed to use the colors of the promotion which were lilac and turquoise and I embarked on this adventure and now I'll tell you how it turned out:

MATERIALS
Cardboard (for the base of the countdown)
Pencil
exacto or cutter
Cardboard (in my case purple, turquoise and white)
Water and alcohol markers
White and silver gel pen
Black pencil
Double-sided tape
Foami (use any color)
White glue
Tweezers
 |  |
|---|

STEP BY STEP

 |  |
|---|
STEP 1
First make the base of the countdown. For this, use a 45 cm high by 25 cm wide cardboard, cut it to size using an exacto cutter. To cover it I used deep purple cardboard and glued it to the cardboard with double-sided tape. On the back I added a thread so that it could be hung on the door.

 |  |
|---|
STEP 2
With the base ready, start with the title with a white cardboard base. We used the phrase: "Last Bell" in a dry stick style, but evoking a little bit the letters of street posters, using the colors lilac and turquoise and making gradients in the letters, outlining with black, gray overlays and details like stars with silver.
 |  |
|---|
STEP 3
With the title ready, I cut it out according to the mold, and with another lilac cardboard I made another base to be able to assemble it as a topper with two layers. To give it volume, they use a thick double-sided tape, but we saw a tutorial where using foami and lining it on both sides with the thin double-sided tape I could do the same. So I tried it and it worked great.
 |  |
|---|

STEP 4
The most important part: the countdown. We agreed that we would do it from 8 to 0, but I wanted to add something more to it, not just the numbers. It is the end of an important stage, so I added little motivational phrases for each day.
For each number I used half a letter size cardboard. I tried to make them big and used different shades of purple and turquoise, using gradients, dots, lines inside each one and outlining them with black marker.

 |  |
|---|
STEP 5
Once the numbers were ready it was time to glue them together and give them the calendar effect so that day by day they could be torn off. For this I added a sheet in front and a sheet at the end, both blank. I squared the sheets and with the tweezers I held them in place so they wouldn't move. Using a brush with white glue, I smeared it generously on the top of the leaves. Then let it dry overnight.
 |  |
|---|
 |  |
|---|
STEP 6
Once the batch of leaves were dry, I cut a turquoise card stock to make a background for the numbers. For the size, I made it 1 centimeter larger on all four sides, to make a frame. Glue the leaves to the frame using double-sided tape, and using the same tape, glue it to the base of the countdown.
 |  |
|---|
STEP 7
Time to assemble. First, using the foami with the double-sided tape, glue the title on the top of the base. Then with the double-sided tape, glue the base with the countdown numbers below. Countdown ready!
 |  |
|---|
 |  |
|---|

Al otro día hice la entrega y debo decir que quedé encantada con el resultado. Me emocione con ellos en cada video que me enviaron donde arrancaban cada hoja y aunque ya hoy fue el último timbre, se que todavía conservan las hojas y leen las frases. El lettering me enseñó que con una frase con letras bonitas puedes influir y hacer sentir mejor y feliz a alguien.
Thank you for reading me
With love, G..
FUENTE
Fotos: tomadas por mi desde mi redmi 10
Traducción: Deepl
SOURCE
Photos: taken by me from my redmi 10
Translation: Deepl

