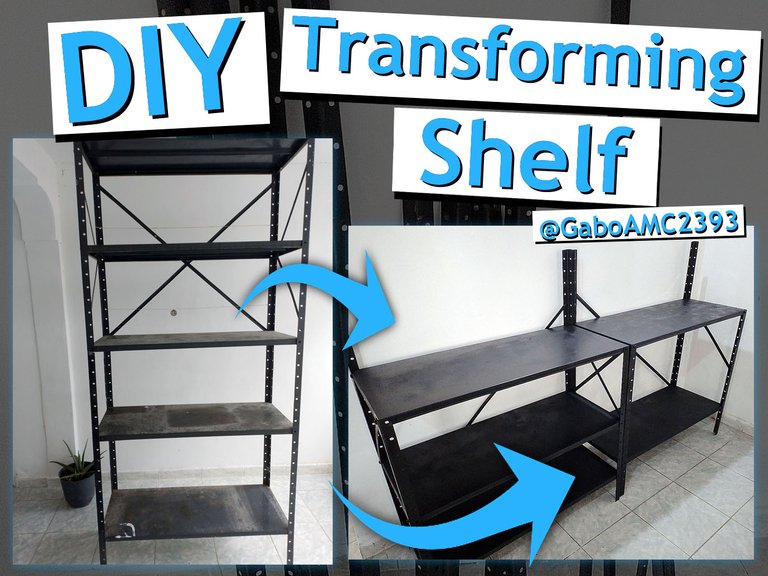

Desde hace un tiempo tenía la intención de comprar un mueble para colocar mi laptop en la sala y crear un nuevo espacio de trabajo.
Estuve averiguando los precios de estos muebles y ciertamente ninguno de ajustaba a mi presupuesto, todos estaban por encima de los 300 o 400 dólares, sí.
Un poco resignado, pero no rendido, puse mi lado creativo a trabajar y entonces me di cuenta de que podría usar este estante para crear ese mueble que necesitaba...
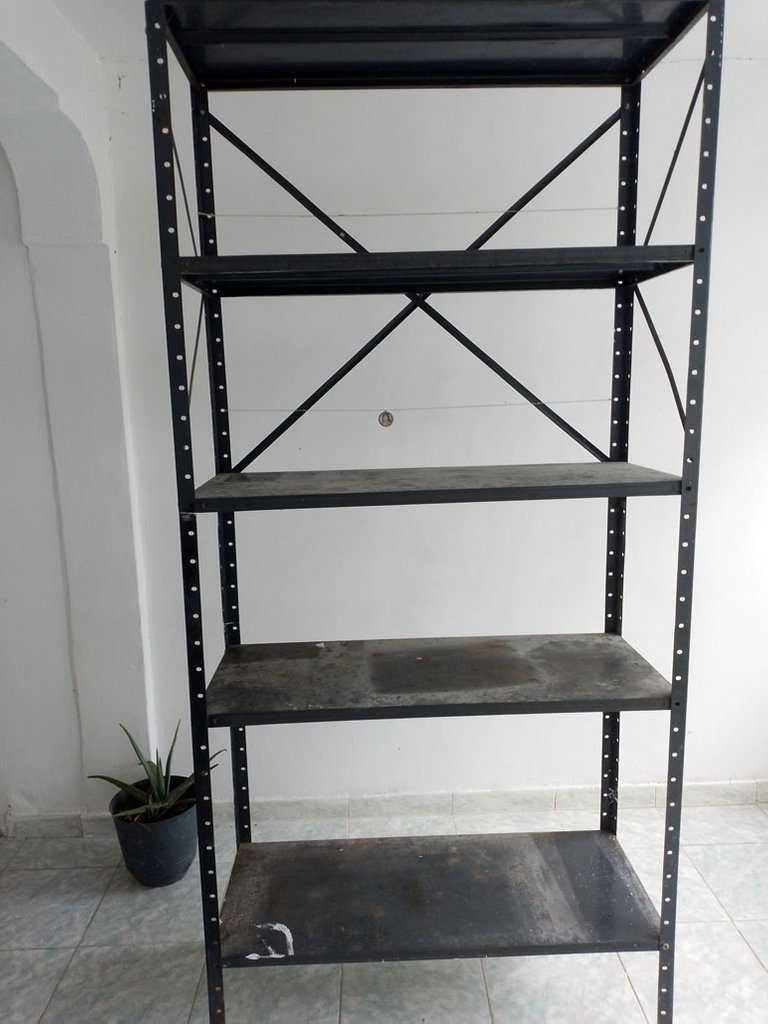
Well, let's get to work.
The first thing I did was to lay this huge shelf down in a wide area so I could work on it comfortably.
It's a tall shelf, so my intention was to cut it in half and make two tables out of this long piece.
Pues bien, manos a la obra.
Lo primero que hice fue acostar a este enorme estante en un área amplia para poder trabajarlo con comodidad.
Es un estante alto, así que mi intención era cortarlo a la mitad y hacer dos mesas de esta larga pieza.
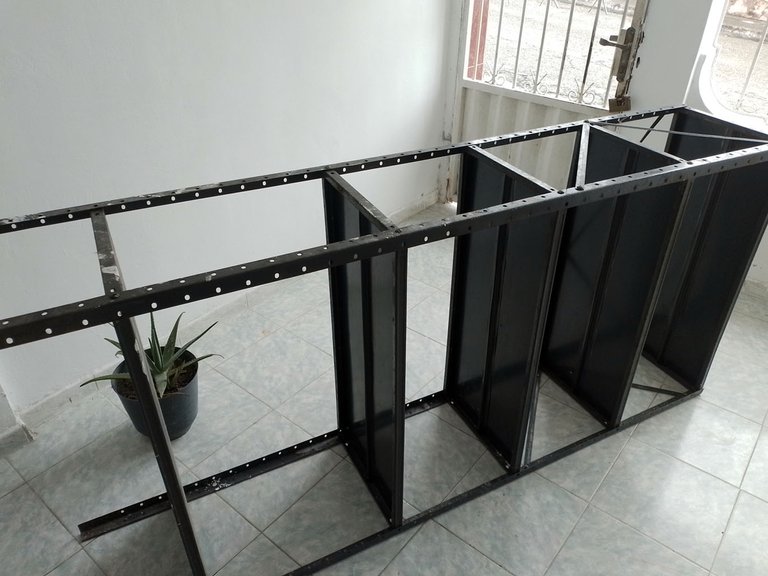
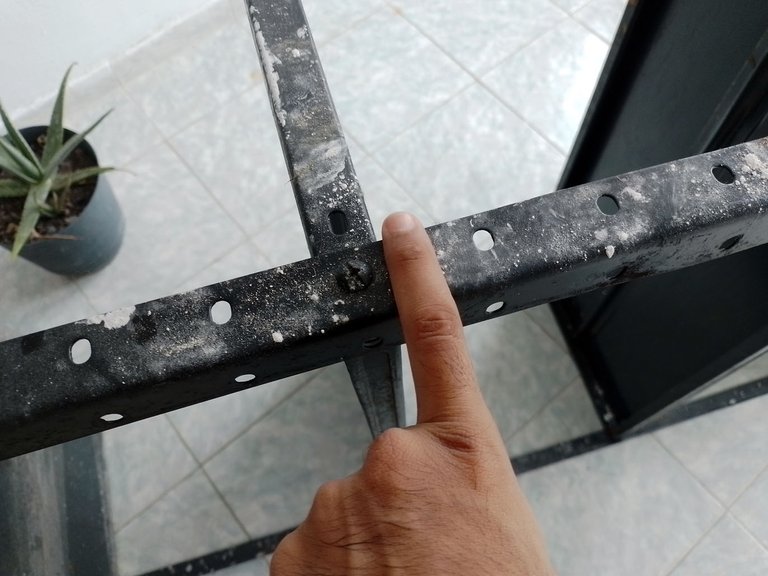
To make the measurements I took a plastic rod with which I would mark the same height for each side of the shelf, so the two tables would have the same height.
Para hacer las medidas tomé una vara de plástico con la cual marcaría el mismo alto para cada lado del estante, así las dos mesas tendrían el mismo alto.
 |  |
|---|
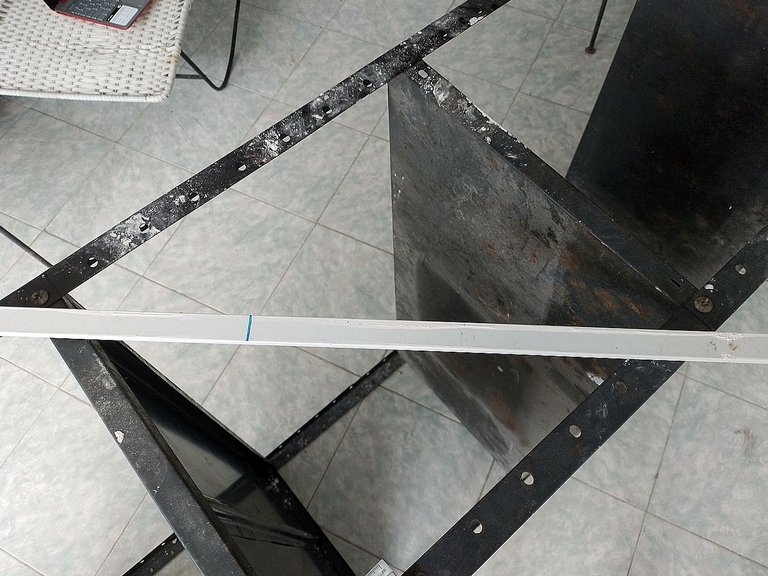
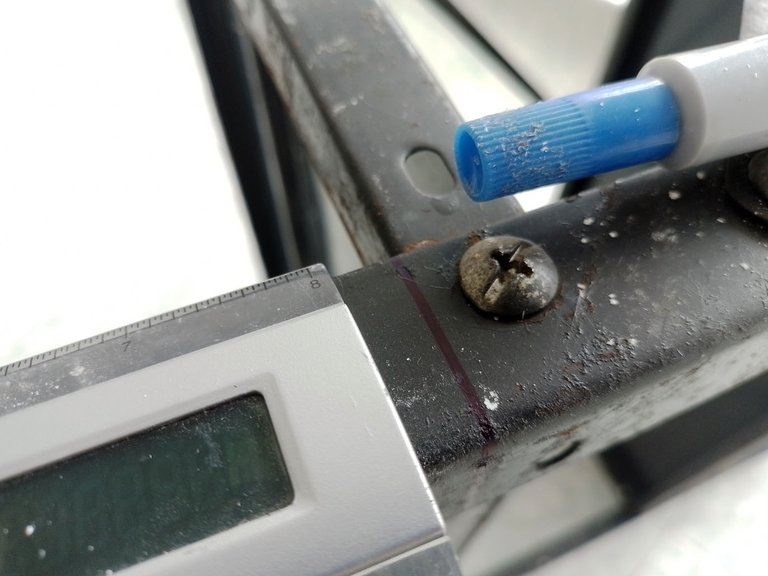
Then, with a small ruler I made the horizontal lines that I would cut on each of the corners of the shelf, drawing them with a marker.
Luego, con una pequeña regla hice las líneas horizontales que cortaría en cada una de las esquinas del estante, dibujándolas con un marcador.
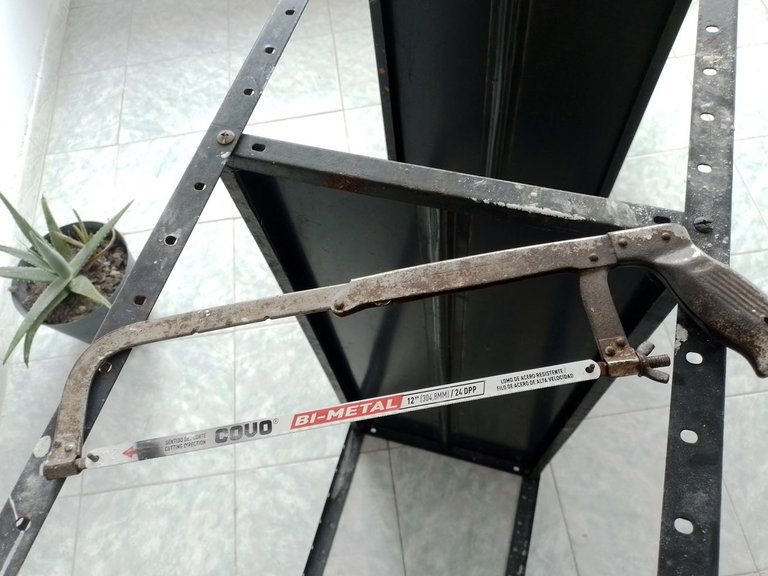
I used a segueta, ideal for cutting this type of metal.
Note, if you don't know how to use this tool better leave this step to someone who does, to avoid accidents with your fingers. It is a tool that must be used with great care, I know from experience...
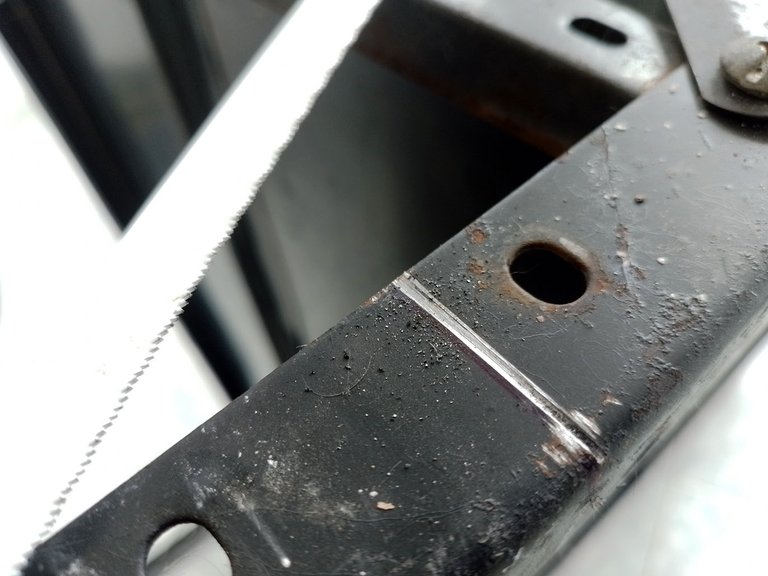
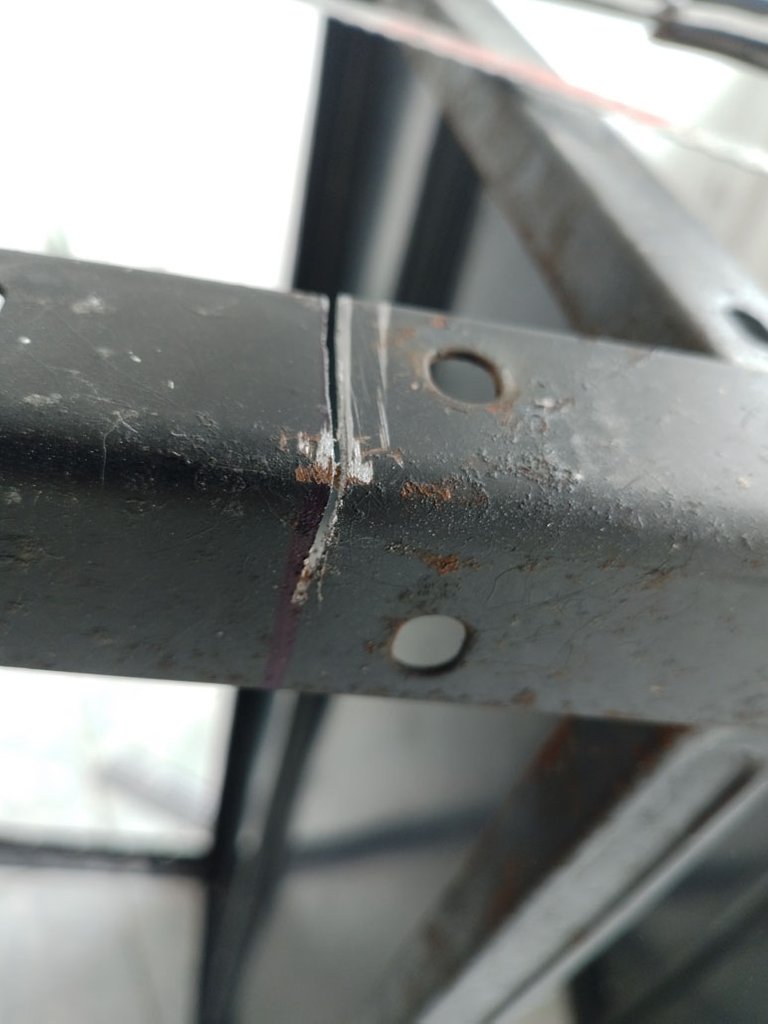
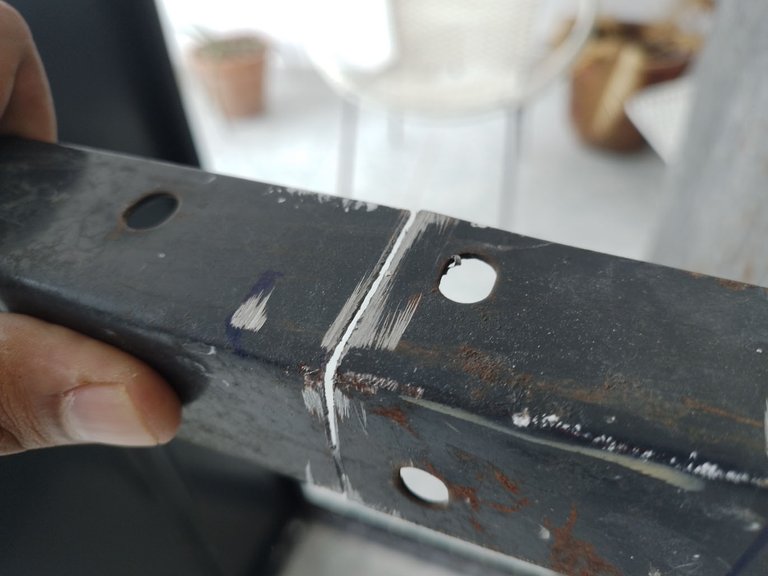
Well, returning to this topic, first I marked with the saw the line where I would cut, that is to say, I made a superficial cut along the line that I had drawn with the marker.
Usé una segueta, ideal para corta este tipo de metal.
Nota, si no sabes usar esta herramienta mejor déjale este paso a alguien sí, para evitar accidentes con los dedos. Es una herramienta que hay que usar con mucho cuidado, lo sé por experiencia...
Bien, volviendo a este tema, primero marqué con la segueta la línea por la que cortaría, es decir, que hice un corte superficial por la línea que había dibujado con el marcador.
 |  |
|---|
This line was the one I used as a guide to cut each of the corners of the shelf, to divide it into two parts.
Esta línea fue la que usé de guía para cortar cada uno de los ángulos del estante, para depararlo en dos partes.
 |  |  |
|---|
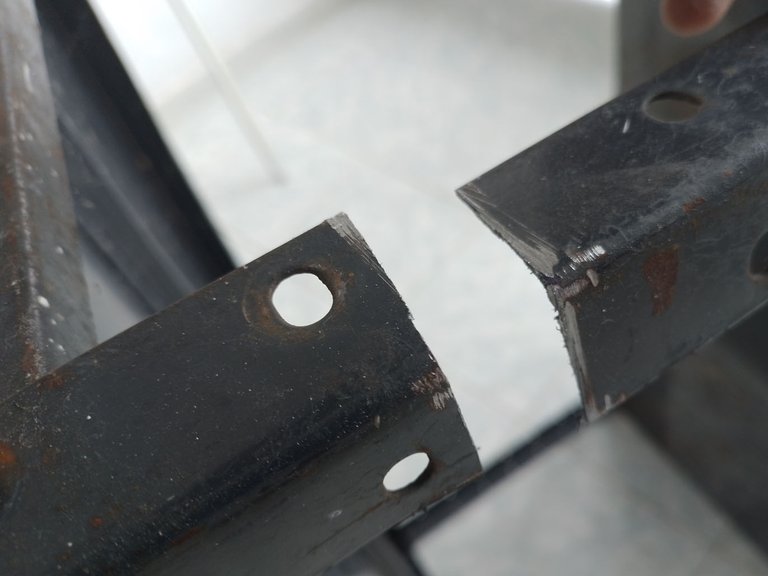
That's how that huge shelf ended up cut in half. This process took me about 20 minutes, since the saw blade was new and cut the angles quickly.
Below you can see how the shelf was cut in two parts.
It should be noted that I cut the back corners of the shelf a little higher to serve as a support for something I will do in the future, an idea that I still do not know how I will put into practice, but it will be seen.
Fue así como ese enorme estante terminó cortado a la mitad. Este proceso me llevó como 20 minutos, pues la hoja de la segueta era nueva y cortó los ángulos rápidamente.
A continuación pueden ver cómo quedó el estante seccionado en dos partes.
Cabe destacar, que los ángulos traseros del estante los corté un poco más altos para que sirvieran como soporte para algo que haré en un futuro, una idea que aún no sé cómo pondré en práctica, pero ya se verá.
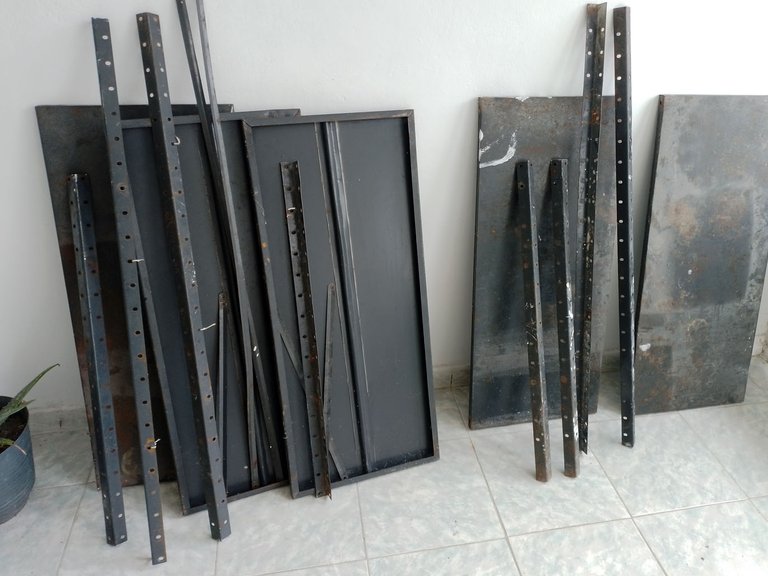
All the pieces were dirty and full of dust, because I had been remodeling in the house, so the whole rack was not in the best conditions.
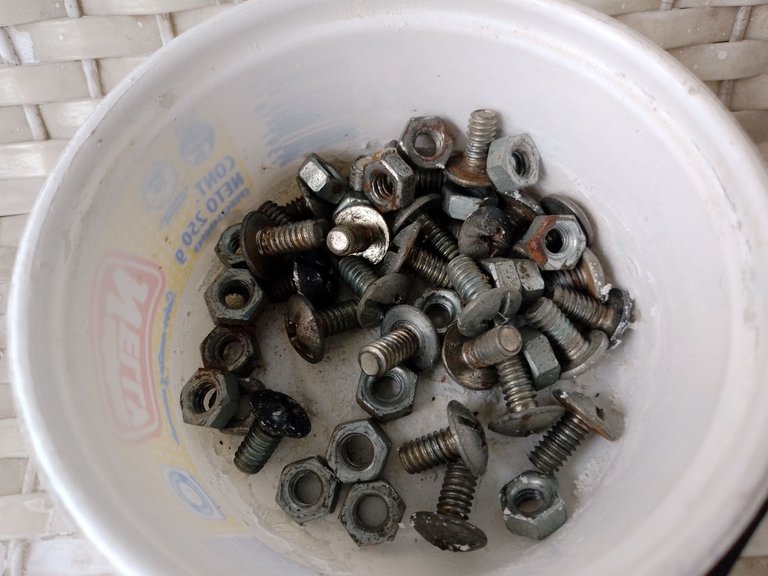
On the other hand, each and every one of the nuts and bolts I kept in a container to avoid losing them, as I didn't have any more of these.
Todas las piezas estaban sucias y llenas de polvo, porque había estado remodelando en la casa, así que el estante completo no estaba en las mejores condiciones.
Por otra parte, todos y cada uno de los tornillos y tuercas los guardé en un envase para evitar perderlos, pues no tenía más de estos.
 |  |
|---|
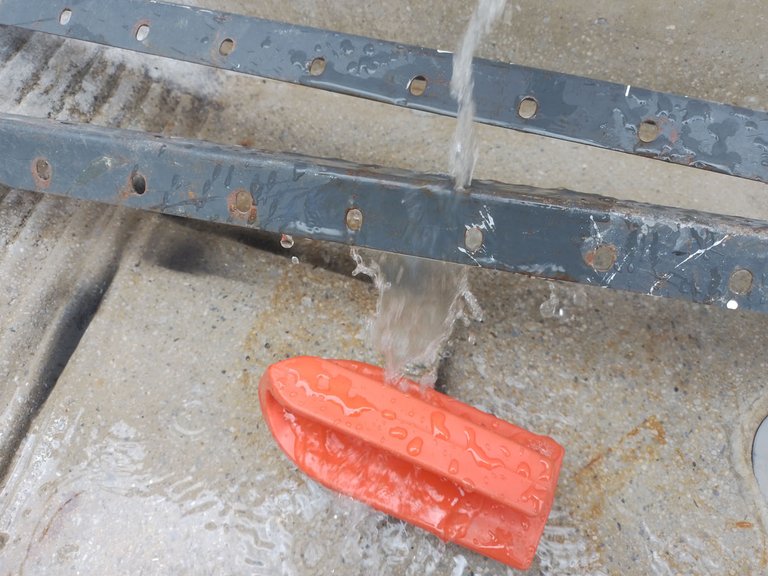
In view of the state the pieces on the shelf were in, there was only one option, to clean them. So I took a brush, water and soap to get them really clean.
Then, I let them dry for an hour.
En vista del estado en el que estaban las piezas del estante, solo había una opción, limpiarlos. Así que tomé un cepillo, agua y jabón para dejarlos bien limpios.
Después, los dejé secar por una hora.
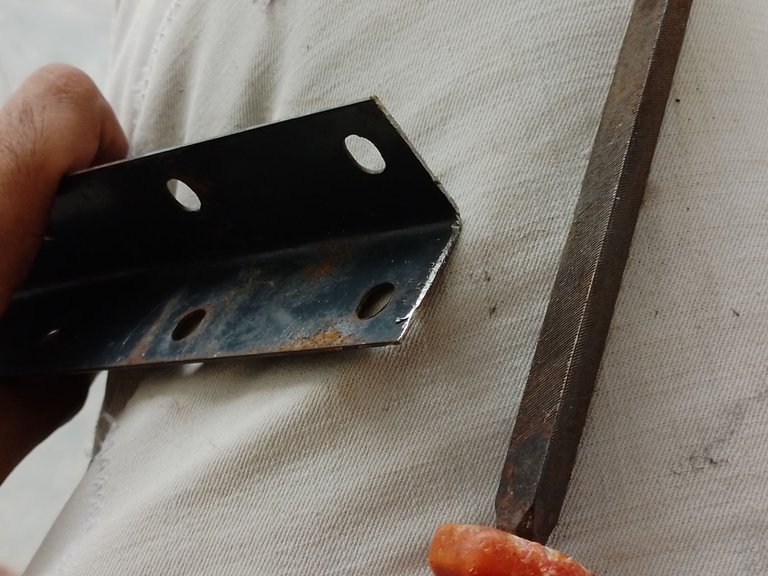
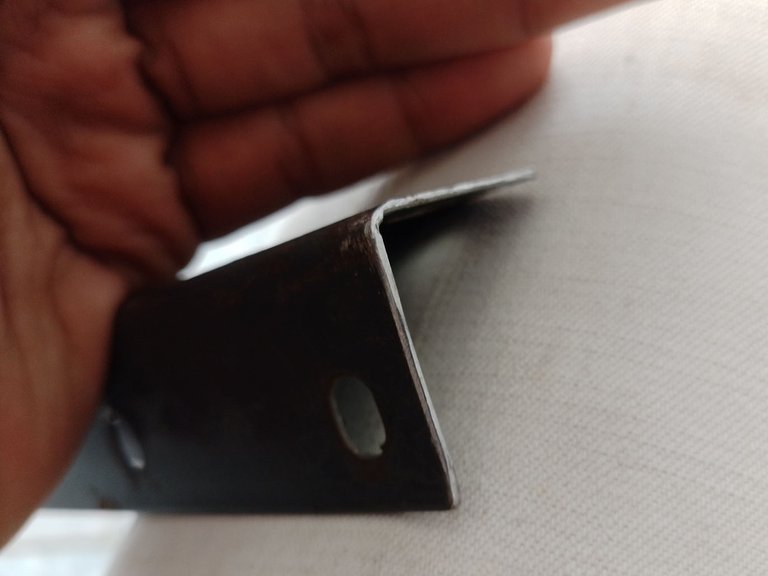
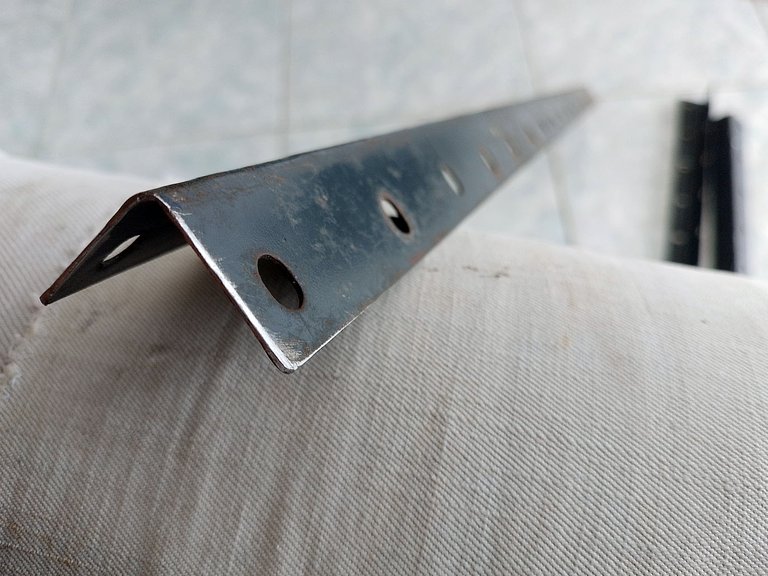
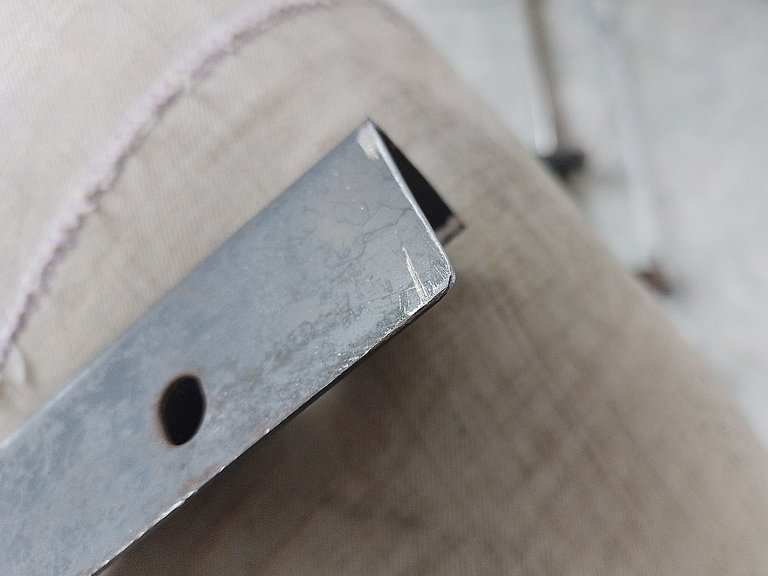
After the pieces were dry, I took an iron file and began to file off the sharp edges of the freshly cut angles.
These angles would be on the top side of the table, so I reduced them as best I could to leave them with a rounded edge, even.
Después de que las piezas quedaron secas, tomé una lima de hierro y comencé a limar los bordes afilados que tenían los ángulos recién cortados.
Estos ángulos quedarían del lado superior de la mesa, así que los reduje lo mejor posible para dejarlos, incluso, con un borde redondeado.
 |  |
|---|
 |  |
|---|
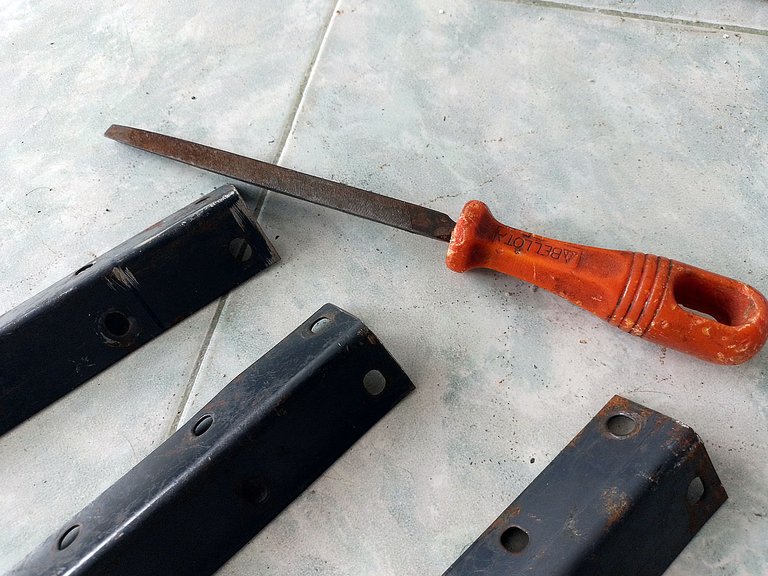
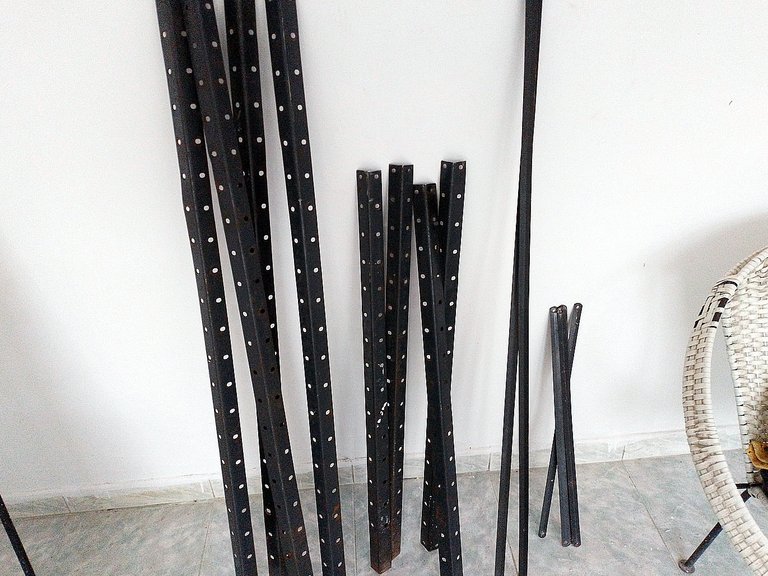
I did the same process to each and every one of the angles, because there were four pieces that were left with these sharp edges. If you passed your hand through these angles without doing the work with the file, you could cut yourself.
For this reason, with the intention of avoiding accidents, I filed all the pieces, and this is how they were left.
A todos y cada uno de los ángulos hice el mismo proceso, pues eran cuatro piezas que quedaron con estos bordes afilados. Si uno pasaba la mano por estos ángulos sin hacer el trabajo con la lima, podría cortarse.
Por este motivo, con la intención de evitar accidentes, limé todas las piezas, así quedaron.
 |  |
|---|
Now, it would not be enough just to clean this shelf with soap and water, no, it was very deteriorated in terms of paint. In some parts the iron was even exposed and had rusted a bit, so a paint job needed to be done.
For this I bought three cans of spray paint. Matte black color.
Ahora bien, no solo bastaría con limpiar con agua y jabón este estante, no, estaba muy deteriorado en cuanto a pintura. Incluso, en algunas partes el hierro estaba expuesto y se había oxidado un poco, así que había que hacer un trabajo de pintado.
Para esto compré tres latas de pintura en aerosol. Color negro mate.
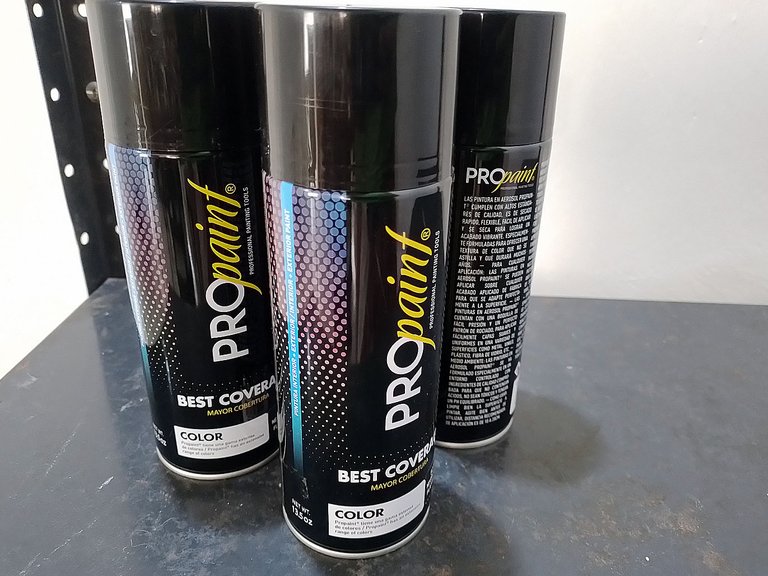
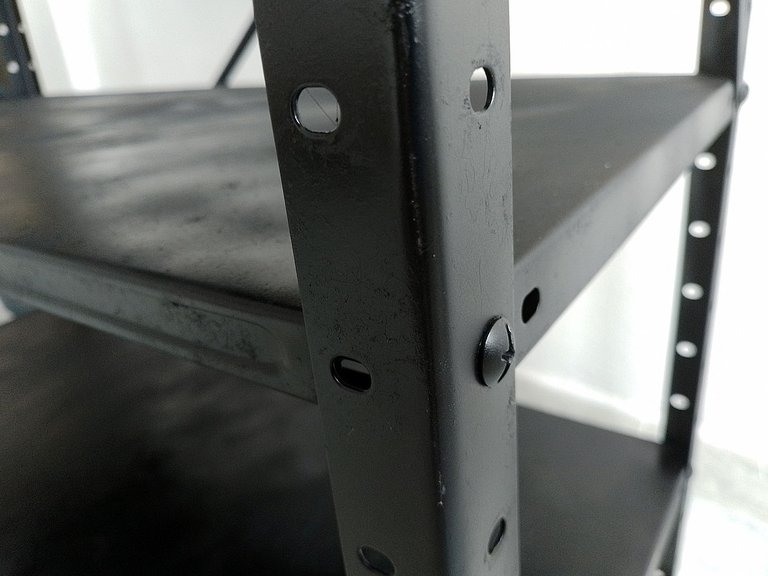
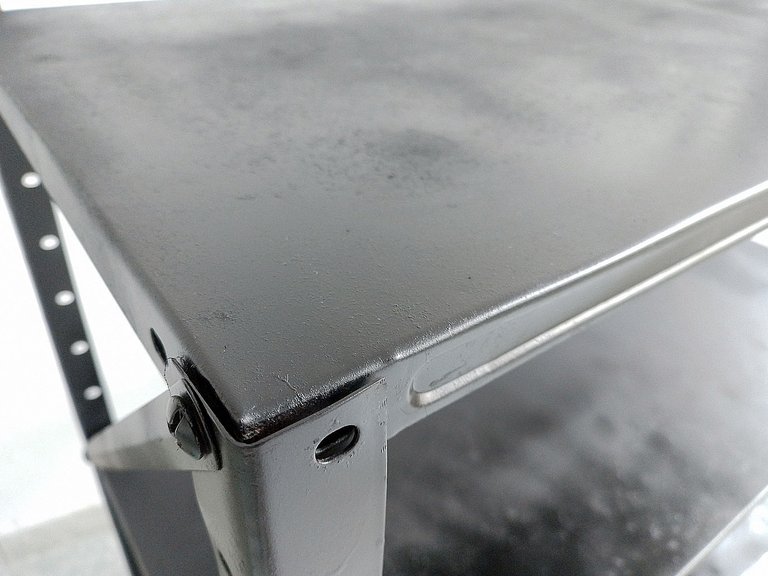
With all these I started to paint the first table, trying to cover as best I could all the surface that was not quite regular, but rough, but I didn't have a file strong enough to remove all those imperfections, so I covered them with paint.
Con todas estas comencé a pintar la primera mesa, tratando de cubrir lo mejor que pude toda la superficie que no era del todo regular, sino rugosa, pero no tenía una lima lo suficientemente fuerte como para retirar todas esas imperfecciones, así que las cubrí con pintura.
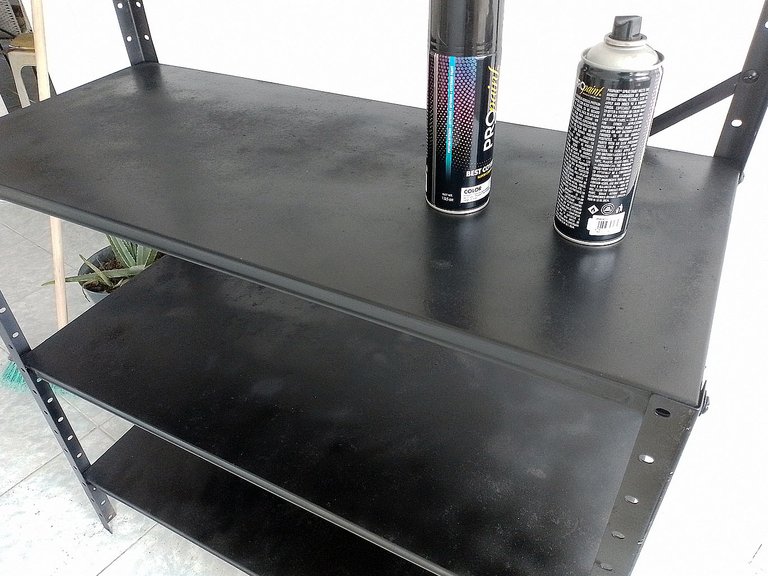
Here are some pictures of how the first table looked after painting.
Aquí unas fotos de cómo quedó la primera mesa después de pintarlo.
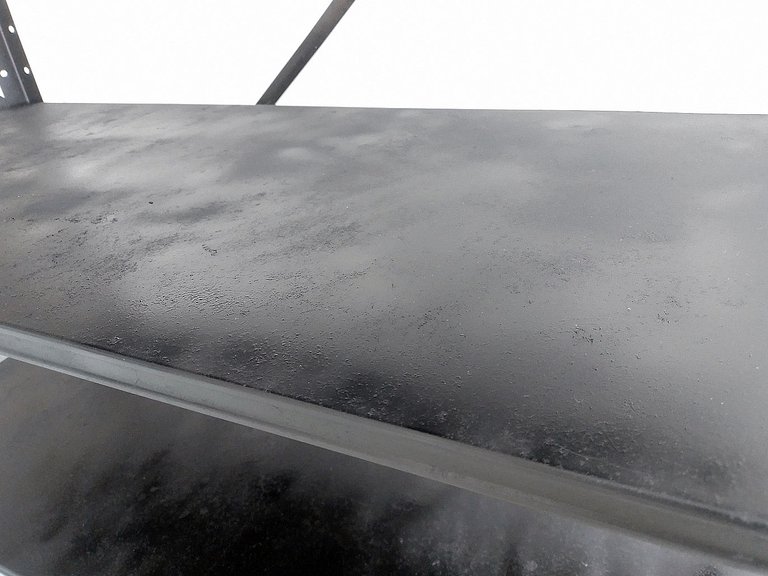
I must clarify that this paint has a very strong and penetrating smell. At first I painted in the entrance hall of the house, which has a lot of air circulation and a huge window in front, but the smell of the paint invaded the whole house.
It didn't seem right so I decided to paint the second table outside the house, in the open air. This is something I also recommend.
Debo aclarar que esta pintura tiene un olor bastante fuerte y penetrante. Yo en un comienzo pinté en el recibidor de la casa, que tiene bastante circulación de aire y un ventanal enorme al frente, pero el olor a la pintura invadió toda la casa.
No me pareció correcto así que decidí pintar la segunda mesa fuera de la casa, al aire libre. Es algo que también les recomiendo.
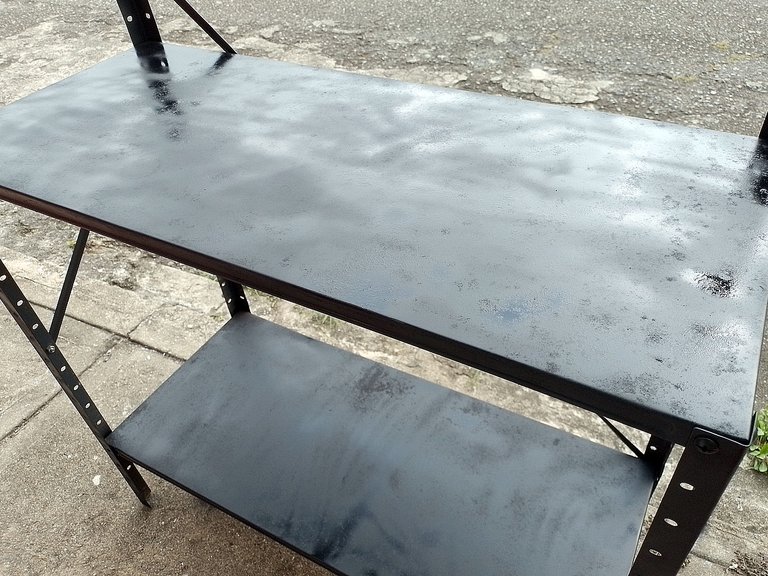
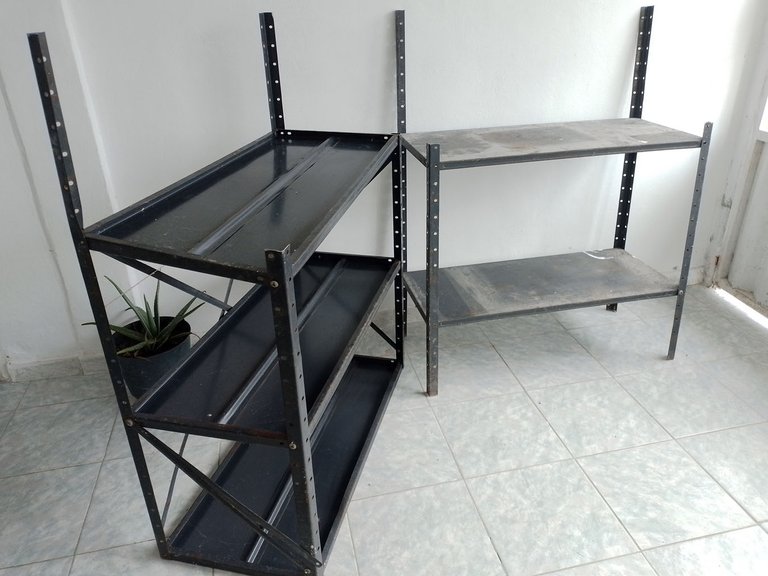
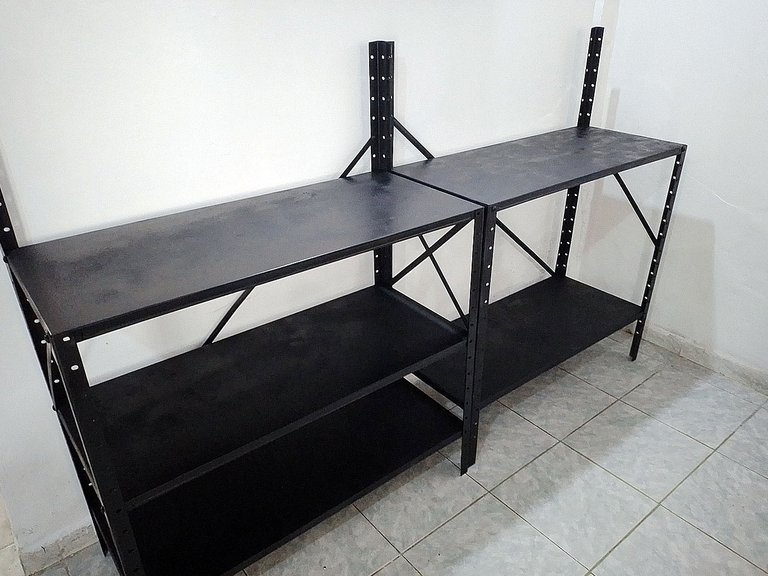
After letting them dry all afternoon in the front of the house, I put them away and placed them in their final resting place, in a little corner of the living room, where they will be of great use to me.
Below you can see a picture of the final result:
Después de dejarlas secar toda la tarde en el frente de la casa, las guardé y las coloqué en su lugar final de reposo, en un rinconcito de la sala, donde me servirán mucho.
A continuación pueden ver una fotografía del resultado final:
Well friends, this has been all for now. I hope you liked my post, I invite you to leave your opinions below in the comments, as always I will be happy to read them.
I thank you for taking the time to read my publication. With nothing more to add, I'll say goodbye then...
See you next time!
Bien amigos, esto ha sido todo por ahora. Espero que mi publicación les haya gustado, los invito a dejar sus opiniones abajo en los comentarios, como siempre estaré encantado de leerlos.
Les agradezco que se tomaran el tiempo de leer mi publicación. Sin más que agregar, me despido entonces...
¡Hasta la próxima!


