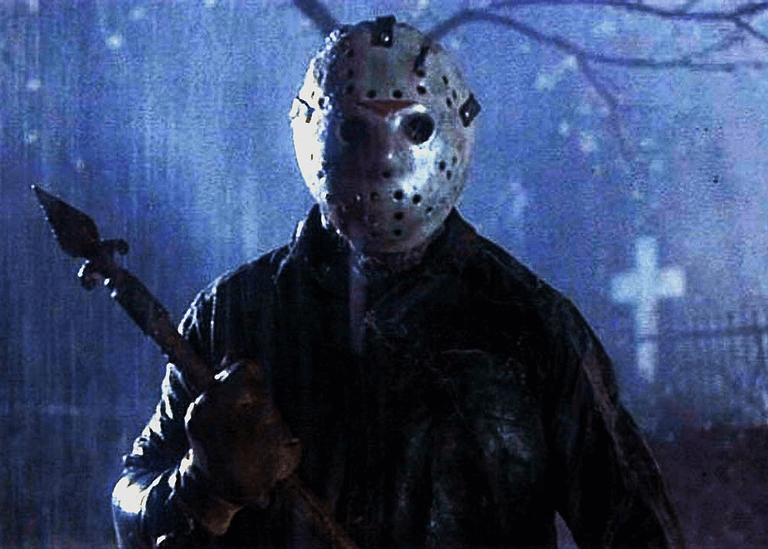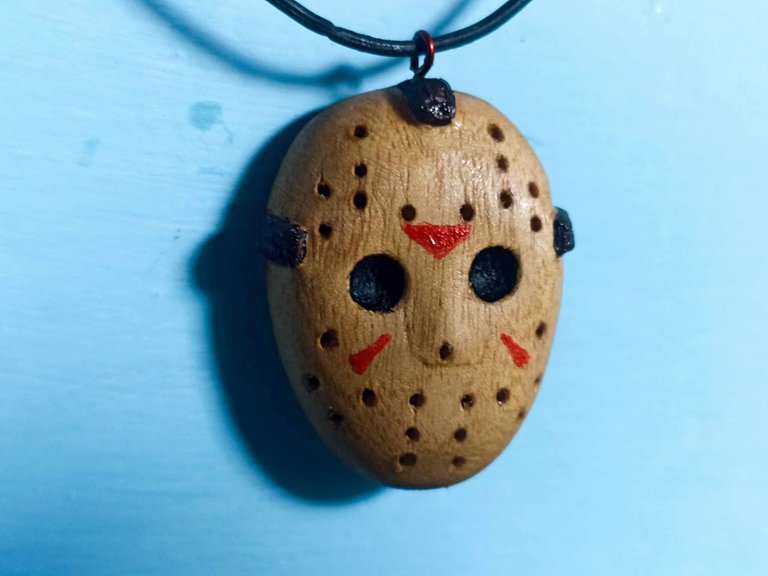
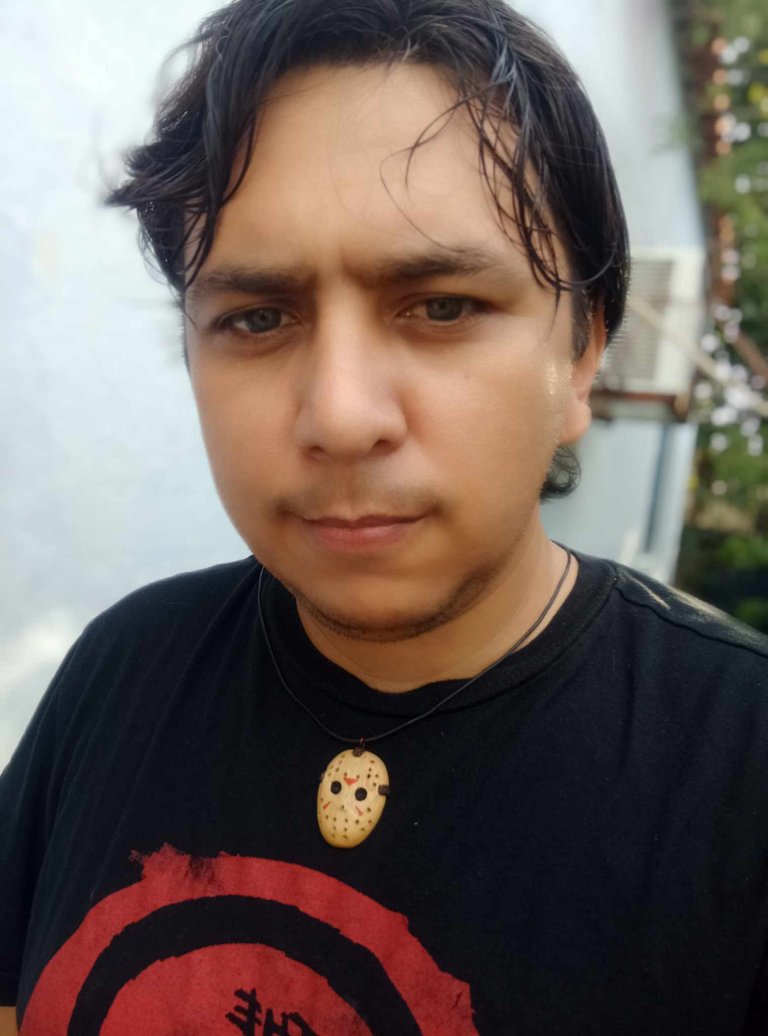
Hello dear friends of DIYHUB, I hope you are feeling very well, I have seen the participation of some users in this October contest dedicated to Halloween and I was very impressed, I want to congratulate all of you for your great creative works. I didn't want to be left out so I want to make my humble contribution to this fun and creative event. I made the mask of the fearsome Jason Voorhees carved from a piece of wood to place on a necklace. I used it as a reference since it is a great icon. of terror and especially on Halloween it is taken as a costume, here I share with you briefly step by step how I made this piece, I hope you like it.
Hola queridos amigos de DIYHUB espero que se encuentren súper bien, he visto las participaciones de algunos usuarios en este concurso de octubre dedicado al Halloween y quedado muy impresionado, quiero felicitarlos a todos por sus grandiosas obras creativas. No quería quedarme por fuera así que quiero hacer mi humilde aporte para este evento tan divertido y creativo, he realizado la máscara del temible Jason Voorhees tallada en un trozo de madera para colocarla en un collar, lo utilicé como referencia ya que es un gran ícono del terror y especialmente en Halloween es tomado como disfraz, aquí comparto con ustedes brevemente paso a paso como hice esta pieza, espero les guste.

 |  |  |
|---|---|---|
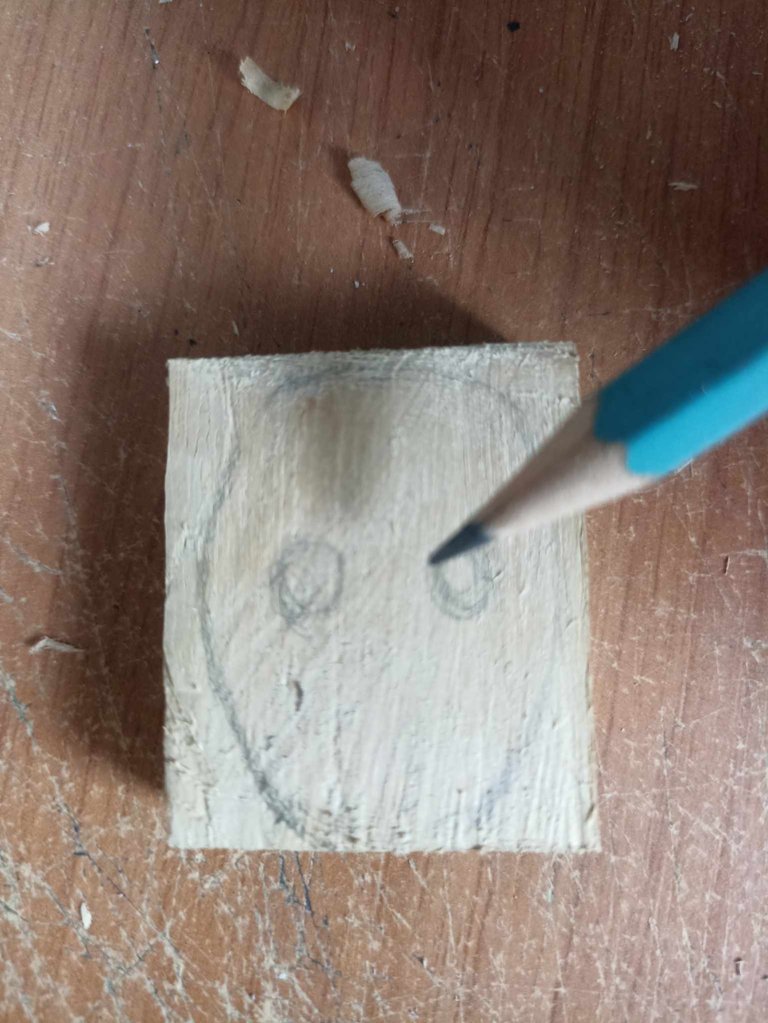 | 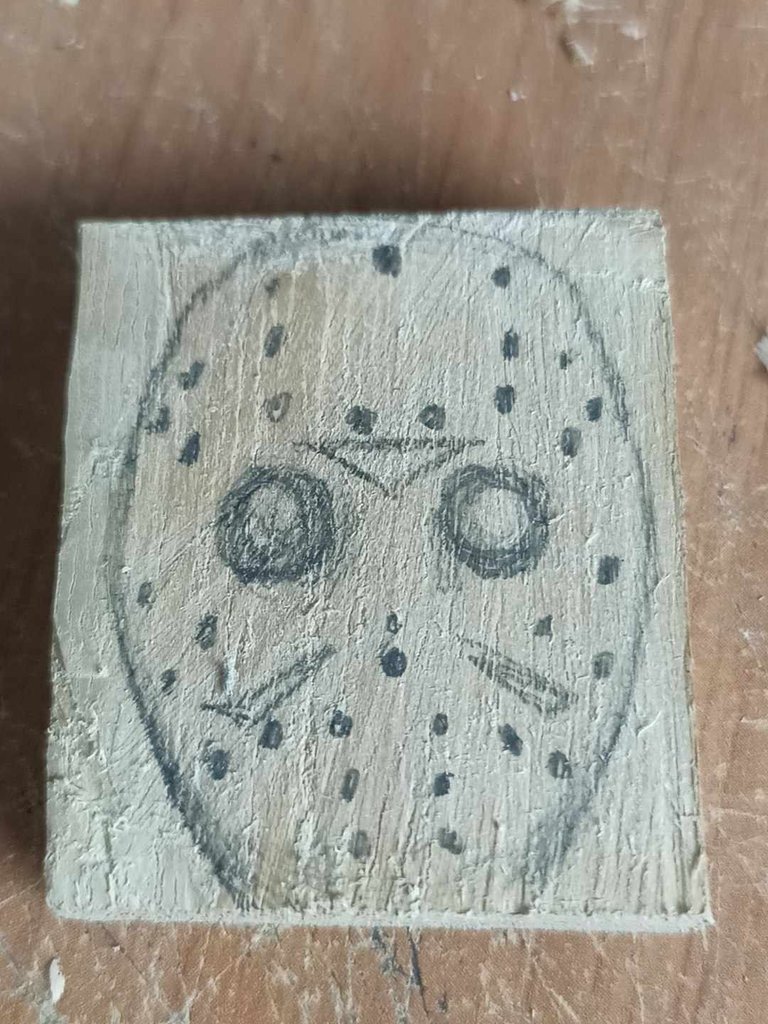 | 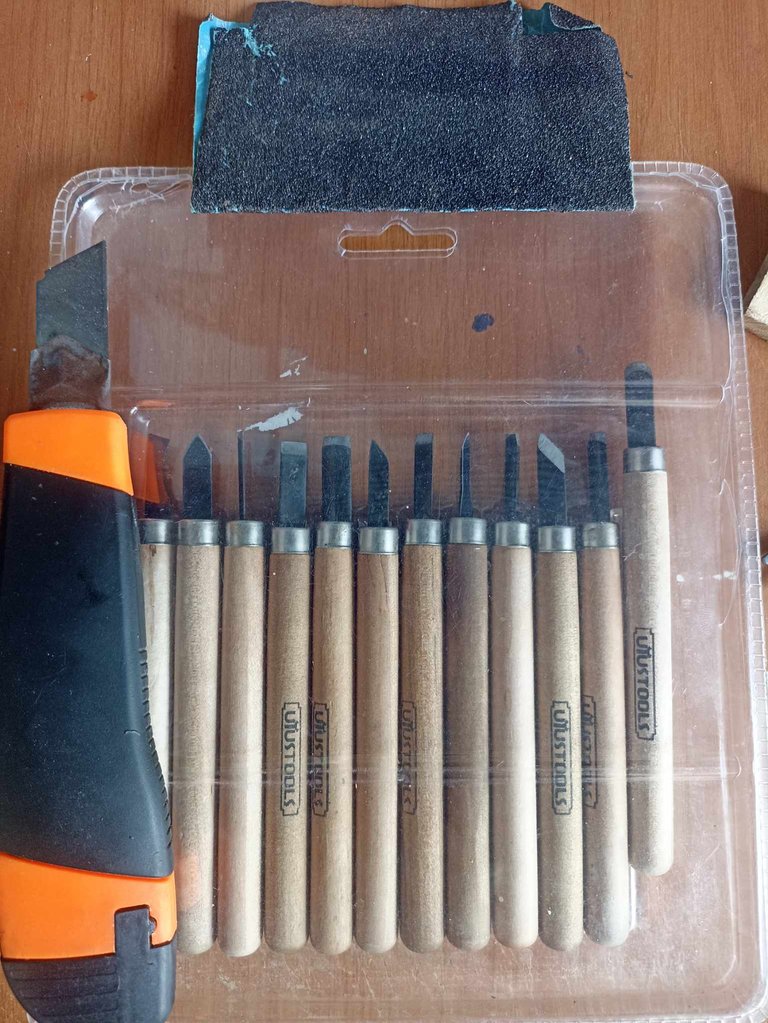 |
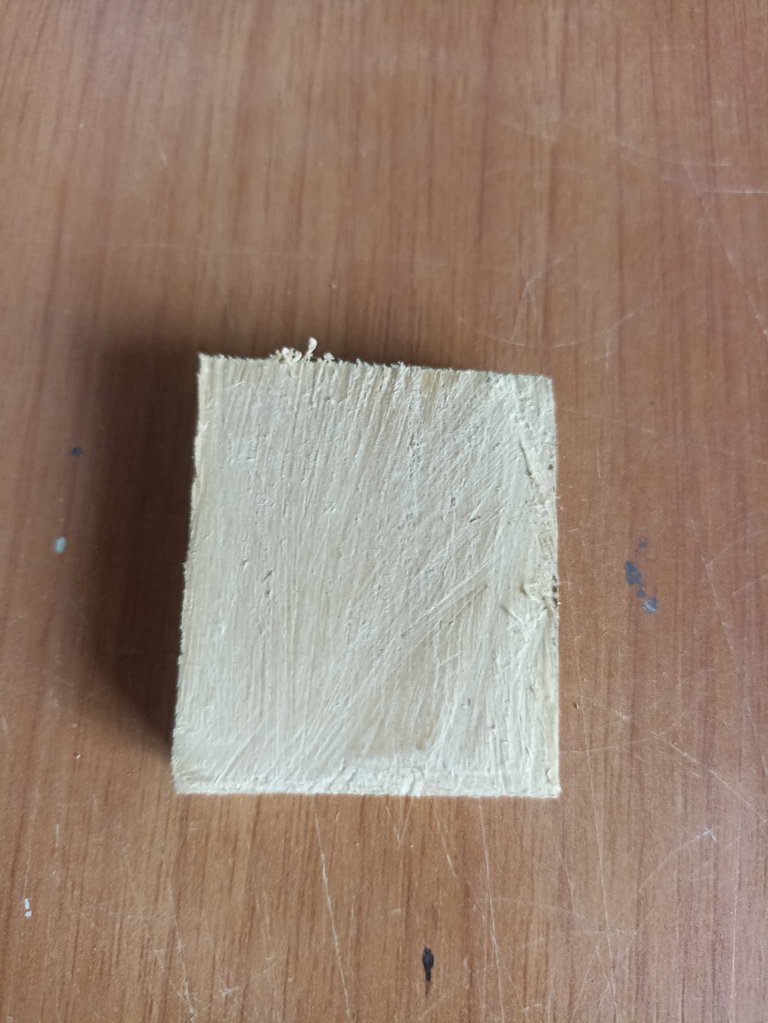
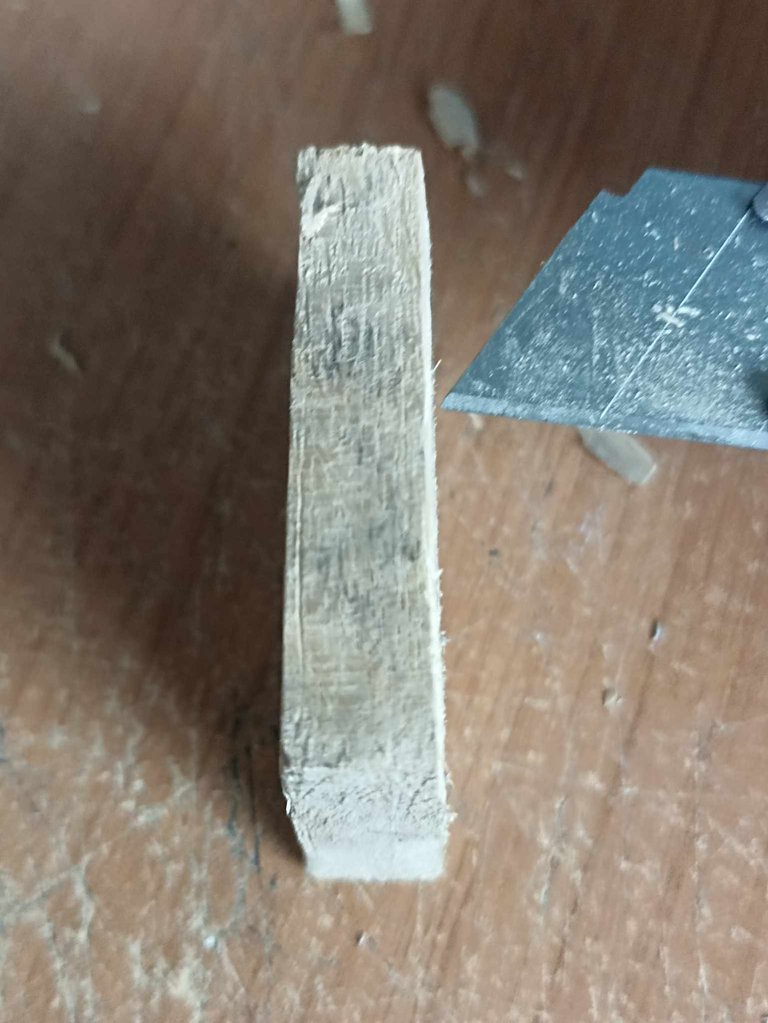
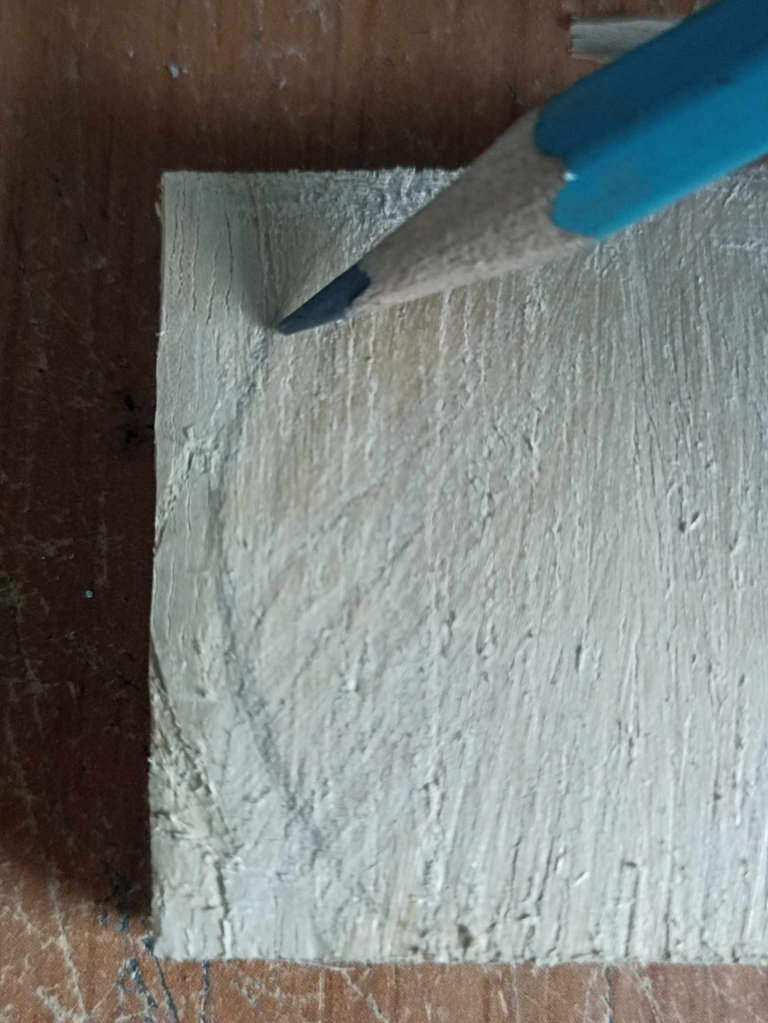
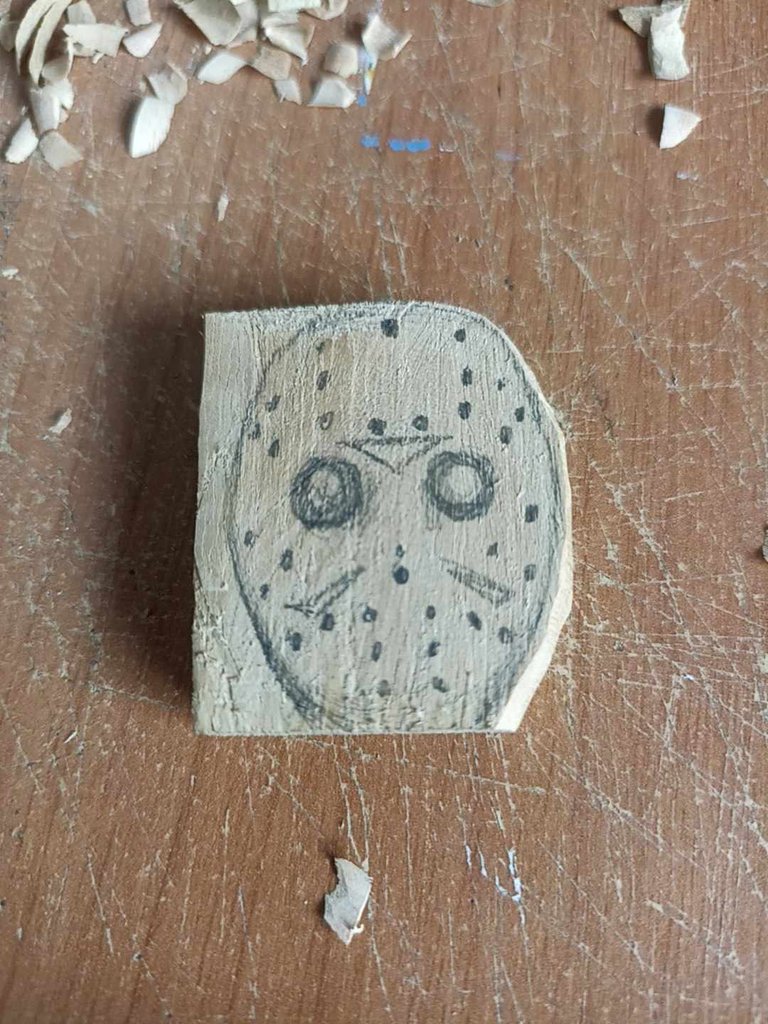
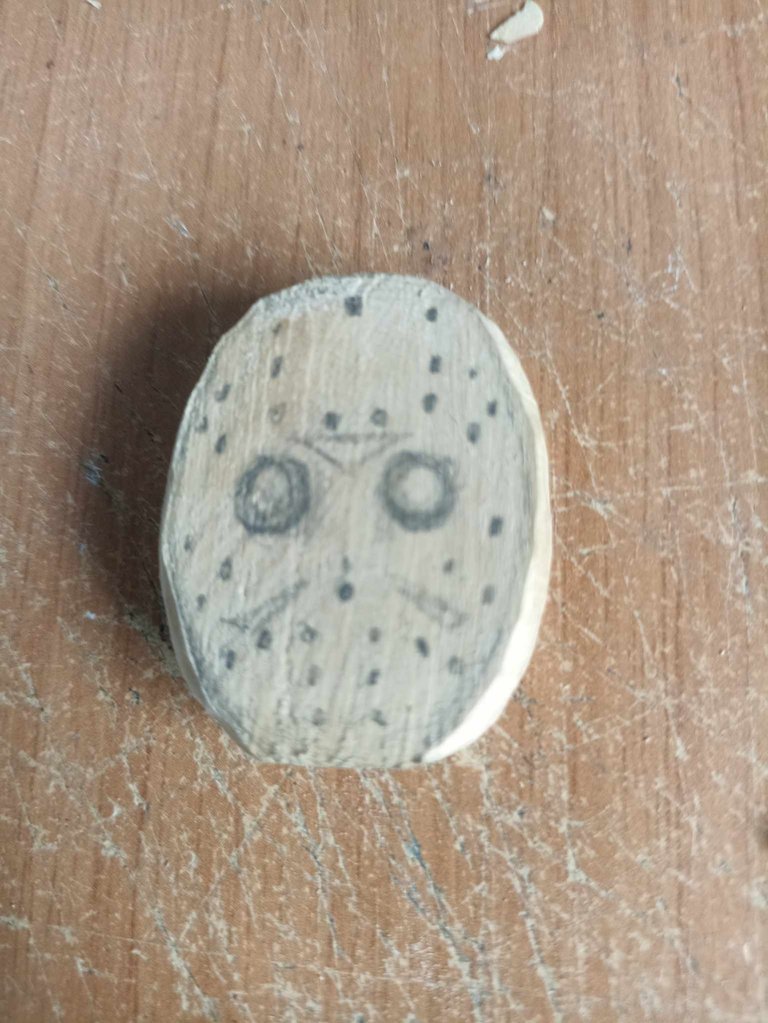
I used a piece of wood that measures 3.5 centimeters by 4 centimeters and 7 millimeters thick, I cleaned the entire area with sandpaper and in the cleanest part I made the silhouette of Jason's mask, to cut and carve I used a stationery cutter and a set of gouges to shape the smallest details, in addition to this I also used protective wood varnish and sandpaper to polish and clean the surface of the wood.
Utilicé un trozo de madera que tiene unas medidas de 3,5 centímetros por 4 centímetros y 7 milímetros de espesor, limpié toda la zona con una lija y en la parte más limpia hice la silueta de la máscara de Jason, para cortar y tallar utilicé un cúter de papelería y un set de gubias para dar forma a los más pequeños detalles, adicional a esto también utilicé barniz protector para madera y papel de lija para pulir y limpiar la superficie de la madera.

 |  | |
|---|---|---|
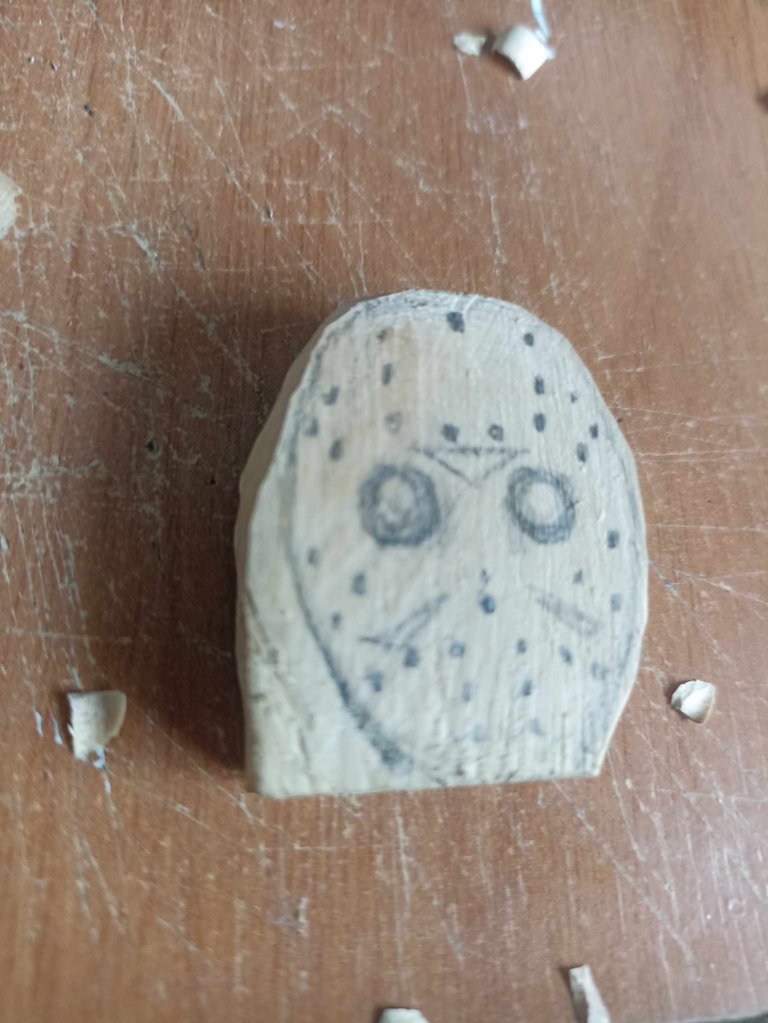 |  |
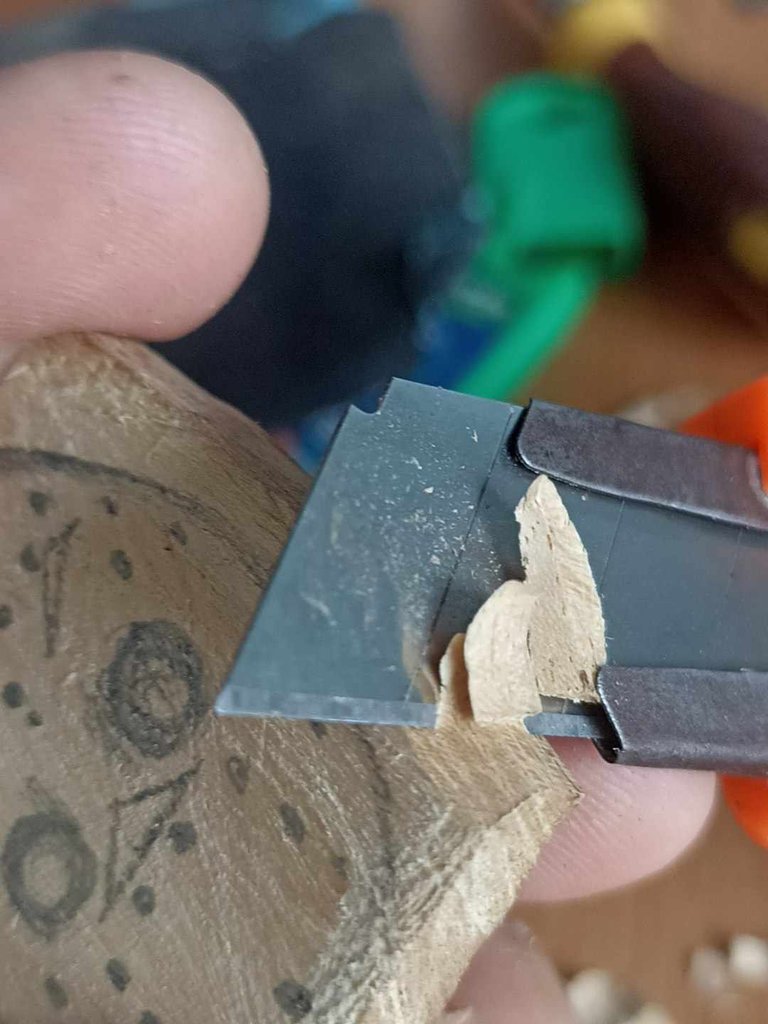
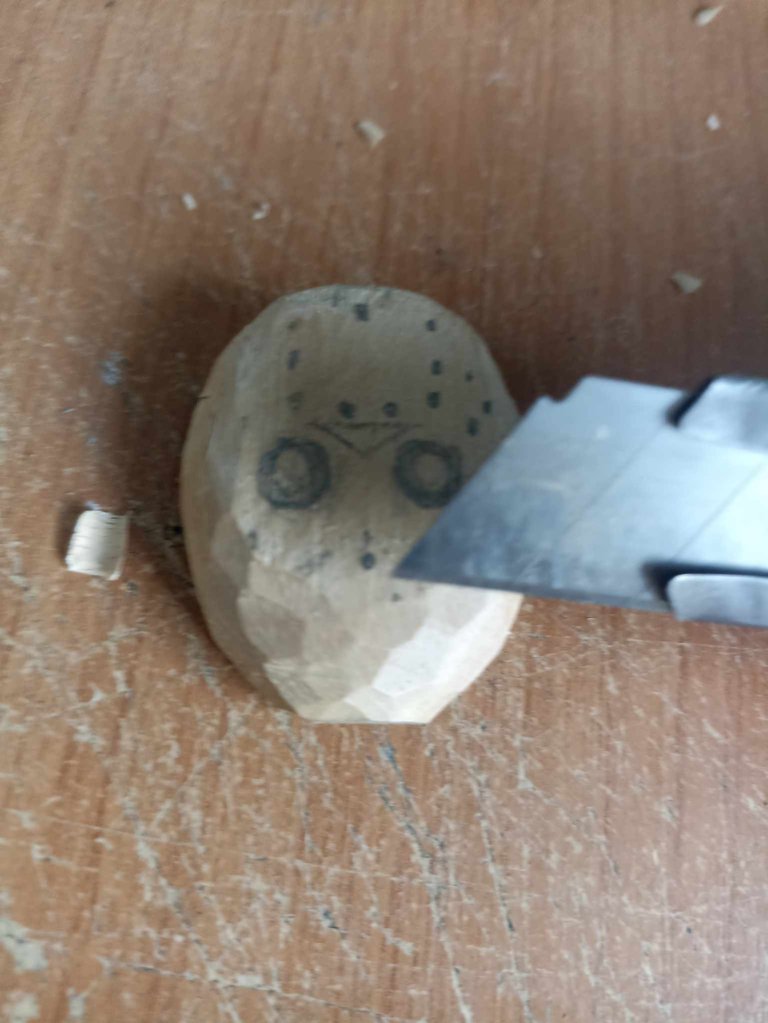
After having the piece of wood measured and cut and having the drawing ready, I begin to cut the wood, as it is an oval-shaped mask of the face, I begin to remove and remove the edges with the cutter, I do this little by little to follow the trace of the drawing and thus not cut part of the wood that is needed. With the round-tipped gouges I am removing small portions of wood that help me fill in the spaces that cannot be done with the cutter. I complete all of this until the shape of the mask is ready without the wooden edges.
Luego de tener el trozo de madera medido y cortado y tener el dibujo listo comienzo a cortar la madera, como se trata de una máscara con forma ovalada del rostro, comienzo a quitar y remover los bordes con el cúter, esto lo hago poco a poco para seguir el rastro del dibujo y así no cortar parte de la madera que si se necesita. Con las gubias de punta redonda voy removiendo pequeñas porciones de madera que me ayuden a completar los espacios que con el cúter no se puede, todo esto loo voy completando hasta que la forma de la máscara quede lista sin los bordes de madera.

 |  | |
|---|---|---|
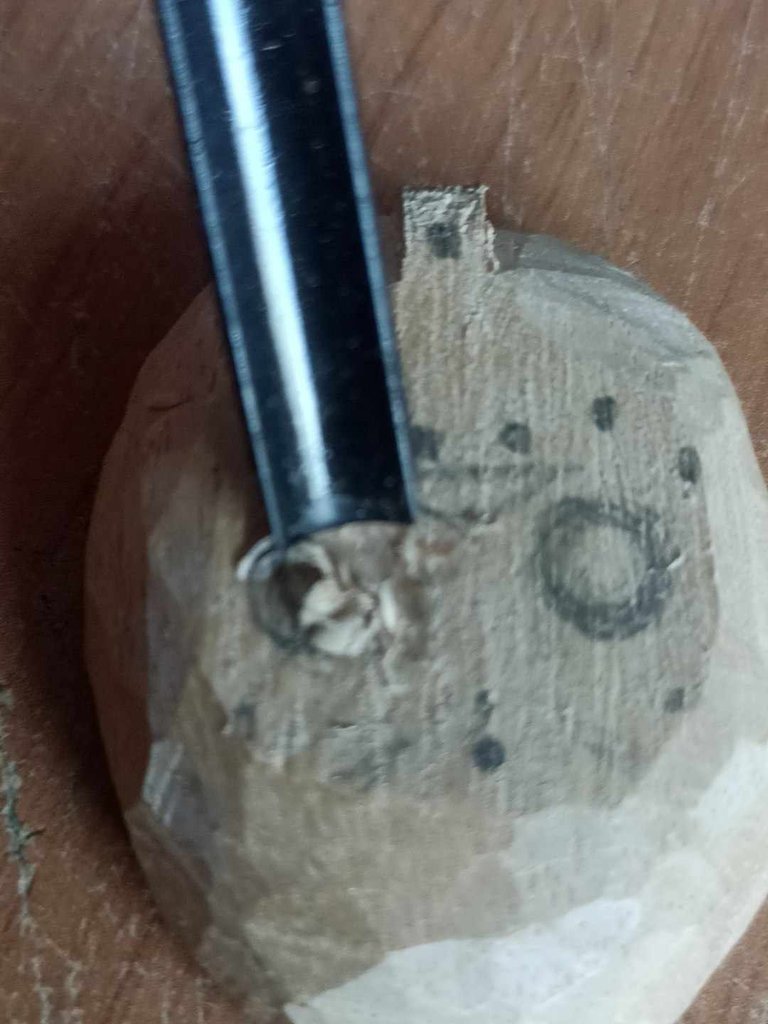 | 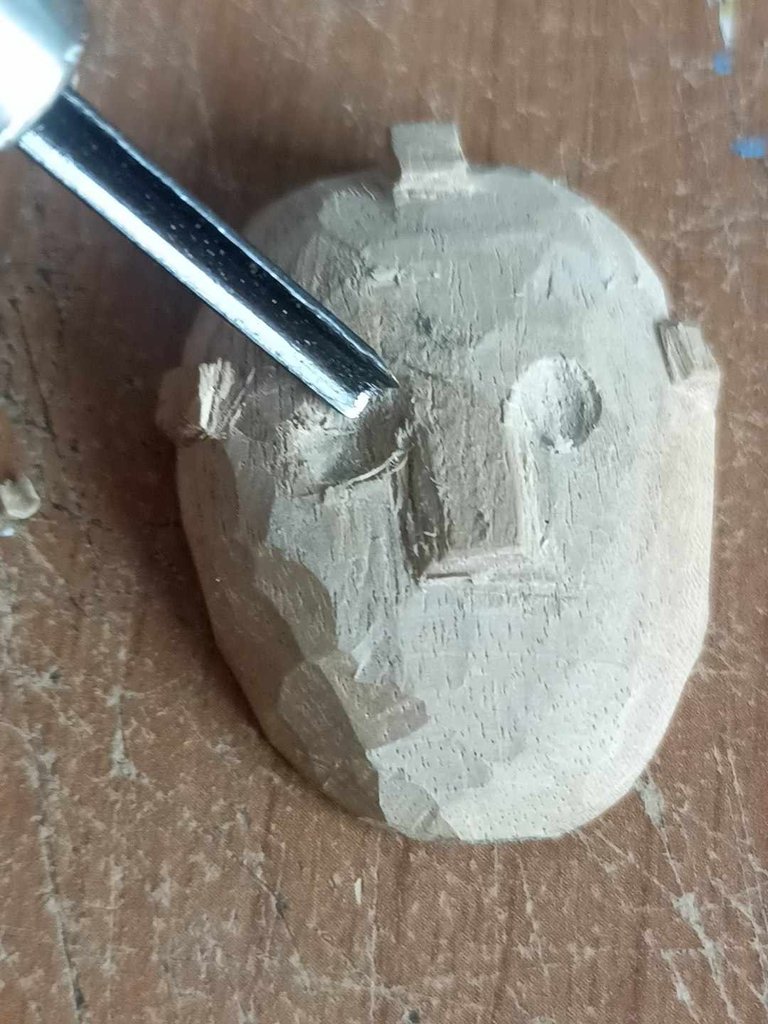 |
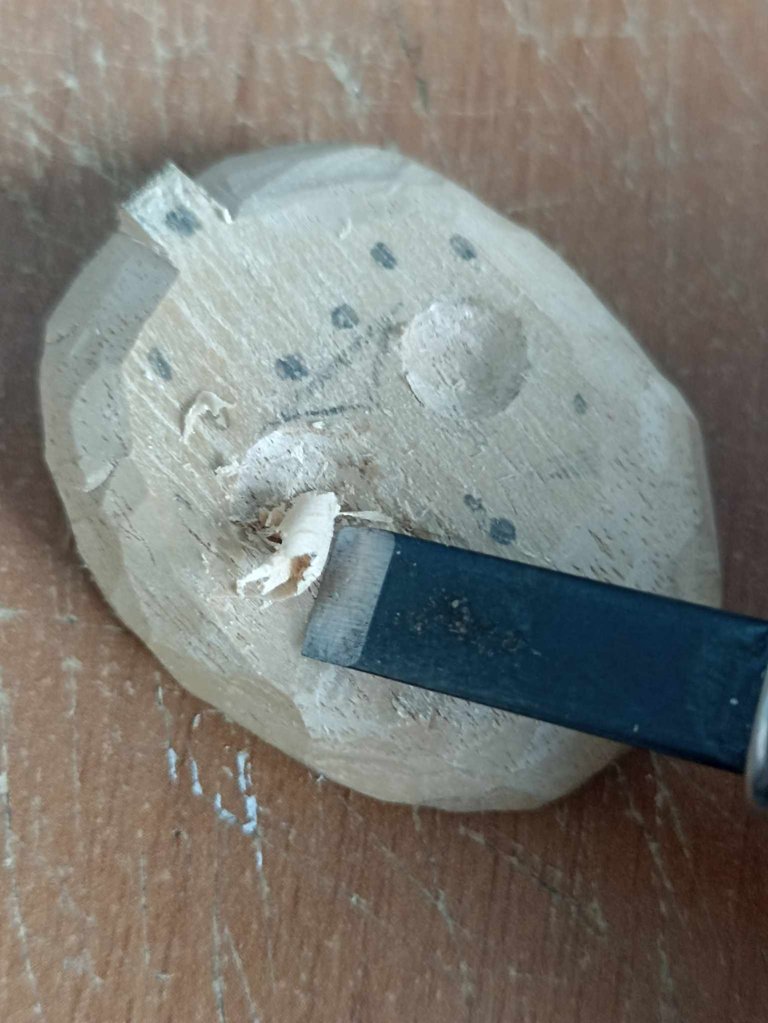
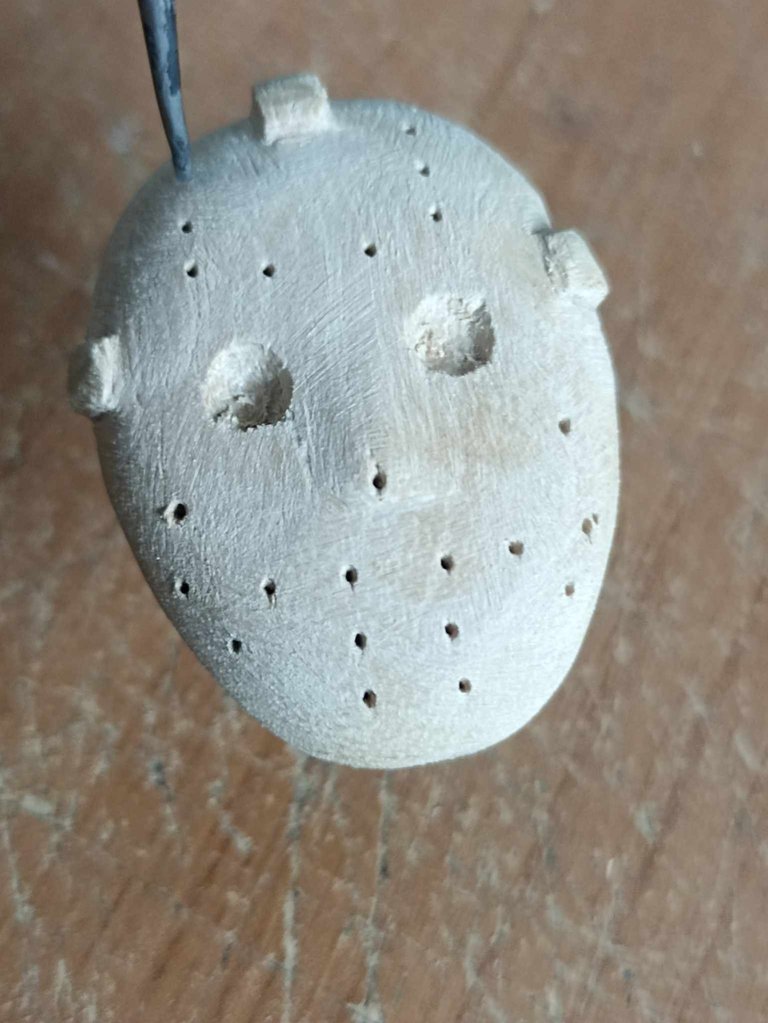
The next step was to give shape and volume to the mask to make it more realistic. With the cotter I removed the wood in a circular manner, and in the same way with the gouges I improved those cuts so that the surface was well leveled and had no irregularities. that sometimes tend to remain. After this, at the mark of the eyes, with one of the gouges to extract wood in a circular shape, I made the eyes and shaped the nose.
El siguiente paso consistía en darle forma y volumen a la máscara para hacerla más realista, con el coter fui removiendo la madera de forma circular, y de igual forma con las gubias iba mejorando aquellos cortes para que la superficie quedara bien nivelada y no tuviera irregularidades que a veces suelen quedar. Después de esto en la marca de los ojos con una de las gubias para extraer madera de forma circular hice los ojos y le fui dando forma a la nariz.

 |  |  |
|---|---|---|
 | 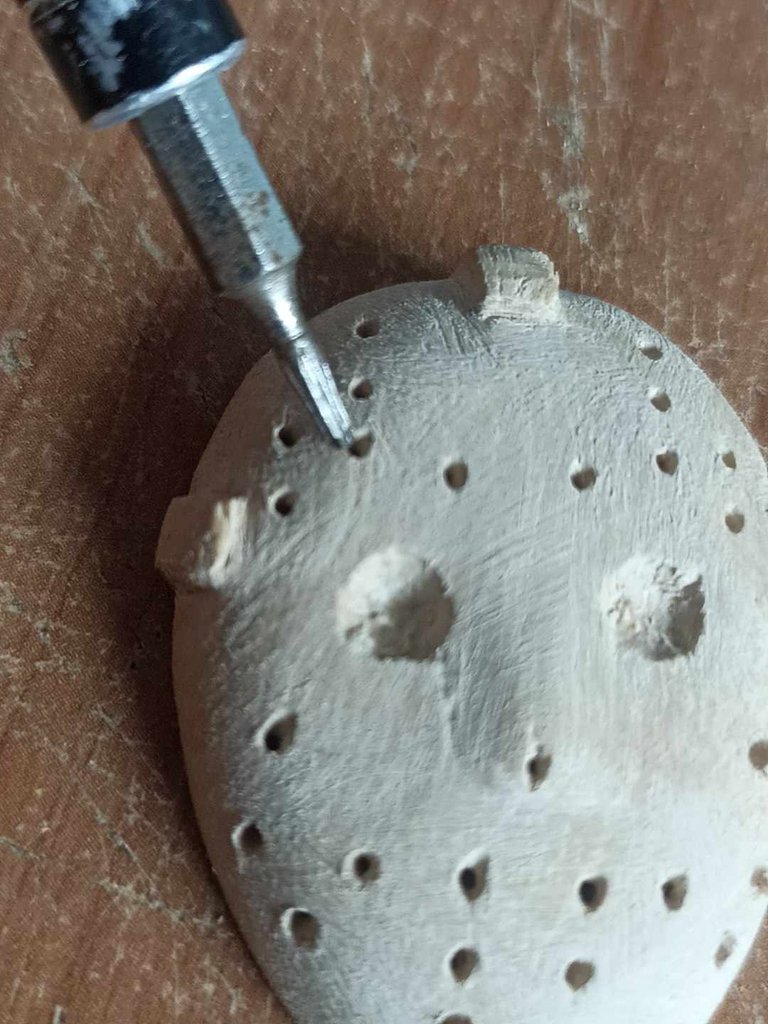 | 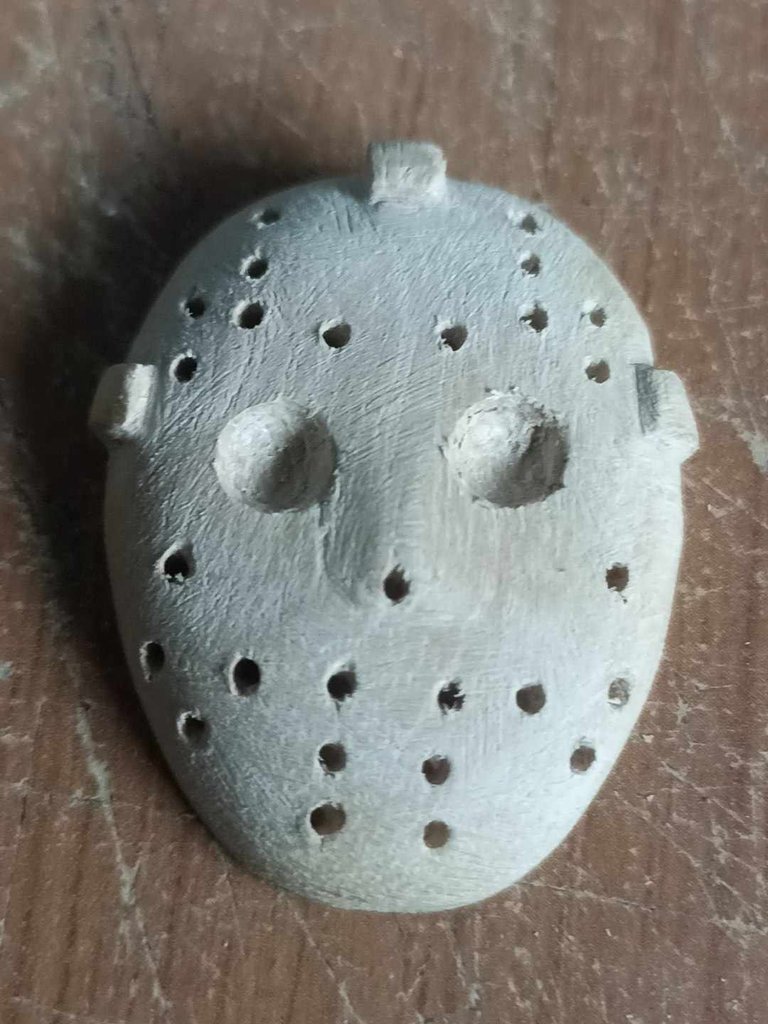 |
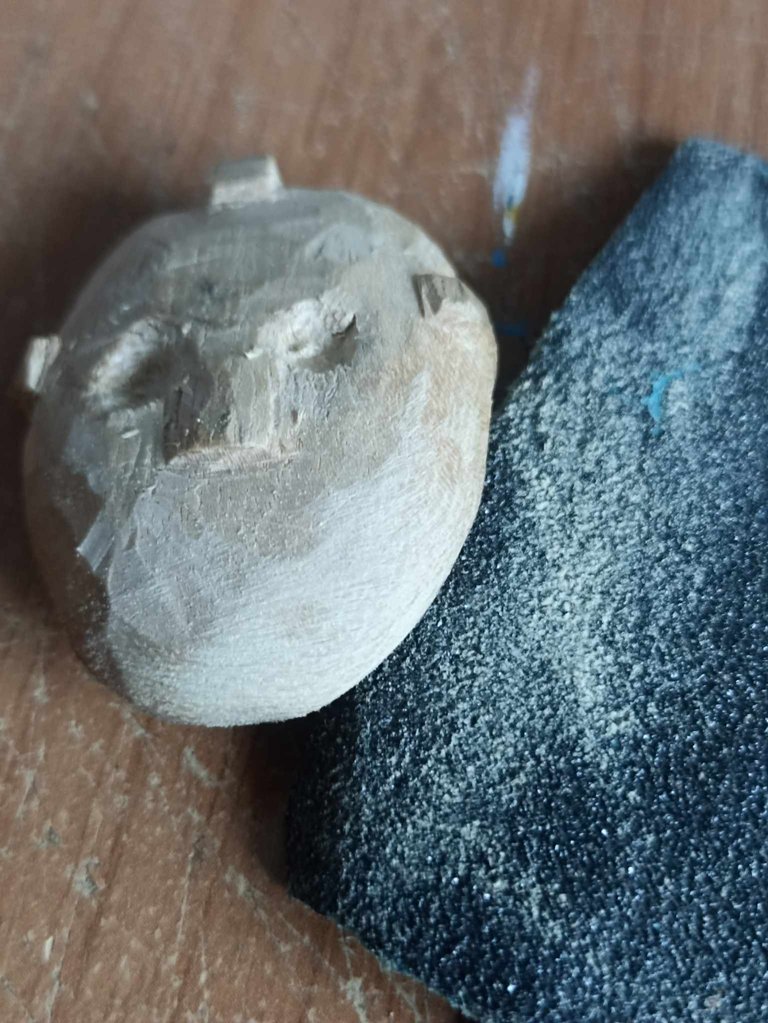
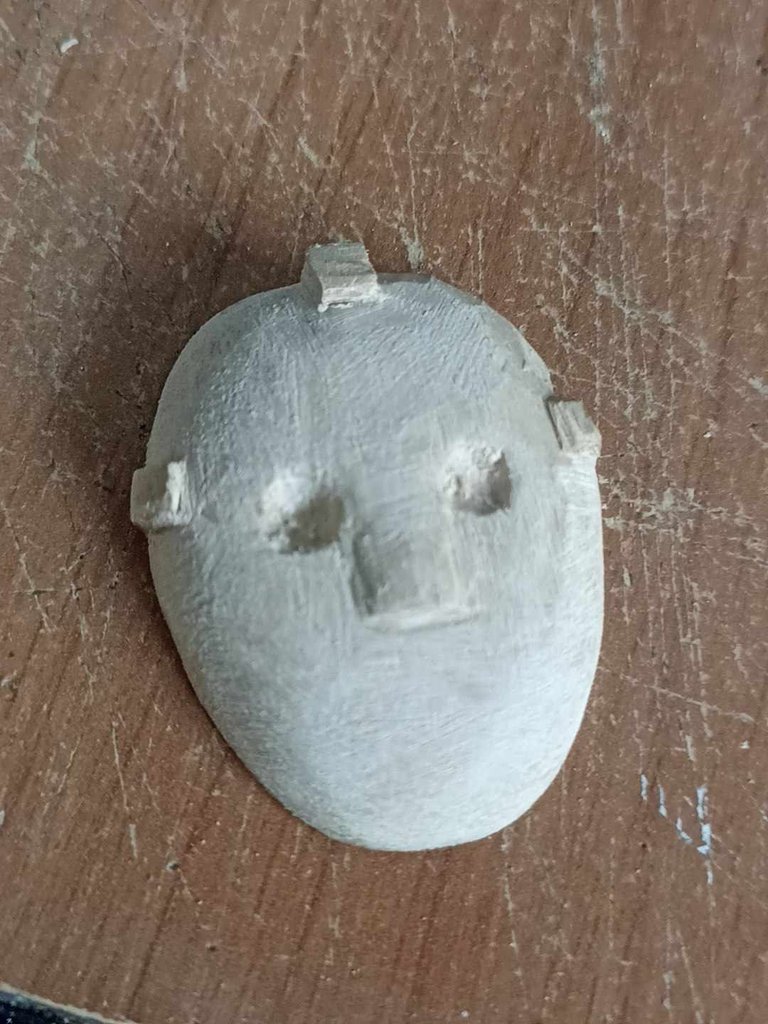
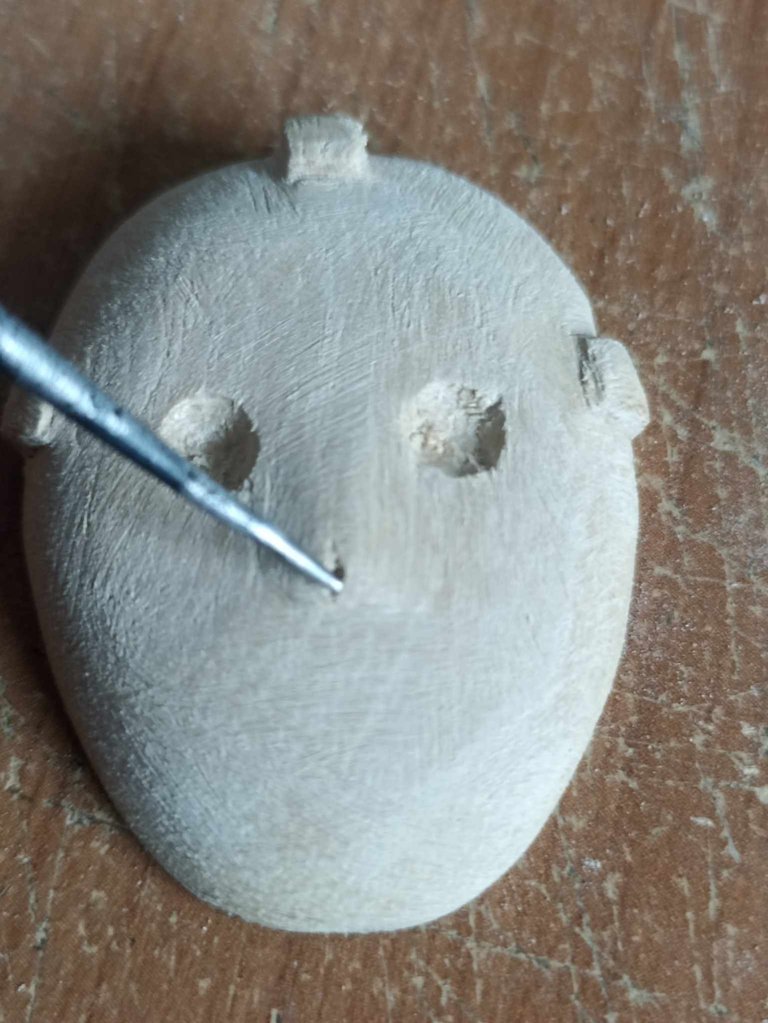
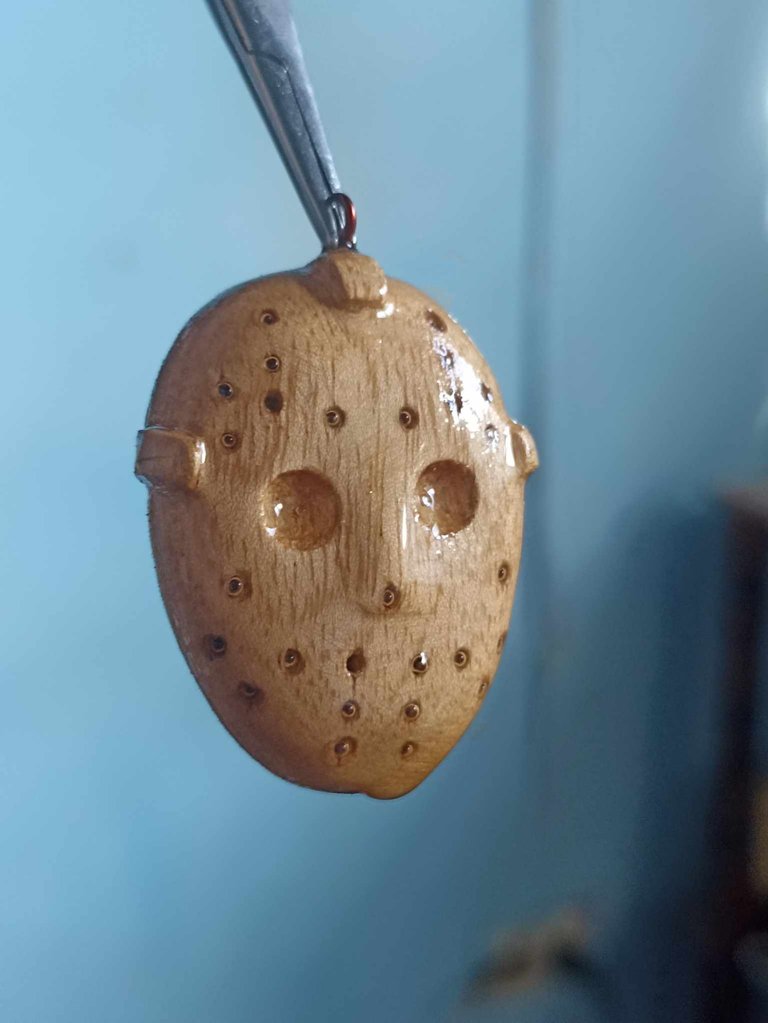
With a polishing sandpaper, I begin to clean the mask from both the edges and the front, until it is completely smooth and clean. After this I begin to make the holes in the mask that I had previously marked with a pencil, with an iron pointed like a needle I begin to make the holes in the mask, once completed I use an electronics screwdriver to use the smaller head and insert it into the holes and make the opening larger and a little deeper. Another detail that I made to the mask are the folds on the sides and also the front part, these are the fasteners of the mask on the head.
Con una lija para pulir comienzo a limpar yoda la máscara tanto por los bordes como por la parte frontal, hasta que quede completamente lisa y limpia. Despues de esto comienzo a hacer los agujeros de la máscara que antes había mkarcado con lápiz, con una hierro puntiagudo como una aguja comienzo a hacer los hoyos de la máscara, una vez completado utilizo un destornillador de electrónica para usar la cabeza más queña e introducirlo en los hoyos y hacer la abertura más grande y un poco más profunda. Otro detalle que hice a la máscar ason los pliegues a los lados y también el parte frontal, estos son los sujetadores de la máscara en la cabeza.

 |  |  |
|---|---|---|
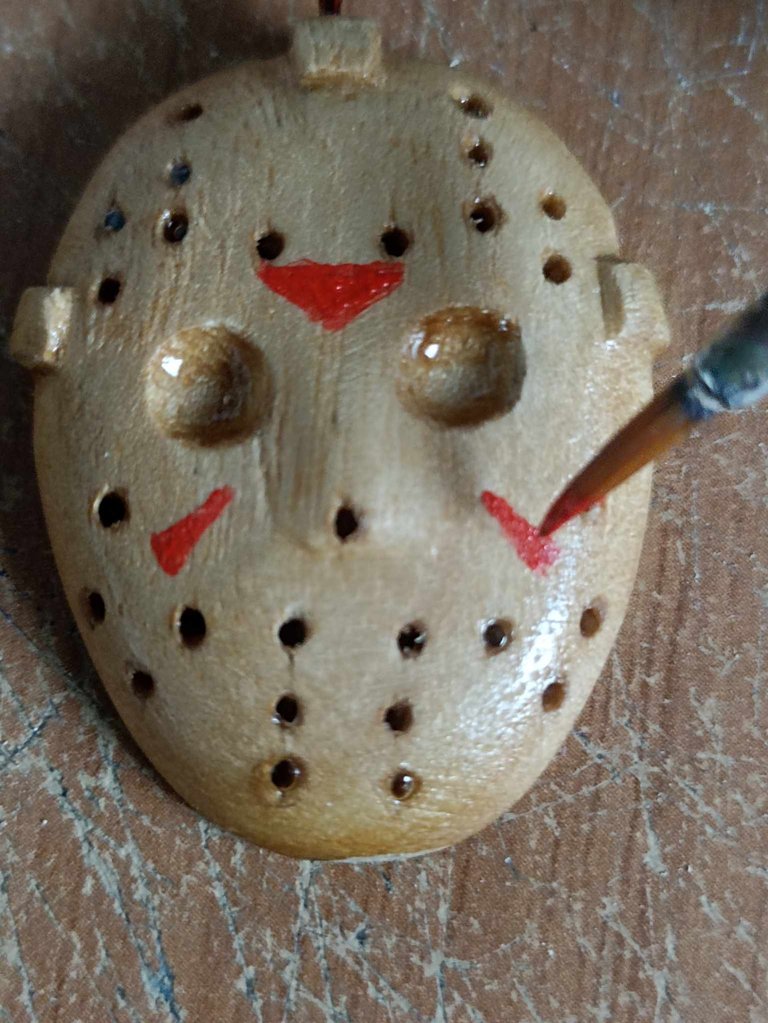 | 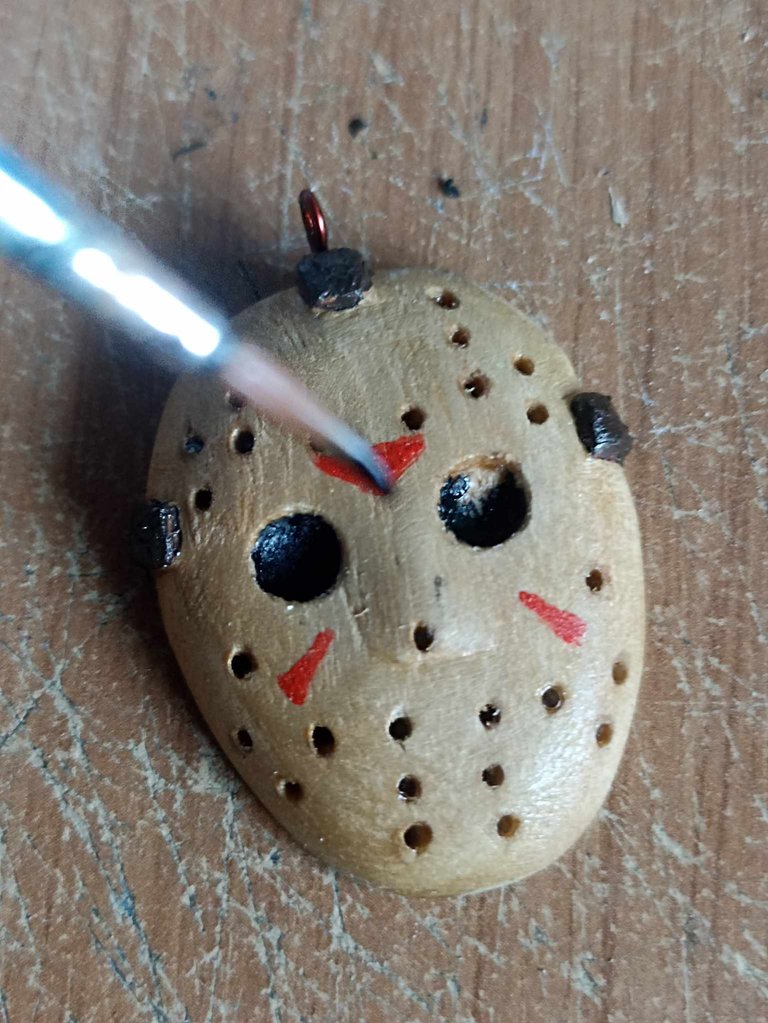 | 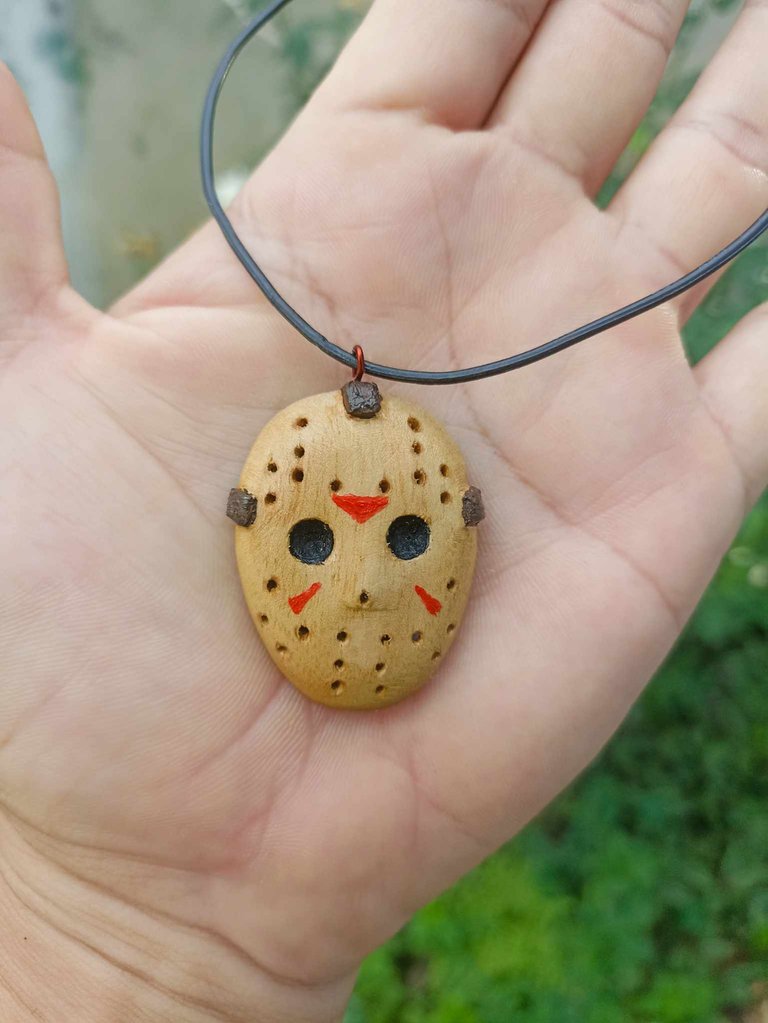 |
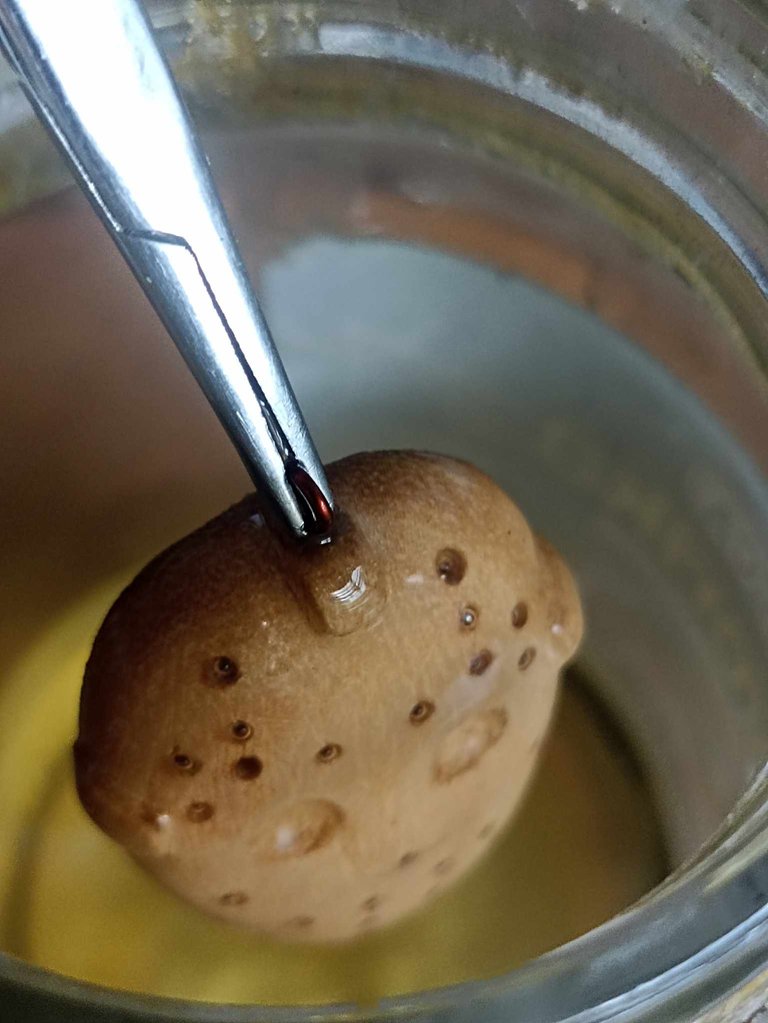
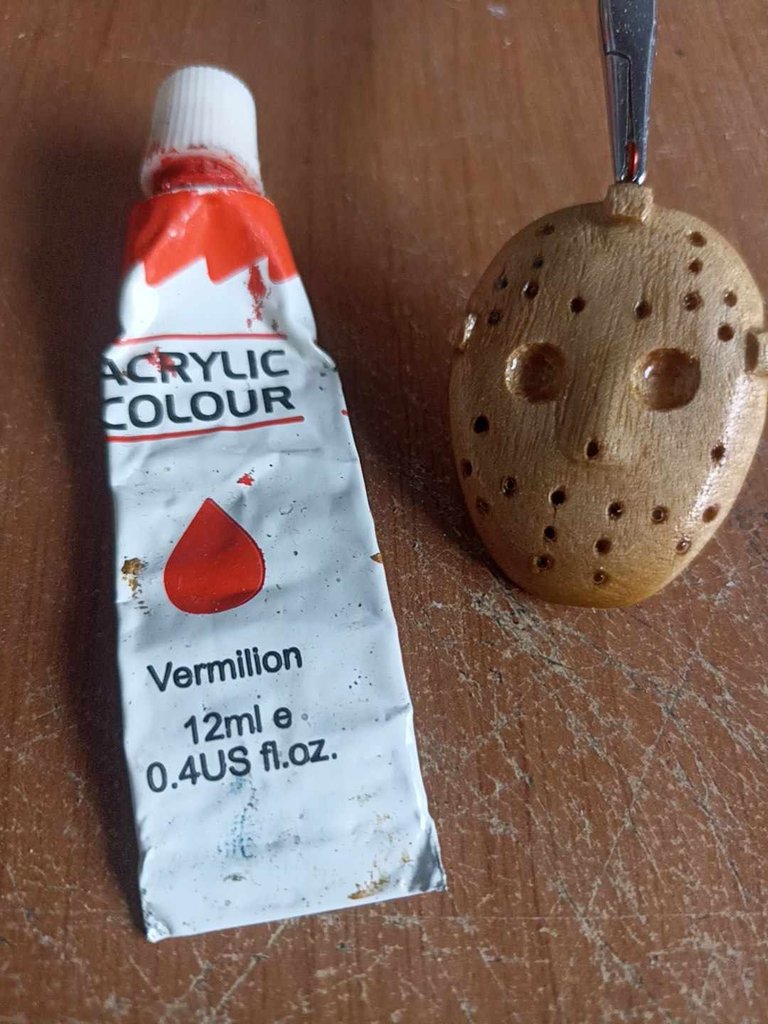
The most important detail that helps a lot to preserve the pieces I make is to put varnish on them, this is a process that I do up to three times on a piece, first when it is clean and sanded I soak it in varnish, after it dries I sand again and then give it a bath of varnish again and thus leave the wood very clean, smooth and protected. To finish, I added painting details such as the red lines that the mask has around it as well as painting the area where the eyes go, then I added the thread necklace and that's how it was finished.
El detalle más importante y que ayuda muchísimo a conservar las piezas que realizo es ponerles barníz, este es un proceso que hago hasta tres veces en una pieza, primero al estar limpia y lijada le doy un remojo en barníz, luego de secar vuelvo a lijar para luego volver a darle un baño de barníz y así quedar con la amdera bien limpia, lisa y nprotegida. Para finalizar agregué detalles de pinturas como las líneas rojas que tiene la máscara alrededor así como también pinte la zona donde van los ojos, luego agregué el collar de hilo y así quedó finalizado.

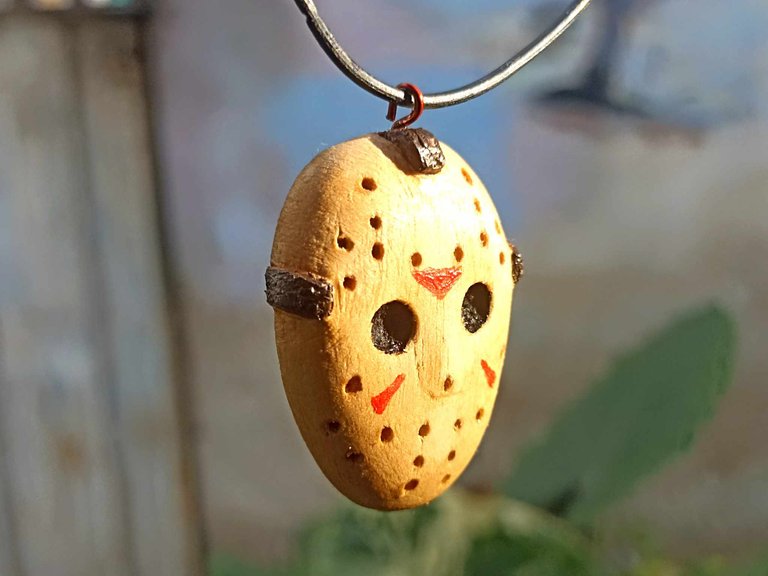

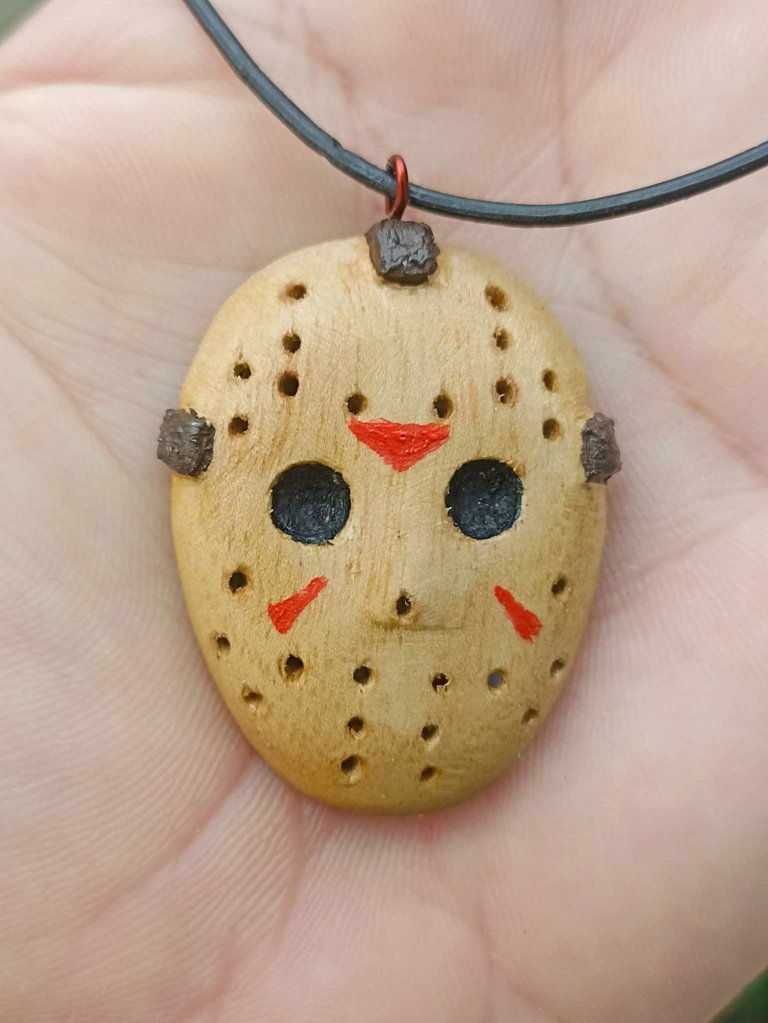
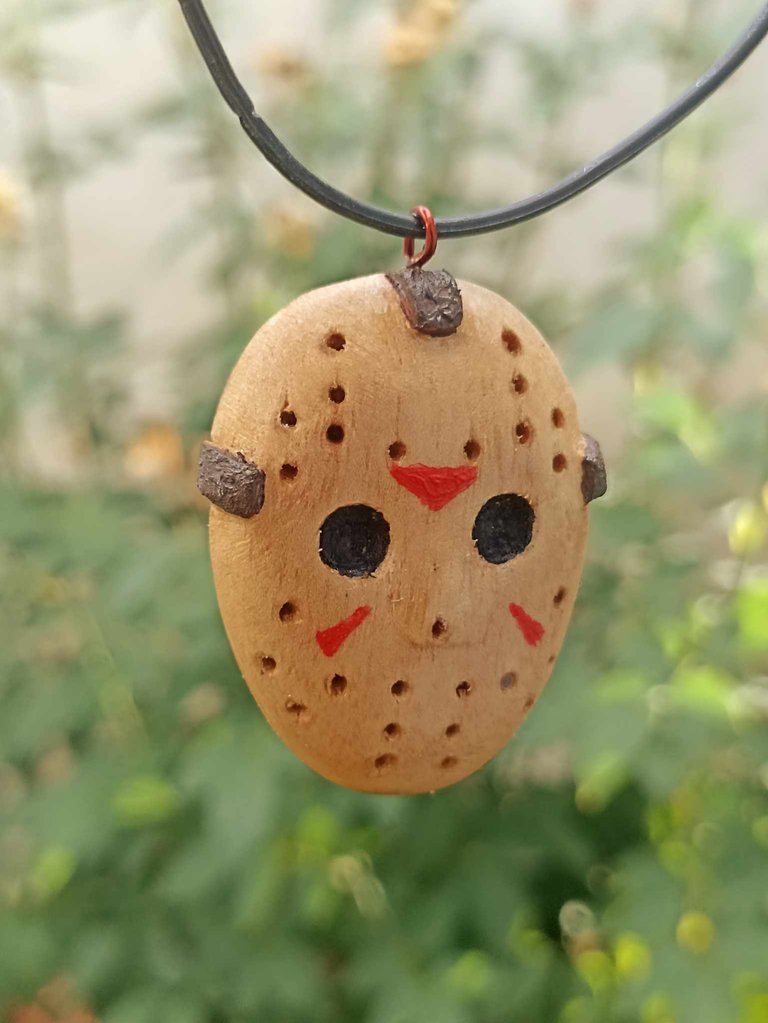
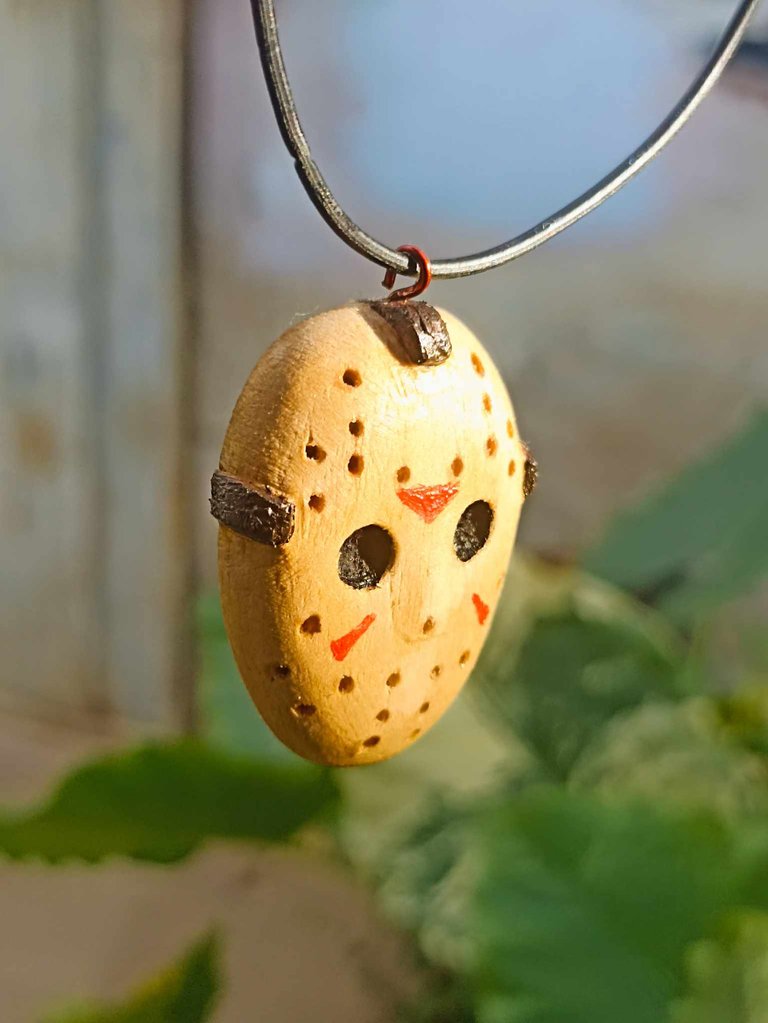
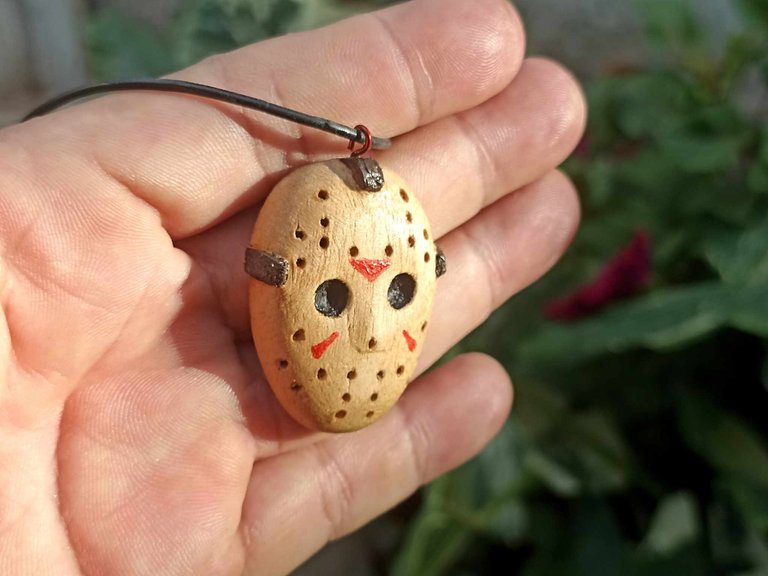
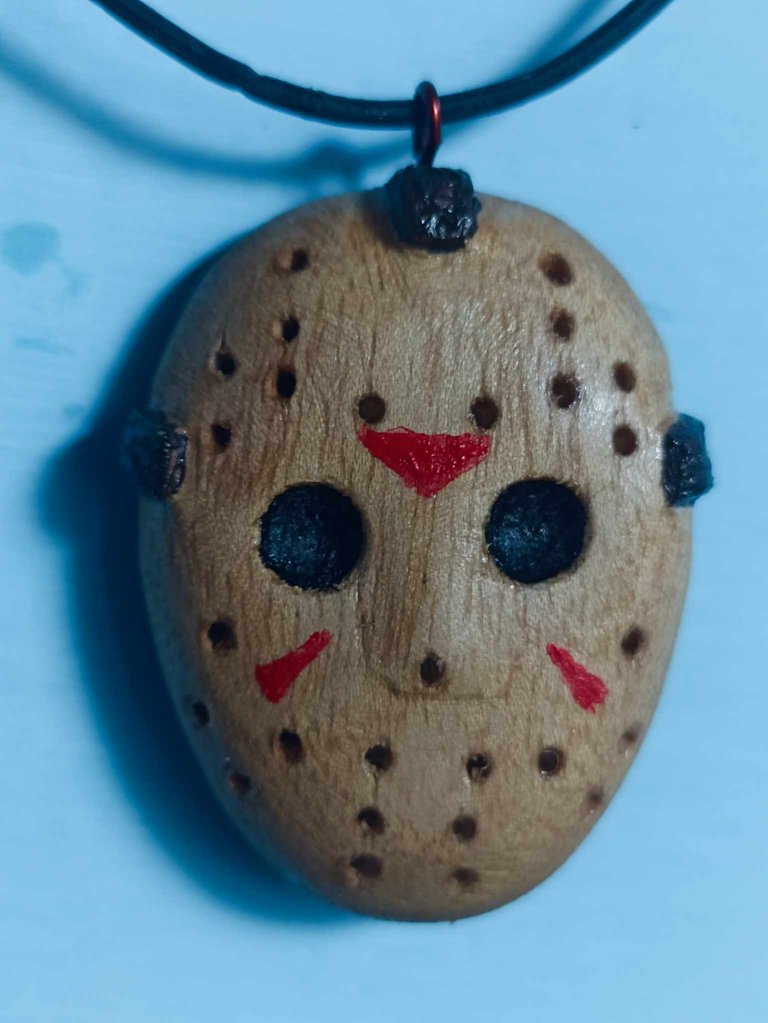
What did you think of the result? Something that I really liked is the size, it was perfect because at first glance you can see what the figure is, on other occasions the pieces have been very large and others smaller, but with time and practice I have already achieved a size with which to be satisfied. It has really been a pleasure for me to be able to participate in this contest, I had a lot of fun and enjoyed the process, I also feel happy to be able to share with so many good creators of incredible works. For now this has been all, I say goodbye until the next opportunity.
Qué les ha parecido el reusltado? algo que me gustó mucho es el tamaño, quedó perfecto porque a simple vista se puede notar cual es la figura, en otras oportunidades las piezas me han quedaod muy grandes y otras más pequeñas, pero con el tiempo y la práctica ya he consiguido un tamaño con el cual quedar conforme.. Ha sido realmente todo un gusto para mi poder participar en este concurso, me divertí muchísimo y disfruté el proceso, también me siento contento de poder compartir con tantos buenos creadores de obras increíbles. Por ahora esto ha sido todo, me despido hasta una próxima oportunidad.

