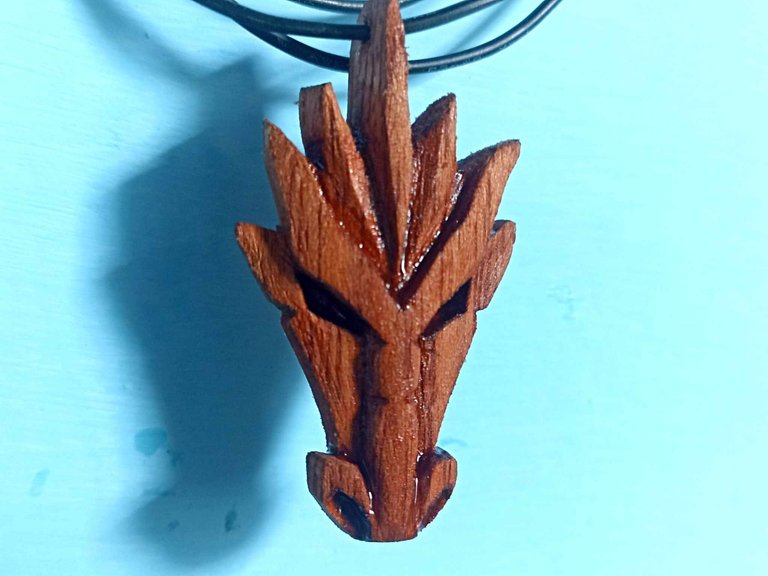
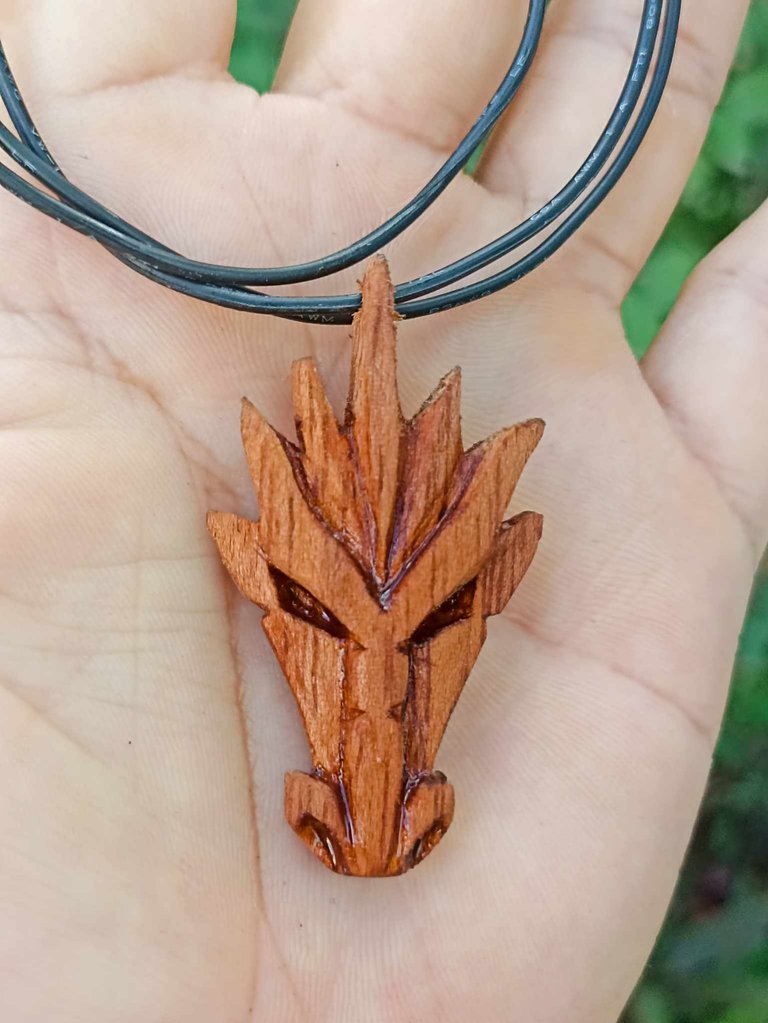
Hello dear friends, I hope and wish that you are all very well, this week I want to share with you a fan art something a little different for me. I chose the Fire Type Dragon to make it on a piece of wood and hang it on a necklace, but I wanted to do it in a logo style, I made several models but none of them were in any way simple, so I took the idea of making it as if it were an ancient shield , and so it was easier for me to have a model that I liked. I chose mahogany wood since it is reddish in color and thus the fire essence of this dragon looked better. Here I briefly comment in my post step by step how I did it, I hope you like it, let's get started!
Hola queridos amigos, espero y deseo que todos se encuentren muy bien, en esta semana quiero compartir con ustedes un fan art algo un poco diferente para mi. Elegí al Fire Type Dragon para hacerlo en una pieza de madera y colgarlo en un collar, pero quería hacerlo estilo logo, hice varios modelos pero ninguno me quedaba de alguna manera sencillo, así que tomé la idea de hacerlo así como si fuera un escudo antiguo, y así me resultó mas fácil tener un modelo que me gustara. Elegí madera caoba ya que es de color rojizo y así quedaba mejor la esencia de fuego de este dragón. Aquí comento brevemente en mi post paso a paso como lo hice, espero les agrade, comencemos!

 |  | |
|---|---|---|
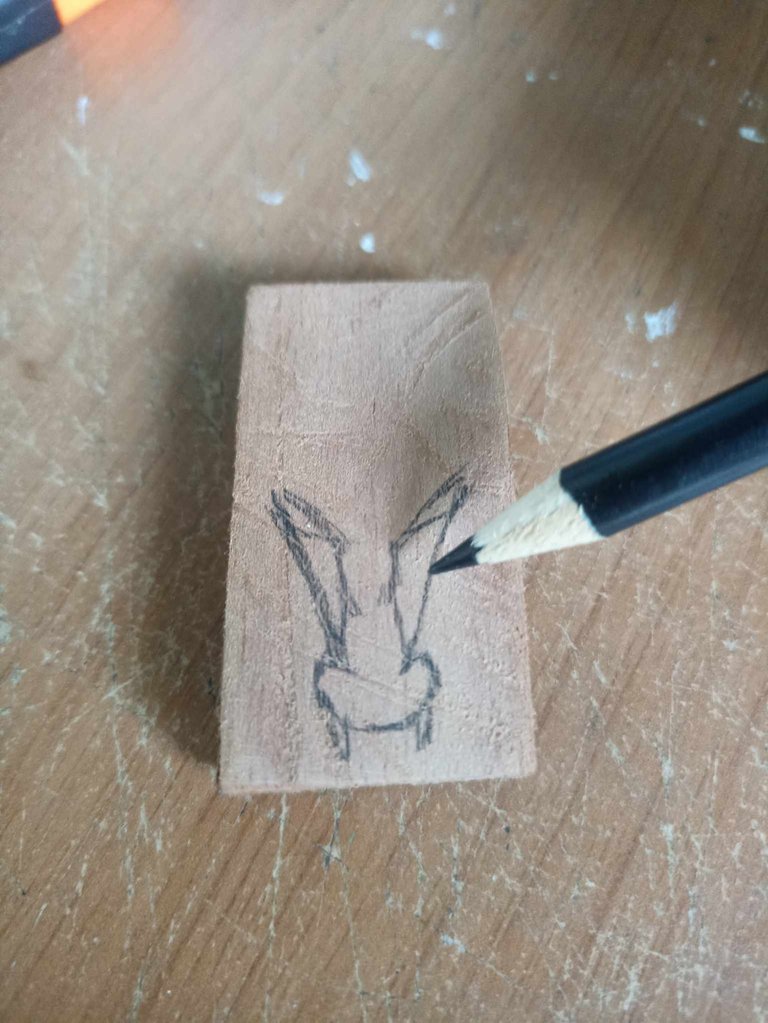 | 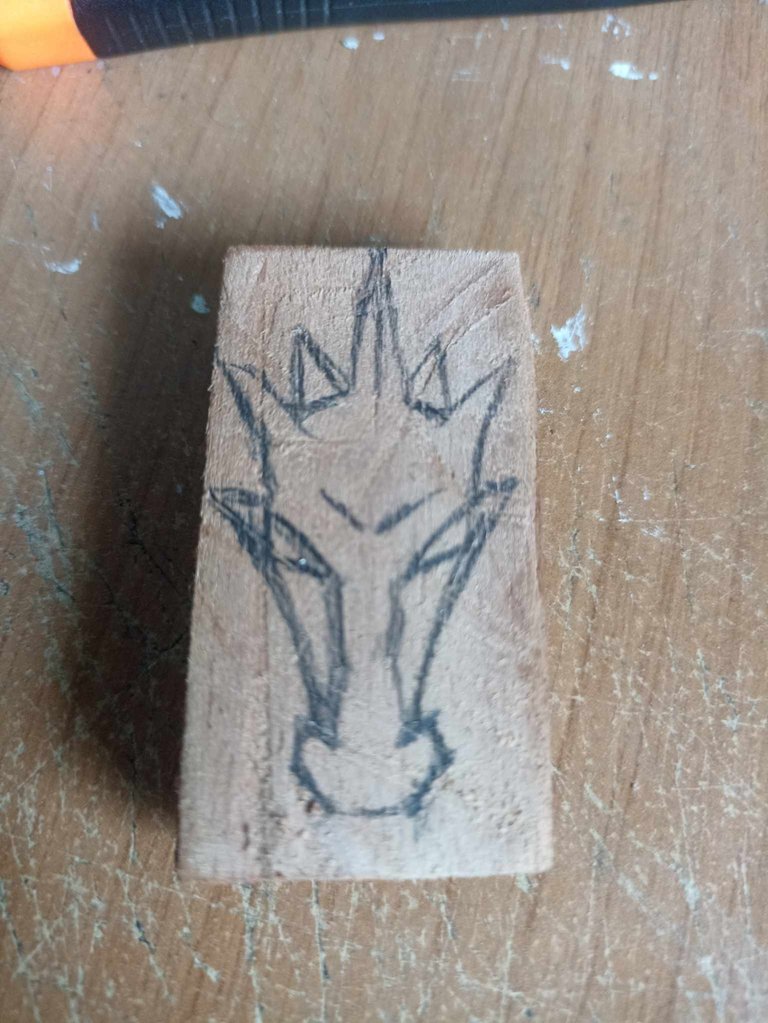 |
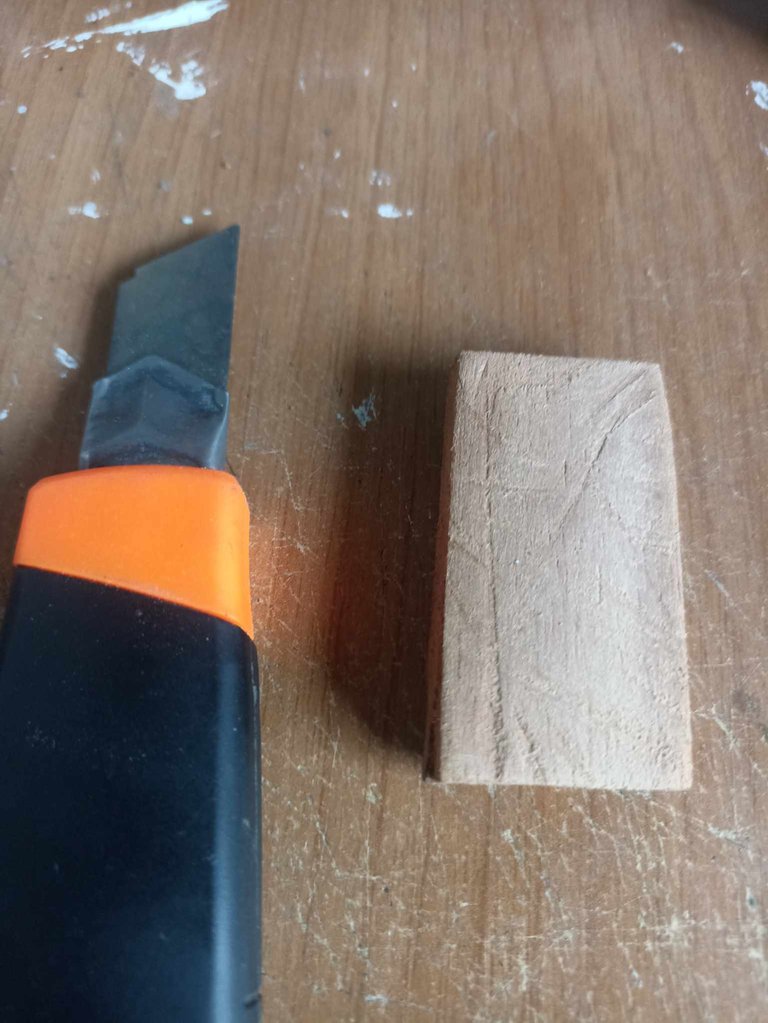
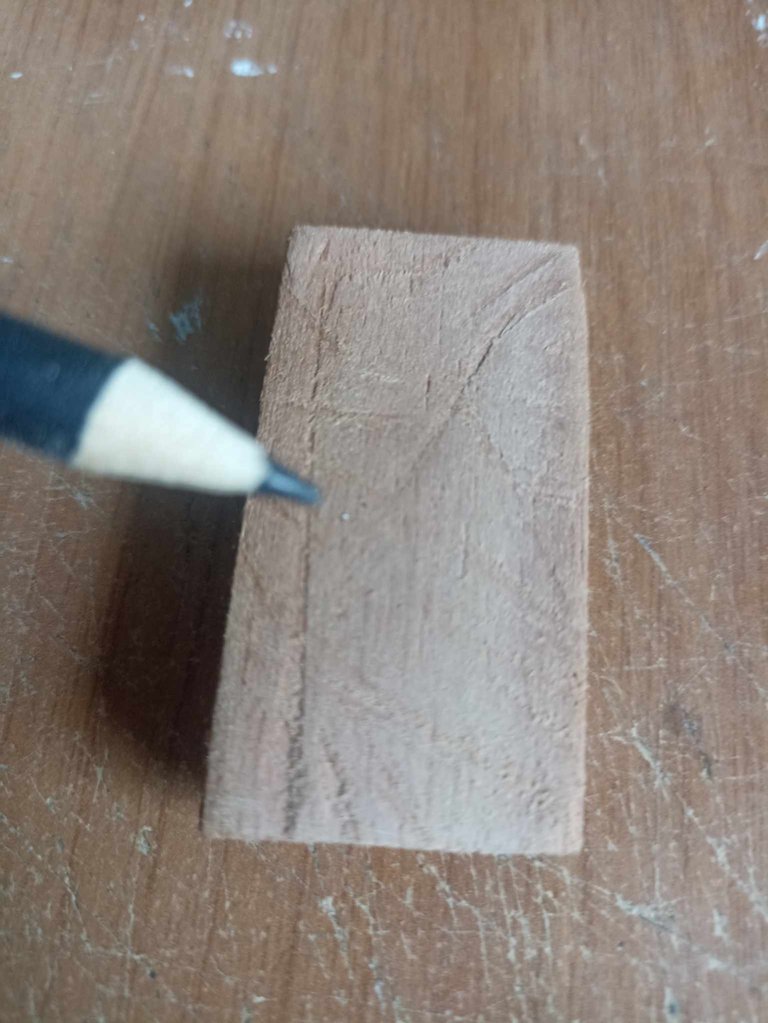
I used a 6 centimeters by 3 centimeters rectangle of wood, I cleaned it and then used sandpaper to polish the entire piece and thus have better space to draw the dragon's head. As you can see, it is a simple design but it could easily be the symbol of an ancient shield. To cut and carve the wood I use a stationery cutter.
Utilicé un rectángulo de madera de 6 centímetros por 3 centímetros, lo limpié y luego pase una lija para pulir toda la pieza y así tener mejor espacio para dibujar la cabeza del dragón. Como pueden observar, es un diseño sencillo pero que podría ser fácilmente el símbolo de un escudo antiguo. para cortar y tallar la madera uso un cutter de papelería.

 |  | |
|---|---|---|
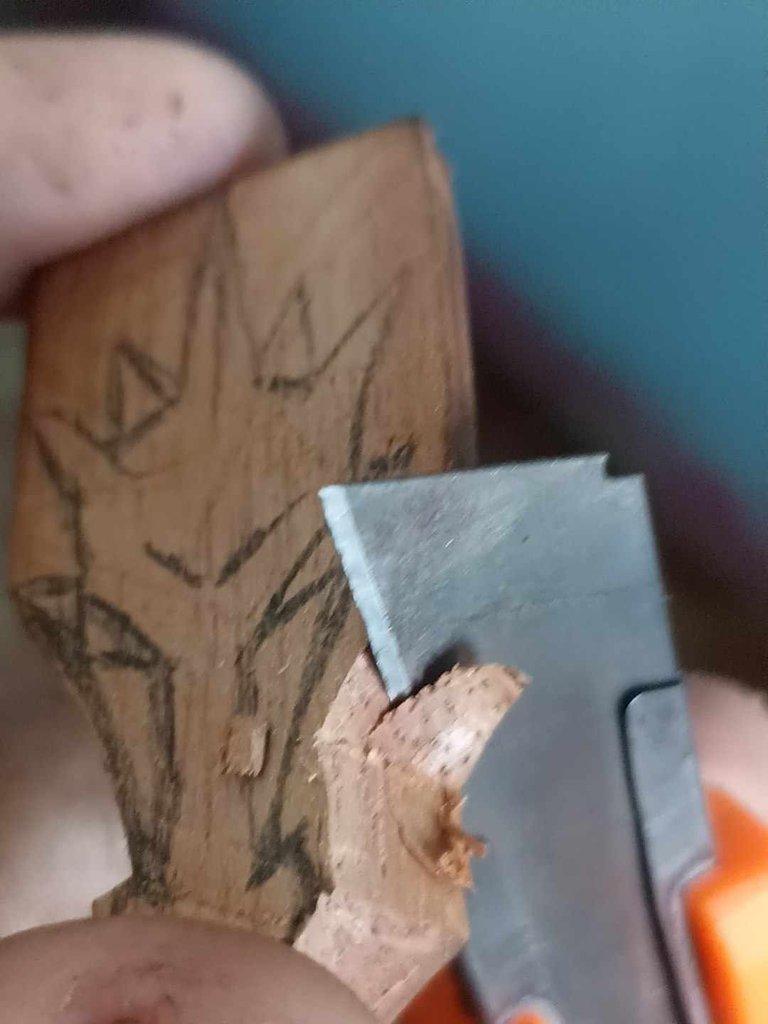 | 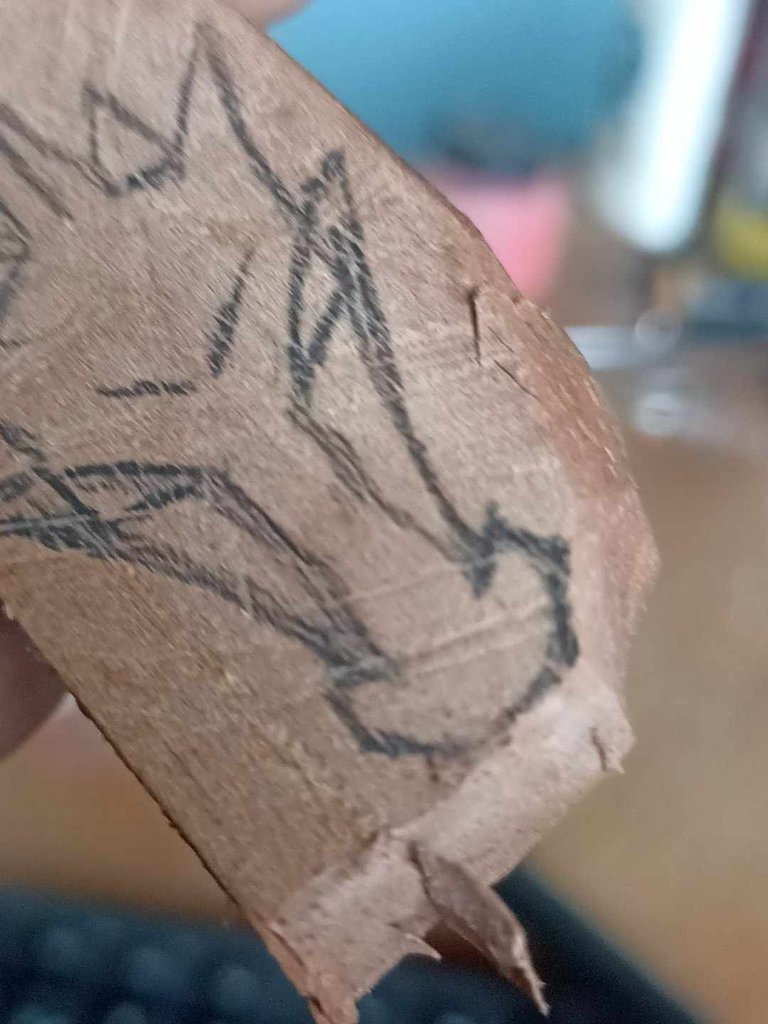 |
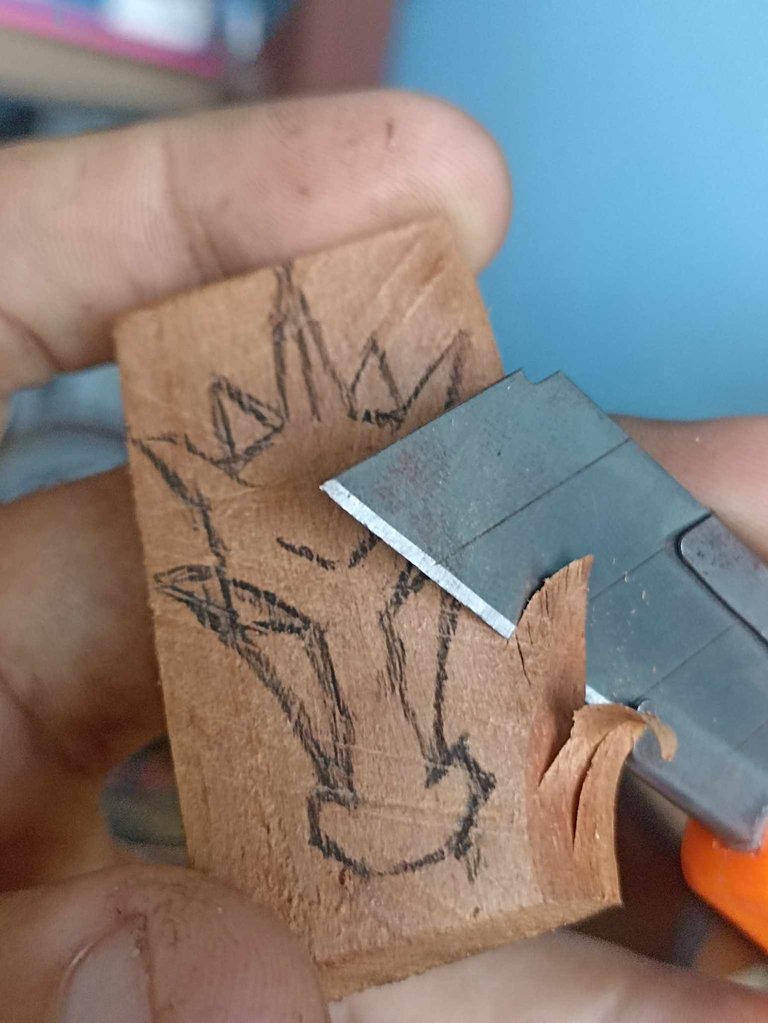
I began to cut the wood on one of the sides, to shape the bottom part, for me this is as if I were also drawing, and even though I am following the trace of the line I need to know that I have a starting point so as not to I feel like the carving is looking horrible on me.
Comencé a cortar la madera por uno de los costados, para ir dando forma a la parte inferior, para mi esto es como si también estuviera dibujando, y a pesar de que voy siguiendo el rastro del trazo necesito saber que tengo un punto de partida para no sentir que el tallado me esta quedando horrible.

 |  | |
|---|---|---|
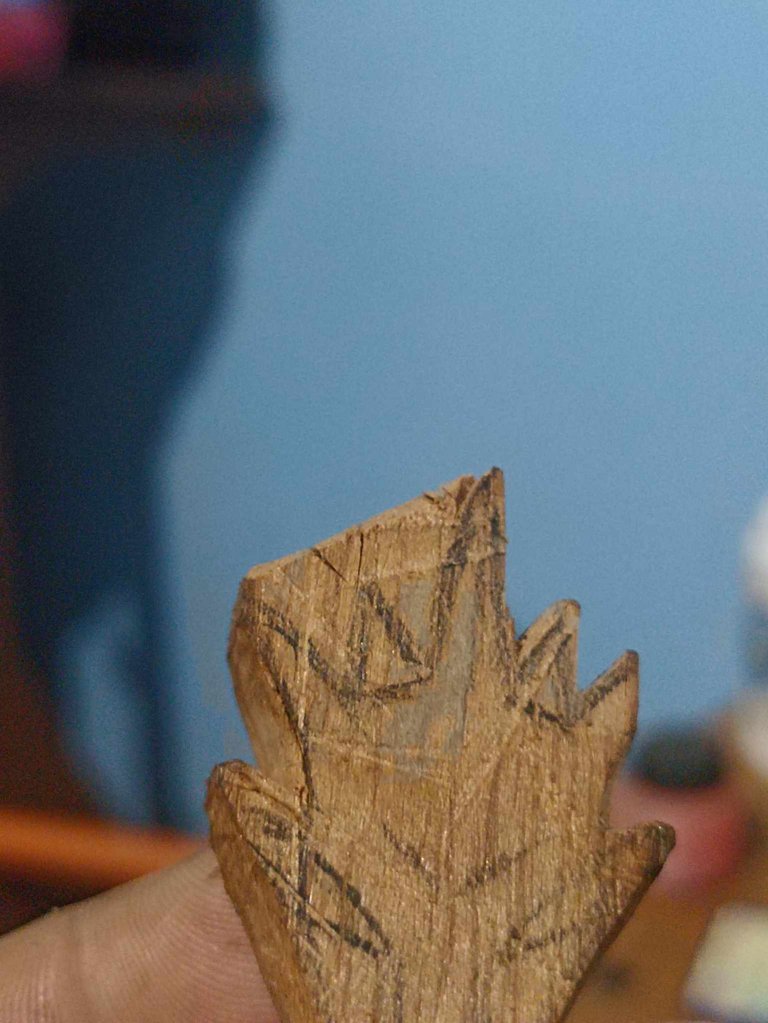 | 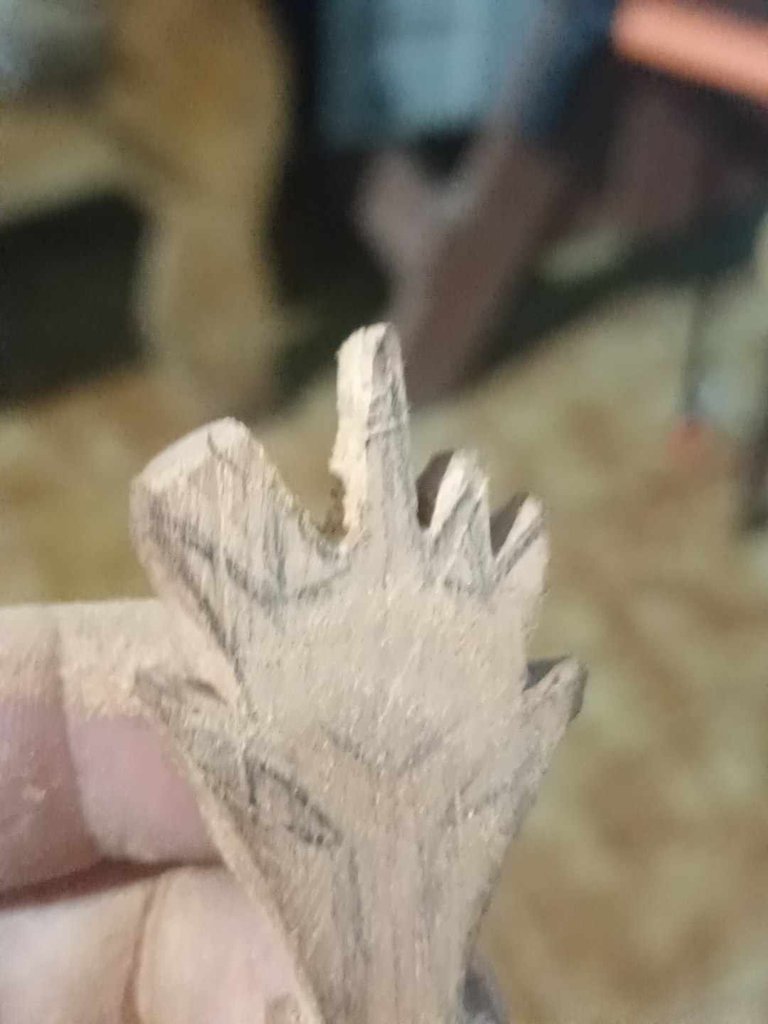 |
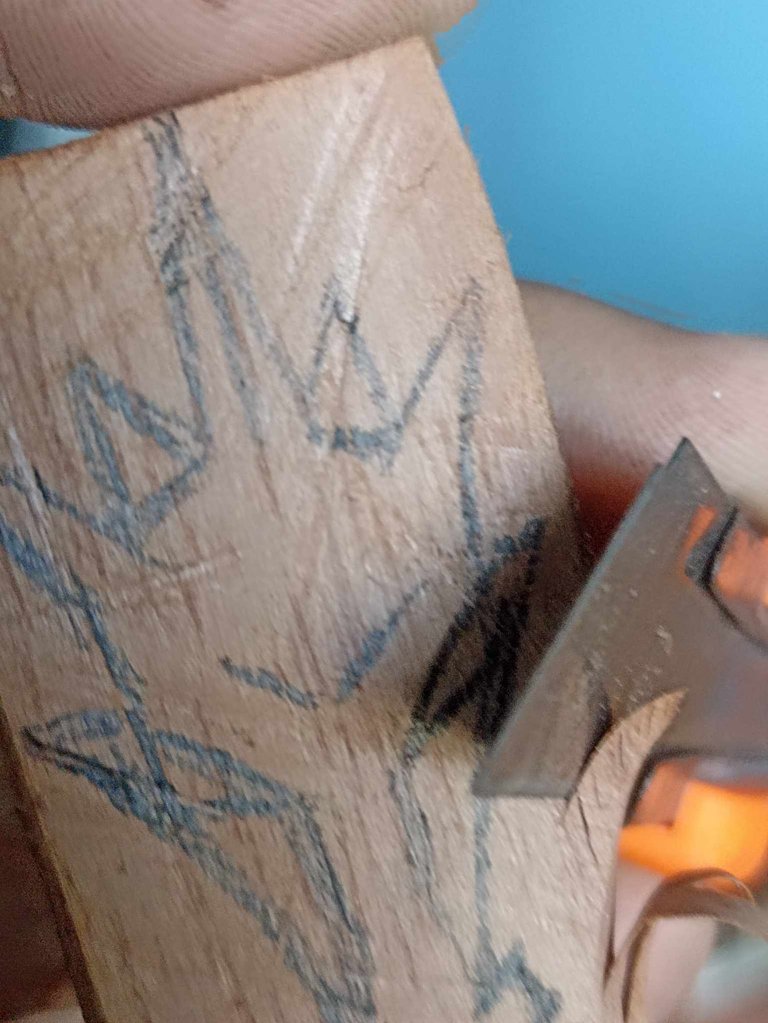
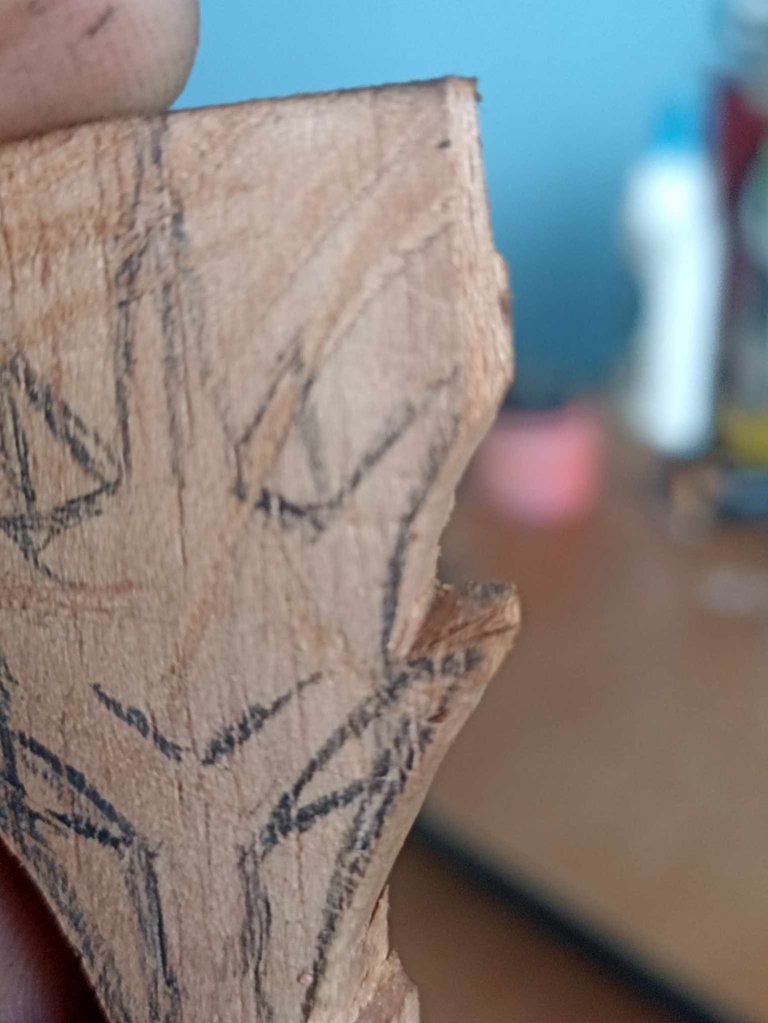
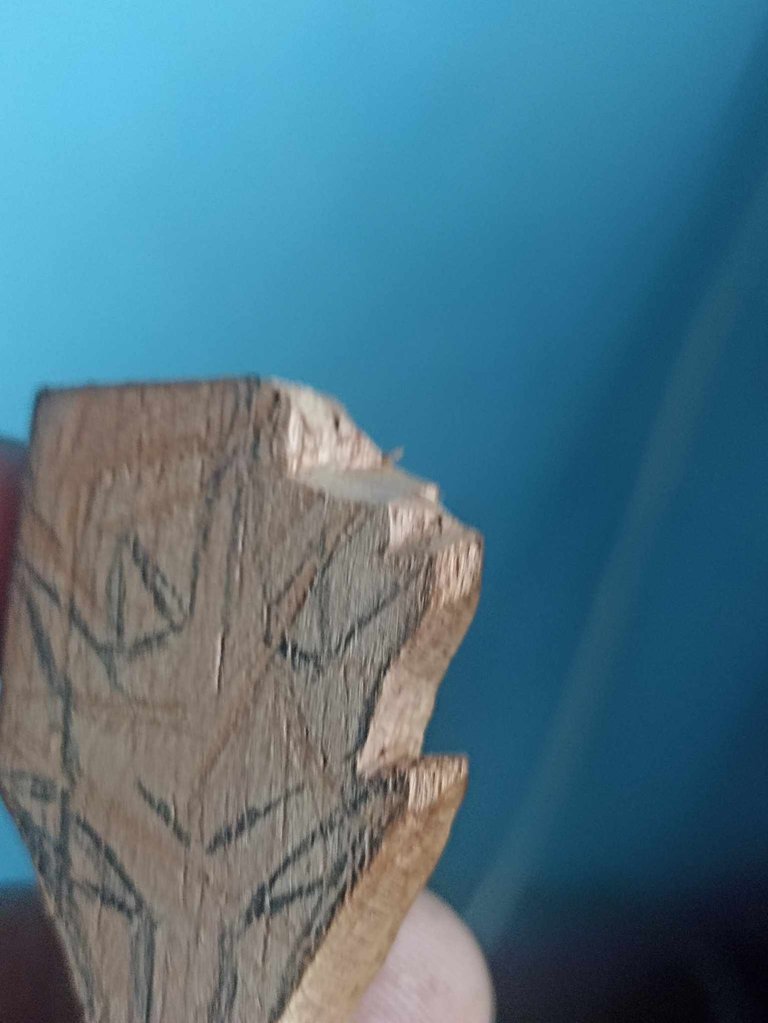
In the same way I did the carving on the opposite side, where I then put emphasis on making the small horns that I made on the head, which at first glance look like a crown.
De la misma forma fui haciendo el tallado en el lado contrario, donde luego puse énfasis en hacer los pequeños cuernos que hice en la cabeza, que a simple vista lucen como una corona.

 |  | |
|---|---|---|
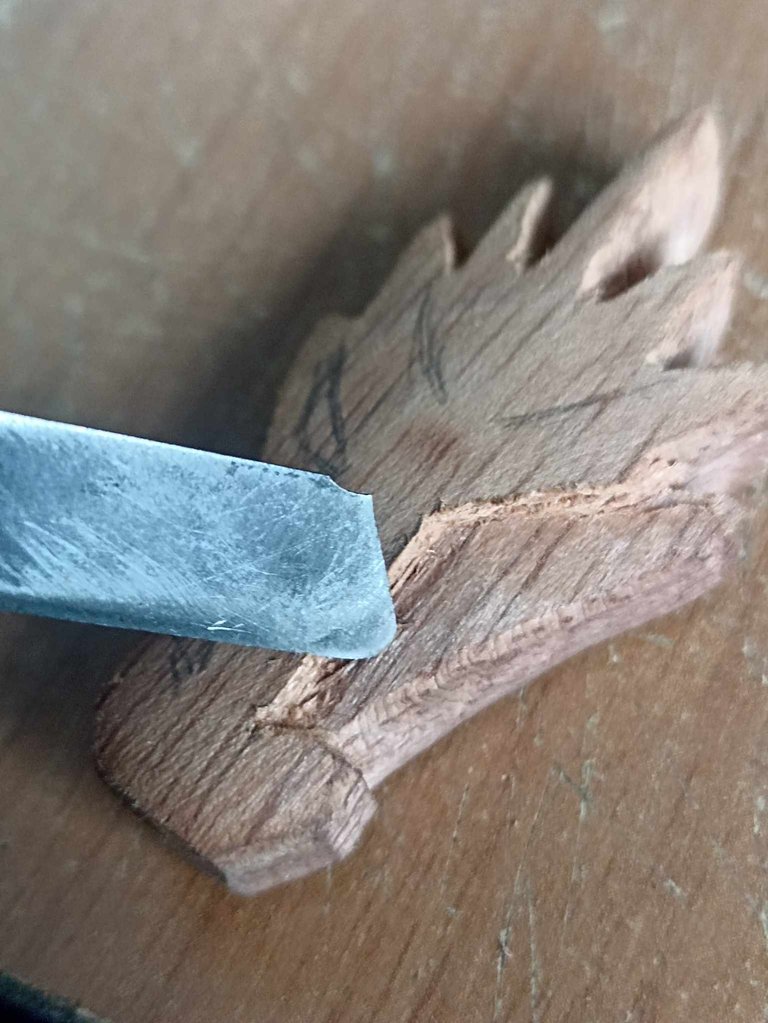 | 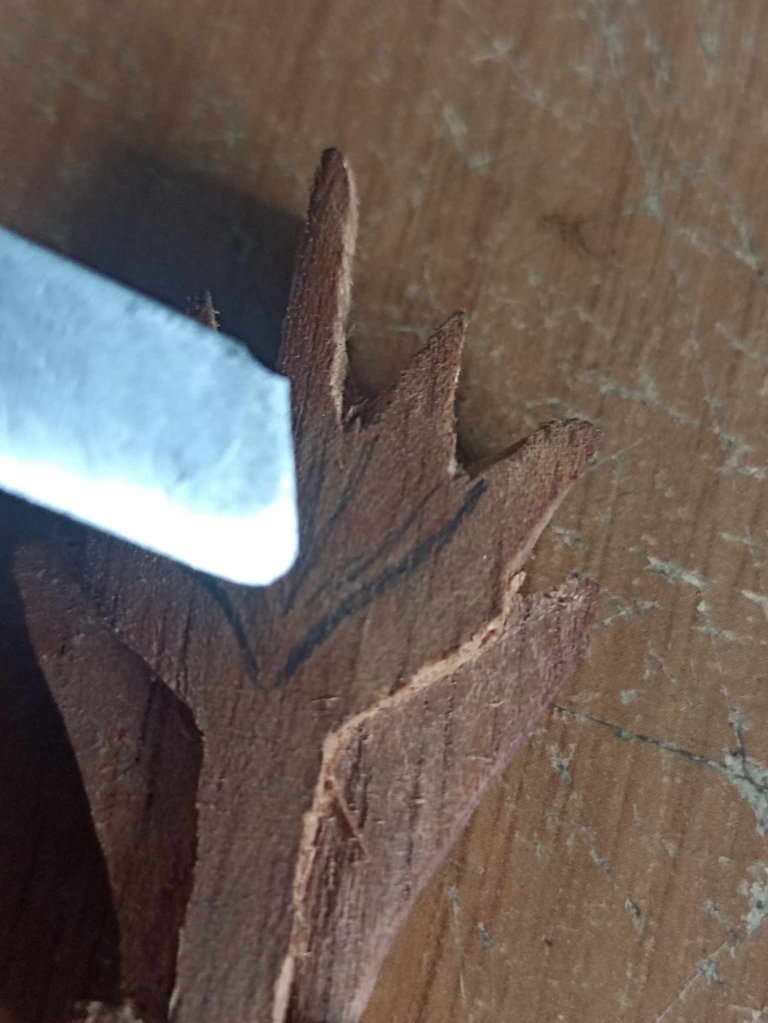 |
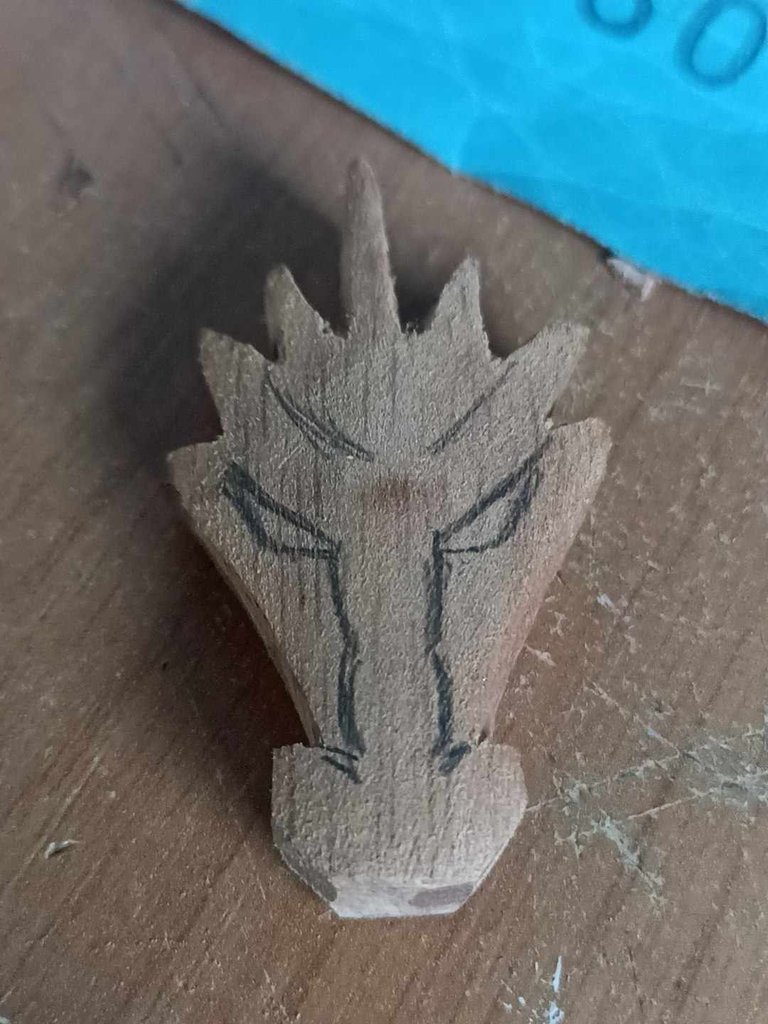
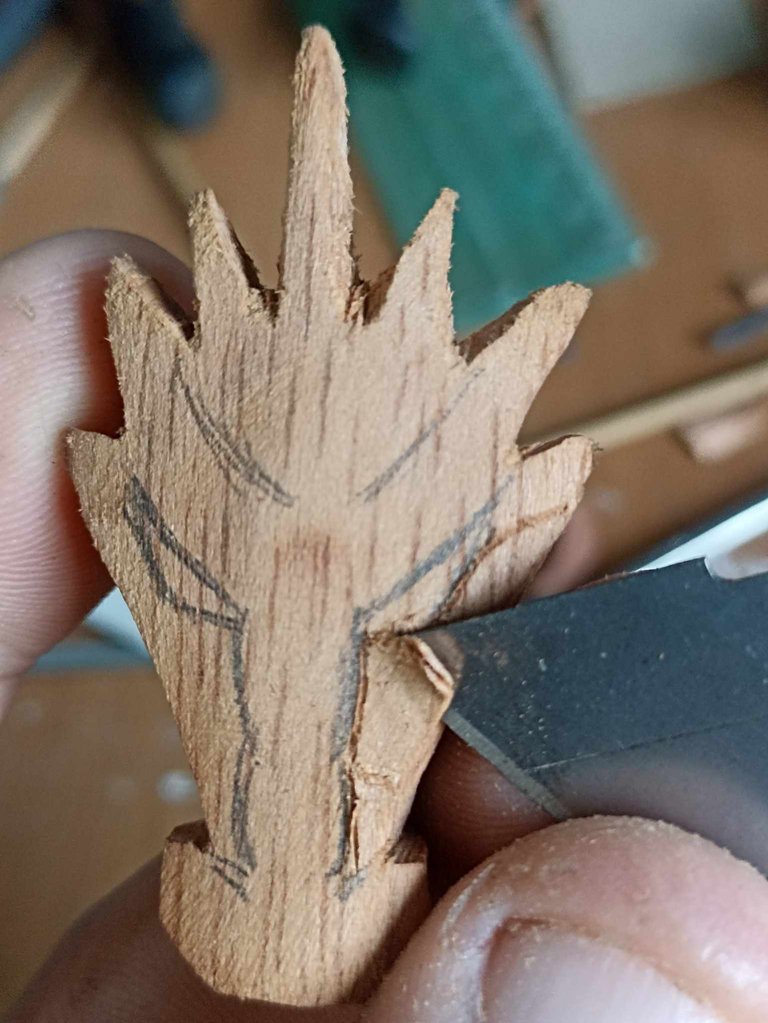
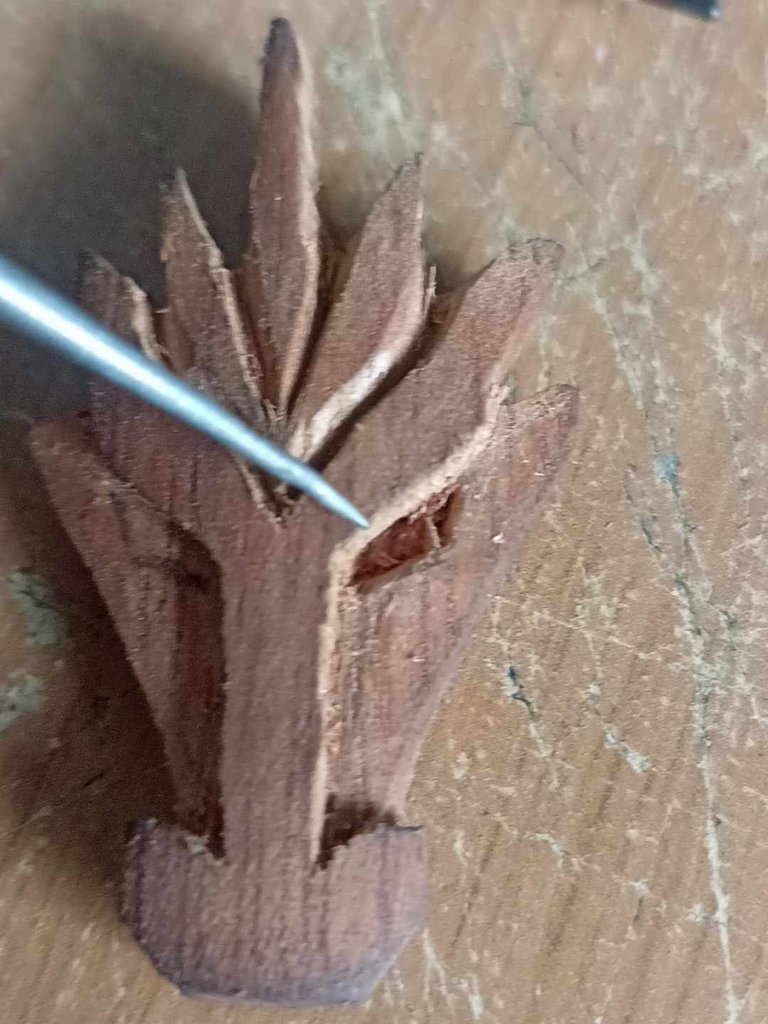
So far I have done 50% of the work, after doing the carving to get the shape of the head, I drew inside the face, the eyes and the nose and gave it shape, here I wanted to give it a Chinese dragon shape in certain aspects. Here you can see how I am doing the nose part.
Hasta aquí he realizado el 50% del trabajo, luego de hacer el tallado para sacar la forma de la cabeza, dibujé en el interior del rostro, los ojos y la nariz y darle forma, aquí quise darle una forma de dragon chino en ciertos aspectosm aqupi se puede apreciar como voy haciendo la parte de la naríz.

 |  |  |
|---|---|---|
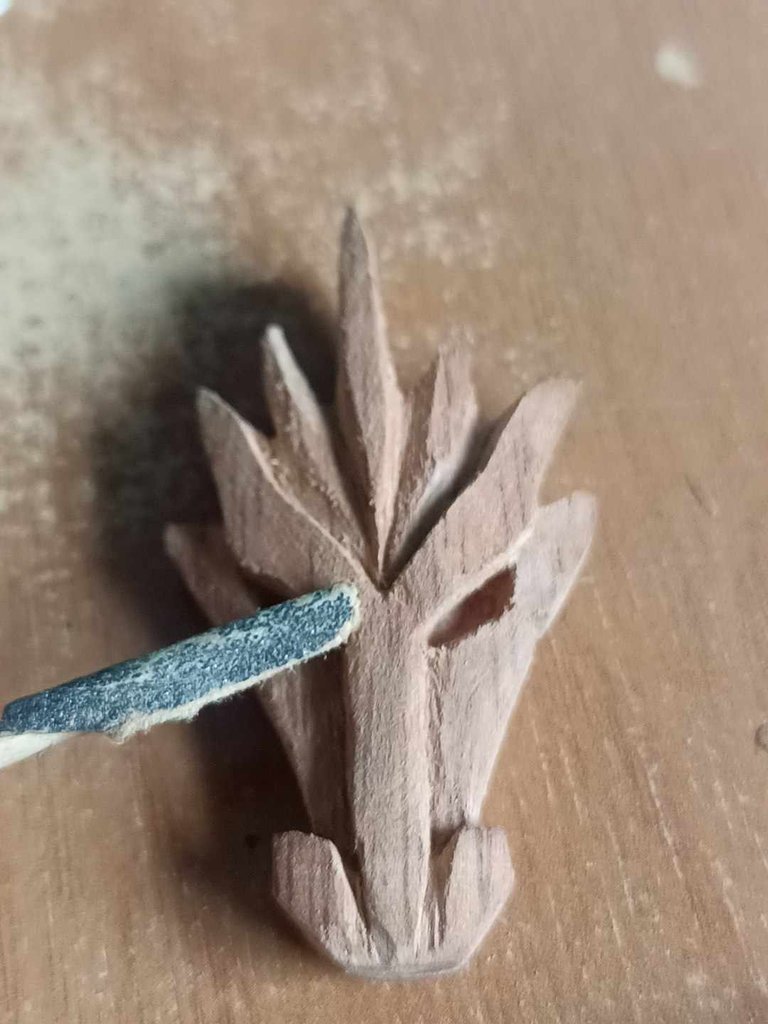 | 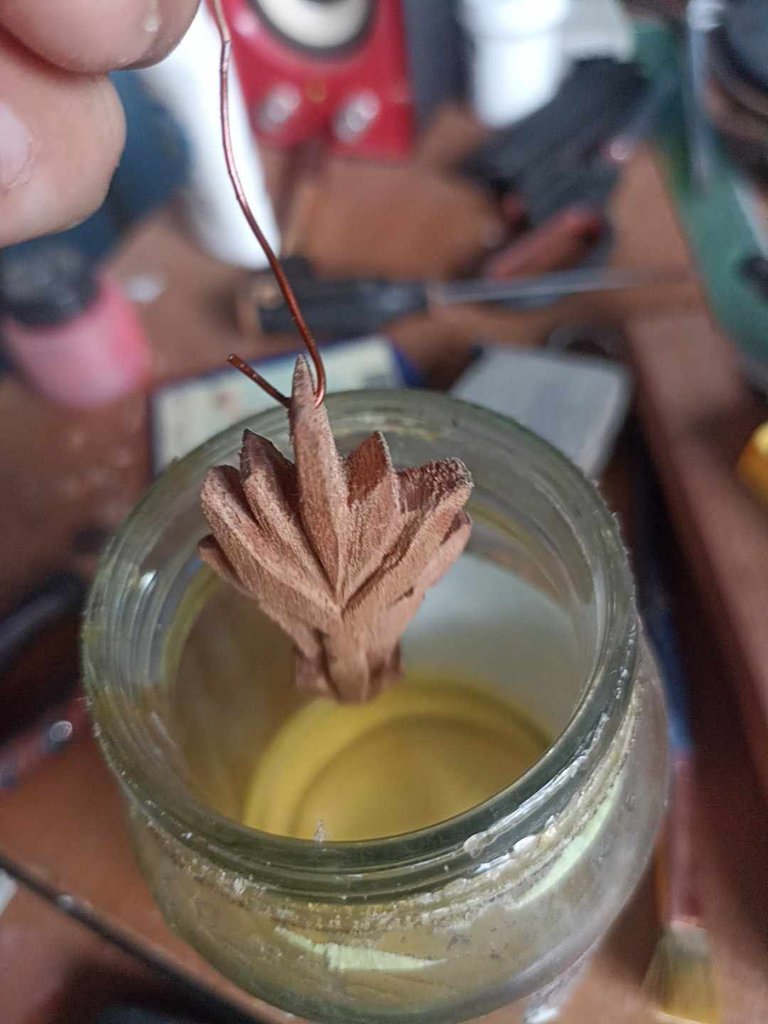 | 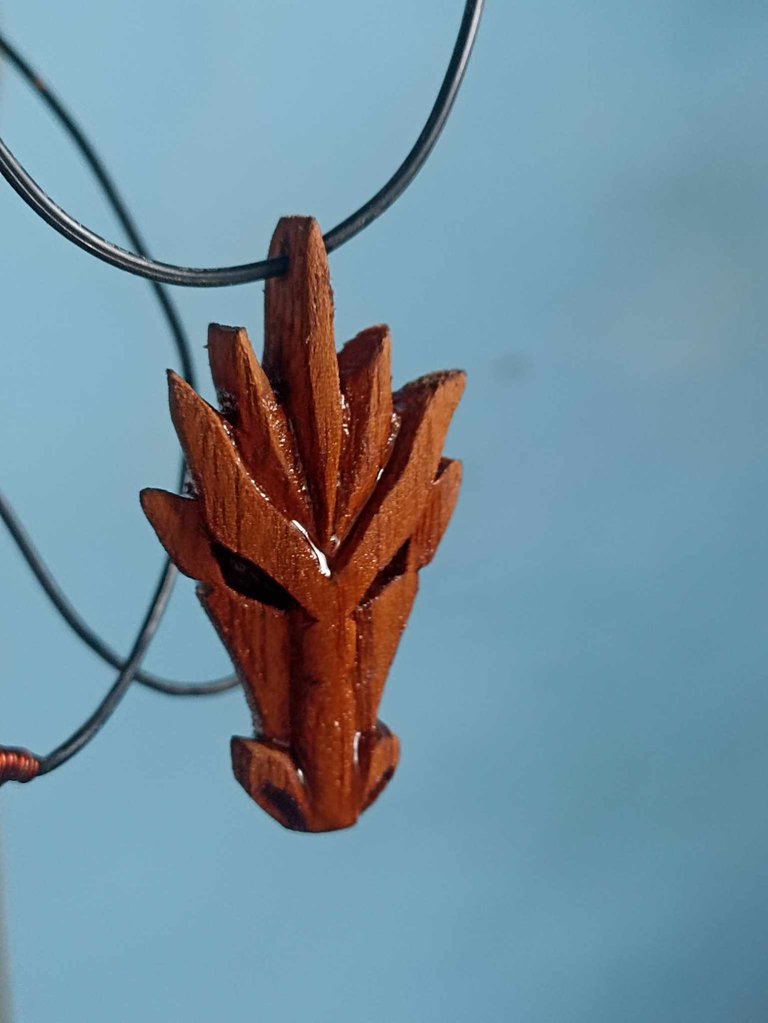 |
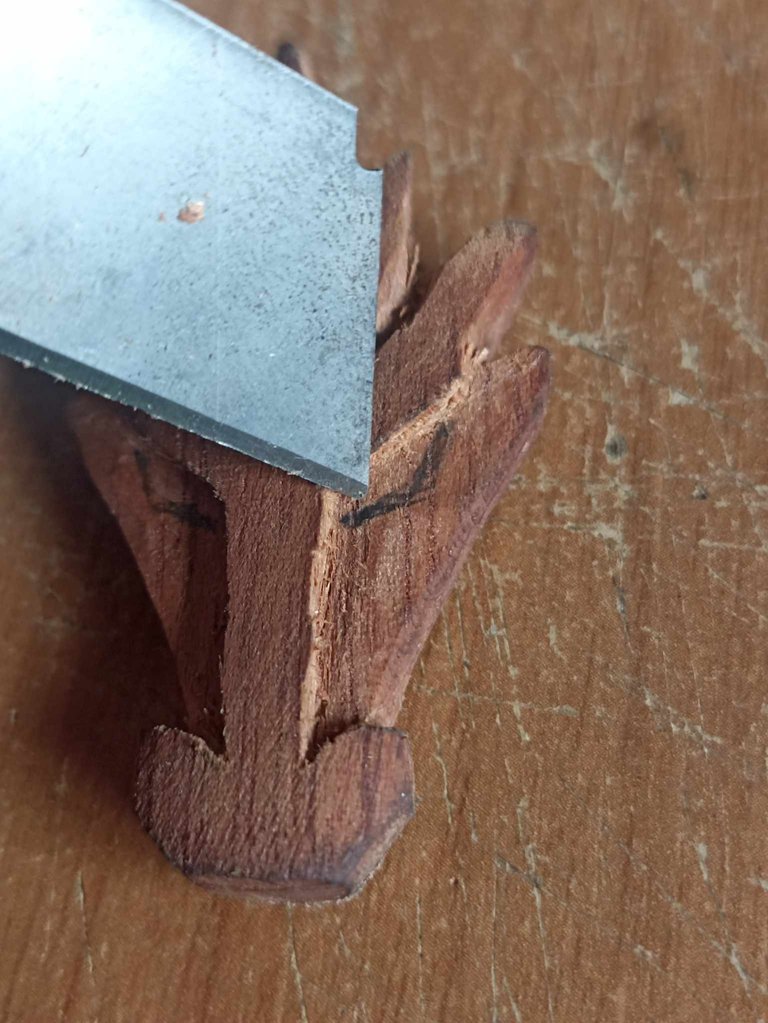
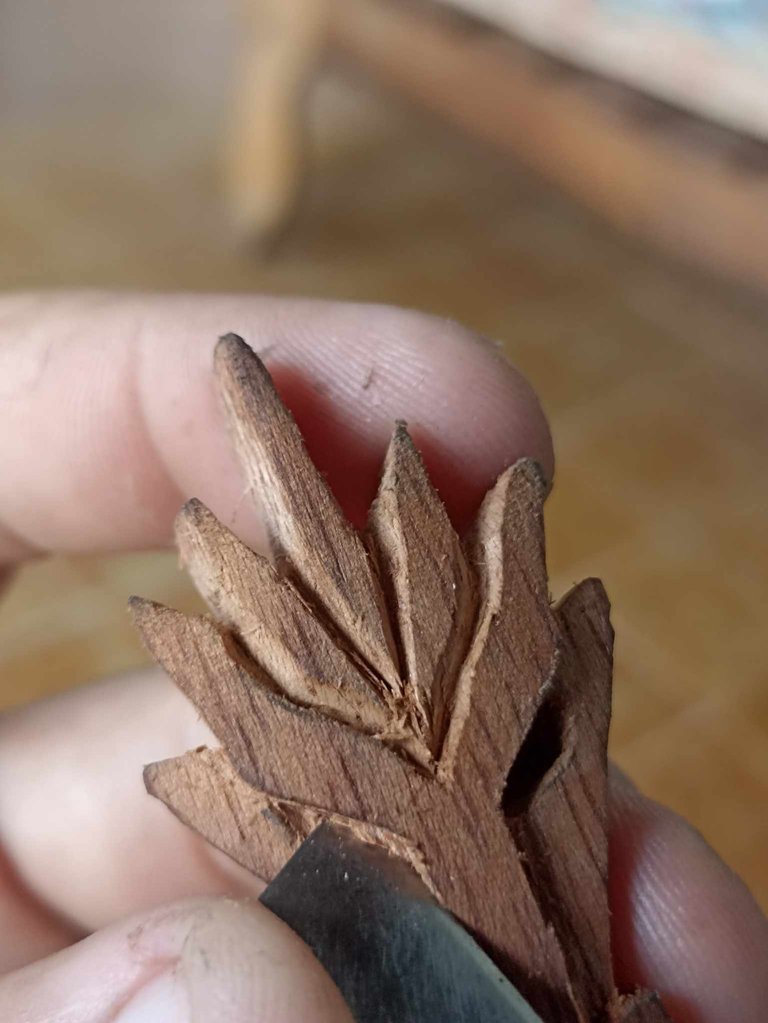
I also make the eyes, which I extract with the knife and also using a pointed stick, so I dig until they look good. I also shaped the nose a little by making some holes in the tip and rounding it with sandpaper. Finally I use an improvised sandpaper for the most difficult parts, after polishing it well I give it a bath of varnish and then I place the necklace and that's how it is finished.
También hago los ojos, los cuales voy extrayendo con la navaja y también utilizando una bara puntiaguda, así voy escarbando hasta que queden bien. La nariz también la moldeo un poco haciendolo unos agujeros en la punta y redondeando con la lija. Por último utilizo una lija improvisada para las partes más díficiles, luego de pulir bien le doy un baño de barniz y luego coloco el collar y así queda finalizado.

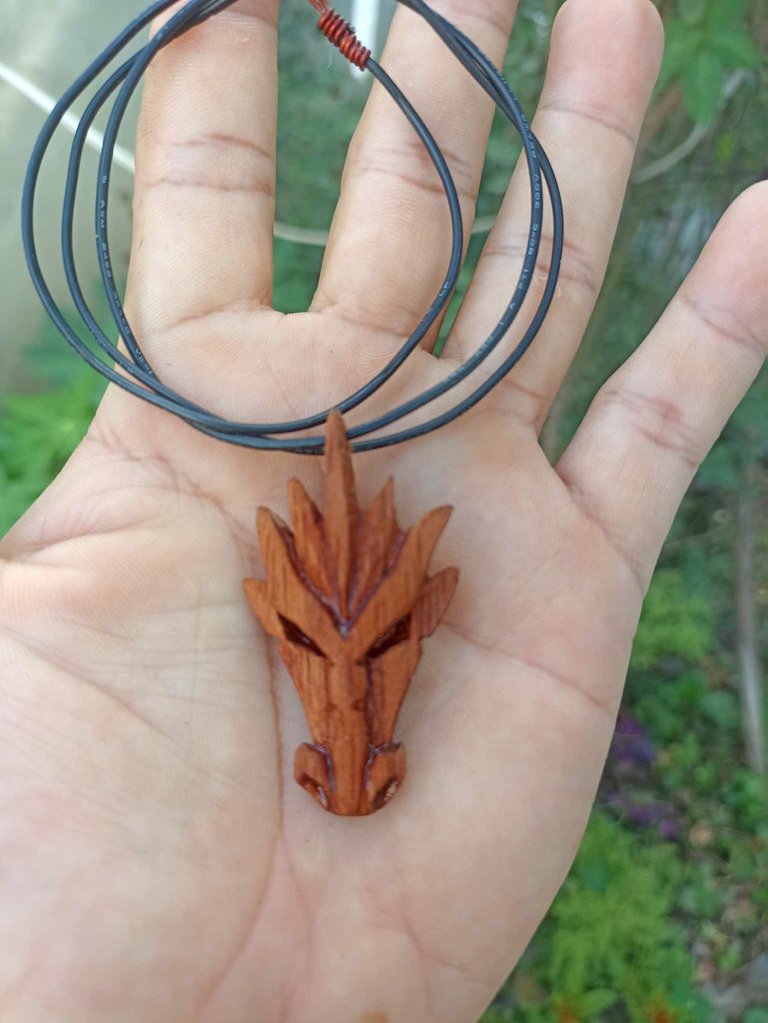

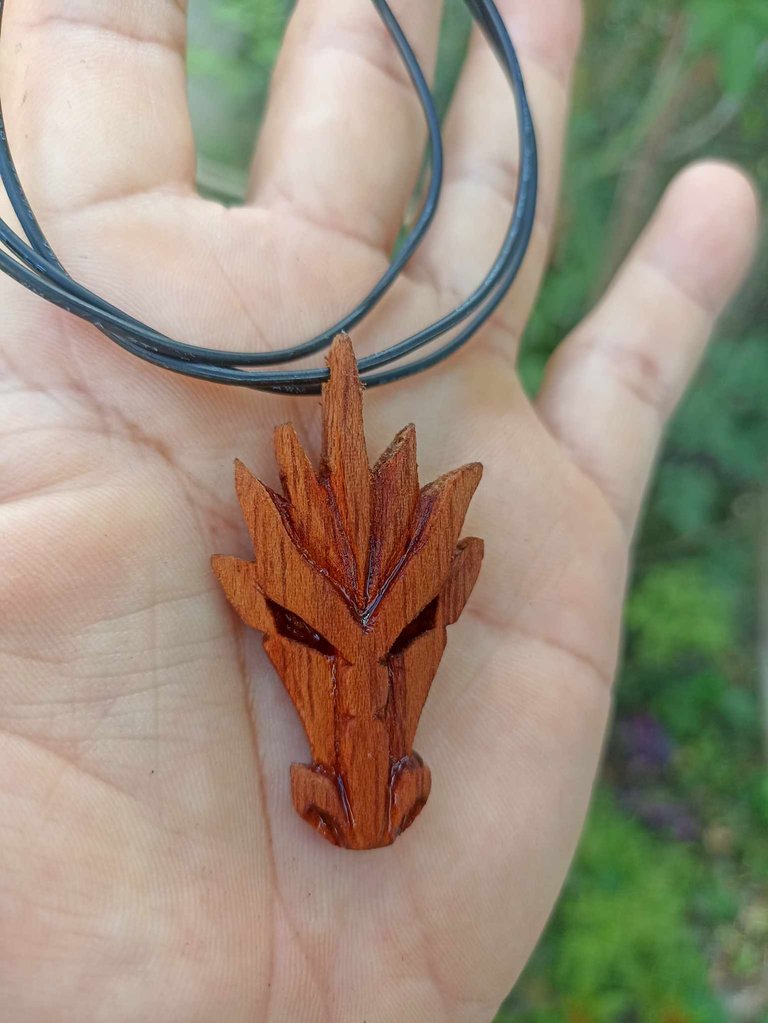
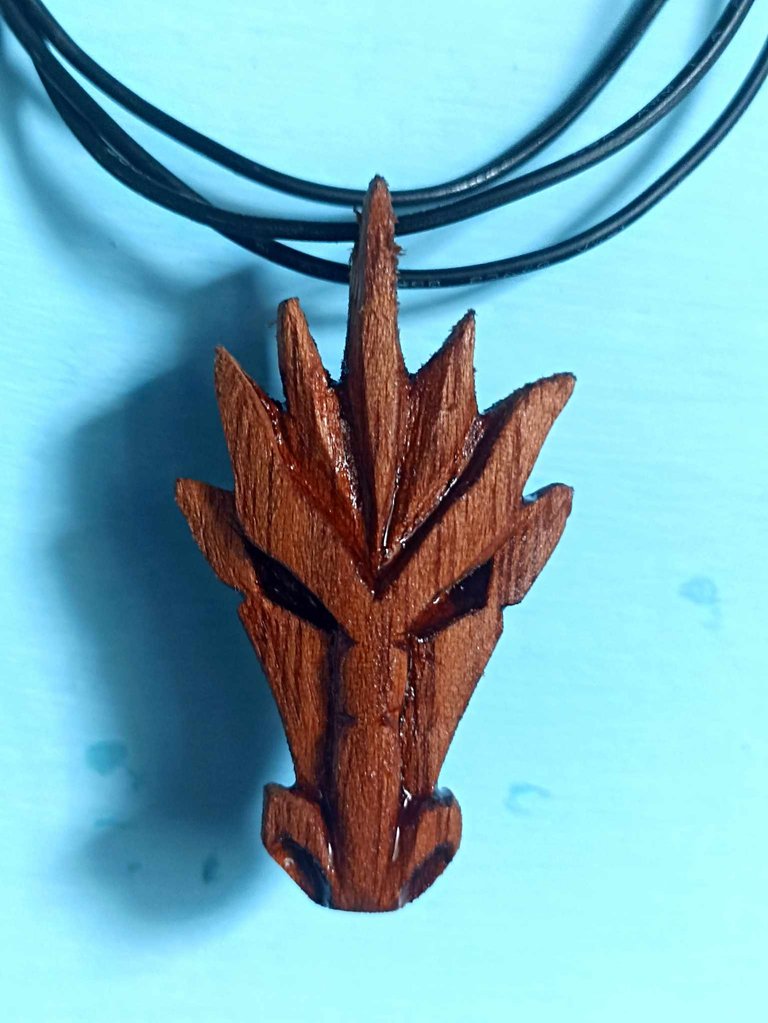

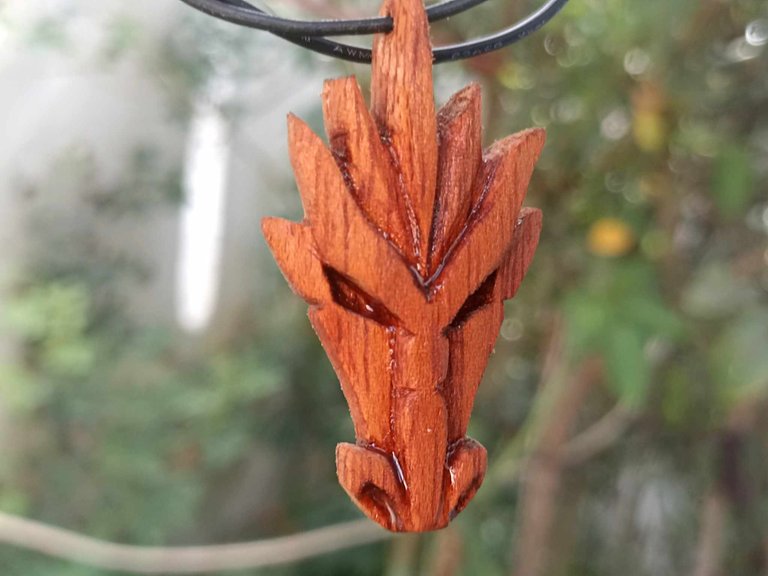
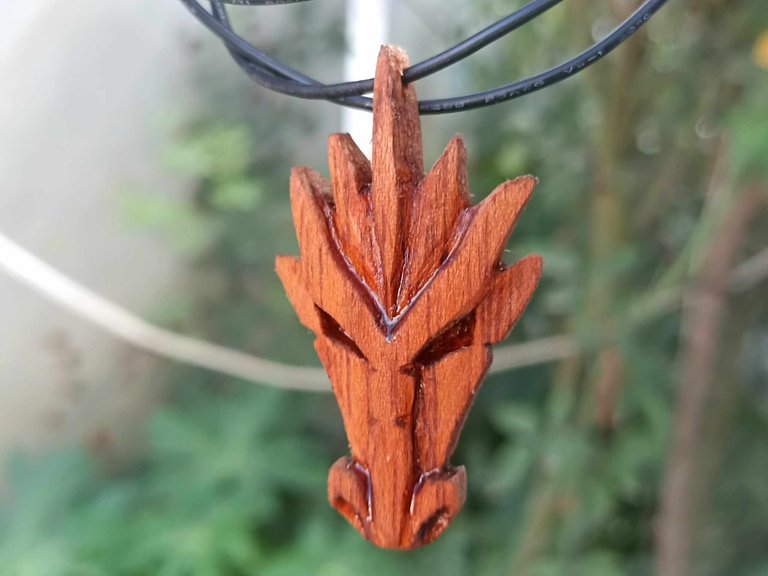
What did you think of the result? I really liked how the nose turned out, there is always an aspect of my creations that catches my attention the most and this has been the nose. I hope you liked it, I hope I can return soon with new creations with the new creatures that are now available. I say goodbye soon, greetings to all!
Que les ha parecido el resultado? Me gustó mucho como quedó la nariz, siempre hay un aspecto de mis creaciones que me llama más la atención y esta ha sido la nariz. Espero que les haya gustado, ojalá pueda volver pronto con nuevas creaciones con las nuevas criaturas que ahora estan disponibles. Me despido hasta pronto, saludos para todos!