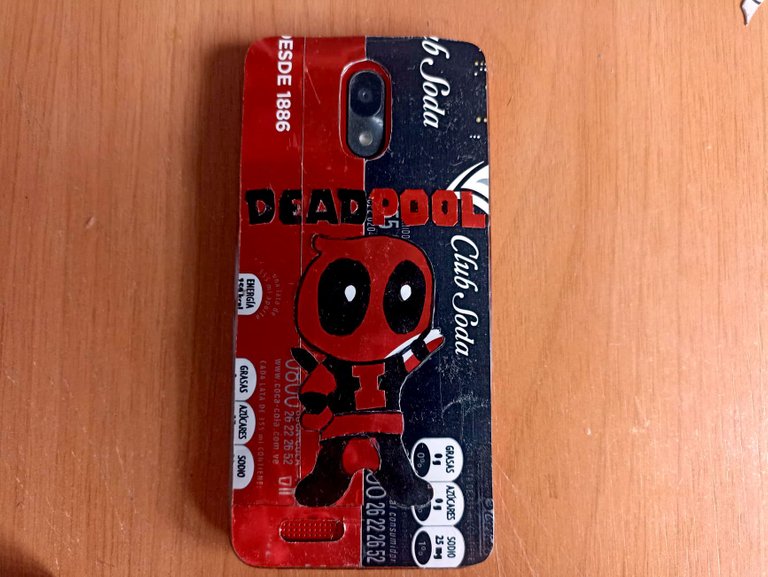
Hello friends, I hope you are very well, this time I want to show you a simple decoration that can be used for our cell phones, especially mine, which is already well damaged, but still works perfectly and is the one who helps me in my publications from Hive. That is why I have decided to give it a little hand and give it a new face in a few words. I have designed a kind of cover for the plastic protector that it uses, it is a figure of the super hero Deadpool, the whole piece is made with soda cans, I hope you like it.
Hola amigos, espero que se encuentren muy bien, esta vez quiero mostrarles una sencilla decoración que nos puede servir para nuestros teléfonos celulares, especialmente el mío, que ya esta bien deteriorado, pero aún funciona a la perfección y es quien me ayuda en mis publicaciones de Hive. Es por eso que he decidido echarle una manito y darle una nueva cara en pocas palabras. He diseñado una especie de portada para el protector de plástico que usa, se trata de una figura del super heroe Deadpool, toda la pieza está realizada con latas de refrescoz, espero que les guste.

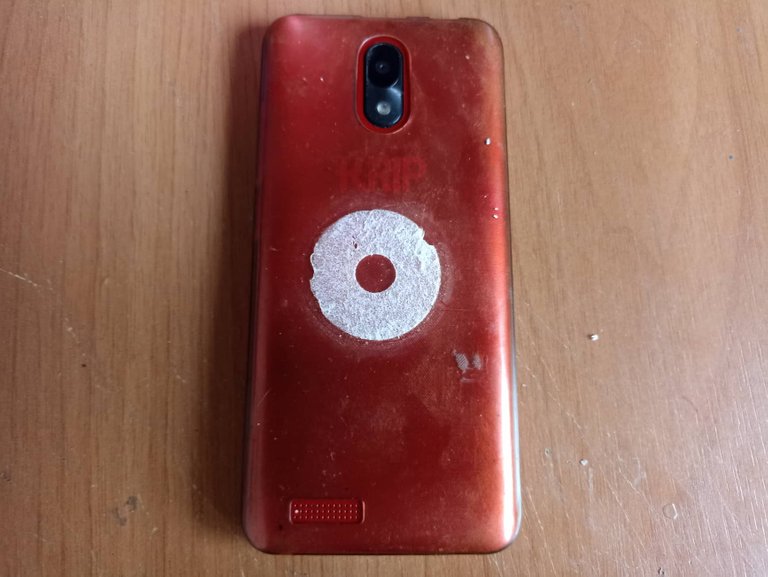
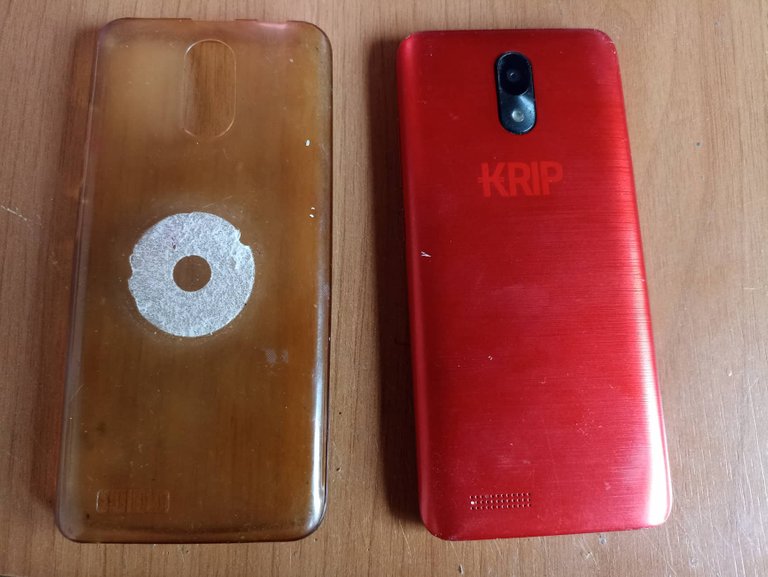
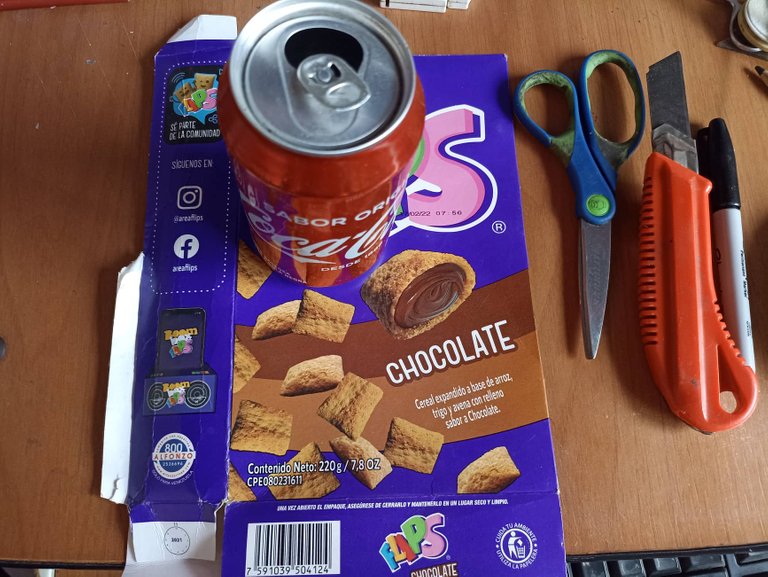
The original cover of the phone is made of transparent plastic, when I bought it it was light in color but with the passing of time and the manipulation of use it turned a very horrible yellowish color, this gave me the idea of putting something on it that I could do see better. I chose red and black soda cans, cutting tools and glue, I also used cardboard from cereal boxes.
La funda original del teléfono es de plástico transparente, cuando la compré era de color claro pero con el pasar del tiempo y la manipulación del uso se fue tornando de un color amarillento muy horrible, esto me dio la idea de ponerle entonces algo que le hicera ver mejor. Elegí latas de refresco de color rojo y también de color negro, las herramientas para cortar y el pegamento, también usé cartón de cajas de cereal.

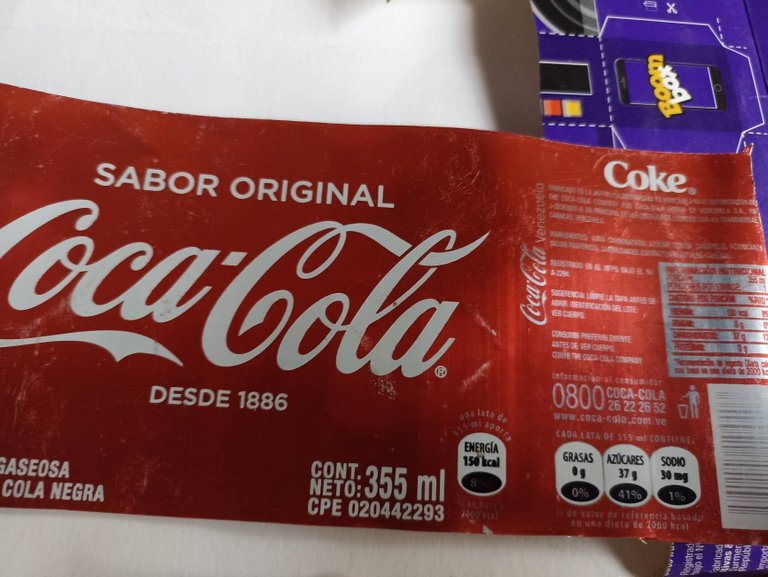
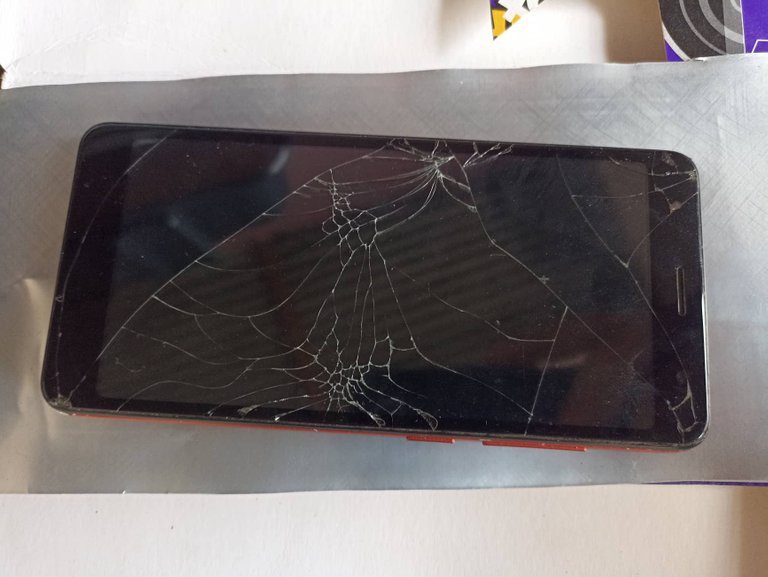
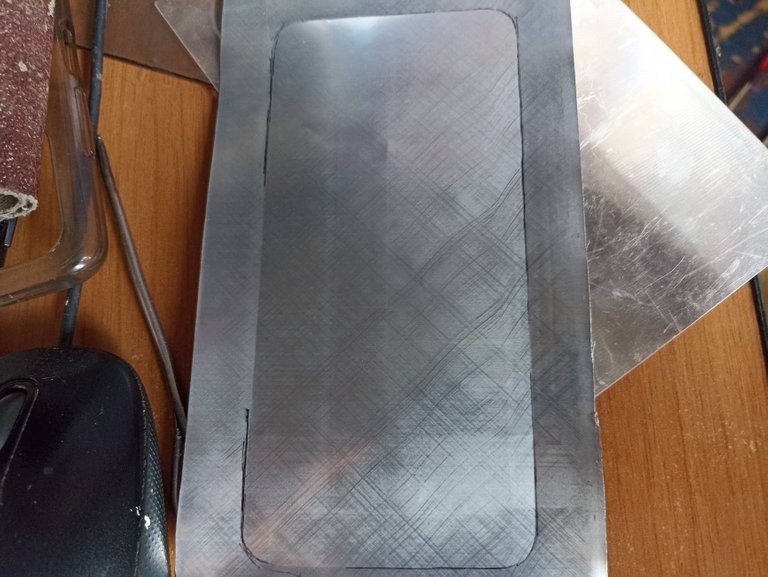
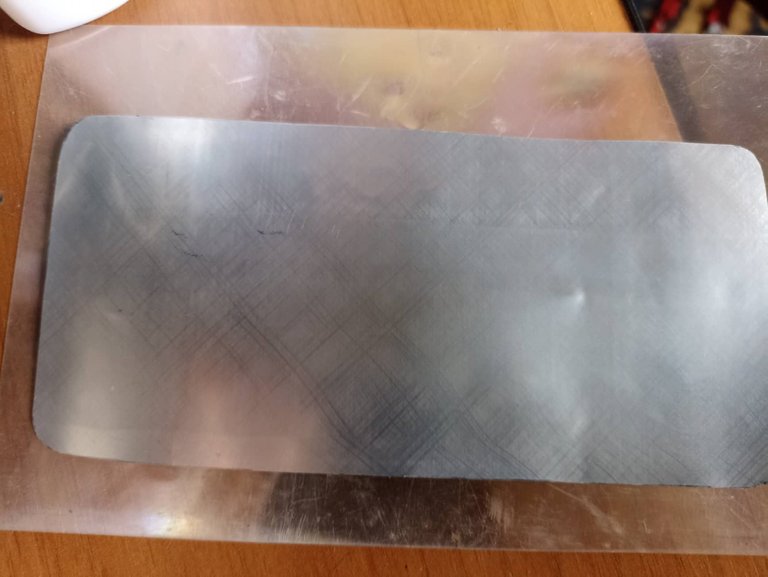
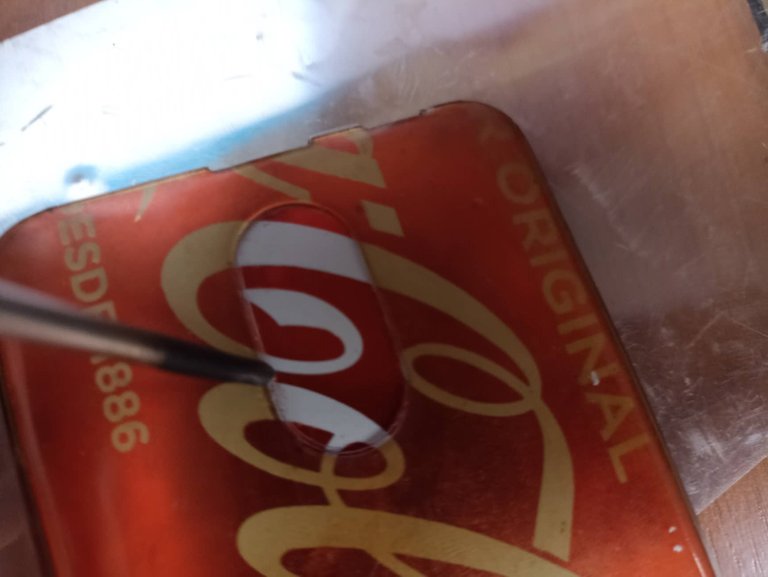
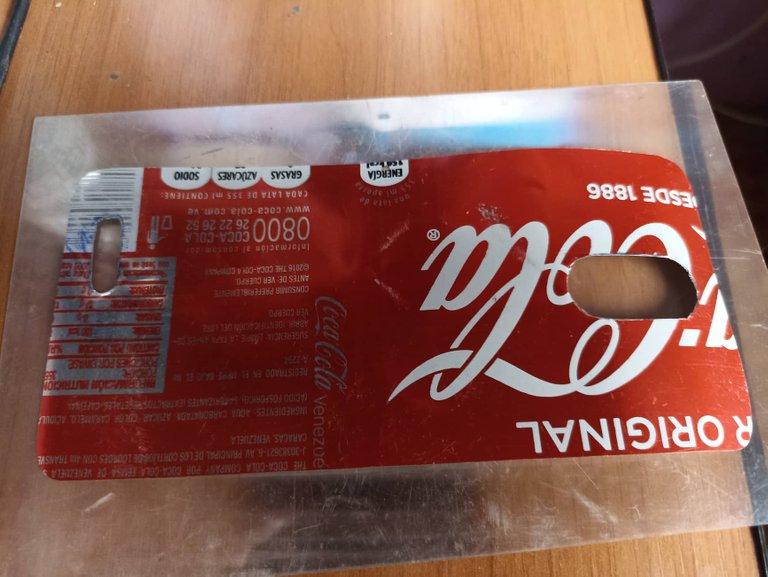
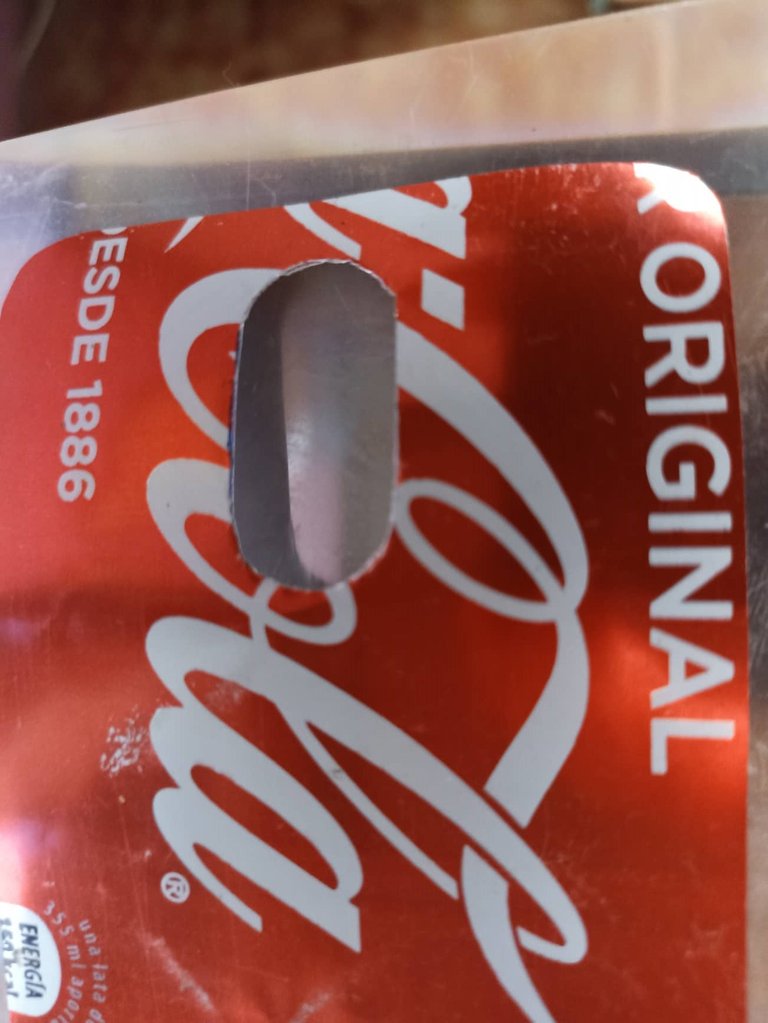
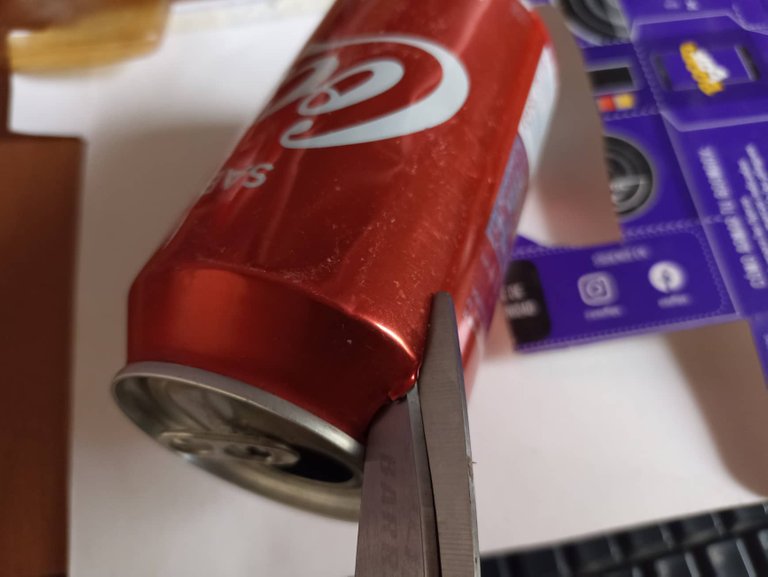
The first step, after selecting the colors of the can, in this case red, is to cut the can and turn it into a sheet. Then take the phone and use it as a template for the measurements to use, to mark the measurements you can use a pen and make a strong line so that it is well marked. With the scissors, the entire line drawn is carefully cut so that it is well aligned, finally with the plastic cover, we introduce the cut sheet to mark the holes of the cell phone camera and in the lower part, the sound outlet.
El primer paso, luego de seleccionar los colores de la lata, en este caso rojo, es cortar la lata y la convertirla en una lámina. Después tomar el telefono y usarlo como molde para las medidas a utilizar, para marcar las medidas se puedo usar un bolígrafo y hacer el trazo fuerte para que quede bien marcado. Con las tijeras se corta toda la línea trazada cuidadosamente para que quede bien alineada, por último con la funda de plástico, introducimos la lámina cortada para marcar los agujeros de la cámara del celular y en la parte baja, la salída del sonido.

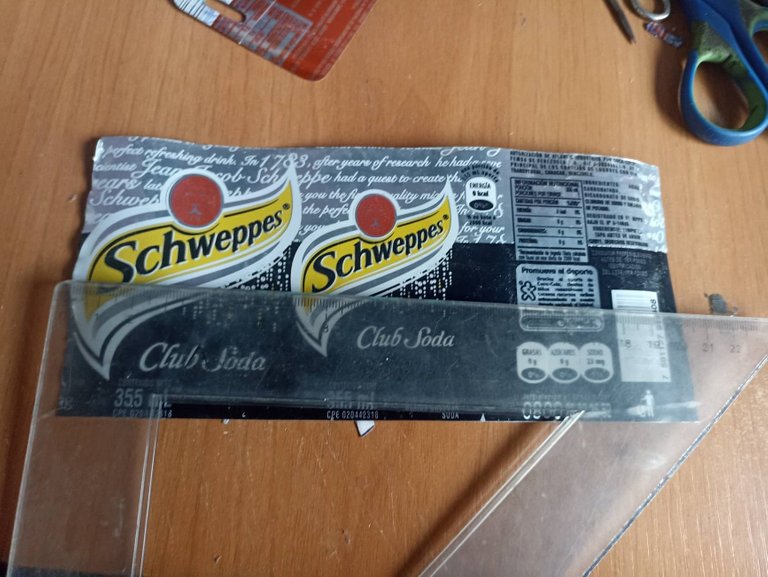
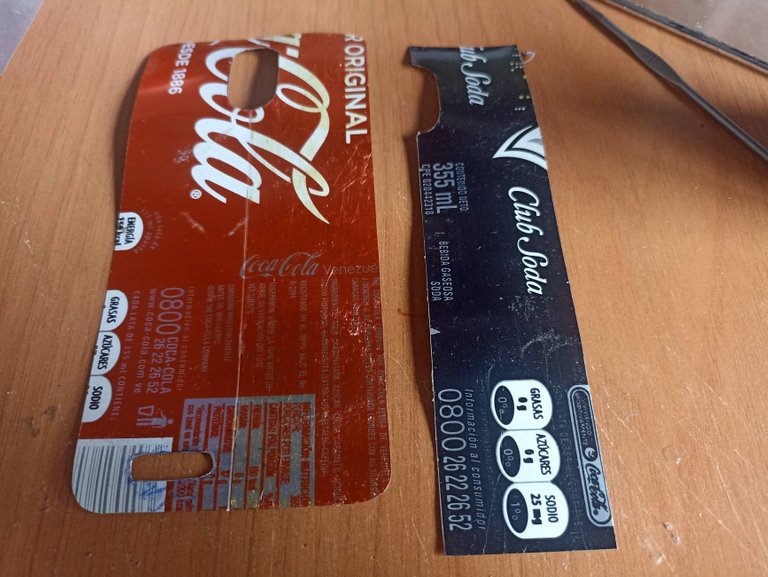
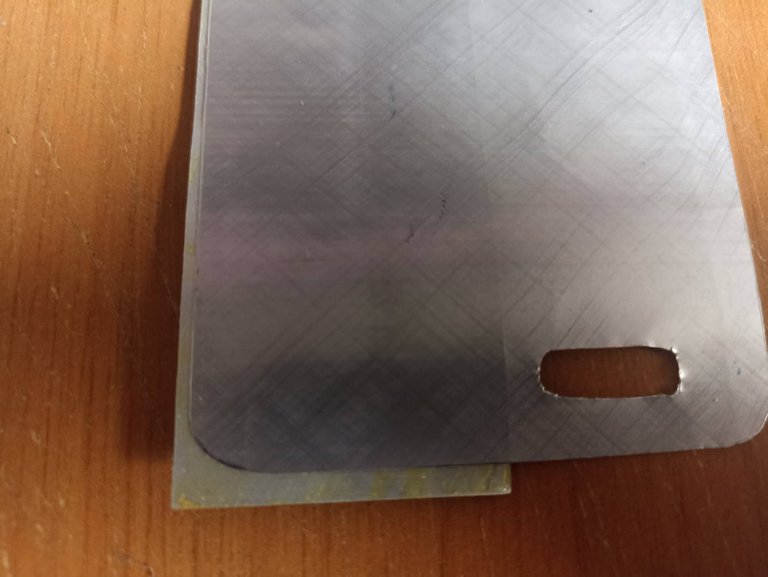
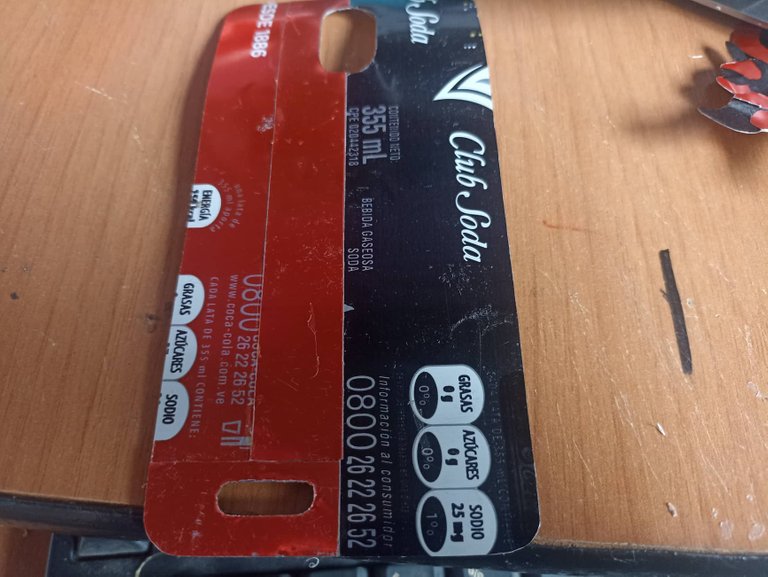
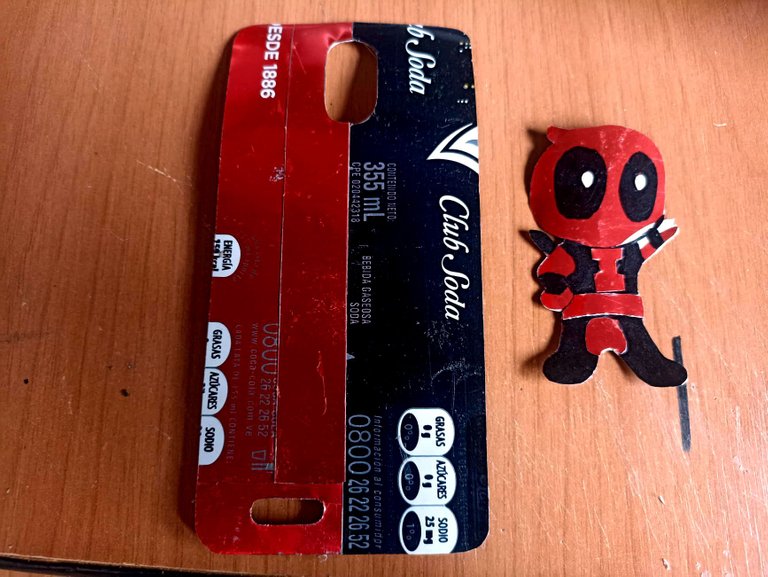
When I had the idea to do this I thought I would just do it in red, but then I figured if I put black like that in the middle it would look better, so I took a can that had some black in it, which was really hard to get and also the court. I measured exactly half with a ruler and made the cut for the camera so that it would also be aligned, using glue I joined both parts and then with scissors I removed the remaining parts, and thus the red and black background remained.
Cuando tuve la idea de hacer esto pensé en hacerlo solo en color rojo, pero luego imaginé que si ponía color negro así en la mitad se vería mejor, así que tome una lata que tuviera algo de color negro, que fue muy dificil de conseguir y también la corte. Medí con una regla exactamente la mitad y le hice el corte de la cámara para que también quedara alineado, utilizando pegamento uní ambas partes y luego con las tijeras quité las partes que sobraban, y así quedó el fondo rojo y negro.

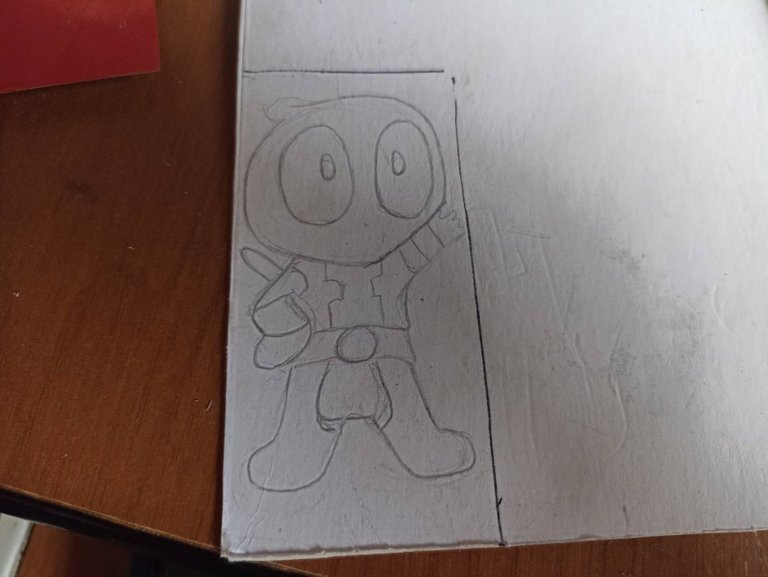
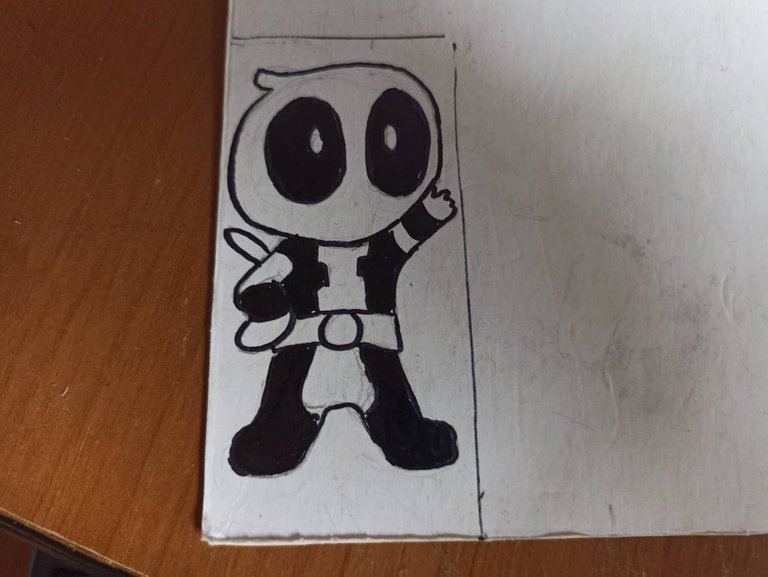
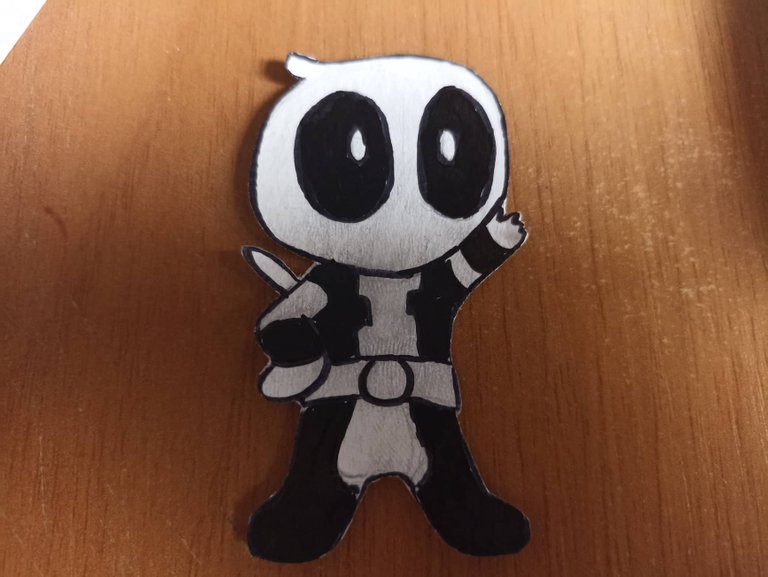
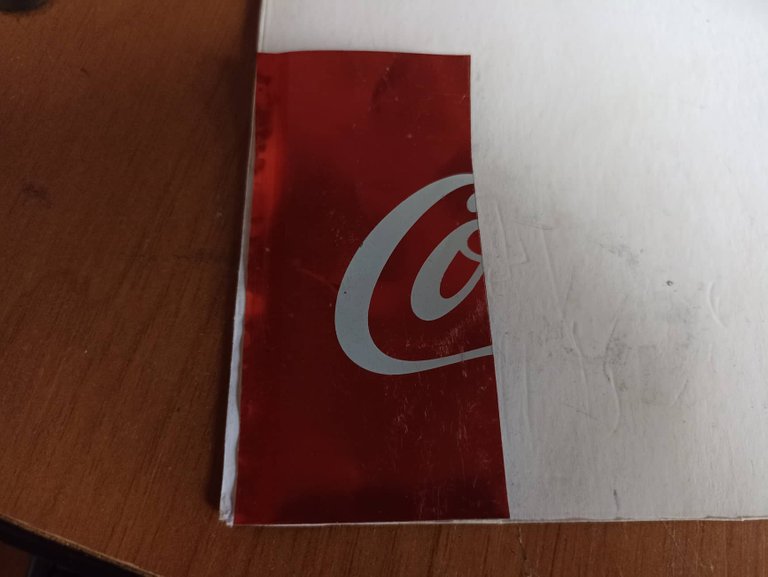
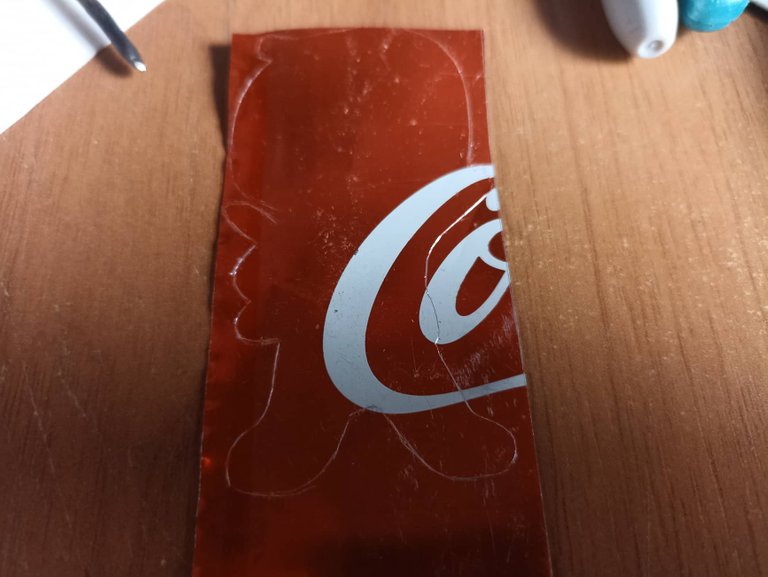
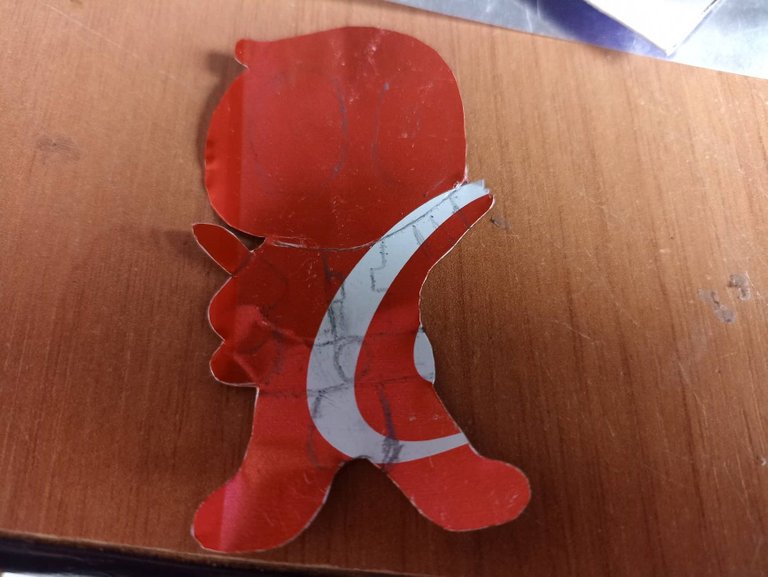
The next step was to make the figure of Deadpool, also at first I thought of making only the symbol, but they seemed to me somewhat minimalist although it also attracts a lot of attention, however I decided to make Deadpool in Chibi style, which is a very easy style to do aside from cute. So on a small piece of cardboard I made the drawing of the appropriate size so that it would be in the center, I cut out the cardboard and used it as a pattern to mark on top of the can and draw the digura from the red can.
El siguiente paso fue hacer la figura de Deadpool, también al principio pensé en hacer solo el símbolo, pero me pareción algo minimalista aunque también llama mucho la atención, sin embargo decidí hacer a deadpool en estilo Chibi, que es un estilo muy facil de realizar a parte de adorable. A´si que en una cartulina pequeña hice el dibujo del tamaño apropiado para que quede en el centro, recorté el cartón y lo utilicé como patrón para remarcar encima de la lata y sacar la digura desde la lata de color rojo.

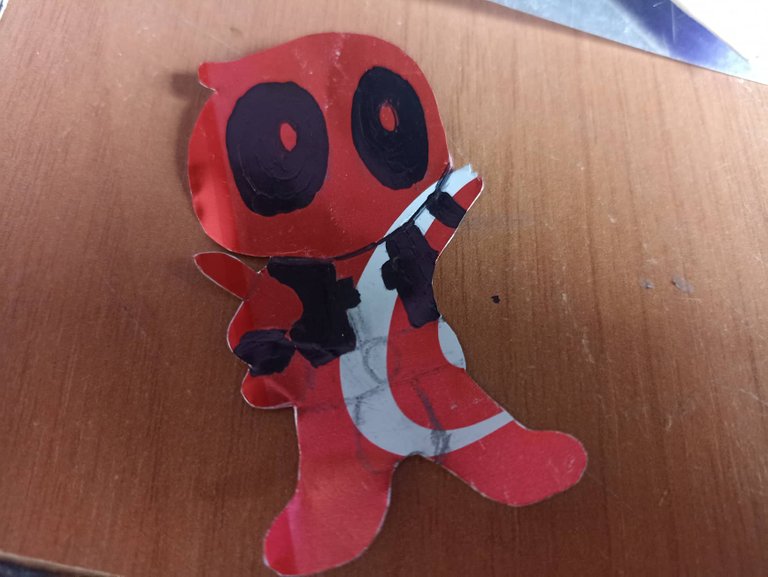
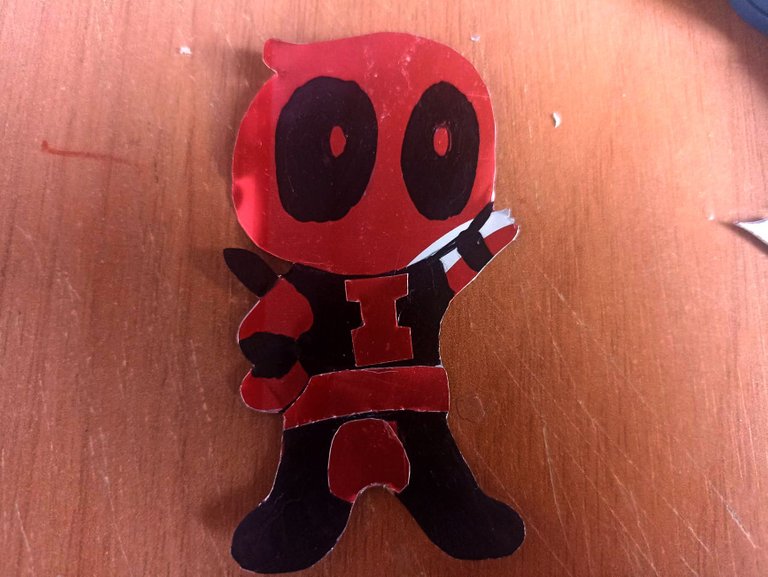
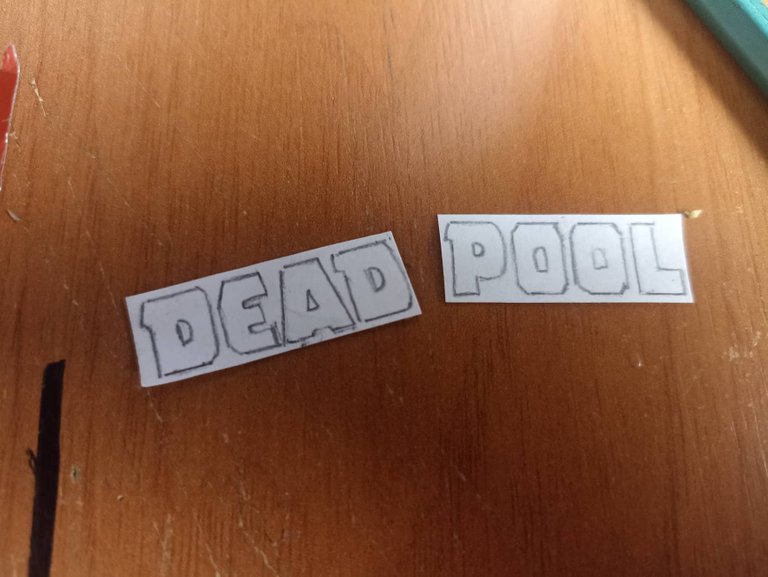
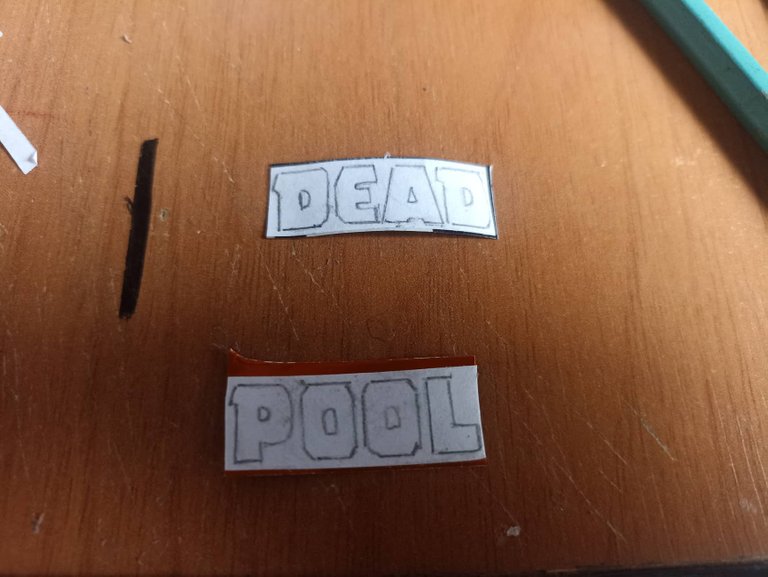
After taking out the figure of Deadpool chibi I made some adjustments to make it look better, since there were still white parts that corresponded to the coke can, little by little I hid them. I also designed the letters on a piece of paper and pencil, cut them out and glued them onto red and black cans for contrast.
Luego de sacar la figura de Deadpool chibi hice algunos arreglos para que quedara mejor, ya que habían quedado partes de color blanco que correspondía a la lata de coca cola, poco a poco las fui ocultando. Tambien diseñé las letras en un pedazo de papel y lápiz, las corte las pegué en latas de color rojo y negro para hacer un contraste.

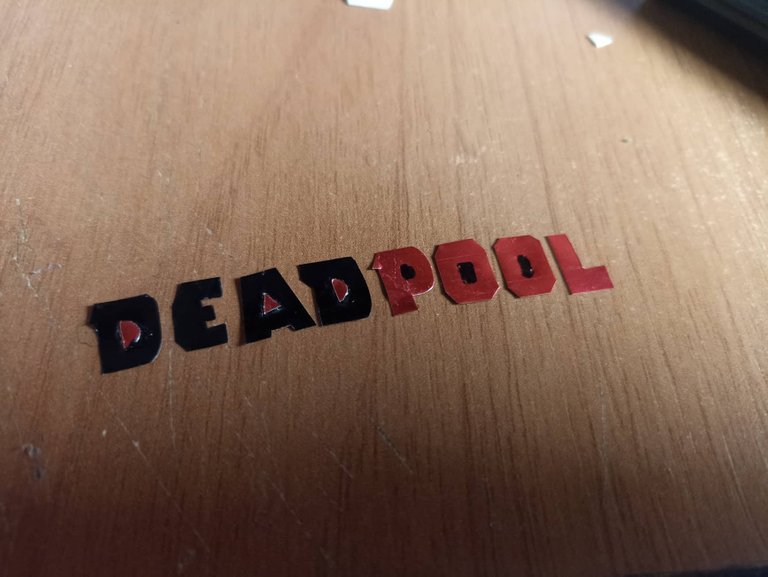
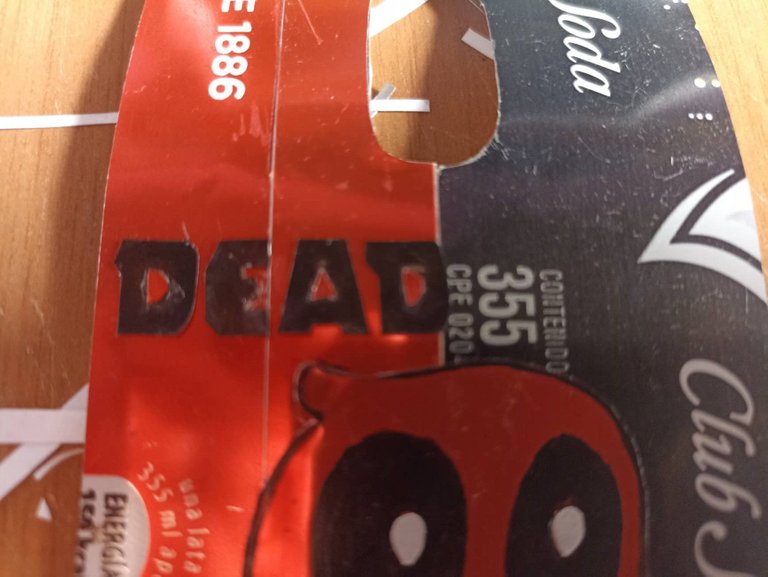
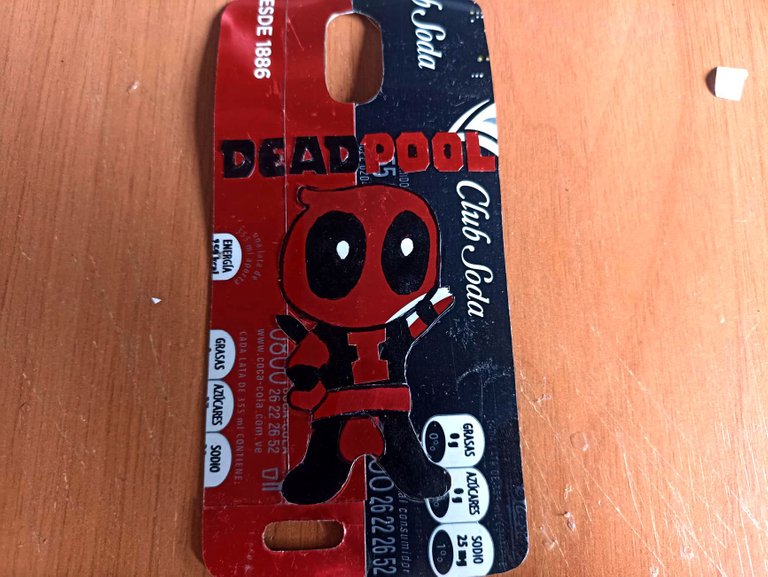
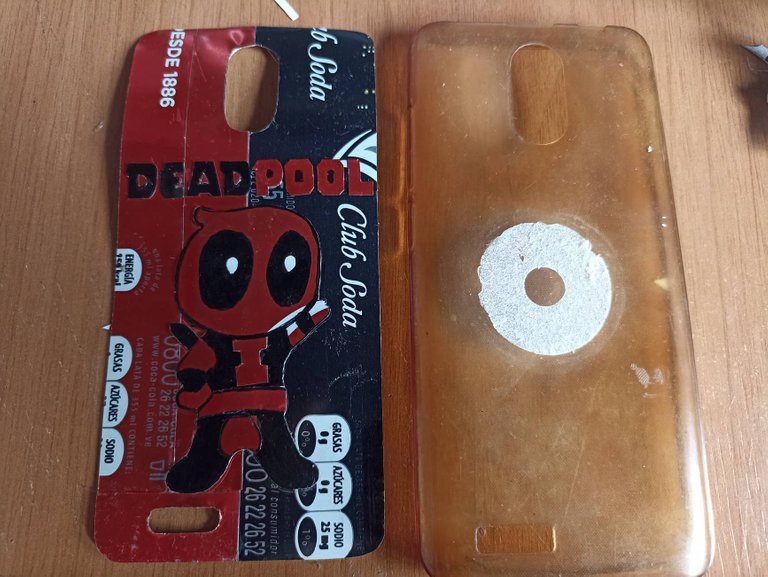
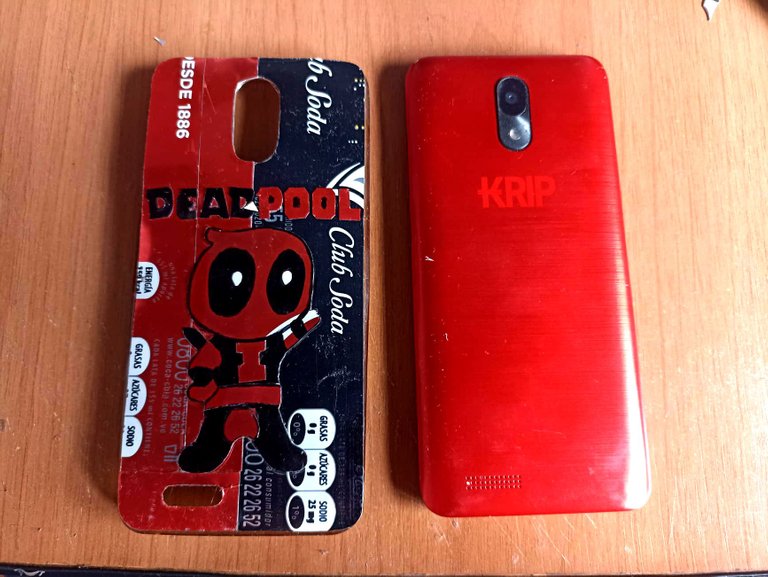
The last of the steps is to remove the paper from the letters and order them to put glue, both on them and on the surface we made. We are going to paste first the figure of Deadpool that is located in the center and that leaves space for the letters, then each one of the letters will be put in its position. Finished this step, we take the plastic cover and spread it with glue and also the cover that we just made, let it dry for a few minutes and then join them. We must do it little by little so that it is right and in the right place, so we will have finished.
El último de los pasos es quitar el papel a las letras y ordenarlas para ponerles pegamento, tanto a ellas como a la superficie que hicimos. Vamos pegando primero la figura de Deadpool que quede ubicada en el centro y que deje espacio para las letras, despues cada una de la letras serán puestas en su posición. Terminado este paso, tomamos la funda de plastico y la untamos con pegamento y también a la cubierta que acabamos de hacer, dejamos secar unos cuantos minutos y luego las unimos. Debemos hacerlo poco a poco para que quede bien justa y en el sitio que le corresponde, así habremos terminado.
 FINAL WORK
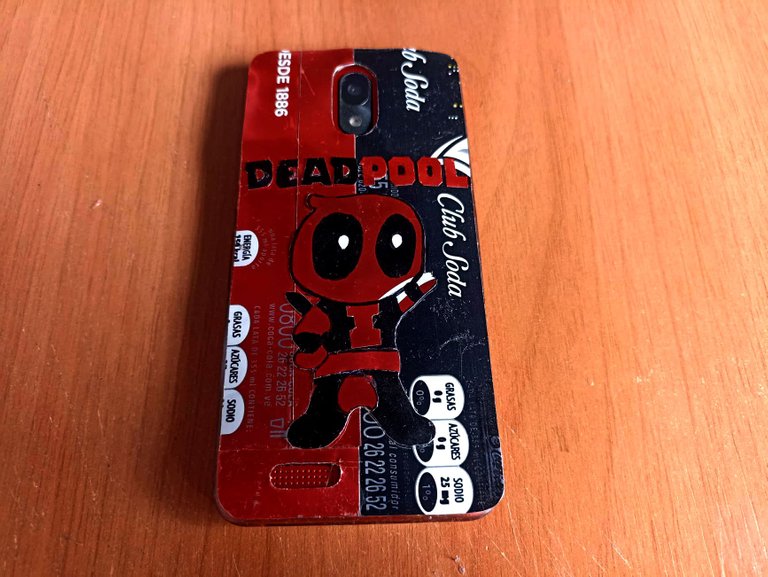
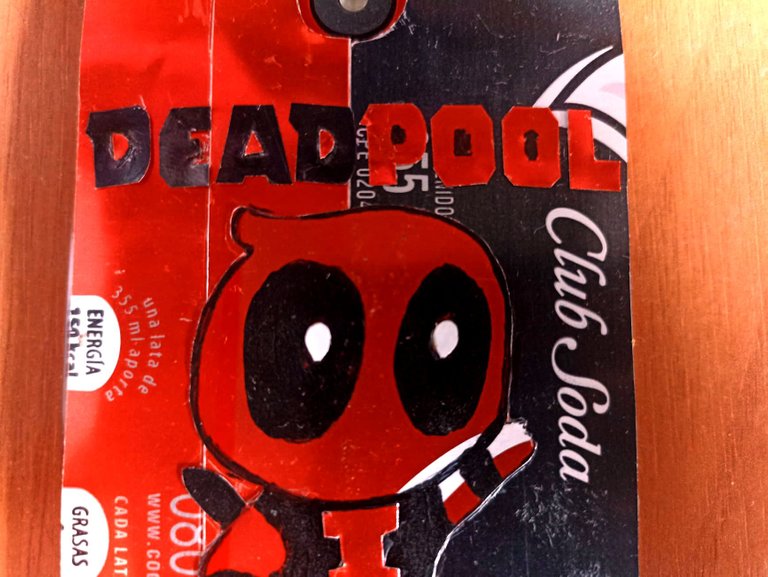

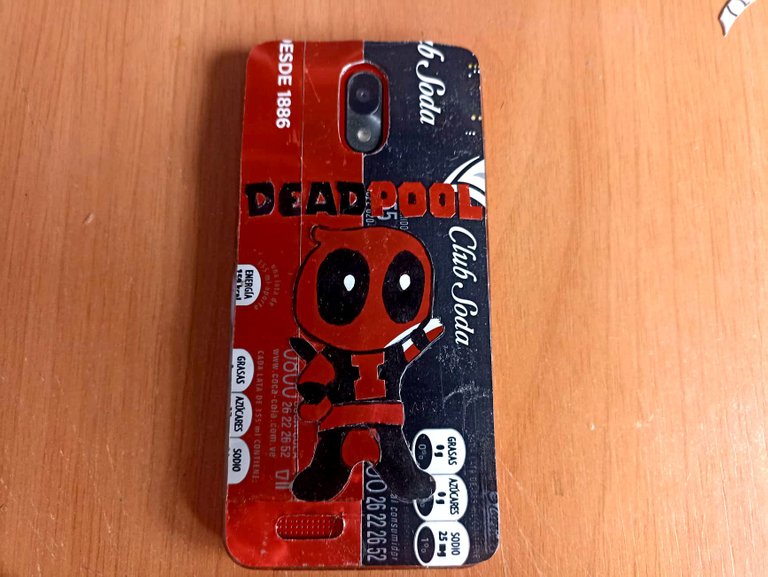
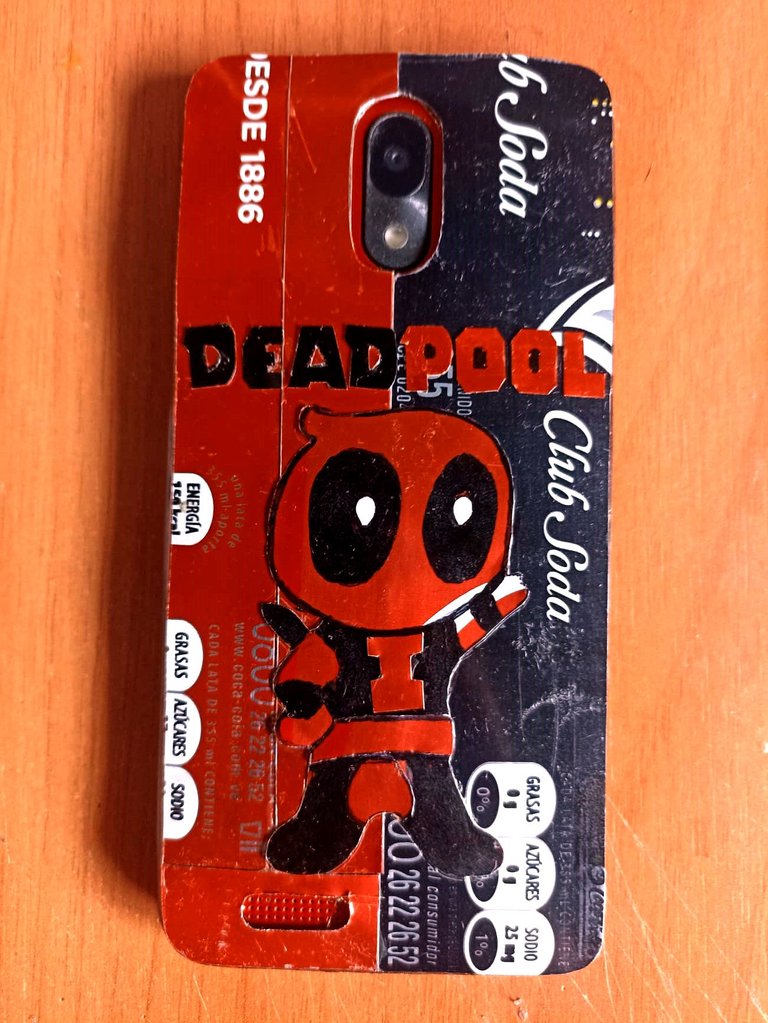
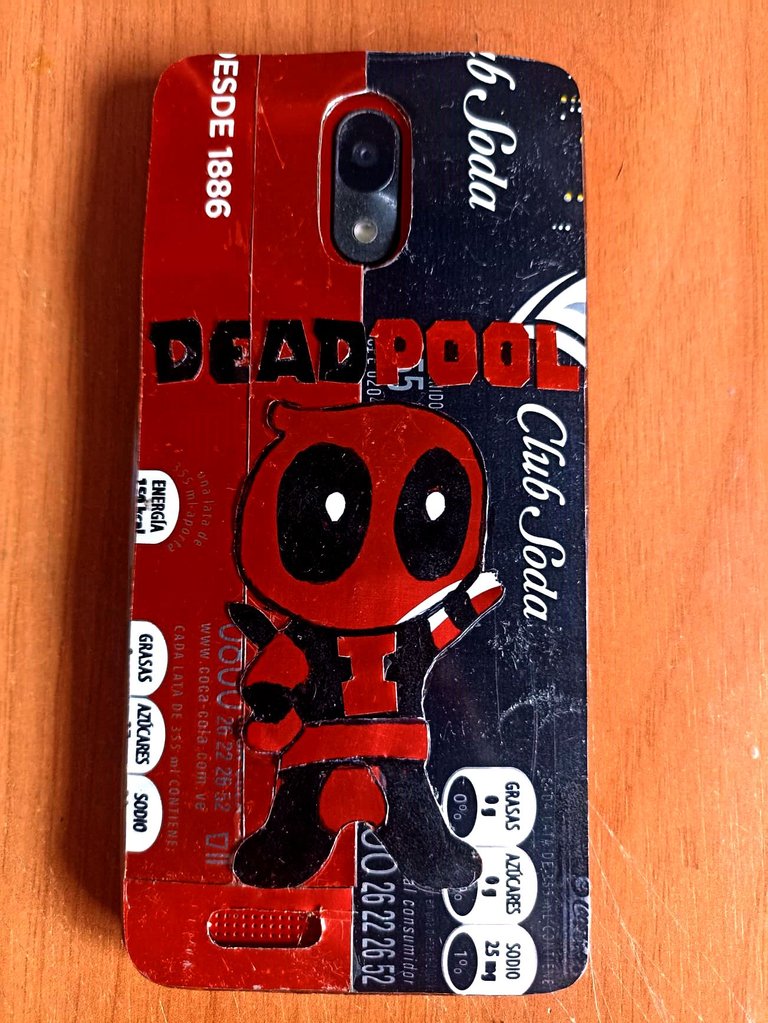
After finishing it is important to sand the edges with sandpaper so that they are right on the final line of the plastic case where it folds and covers the phone. It is important to do this step because it will prevent it from peeling off over time when you have to manipulate the phone and it will also be less dangerous since it will not have a protruding edge. In this way, it can be said that the Deadpool case for cell phones has been finished. This phone is a Krip, it is not of good quality but it has turned out very good for me, although it is already failing, the screen hit was an accident on the bicycle but I hope to be able to fix it soon. I also hope that you liked how it turned out, I wanted to try something new and that many people may like, since this design can also be made with foam or synthetic leather, and not only this design in particular but others, the important thing is to share. I say goodbye until a new opportunity.
Después de finalizar es importante lijar con papel de lija los bordes para que estos queden justo en la linea final de la funda de plástico donde se dobla y cubre el teléfono. Es importante hacer este paso porque así evitará que se despegue con el tiempo cuando toque manipular el teléfono y tambien será menos peligroso ya que no tendrá filo sobresaliente. De esta manera si se puede decir que ha quedado finalizado la funda de Deadpool para celulares. Este telefono es un Krip, no es de buena calidad pero me ha salido muy bueno, aunque ya esta fallando, el golpe de la pantalla fue un accidente en la bicicleta pero espero poder arreglarlo pronto. También espero que les haya gustado como quedó, quise probar algo nuevo y que a muchas persona les puede gustar, ya que este diseño también lo pueden hacer con foami o con cuero sintético, y no solo este diseño en especial sino otros, lo importante es compartir. Me despido hasta una nueva oportunidad.


