

✨✨✨✨✨✨!Happy ✨✨day ✨✨✨community!✨✨✨✨✨✨
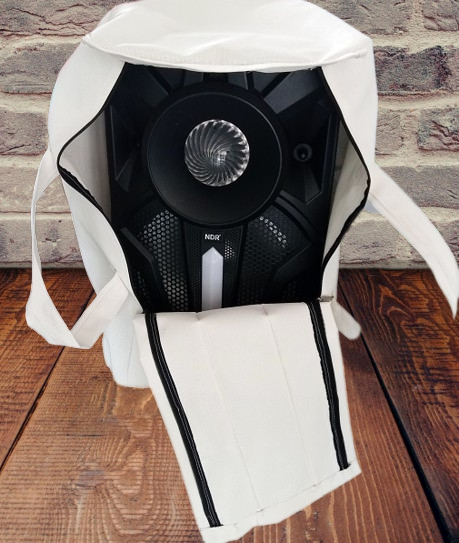
Happy day to the whole community, hoping you are very healthy and with great enthusiasm every day. It's been days since I posted here, and I'm very happy to be showing again some of the work I've done. A few days ago I was asked by a teacher where my daughter studies, to please make a lining to the musical bugle, which are always using in school activities. This bugle can be listened to with bluetooth, pendrive, it also has a microphone.
And since they have to move it from one place to another, and at the same time to take better care of it when it is not being used, she decided to put a cover on it, so that it would not get dirty with dust.

Well she bought the fabric herself, which is a little stiff, or hard, but I was able to sew it on my sewing machine.
Come and I'll show you how I did it and the materials used, in this case I used recycled zippers from other old bags, but it's still useful to continue using them, remembering that everything recycled that still works can be given another chance of useful life, well either by modifying it where it can best be used.
Materials:
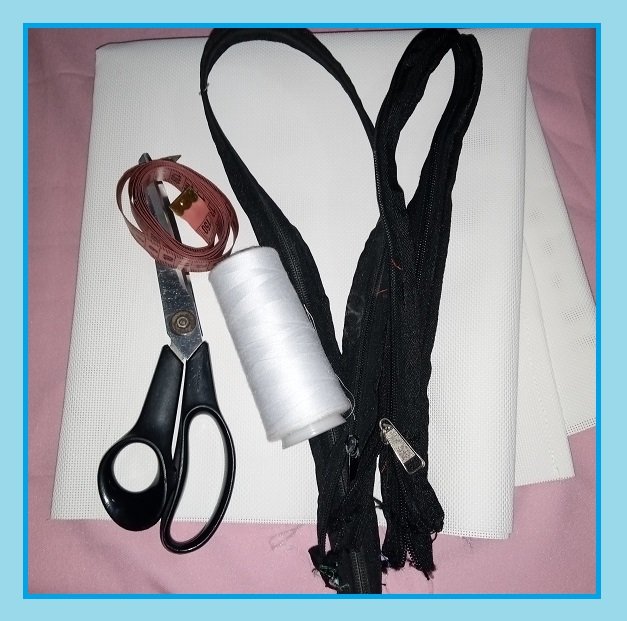
1 1/2 meter of stiff fabric.
2 zippers 50cm long.
Thread, pins, measuring tape, pattern, sewing machine.
This bugle its base and the top are the same, ie measure the same, and take out two parts with measures of 38cm by 34cm, and the corners are curved.

Then cut a rectangle 110cm wide, by 70cm long, and where I place the zipper, and in another rectangle narrower that goes in the center joined with the zipper.
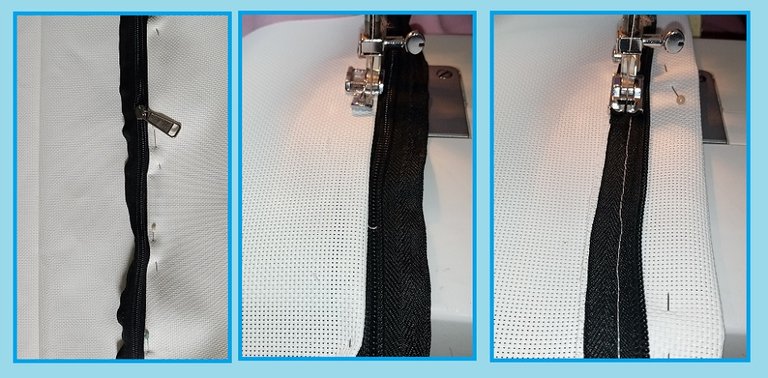
Then I glue the two closures, to go joining this part that I then place and press with the pins to the base below, with the straight seam and then the zig-zag, along the edge or edge.
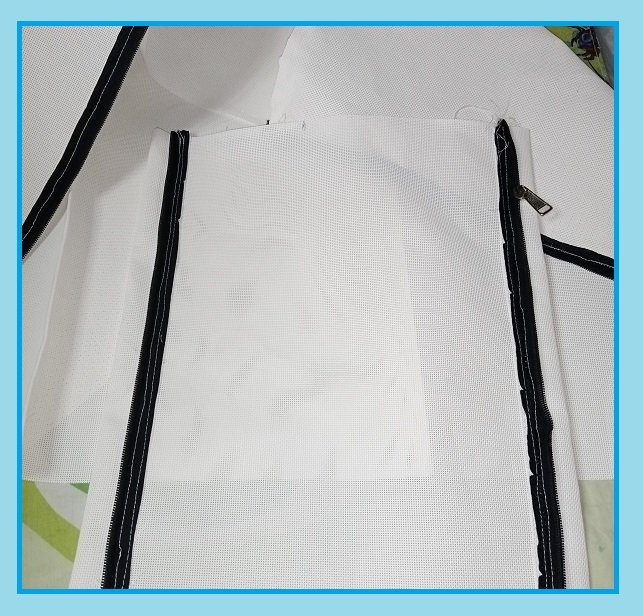
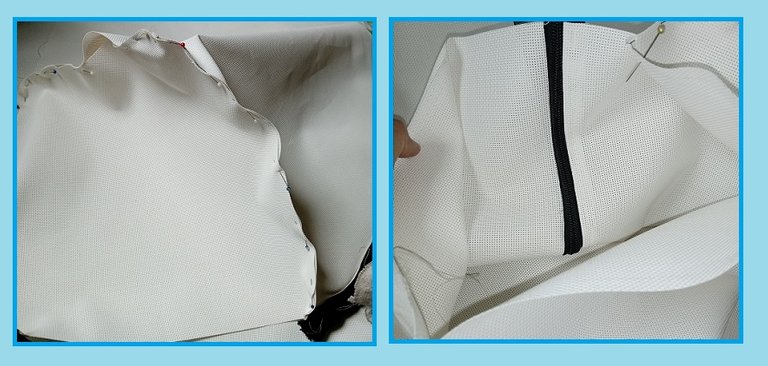
Once sewn this part, with the top part I made a rectangle of 23cm wide by 10cm long, which is where I place the magic clasp.

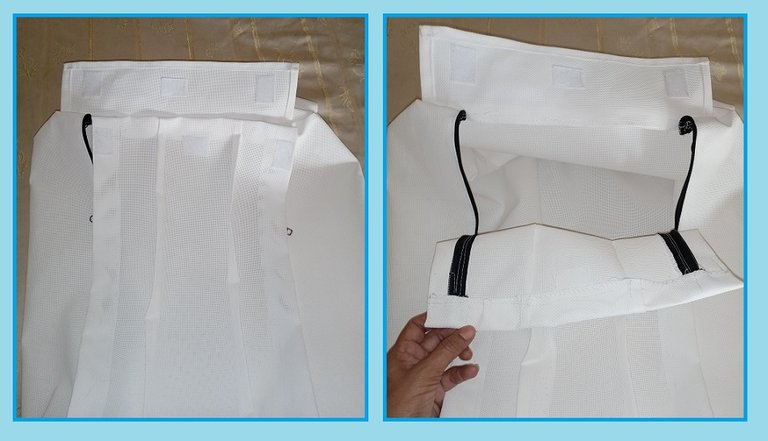
The magic latch part will make it easier to open and close to be able to store or remove the bugle since it is large.
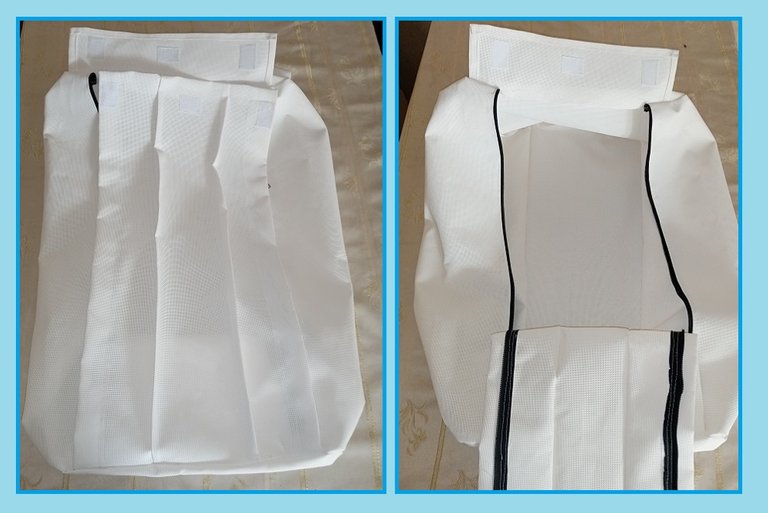
To go culminated I made some handles that I placed on each side to be able to carry it, so you can grab it more comfortably.
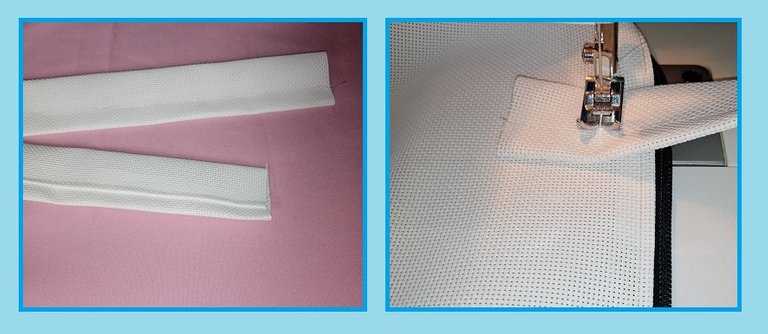
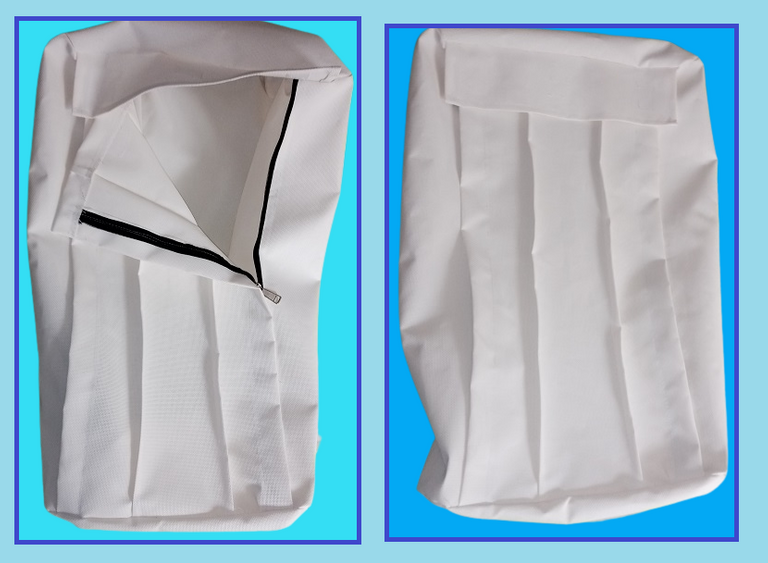
Every time I do these sewing or crafts, people are very grateful and happy, and that makes me very happy to continue doing my bit to do other satisfactory work.
Thank you in advance for your visit and time, continue having a great time, until next time, bye!
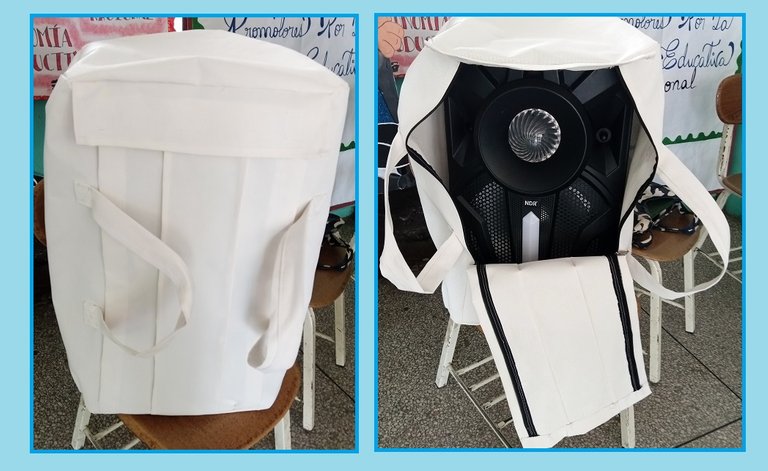


✨✨✨✨✨✨!****Feliz ✨✨dia ✨✨✨comunidad!✨✨✨✨✨✨
Feliz dia a toda la comunidad, esperando esten muy saludables y con mucho entusiasmo cada día. Hace días que no publicaba por aquí, y me alegra mucho estar nuevamente enseñando algo de trabajo que he hecho. Hace unos días hice por encargo de una maestra donde estudia mi hija, que por favor le hiciera un forro a la corneta musical, que siempre estan usando en las actividades escolares. Esta corneta se escucha su musica con bluetooth, pendrive, tambien tiene su micrófono.
Y como tienen que trasladarla de un sitio a otro, y al mismo tiempo para que la tengan mejor cuidado cuando no se esté usando, decidió un forro, y así guardarla evitando que se ensucie con el polvo.
Bueno ella misma compró la tela la cual es un poco rígida, o dura, pero igual pude coserla en mi maquina de coser.
Ven y te enseño como lo hice y los materiales usados, en este caso use cierres reciclados de otros bolsos viejos, pero que aún sirve para seguir usándolos, recordando que todo lo reciclado que aun sirve se le puede dar otra oportunidad de vida útil, bien sea modificándolo en donde mejor se pueda dar uso.
Materiales:
1 1/2 metro de tela rígida.
2 cierres de 50cm de largo.
Hilo, alfileres, cinta métrica, patrón, maquina de coser.

Esta corneta su base y la parte de arriba son iguales, es decir miden lo mismo, y saque dos parte con unas medidas de 38cm por 34cm, y en las esquinas son curvas.

Luego corte un rectángulo de 110cm de ancho, por 70cm de largo, y donde coloco el cierre, y en otra rectángulo más angosto que va en el centro unido con el cierre.

Entonce pego los dos cierres, para ir uniendo esta parte que luego coloco y prenso con los alfileres a la base de abajo, con la costura recta y luego el zig-zag, por la orilla o borde.


Una vez cosido esta parte, con la parte de arriba hice un rectángulo de 23cm de ancho por 10cm de largo, que es donde coloco el cierre magico.


La parte del cierre magico hara mas facil de abrir y cerrar para poder guardar o sacar la corneta ya que es grande.

Para ir culminado le hice unas asas que coloque a cada lado para su traslado, así poder agarrarla con mayor comodidad.


Cada vez que hago estos trabajos de costuras o manualidades, las personas quedan muy agradecidas y contentas, y eso me alegra mucho a seguir aportando mi granito de arena para poder hacer otros trabajos satisfactorios.
Agradecida de antemano por tu visita y tiempo, sigue pasandola muy bien, hasta la proxima, chau.!


