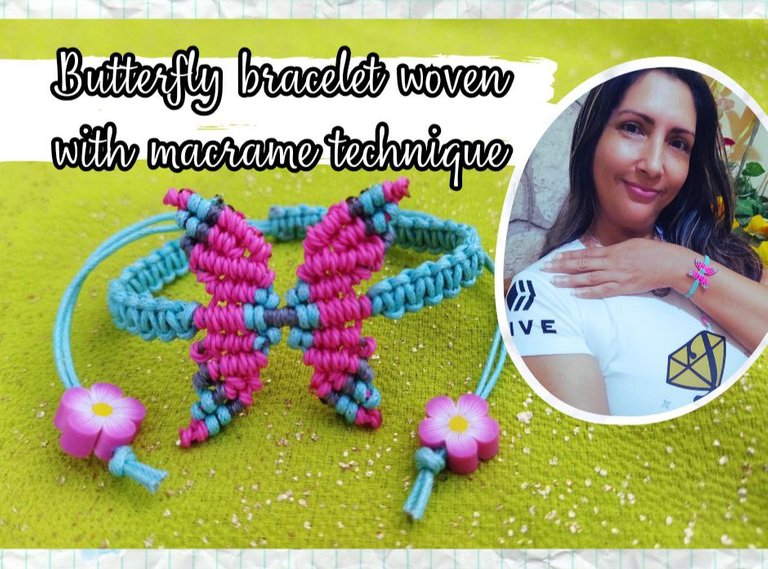
Un saludo mi querida comunidad @Jewelry feliz día 💜 en estos días me he interesado en hacer un estilo de accesorios diferentes tejidos a macrame, donde se elaboran figuras utilizando diferentes tipos de nudos de esta técnica, en este caso realizare el alondra y cordón con el que formare la figura de una mariposa, la cual pueden hacer para decorar una pulsera como también unos zarcillos y hasta un hermoso dije y combinar con el color de hilo de su preferencia. Esta vez compartiré con ustedes una pulsera de mariposa utilizando la técnica de macrame, si desean que la figura quede mas grande eso va depender del grosor del hilo, mientras mas delgado sea mas pequeña sera la figura, el resultado es bien hermoso solo deben prestar mucha atención al momento de elaborar los nudos para entender la secuencia de los mismos, lo demás es sumamente fácil. Ahora materiales en manos que comenzamos con nuestro paso a paso
Greetings my dear community @Jewelry happy day 💜 these days I have been interested in making a different style of accessories woven macrame, where figures are made using different types of knots of this technique, in this case I will make the lark and cord with which I will form the figure of a butterfly, which can be made to decorate a bracelet as well as some tendrils and even a beautiful pendant and combine with the color of thread of your choice. This time I will share with you a butterfly bracelet using the macrame technique, if you want the figure is larger that will depend on the thickness of the thread, the thinner it is the smaller the figure, the result is very beautiful only must pay close attention when making the knots to understand the sequence of the same, the rest is extremely easy. Now materials in hands we start with our step by step


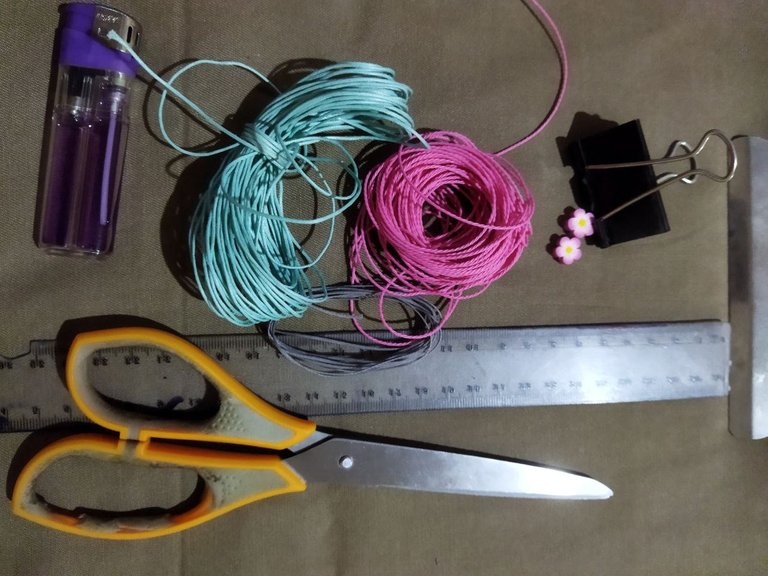
- 3 Mts de hilo encerado verde
- 4 Mts de hilo encerado fucsia
- 1 metro de hilo encerado gris
- 2 cuentas en forma de flor
- 1 tabla con gancho
- 1 gancho de presión
- Regla
- Encendedor
- Tijera
- 3 Mts of green waxed thread
- 4 Mts of fuchsia waxed thread
- 1 meter of grey waxed thread
- 2 flower-shaped beads
- 1 board with hook
- 1 snap hook
- Ruler
- Lighter
- Scissors


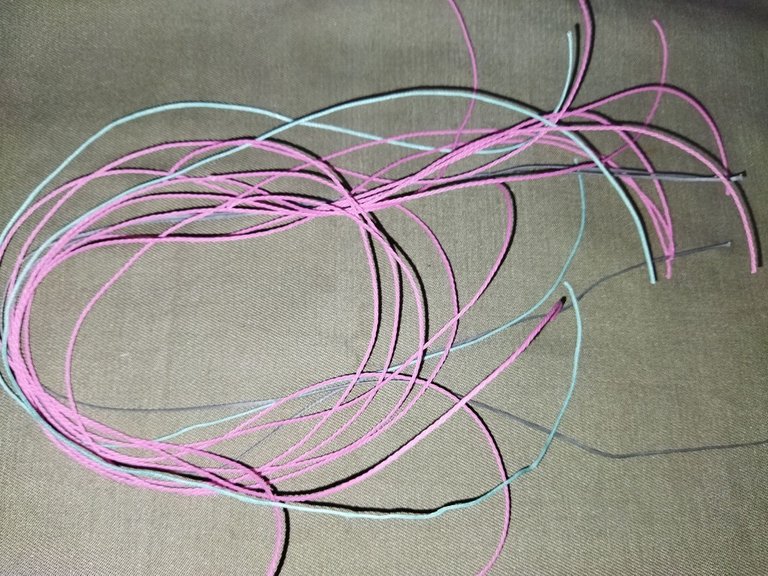
Comenzamos con este nuevo proyecto que les comparto hoy, que desde que lo vi me enamore y quise hacerlo para mostrárselo a ustedes, el cual se trata de una pulsera de mariposa tejida con la técnica de macrame. Iniciamos primeramente midiendo todos los hilos que vamos a necesitar y son los siguientes.
Para la pulsera
1 metro de color verde
90 centímetros de verde
25 centímetros de verde
Para la mariposa
2 de 45 centímetros de color verde
8 de 45 centimetros de color fucsia
2 de 45 centímetros de color gris
Con el hilo color verde de 1 metros doblamos por la mitad como base para el cordón de nuestra pulsera y al cual le vamos a insertar las 2 cuentas en forma de flor que sera el adorno de ambas puntas y hacemos un nudo y cada extremo
We start with this new project that I share with you today, that since I saw it I fell in love and I wanted to do it to show it to you, which is a butterfly bracelet woven with the macrame technique. First we start by measuring all the threads we are going to need and they are the following.
For the bracelet
1 meter of green
90 centimeters of green
25 centimeters of greenFor the butterfly
2 of 45 centimeters of green
8 of 45 centimeters of color fuchsia
2 of 45 centimeters of gray color
With the green thread of 1 meter we fold in half as a base for the cord of our bracelet and to which we will insert the 2 beads in the form of flower that will be the adornment of both ends and we make a knot and each end.


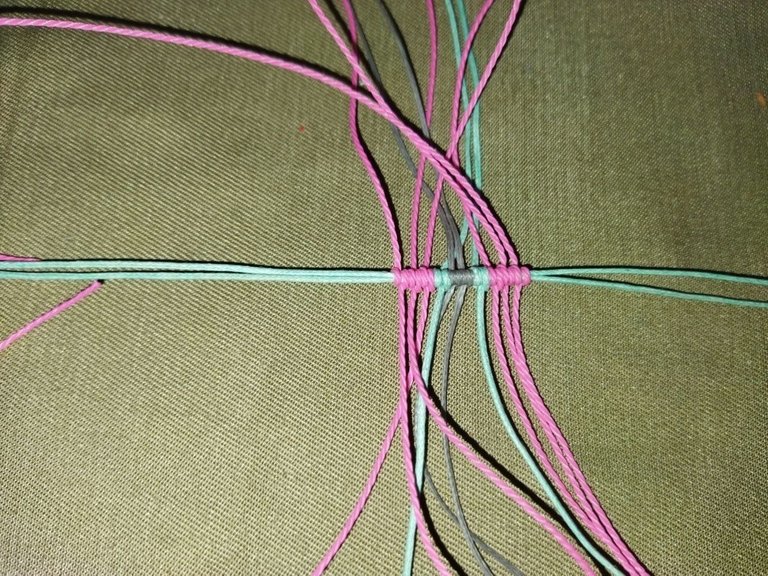
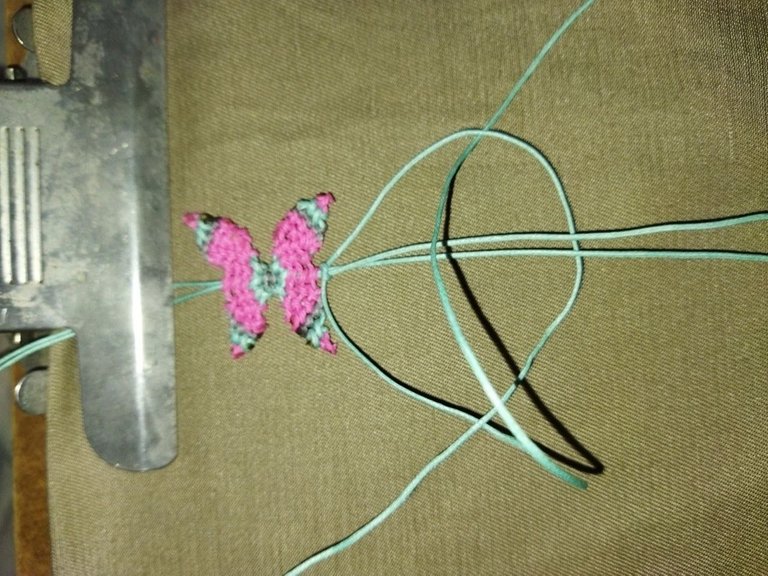
Seguidamente colocamos ese hilo base de nuestra pulsera sobre la tabla y sujetamos con la pinza uno de las puntas y a la otra le colocamos una pinza extra. Iniciamos anudando los hilos de diferentes colores en el cordón base haciendo el nudo alondra y el orden de los colores es el siguiente los dos grises en el centro seguido de los 2 verdes uno por cada extremo y por ultimo 3 hilos fucsia por cada lado
Then we place the base thread of our bracelet on the board and hold with the clamp one of the ends and the other we place an extra clamp. We start by knotting the threads of different colors on the base cord making the lark knot and the order of the colors is as follows the two gray in the center followed by the 2 greens one at each end and finally 3 fuchsia threads on each side.


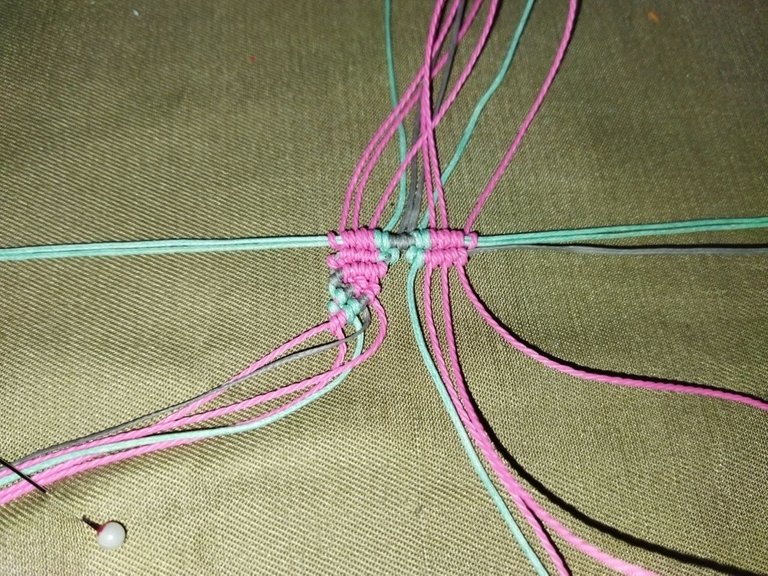
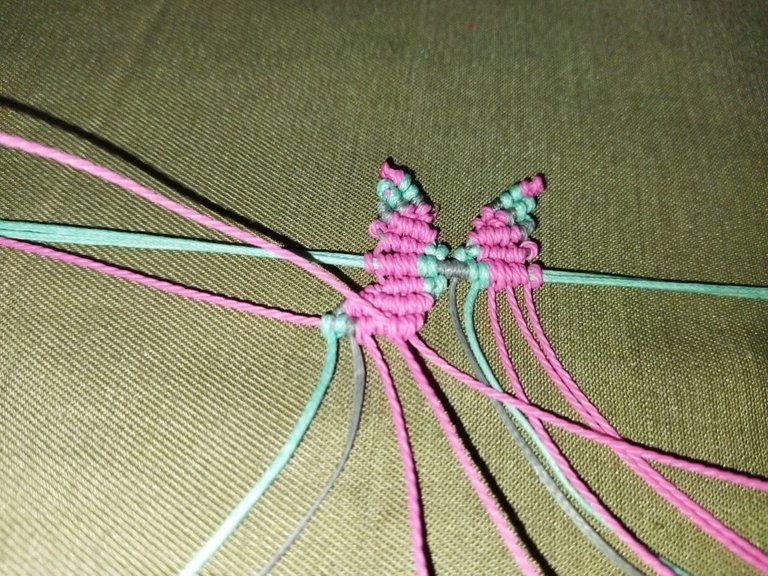
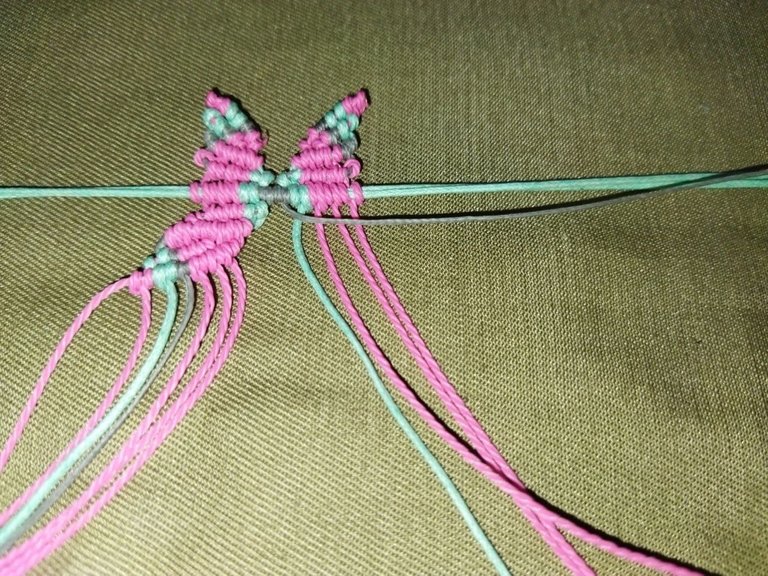
Ahora dividimos los hilos en dos grupos cada lado de estar compuesto por 5 hebras y sujetamos con el que no vamos a trabajar con un alfiler y de esta manera evitamos tener alguna confusión al momento de anudar. Iniciamos haciendo el nudo cordón hacia la izquierda tomando la primera hebra de hilo central que es de color gris y que sera el hilo guía con el cual le damos dirección al tejido y sobre el vamos a elaborar nudos cordón siguiendo el orden de los hilos para la segunda vuelta es igual solo que iniciamos con el hilo color verde pero para la segunda vuelta no tomamos el hilo fucsia que sigue lo vamos a dejar libre y tomamos el hilo siguiente y en la ultima vuelta si comenzamos anudar con el hilo que dejamos libre continuando la secuencia de los hilos. ahora terminada la primera ala trabajamos con el otro grupo de hilos del otro extremo de la misma manera solo que se harán nudos cordón hacia la derecha y de igual manera iniciamos desde la parte central que sera el hilo color gris
Now we divide the threads in two groups each side of being composed by 5 strands and we hold with the one we are not going to work with a pin and in this way we avoid having any confusion at the moment of knotting. We start making the knot cord to the left taking the first strand of central thread which is gray and that will be the guide thread with which we give direction to the fabric and on it we will make knots cord following the order of the threads for the second round is the same only that we start with the green thread but for the second round we do not take the fuchsia thread that follows we will leave it free and we take the next thread and in the last round if we start knotting with the thread that we left free continuing the sequence of the threads. now finished the first wing we work with the other group of threads of the other end in the same way only that we will make knots crdon to the right and in the same way we start from the central part that will be the gray thread.


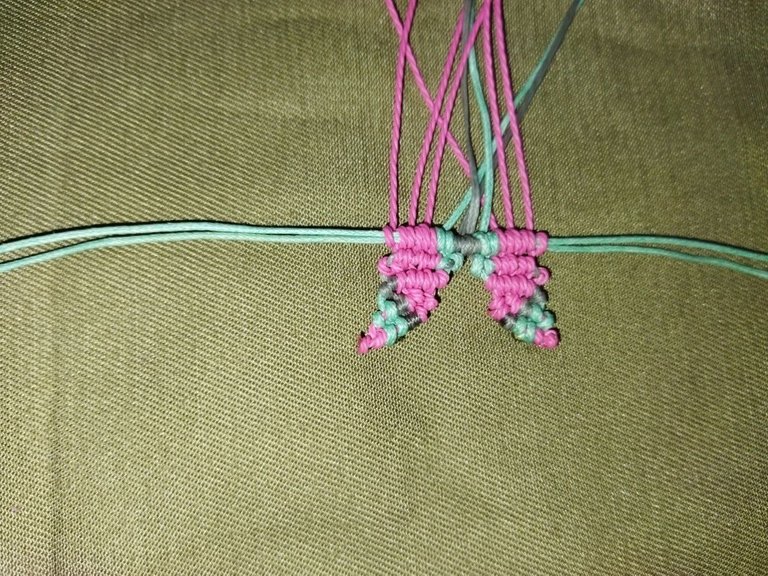

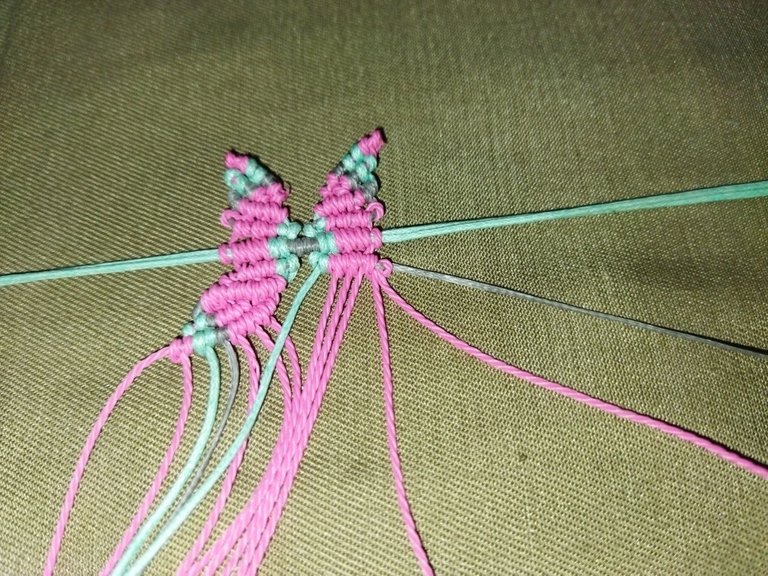
Volteamos la tabla para elaborar las alas superiores las cuales comenzamos la primera vuelta igual pero al terminar el ultimo nudo agregamos en el hilo guía un hilo fucsia haciendo un nudo alondra, para la segunda vuelta trabajamos igual y para la tercera vuelta a diferencia de las alas anteriores es que vamos a dejar 2 hilos sin tejer y tomamos la tercera hebra como guía, para la cuarta tomamos el segundo hilo de los 2 que dejamos libres y para la quinta y ultima vuelta si tomamos el primer hilo y hacemos todos los nudos cordón siguiendo la secuencia de los demás hilos. El ala del otro extremo la realizamos siguiendo los mismos pasos y por ultimo cortamos todos los hilos sobrantes y los quemamos con el encendedor
We turn the board to make the upper wings which we start the first round the same but at the end of the last knot we add in the guide thread a fuchsia thread making a lark knot, for the second round we work the same and for the third round unlike the previous wings is that we will leave 2 threads without weaving and we take the third strand as a guide, for the fourth we take the second thread of the 2 that we left free and for the fifth and last round we take the first thread and we make all the cord knots following the sequence of the other threads. The wing of the other end we make it following the same steps and finally we cut all the excess threads and burn them with the lighter.
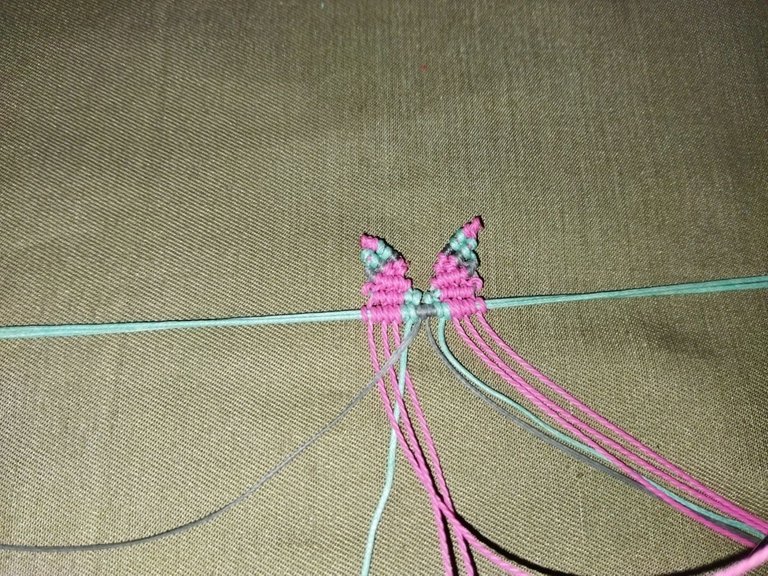
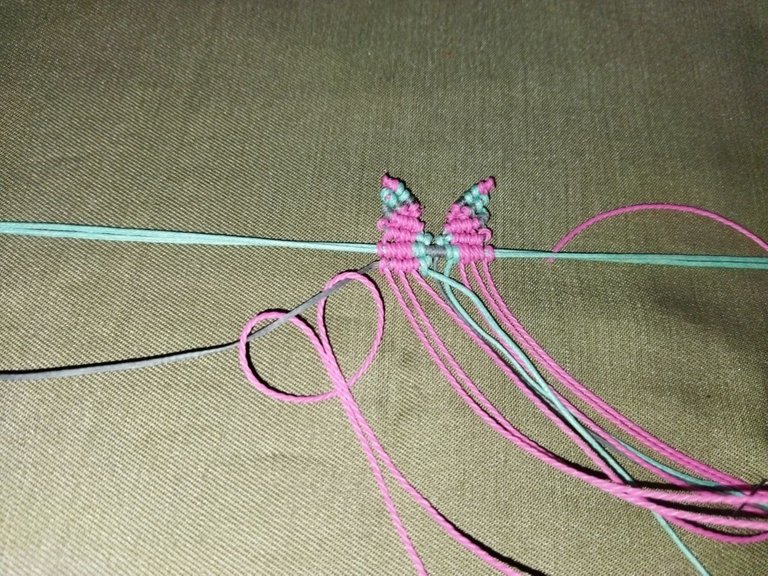

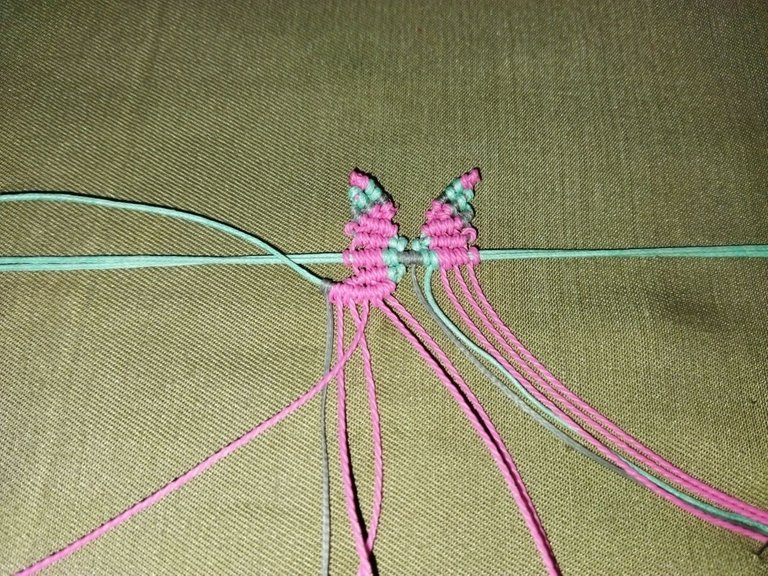

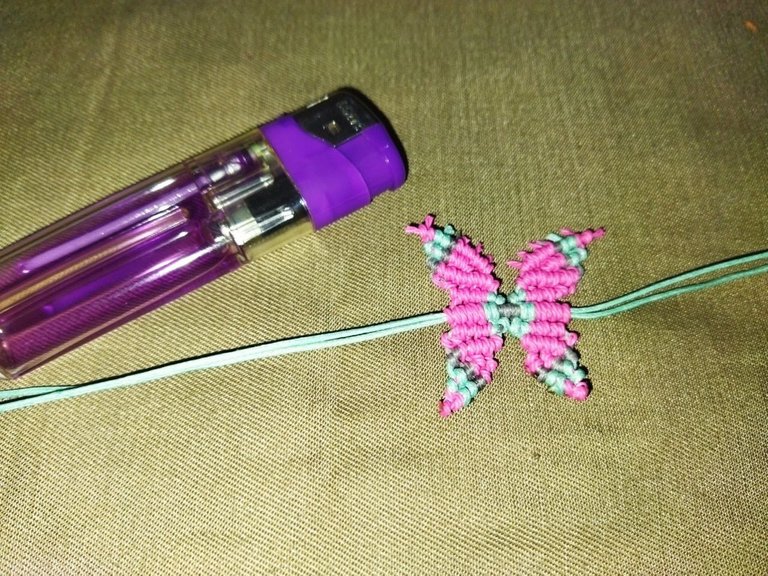

por ultimo con el hilo color verde tejemos la pulsera haciendo nudos planos y por ultimo con una hilo de 25 centímetros hacemos un nudo corredizo de igual manera haciendo 6 nudos planos, cortamos los hilos excedentes y quemamos con el encendedor
finally with the green thread we weave the bracelet making flat knots and finally with a 25 centimeters thread we make a slip knot in the same way making 6 flat knots, cut the excess threads and burn with the lighter.

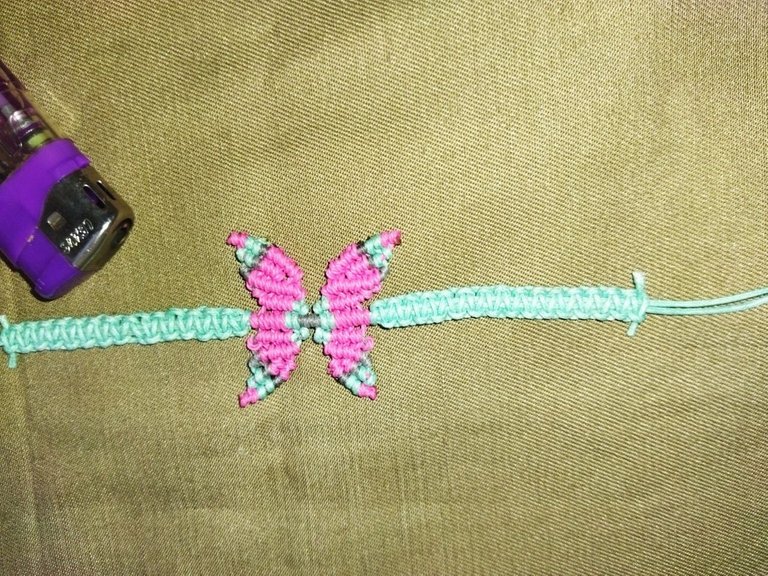
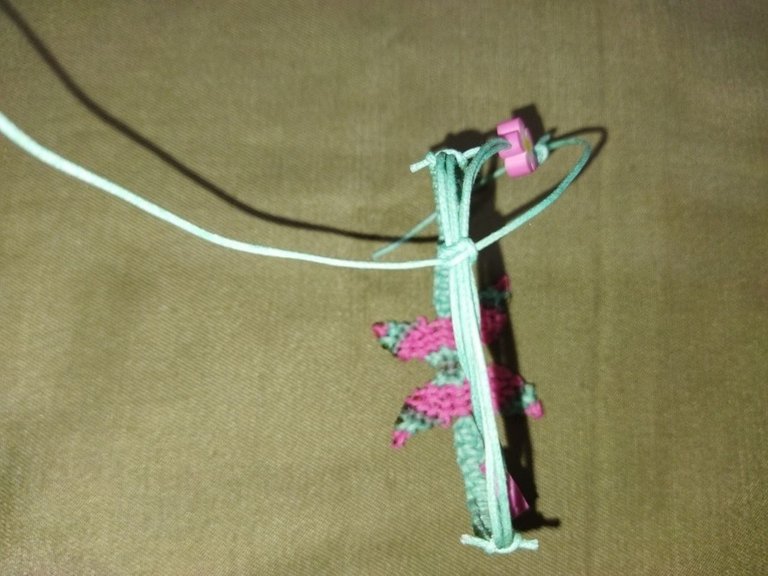

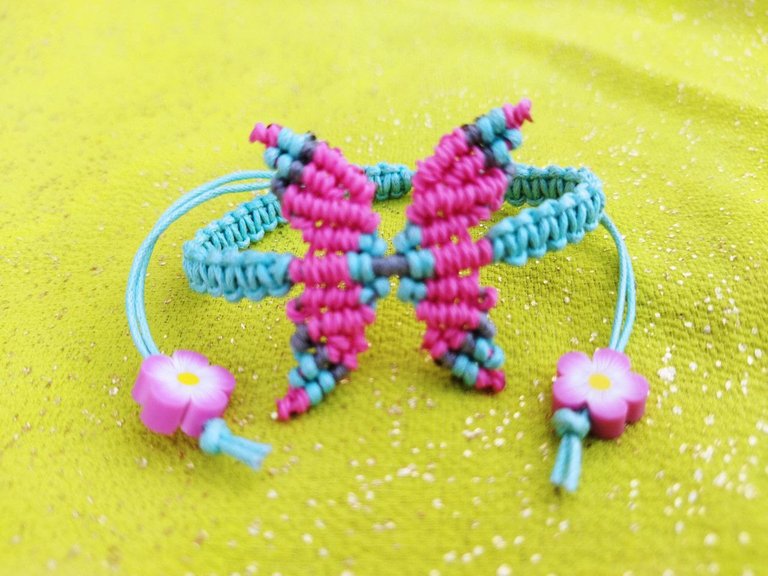
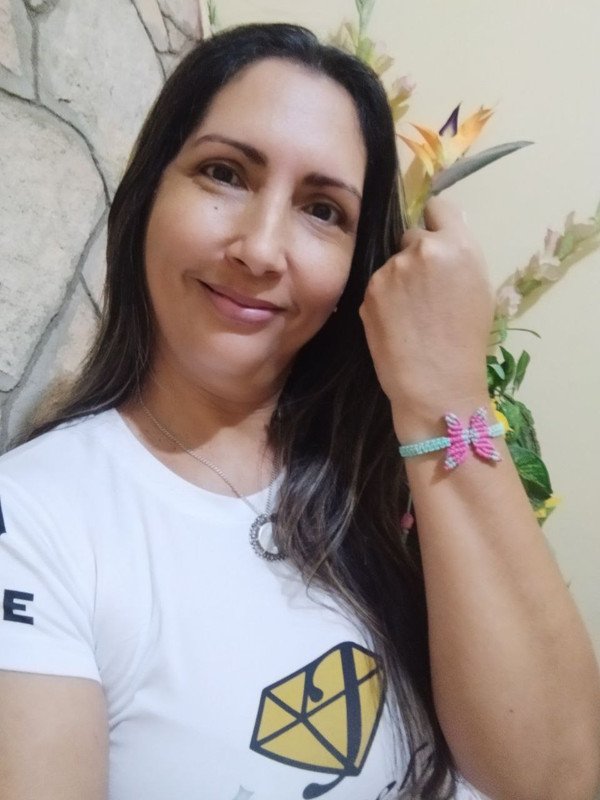
Ahora si Listo!!! ya culminamos con este hermoso proyecto como fue elaborar una pulsera de mariposa utilizando la técnica de tejido macrame, pueden utilizar la combinación de los colores de su preferencia. Espero que sea de su agrado y se animen a realizarlo. Con esmero y dedicación podemos lograr muchas cosas que nos proponemos
!! Un saludo y nos vemos en una próxima oportunidad!!
Now if Ready!!! we have finished with this beautiful project as it was to develop a butterfly bracelet using the macrame weaving technique, you can use the combination of colors of your choice. I hope you like it and are encouraged to do it. With care and dedication we can achieve many things that we propose.
!! Best regards and see you in the next opportunity!


| Pueden seguirme en 💙: | You can follow me on 💙: |
|---|---|
| eveyese1312 | |
| Discord | eveyese1312#6211 |
Las fotos y el contenido son de mi autoria tomadas con mi teléfono POCO M3
Imágenes editadas en PowerPoint Canva
Para la traducción usé el traductor: DeepL
The photos and content are my own.
Images edited in PowerPoint Canva
For the translation, I used the translator: DeepL
