I’m really good at breaking shit. And I like it, muahhahahaha.
My current home project is working on the junk/craft/storage room. I already took off the ugly ass laminate fake wood flooring a year ago and now I’m basically doing over all the surfaces.
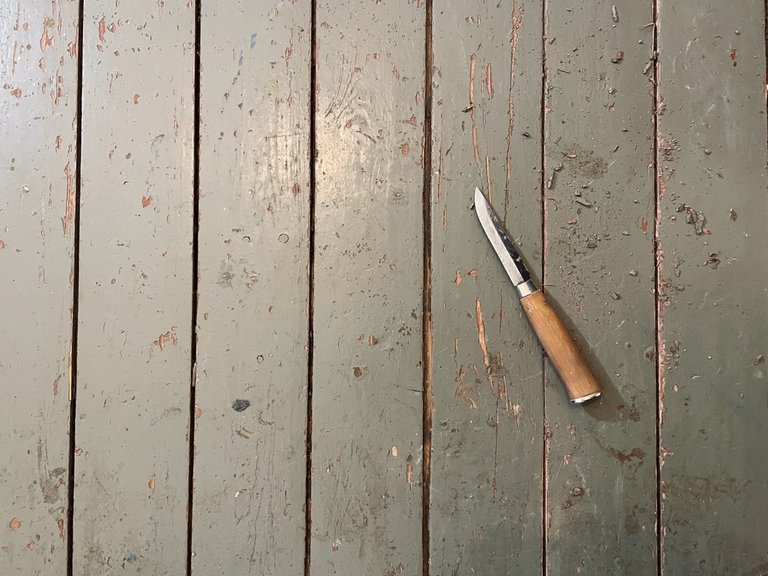
Mind the gap!
I started from the floor, painstakingly scraping between every floorboard to get off all the old paint, dirt, and possible filling. Every time I vacuum here some pieces, but not all, come out and it always looks dirty and doesn’t feel nice. It took me a few evenings to clean out the cracks in a 12 square metre floor.
Gaps between wood planks in old houses is very normal because the wood probably had ~15% moisture when installed and with time it’s dried to ~5%, thus shrinking. The only proper way to get rid of the cracks is to take off every single board, put them back in tightly and add enough planks to fill the hole left on one side of the room. At this time I’m not going to do that because it would be a pain in the ass, especially with how close the drywall has been laid on top of the original floor.
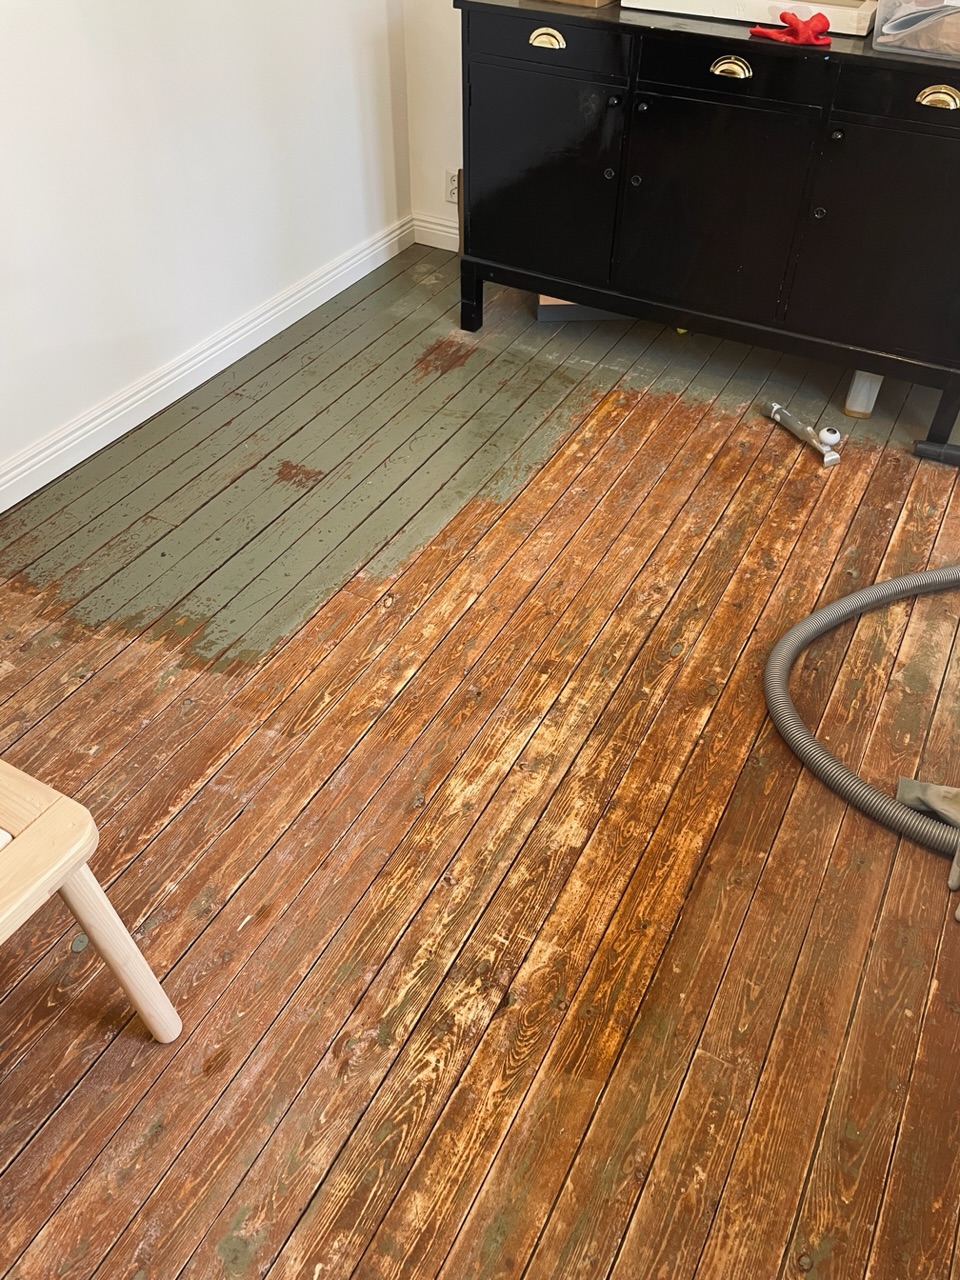
I will be repainting the floor, which I could tecnically just do right over the old paint, but I want smoother results. This is the original flooring from the 50’s and it’s painted with linseed oil paint which is extremely hard.
There are a few options on how to remove this paint, but not many good ones. Heat gun is out of the question because it would be a surefire (pun intented) way to burn the house down since there is dry wood shavings under the floor. Another not-so-great option is paint remover and I tried that on one spot but it doesn’t work great on linseed oil paint and it still required lots of scraping and then washing it off is a bitch, and it smells. Third option would be to rent a floor sander with a ton of extra grit papers, having to emptly and seal the whole room and would still probably take quite a few days I’m sure. Option number four, the best option in my opinion, would be a Metabo power tool paint stripper thingy, which is on my list of things I want, but I don’t have it yet because it cost moneys.
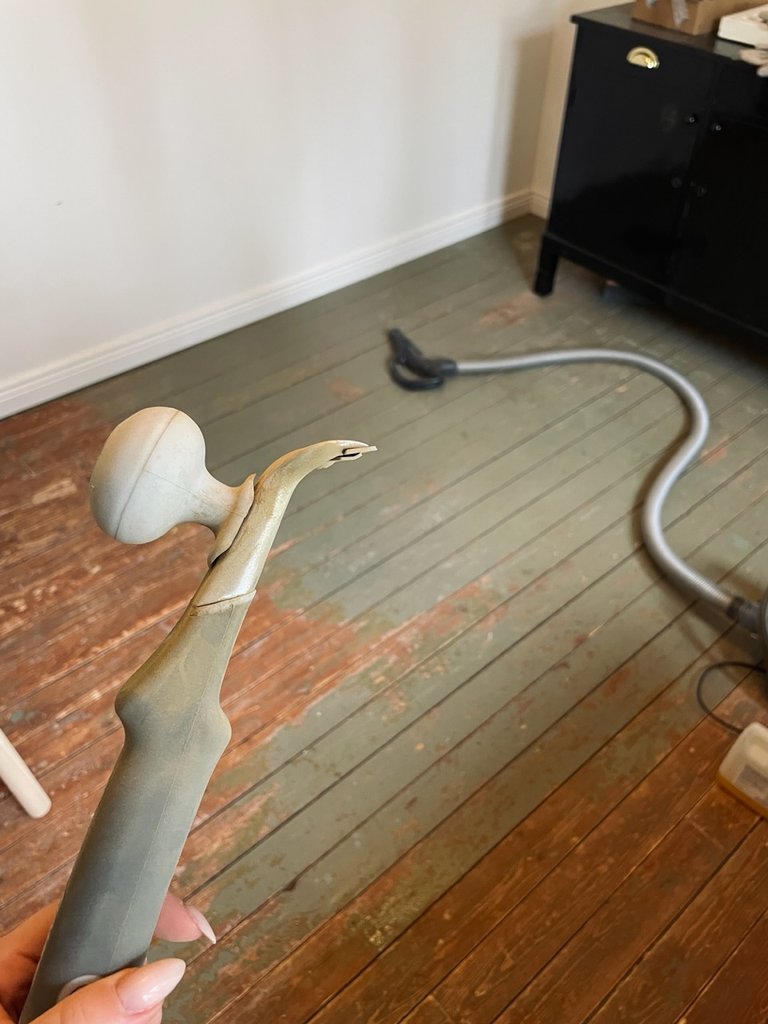
The final option, the one I chose; a paint scraper and good ol’ elbow grease.
Takes forever and it’s very hard but the end results are pretty darn good. Linseed oil paint is superior, and you really learn that when trying to take it off when it’s fully cured. It doesn’t come off in strips like all the modern latex paints, but it chips into dust when violently scraping. I got almost halfway through the removal process when I saw a tip that you can brush on a layer of raw linseed oil first and that will bind at least some of the dust, it was such a lifesaver! The tip was meant for when you use heat but it worked wonders on here too.
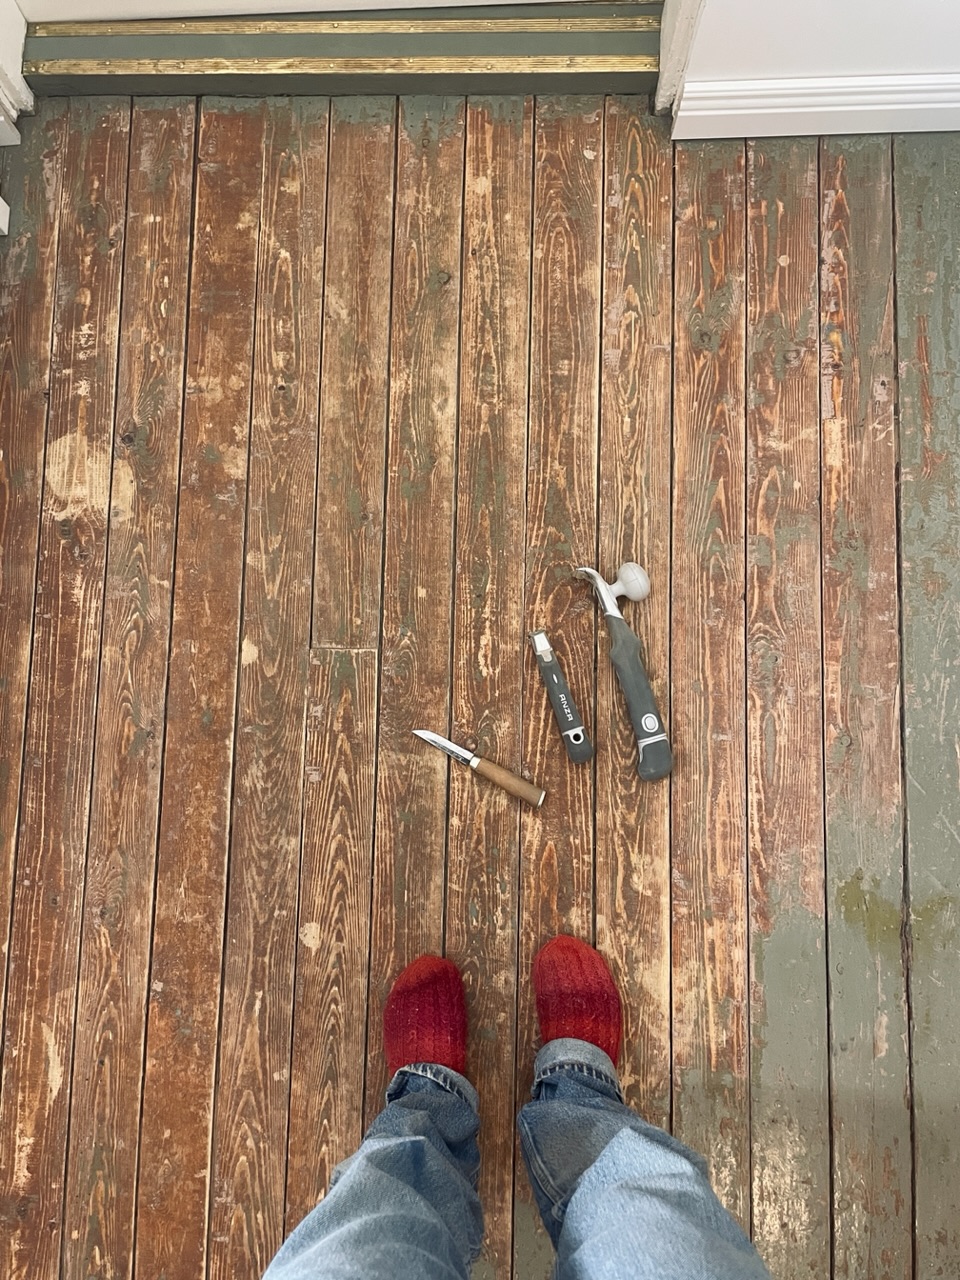
I though the floors were originally this green but when I started scraping, the first layer revealed itself to have been dark earthy red, soaked deep into the wood. That’s how linseed oil paint works, the first layer of oil and pigment you paint on raw wood will soak in so that it looks more like a stain, not paint. The only way to get that off is by sanding the wood, but that’s only necessary if you want the wood to show and won’t be painting over it.
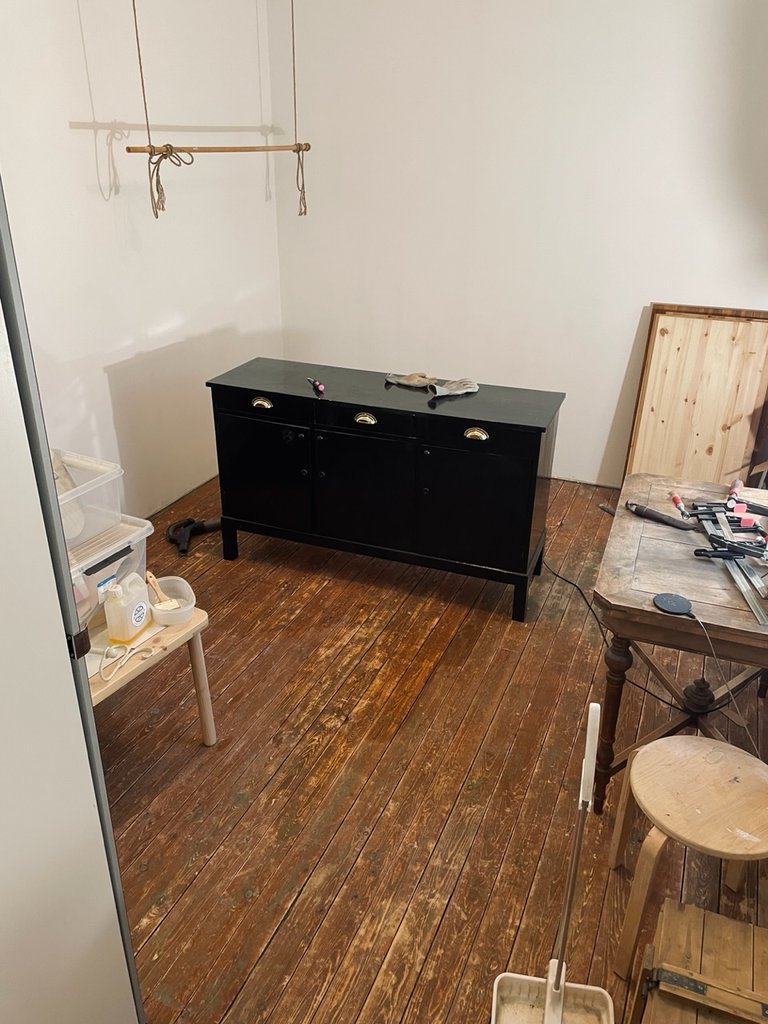
I worked about 2-3 hours every evening and it took me a week to get off all the paint. I am super sore and my knees are nicely bruised, but it’s worth it.
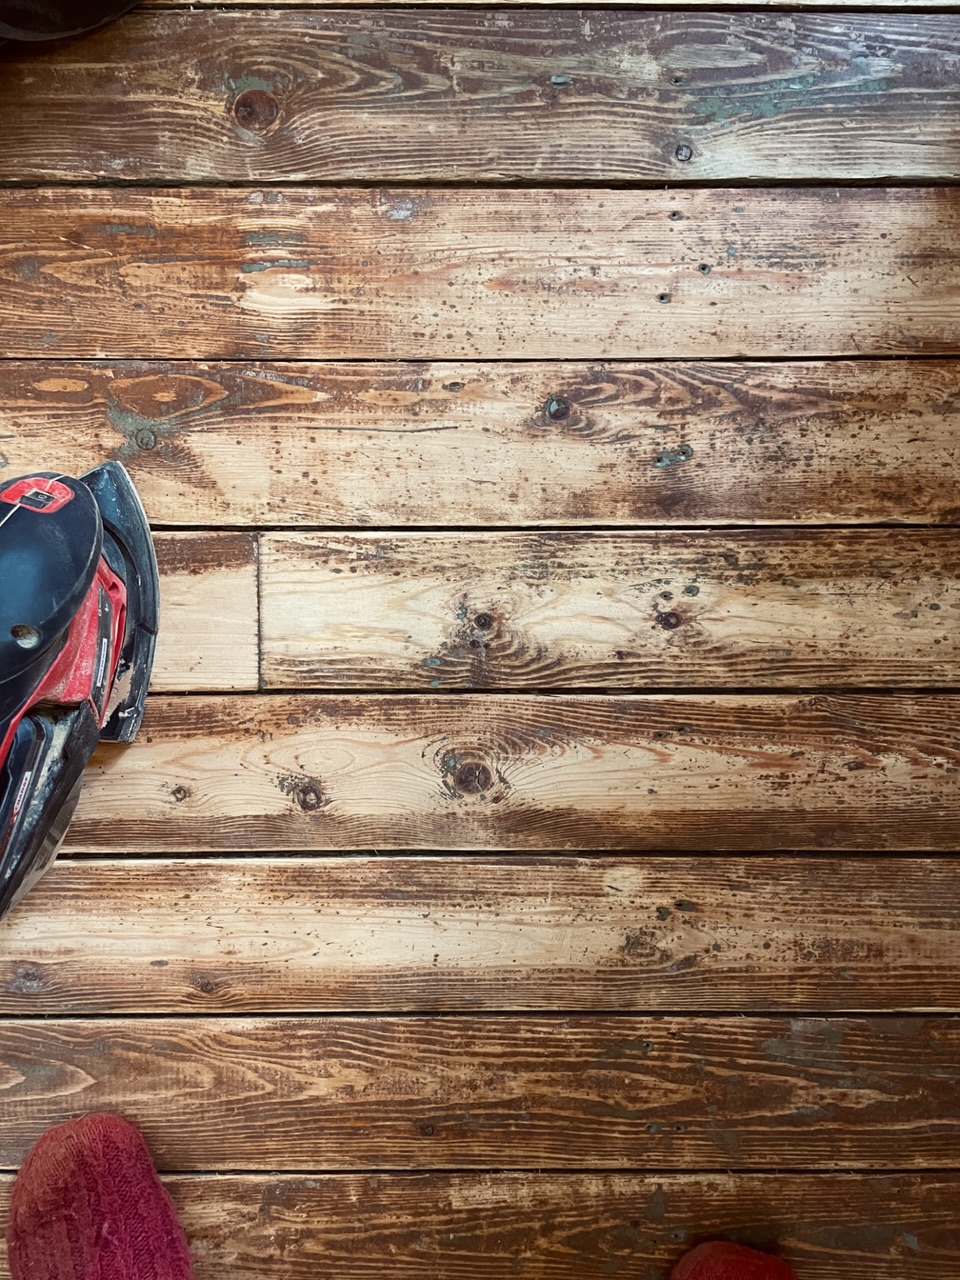
Because I’m mentally ill, I continued on working with tools that are way too small for a project this big, and ended up sanding the floor with my tiny little battery operated sander. I went over the whole floor with 60 grit paper, paying extra attention to the edges of the boards and any super uneven spots. On high traffic areas I went back in with 120 grit so there is less of a chance of getting splinters when I keep working here. When the pure wood revealed itself from underneith the paint, the temptation is so high to just keep sanding for forever to make it all even. But not here, not now, I will do that on one of the other rooms some day!
After some sanding it was time to leave the floor as is while I work on the ceiling and walls.
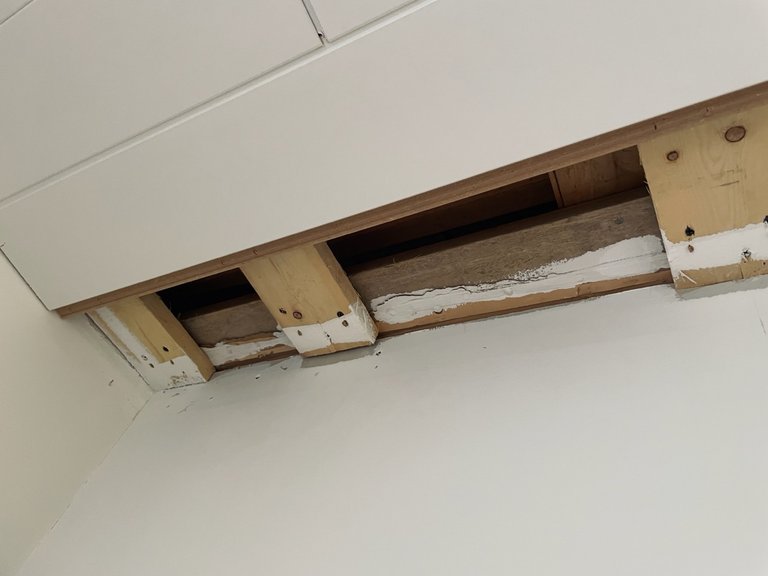
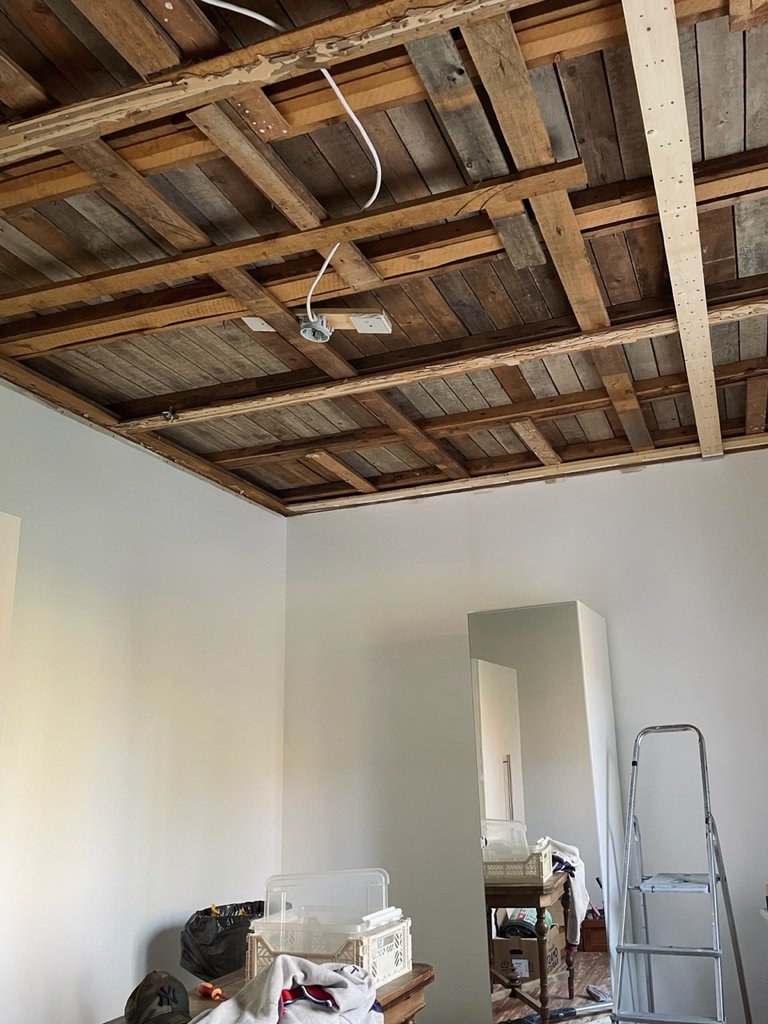
The ceiling is this ugly ass factory painted panel thingy that has no place in an old house. The only upside to this is that it’s quite easy to rip out. So down and out it goes, by-bye.
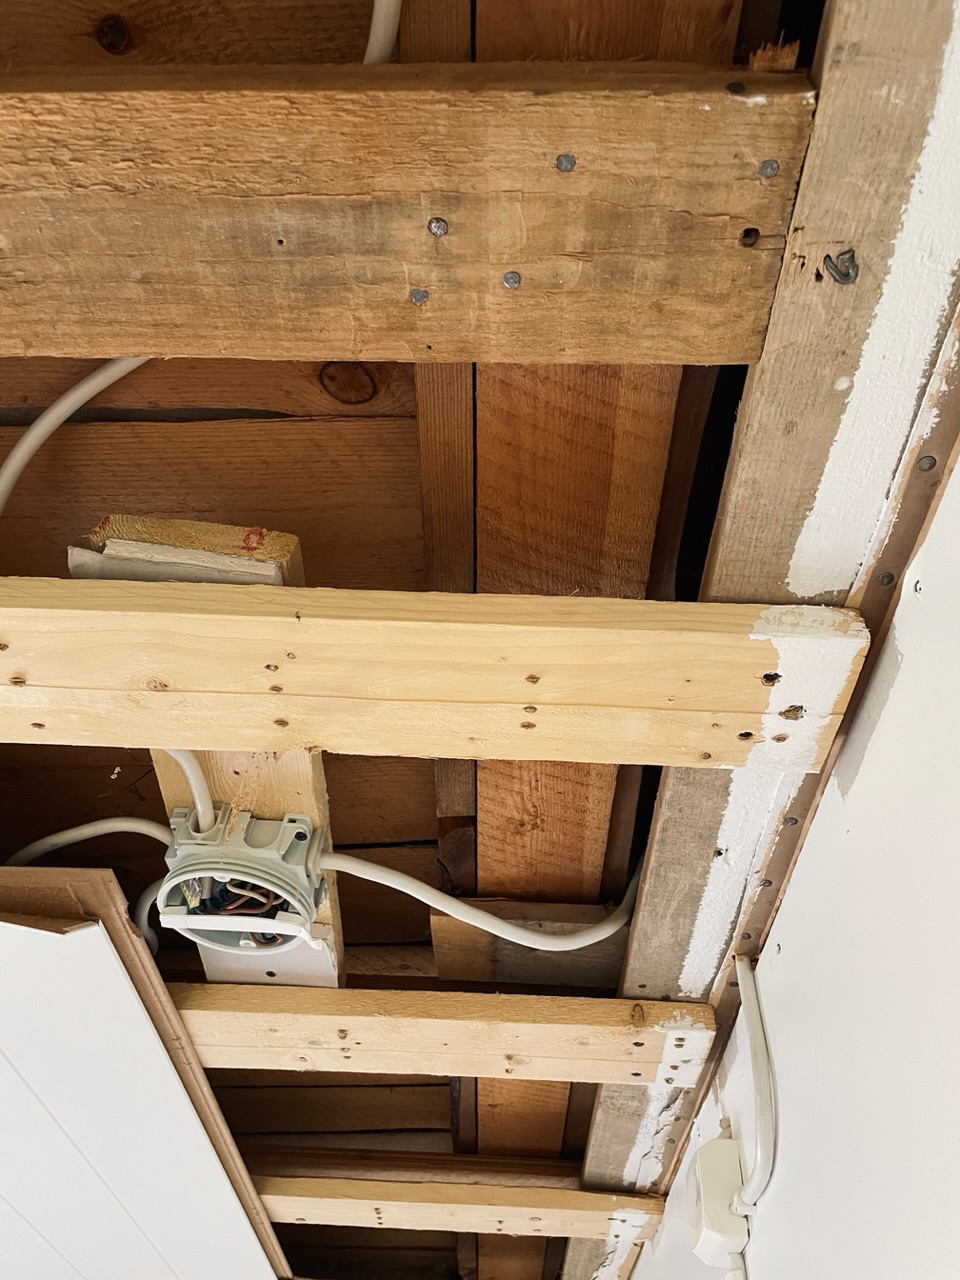
The panels were easy to take off but the boards they were stapled into, that’s another thing. It took me forever to get the huge screws out, having to move up and down the room with the ladder to get off the boards one by one. I had to leave couple of them up because I could no longer hold up the screwdriver. Alternatively, I could have left the boards but then I would have had to rip off a million staples from them.
What I’m going to replace the panels with is with a very traditional paper material. It’s kinda like thick craft paper or wallpaper, about 150cm wide and it’s nailed on the ceiling or walls damp and when it dries it goes tight and smooth. In Finnish it’s called pinkopahvi = tension cardboard, because of the way it’s installed. You can paint or wallpaper over it and it’s such a beautiful material with a sort of softness to it. If you look closely you can see the remnants of the old tension paper edges on the ceiling, and we do have paper ceilings in a couple other rooms so it’s more than fitting.
I have quite a bit of prep work to do before I can start installing the paper; last of the boards, taking out the old nails still left from the original papers and securing the electrical wiring and possible changes to those.
