
¡Hola Chicos!
Como les he estado contando en mis últimos post, estoy dando clases desde casa de manualidades y pintura. Es una forma de enseñar arte a los niños con diferentes actividades que los mantienen motivados.
Para esta clase planifiqué hacer una manualidad y el día anterior quise hacer una pequeña muestra para saber a qué atenerme durante la clase y también comprobar cómo luciría el resultado y que tanto material gastaría.
La verdad no he trabajando en otras ocasiones con papel maché, y no es algo que me intimidaba pues he hecho muchísimos tipos de manualidades. Solo que como les comenté, no sabía que cantidades usar y que tanto demoraría en secar.
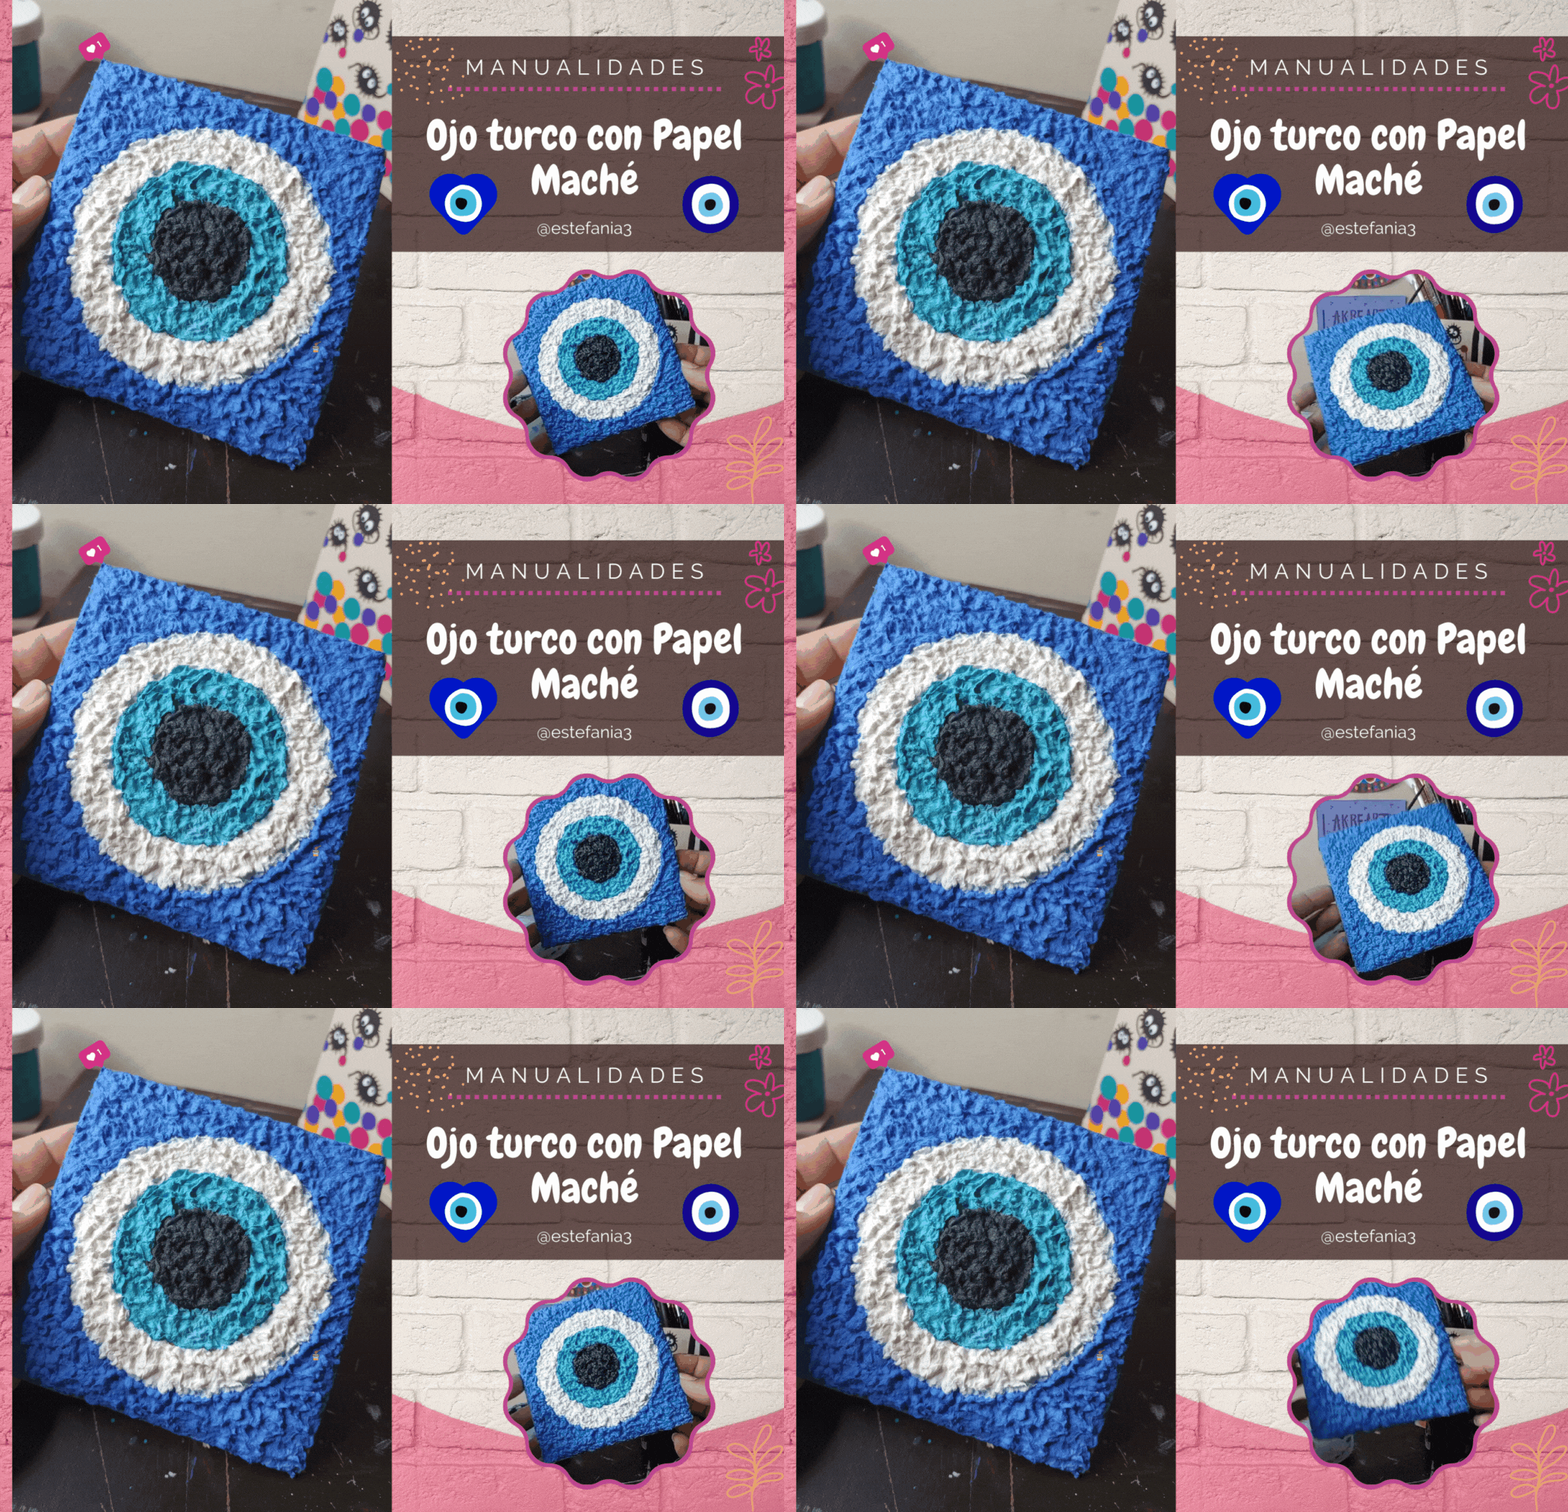
Busqué ideas para hacer y me apareció una muy linda de un ojo turco que quise recrear en un pequeño trozo de cartón.
Hello Guys!
As I've been telling you in my last posts, I'm teaching home-based classes in arts and crafts and painting. It's a way to teach art to kids with different activities that keep them motivated.
For this class I planned to make a craft and the day before I wanted to make a small sample to know what to expect during the class and also to check how the result would look like and how much material I would spend.
The truth is that I have not worked with paper mache before, and it is not something that intimidated me because I have made many types of crafts. I just didn't know what quantities to use and how long it would take to dry.
I was looking for ideas and I came up with a very cute one of a Turkish eye that I wanted to recreate in a small piece of cardboard.

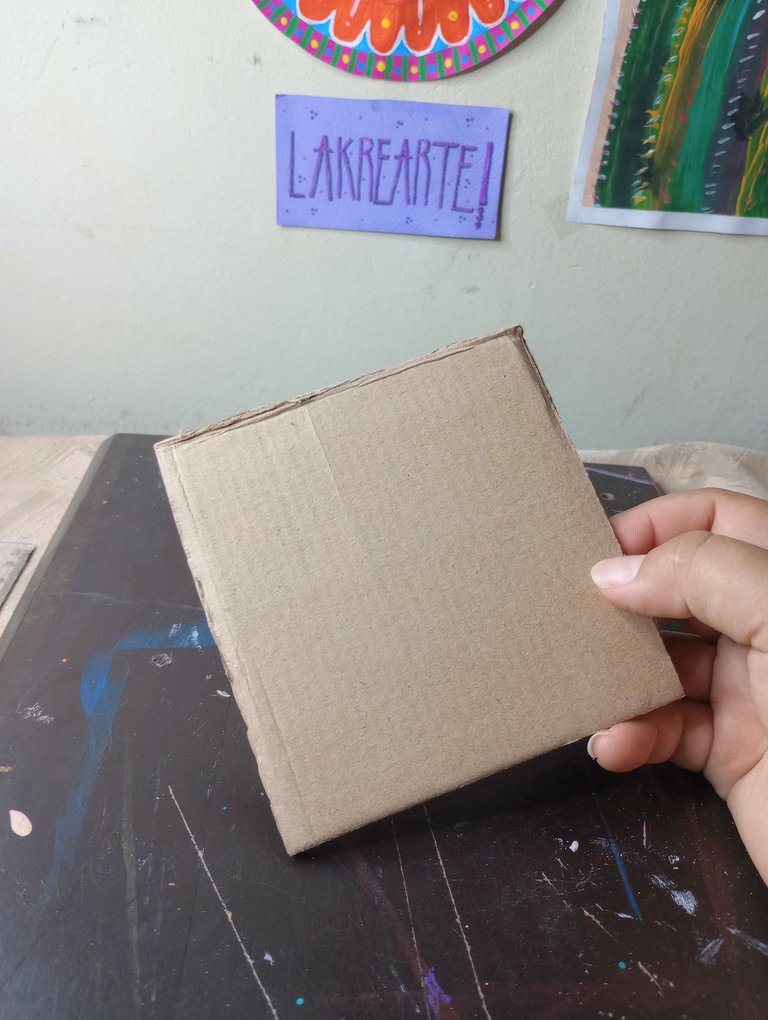
El cartón lo obtuve de una caja reciclada. Tenía unas medidas de 11 x 11 cm. Al tener la base me dediqué preparar la mezcla para el papel maché.
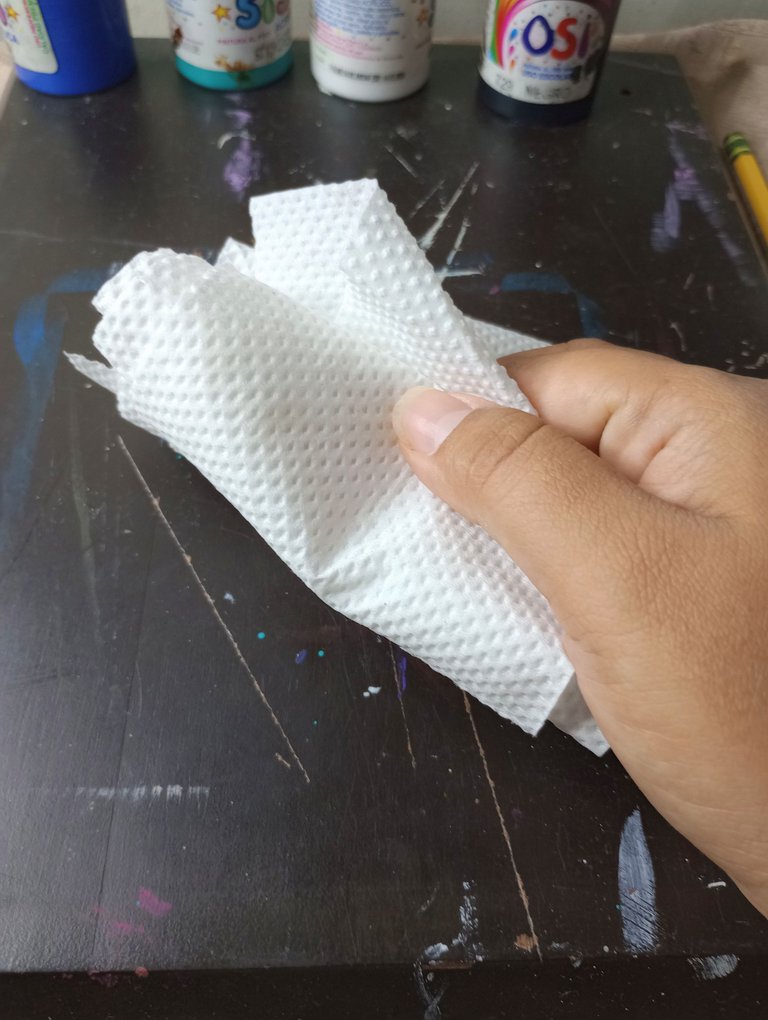
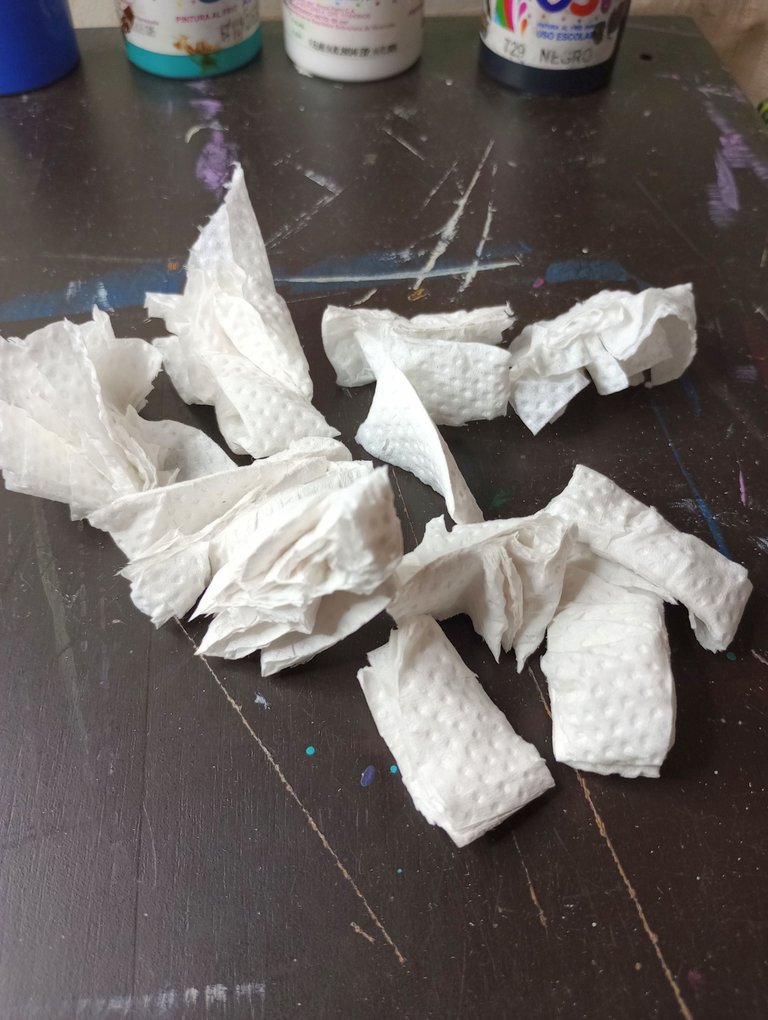
Tomé papel sanitario y lo corté en trocitos. La verdad no tenía idea de como fuera a actuar una vez lo humedeciera. En todos los tutoriales que veía lo licuaban para triturarlo, y yo no quería hacerlo así.
Por eso para asegurarme lo corté en trozos pequeños.
I got the cardboard from a recycled box. It measured 11 x 11 cm. Once I had the base, I prepared the mixture for the papier-mâché.
I took toilet paper and cut it into small pieces. The truth is that I had no idea how it would act once I moistened it. In all the tutorials I saw, they liquefied it to grind it, and I didn't want to do it that way.
So to make sure, I cut it into small pieces.

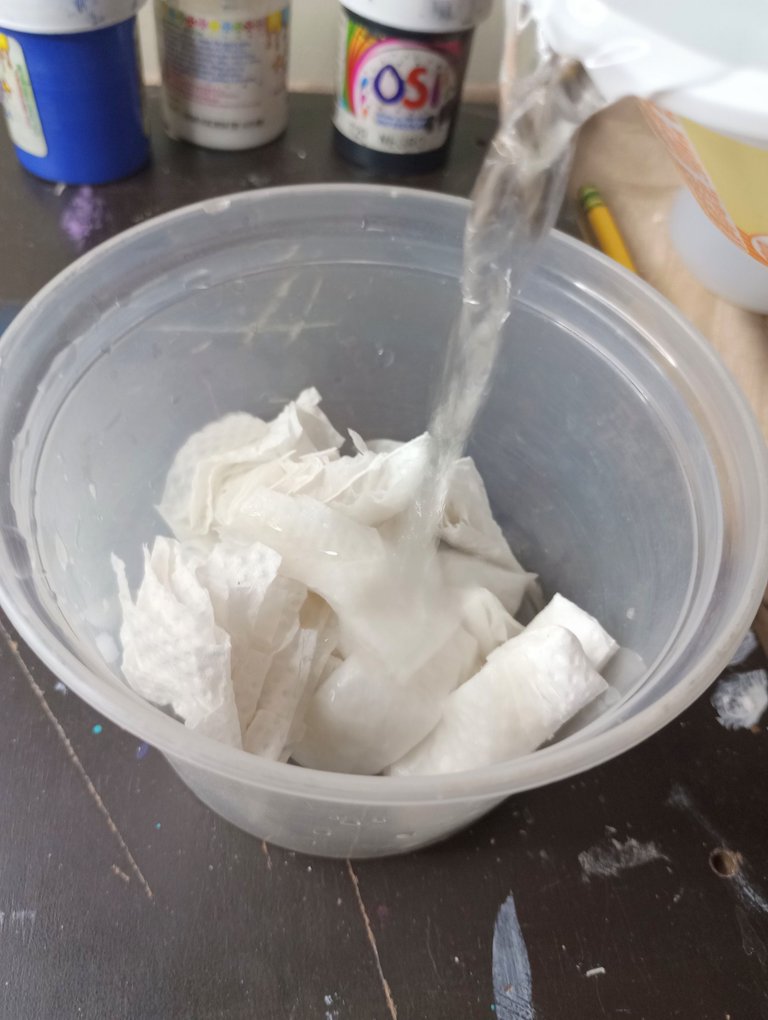
Luego lo coloqué en un pequeño recipiente y le agregué agua. Lo batí con un lápiz (fue lo primero que se me cruzó 😂) y en este punto me di cuenta que no era necesario cortarlo, pues el papel se deshacía super rápido en el agua y quedaba hecho nada.
Ya luego con mi mano, saqué una parte del agua y lo exprimí un poco.
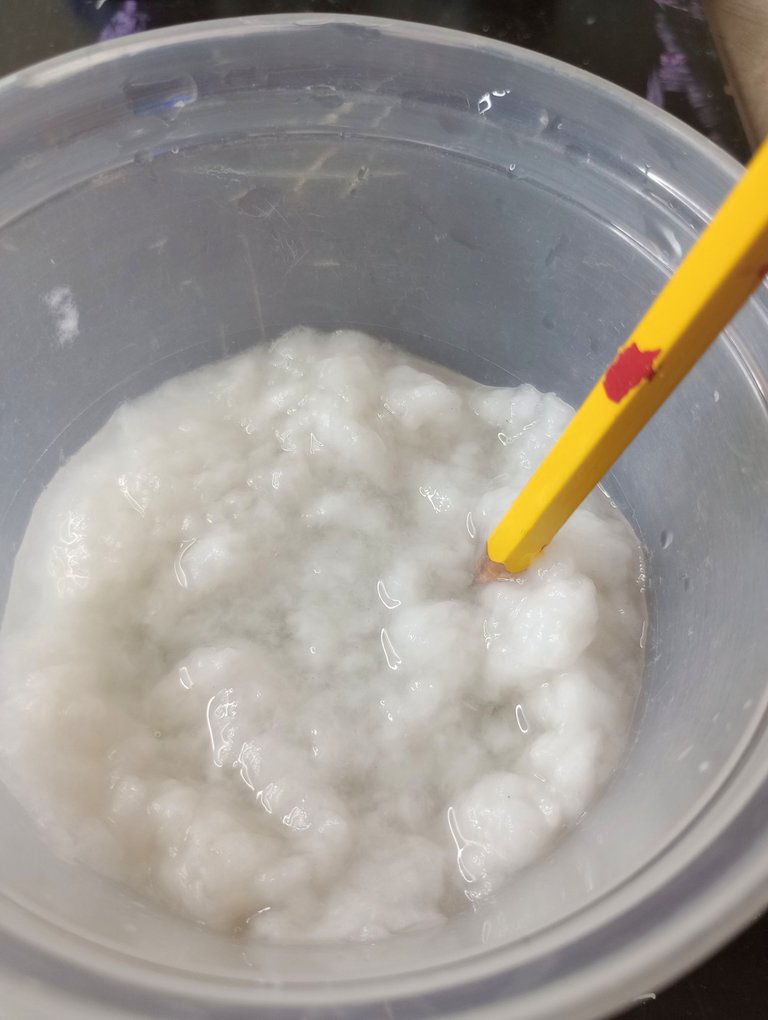
Then I put it in a small bowl and added water. I beat it with a pencil (it was the first thing that came to my mind 😂) and at this point I realized that it wasn't necessary to cut it, because the paper fell apart super fast in the water and became nothing.
Then with my hand, I removed some of the water and squeezed it a little.
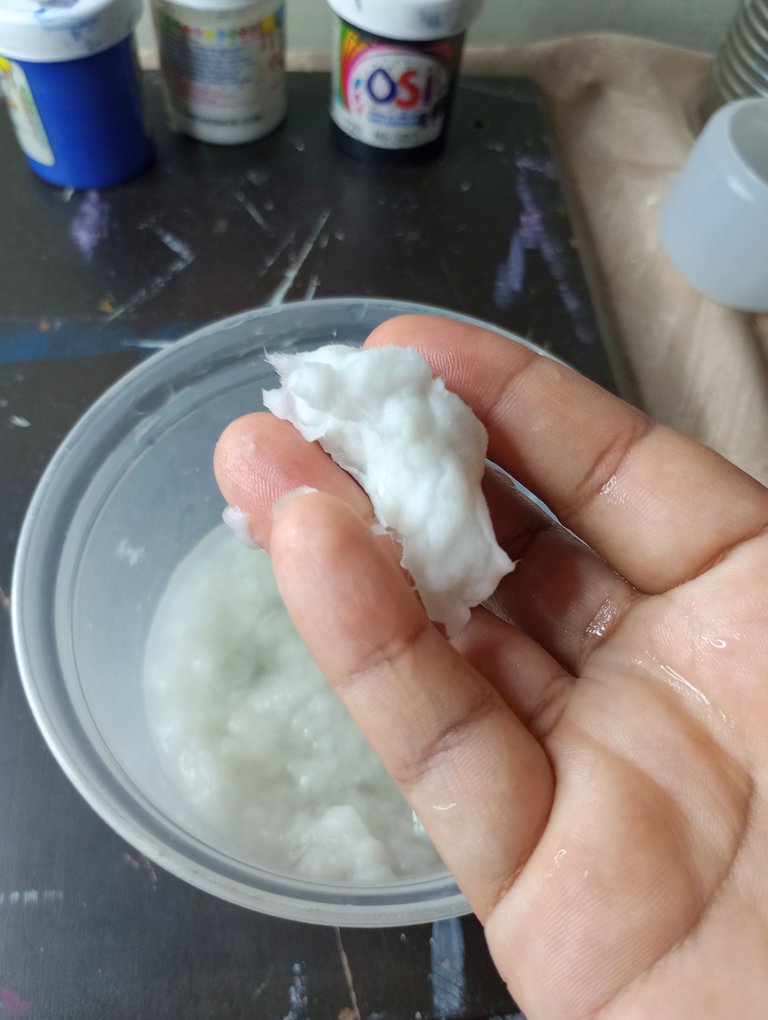

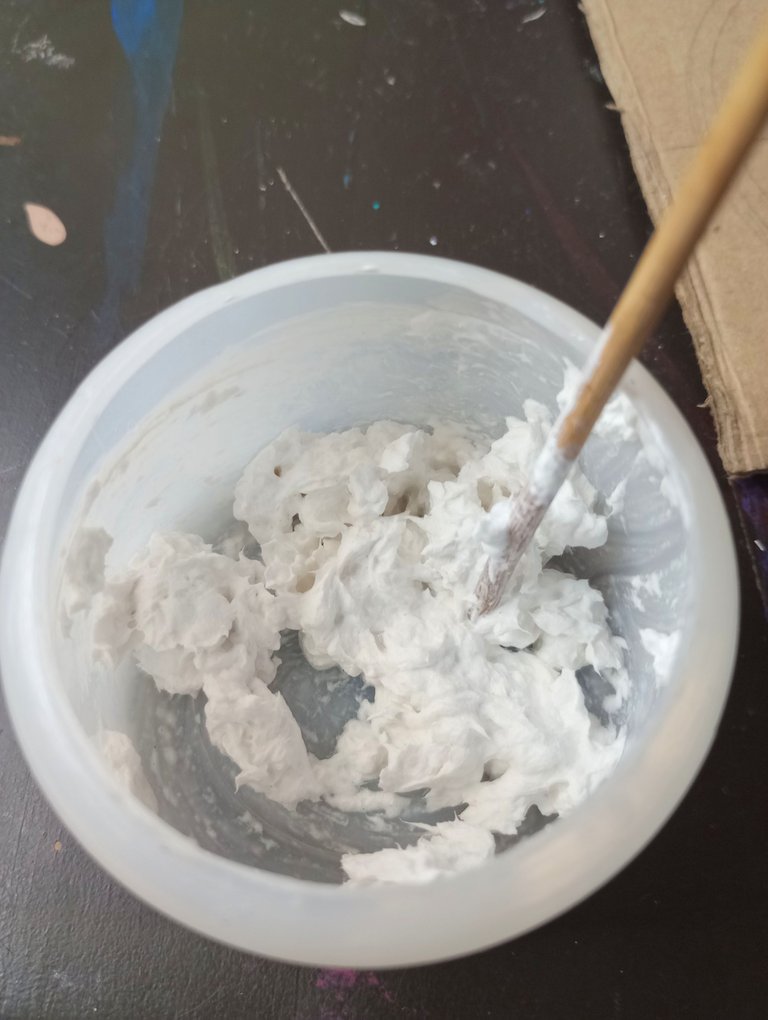
Esto lo coloqué en otro envase más pequeño y le agregué pegamento y pintura blanca. Mezclé muy bien hasta que se integraron por completo todos los ingredientes. Ya teníamos listo la mezcla para usar.
En el cartón tracé 3 círculos para tener una guía de dónde iba a colocar el papel dependiendo su color.
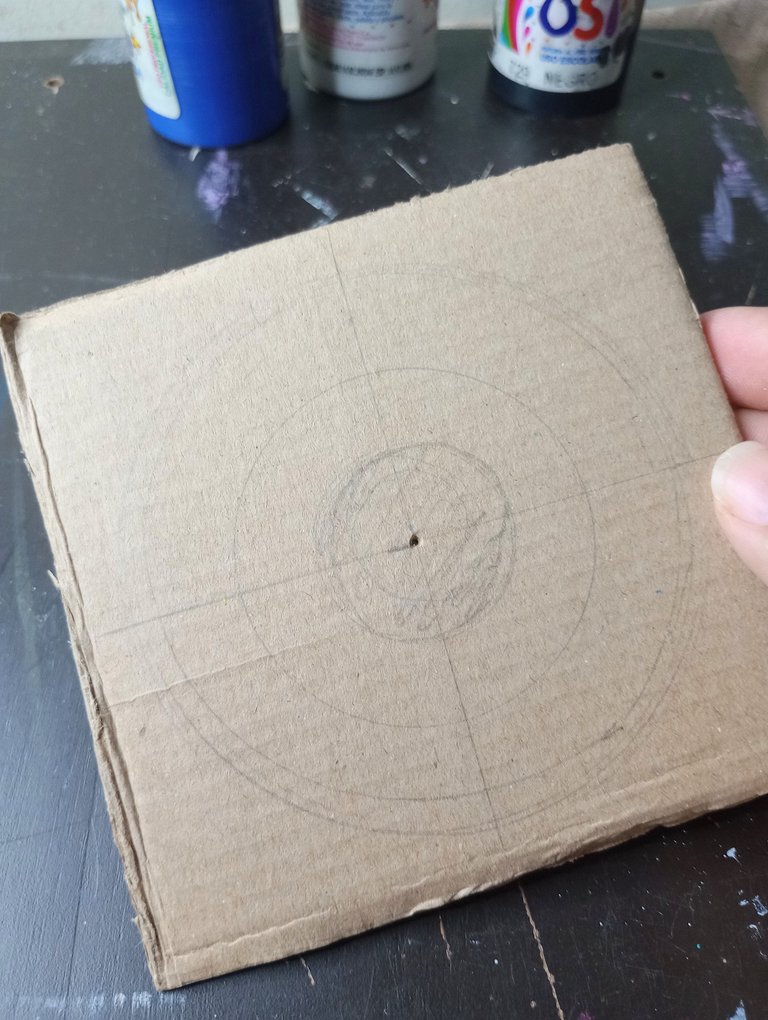
I put this in another smaller container and added glue and white paint. I mixed very well until all the ingredients were completely integrated. Now we had the mixture ready to use.
On the cardboard I traced 3 circles to have a guide of where I was going to place the paper depending on its color.

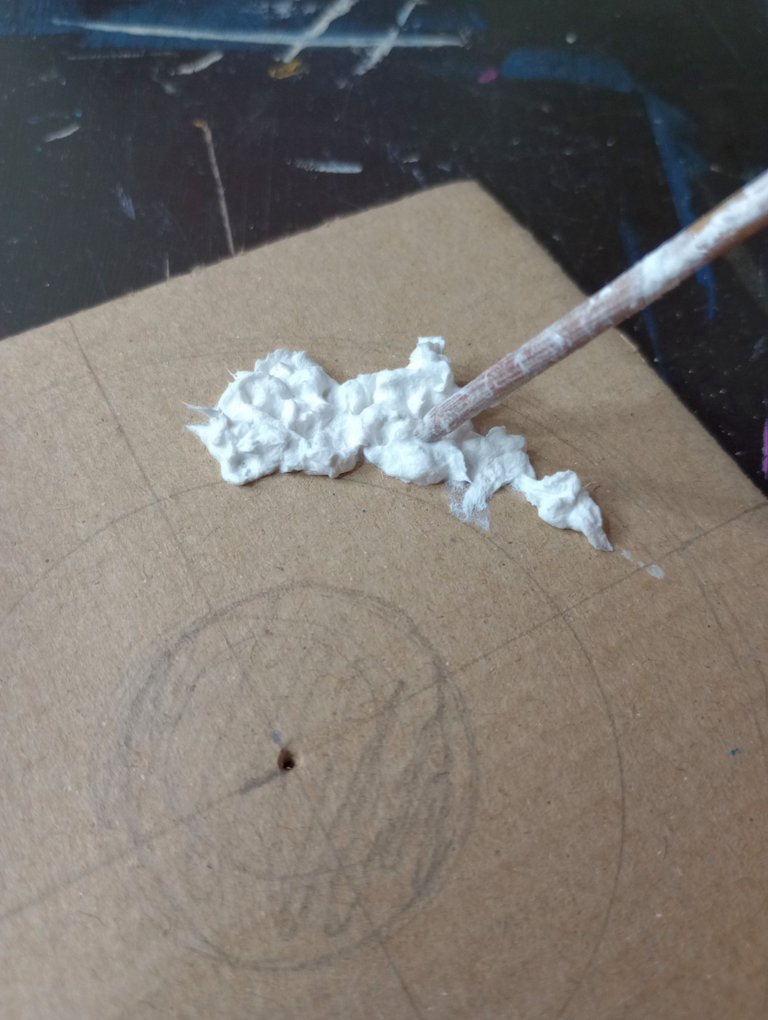
Comencé con la parte blanca porque es el color más claro y más delicado de trabajar. Así evitaría luego mancharlo con cualquier cosa.
Fui colocando poco a poco el papel maché sobre el cartón y lo fui extendiendo con un palito de madera sin pasarme de las líneas que tracé.
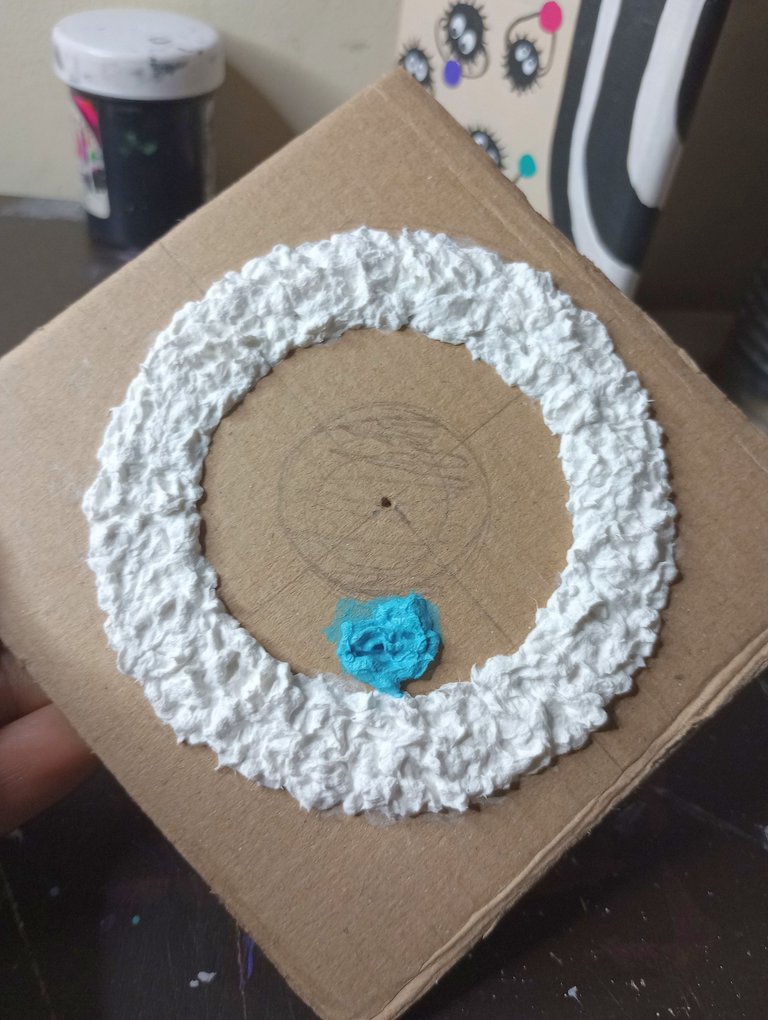
I started with the white part because it is the lightest and most delicate color to work with. That way I would avoid staining it with anything.
I gradually placed the papier-mâché on the cardboard and spread it with a wooden stick without going over the lines I drew.

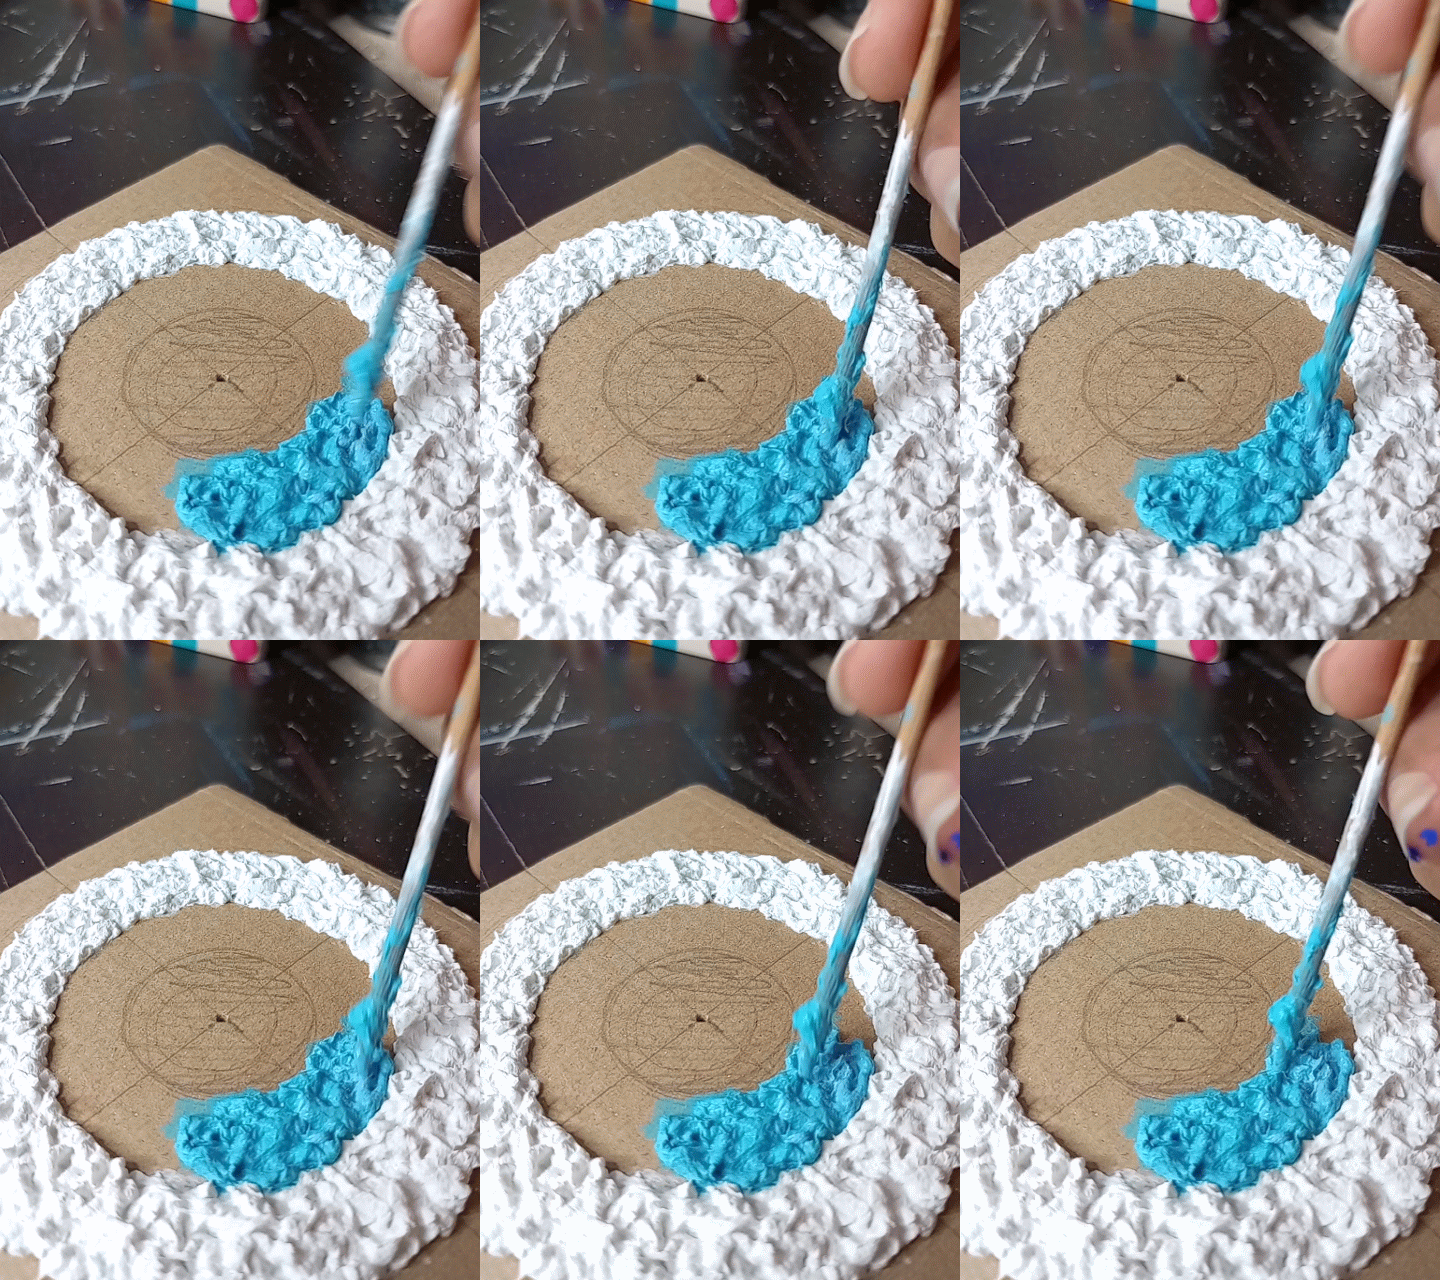
Luego agregué un poco de azul para hacer y tono celestes y este lo colocaría dentro de la parte blanca. Poco a poco iba tomando forma la manualidad.
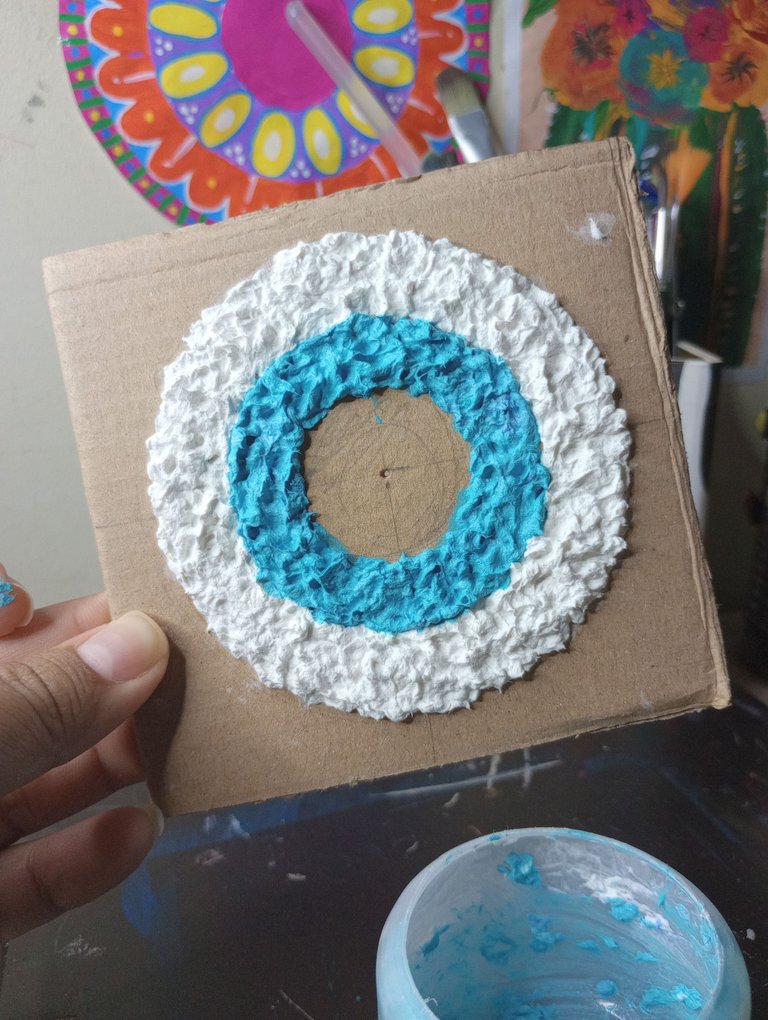
Then I added a bit of blue to make and light blue tone and this I would place inside the white part. Little by little the craft was taking shape.

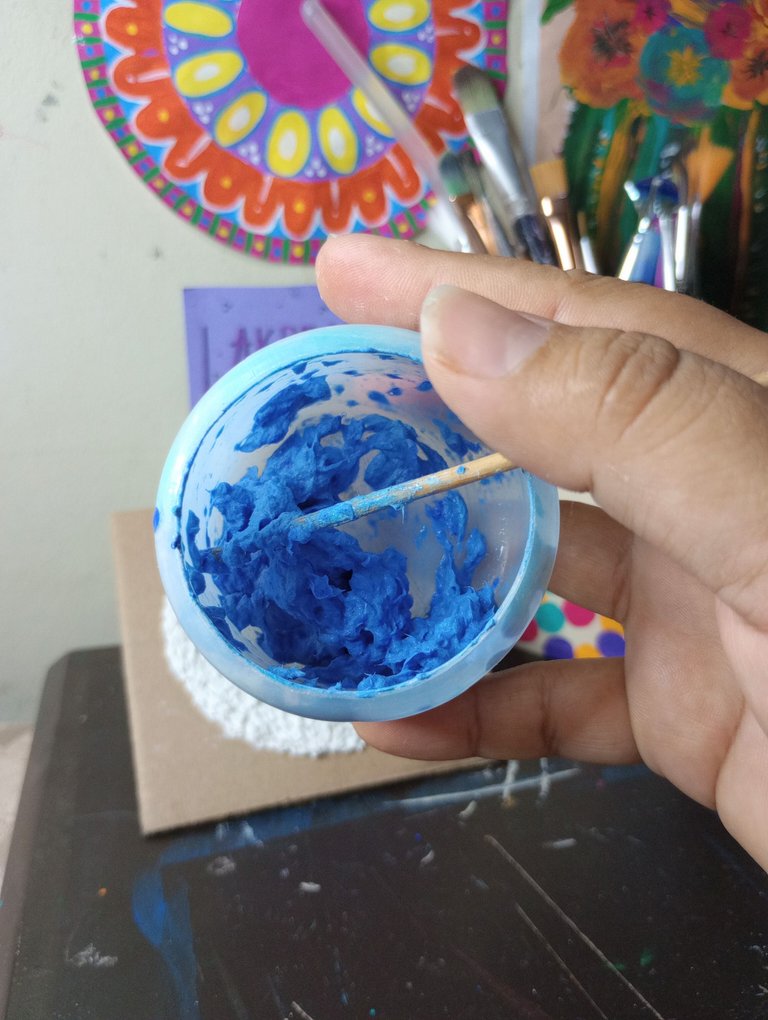
Luego hice más papel maché en color azul para colocar en todo el borde. Este tono de azul es mi favorito 💙.
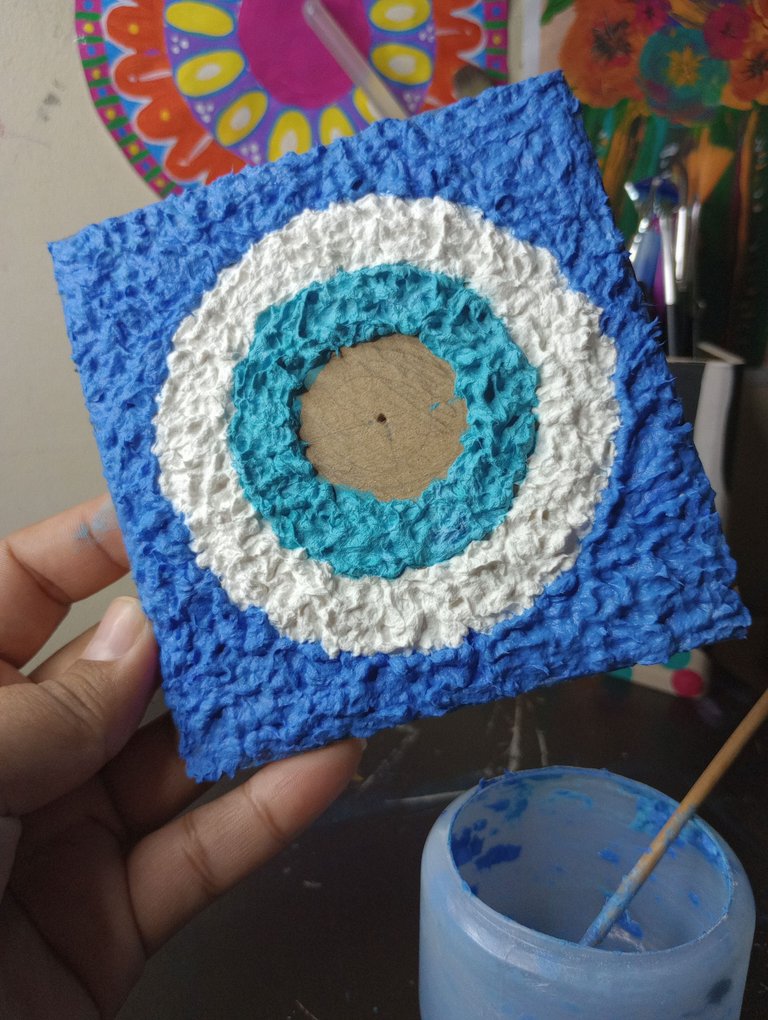
I then made more paper mache in blue to place all around the border. This shade of blue is my favorite 💙.

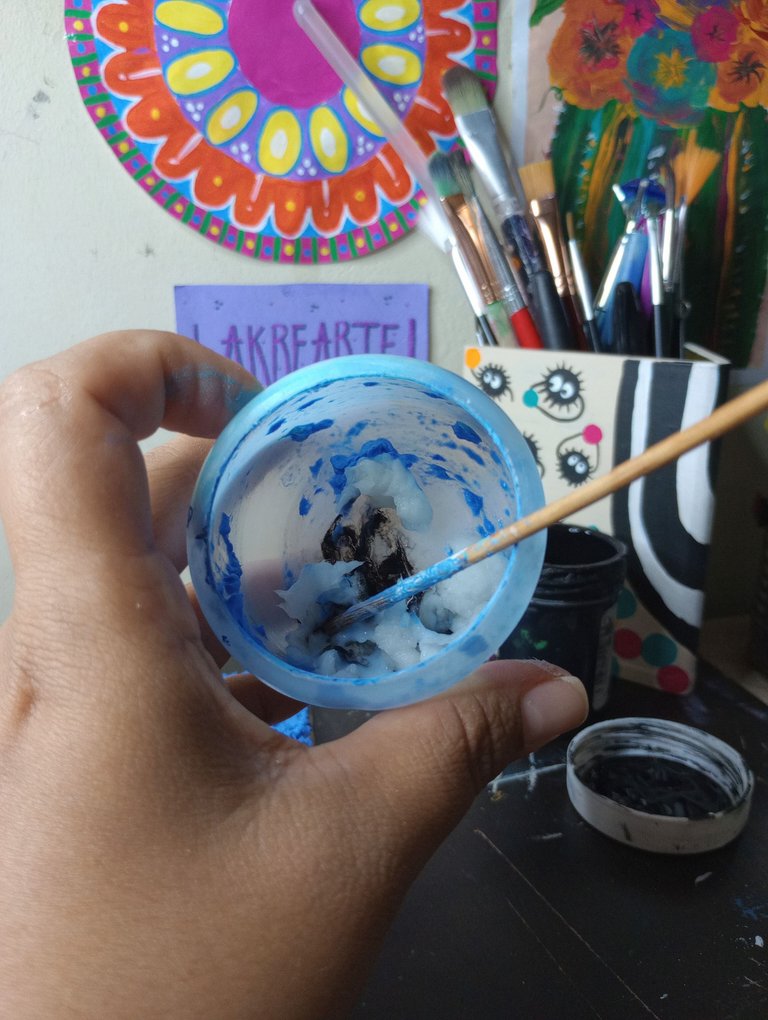
Por último solo faltaba hacer el centro de color negro. Hice la mezcla y le coloqué negro. Si los toques finales y ya tenía listo el ojo turco para la clase.
Finally, the only thing left to do was to make the black center. I made the mixture and put black in it. If the final touches and I had the Turkish eye ready for the class.

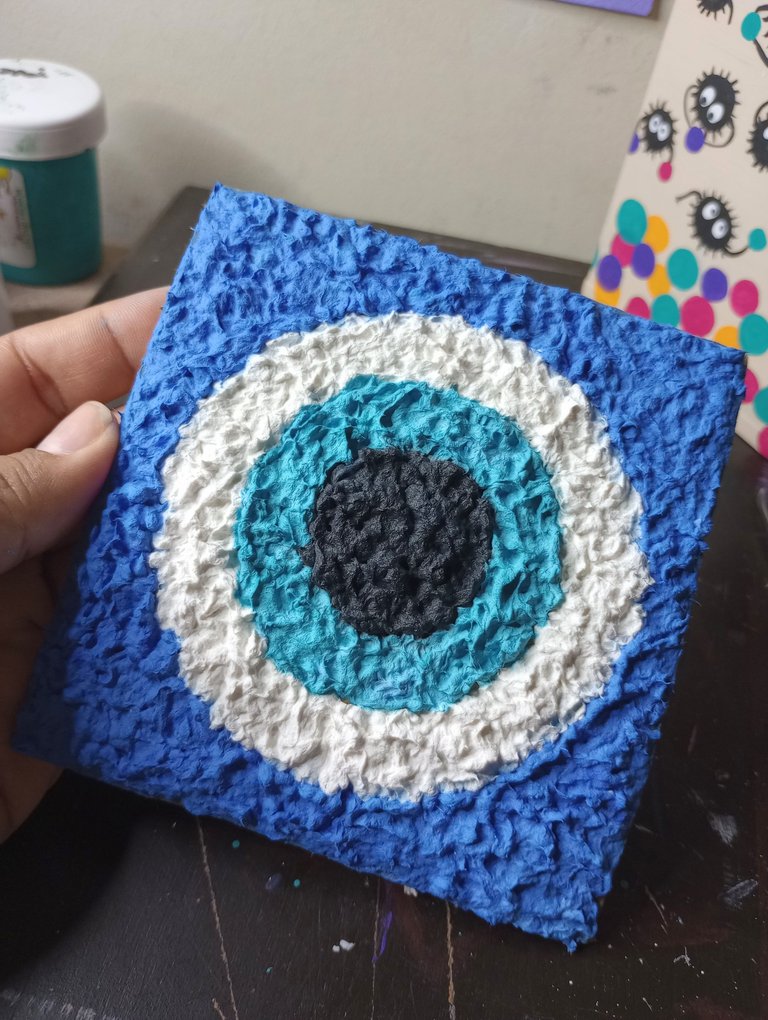
Es una técnica súper bonita, entretenida y además fácil de hacer. No se utilizan muchos materiales y se pueden lograr cosas muy bonitas.
Se demora un poco en secar eso si, mi ojo demoró un día en secar pero quedó bastante firme.
Yo quedé súper feliz con mi ojo turco, que próximamente estaré colgando en mi pared 🧿.
Estaba más que clara que las niñas amarían está clase y que harían cosas súper lindas. Pronto les comparto sus trabajos, los amarán 😊💜✨
It is a super nice technique, fun and easy to do. You don't use a lot of materials and you can achieve very nice things.
It takes a little time to dry, my eye took a day to dry but it was quite firm.
I was super happy with my Turkish eye, which I will soon be hanging on my wall 🧿.
It was more than clear that the girls would love this class and that they would make super cute things. I will be sharing their work soon, they will love them. 😊💜✨


Espero haya sido de tu agrado y provecho.
Un gran abrazo a todos, y nos leemos en un próximo post
• Lakrearte en Hive •
Att: Estefania Garcia ♥
Imágenes y separadores de mi autoría
Portada editada en Canva
Fotografías tomadas con un Moto G31
Texto traducido en Google ImTranslate v.14.27


