
¡Hola Chicos!
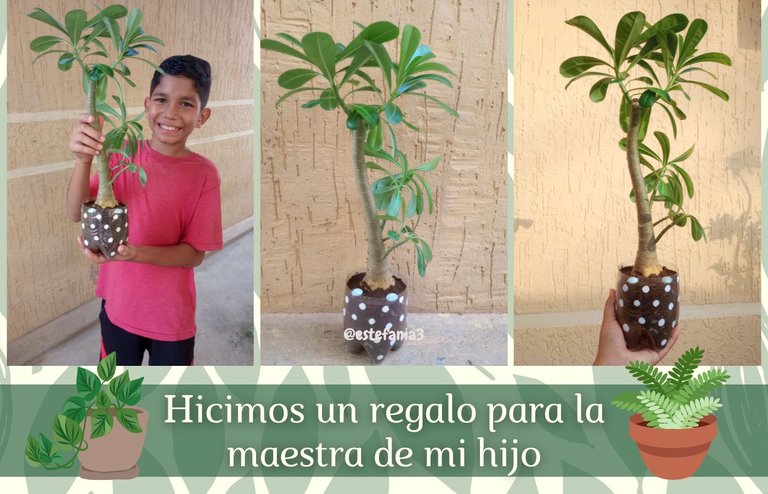
Hoy les compartiré una manualidad que hicimos entre mi esposo, mi hijo y yo. Se trata de un regalo para la maestra que le enseñó este año escolar a mi hijo y como vamos finalizándolo quisimos tener un lindo gesto con ella porque fue una excelente docente, la mejor hasta ahora.
Queríamos hacer algo que pudiera durarle toda la vida y que además fuera algo que ella adorara. Sabemos que en su casa tiene muchas plantas y que inclusive tienen un cultivo adicional en el terreno que está frente a su casa.
Por lo que nos pareció buena idea darle esta plantita para que tuviera ese recuerdo de su alumno Enrique. En casa tenemos muchas plantas de flor del desierto y sabemos que esta ha ganado popularidad con el tiempo y todos quieren tener una, sobre todo las mujeres mayores.
Así que elegimos una para regalarle y nos pusimos manos a la obra.
Hi Guys!
Today I will share a craft that my husband, my son and I made. It is a gift for the teacher who taught my son this school year and as we are ending it we wanted to have a nice gesture with her because she was an excellent teacher, the best of hers so far.
We wanted to do something that could last her a lifetime and also be something that she would love. We know that she has many plants in her house and that they even have an additional crop on the land in front of her house.
So we thought it was a good idea to give her this little plant so that she would have that memory of her student Enrique of her. At home we have many desert flower plants and we know that this one has gained popularity over time and everyone wants to have one, especially older women.
So we chose one to give him and we got to work.

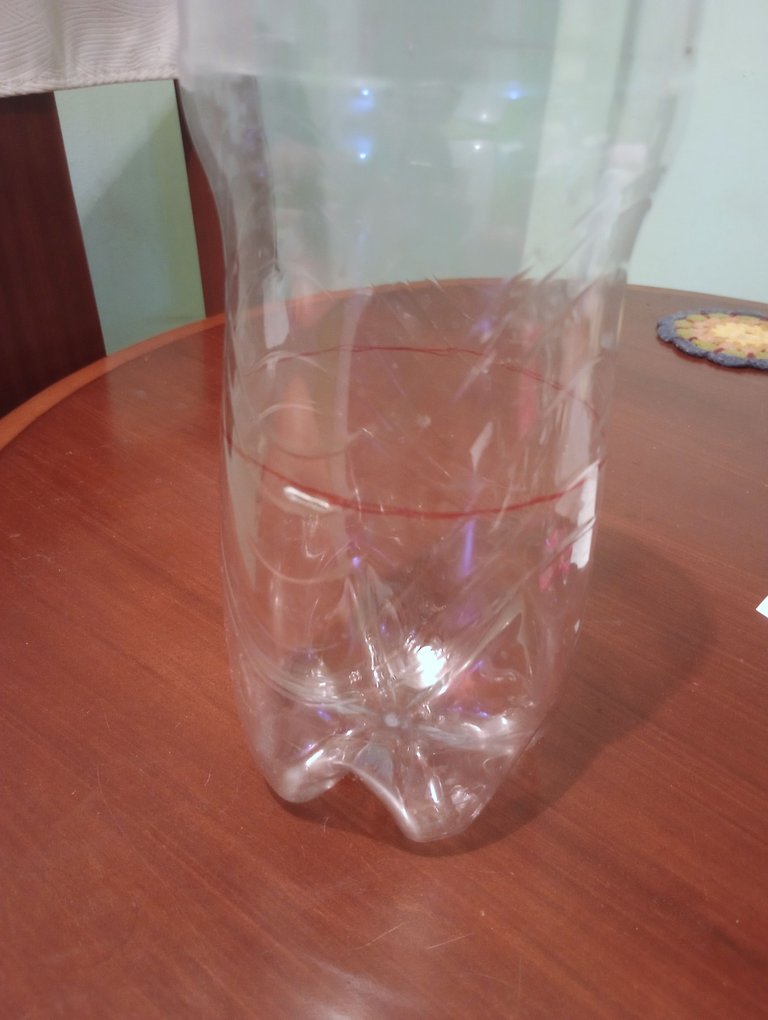
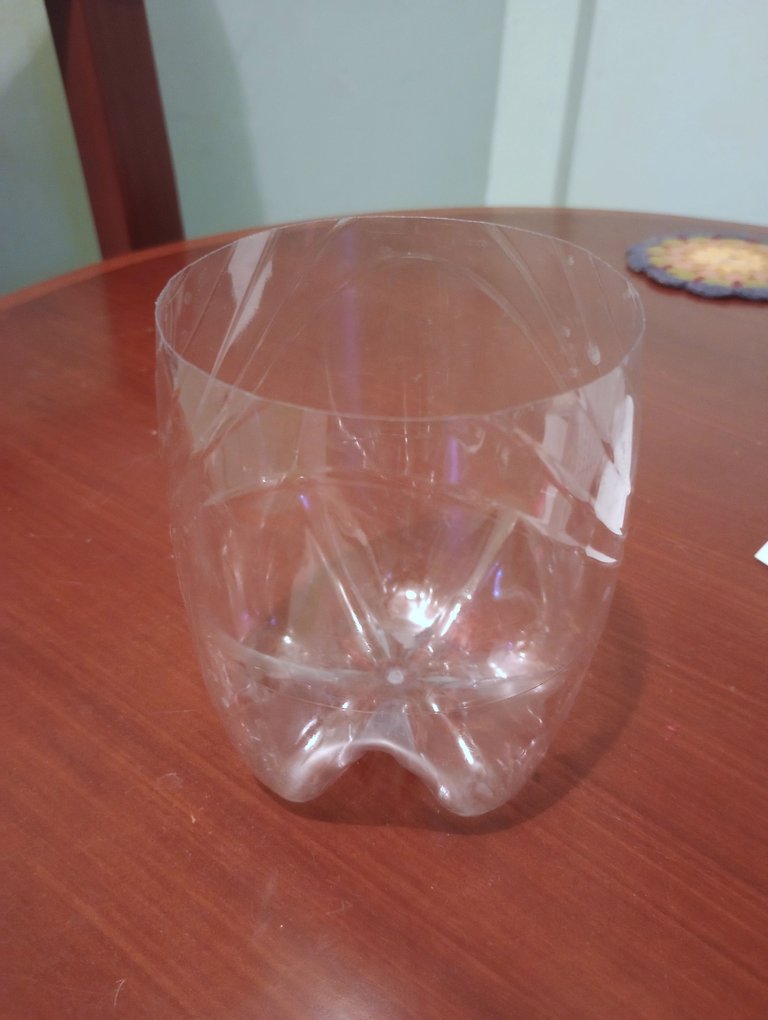
Necesitaba un matero o recipiente donde colocar la planta, ya que las tenemos en botellas de refresco viejas y no queríamos darsela con mal aspecto.
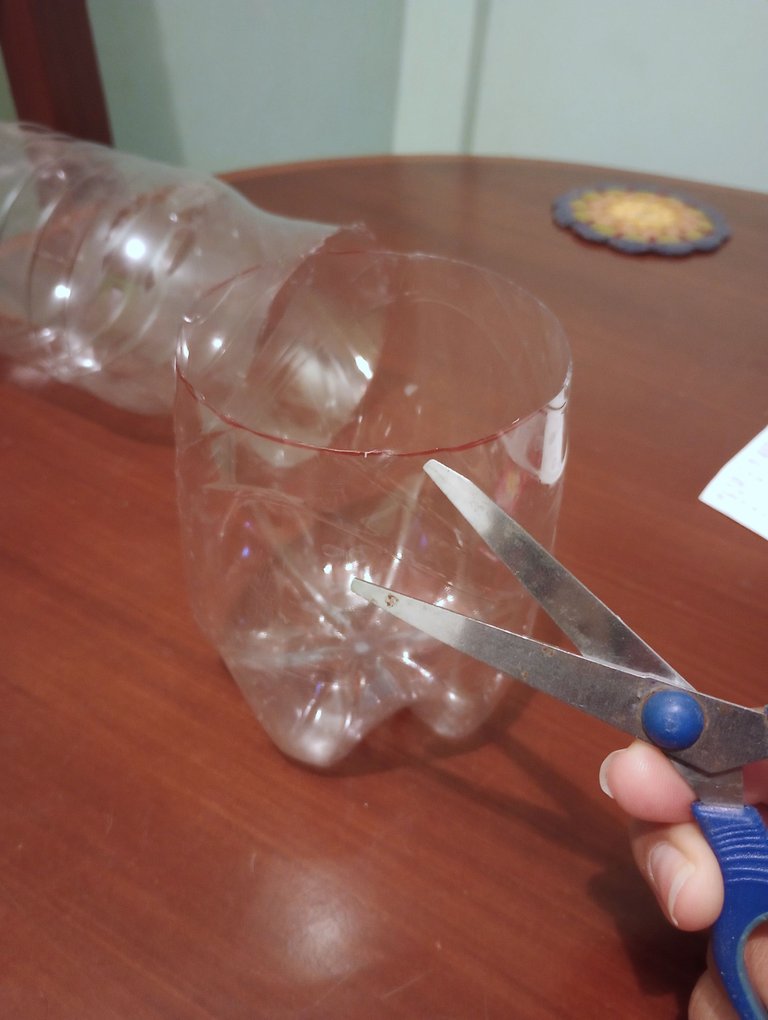
Así que tomé una botella y la marqué con un marcador. Luego introduje una tijera y corté por toda la línea.
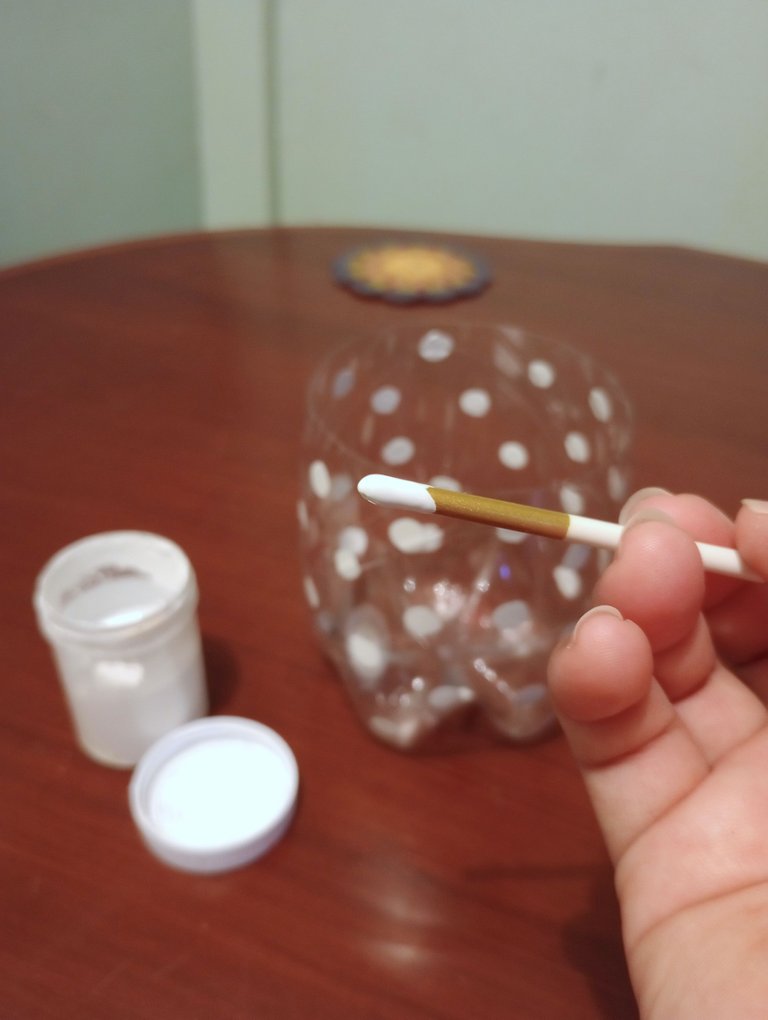
Perfeccioné los bordes y luego con pintura al frío blanca y la punta de un pincel, hice lunares en el interior del recipiente.
I needed a pot or container to place the plant, since we have them in old soda bottles and we didn't want to give it to them with a bad appearance.
So I took a bottle and marked it with a marker. Then I inserted a pair of scissors and cut along the entire line.
I perfected the edges and then with white cold paint and the tip of a brush, I made polka dots on the inside of the container.
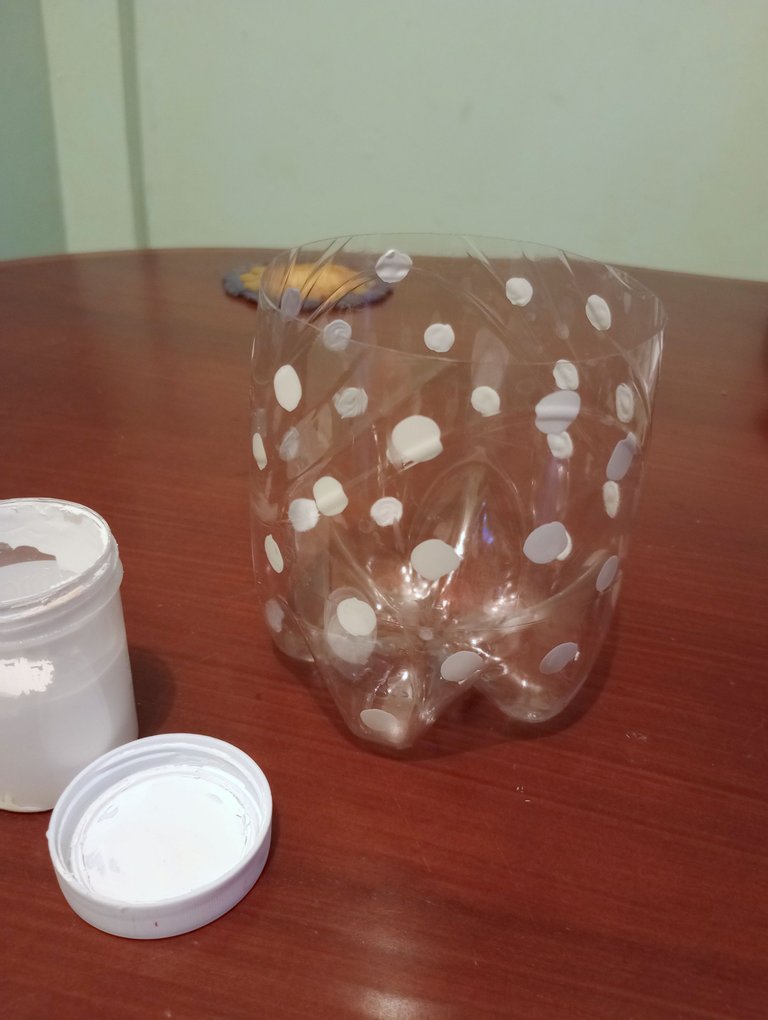

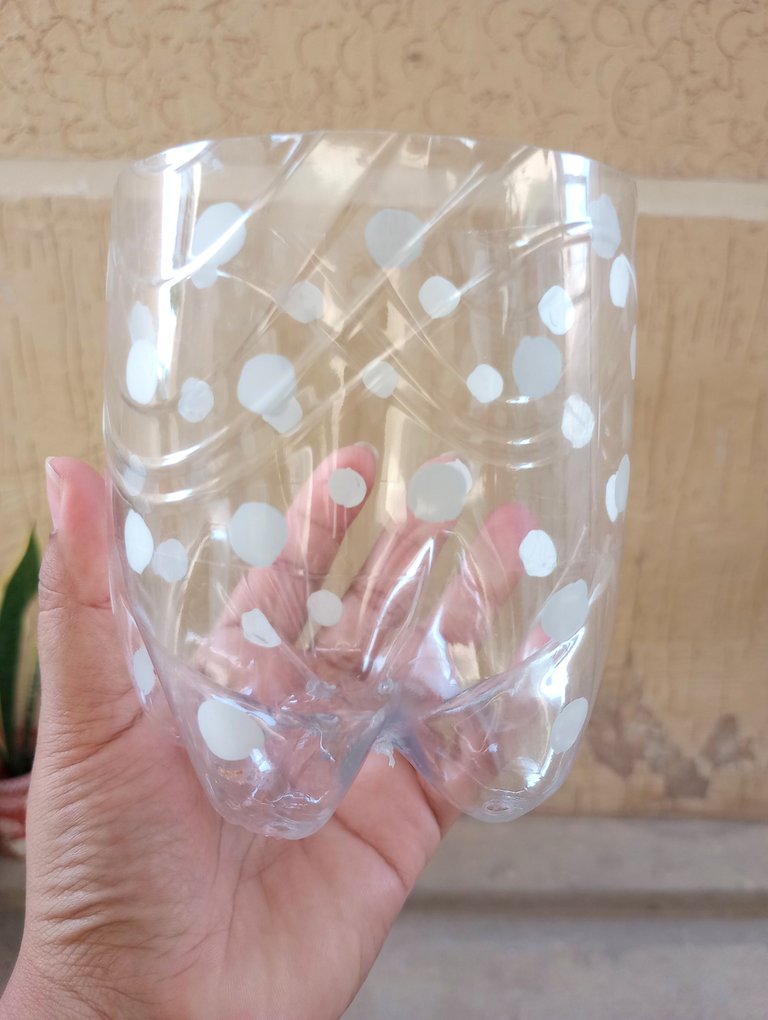
Dejé secar completamente y ya era momento de colocar la planta. Antes de eso con la punta de un pica hielo, la cual calenté directo en la estufa, hice agujeros en la parte inferior para que el agua no quedara estancada y se hiciera moho.
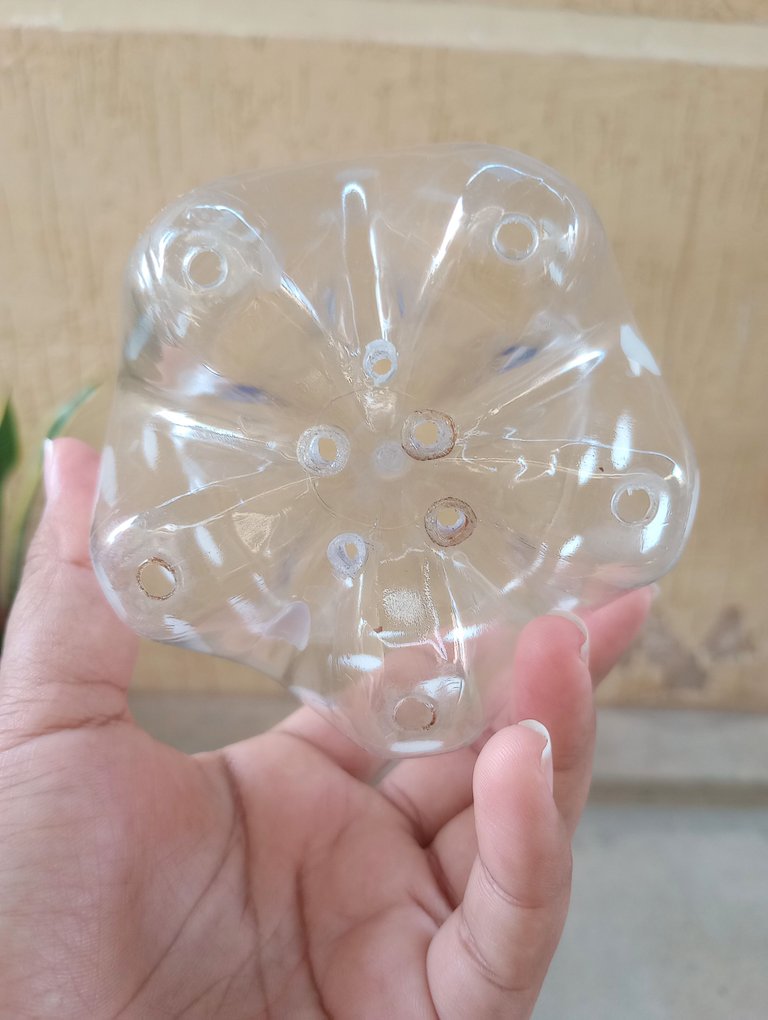
I let it dry completely and it was time to place the plant. Before that, with the tip of an ice pick, which I heated directly on the stove, I made holes in the bottom so that the water would not remain stagnant and mold.

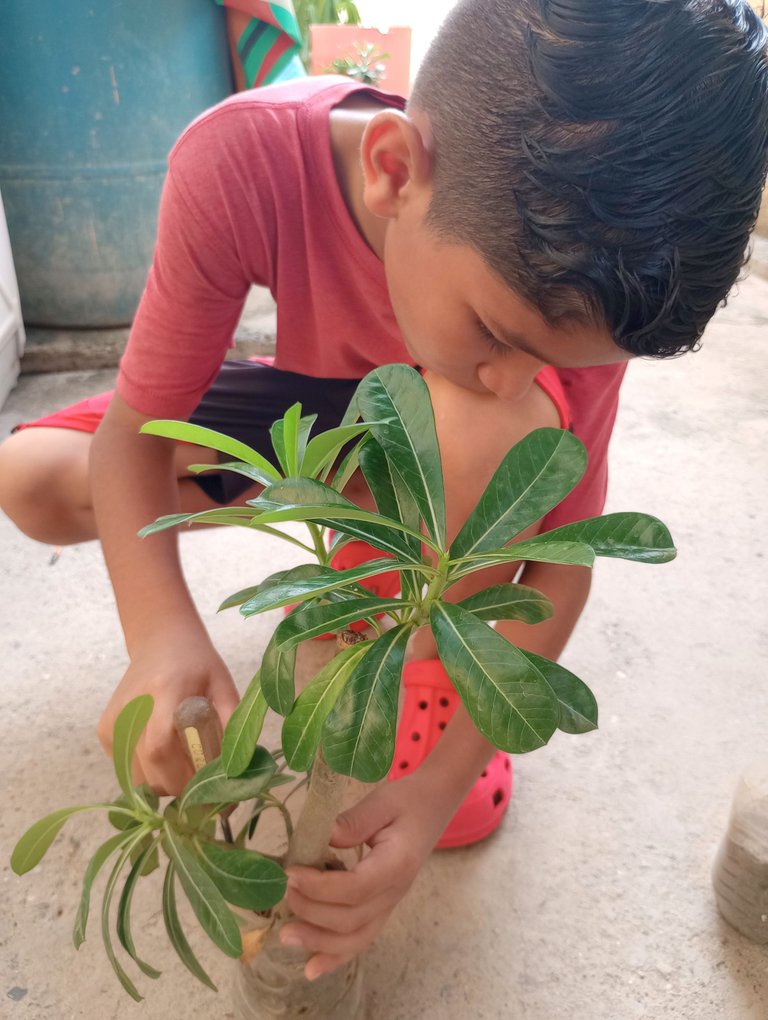
Luego mi hijo con ayuda de mi esposo prepararon la planta que ibamos a colocar en el matero nuevo.
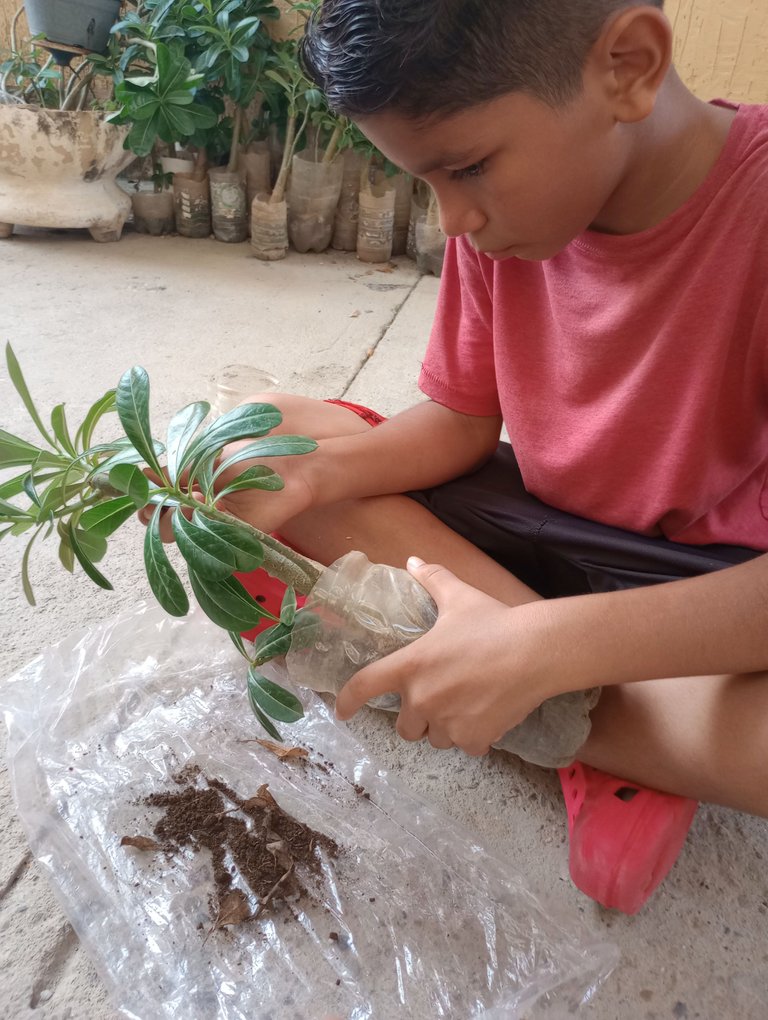
Primero la sacaron de donde estaba y colocaron la arena sobre una bolsa para evitar que se regara, pues esta misma es la que usaríamos.
Then my son, with the help of my husband, prepared the plant that we were going to place in the new pot.
First they took it out from where it was and placed the sand on a bag to prevent it from spreading, since this is the same one that we would use.
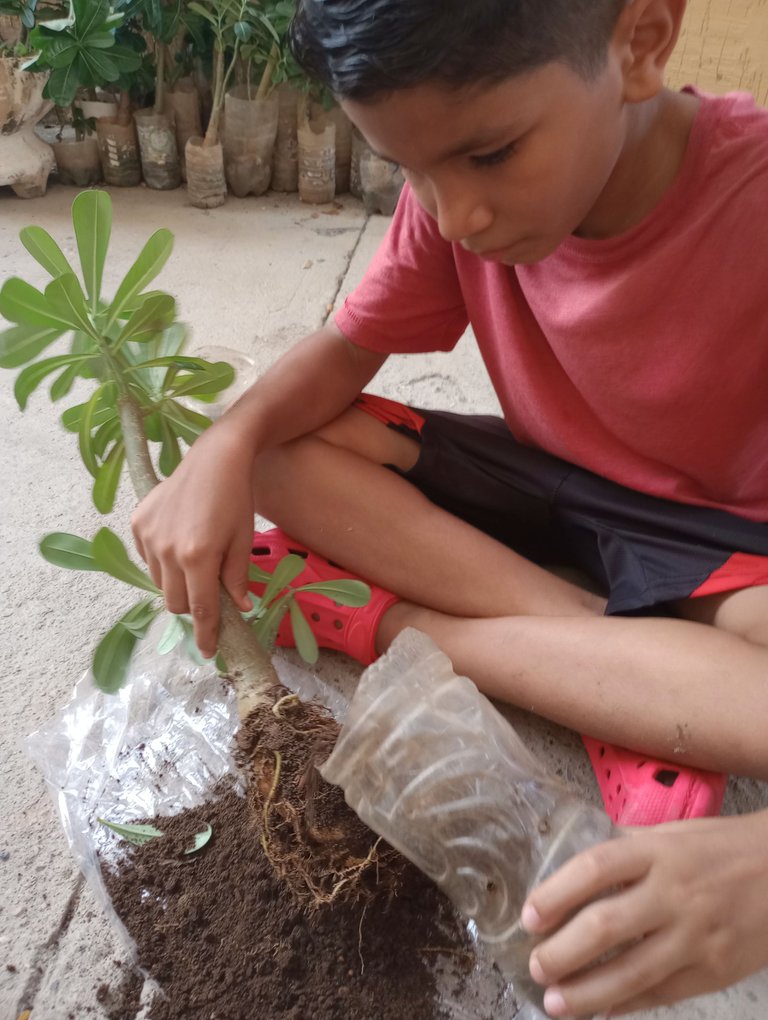

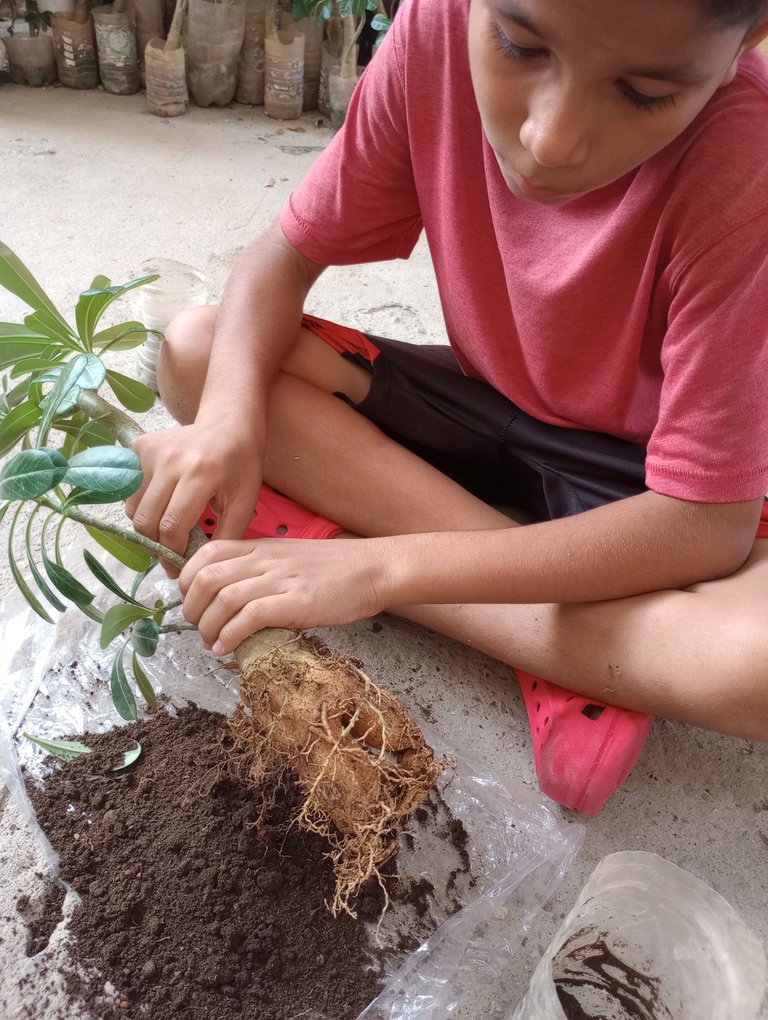
Una vez retiraron toda la arena de la planta la colocaron dentro del matero para medir que cantidad de raices se cortarían para que queden todas cubiertas por la arena.
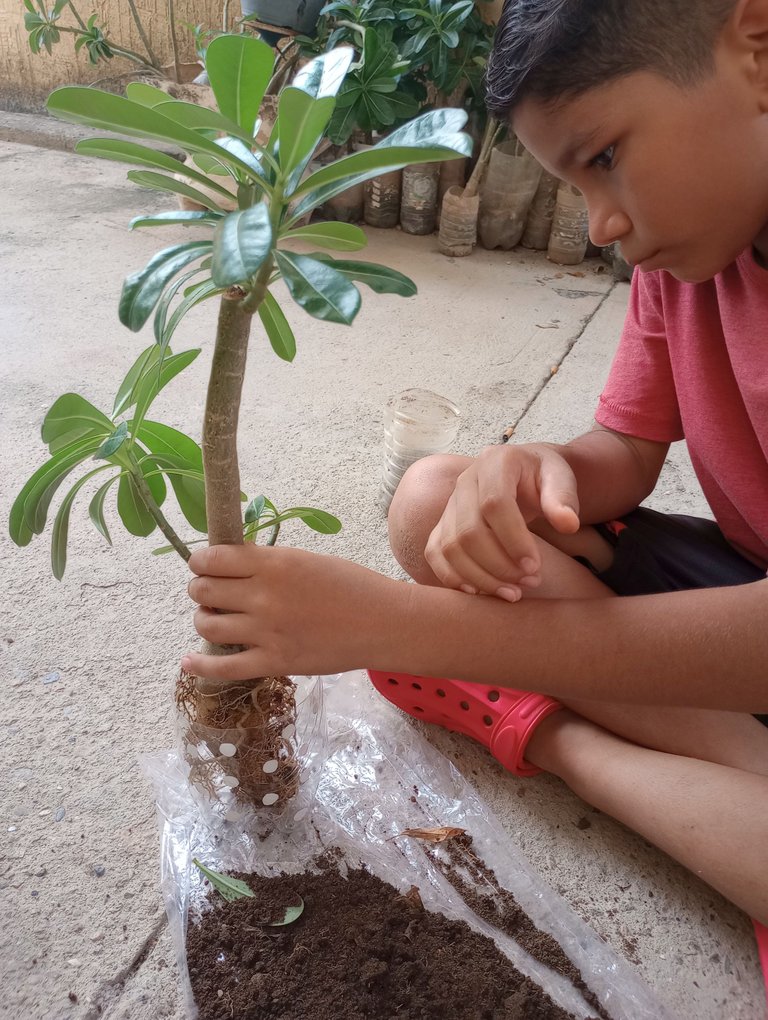
Once all the sand was removed from the plant, they placed it inside the pot to measure how many roots would be cut so that they are all covered by sand.

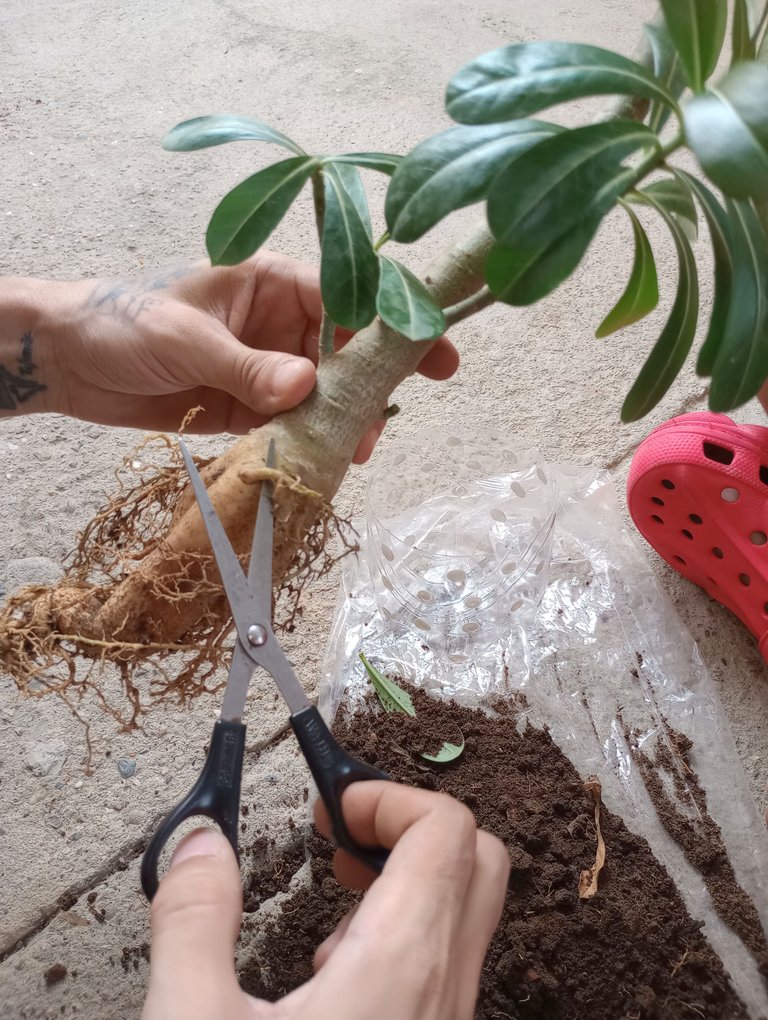
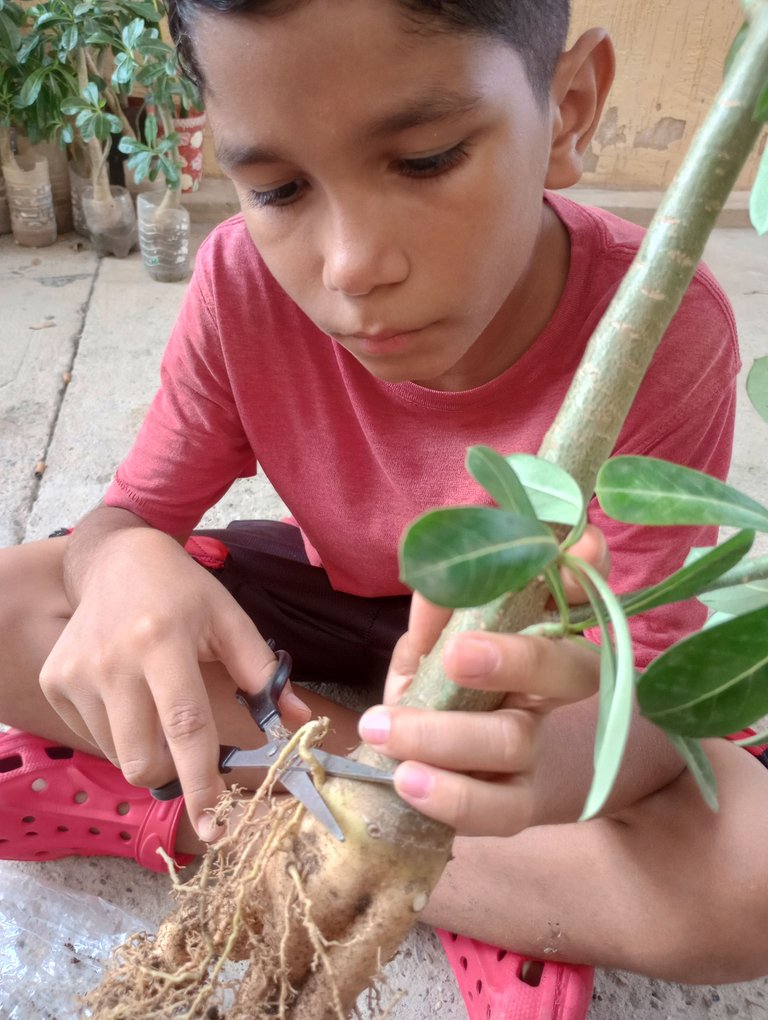
Mi esposo le explicó a mi hijo como debía cortar las raíces. Se deben hacer cortes exactos y luego en estas "heridas" de la plata se debe colocar un poco de canela en polvo, para evitar que se le paren bichos y hagan que la planta muera.
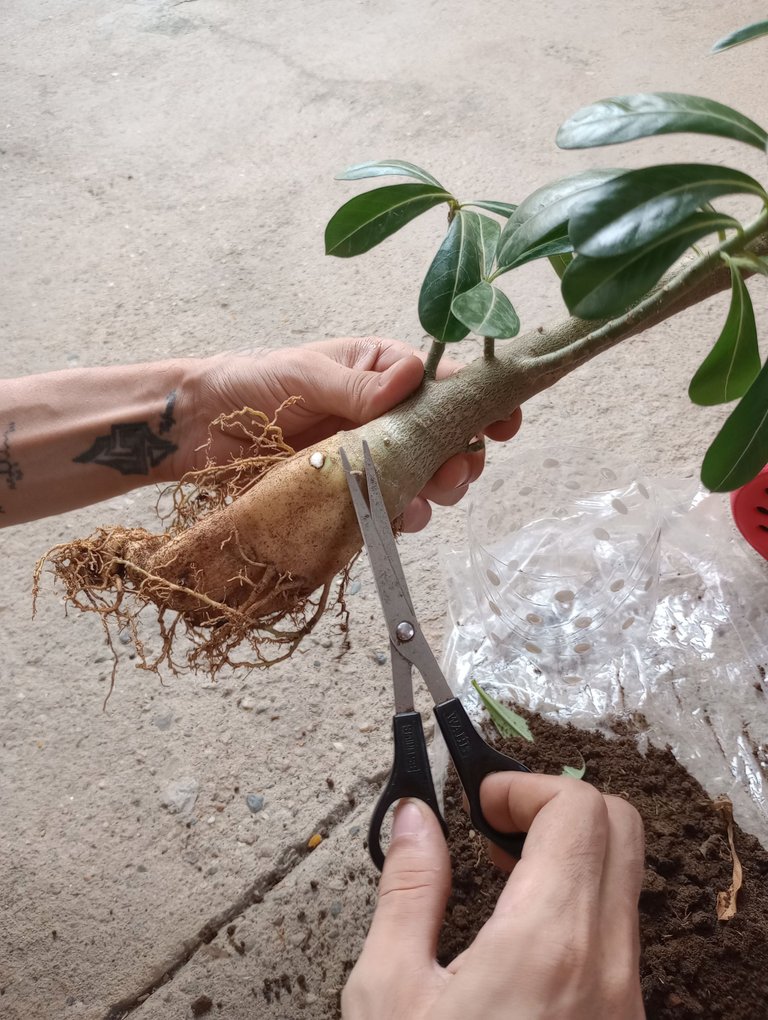
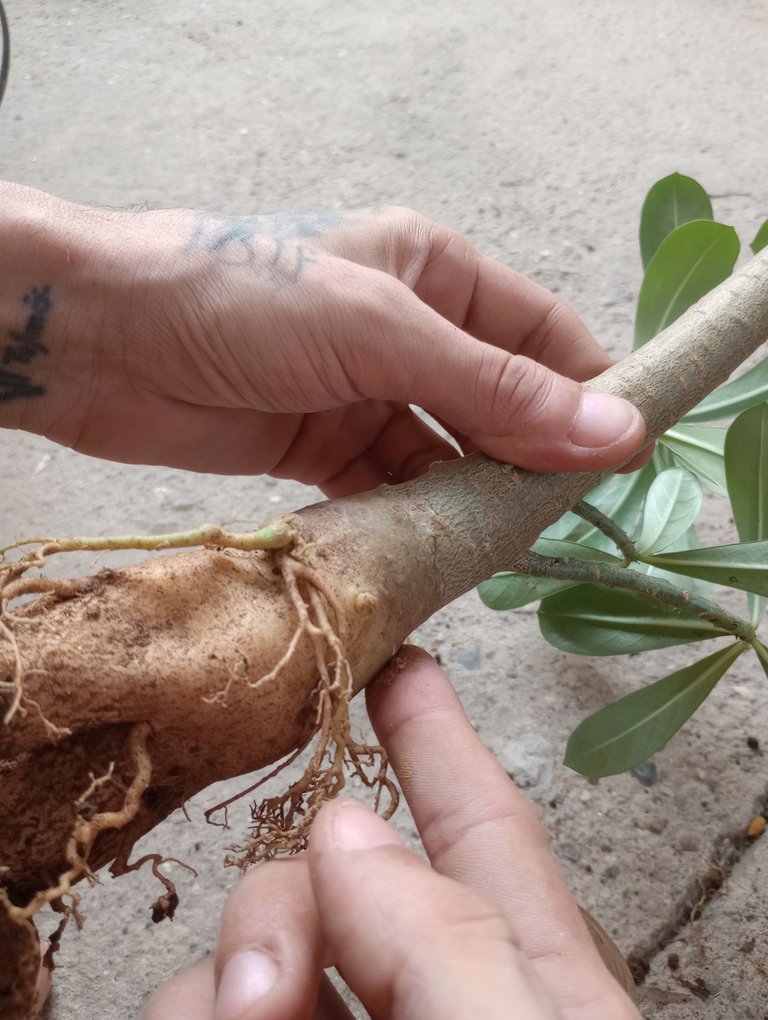
My husband explained to my son how to cut the roots. Exact cuts must be made and then a little cinnamon powder must be placed in these 'wounds' of the silver, to prevent bugs from stopping and causing the plant to die.

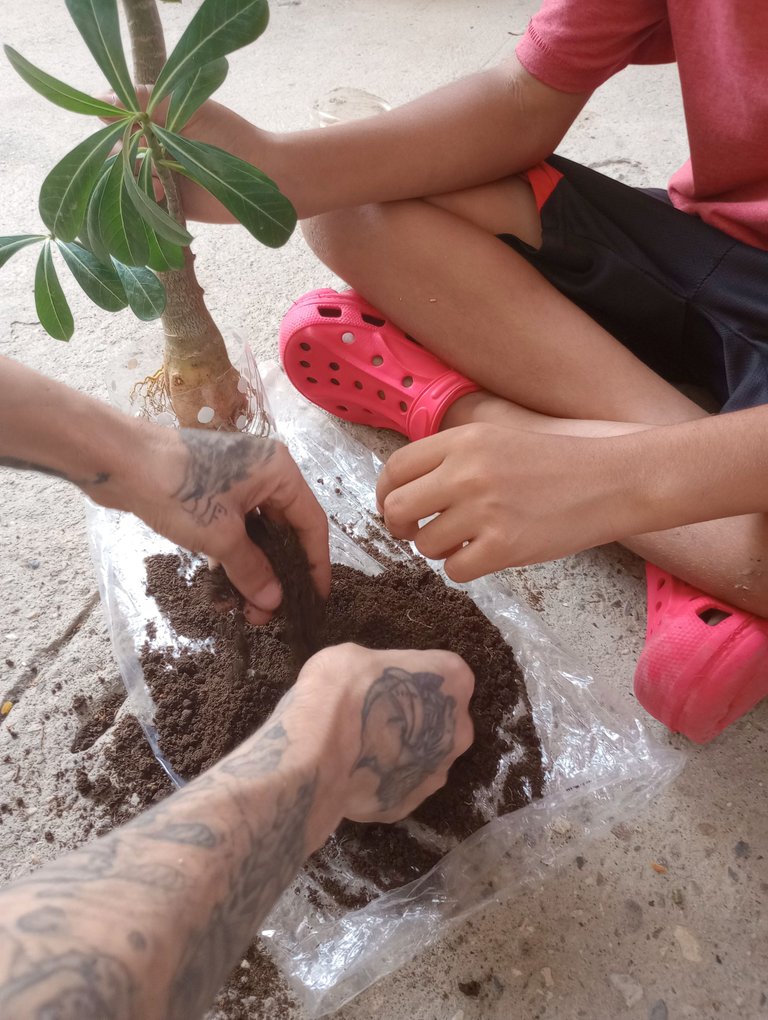
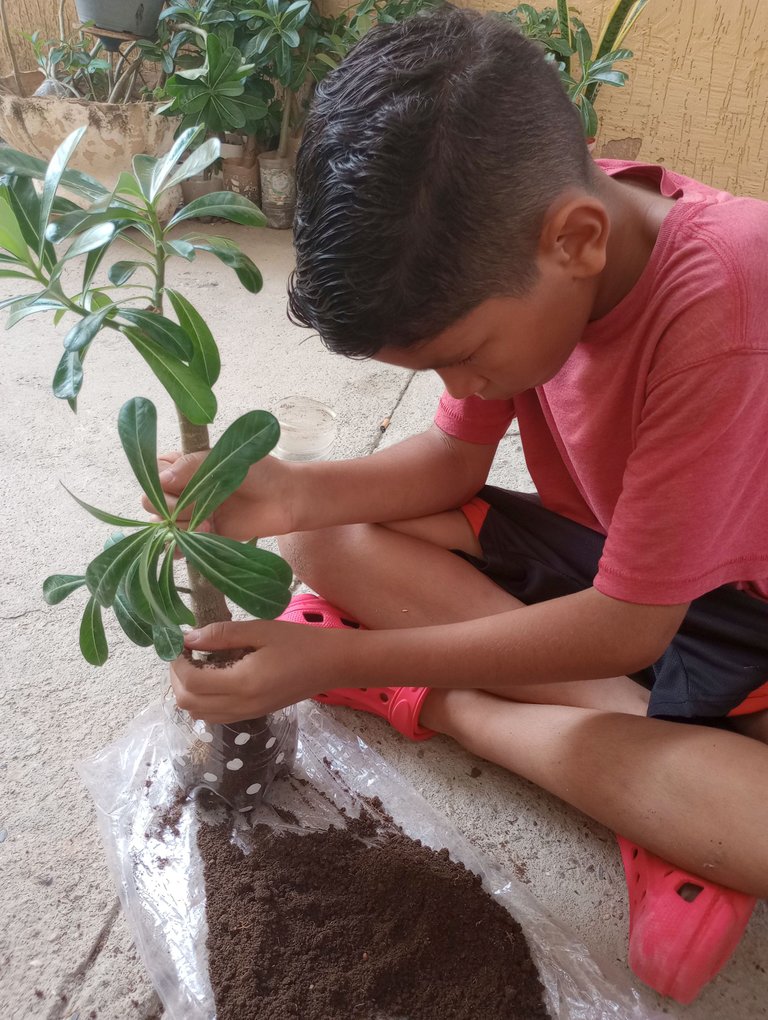
A la arena le retiraron las hojas secas, piedritas y raíces secas que pudiera tener y luego comenzaron a colocarla en el nuevo matero.
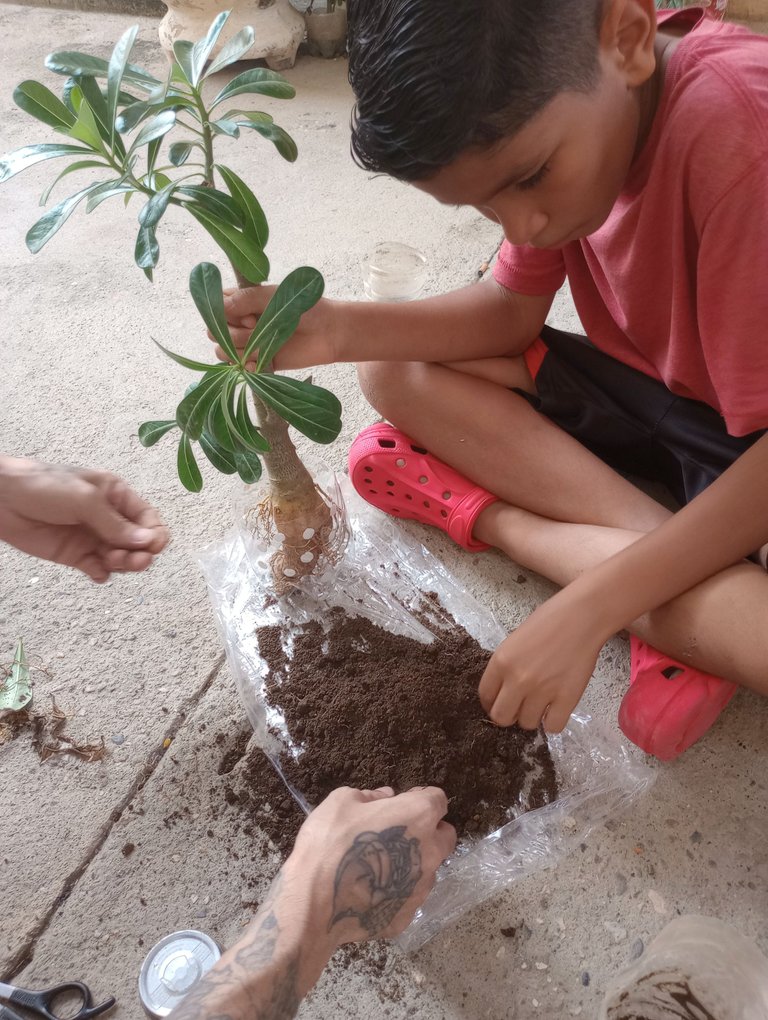
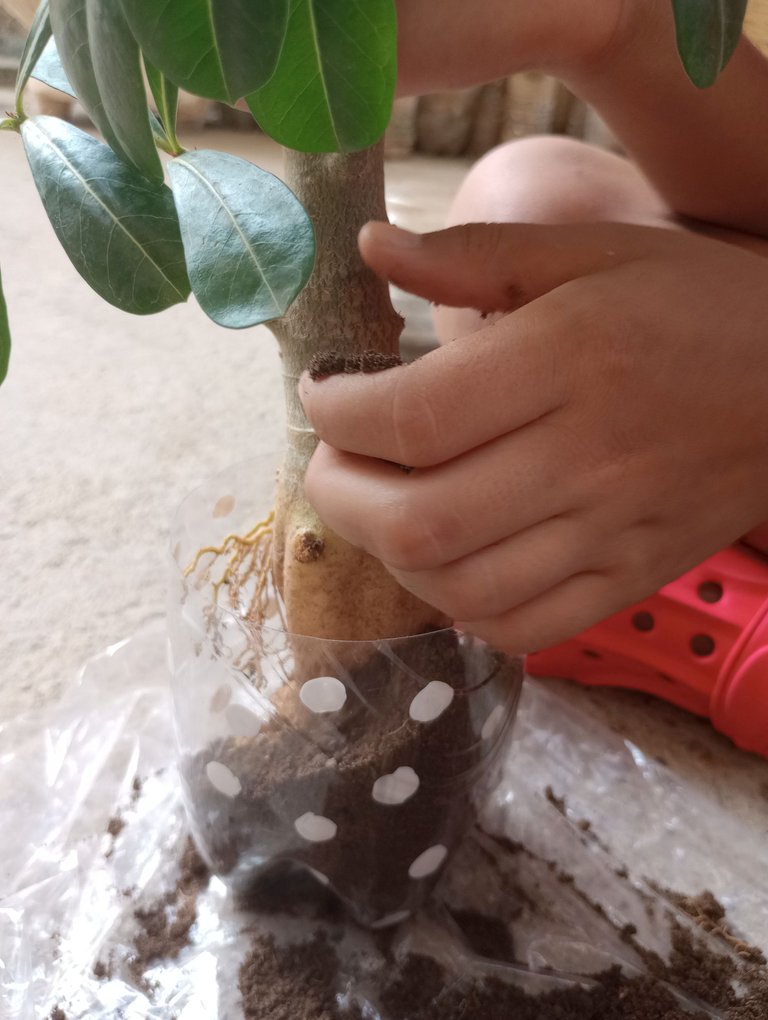
They removed any dry leaves, pebbles, and dry roots from the sand and then began to place it in the new pot.

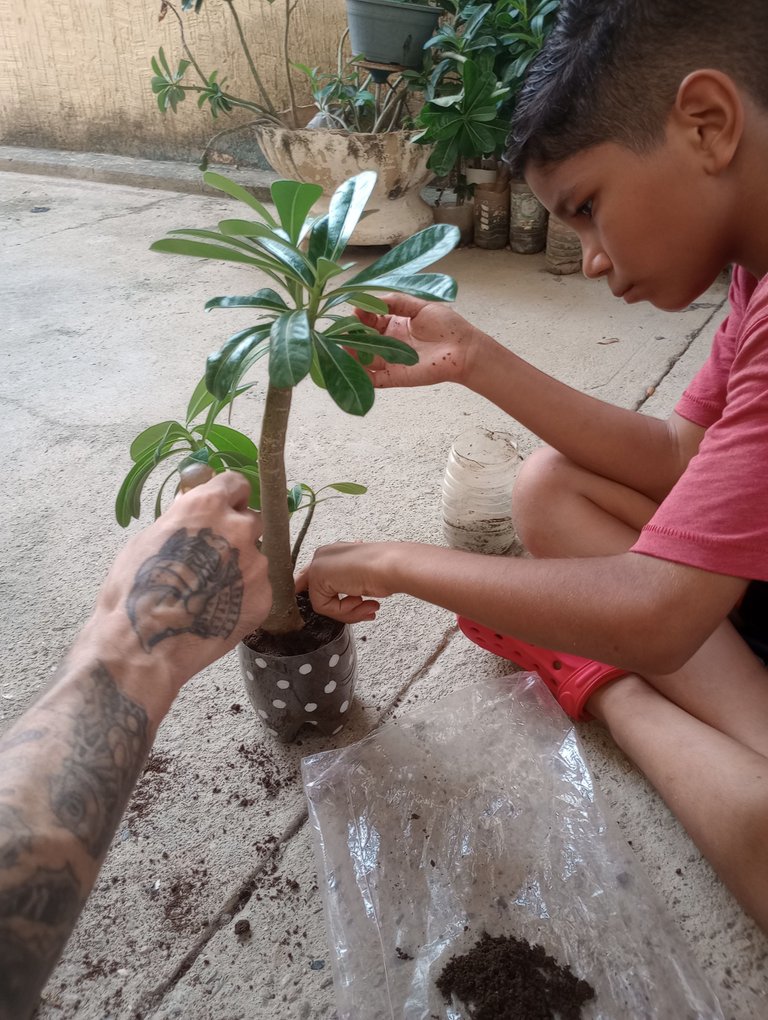
Finalmente se hizo un poco de presión paa fijar la planta y evitar que se fuera hacia los lados y mi hijo le colocó unas piedritas decorativas que teníamos en casa.
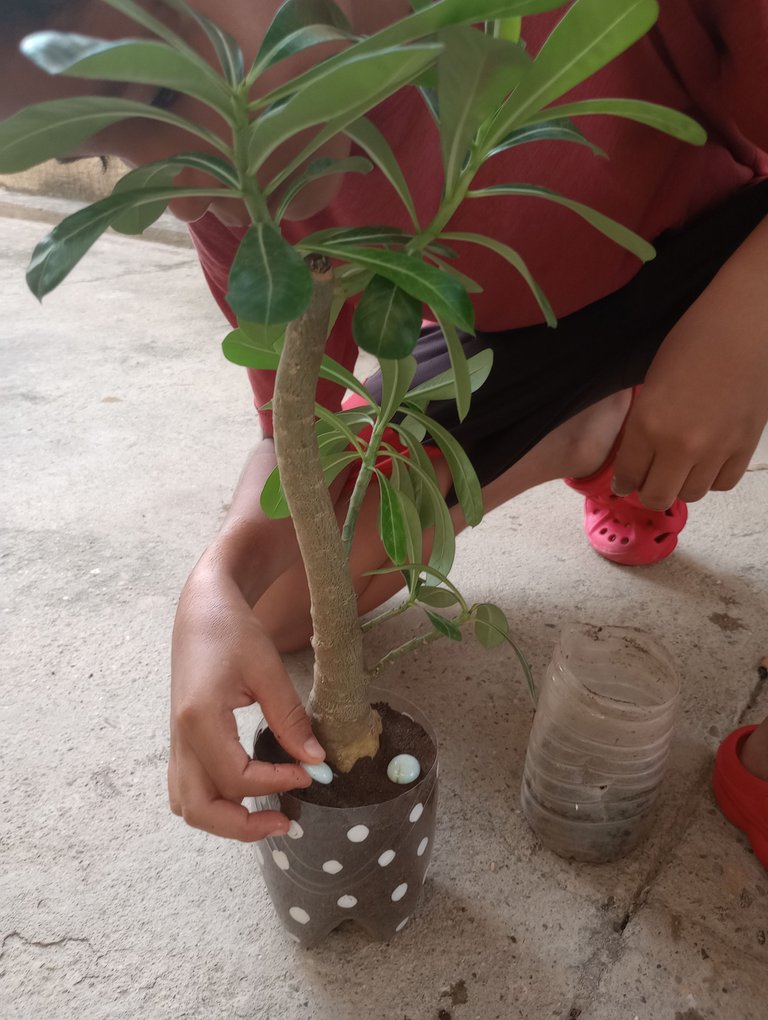
Finally, a little pressure was applied to fix the plant and prevent it from going to the sides and my son placed some decorative stones that we had at home.

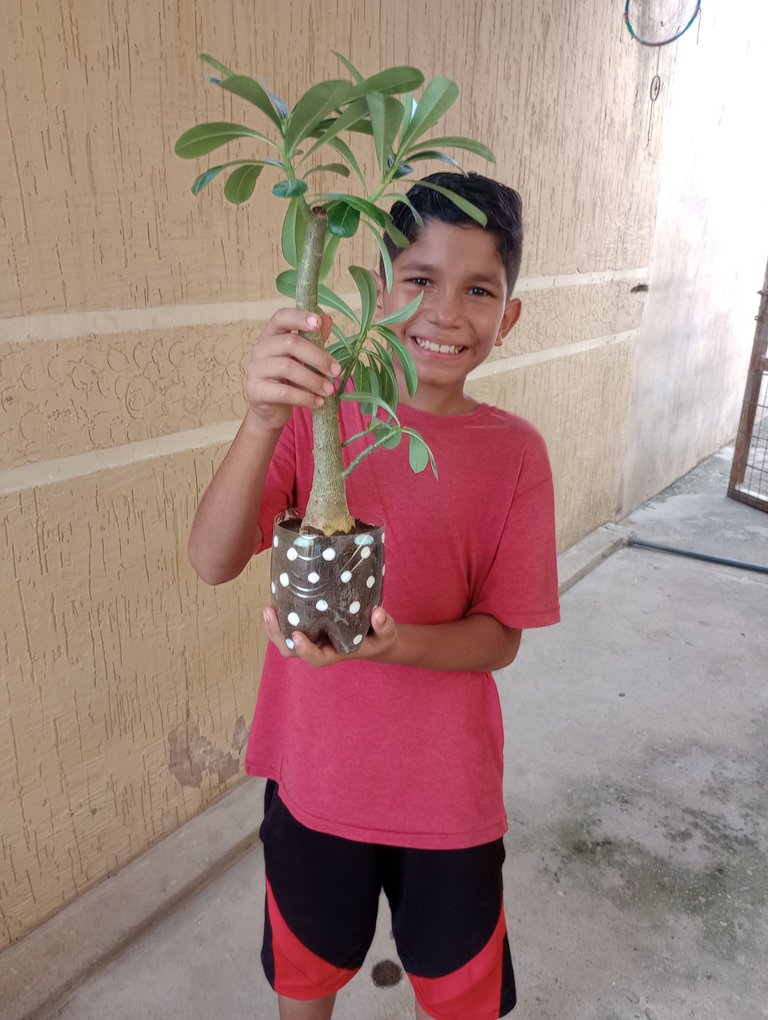
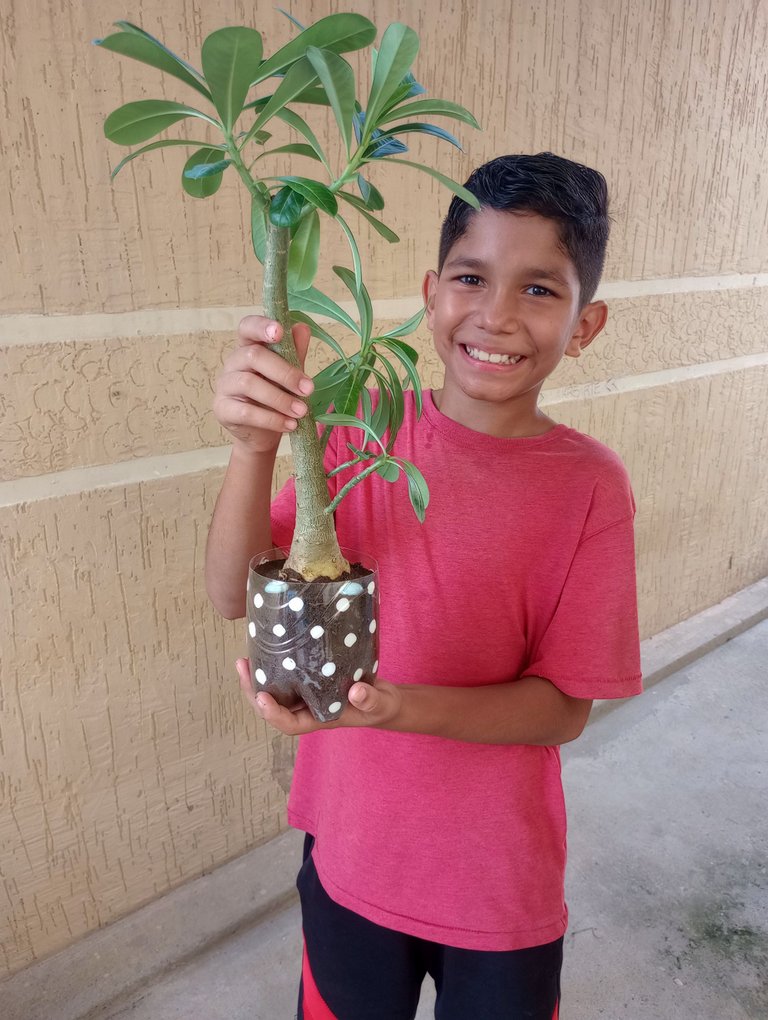
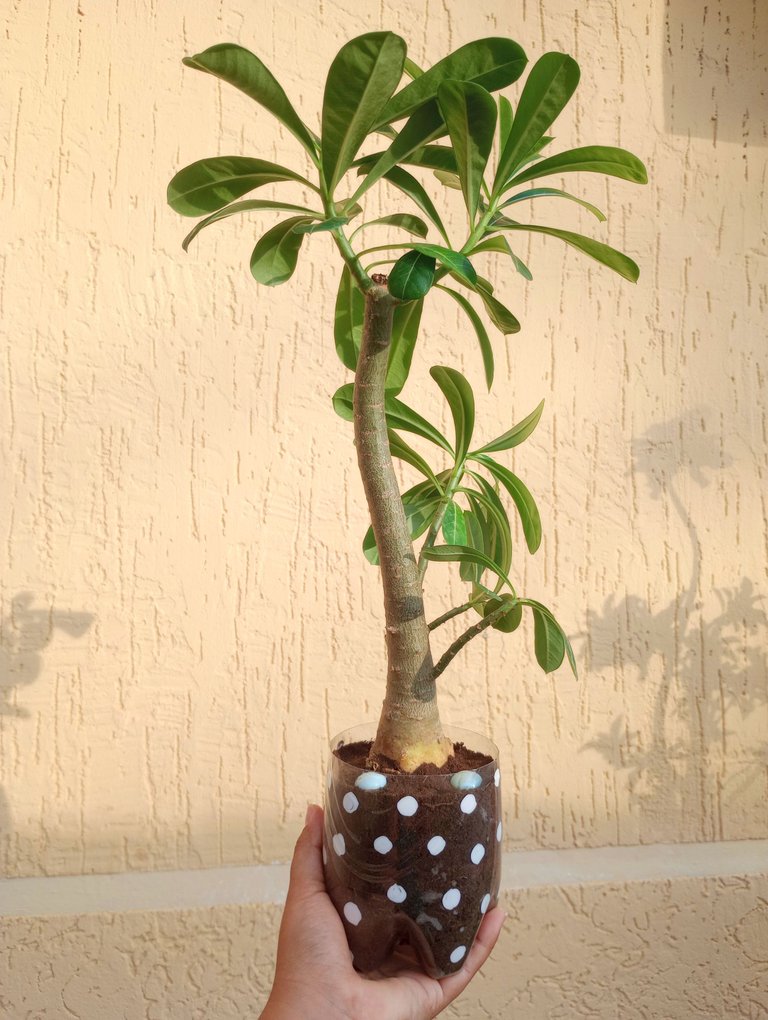
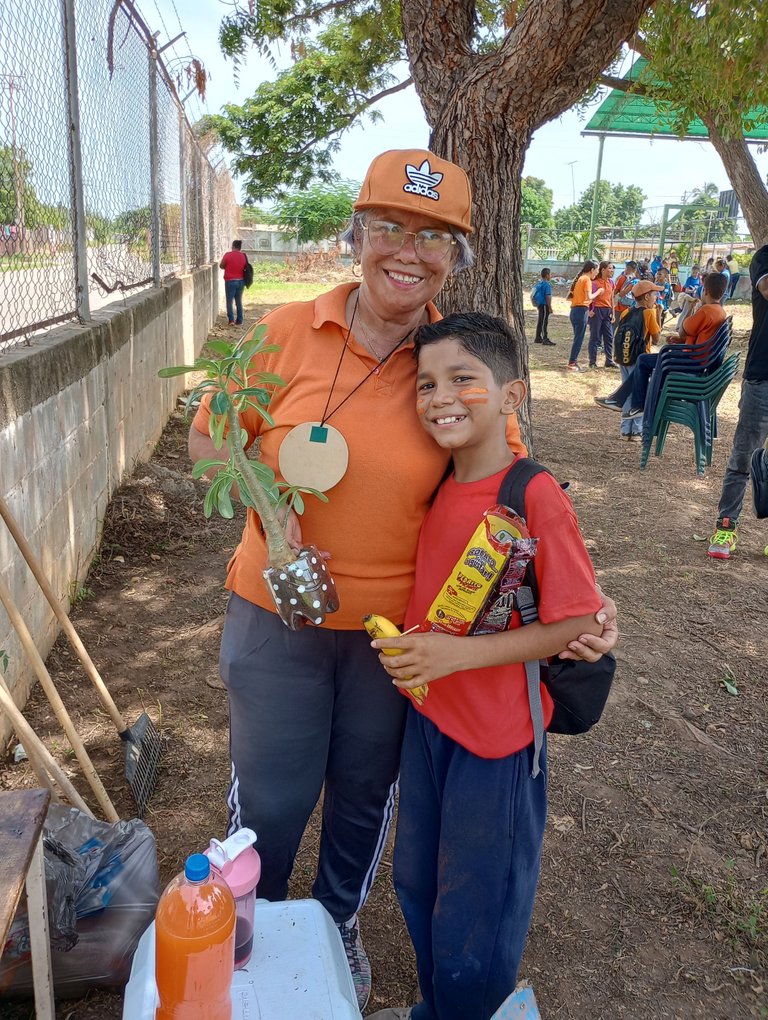
Así quedó lista la planta. Esta la hicimos el día anterior al día de campamento, que próximamente les estaré compartiendo en otro post. Ese día la llevamos y él se la entregó a su maestra junto a un gran abrazo.
Ella quedó encantada y le preguntó a mi hijo como debía cuidarla.
Espero les haya gustado vivir esta pequeña experiencia junto a nosotros y les sirva de inspiración para darle un nuevo hogar a alguna de sus plantitas.
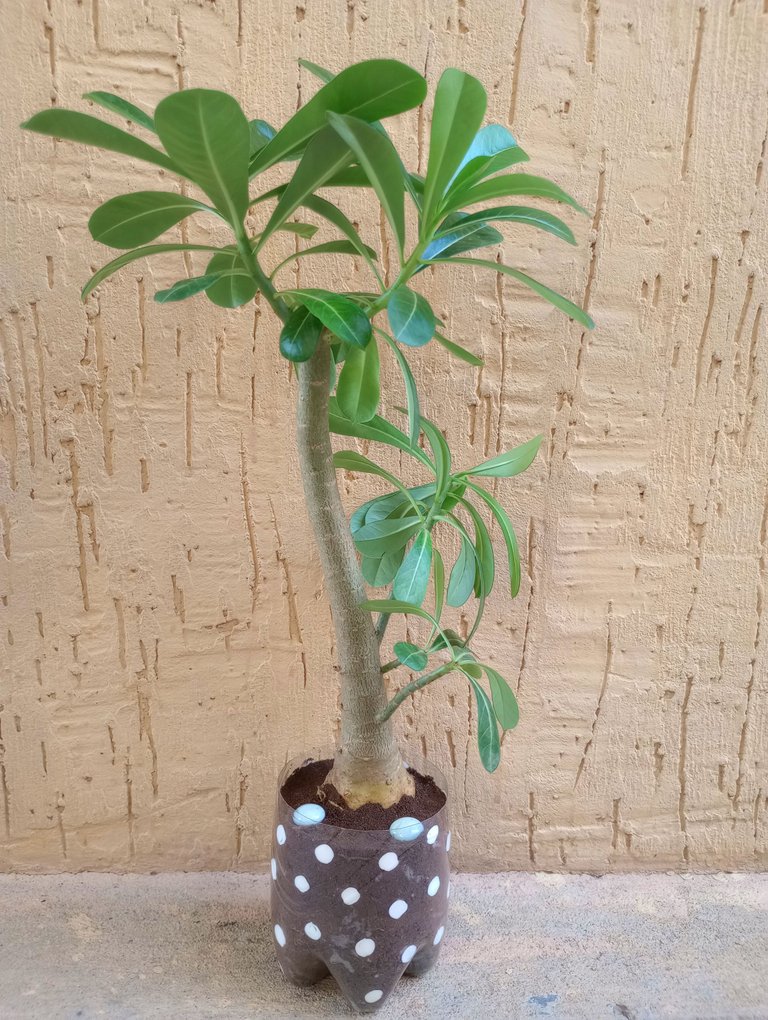
So the plant was ready. We did this the day before the camp day, which I will soon be sharing in another post. That day we took her and he gave her to his teacher along with a big hug.
She was delighted and asked my son how he should take care of her.
I hope you enjoyed living this little experience with us and it inspires you to give one of your little plants a new home.


Espero haya sido de tu agrado y provecho.
Un gran abrazo a todos, y nos leemos en un próximo post
• Lakrearte en Hive •
Att: Estefania Garcia ♥

Imágenes y separadores de mi autoría
Portada editada en Canva
Fotografías tomadas con un Moto G31
Texto traducido en Google ImTranslate v.14.27