Saludos almas creativas de la colmena, por experiencia personal, si en algún momento ves un cactus caer del balcón, déjalo caer o que se vaya de homerun jaja
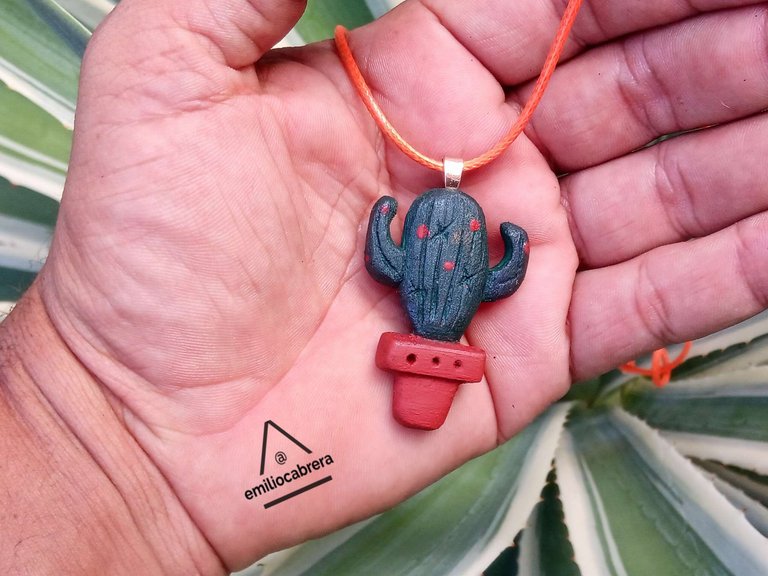
En casa amamos los cactus y suculentas, tenemos una pequeña colección, de hecho, mi tarea creativa de hoy con madera está inspirado en ellos.
Quise hacer un colgante para regalárselo a mi esposa por su cumpleaños, se que lo va a apreciar porque parte de su mundo gira alrededor de éstos espinosos.
Los invito a ver el siguiente paso a paso...
At home we love cacti and succulents, we have a small collection, in fact, my creative task today with wood is inspired by them.
I wanted to make a pendant to give to my wife for her birthday, I know she will appreciate it because part of her world revolves around these prickly pears.
I invite you to see the following step by step...
1 PASO
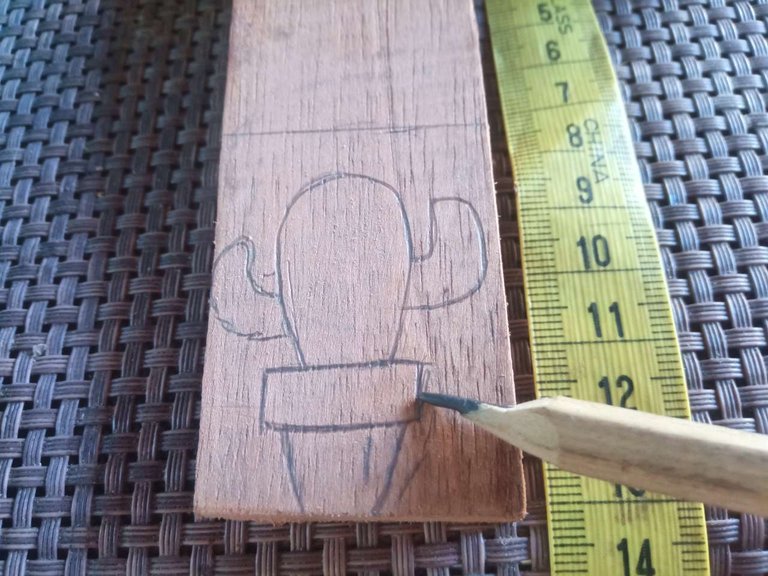
En un recorte de madera dibujamos el boceto del cactus tomando en cuenta el tamaño ya que es para colgarlo en el cuello. Las medidas que apliqué fue de 4.5 centímetros de alto por 2.5 de ancho.
1 STEP
On a wooden cutout we draw the sketch of the cactus taking into account the size since it is to hang around the neck. The measurements I applied were 4.5 centimeters high by 2.5 wide.
PASO 2
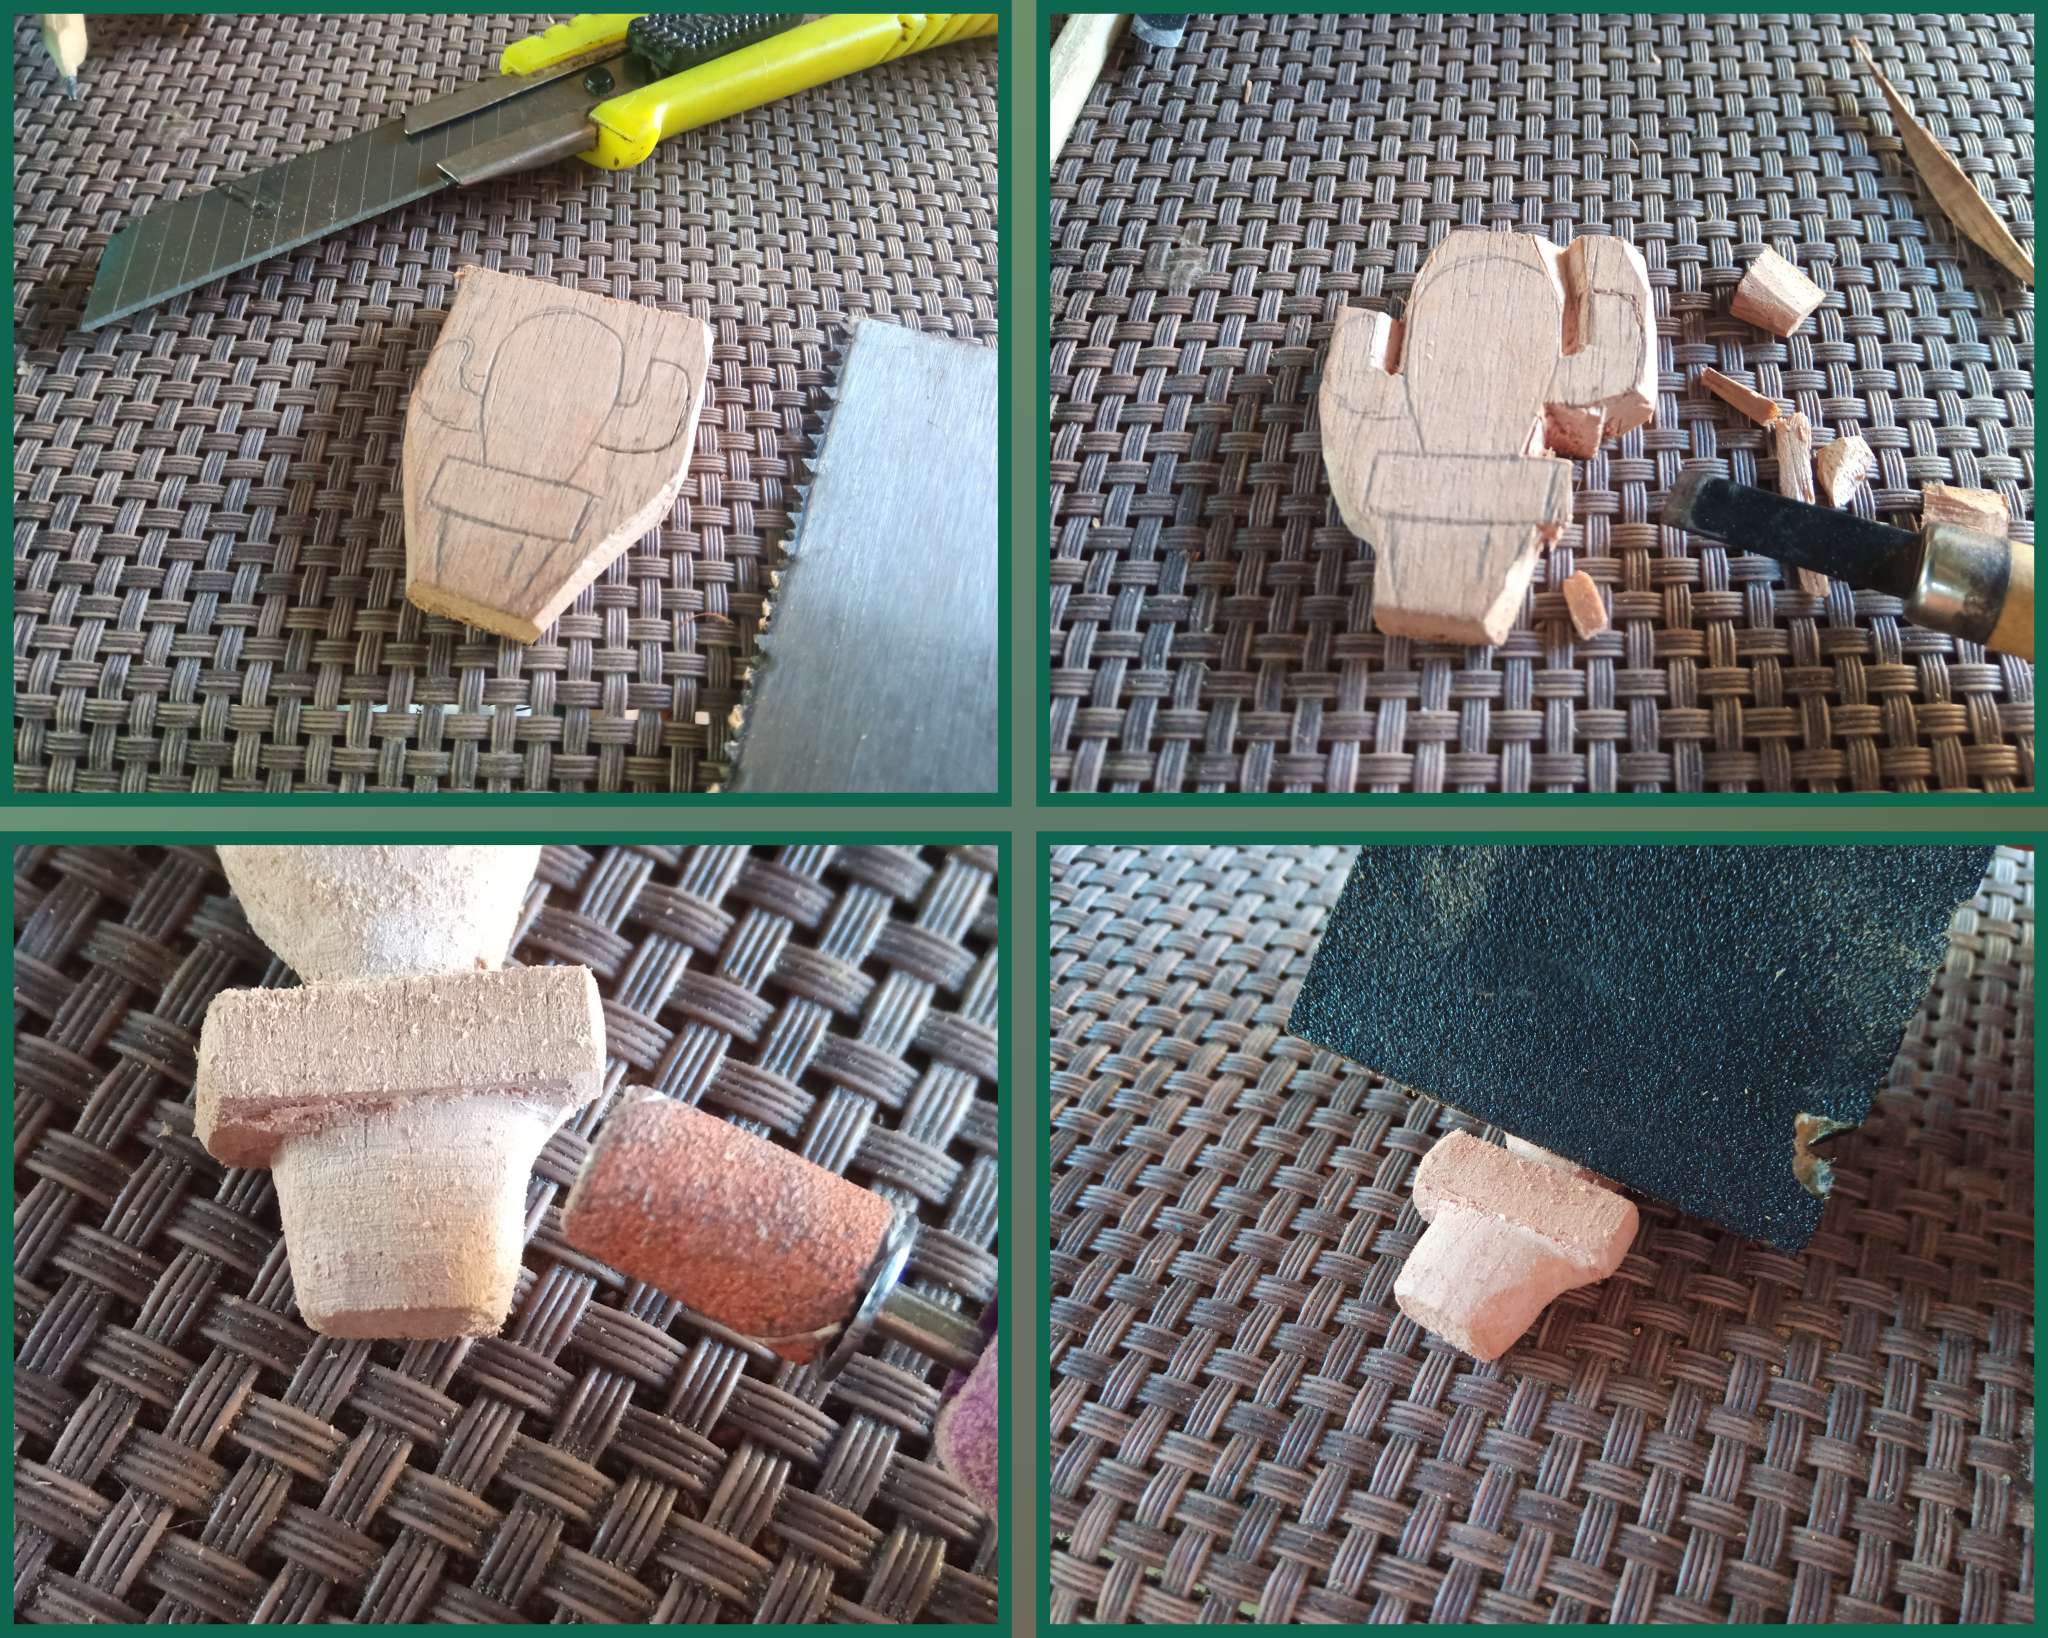
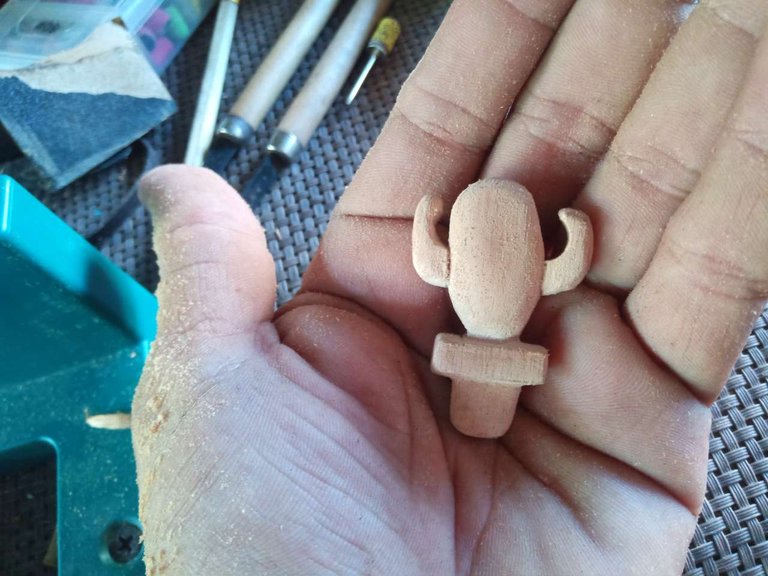
Con las herramientas necesarias como son la sierra, el cúter, el dremel y los sinceles comenzamos a esculpir el diseño siguiendo las acciones de cuidado y paciencia para no dañar el trabajo. Una vez que retiremos lo más que podamos de los bordes de madera del diseño, le vamos dando forma a la maceta con el cúter y la lija.
STEP 2
With the necessary tools such as the saw, the cutter, the dremel and the sinceles we begin to sculpt the design following the actions of care and patience so as not to damage the work. Once we remove as much as we can of the wooden edges of the design, we shape the pot with the cutter and sandpaper.
PASO 3
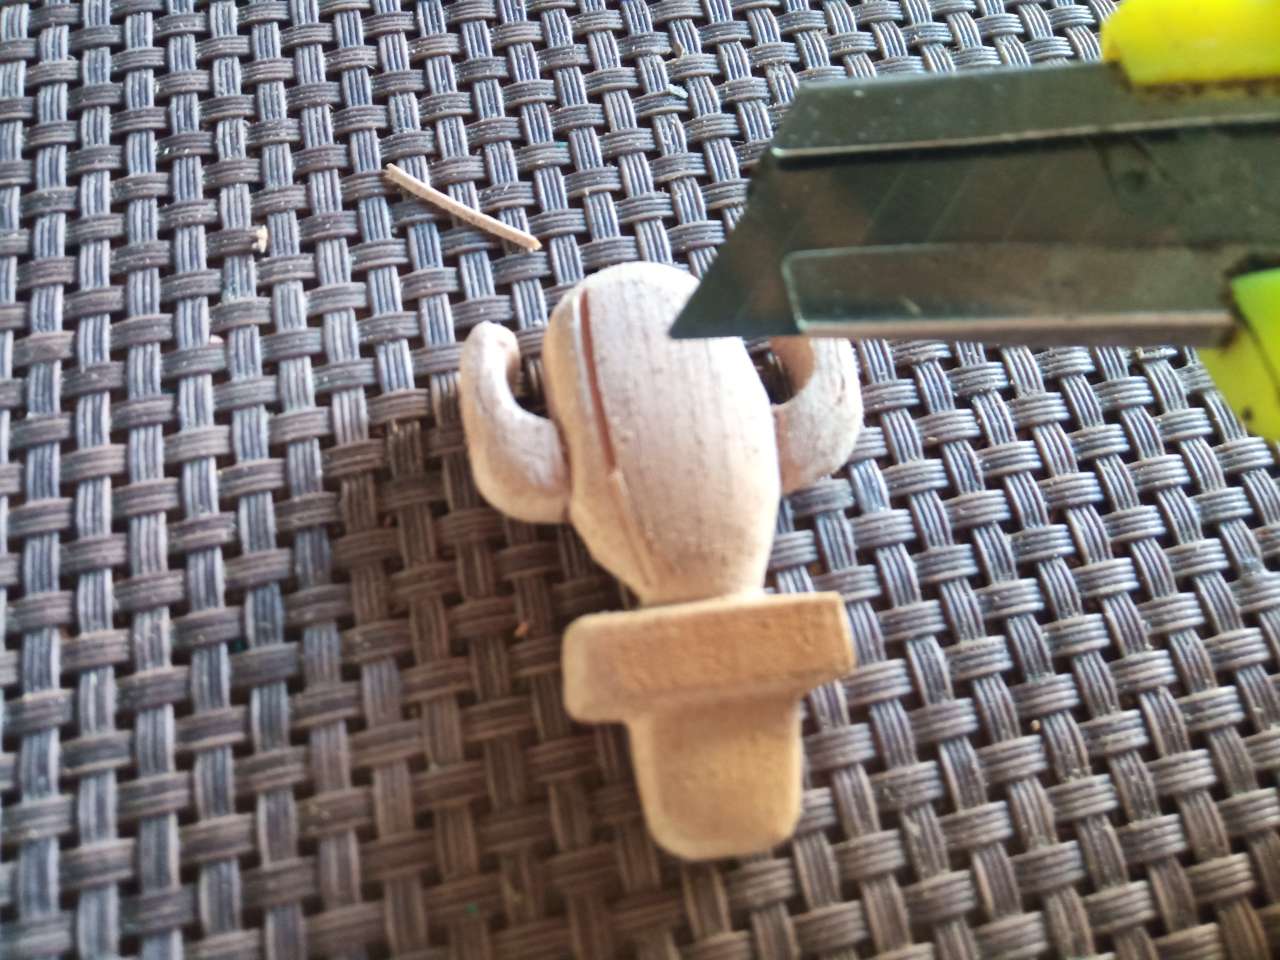
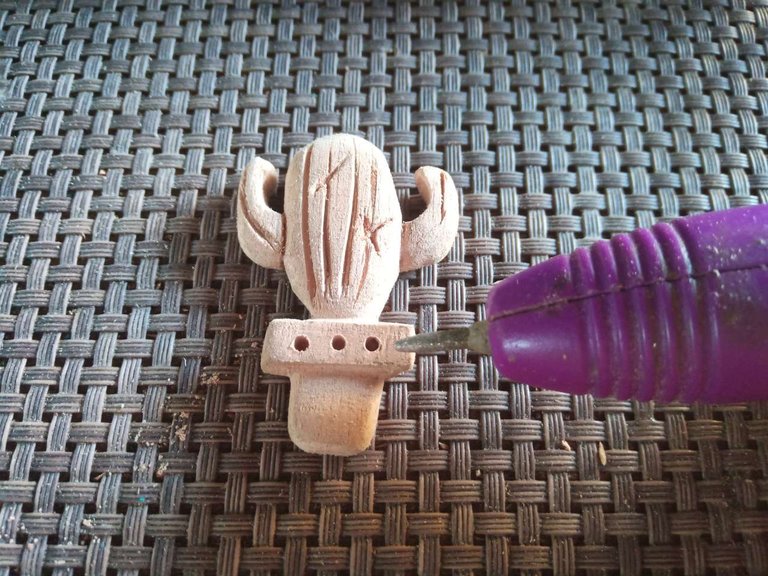
En éste paso empezamos a realizar ma detalles de la anatomía de un cactus, con el cúter le hacemos las grietas naturales que poseen algunos cactus en su corteza.
STEP 3
In this step we begin to make more details of the anatomy of a cactus, with the cutter we make the natural cracks that some cacti have in their bark.
PASO 4
Lijado al agua y pintura
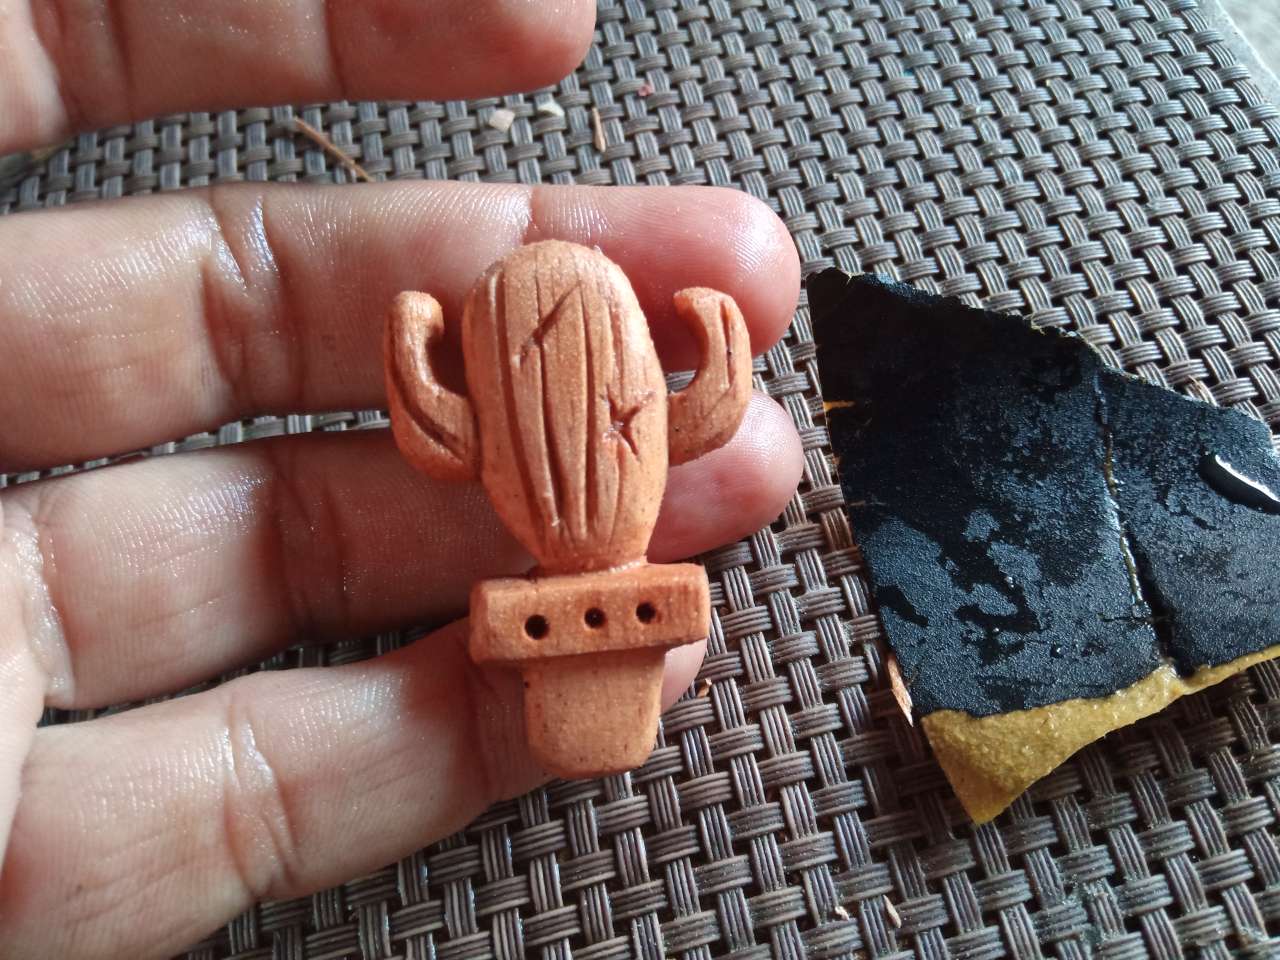
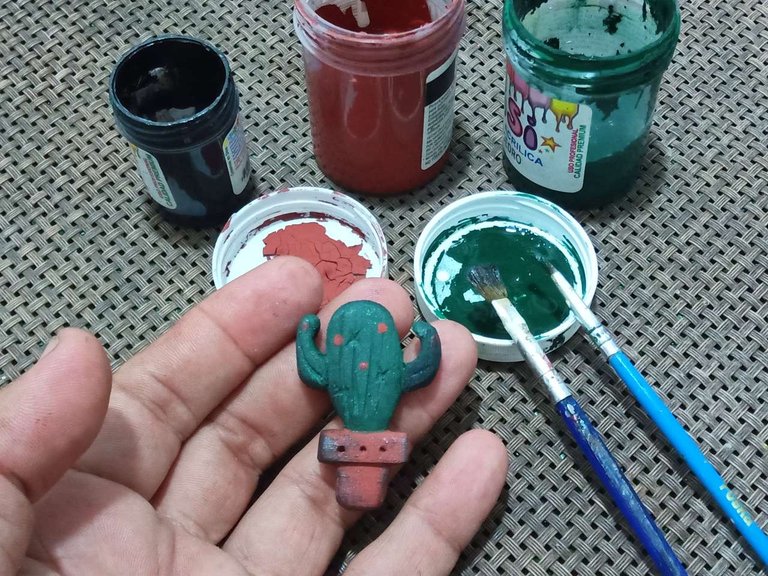
La lija mojada o lija al agua sirve para conseguir un mejor acabado. Después de lijar dejamos secar y aplicamos pintura verde para el cactus y pintura color canela para la maceta.
STEP 4
Water sanding and painting
Wet sandpaper or water sandpaper is used to achieve a better finish. After sanding we let it dry and applied green paint for the cactus and tan paint for the pot.
MATERIALES
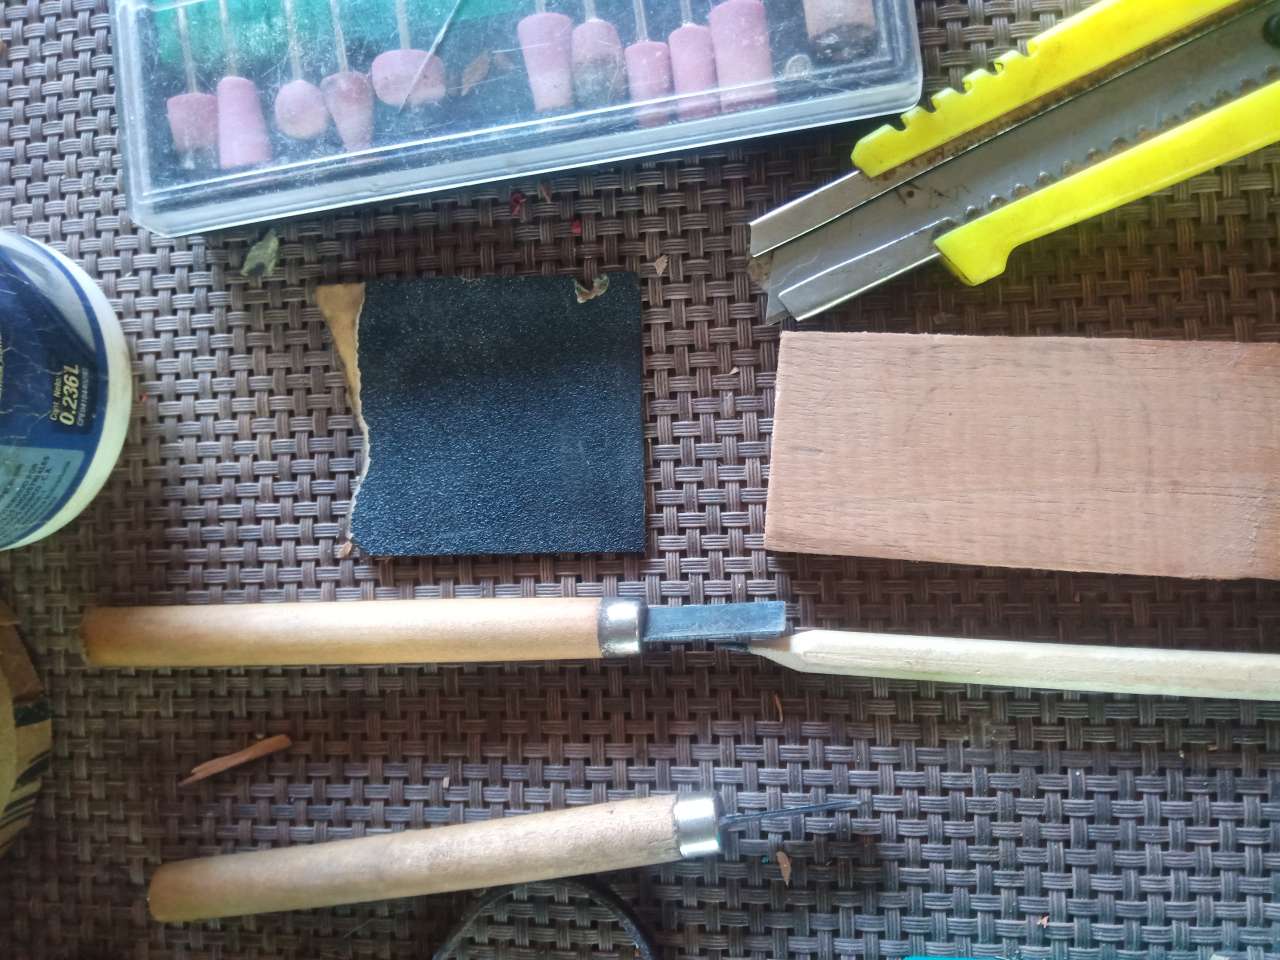
✓ madera
✓ sinceles y formones
✓ pintura verde, canela y negro
✓ cordón piel de serpiente naranja
✓ sierra manual
✓ dremel
✓ pegamento instantáneo
✓ lápiz
✓ cúter
✓ soporte para cordón
✓ cinta para medir
MATERIALS
✓ wood
✓ sinceles and chisels
✓ green, tan and black paint
✓ orange snakeskin cord
✓ manual saw
✓ dremel
✓ instant glue
✓ pencil
✓ cutter
✓ cord holder
✓ measuring tape
Fotografías finales/ final photographs
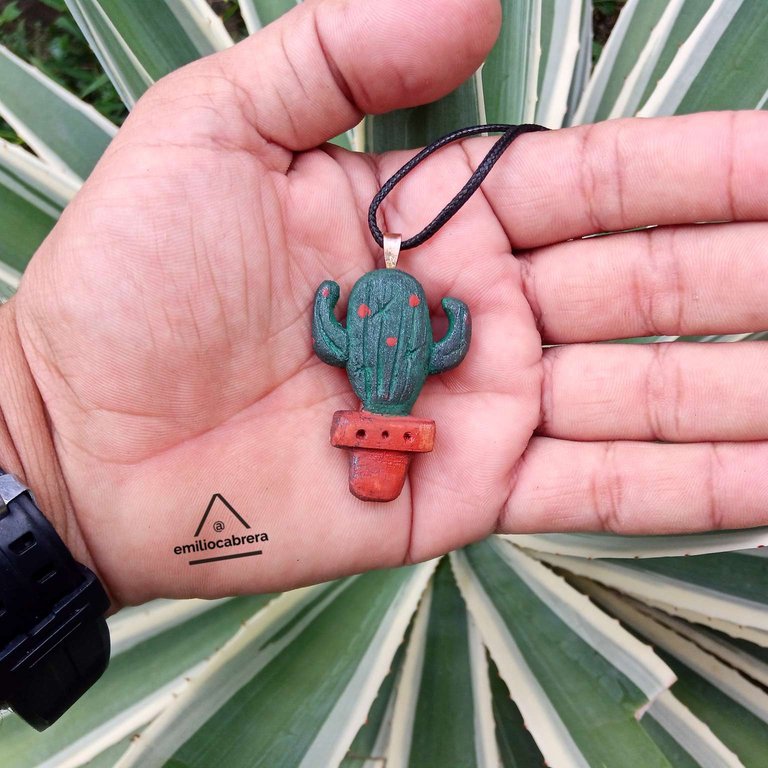
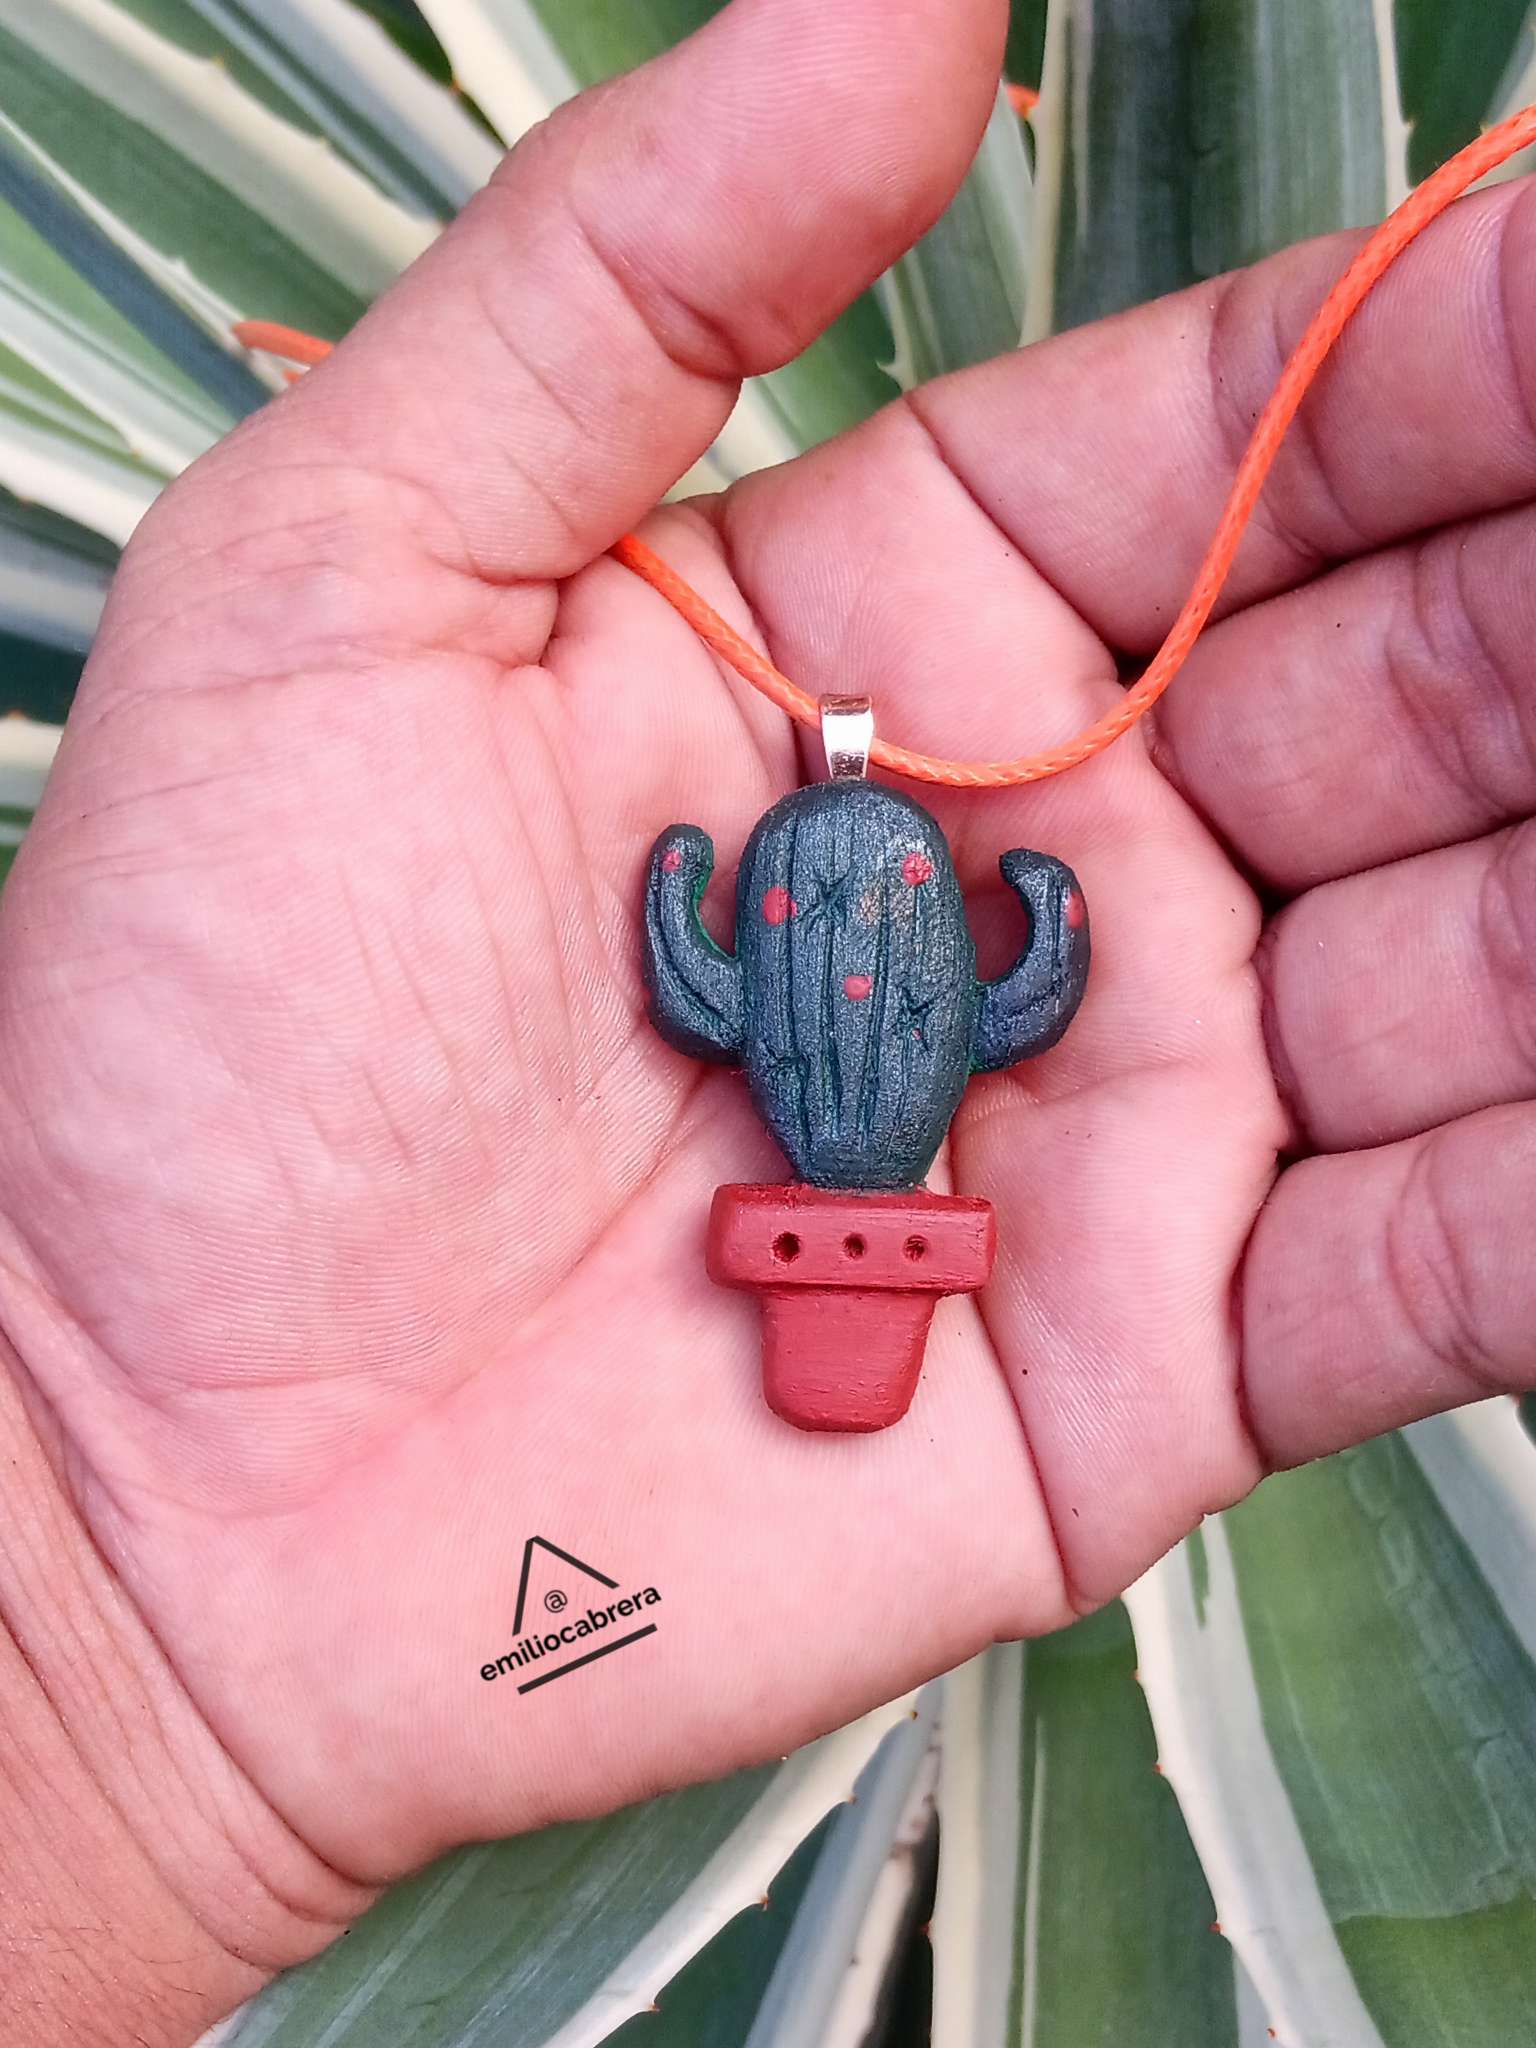
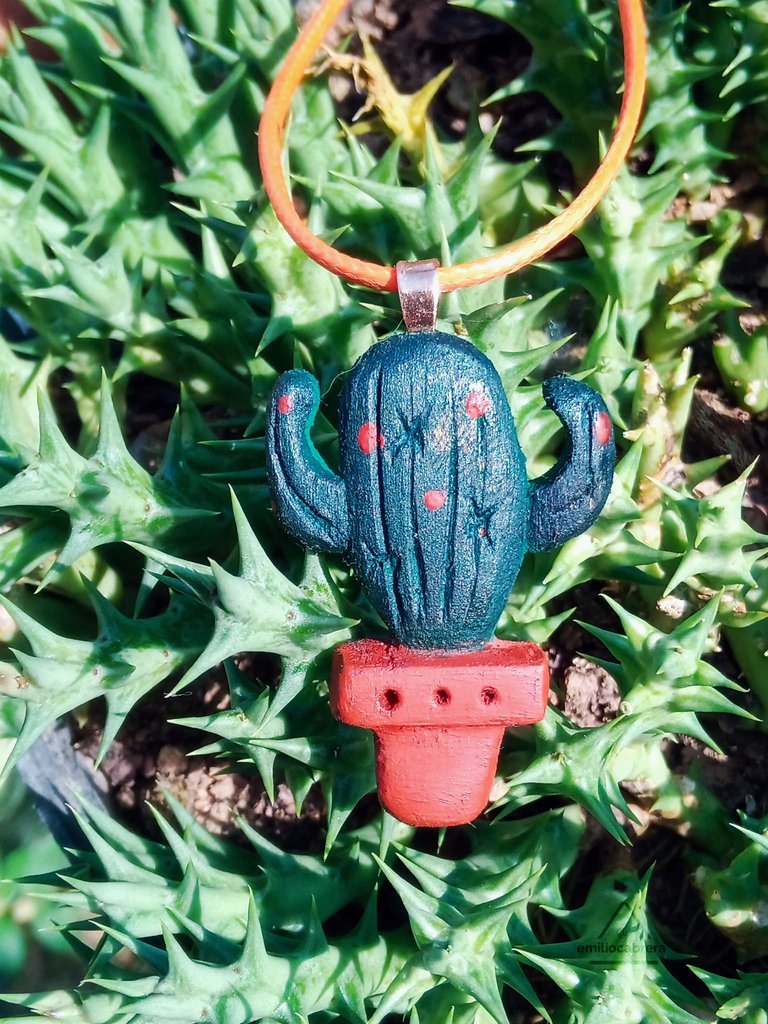
Todas las fotos son de mi propiedad, tomadas con la cámara de mi teléfono 📱 Bison 11 .
Traductor utilizado: Google Traductor.
Los gif fueron editados con la app Creador y editor de GiF
Las imágenes fueron comprimidas con la app photo compresor.
Duración aproximada de trabajo: 2:00 horas
All photos are my property, taken with my phone camera 📱 Bison 11 .
Translator used: Google Translator.
The gifs were edited with the GiF Creator and Editor app
The images were compressed with the photo compressor app.
Approximate duration of work: 2:00 hours

muchas gracias por su atención, nos vemos en los comentarios o en una próxima entrada
thank you very much for your attention, see you in the comments or in a future post


