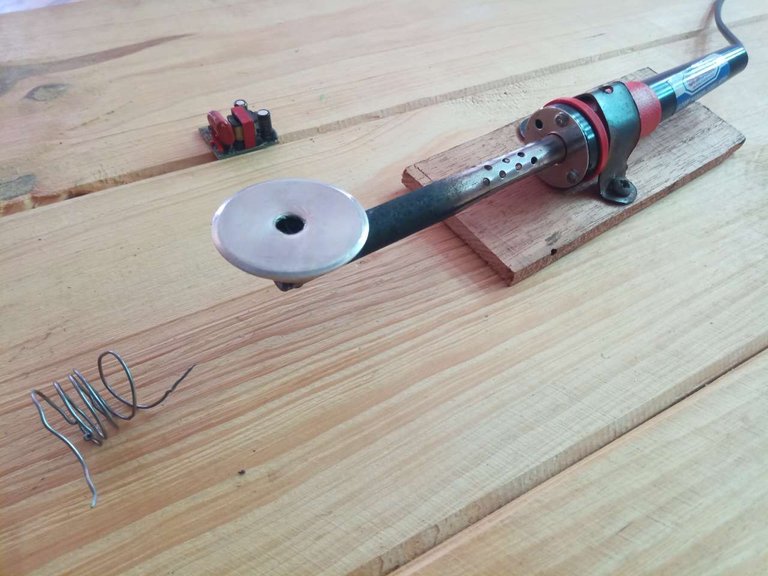

Some tools and materials at first glance are not usually relevant but when we take them to the field of action they are very useful and facilitate the work to be done.
This time I wanted to test one of the many models on the web to melt tin. I have days doing some electrical work around the house and would like to tin the copper splices for better long term contact.
Come with me to see the following and super easy step by step

Algunas herramientas y materiales a simple vista no suelen ser relevantes pero cuando la llevamos al campo de acción son muy útil y facilitan los trabajos a realizar.
En ésta oportunidad quise poner a prueba uno de tantos modelos que hay en la web para fundir estaño. Tengo días resolviendo algunos trabajos de electricidad en casa y me gustaría colocarle estaño a los empalmes de cobre para una mejor contacto a largo plazo.
Acompañame a ver el siguiente y super fácil paso a paso

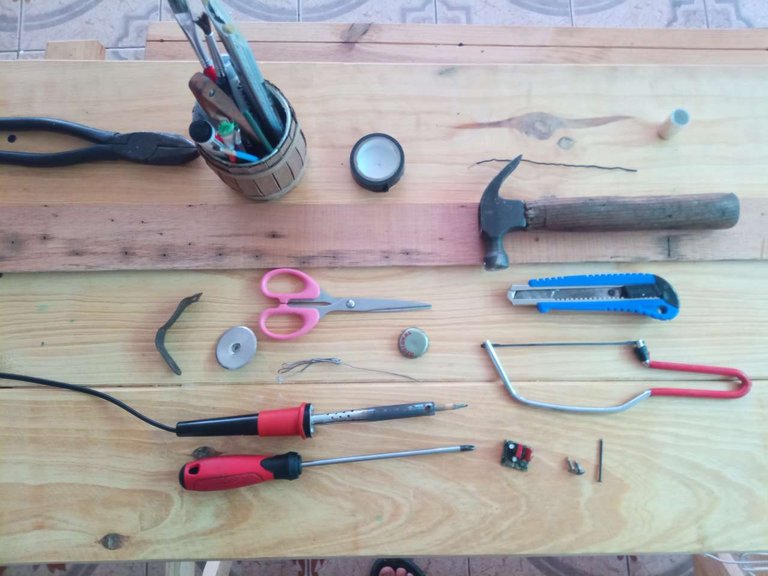
Tools and materials
- soldering iron
- bottle cap
- screws
- iron plate
- screwdrivers
- pliers
- tin
- scissor
- cutter
Herramientas y materiales
- cautín
- tapa de botella
- tornillos
- platina de hierro
- destornilladores
- alicate
- estaño

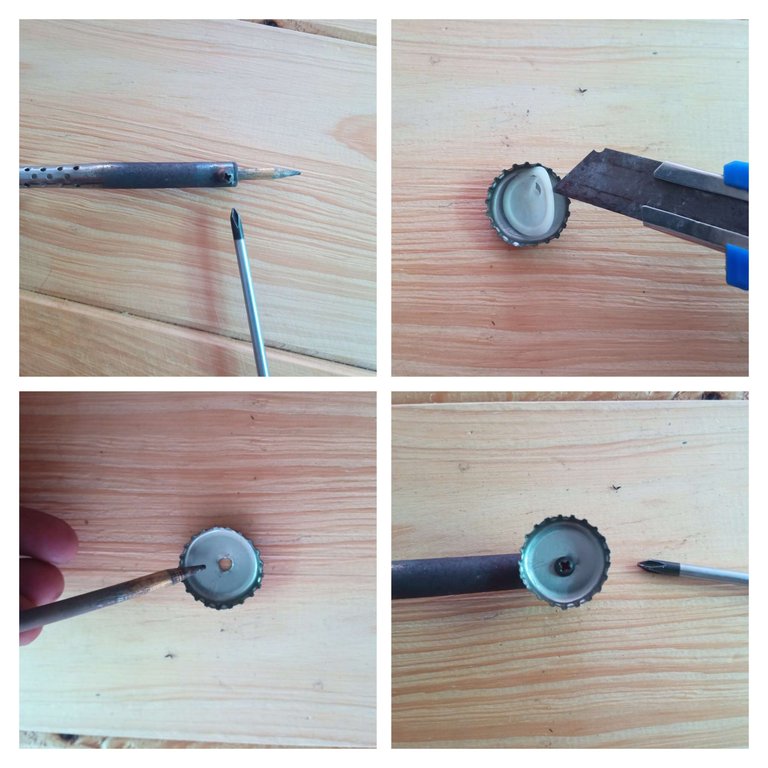
First step
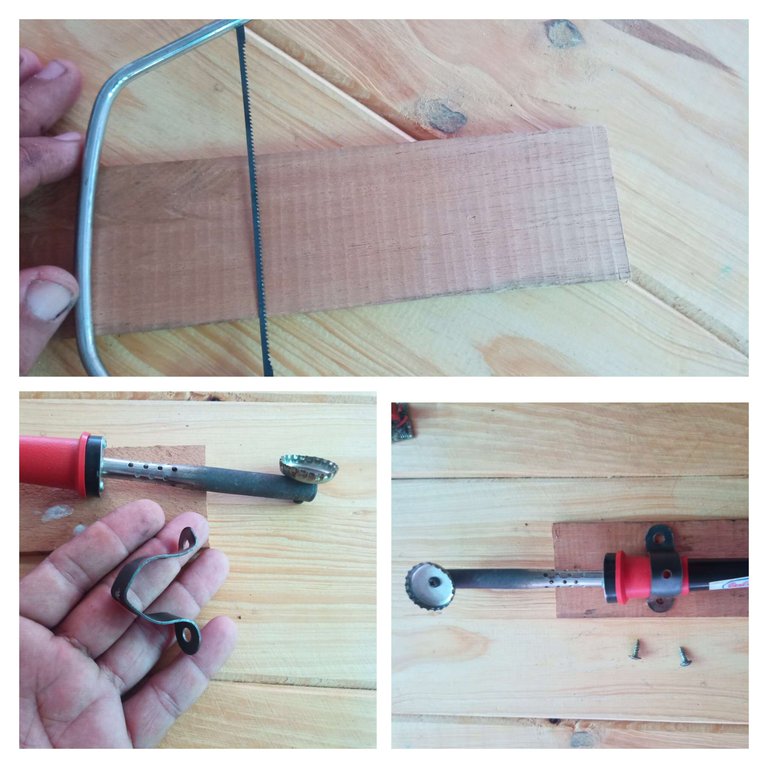
- Remove the screw that presses the wick of the soldering iron, also the wick.
- Remove the rubber from the bottle cap
- Make a hole in the lid of the thickness of the soldering iron screw and proceed to fix it tight
Primer paso
- Retirar el tornillo que presiona la mecha del cautín, también la mecha.
- Retirar la goma de la tapa de la botella
- Hacer un orificio en la tapa del grosor del tornillo del cautín y proceder a fijarlo bien ajustado

Second step
- cut with the manual saw a piece of wood of 15 centimeters
- with the iron plate we make a "U" and fix the soldering iron to the base wood
Segundo paso
- recortar con la sierra manual un pedazo de madera de 15 centímetros
- con la platina de hierro hacemos una "U" y fijamos el cautín a la madera base

Third and last step
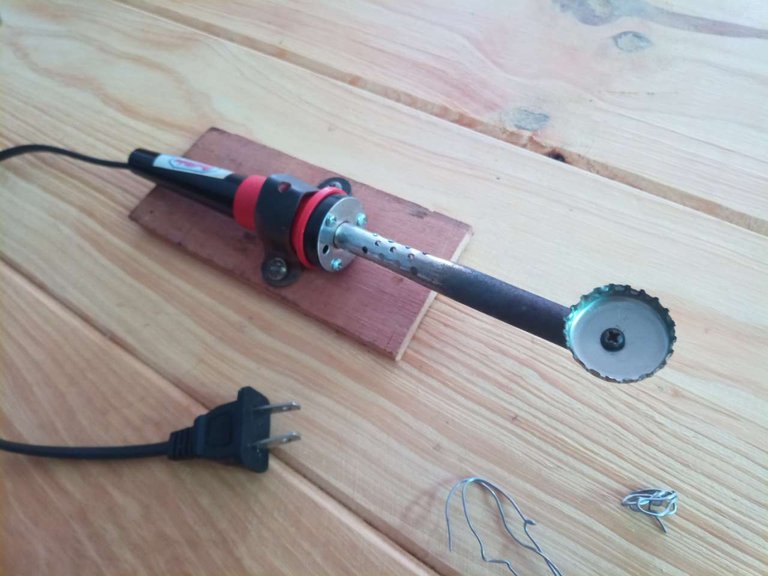
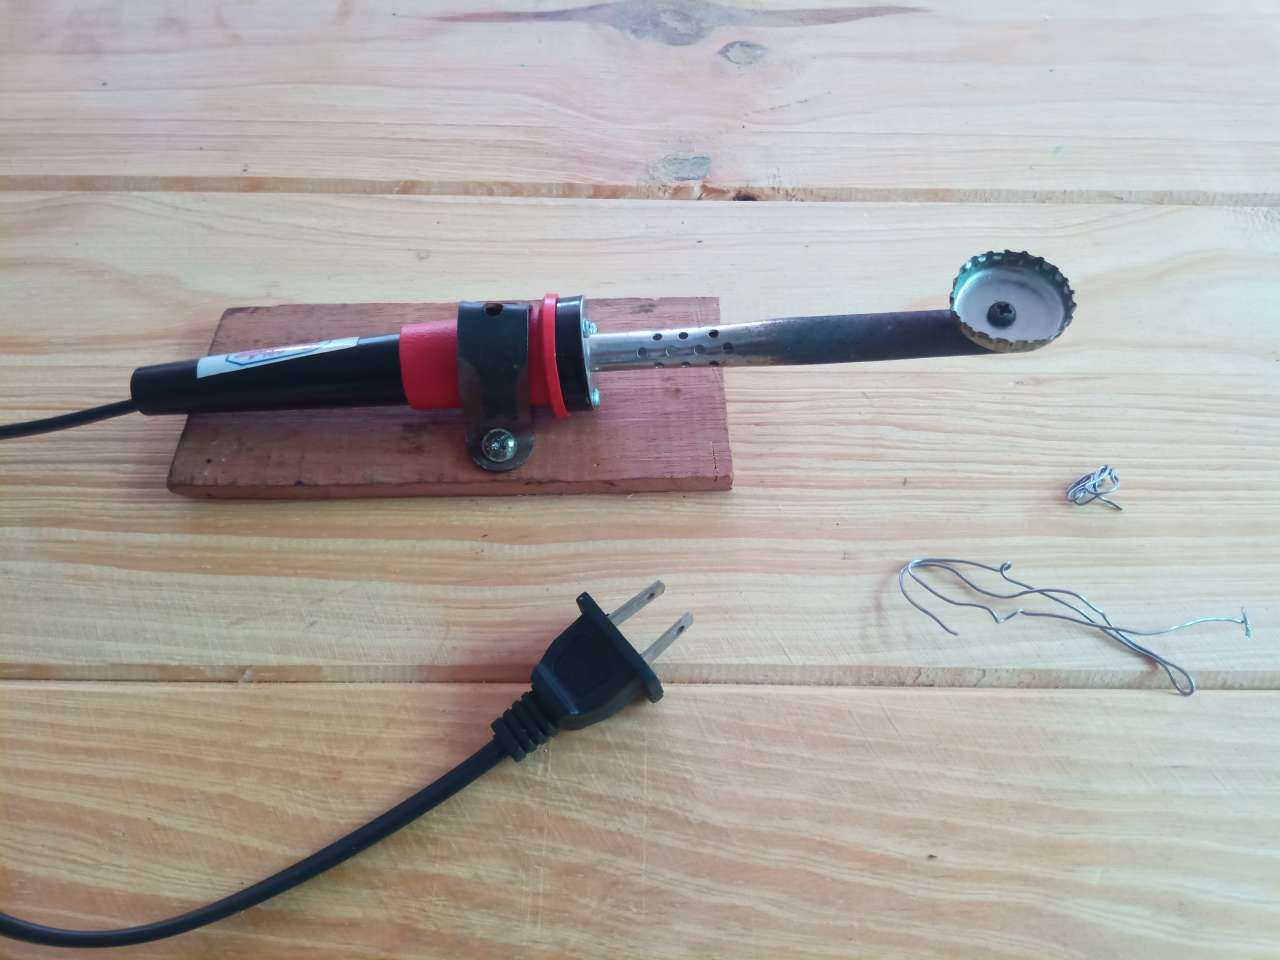
Plug in the soldering iron and let it heat up well, then melt the tin and submerge the copper wires that we want to join.
Tercer y último paso
Enchufar el cautín y dejar que caliente bien para luego derretir el estaño y sumergir los cables de cobre que deseamos unir.
The following gif shows how the container lid attached to the soldering iron begins to heat up
El siguiente gif muestra como empieza a calentar la tapa recipiente fijada al cautín
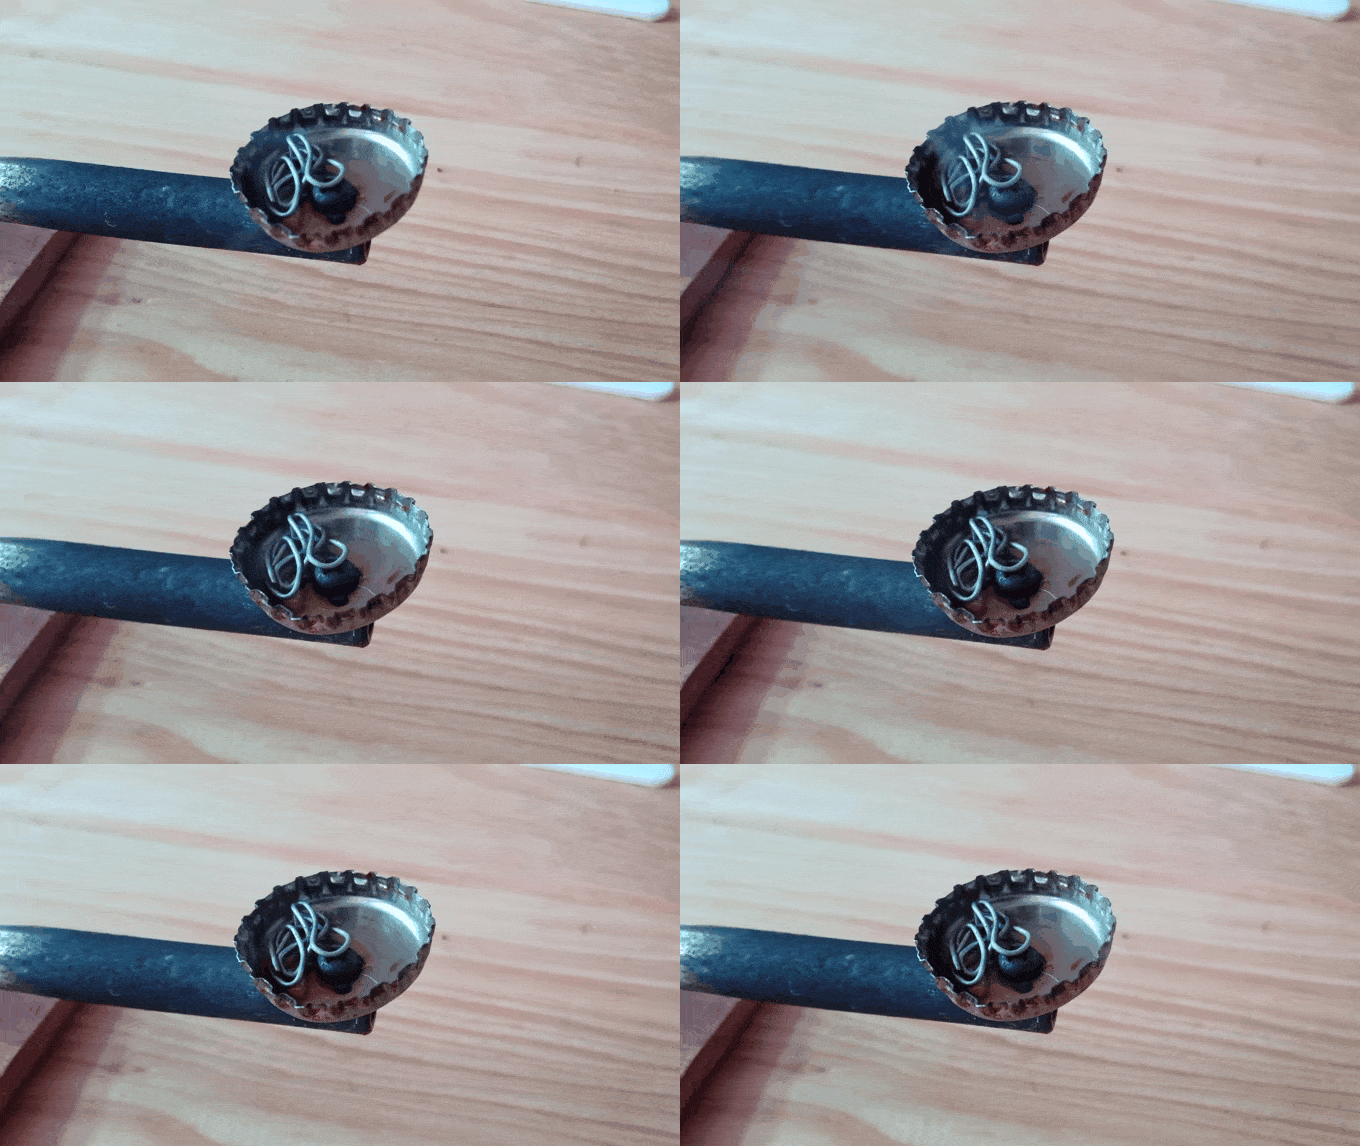
Also put a stainless steel lid to speed up heating because the soldering iron is low voltage.
También coloque una tapa de acero inoxidable para acelerar el calentamiento porque el cautín es de poco voltaje


Thanks for your attention, if you want to see more of my DIY posts, feel free to visit my blog. Greetings!
Gracias por su atención, si desea ver más de mis publicaciones de bricolaje, siéntase libre de visitar mi blog. Saludos!
