Hello friends...
☺☺☺
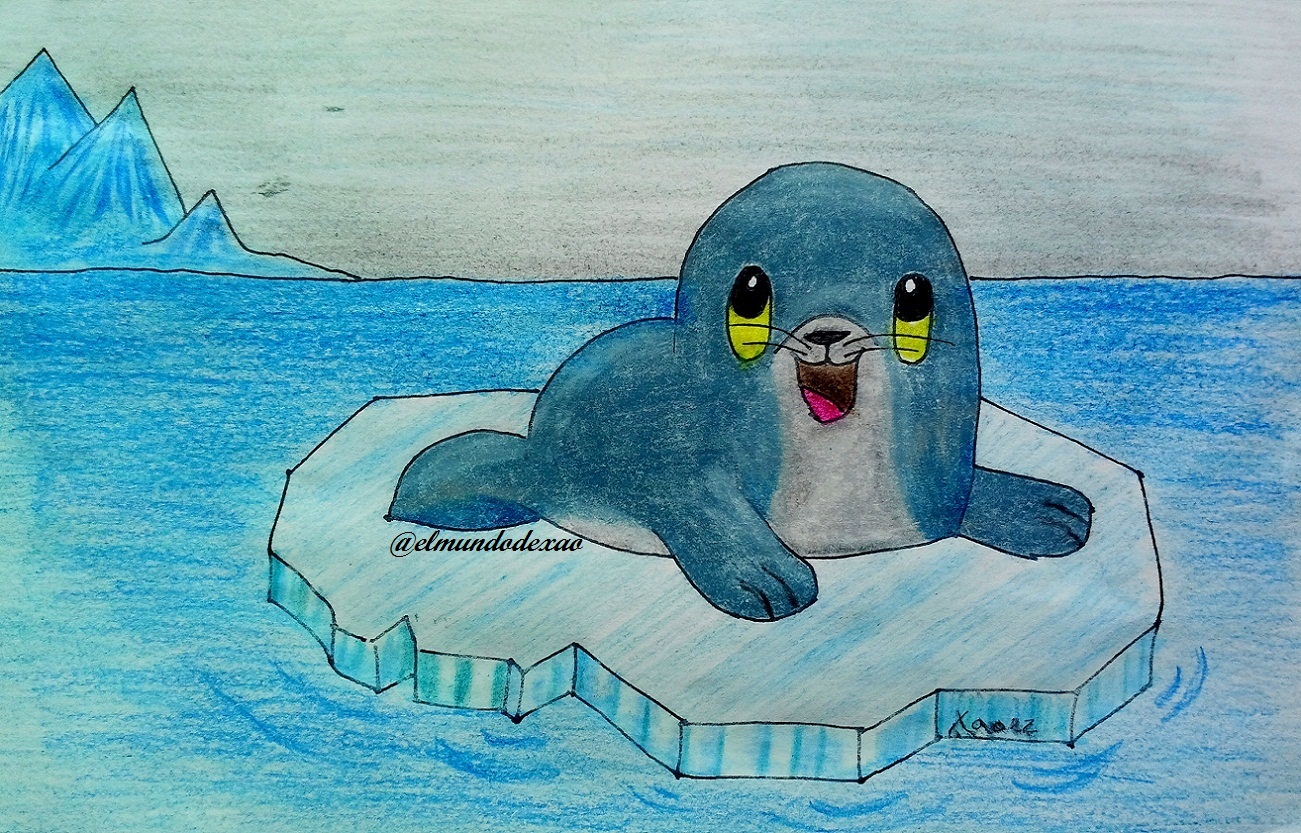
Welcome to my blog once again dear friends. It's been a few days since I last published kawaii art and today I want to share with you again one, which I titled The Little Seal, I hope you like it because it has been very adorable.
Here are the materials used: 52 g white bond paper, 0.5 mechanical pencil, 0.5 marker, eraser and colors (Variety of brands and colors).
Before continuing I remind you that at the end I will leave you the link I used on this occasion.
Let's start with the step by step drawing:
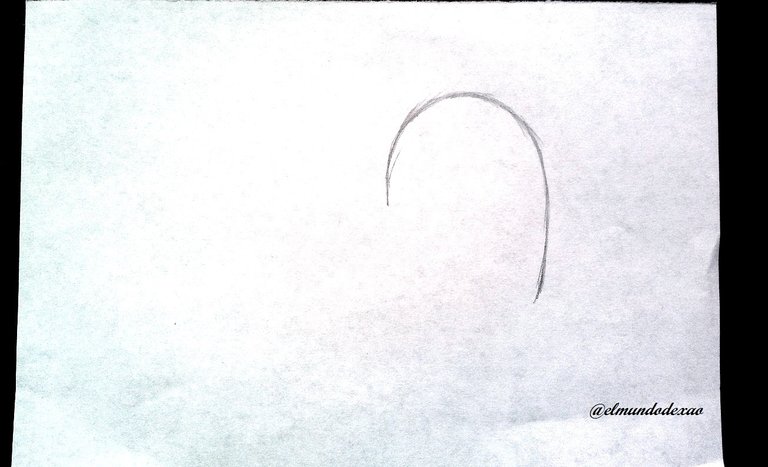
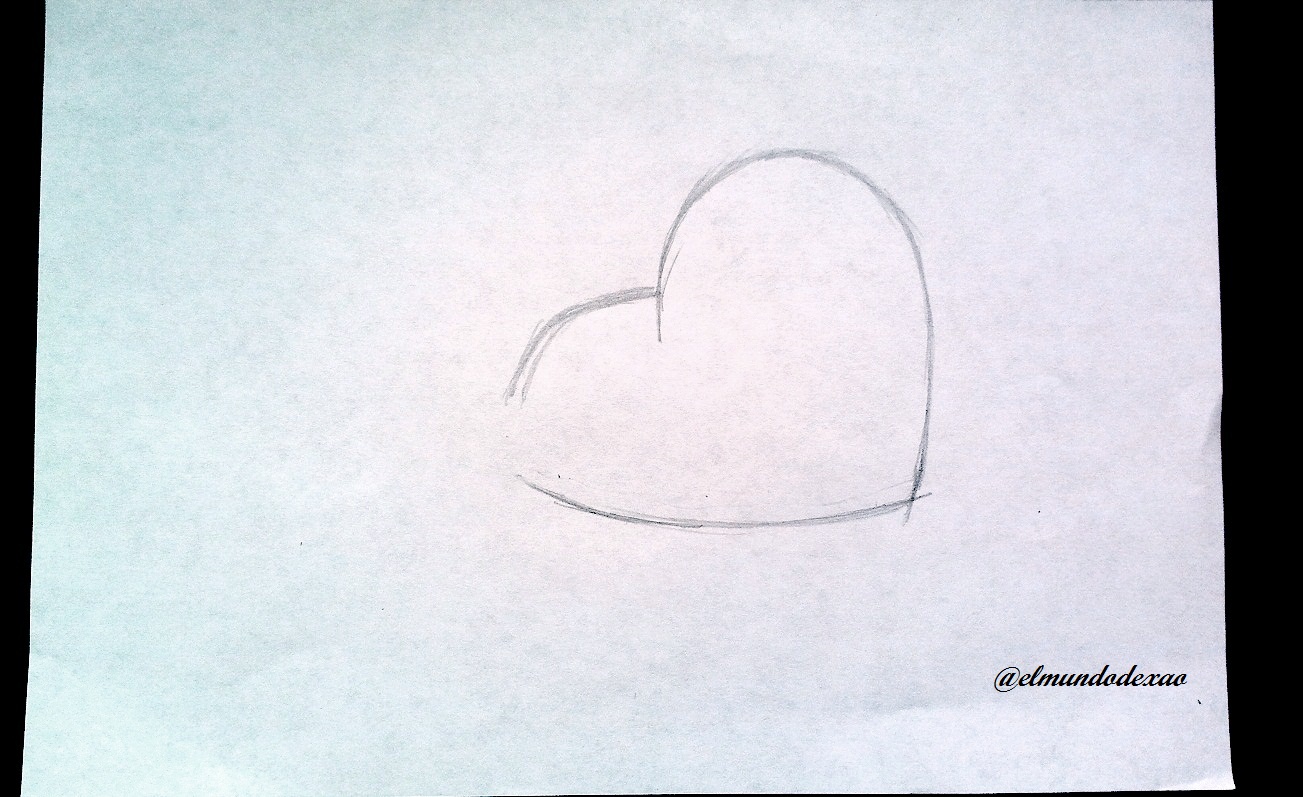
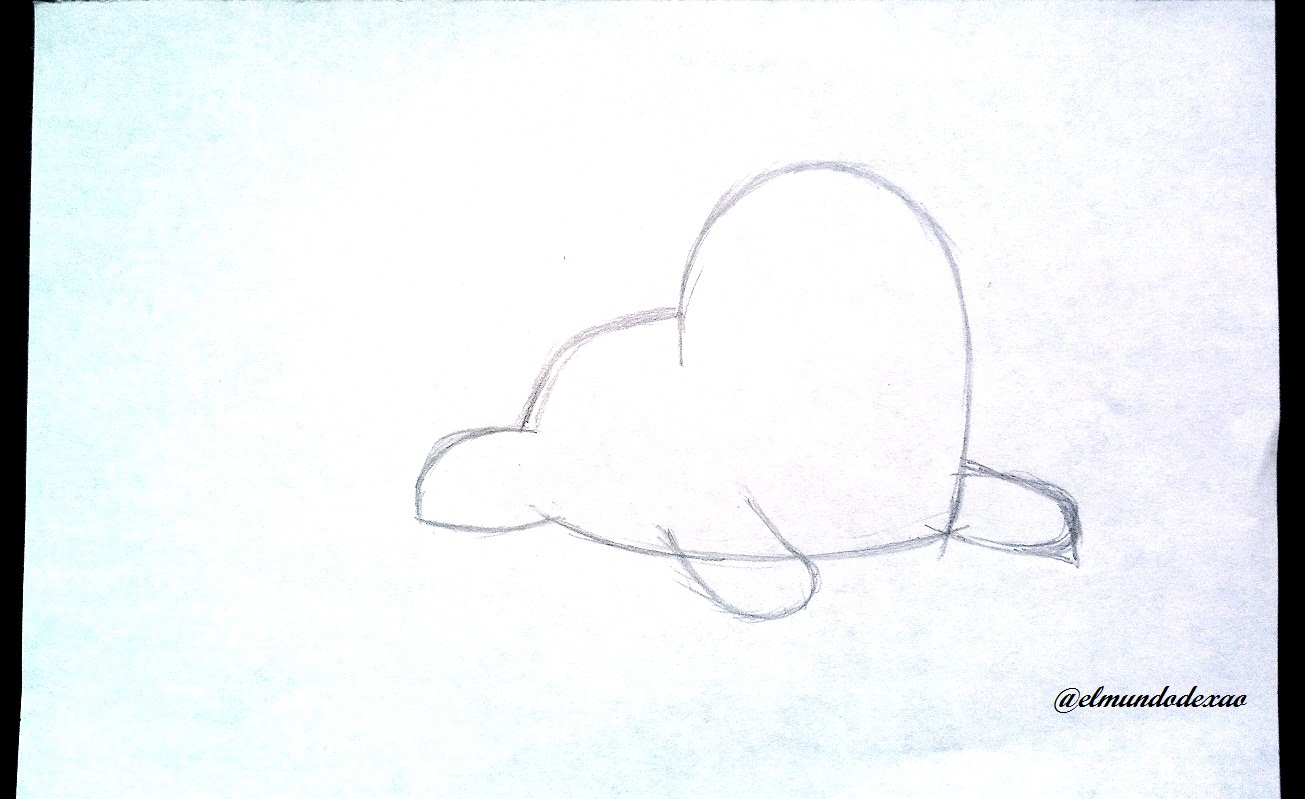
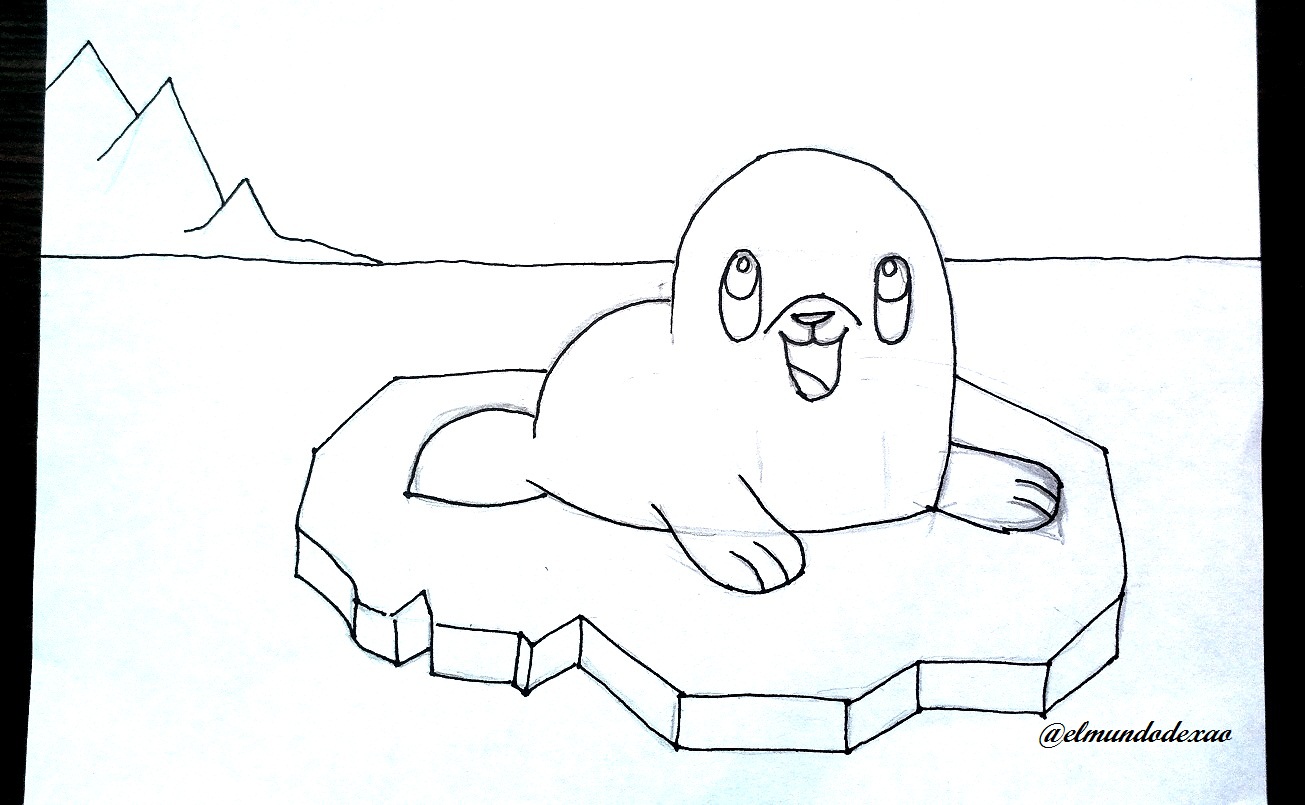
Step # 01: I will start with the head and to define it I will make half of a vertical oval with the right side a little longer; This side will join with the base which will be a horizontal line arched downwards and then I will draw a curved line similar to a boomerang on the left side of the oval which will be separated from the base; These two lines I will join with the tail.
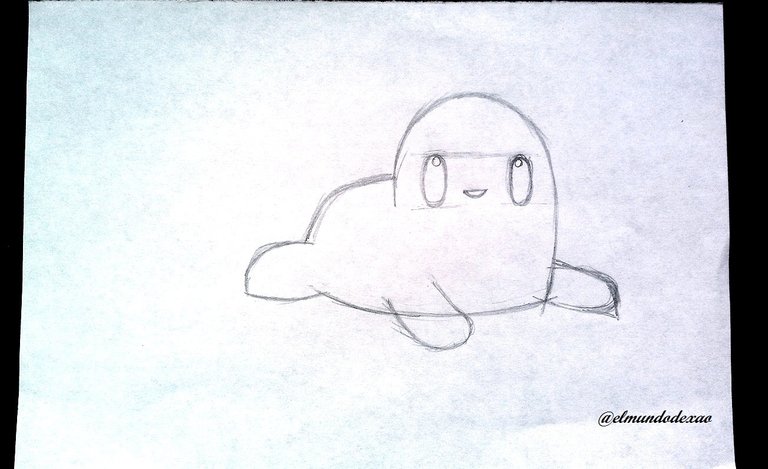
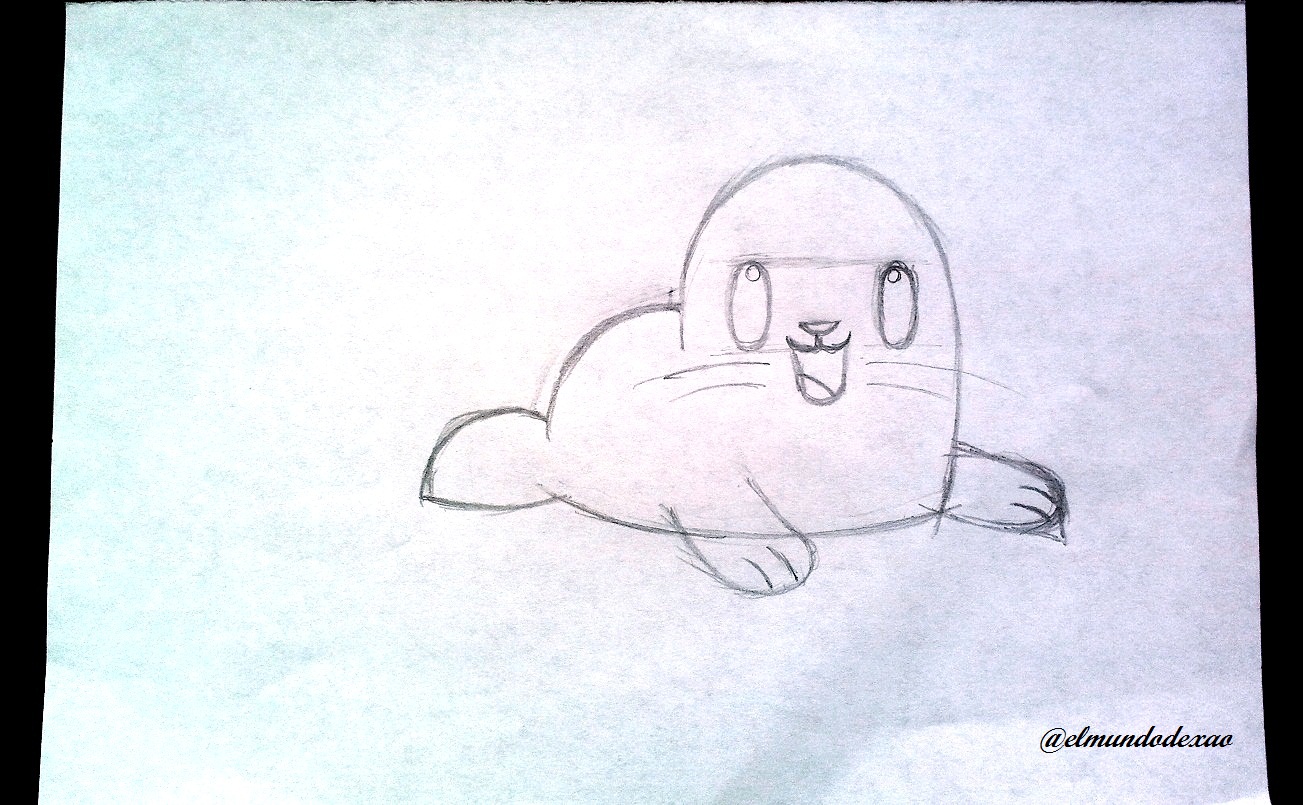
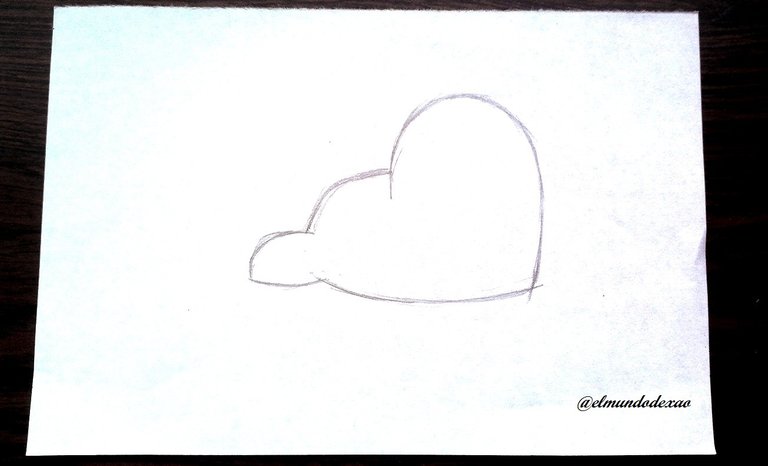 Step # 02: Now I am going to draw the forelimbs, as you can see they are quite simple to do; as for the eyes I found it a little tedious to square them so I did the right eye first and then drew two horizontal lines one above and one below where the other eye should be; as for the muzzle I had no difficulty.
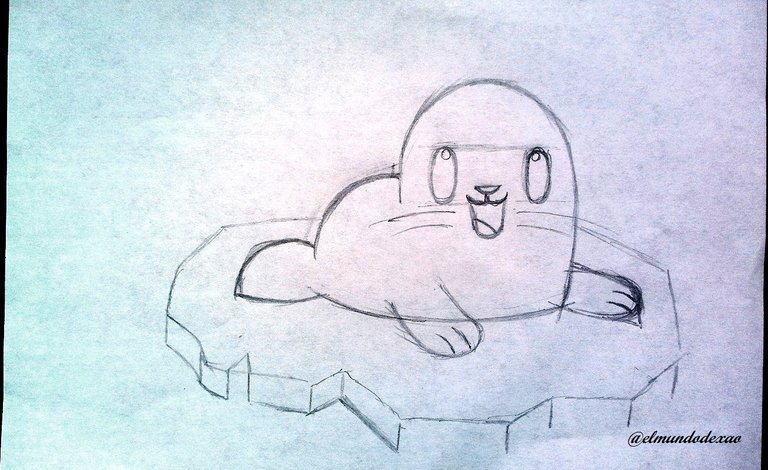
 Step # 03: The environment; I thought about doing the seal on the shore of the beach but then I remembered a scene I saw in some cartoon of a wolf floating on a piece of ice; which encouraged me to do this scene and the result was very satisfactory as I could not imagine how it could be.
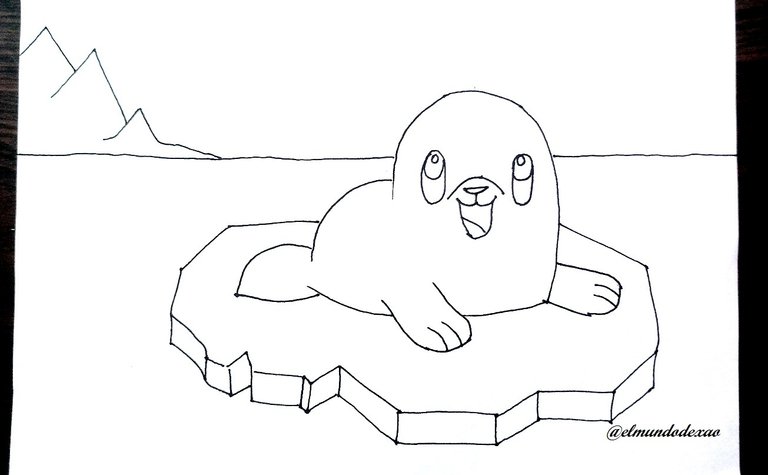
 Step # 04: Once the drawing is ready I proceed to ink it and in this way finish some details that are missing. Then I erase the graphite and clean the sheet.
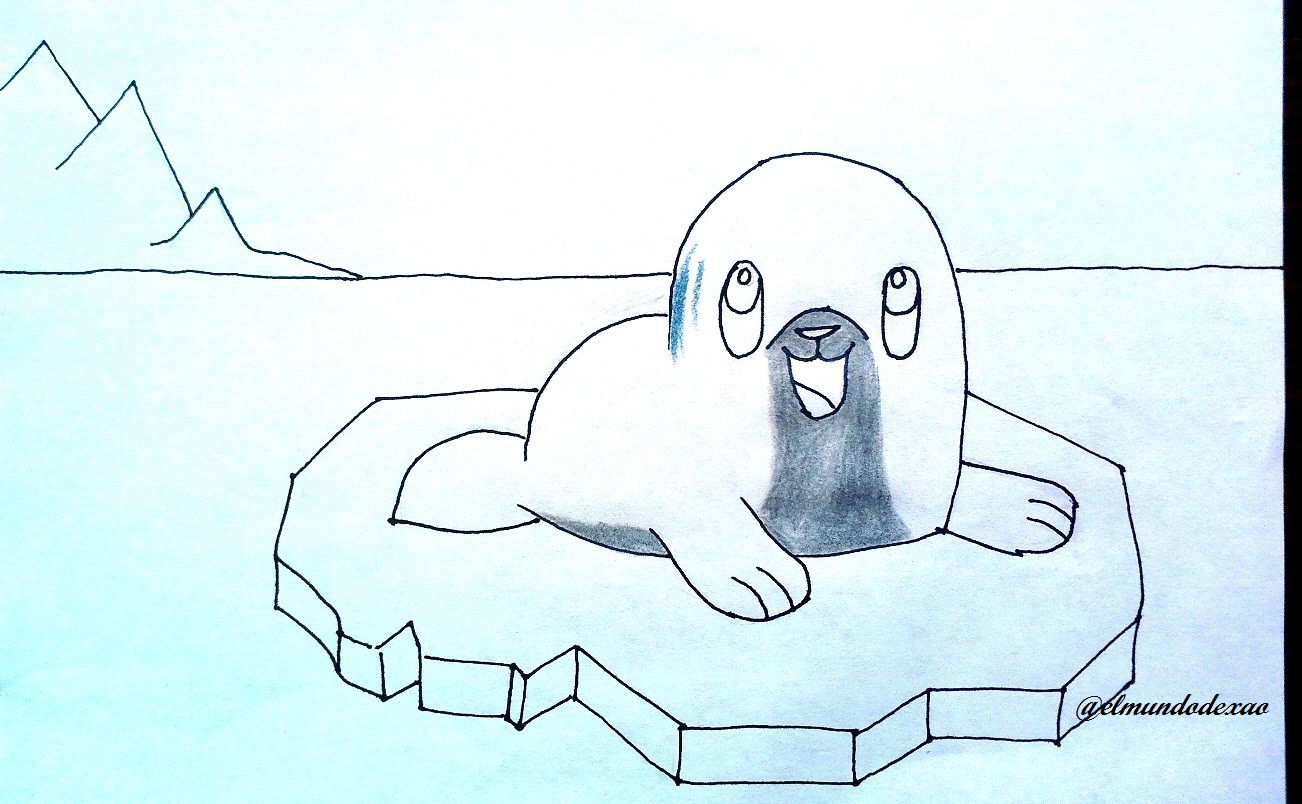
 Step # 05: I start drawing using a gray color from the belly to the snout and a blue-gray color for the rest of the body; for the eyes I use black and yellow; in the mouth a dark brown and a red for the tongue.
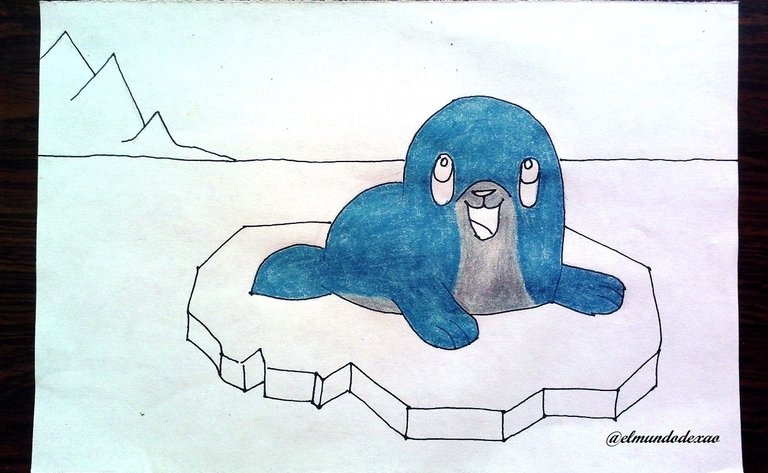
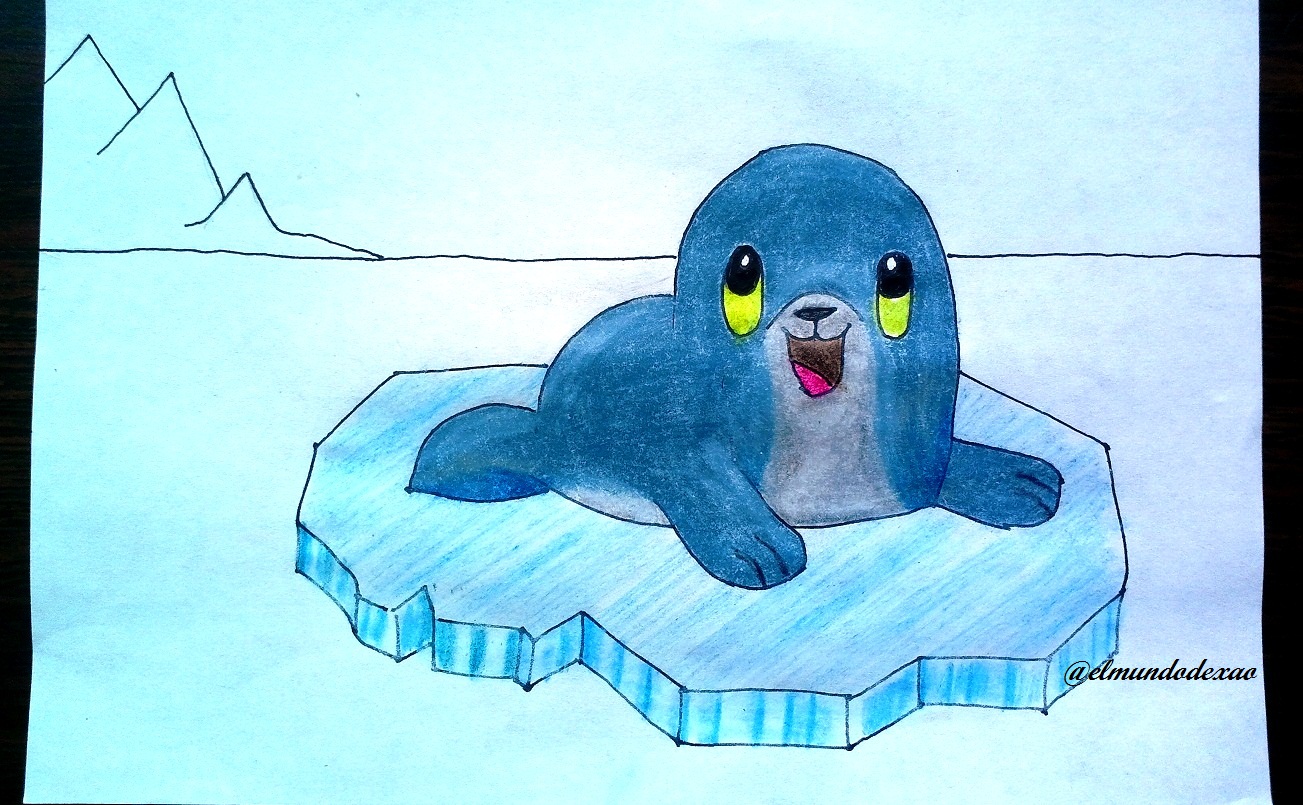
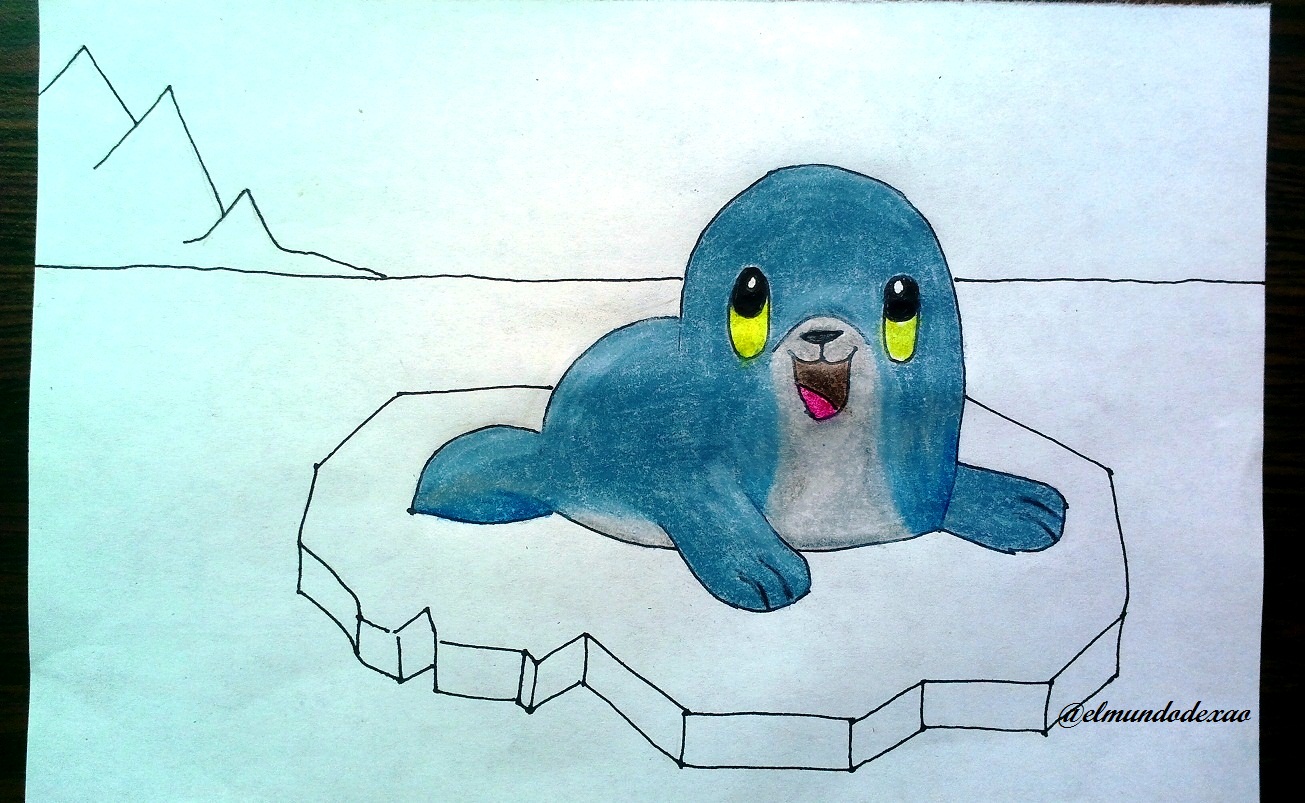 Step # 06: To draw the piece of ice on the visible side i.e. the thickness of it; draw small vertical stripes with dark blue and then degrade them with a light blue and finally pass a white color; for the surface of the ice pass a light blue color leaving diagonal stripes and then a white color.
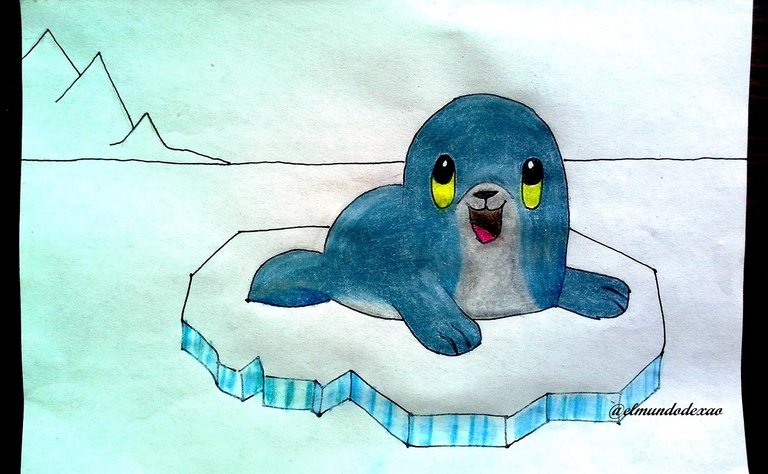
 Step # 07: For the mountains first I used several stripes with dark blue and then I blurred it with a lighter blue; for the sea I used another blue that at first sight you can't see the difference, in the distance I accentuated it more to give the sensation of remoteness and I was clarifying it until I reached the piece of ice. And finally for the sky I used a light gray color and that is the end of this publication.
I say goodbye wishing you a happy morning, afternoon or evening depending on your location.
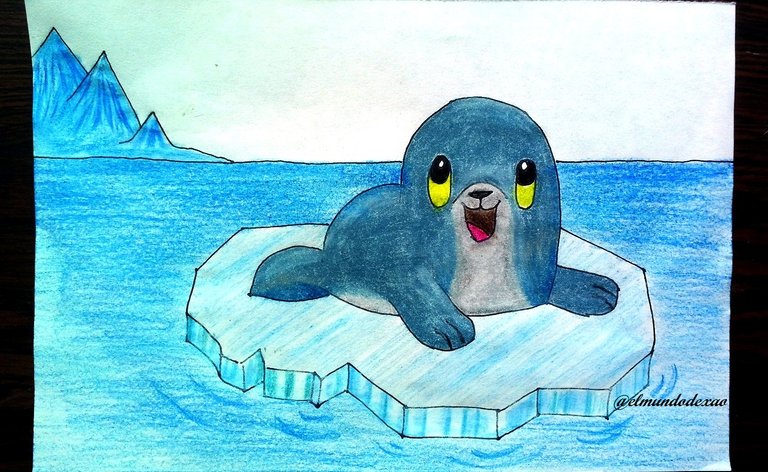

Photo Source: Own photos captured with a Síragon camera.
Modified size: With the Paint Program.
Thanks for visiting my Blog… AH! Don't forget to vote, reblogear, and comment.
Translated with:

www.DeepL.com/Translator (free version)

Arte Kawaii “La Pequeña Foca”.
Hola amigos…
☺☺☺
Bienvenidos a mi blog una vez más queridos amigos. Hace ya algunos días que no publicaba arte kawaii y hoy nuevamente les quiero compartir uno, al cual titule La Pequeña Foca, espero les guste ya que ha quedado muy adorable.
A continuación menciono los materiales utilizados: Papel bond blanco de 52 g, portaminas 0.5, rotulador de 0.5, borrador y colores (Variedad de marcas y colores).
Antes de continuar les recuerdo que al final les dejare el enlace que use en esta ocasión.

Comencemos con el paso a paso del dibujo:
Paso # 01: Voy a comenzar con la cabeza y para definirla haré la mitad de un ovalo vertical con el lado derecho un poco más largo; Este lado se unirá con la base que será una línea horizontal arqueada hacia abajo y luego dibujare una línea curva parecida a un bumerán del lado izquierdo del ovalo la cual quedara separada de la base; Estas dos líneas las uniré con la cola.


 Paso # 02: Ahora voy a dibujar las extremidades delanteras, como podrán observar son bastante sencillas de hacer; en cuanto a los ojos me resulto un poco tedioso cuadrarlos por lo que hice el ojo derecho primero y luego trace dos líneas horizontales una por encima y otra por debajo hasta donde debía quedar el otro ojo; en cuanto el hocico no tuve ninguna dificultad.


 Paso # 03: El entorno; pensé en hacer la foca en la orilla de la playa pero luego recordé una escena que vi en algún dibujo animado de un lobo flotando en un trozo de hielo; lo que me animo hacer esta escena y el resultado fue muy satisfactorio ya que no me lo llegue a imaginar cómo podía quedar.
 Paso # 04: Una vez listo el dibujo procedo a entintarlo y de esta manera terminar algunos detalles que hagan falta. Luego borro el grafito y limpio la hoja.

 Paso # 05: Comienzo a dibujar utilizando un color gris desde la panza hasta el hocico y un color azul grisáceo para el resto del cuerpo; para los ojos utilizo color negro y amarillo; en la boca un marrón oscuro y un rojo para la lengua.


 Paso # 06: Para dibujar el trozo de hielo por el lado visible es decir el grosor del mismo; trace pequeñas rayas verticales con azul oscuro para luego degradarlas con un azul claro y por ultimo pasarle un color blanco; para la superficie del hielo pase un color azul claro dejando rayas de forma diagonal y después un color blanco.

 Paso # 07: Para la montañas primero pase varias rayas con azul oscuro y luego lo difumine con un azul más claro; para el mar utilice otro azul que a simple vista no se nota la diferencia, a lo lejos lo acentué más para dar la sensación de lejanía y fui aclarándolo hasta llegar al trozo de hielo. Y por último para el cielo utilice un color gris claro y así doy por terminada esta publicación.
Me despido deseándoles una feliz mañana, tarde o noche según sea su ubicación.


Fuente de Fotos: Propias capturadas con una cámara Síragon.
Modificado el tamaño: Con el Programa Paint.
Gracias por visitar mi Blog… ¡AH! No se olvide de votar, rebloguear y comentar.


