Hello Hive Diy friends...
☺☺☺
Welcome to my blog once again, I hope you are having a great time. Today I will share with you my new kawaii art, The Eagle.
Here are the materials used: 52 g white bond paper, 0.5 mechanical pencil, 0.5 marker, eraser and colors (Variety of brands and colors).
Before I continue I want to tell you that many of my learning I develop through videos that we search on YouTube, so at the end I will leave you the link I used on this occasion.
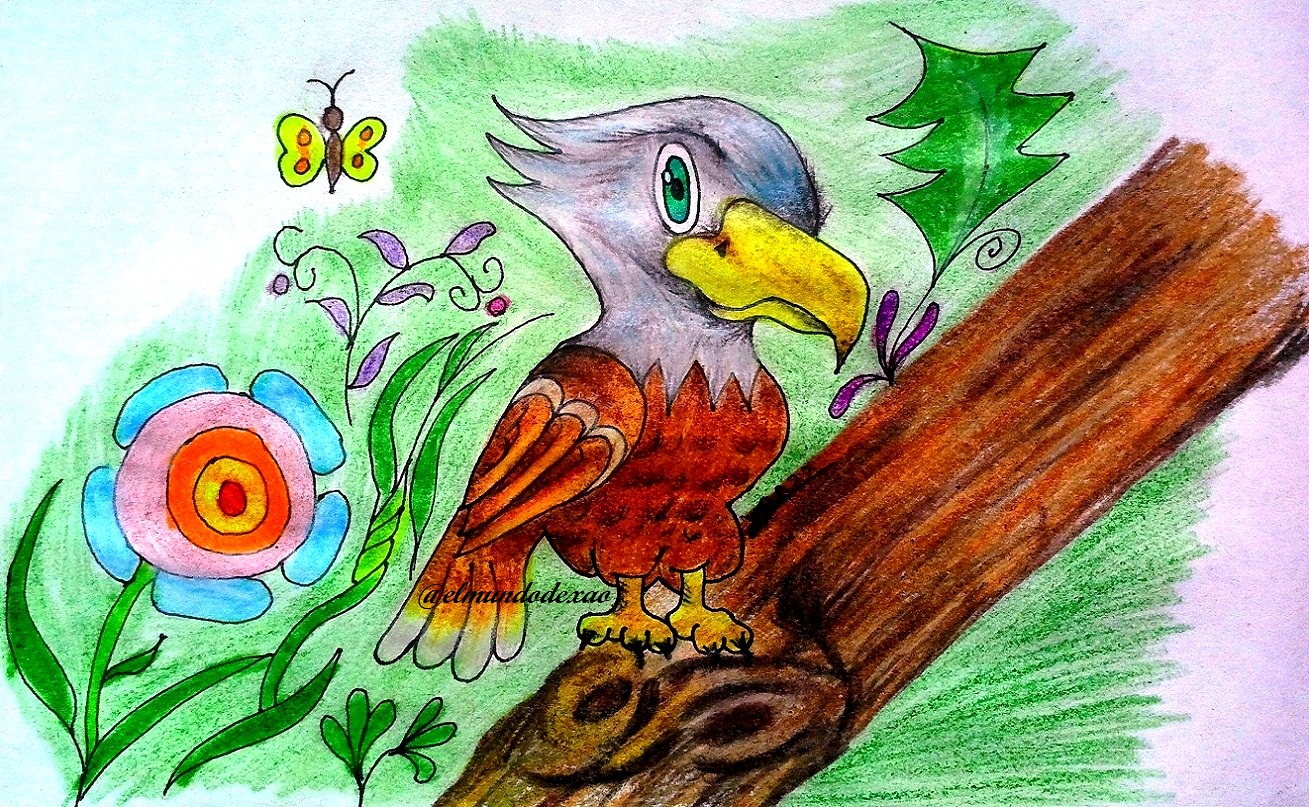
Let's start with the step by step drawing:
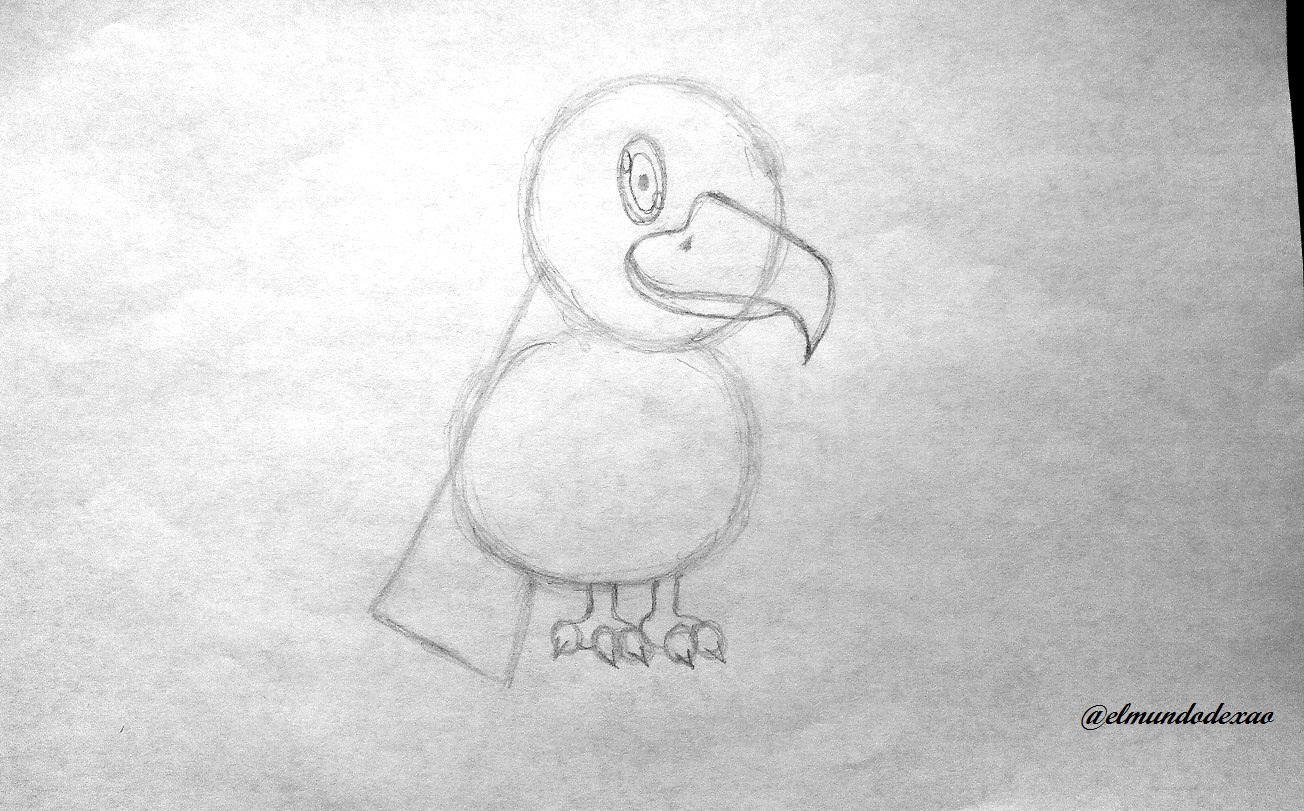
Step # 01: Make two circles one for the head and the other for the body. As in other occasions this drawing was a little complicated so first I make a small sketch in which I try to avoid distractions and find where I am failing.
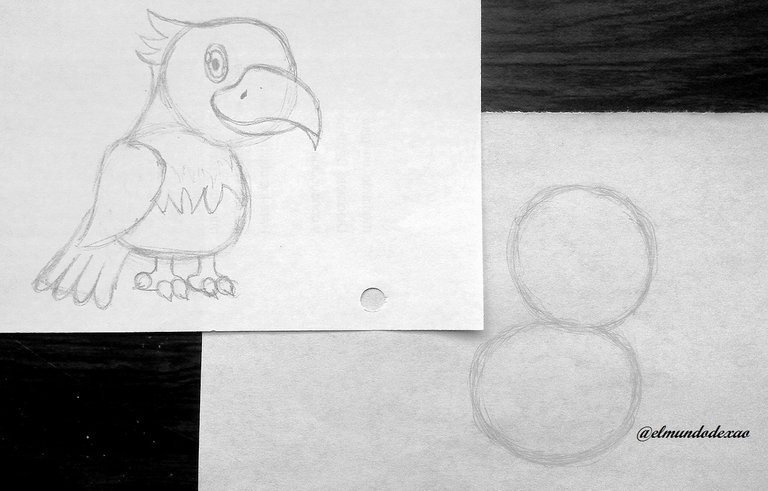 Step # 02: I define the position of the legs and tail, and then place the beak and eye.
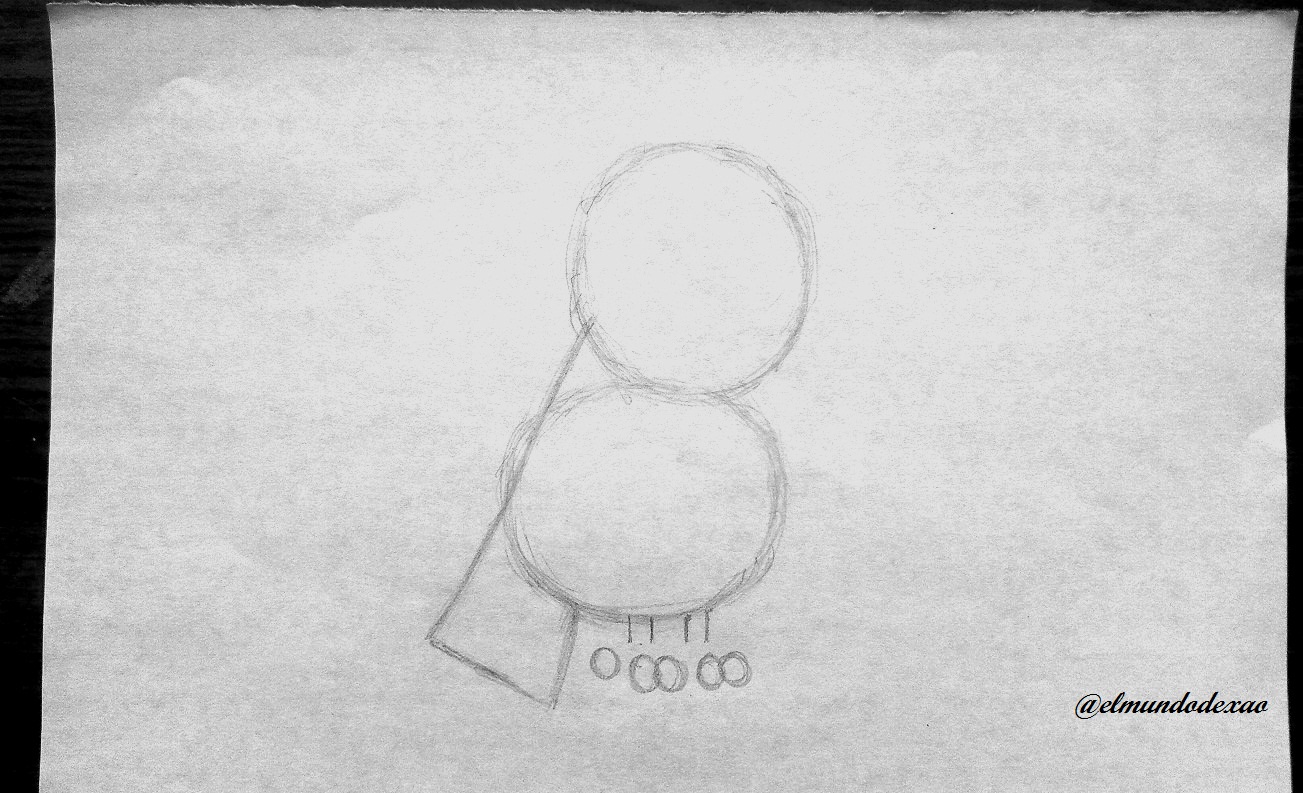
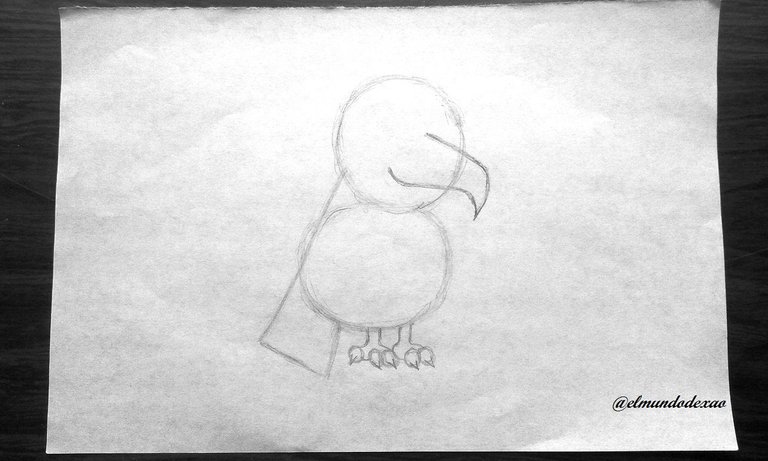
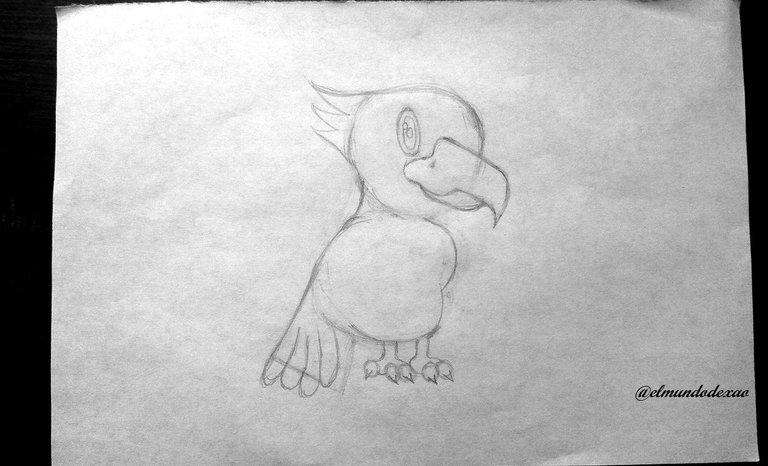
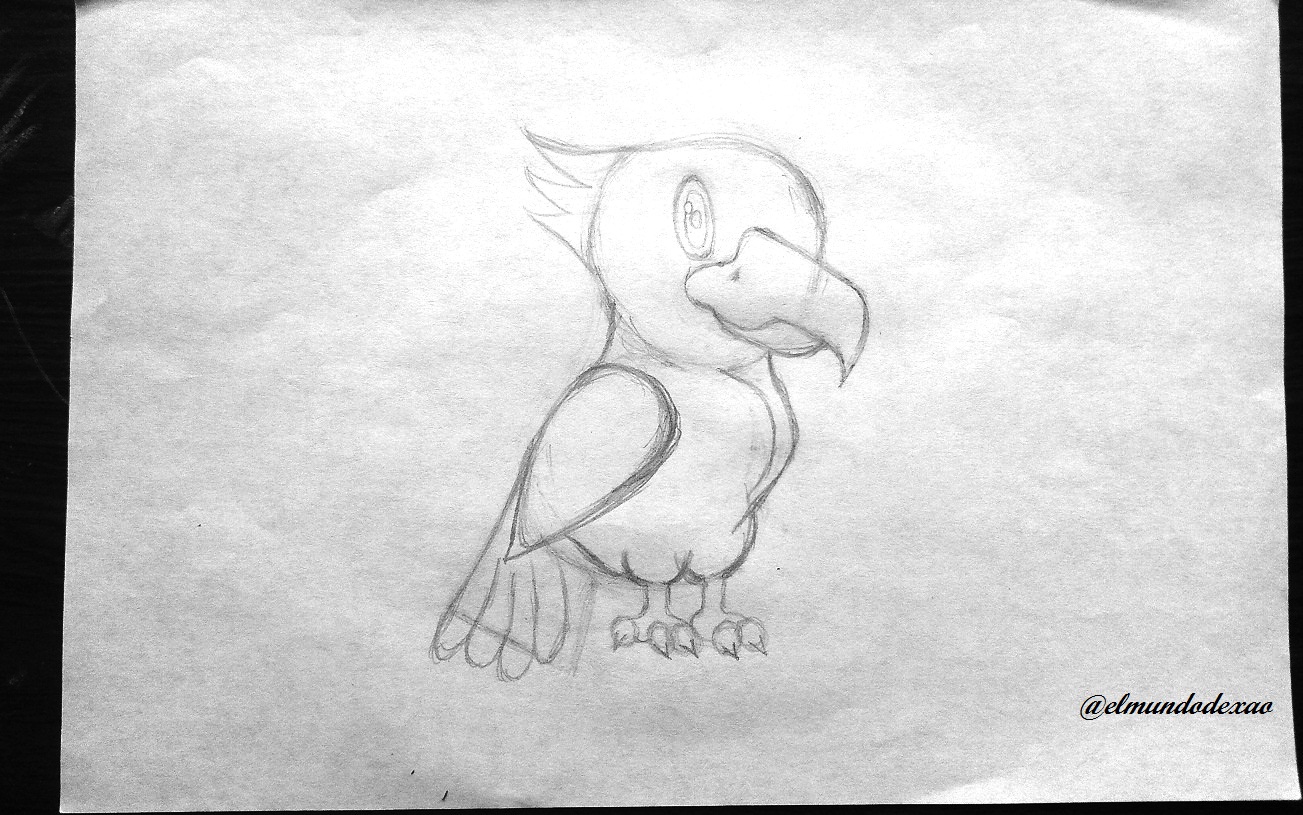
 Step # 03: I start detailing some things like the tail, the topknot and the wing.
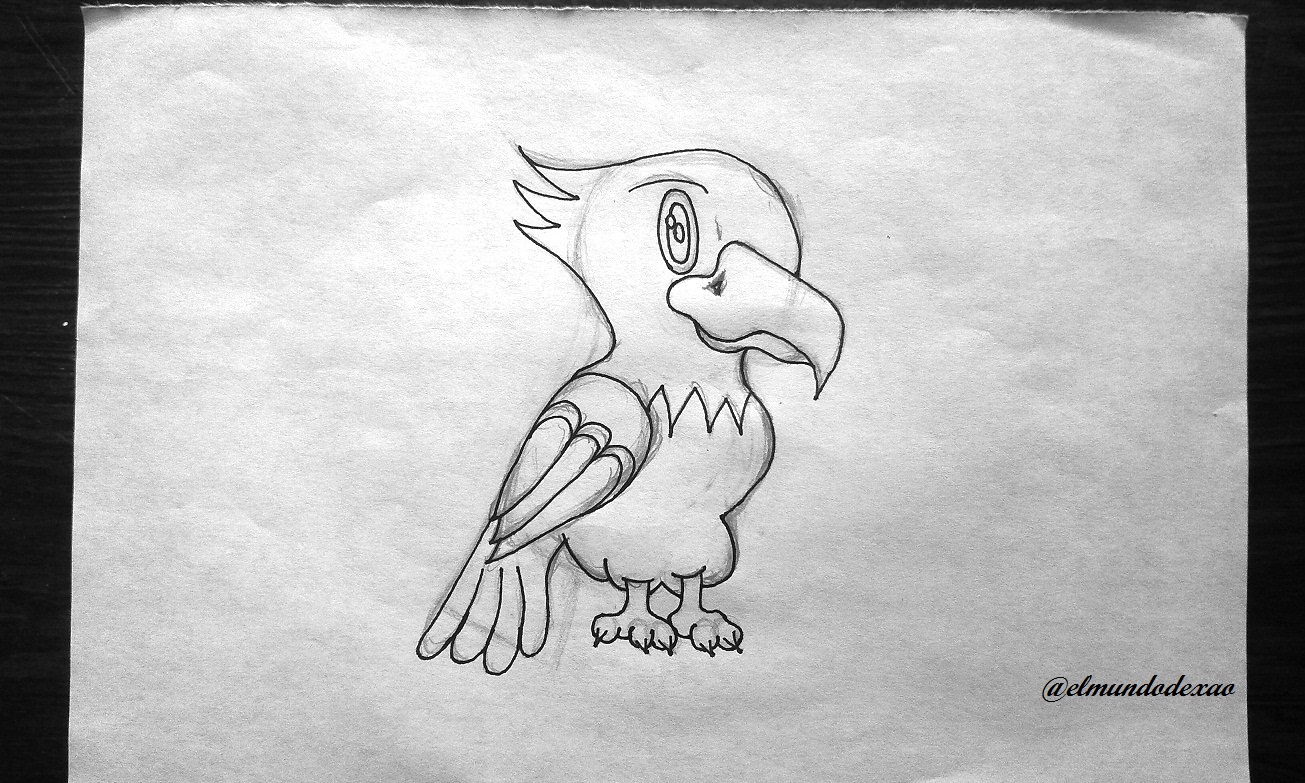
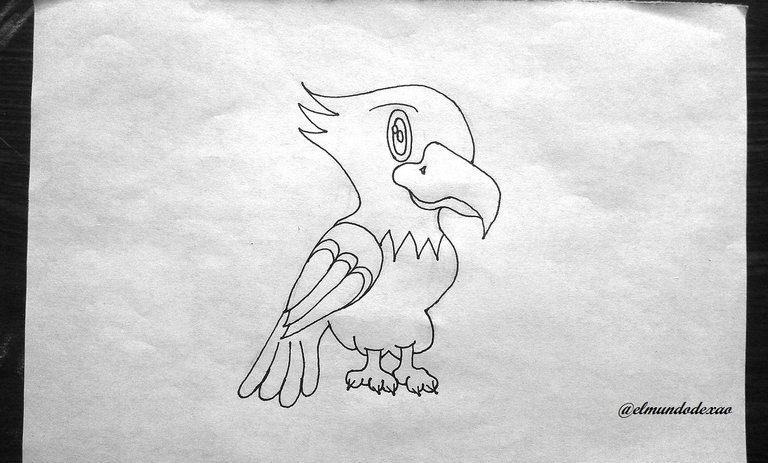
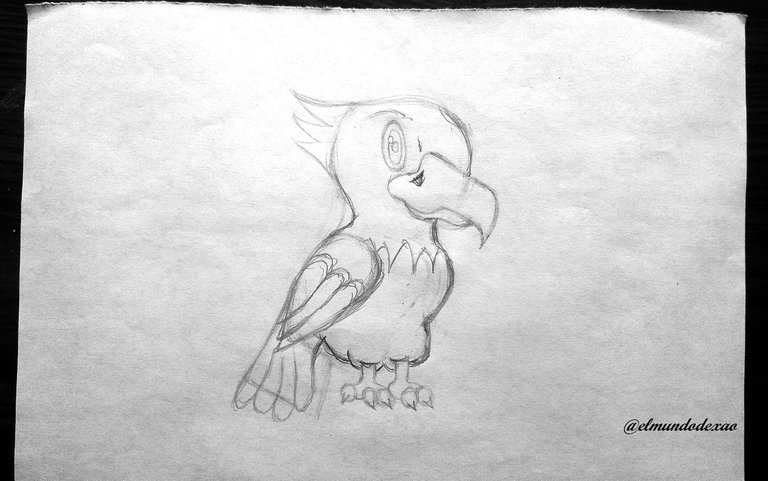 Step # 04: Once the drawing is finished I proceed to ink, then I erase the graphite and it is ready to start coloring.
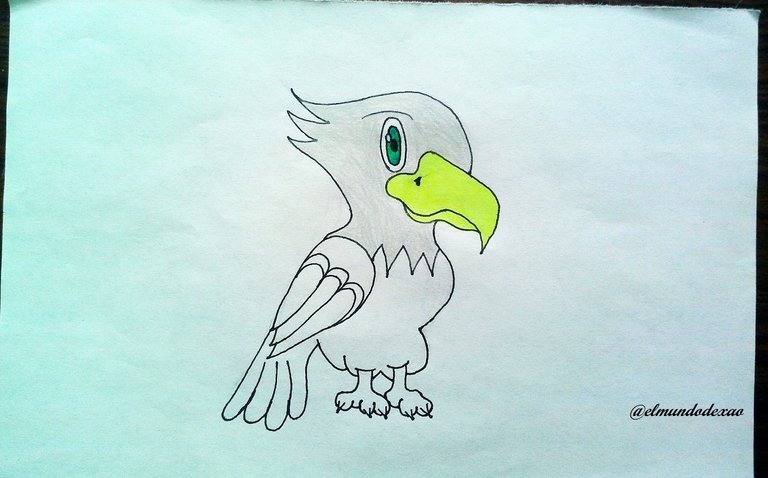
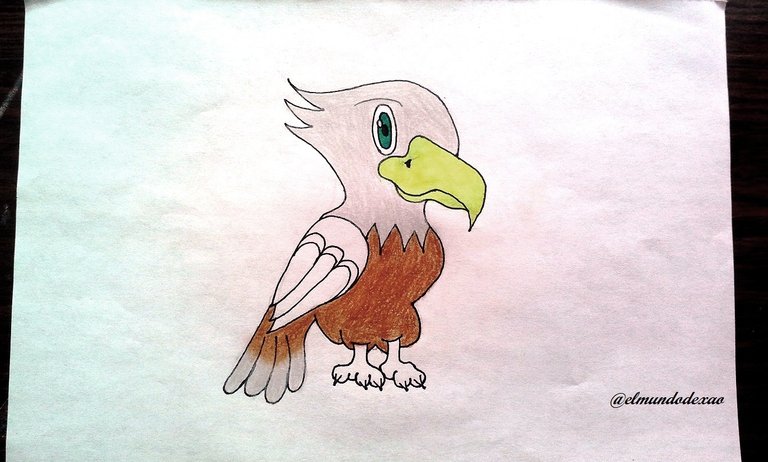
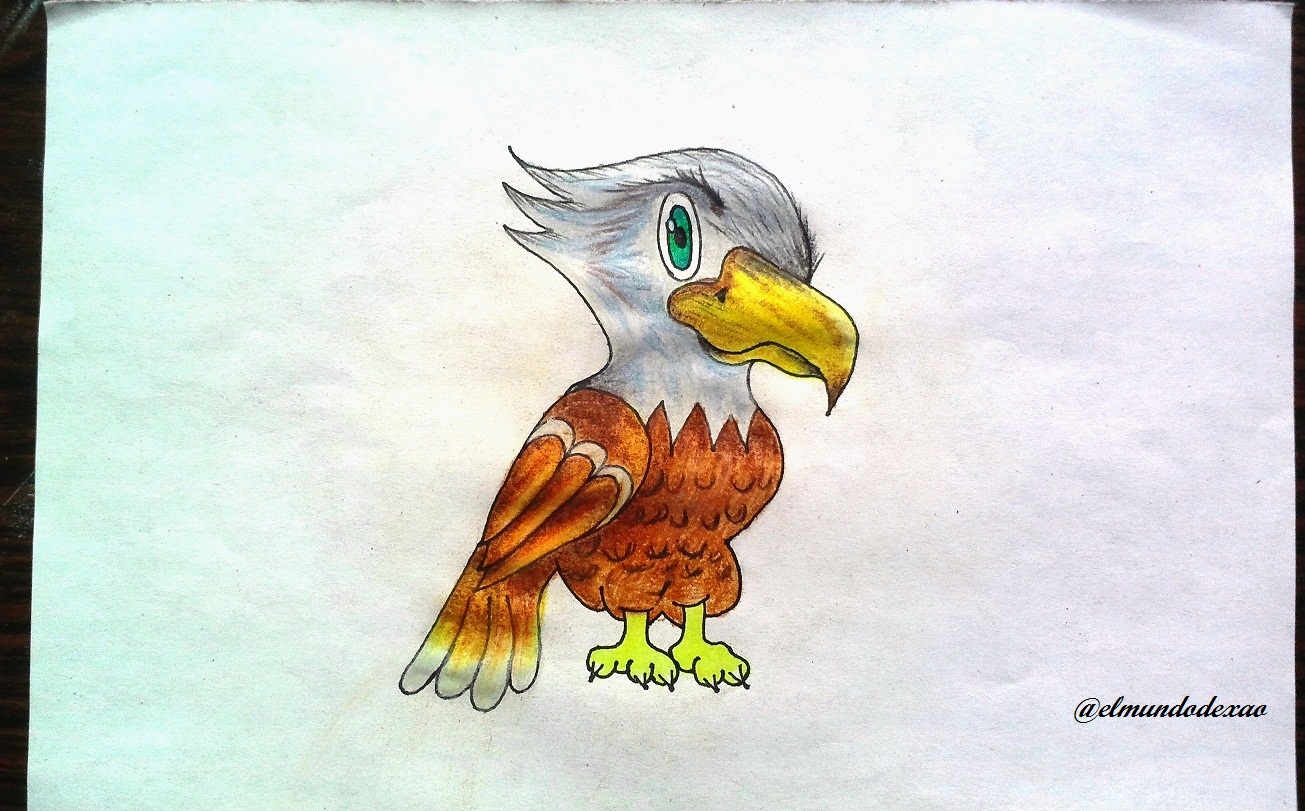
 Step # 05: For coloring I will start with the head using some background colors; light gray for the head, yellow for the beak and dark blue with yellow for the eye.
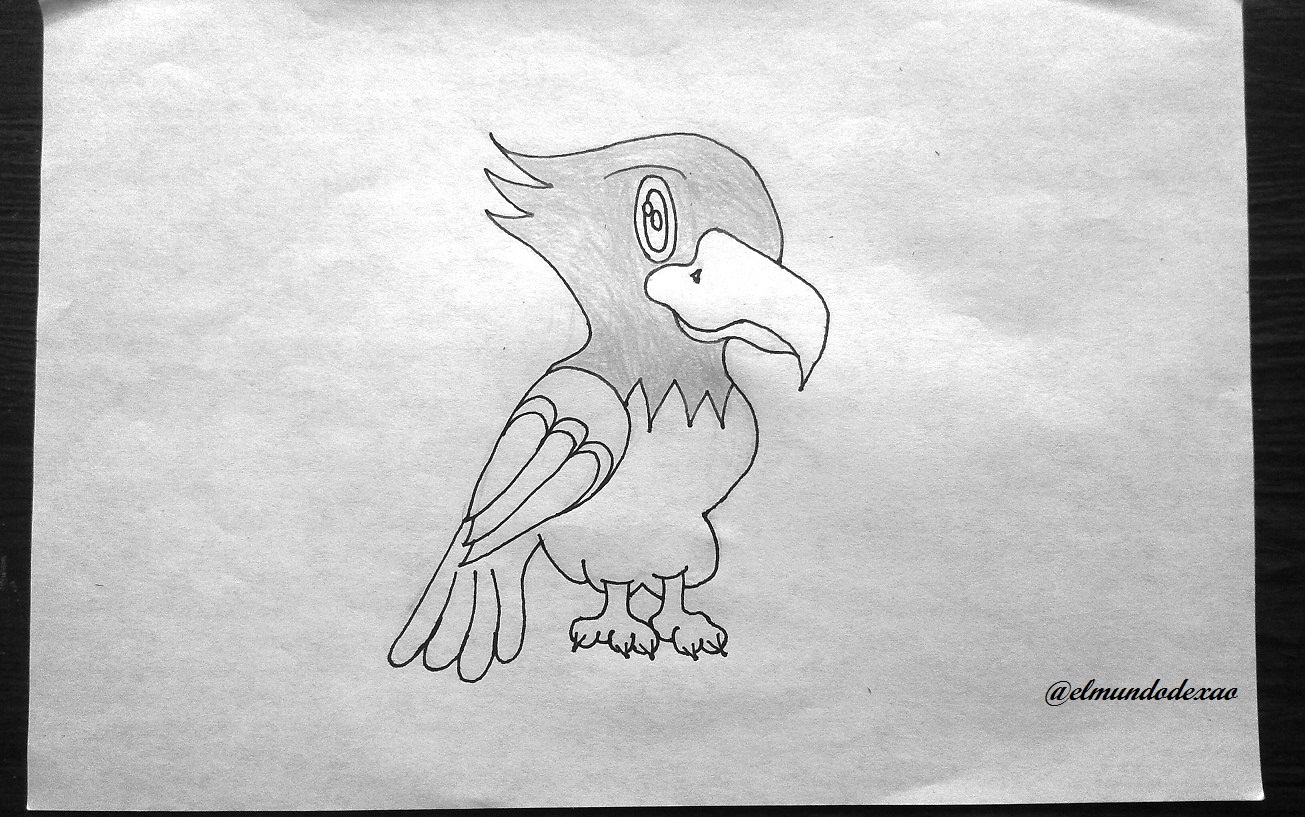
 Step # 06: For the body and the wing I use one dark and one light brown, this way I can distinguish the shades of the shadows.
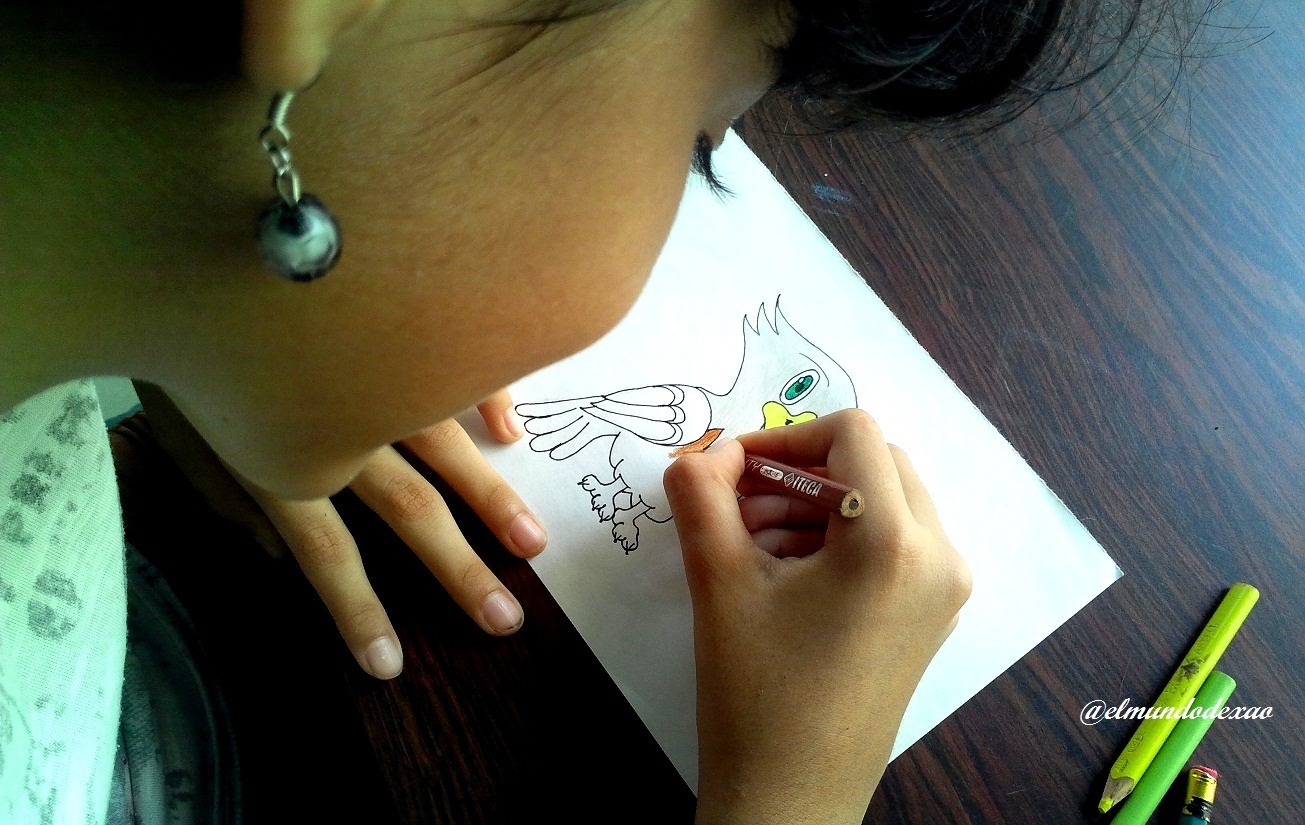
 Step # 07: The head already has a light gray background, now I add a bluish gray and blur it with white, in the beak I add a little brown and lighten it with the same yellow and then add a little black in both the head and the beak. The tail and the wing also have the same gray as on the head.
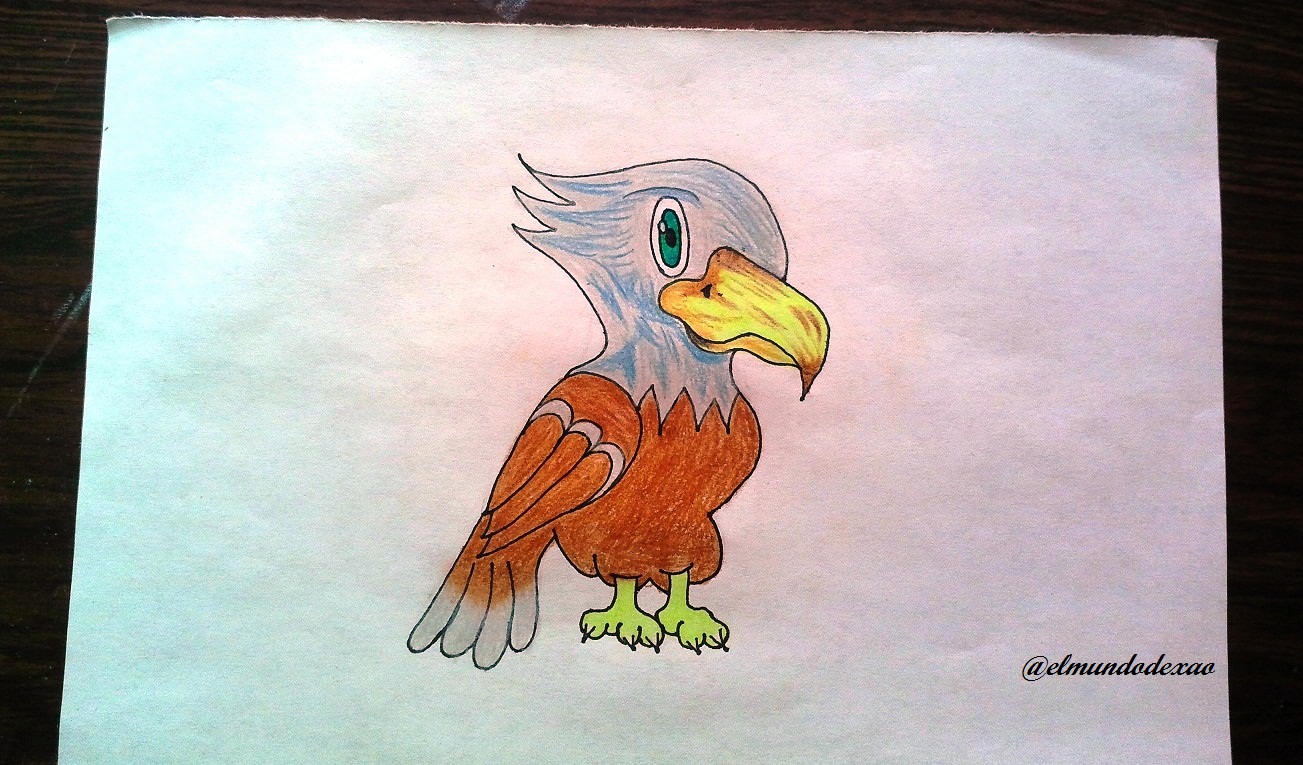
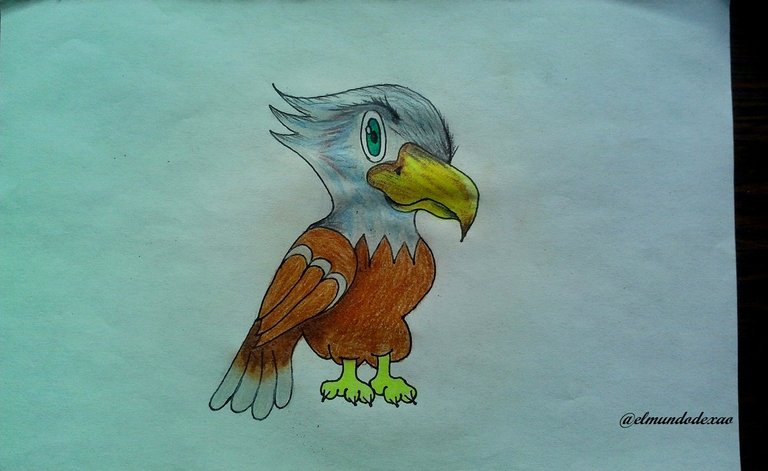 Step # 08: In each feather defined in the wing I use the two shades of brown and lighten with yellow, the same in the tail, I add yellow between the gray and brown and finally I make several curved lines like a U, simulating the feathers of the body.
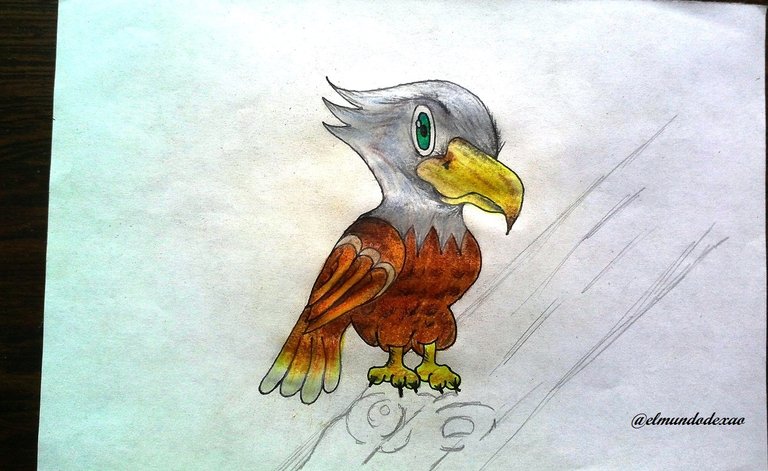
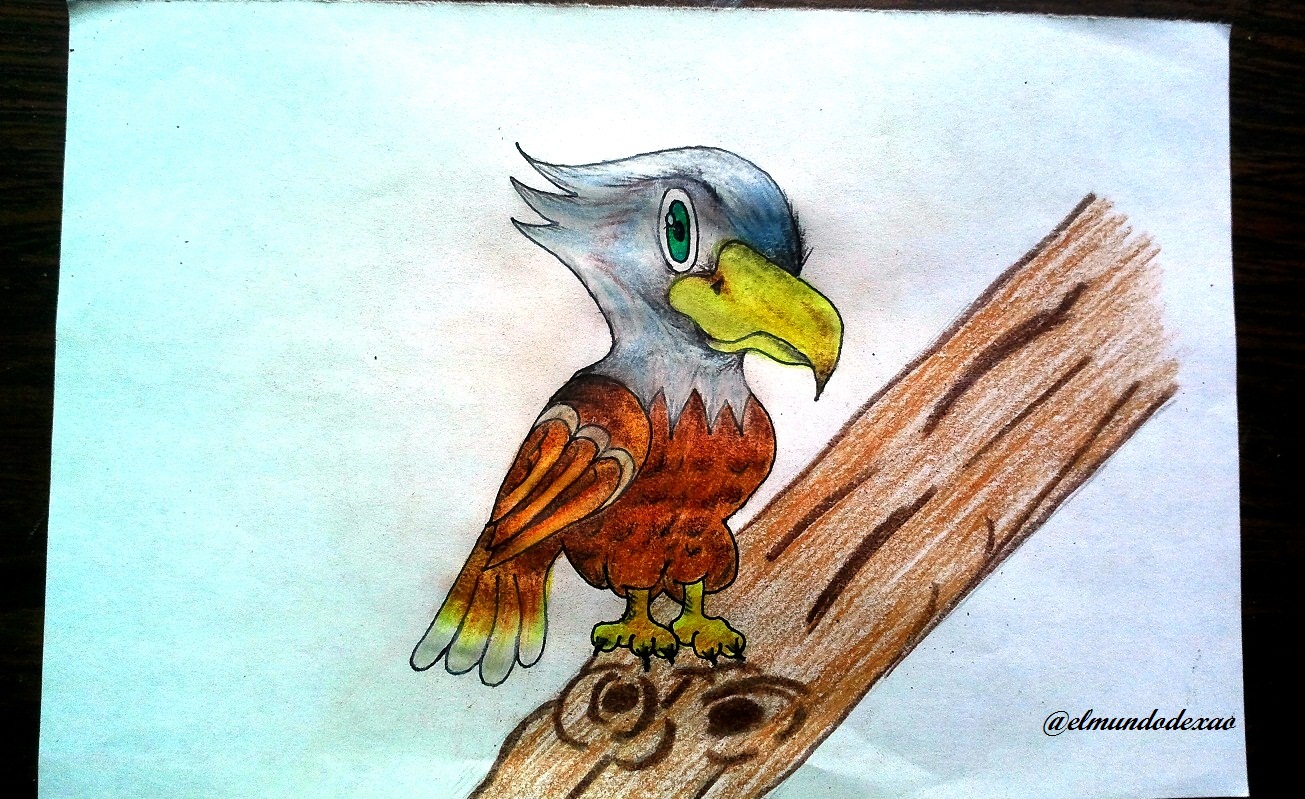
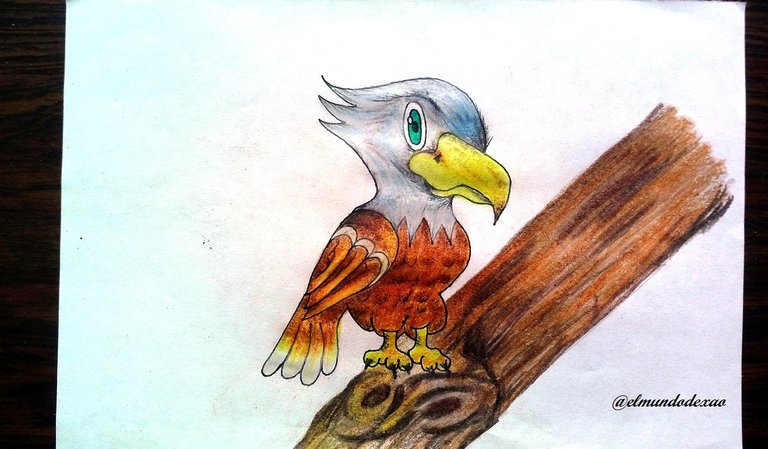
 Step # 09: The only thing left to do is to define the environment and for this I draw a dry trunk surrounded by flowers and leaves.
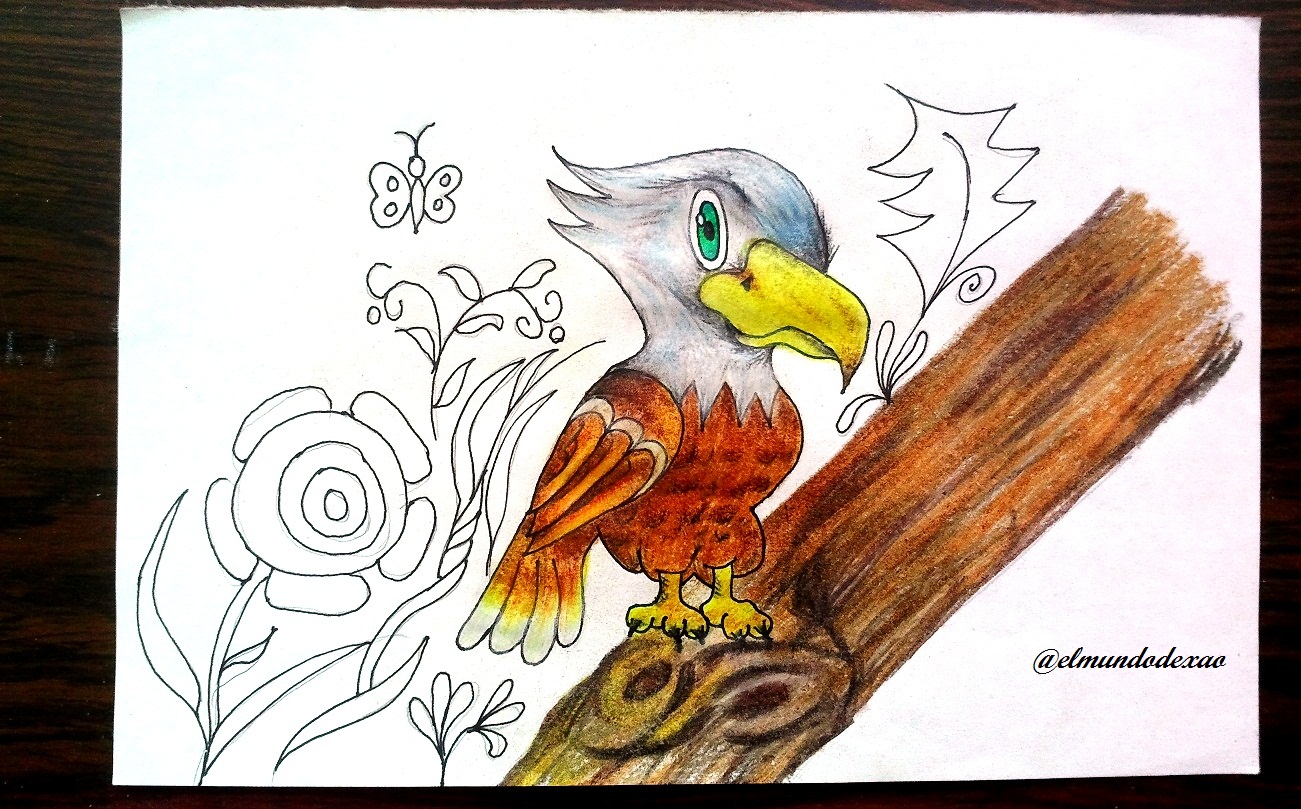 I say goodbye thanking you for your visit and support, remember if you liked this post you can follow me which I would appreciate a lot.

Photo Source: Own photos captured with a Síragon camera.
Modified size: With the Paint Program.
Thanks for visiting my Blog… AH! Don't forget to vote, reblogear, and comment.
Translated with:

www.DeepL.com/Translator (free version)

Hola amigos de Hive Diy…
☺☺☺
Bienvenidos a mi blog una vez más, Espero la estén pasando muy bien. Hoy compartiré con ustedes mi nuevo arte kawaii, El Águila.
A continuación menciono los materiales utilizados: Papel bond blanco de 52 g, portaminas 0.5, rotulador de 0.5, borrador y colores (Variedad de marcas y colores).
Antes de continuar les quiero comentar que muchos de mis aprendizajes los desarrollo mediante vídeos que buscamos en YouTube por lo que al final les dejare el enlace que use en esta ocasión.

Comencemos con el paso a paso del dibujo:
Paso # 01: Hacer dos círculos uno para la cabeza y el otro para el cuerpo. Como en otras ocasiones este dibujo resulto un poco complicado por lo que primero hago un pequeño boceto en el cual trato de evitar distracciones y así encontrar donde estoy fallando.
 Paso # 02: Defino la posición de las patas y la cola, para después ubicar el pico y el ojo.


 Paso # 03: Comienzo a detallar algunas cosas como la cola, el copete y el ala.


 Paso # 04: Terminado el dibujo procedo a entintar, luego borro el grafito y está listo para comenzar a darle color.

 Paso # 05: Para colorear comenzare por la cabeza utilizando unos colores de fondo; gris claro para la cabeza, amarillo para el pico y azul oscuro con amarillo para el ojo.

 Paso # 06: Para el cuerpo y el ala utilizo un marrón oscuro y uno claro, de esta manera podre distinguir las tonalidades de sombras.

 Paso # 07: La cabeza ya tiene un fondo gris claro, ahora agrego un gris azulado y lo difumino con blanco, en el pico le agrego un poco de marrón y lo aclaro con el mismo amarillo para después agregar un poco de negro tanto en la cabeza como en el pico. La cola y el ala también les coloco gris del mismo que tiene en la cabeza.

 Paso # 08: En cada pluma definida en el ala uso los dos tonos de marrón y aclaro con amarillo, al igual en la cola, agrego amarillo entre el gris y el marrón y por ultimo le hago varias líneas curvadas como unas U, simulando las plumas del cuerpo.
 Paso # 09: Solo queda definir el entorno y para ello dibujo un tronco seco rodeado de flores y hojas.


 Me despido agradeciéndoles su visita y apoyo, recuerda si te ha gustado esta publicación puedes seguirme lo cual te agradecería un montón.

Fuente de Fotos: Propias capturadas con una cámara Síragon.
Modificado el tamaño: Con el Programa Paint.
Gracias por visitar mi Blog… ¡AH! No se olvide de votar, rebloguear y comentar.


