Hello friends...
☺☺☺
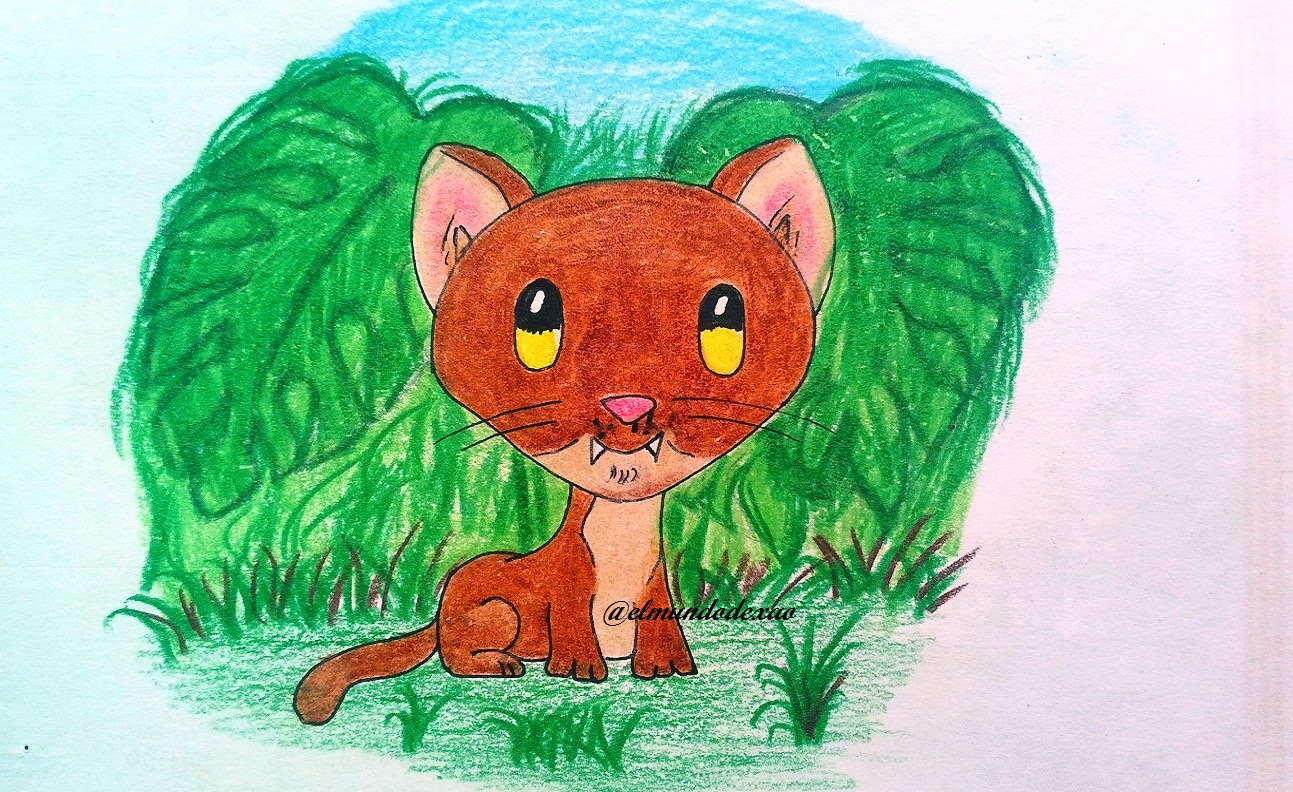
Welcome to my blog friends I hope you are very well this Thursday beginning of the month. The kawaii art I want to show you today is a weasel; the most curious thing or rather, what I like the most is that some of these animals are extremely cute, so much so that I think some of them tend to be like unreal.
Next I mention the materials used: white bond paper, graphite pencil 2, 0.5 marker, eraser and colors (Variety of brands).
Before continuing I remind you that at the end I will leave you the link I used on this occasion.
Let's start with the step by step drawing:
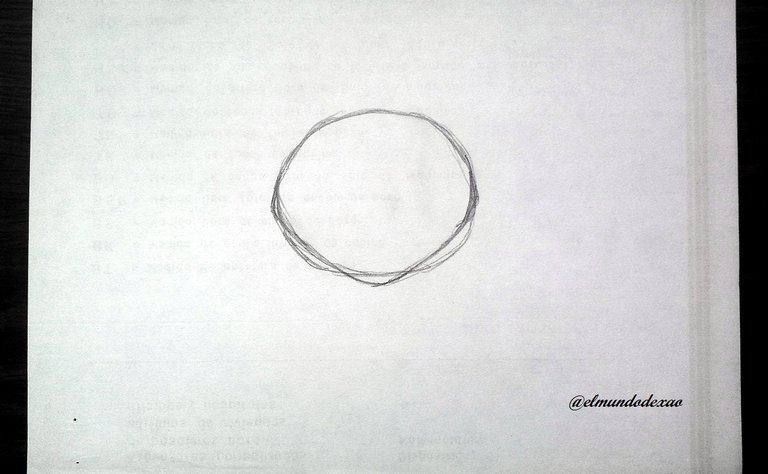
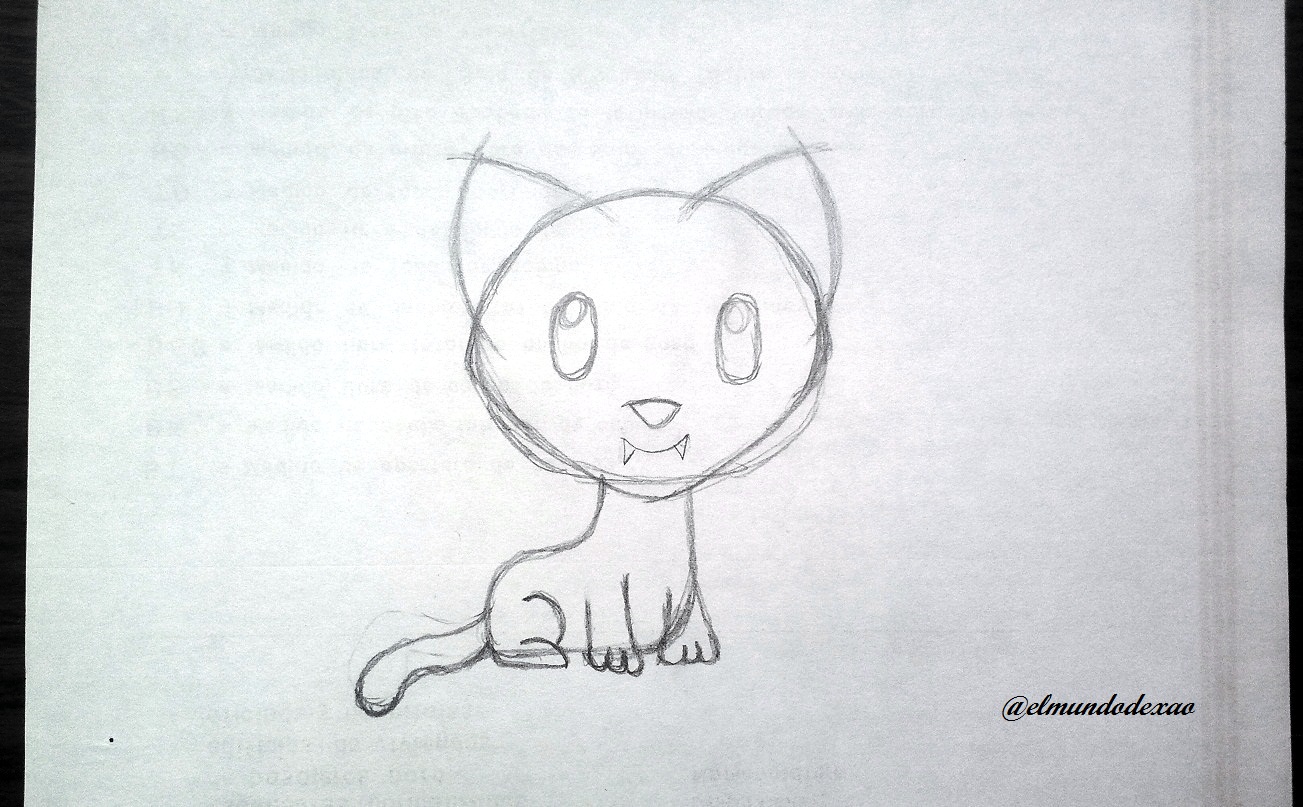
Step # 01: The first thing is to make an oval for the head but after seeing the oval shaped I wanted to do something different, so I modified the bottom part making it more pointed and it has turned out like the face of an alien; I didn't expect that. I still wanted to continue with what I had in mind, then with arched lines I make the ears and for the body shape I make a figure like a kind of boot.
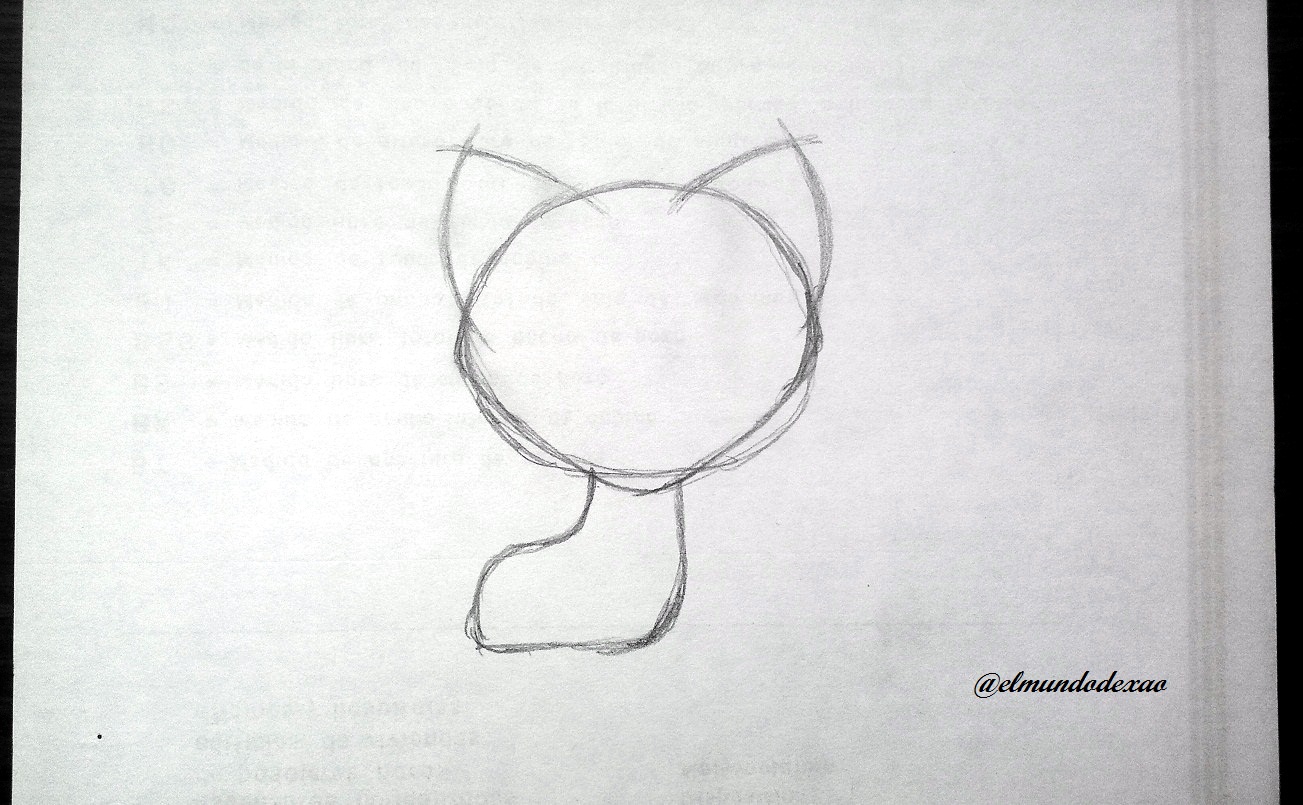 Step # 02: Now I make the front legs that present no difficulty since they are a pair of lines joined by three fingers, on the other hand the back leg that is visible I can define it with a pair of arched lines, once the legs are ready I draw the tail; then I make the details of the face like eyes that will be a pair of small ovals, a triangular nose and the mouth with a pair of fangs outside.
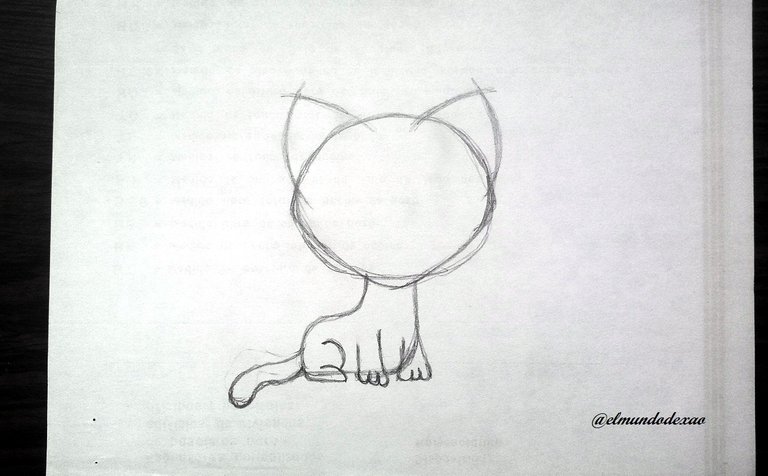
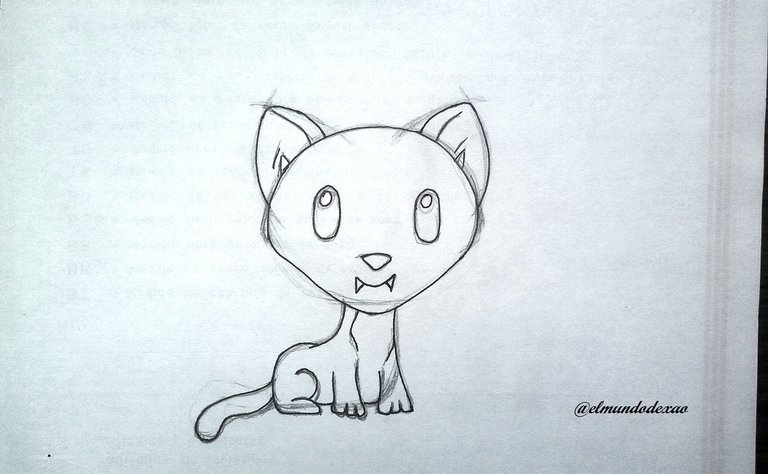
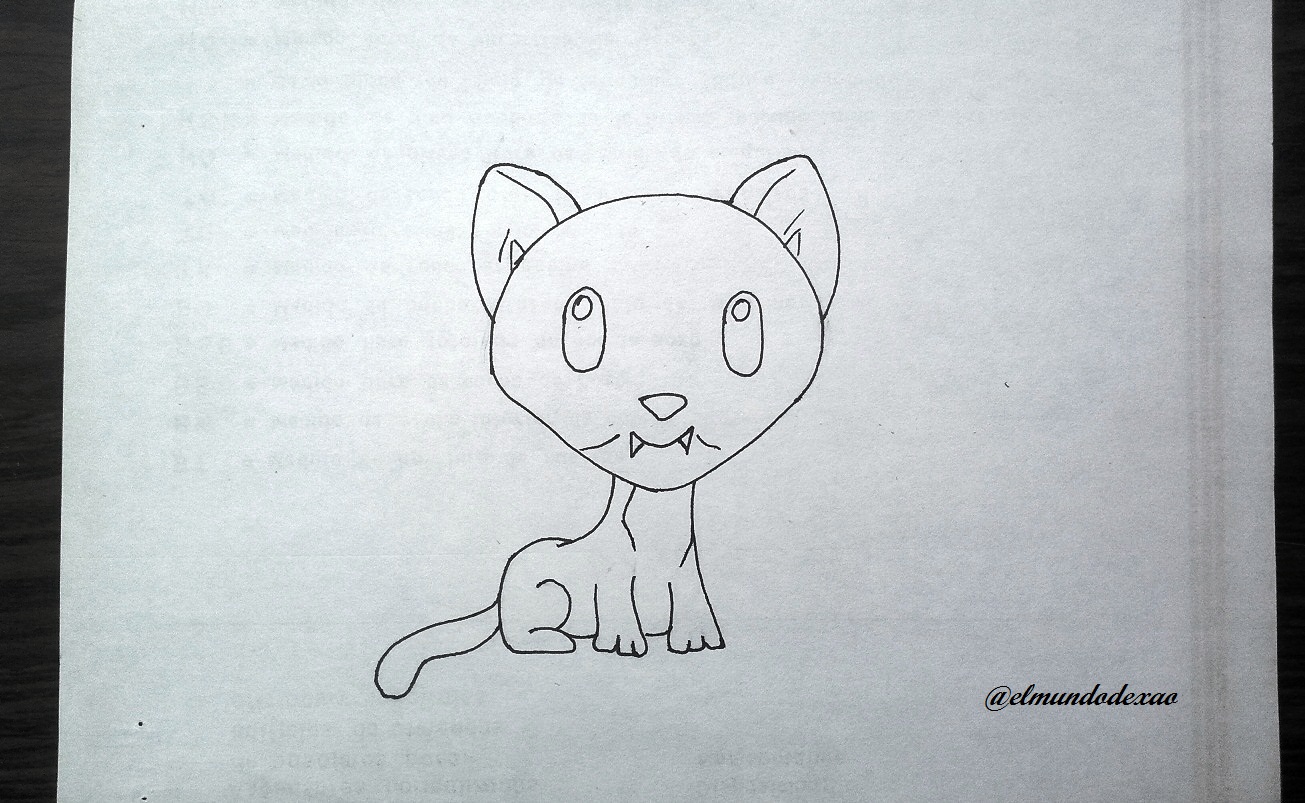
 Step # 03: The inking; I start by giving a better outline to the ears and then inking the head and the body once ready I erase all the graphite, clean and that's it, I have finished this little weasel.
 Step # 04: Coloring; The head and the body will have a light brown color, except for the jaw and the chest that will have a beige tone and as for the inner part of the ears and the nose, I will give them a pink color. For the environment it will be enough with some leaves and some grass without forgetting some blue for the sky and we can finish this cute creature. I say goodbye thanking you for reading me, I hope you have a happy morning, afternoon or evening depending on your location.
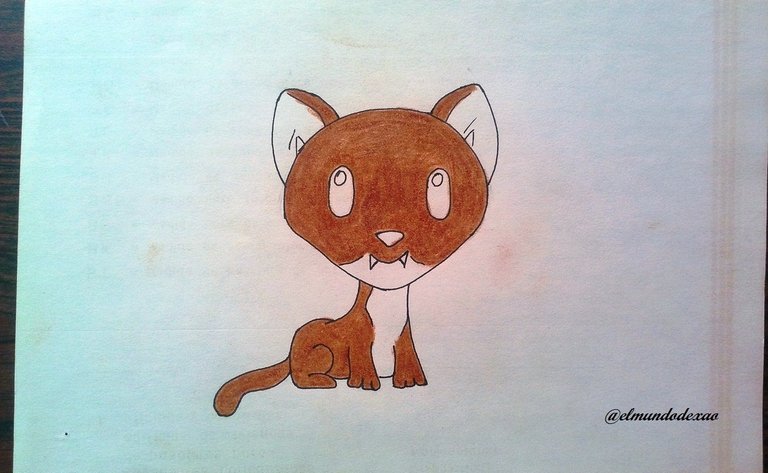
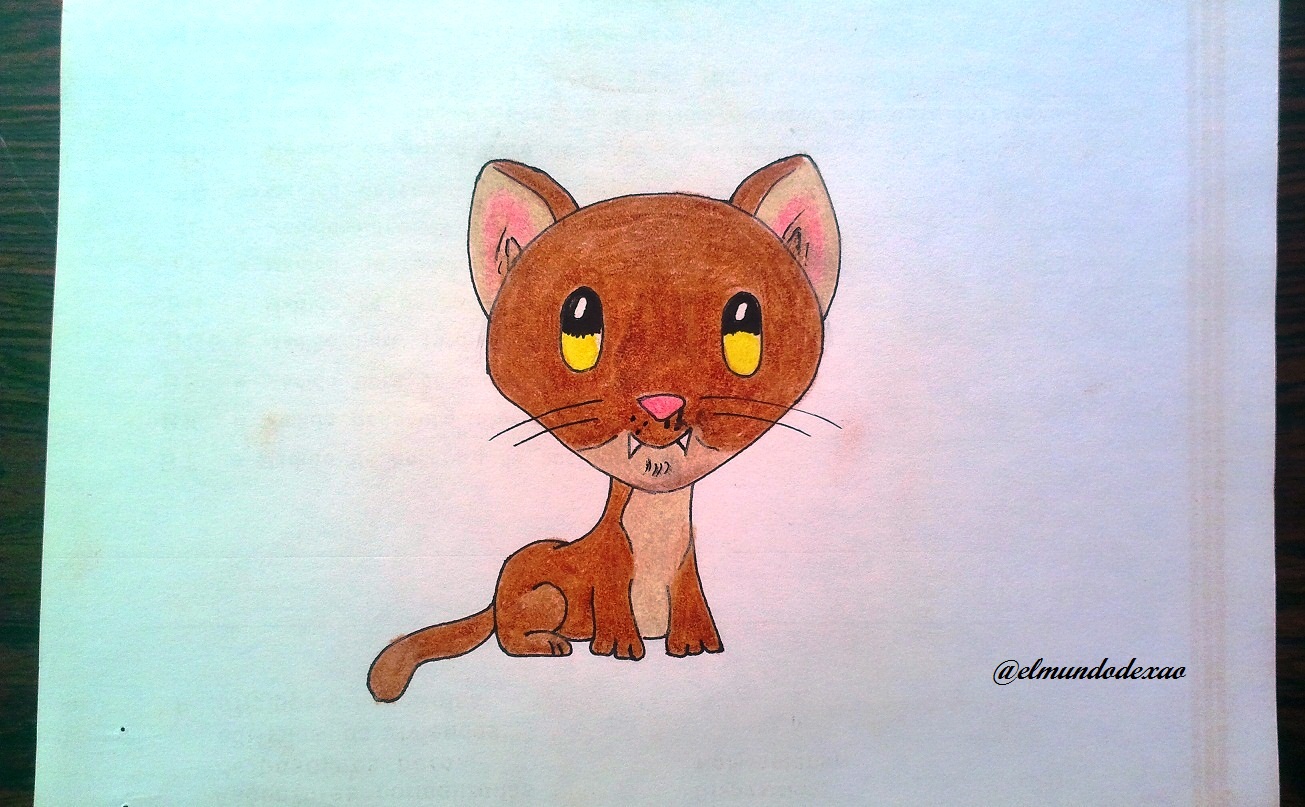

Photo Source: Own photos captured with a Síragon camera.
Modified size: With the Paint Program.
Thanks for visiting my Blog… AH! Don't forget to vote, reblogear, and comment.
Translated with:

www.DeepL.com/Translator (free version)

Arte Kawaii “Dibujando Una Comadreja”.
Hola amigos…
☺☺☺
Bienvenidos a mi blog amigos espero estén muy bien este día Jueves inicio de mes. El arte kawaii que les quiero mostrar hoy es una comadreja; lo más curioso o mejor dicho, lo que más me gusta es que algunos de estos animalitos son extremadamente tiernos, tanto que me parece que algunos tienden a ser como irreales.
A continuación menciono los materiales utilizados: Papel bond blanco, lápiz de grafito 2, rotulador de 0.5, borrador y colores (Variedad de marcas).
Antes de continuar les recuerdo que al final les dejare el enlace que use en esta ocasión.

Comencemos con el paso a paso del dibujo:
Paso # 01: Lo primero es hacer un ovalo para la cabeza pero después de ver el ovalo plasmado quise hacer algo diferente, así que modifique la parte de abajo haciéndola más puntiaguda y me ha quedado como la cara de un alienígena; eso no me lo esperaba. Igual quise seguir con lo que tenía en mente, luego con líneas arqueadas hago las orejas y para la forma del cuerpo hago una figura como una especie de bota.

 Paso # 02: Ahora hago las patas delanteras que no presentan dificultad ya que son un par de líneas unidas por tres dedos, en cambio la pata trasera que es visible la puedo definir con un par de líneas arqueadas, una vez listas las patas dibujo la cola; para después hacer los detalles del rostro como ojos que serán un par de óvalos pequeños una nariz triangular y la boca con un par de colmillos afuera.

 Paso # 03: El entintado; comienzo dándole un mejor trazado a las orejas para luego entintar la cabeza y el cuerpo una vez listo borro todo el grafito, limpio y listo ya he terminado esta pequeña comadreja.

 Paso # 04: Colorear; La cabeza y el cuerpo llevaran un color marrón claro, a excepción de la quijada y el pecho que tendrán un tono beis y en cuanto a la parte interna de las orejas y la nariz, les daré un color rosado. Para el entorno bastara con algunas hojas y algo de hierba sin olvidar algo de azul para el cielo y listo podemos dar por terminada esta linda criatura. Me despido agradeciéndoles por leerme espero tengan una feliz mañana, tarde o noche según sea su ubicación.


Fuente de Fotos: Propias capturadas con una cámara Síragon.
Modificado el tamaño: Con el Programa Paint.
Gracias por visitar mi Blog… ¡AH! No se olvide de votar, rebloguear y comentar.


