Hello friends...
☺☺☺
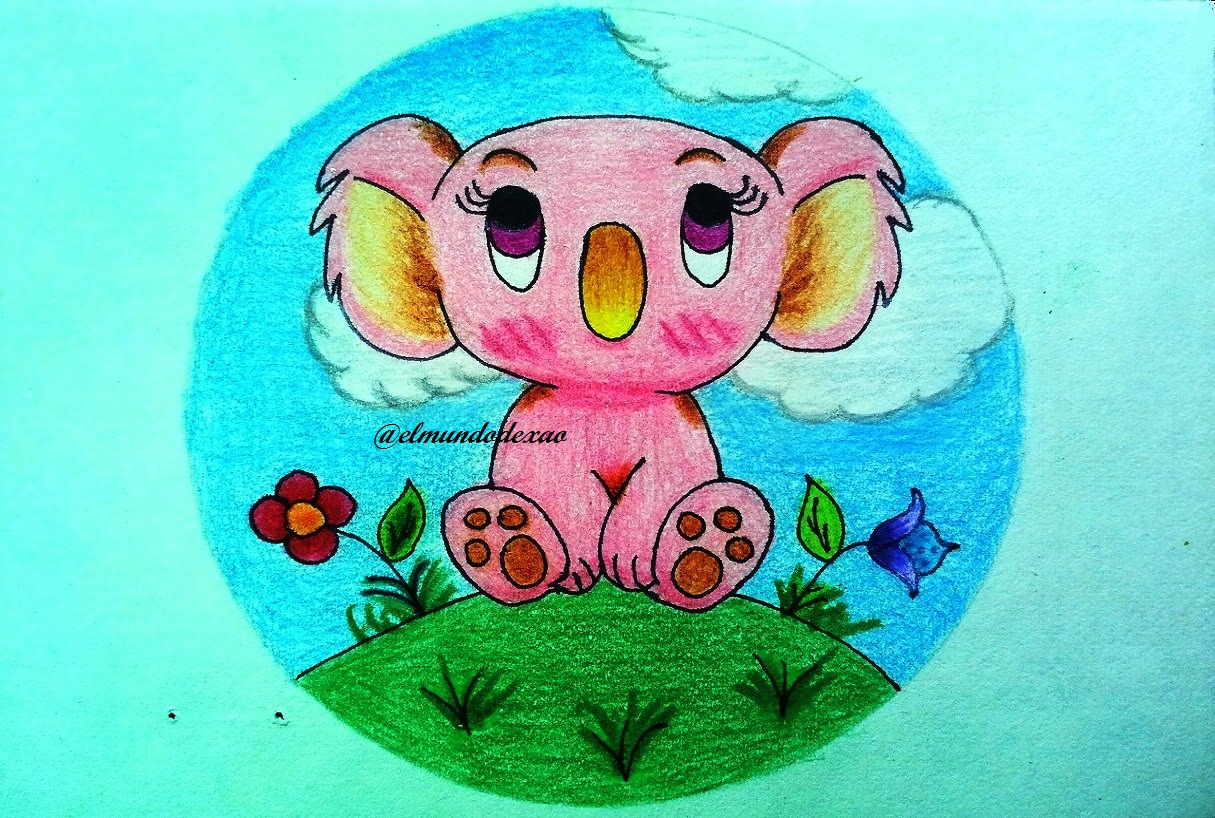
Welcome to my blog, I hope you are having a great Sunday; the kawaii art I want to share with you all is a koala that by the way I think is very cute.
Here are the materials used: white paper, graphite pencil 2, 0.5 marker, eraser and colors (Variety of brands).
Before continuing I remind you that at the end I will leave you the link I used on this occasion.
Let's start with the step by step drawing:
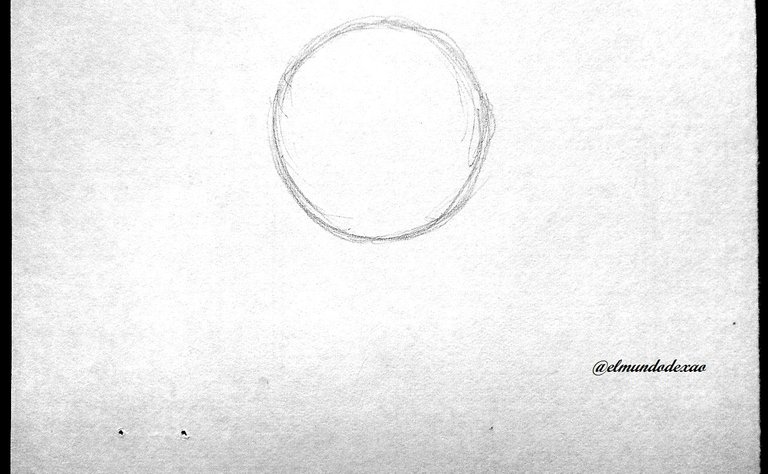
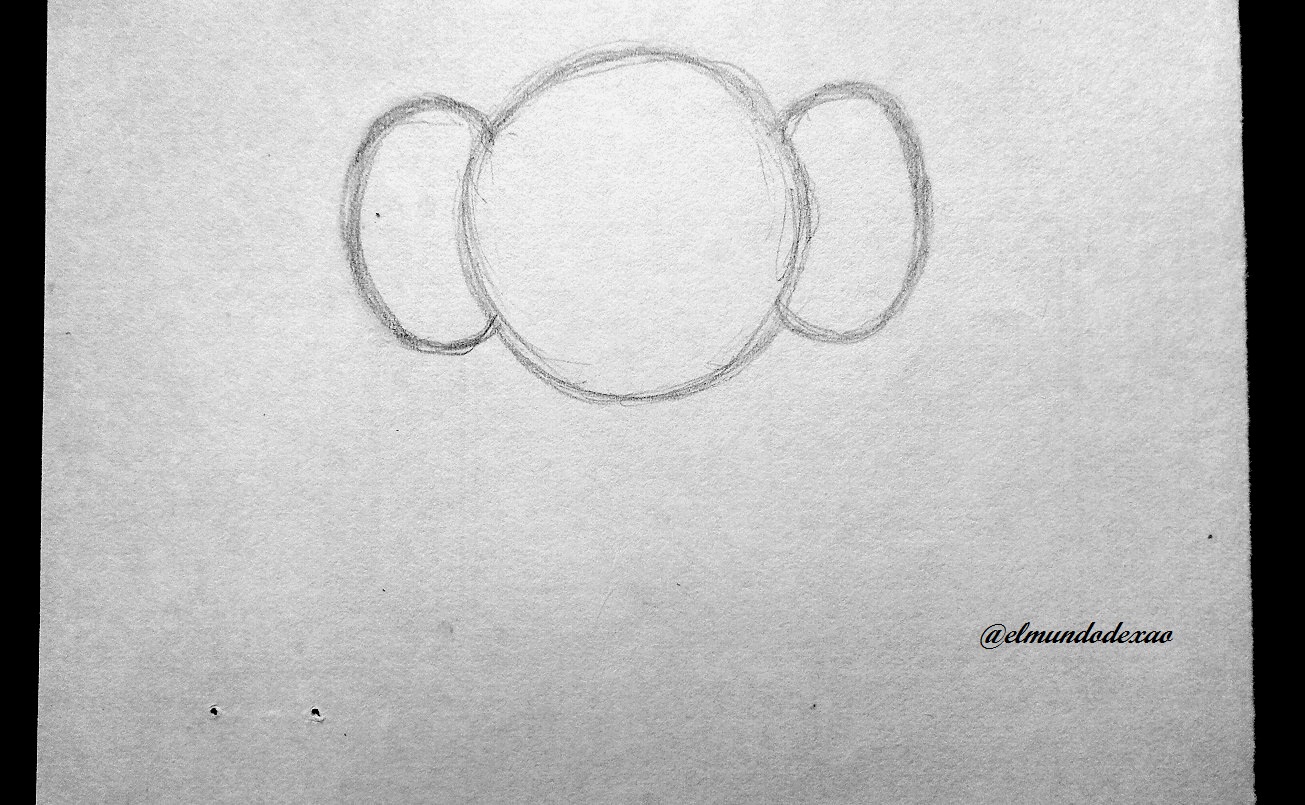
Step # 01: I will start by tracing a circle for the head; remember that it must be bigger than the rest of the body, then I will define the ears by making an oval on each side and as I already have more agility tracing the oval I don't need to make them complete so they will be in the shape of beans.
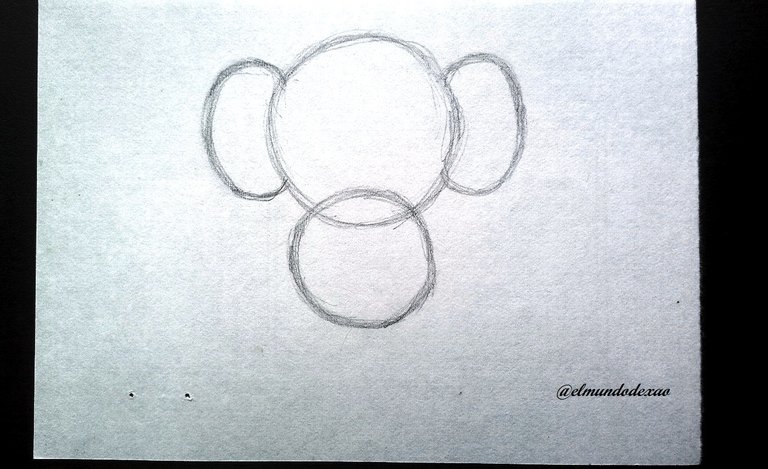
 Step # 02: For the body I will draw a circle about half the size of the head and then at the bottom and sides I will draw two small ovals for the hind legs but these must be in a diagonal position; inside these I will draw three small circles and one a little bigger and thus the footprints of the legs will be defined.
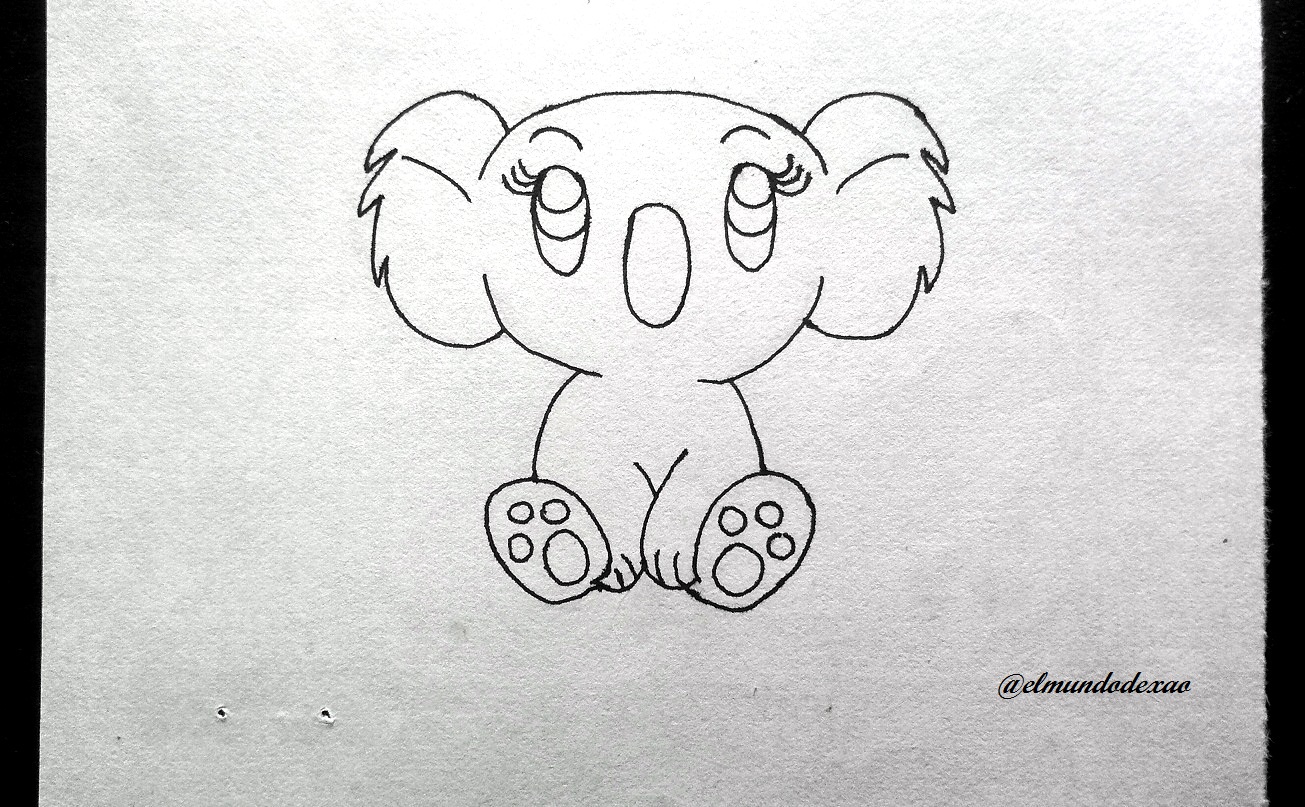
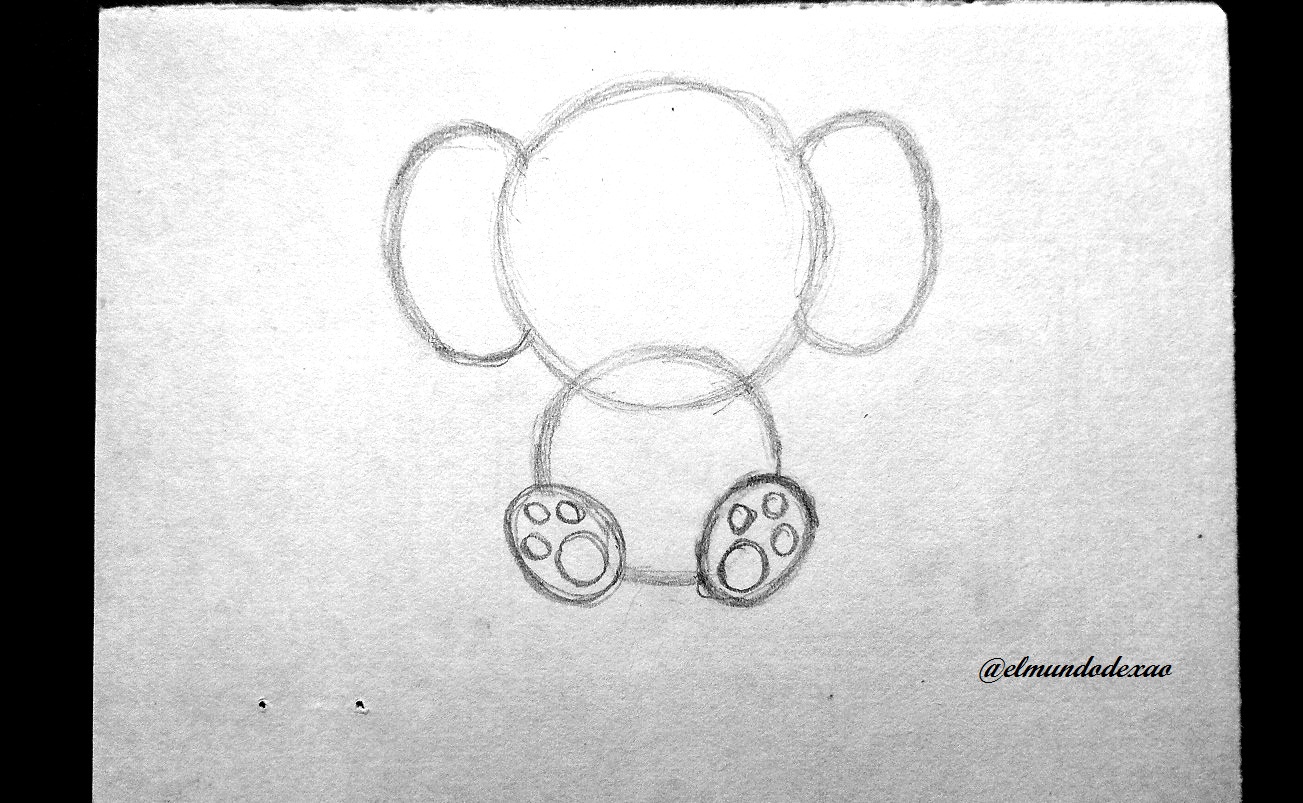 Step # 03: Now I go with the details of the face; for the eyes it will be enough with a couple of small elongated ovals, the same for the nose, only this last one will be a little bit bigger. As for the top of the head I flatten it a little so that it is not totally round.
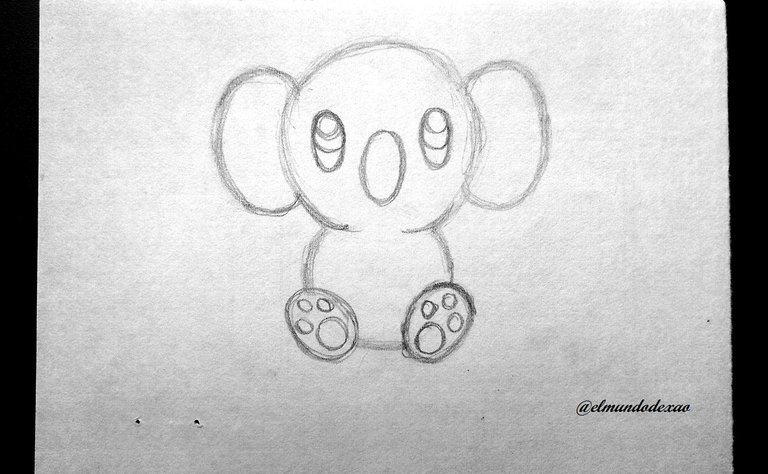
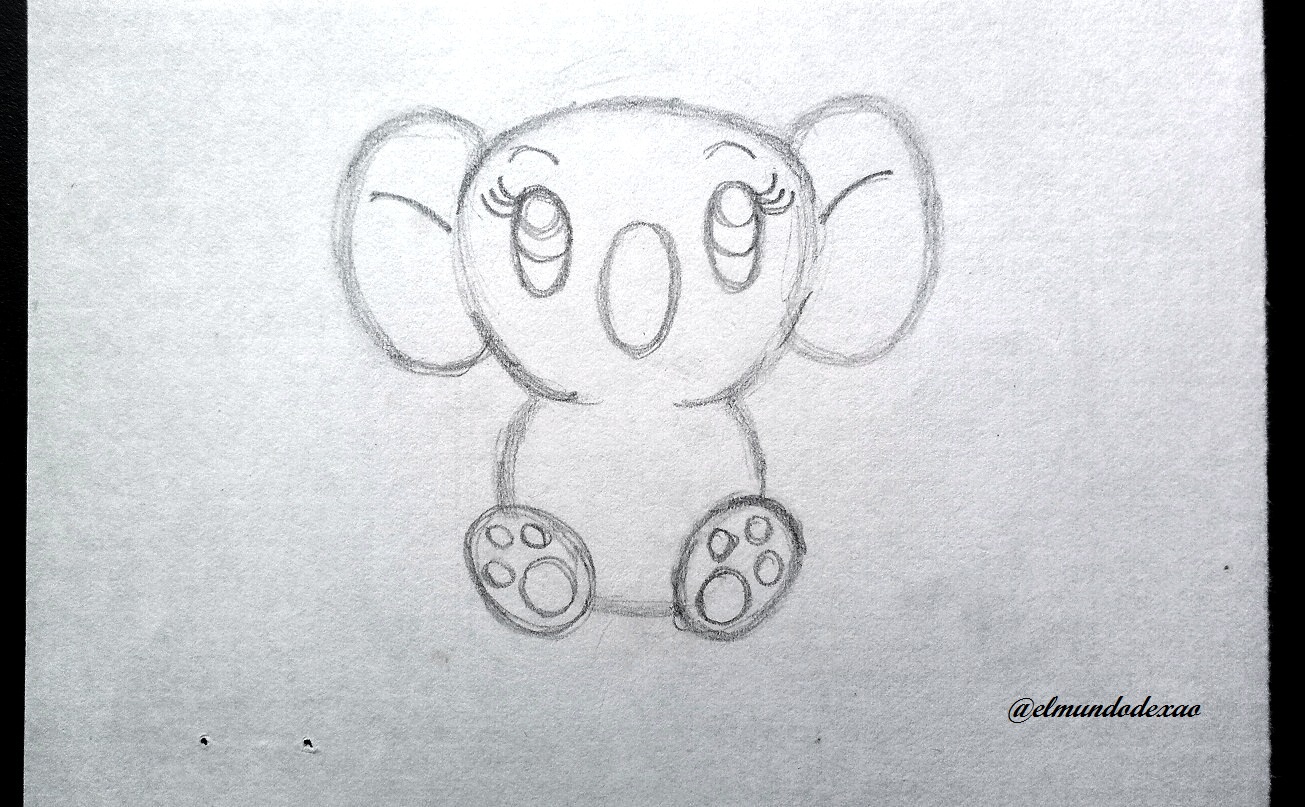 Step # 04: I finish with the front legs and this way the sketch is ready so I can proceed to ink it, erase the graphite and clean it; as you can see the final finish has a better appearance.
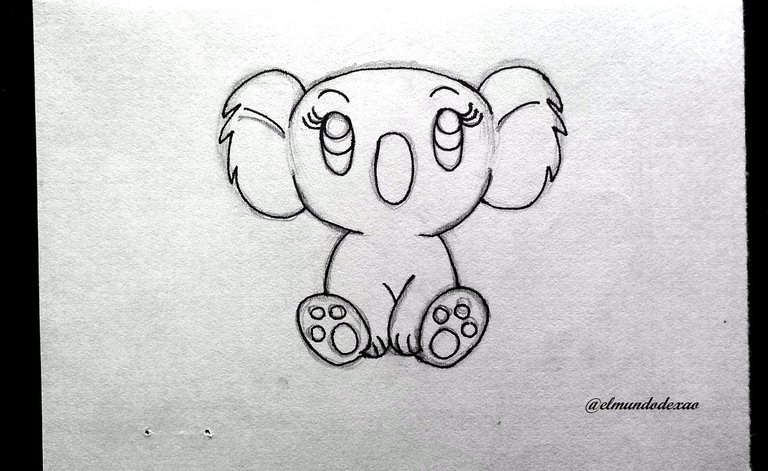
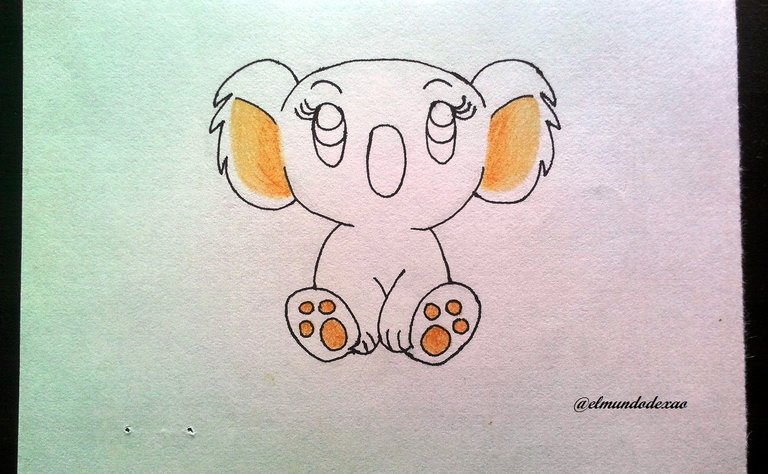
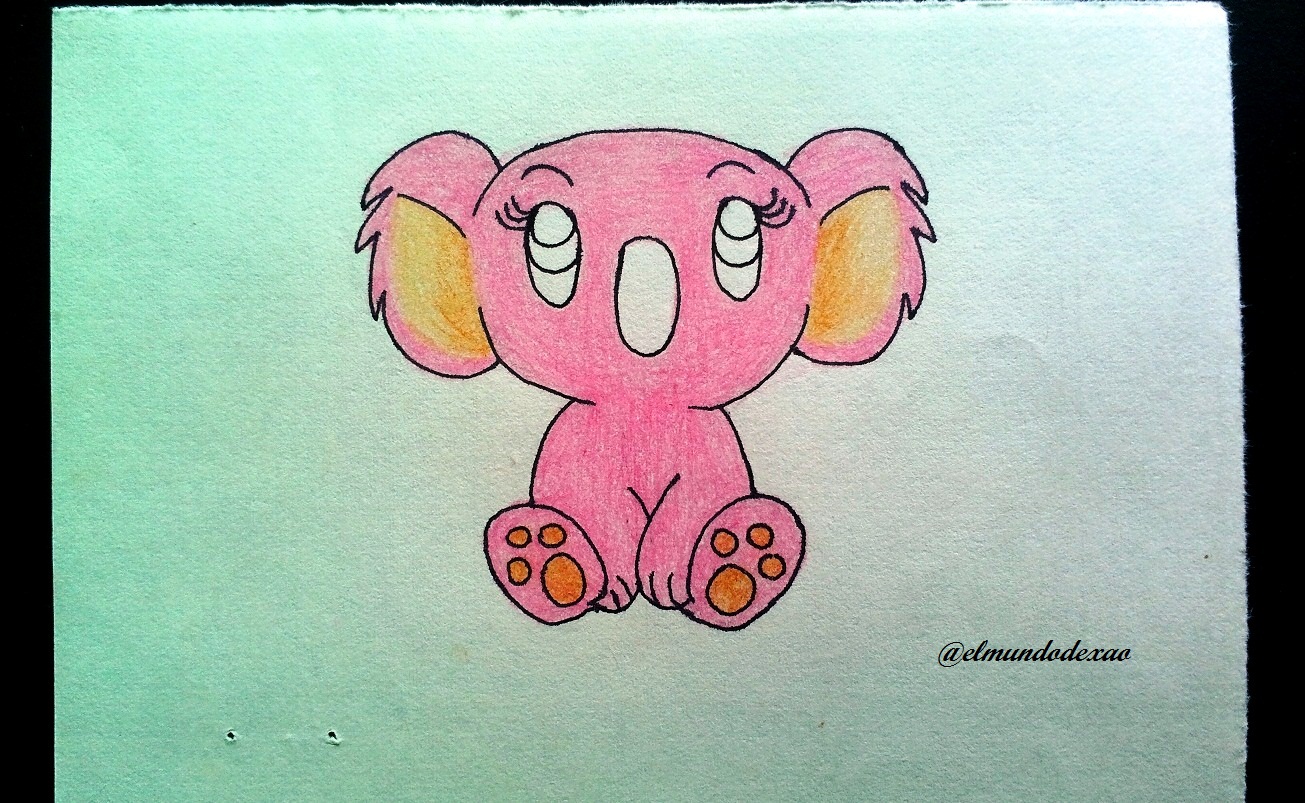
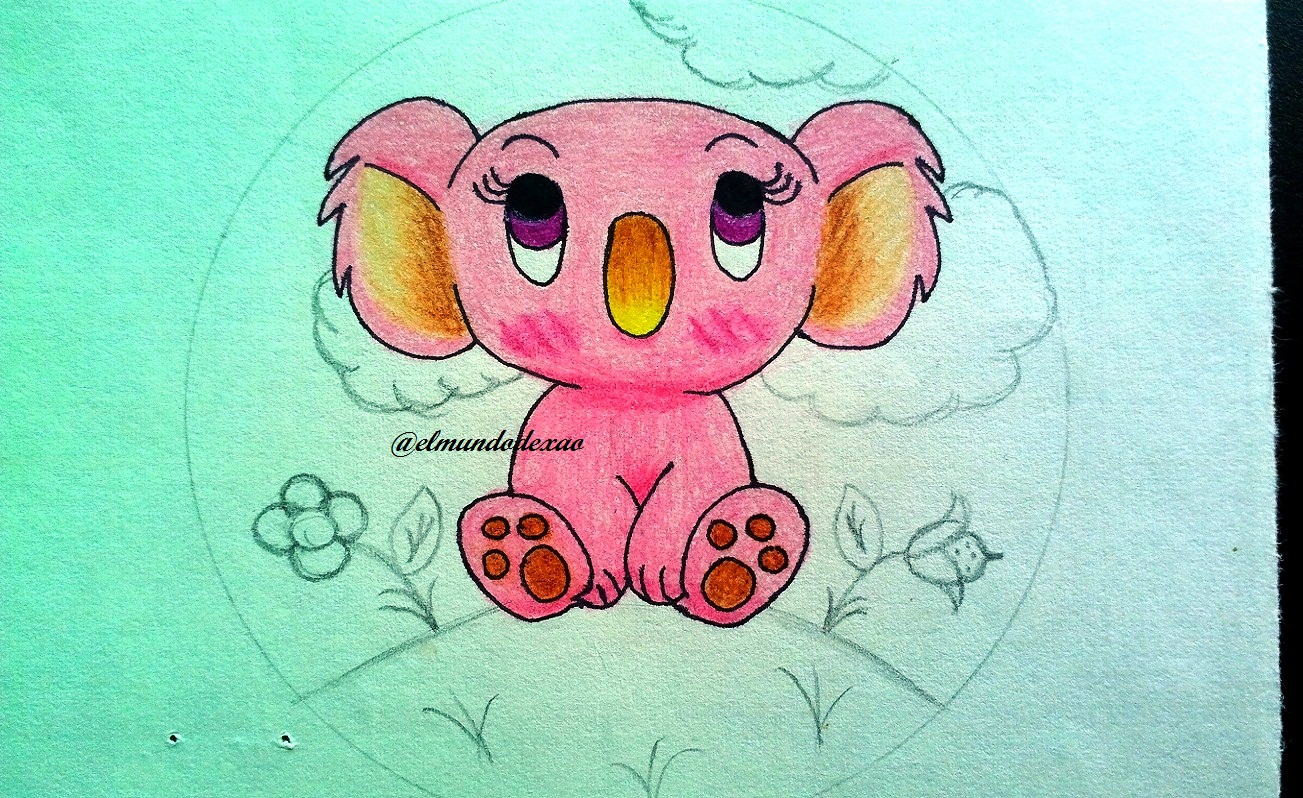
 Step # 05: I start coloring and I will do it with the inside of the ears and the paw prints, both will have beige and yellow instead for the body and the head I will use a pink color since my koala is female.
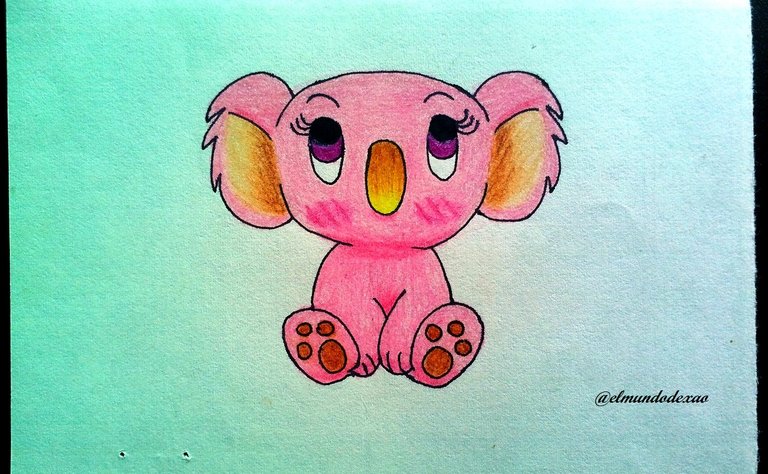
 Step # 06: The eyes will have a purple color and the nose the same colors as the inside of the ears, I paint the cheeks and add some shadows. Once the drawing is finished I take a compass and center it to make a circle around the koala to define the environment that will include a hill, grasses and flowers.
 Step # 07: To finish I will give color to the environment; a green for the hill, the flowers will have colors like yellow with red and blue with purple; the clouds a little gray and the rest of the sky light blue and thus I conclude this publication.
I say goodbye wishing you a happy day, afternoon or evening depending on your location.
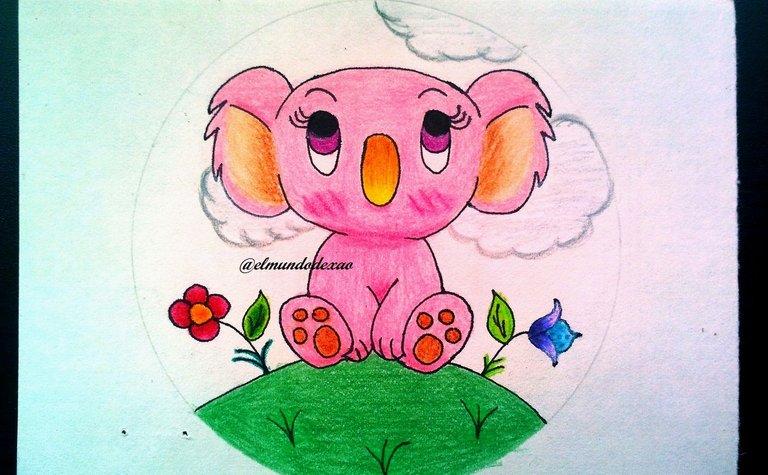

Photo Source: Own photos captured with a Síragon camera.
Modified size: With the Paint Program.
Thanks for visiting my Blog… AH! Don't forget to vote, reblogear, and comment.
Translated with:

www.DeepL.com/Translator (free version)

Hola amigos…
☺☺☺
Bienvenidos a mi blog, espero estén pasando un domingo genial; el arte kawaii que quiero compartir con todos ustedes es una koala que por cierto creo ha quedado muy linda.
A continuación menciono los materiales utilizados: Papel blanco, lápiz de grafito 2, rotulador de 0.5, borrador y colores (Variedad de marcas).
Antes de continuar les recuerdo que al final les dejare el enlace que use en esta ocasión.

Comencemos con el paso a paso del dibujo:
Paso # 01: Comenzare trazando un círculo para la cabeza; recuerden que debe ser más grande que el resto del cuerpo, después definiré las orejas haciendo un ovalo de cada lado y como ya tengo más agilidad trazando el ovalo no necesito hacerlos completos por lo que quedaran con la forma de unas judías.

 Paso # 02: Para el cuerpo trazare un circulo aproximadamente la mitad más pequeño que el de la cabeza y luego en la parte de abajo y a los lados dibujo dos pequeños óvalos para las patas traseras pero estos deben estar en una posición diagonal; dentro de estos dibujare tres círculos pequeños y uno un poco más grade y así quedaran definidas las huellas de las patas.

 Paso # 03: Ahora voy con los detalles de la cara; para los ojos bastara con un par de pequeños óvalos alargados igual para la nariz solo que este último será un poco más grande. En cuanto a la parte de arriba de la cabeza la aplano un poco para que no quede totalmente redonda.

 Paso # 04: Termino con las patas delantera y de esta forma está listo el boceto así puedo proceder a entintarlo, borrar el grafito y limpiar; como podrán ver el acabado final tiene una mejor apariencia.

 Paso # 05: Comienzo a colorear y lo haré con el interior de las orejas y las huellas de las patas, ambas tendrán beis y amarillo en cambio para el cuerpo y la cabeza utilizare un color rosado ya que mi koala es hembra.

 Paso # 06: Los ojos tendrán un color morado y la nariz los mismos colores del interior de las orejas, pinto las mejillas y agrego algunas sombras. Una vez terminado el dibujo tomo un compás y lo centro para hacer un círculo alrededor del koala y así definir el entorno que incluirá una colina, hierbas y flores.

 Paso # 07: Para terminar le daré color al entorno; un verde para la colina, las flores tendrán colores como amarillo con rojo y azul con morado; las nubes un poco de gris y el resto del cielo celeste y de este modo doy por concluida esta publicación.
Me despido deseándoles un feliz día, tarde o noche según sea su ubicación.


Fuente de Fotos: Propias capturadas con una cámara Síragon.
Modificado el tamaño: Con el Programa Paint.
Gracias por visitar mi Blog… ¡AH! No se olvide de votar, rebloguear y comentar.


