Hello friends...
☺☺☺
Welcome to my blog friends I hope you are very well. For this new drawing I wanted to change the style a little bit so after looking for some ideas this was the one that captivated me the most. I hope you like it.
Next I mention the materials used: white bond paper, graphite pencil 2, 0.5 marker, eraser and colors (Variety of brands).
Before continuing I remind you that at the end I will leave you the link I used on this occasion.
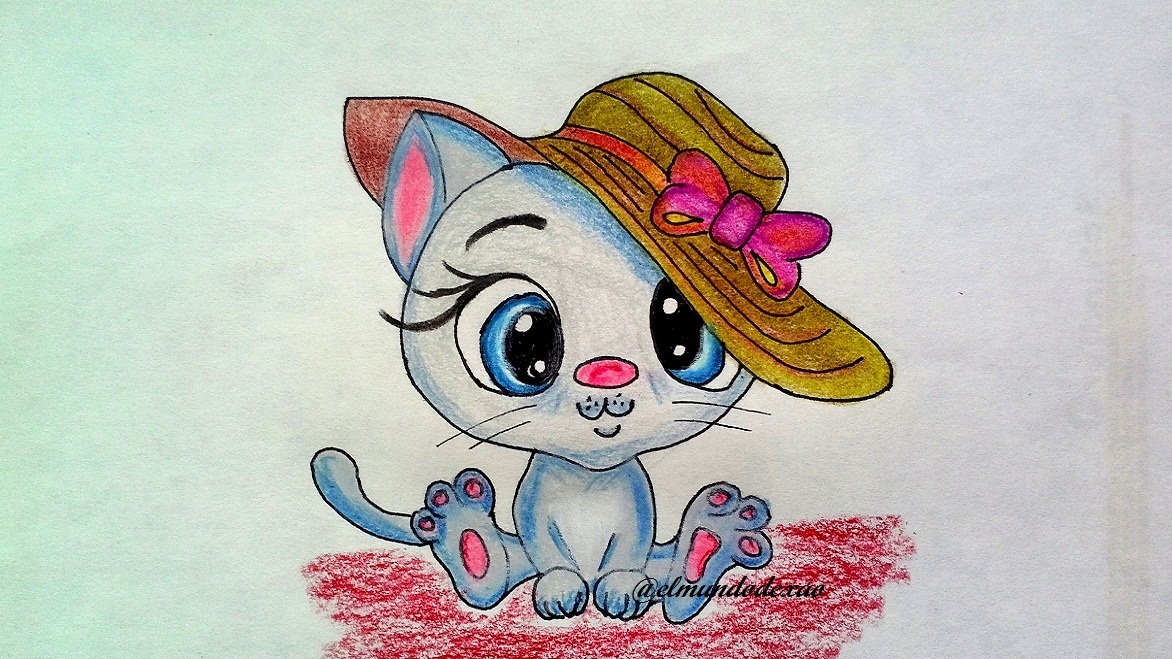
Let's start with the step by step drawing:
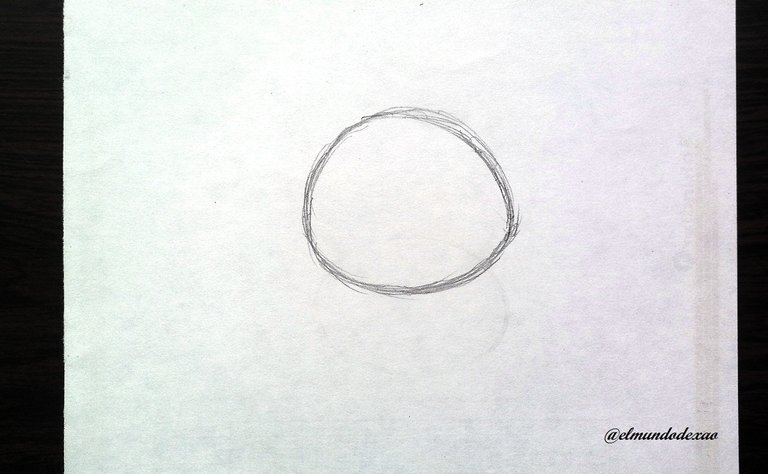
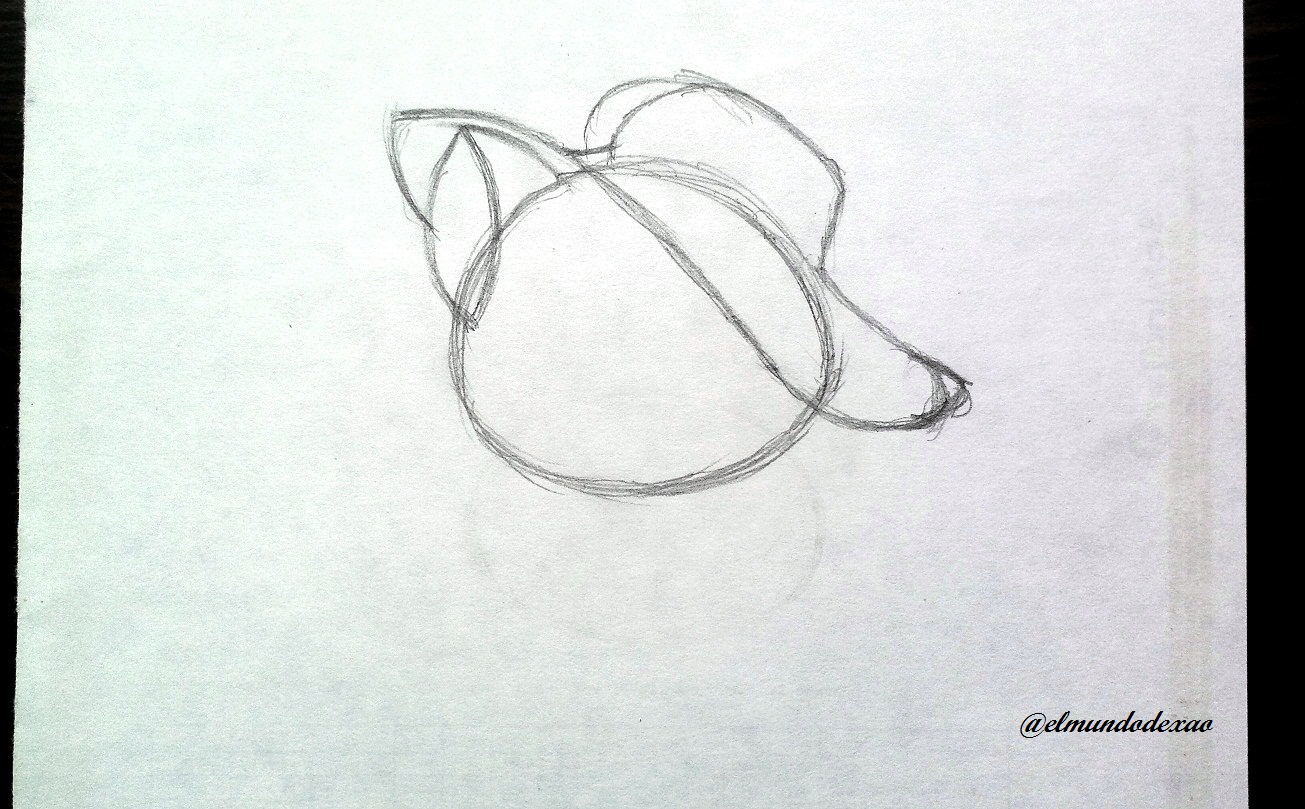
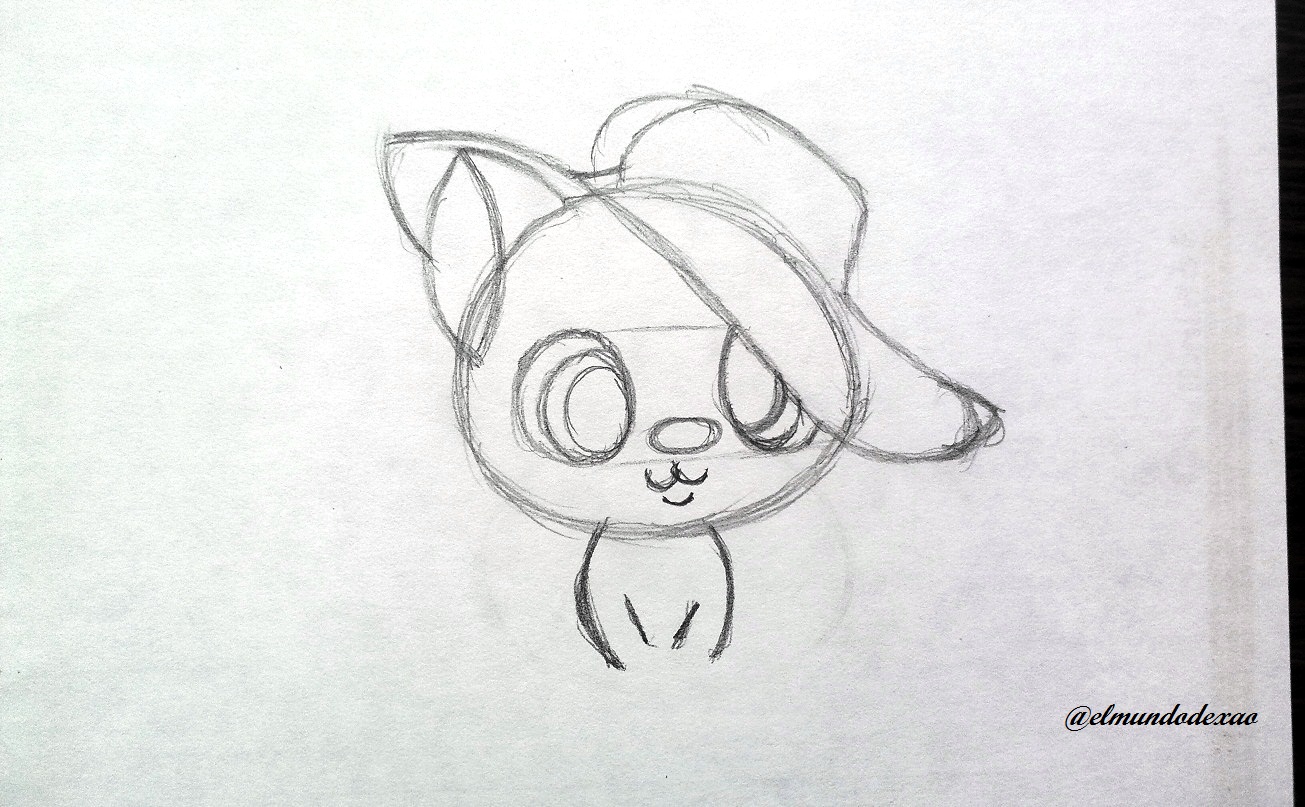
Step # 01: I will start with a circle, well something similar to a circle since it should have the bottom part a little flat. Then I will make the left ear to use it as a guide in drawing the lines that will define the hat.
 Step # 02: Now I am going to draw the left eye then I draw two horizontal lines that will serve as a guide to place the right eye but first I will draw the snout to center it in the right place. I also take the opportunity to draw a couple of arched lines for the body sketch.
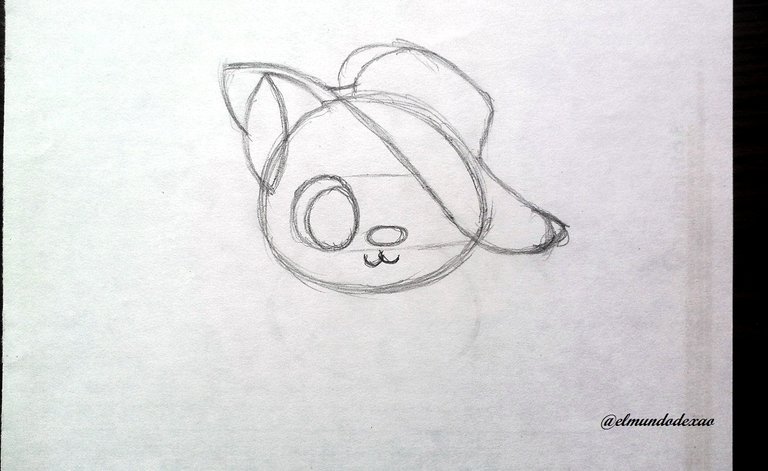
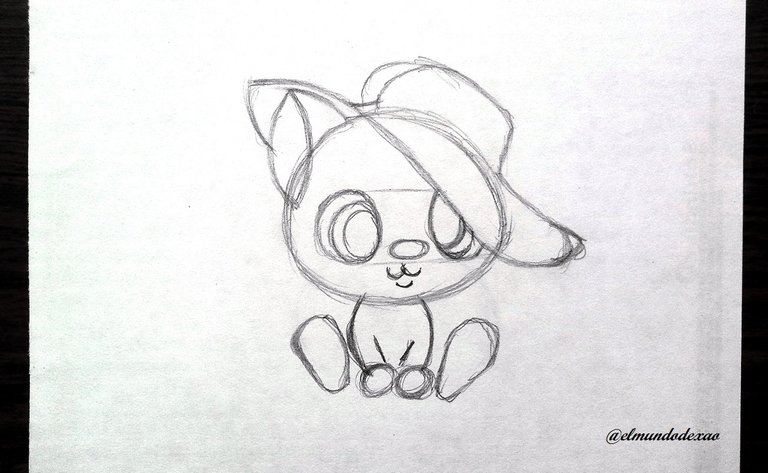
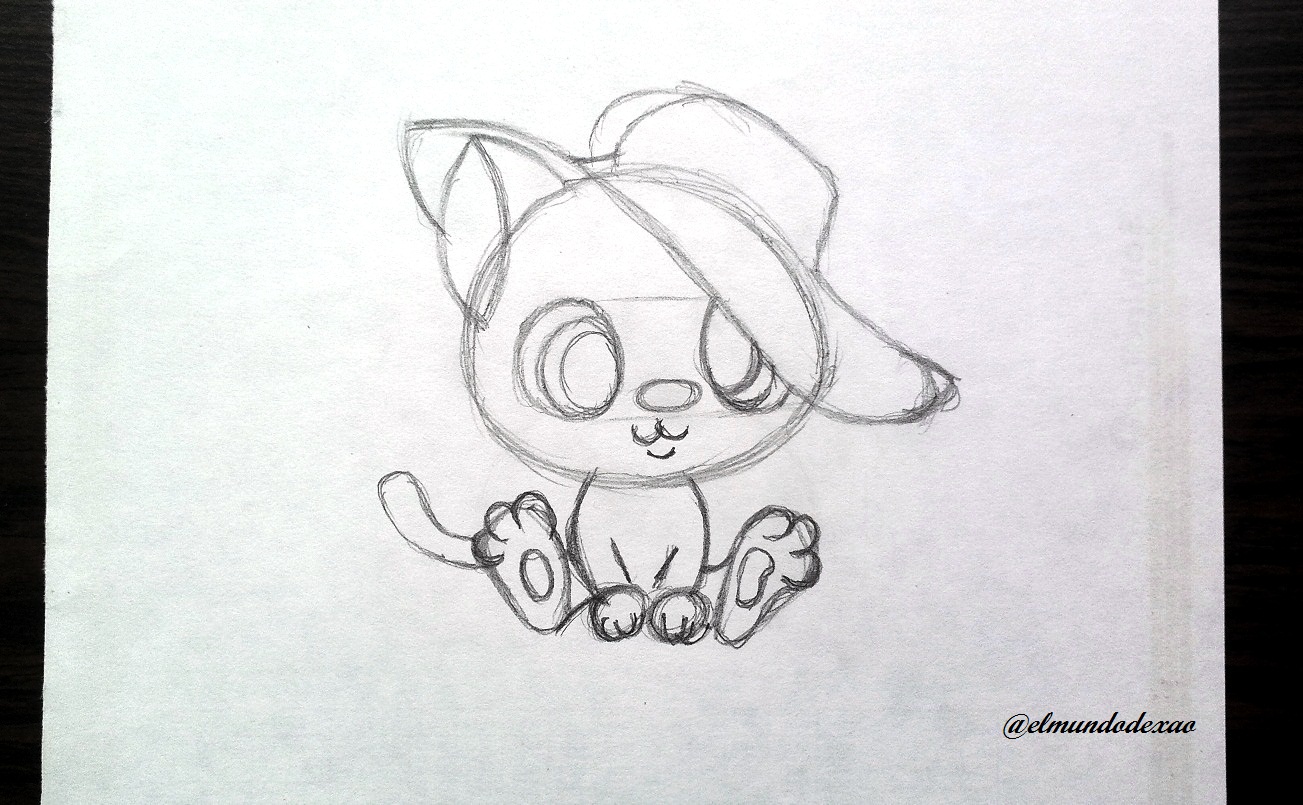
 Step # 03: With a couple of small circles I will locate the position of the front legs and for the back legs I will make a couple of figures like those of a traditional light bulb and then define in each of these three toes and a small oval in the center; instead for the front legs I will make the toes downwards.
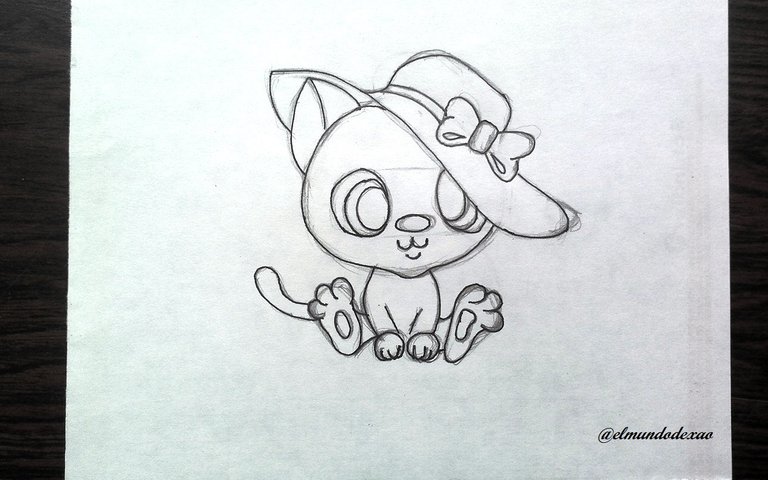
 Step # 04: To finish, the only thing missing is the bow on the hat and I proceed to ink it; there are several details missing but I want to do them after erasing the graphite since I can make a mistake.
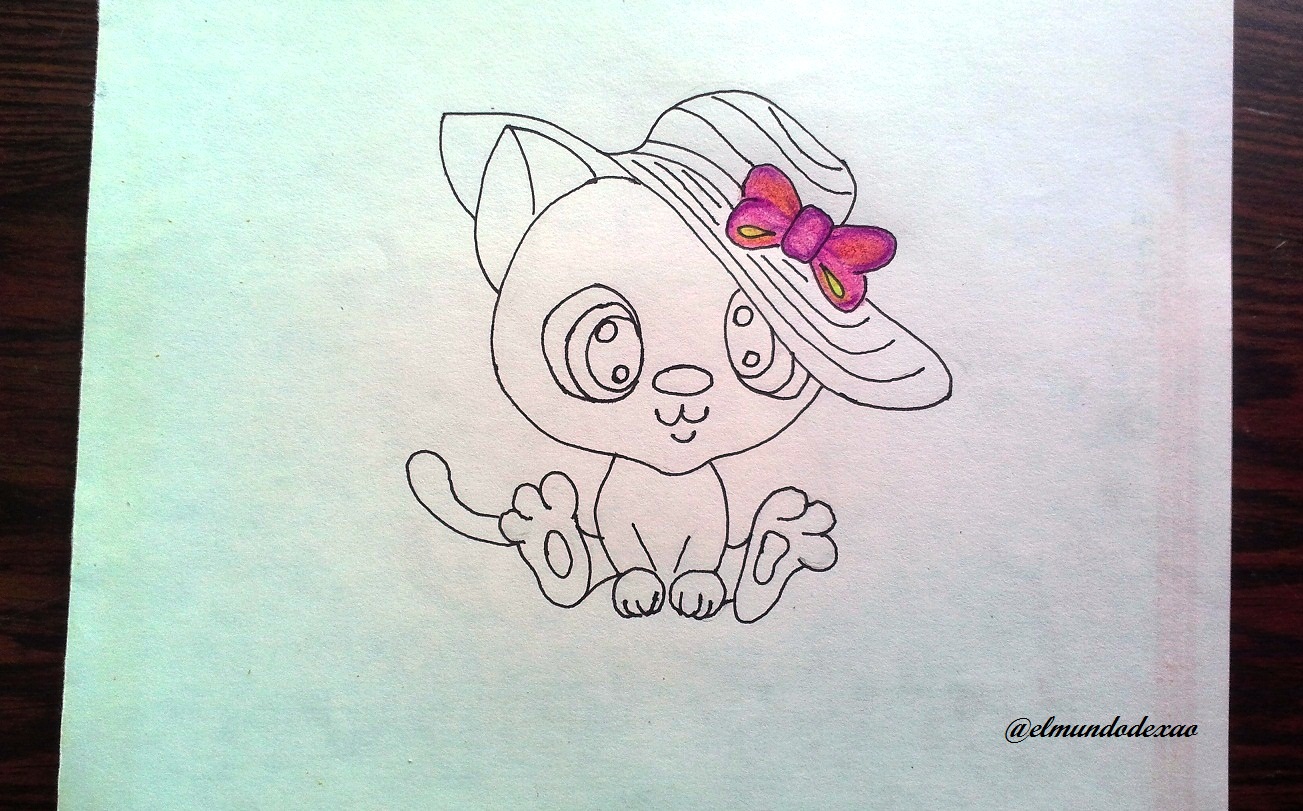 Step # 05: As you can already see I started coloring the bow and then moved on to the hat; for the bow I used two shades of fuchsia plus a yellow color for the inner part of the bow; for the hat a shade of brown with ochre and using a yellow color to lighten some parts. For the pupil of the eyes a black color leaving four white dots for the reflection. In the inner part of the ear I use pink as well as in the nose and back legs.
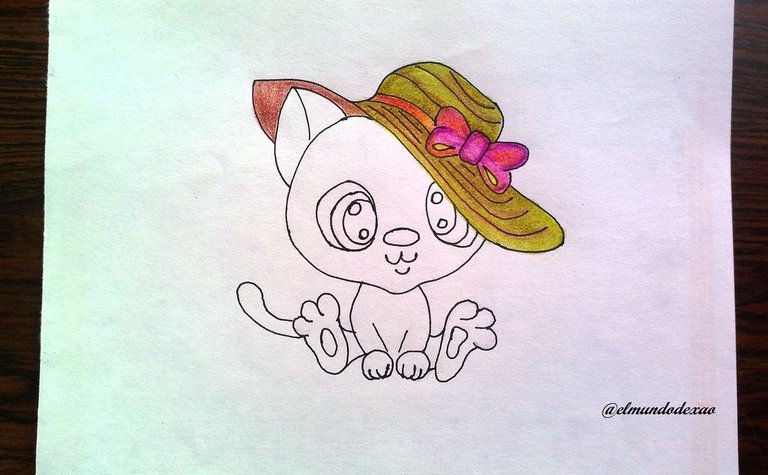
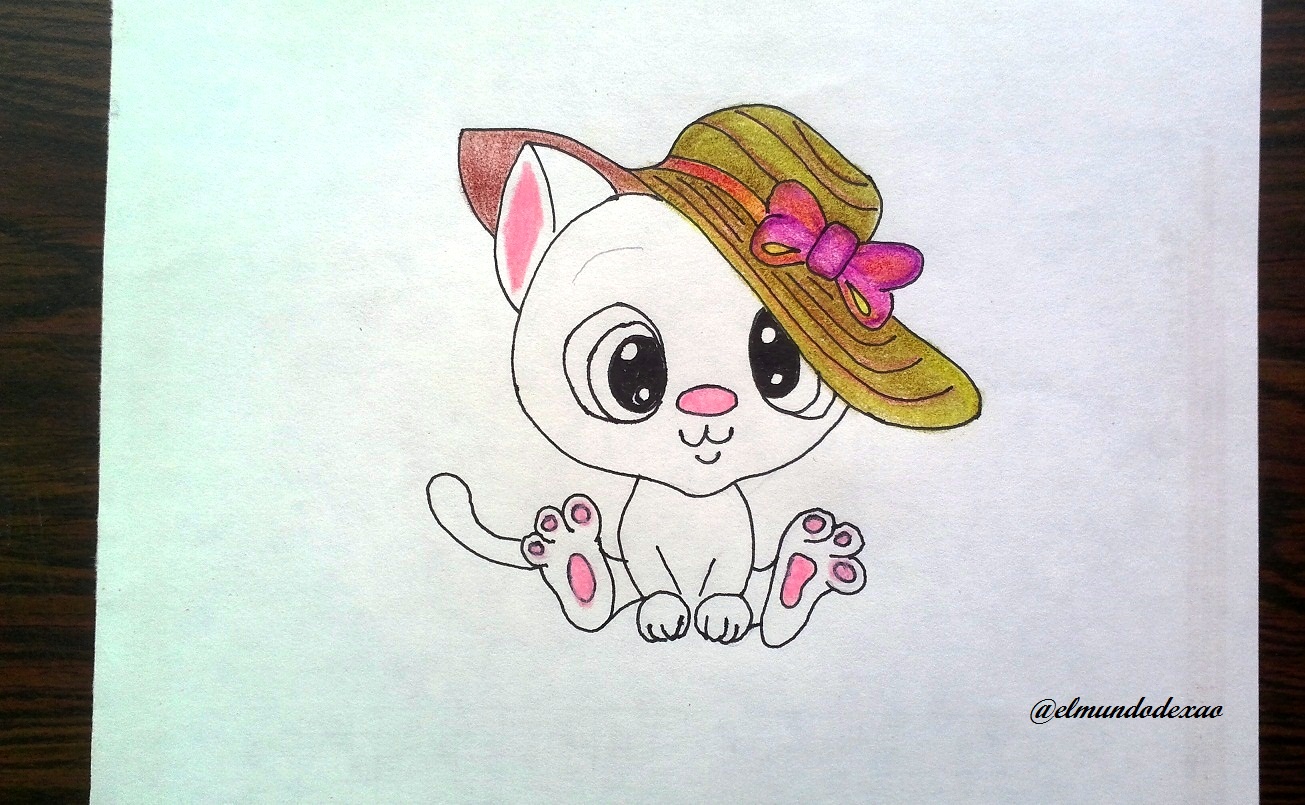 Step # 06: For the head and the body I use a dark gray in some parts and for the rest a light gray; and to finish the eyes I place dark blue on the border and white towards the center and thus I finish this beautiful kitten.
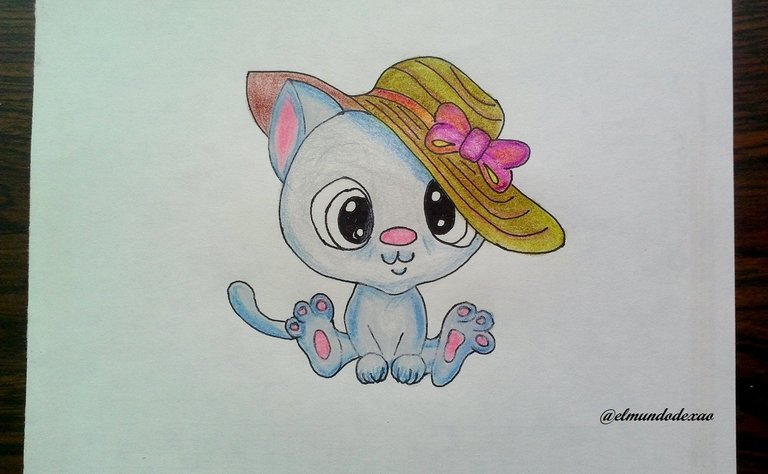

Photo Source: Own photos captured with a Síragon camera.
Modified size: With the Paint Program.
Thanks for visiting my Blog… AH! Don't forget to vote, reblogear, and comment.
Translated with:

www.DeepL.com/Translator (free version)

Arte Kawaii “Dibujando Una Gatita Cool”.
Hola amigos…
☺☺☺
Bienvenidos a mi blog amigos espero estén muy bien. Para este nuevo dibujo quise cambiar un poco el estilo por lo que después de buscar algunas ideas esta fue la que más me cautivo. Espero les guste.
A continuación menciono los materiales utilizados: Papel bond blanco, lápiz de grafito 2, rotulador de 0.5, borrador y colores (Variedad de marcas).
Antes de continuar les recuerdo que al final les dejare el enlace que use en esta ocasión.

Comencemos con el paso a paso del dibujo:
Paso # 01: Iniciare con un círculo, bueno algo parecido a un círculo ya que debe tener la parte de abajo un poco chata. Luego haré la oreja izquierda para utilizarla como guía en el trazado de las líneas que definirán el sombrero.

 Paso # 02: Ahora voy a dibujar el ojo izquierdo luego trazo dos líneas horizontales que me servirán como guía para ubicar el ojo derecho pero antes dibujare el hocico para centrarlo en la sitio correcto. También aprovecho de trazar un par de líneas arqueadas para el boceto del cuerpo.

 Paso # 03: Con un par de círculos pequeños ubicare la posición de las patas delanteras y para las patas traseras haré un par de figuras como las de una bombilla tradicional para después definir en cada una de estas tres dedos y un pequeño ovalo en el centro; en cambio para las patas delanteras haré los dedos hacia abajo.

 Paso # 04: Para terminar solo faltaría el lazo en el sombrero y procedo a entintarlo; están faltando varios detalles pero los quiero hacer después de borrar el grafito ya que puedo equivocarme.

 Paso # 05: Como ya lo pueden apreciar he comenzado a colorear por el lazo para después pasar al sombrero; en el lazo utilice dos tonos de fucsia además de un color amarillo para la parte interna del lazo; para el sombrero un tono de marrón con ocre y utilizando un color amarillo para aclarar algunas partes. Para la pupila de los ojos un color negro dejando cuatro puntos blancos para el reflejo. En la parte interna de la oreja utilizo rosado al igual en la nariz y las patas traseras.

 Paso # 06: Para la cabeza y el cuerpo utilizo un gris oscuro en algunas partes y para el resto un gris claro; y para terminar a los ojos les coloco azul oscuro por la orilla y blanco hacia el centro y así doy por terminada esta hermosura de gatita.
Les agradezco por su visita y para despedirme les deseo una linda mañana, tarde o noche según sea su ubicación.


Fuente de Fotos: Propias capturadas con una cámara Síragon.
Modificado el tamaño: Con el Programa Paint.
Gracias por visitar mi Blog… ¡AH! No se olvide de votar, rebloguear y comentar.


