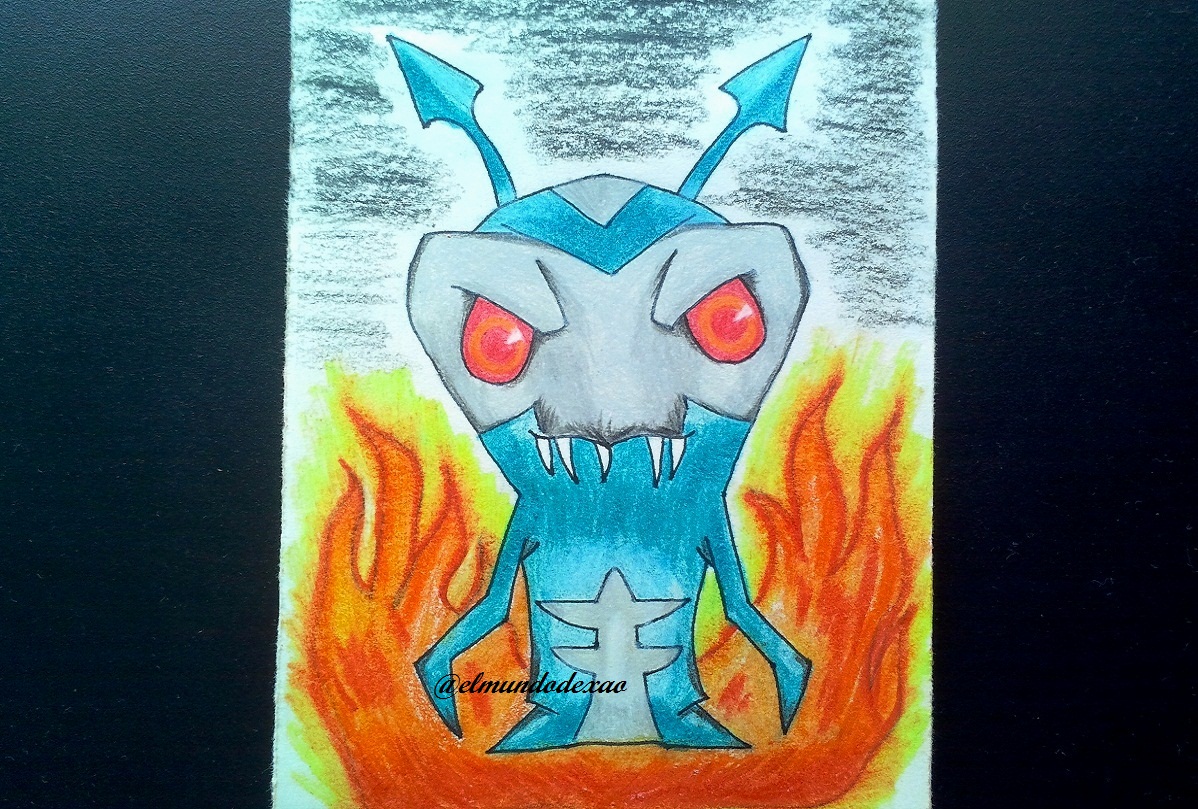
A cordial greeting to all the members of Alien Art Hive, this is my first publication in this community and for this I will share with you my most recent drawing of the Nocturna slug from the animated series Slugterra and I think it has the perfect qualities to start in this type of art.
Here are the materials used: 52 g white bond paper, 0.5 mechanical pencil, 0.5 marker, eraser and colors (Variety of brands).
Before I continue I will tell you that part of my learning is developed with videos or images searched on the Internet, so at the end I will leave you the link I used on this occasion.
Let's start with the step by step drawing:
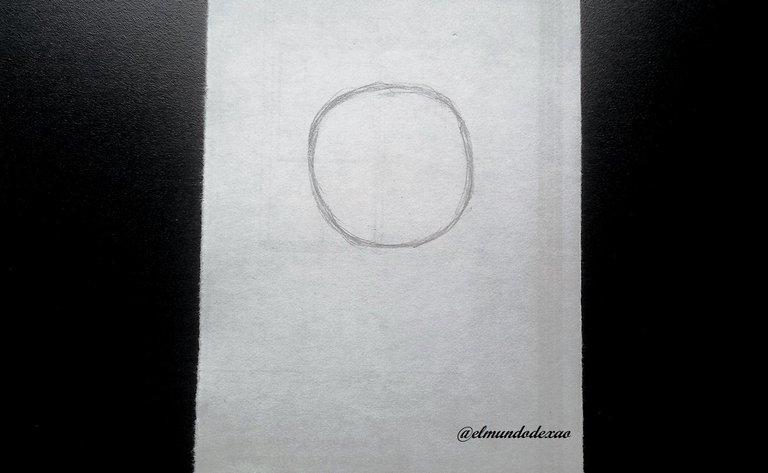
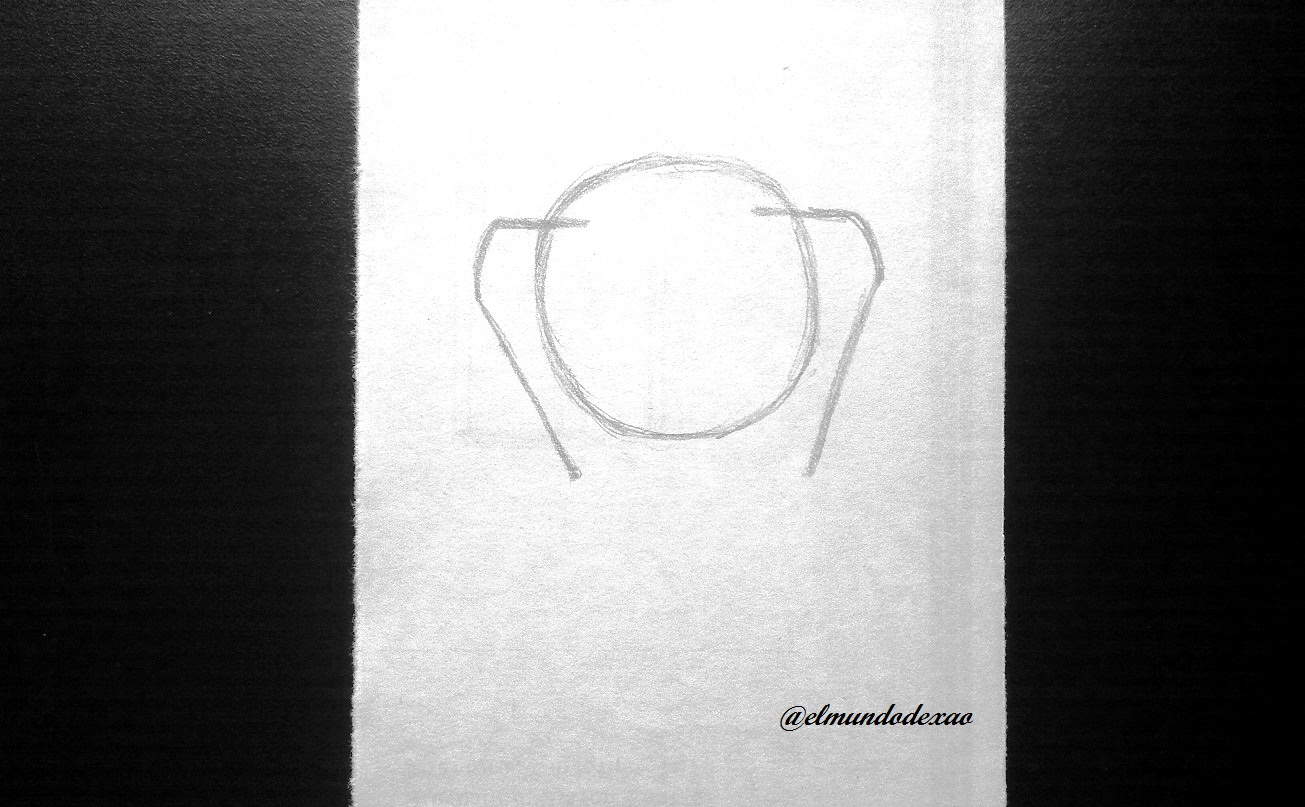
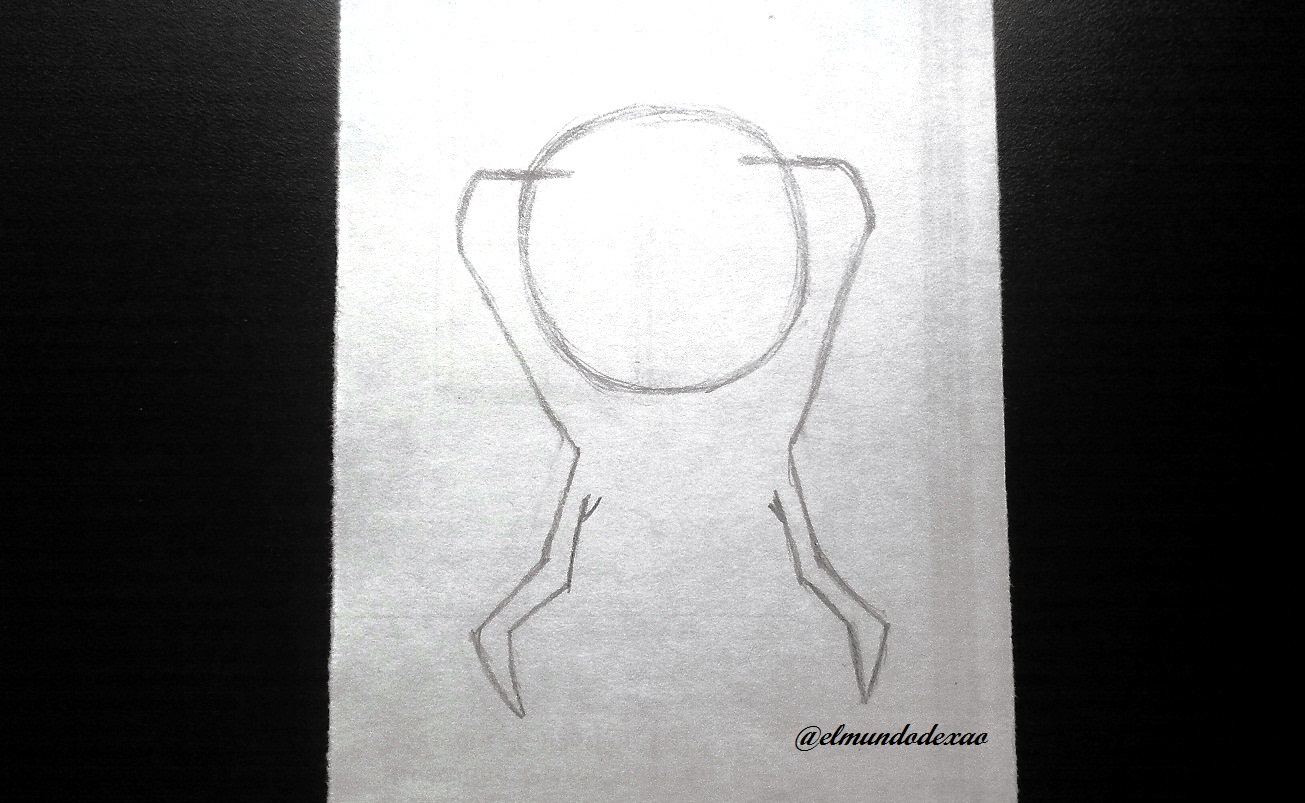
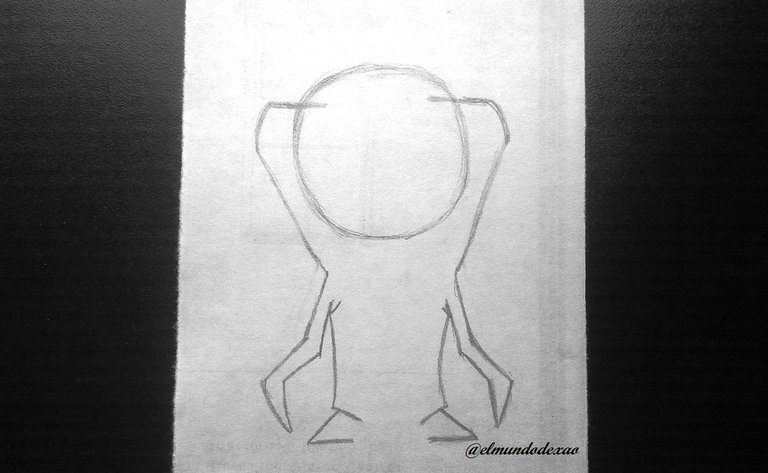
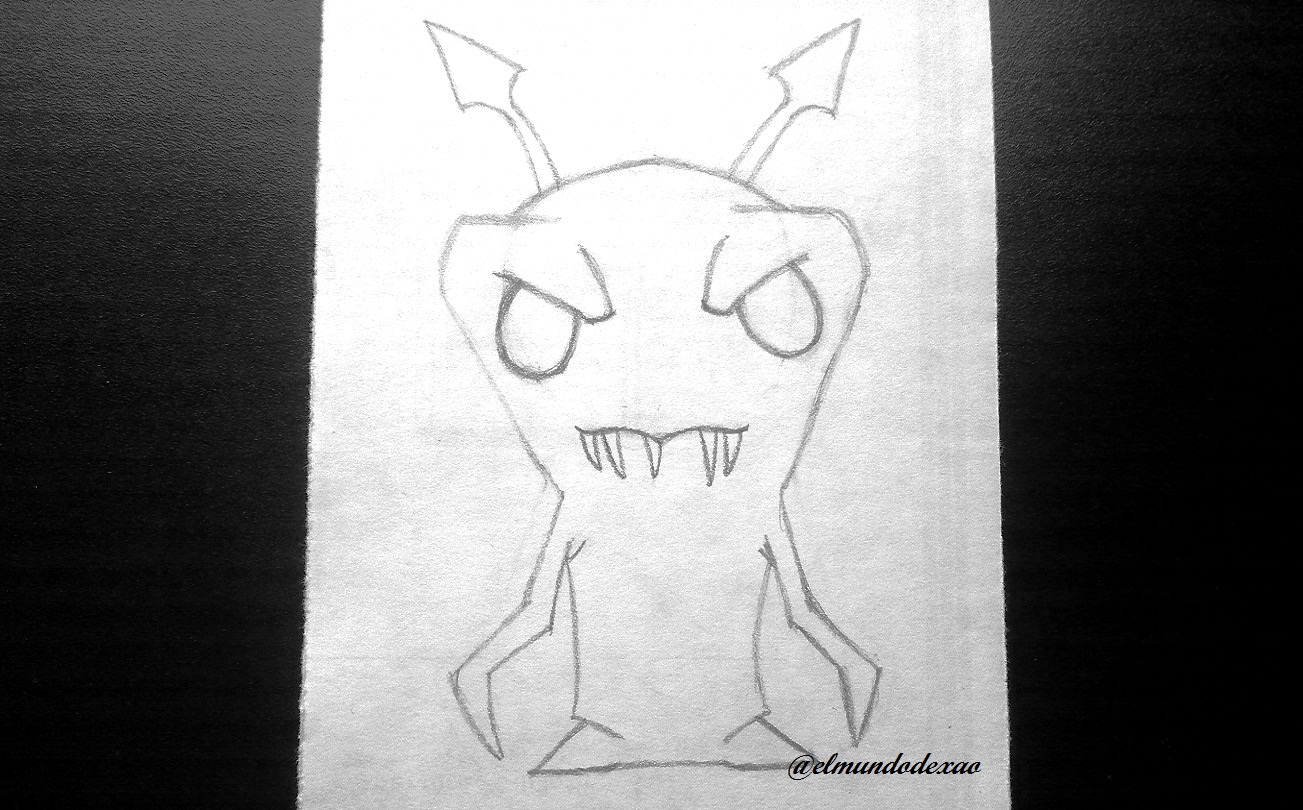
Step # 01: I start defining a circle for the head, always taking into account that it should be bigger than the body; then I draw two lines on the sides which will help me to define the eyebrows and extending them a little bit lower to make the arms.
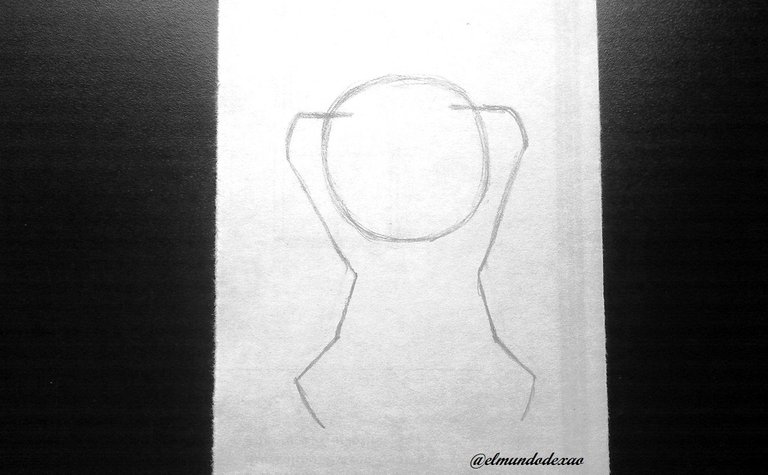 Step # 02: Once the arms are defined; I make two lines down to the bottom for the feet; as you can see I am already achieving the desired look so I can start with the details.
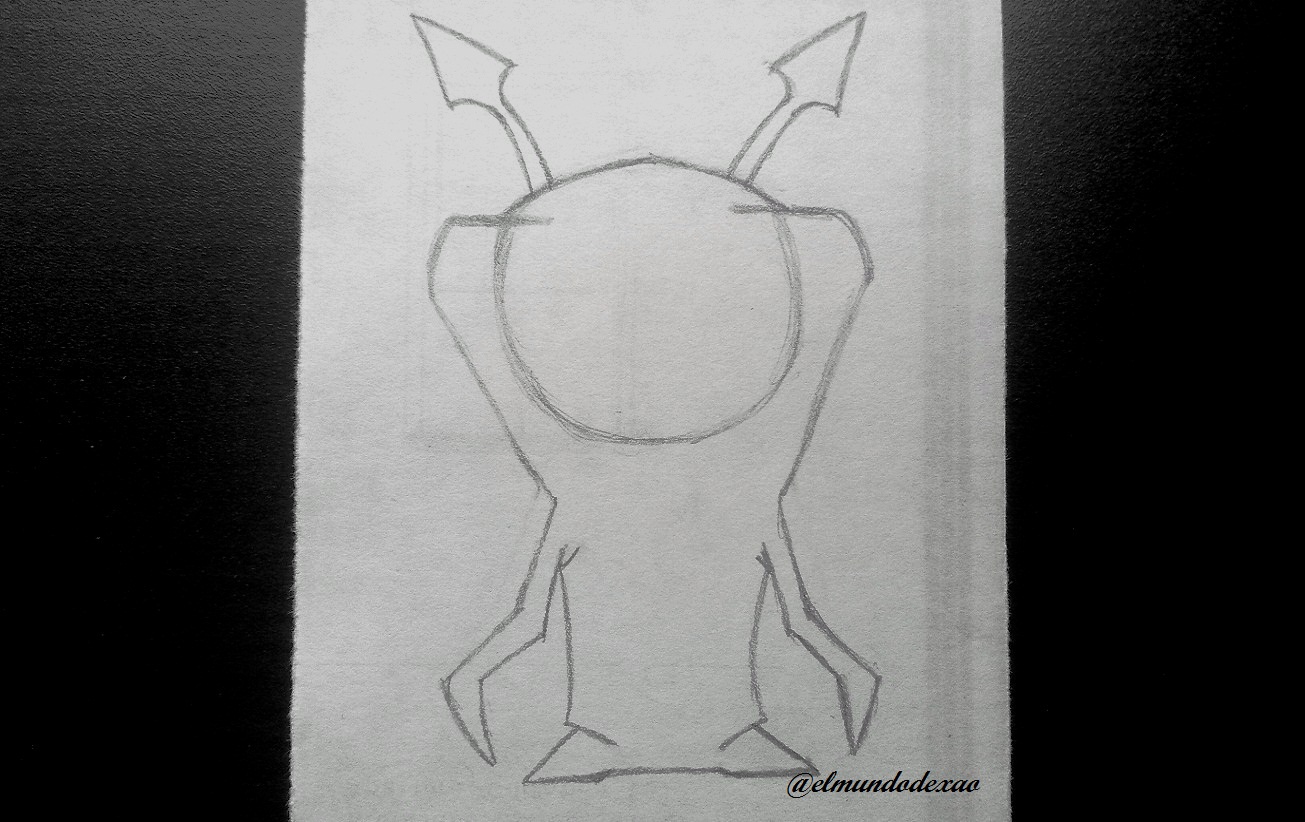
 Step # 03: Now I am going to draw the horns, which are like arrowheads, and then I draw the eyes and eyebrows, which should have a well defined frown to give it that somewhat terrifying look.
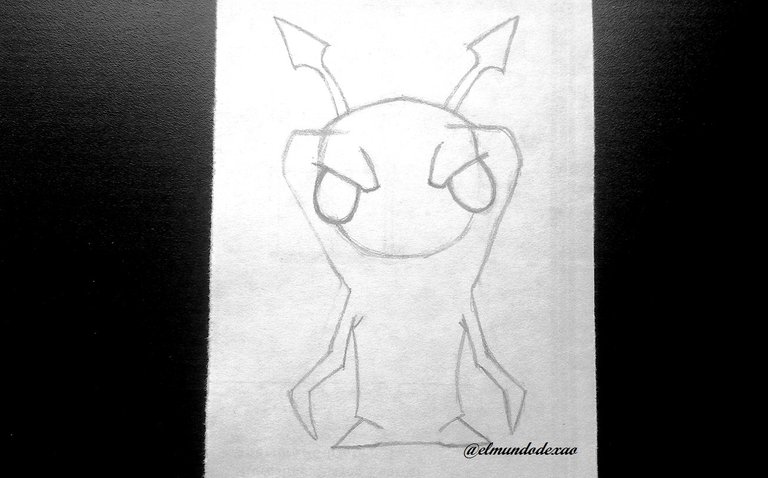 Step # 04: Once I have placed the eyes in the correct position I draw the mouth, which was getting a little complicated but then I chose to make a kind of key (auxiliary spelling sign) horizontally; then define the fangs. Now the only thing missing are the details of the stripes on the head and chest.
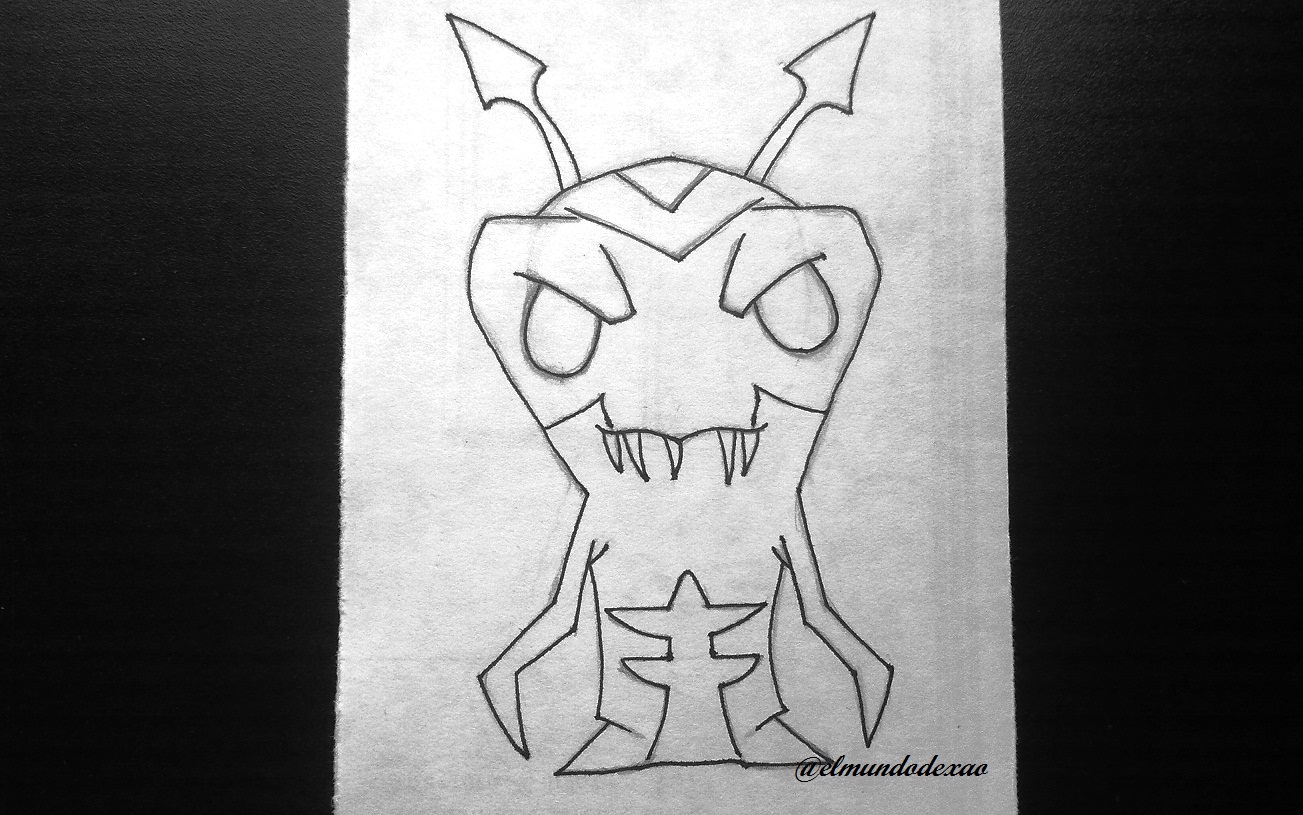
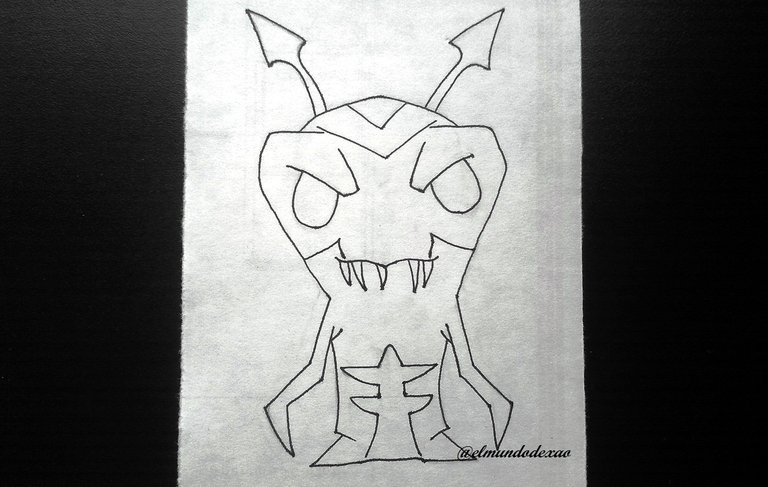
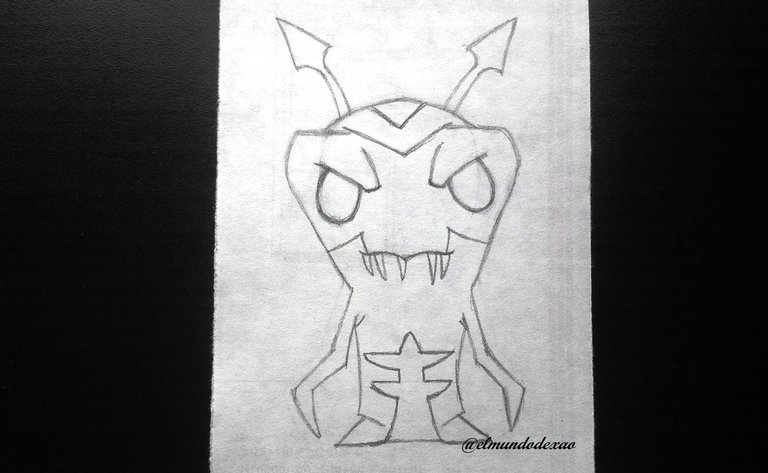 Step # 05: The inking; apparently the drawing is ready so I am going to ink it to give it a better finish and see if there is anything to improve; then I erase all the graphite and clean it.
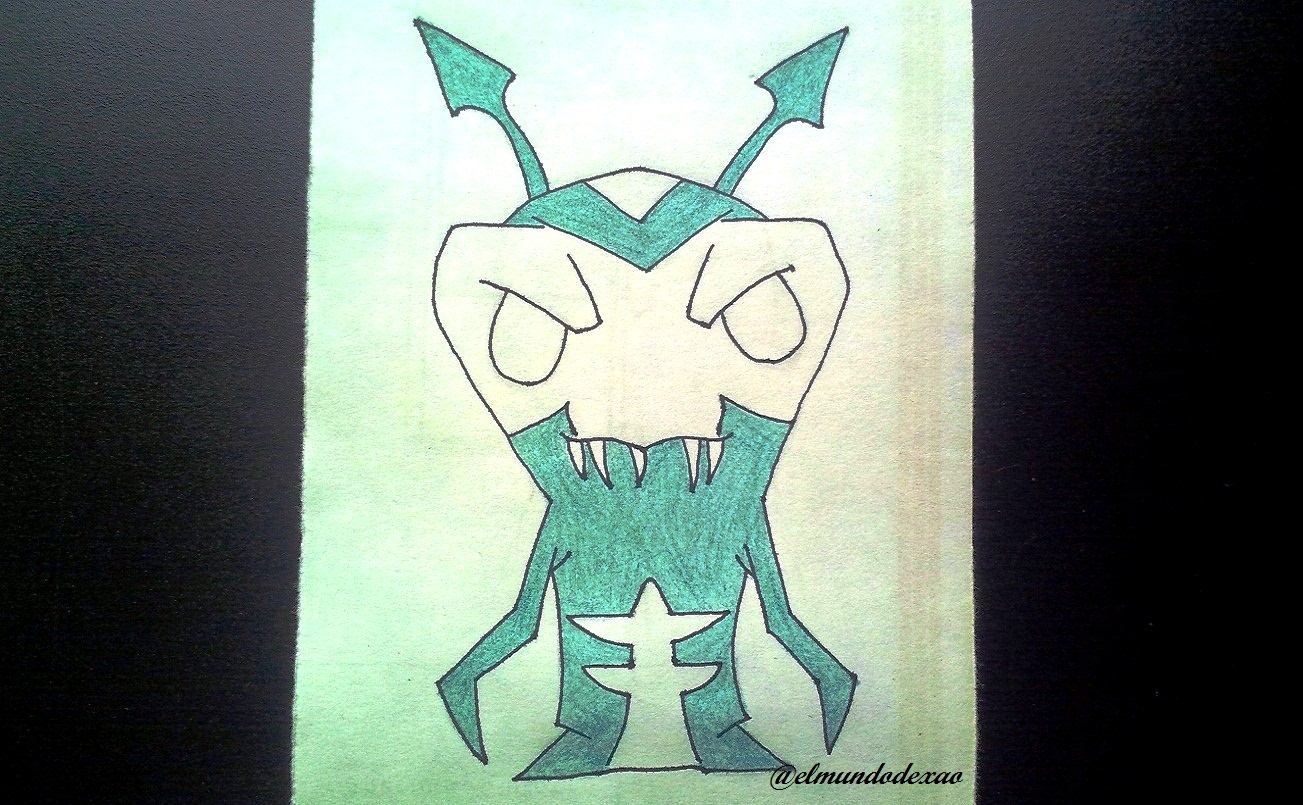
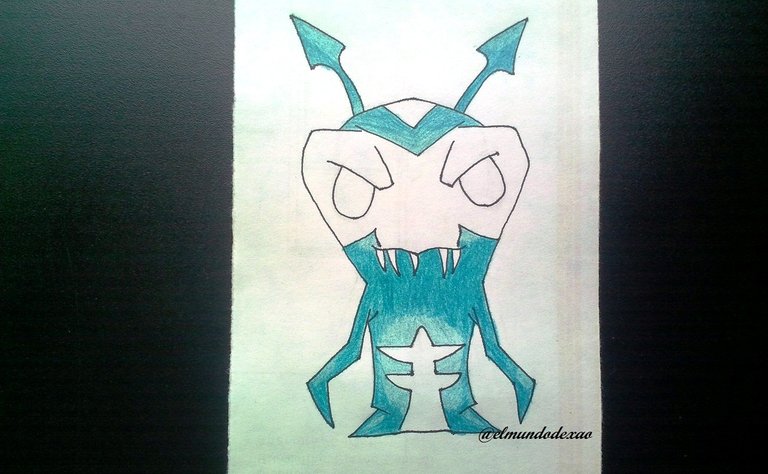
 Step # 06: Give it color; I will start by giving it a greenish blue background, on the horns, part of the head and the body. Then I repeat the same color but a little more accentuated leaving some light parts.
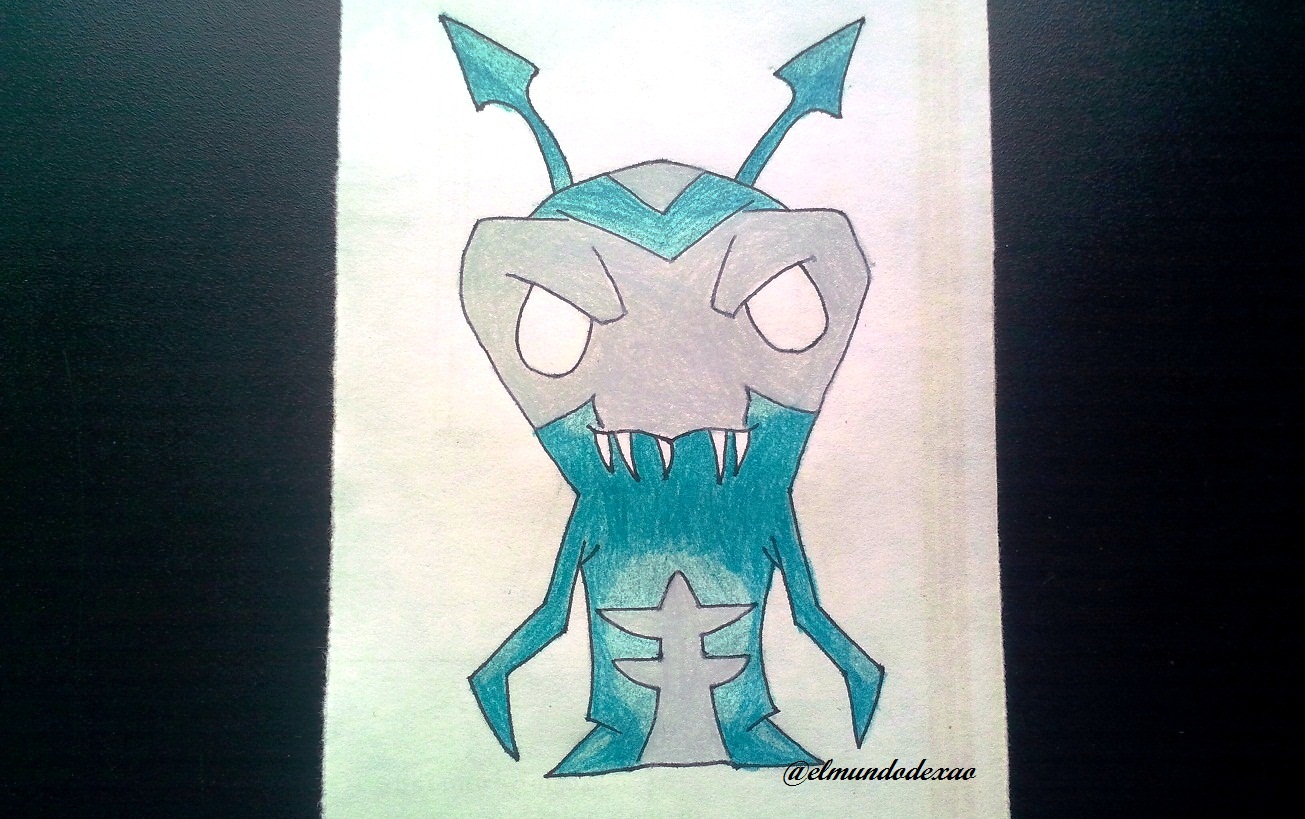
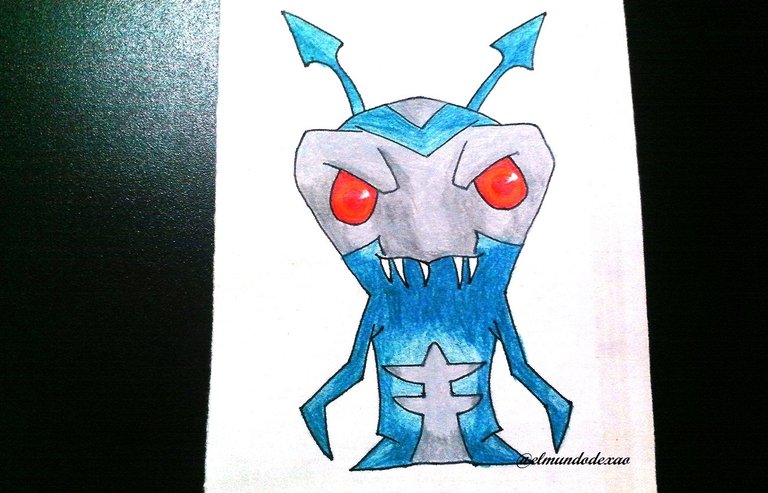
 Step # 07: What we can call the face of the slug will have a light gray tone, then give it shadows with a black color which should not be very marked. As for the eyes, they will have a red color with an orange ring in the center.
 Step # 08: To finish I decided to draw a flame around it, for this I used a red color for the border, the base and one or another space of the flame to the rest I put orange and finally I put a yellow color to blur the red with the orange, thus achieving the appearance of a somewhat realistic fire. As for the top part of the background I only put a black color somewhat attenuated and in this way I finish my publication of today; so I say goodbye wishing you a nice morning, afternoon or evening depending on your location.
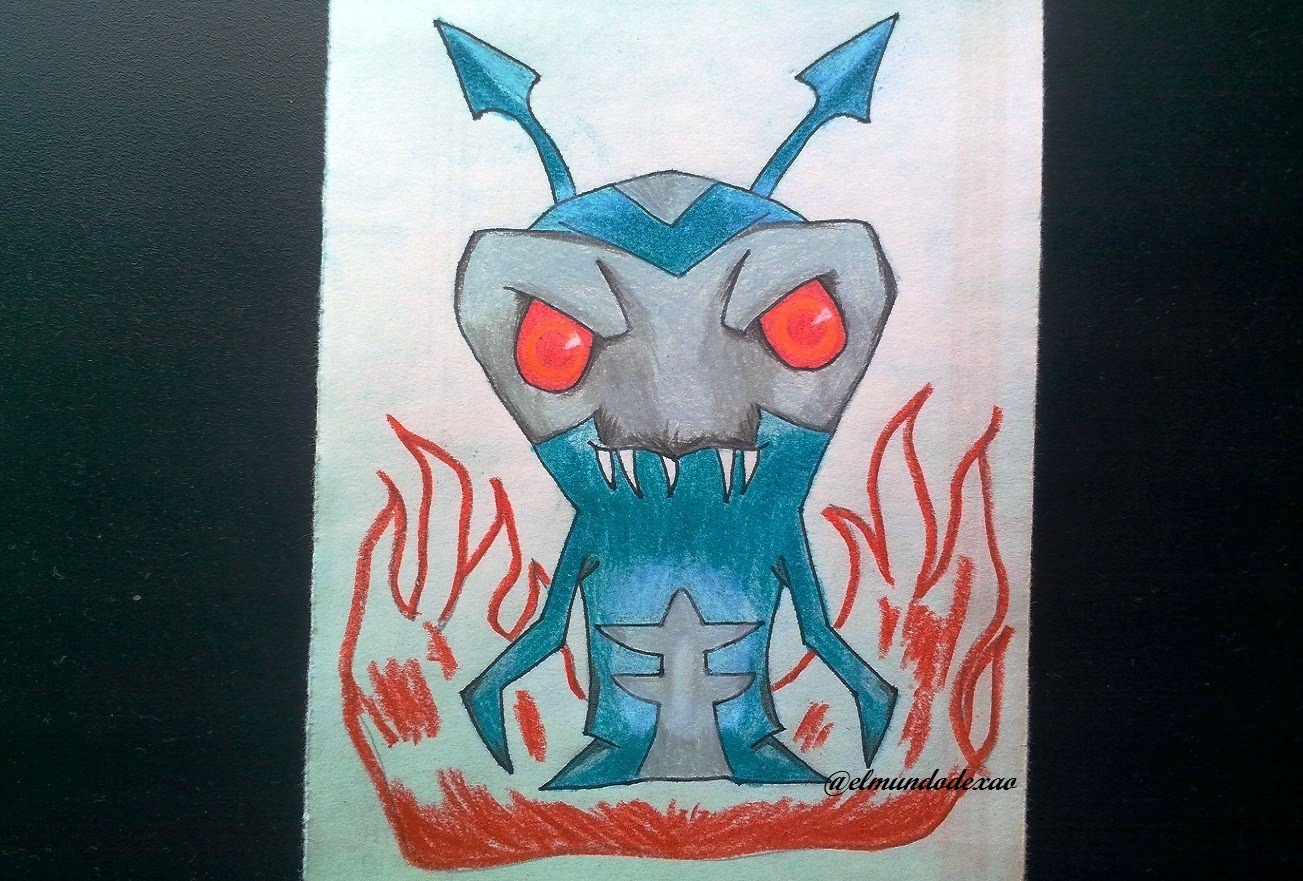
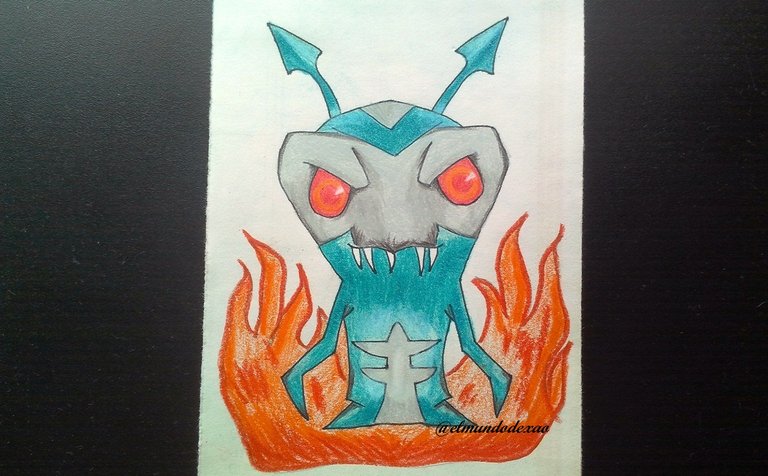

Photo Source: Own photos captured with a Síragon camera.
Modified size: With the Paint Program.
Thanks for visiting my Blog… AH! Don't forget to vote, reblogear, and comment.
Translated with:

www.DeepL.com/Translator (free version)

Dibujando la Babosa Nocturna de Bajoterra.
Un cordial saludo a todos los integrantes de Alien Art Hive, está en mi primera publicación en esta comunidad y para ello compartiré con ustedes mi más reciente dibujo de la babosa Nocturna de la serie animada Bajoterra y creo que tiene las cualidades perfectas para iniciar en este tipo de arte.
A continuación menciono los materiales utilizados: Papel bond blanco de 52 g, portaminas 0.5, rotulador de 0.5, borrador y colores (Variedad de marcas).
Antes de continuar les comento que parte de mi aprendizaje lo desarrollo con videos o imágenes buscadas en Internet por lo que al final les dejare el enlace que use en esta ocasión.

Comencemos con el paso a paso del dibujo:
Paso # 01: Comienzo definiendo un círculo para la cabeza, siempre tomando en cuenta que esta debe ser más grande que el cuerpo; luego trazo dos líneas a los lados las cuales me ayudaran a definir las cejas y extendiéndolas un poco más abajo para hacer los brazos.


 Paso # 02: Una vez definidos los brazos; hago dos líneas hasta abajo para los pies; como pueden ver ya voy logrando el aspecto deseado por lo que ya puedo comenzar con los detalles.

 Paso # 03: Ahora voy a dibujar los cuernos que son como unas especies de puntas de flechas y después me dedico a los ojos y las cejas que deben tener una definición bien marcada de un ceño fruncido para poder darle esa apariencia algo terrorífica.

 Paso # 04: Una vez que he ubicado los ojos en la posición correcta dibujo la boca, la cual se estaba tornando algo complicada pero luego opte por hacer una especie de llave (signo ortográfico auxiliar) en forma horizontal; para luego definir los colmillos. Ya solo faltarían los detalles del rayado en la cabeza y en el pecho.

 Paso # 05: El entintado; aparentemente el dibujo está listo por lo que voy a entintarlo para darle un mejor acabado y ver si falta algo que mejorar; luego borro todo el grafito y limpio.

 Paso # 06: Darle color; comenzare dándole un fondo de azul verdoso, en los cuernos parte de la cabeza y el cuerpo. Después repito el mismo color pero un poco más acentuado dejando algunas partes claras.

 Paso # 07: Lo que podemos llamar la cara de la babosa tendrá un tono gris claro, para después darle sombras con un color negro el cual no debe estar muy marcado. En cuanto a los ojos tendrán un color rojo con un aro en el centro de color anaranjado.

 Paso # 08: Para terminar decidí dibujar una llama a su alrededor para ello utilice un color rojo para el borde, la base y uno que otro espacio de la flama al resto le coloque anaranjado y por ultimo le pase un color amarillo para difuminar el rojo con el anaranjado, logrando así esa apariencia de un fuego algo realista. En cuanto a la parte de arriba del fondo solo coloque un color negro algo atenuado y de esta forma doy por terminada mi publicación de hoy; así me despido deseándoles una linda mañana, tarde o noche según sea su localización.


Fuente de Fotos: Propias capturadas con una cámara Síragon.
Modificado el tamaño: Con el Programa Paint.
Gracias por visitar mi Blog… ¡AH! No se olvide de votar, rebloguear y comentar.


