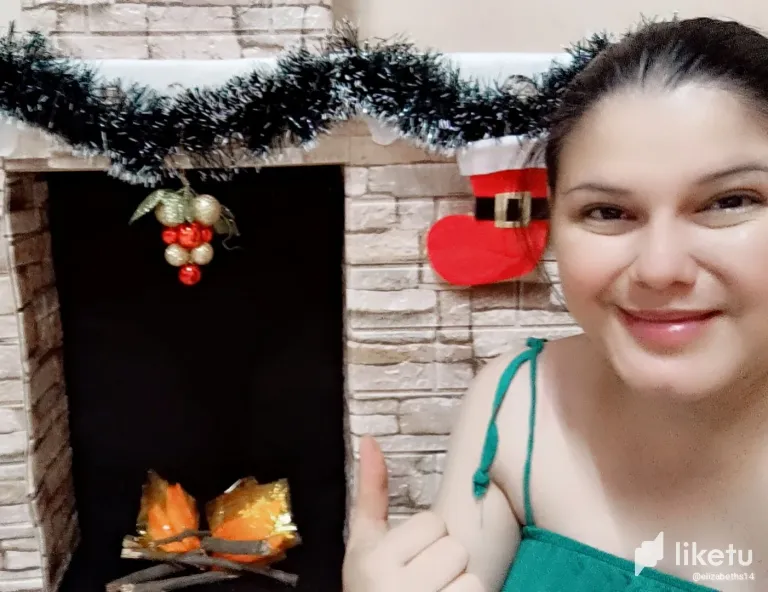

Hola bellezas 🤗💕, hoy les quiero contar mi experiencia y cómo hice mi primera chimenea navideña con lo que para cualquiera era simple cartón o cajas y para mí, arte.
En la escuela de mis hijos las actividades decembrinas no paran, así que me pidieron hacer una chimenea. Ellos saben que yo hago manualidades, decoraciones y cosas así, pero también que por tiempo muchas veces no me involucró en ello, sin embargo acepté, ya que nunca había hecho una chimenea y quería hacer una.
Hello beauties 🤗💕, today I want to tell you my experience and how I made my first Christmas fireplace with what for anyone was simple cardboard or boxes and for me, art.
At my children's school the Christmas activities don't stop, so they asked me to make a fireplace. They know that I do crafts, decorations and things like that, but also that due to time I often did not get involved in it, however I accepted, since I had never made a fireplace and I wanted to do one.

Materiales Utilizados:
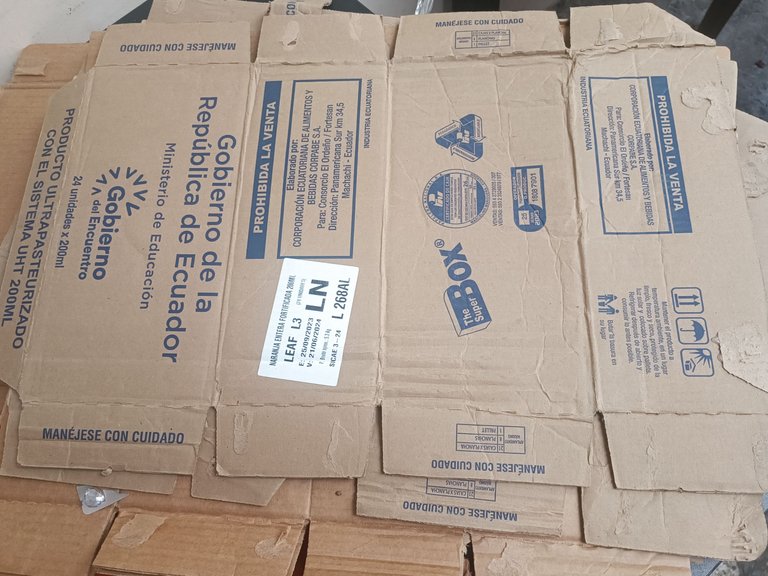
•17 cajas de cartón del mismo tamaño
•Cinta adhesiva transparente
•5 Silicón en barra
•1 metro de Cambrella o tela negra
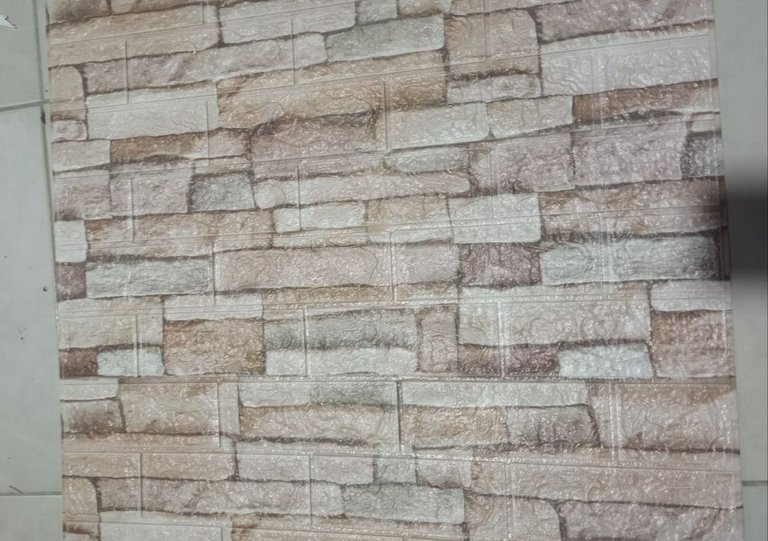
•3 laminas de paneles adhesivos tipo ladrillo.
•1/2 metro de tela Nevada
•1 guirnalda verde.
•Adornos para Decoración
•Tijeras.
Materials Used:
-17 cardboard boxes of the same size
-Transparent adhesive tape
-5 Silicone sticks
-1 meter of Cambrella or black cloth
-3 sheets of brick type adhesive panels.
-1/2 meter of Nevada fabric
-1 green garland.
-Adornments for Decoration
-Scissors.
 |  |
|---|

 |  |  |
|---|
Comencé embalando las cajas, eran 17, de lo cual 15 eran del mismo tamaño, así que pegué cada una con cinta transparente y además de eso reforzando con silicón. Luego que tuve todas armadas comencé a formar mi chimenea pegando con silicón una caja sobre la otra. Dejando las 2 más largas para la parte del centro, una arriba y otra abajo. Una vez pegadas y como debía ahorrar dinero, pegué cambrella negra, que es una tela reciclada, por la parte de atrás y reforzando los lados.
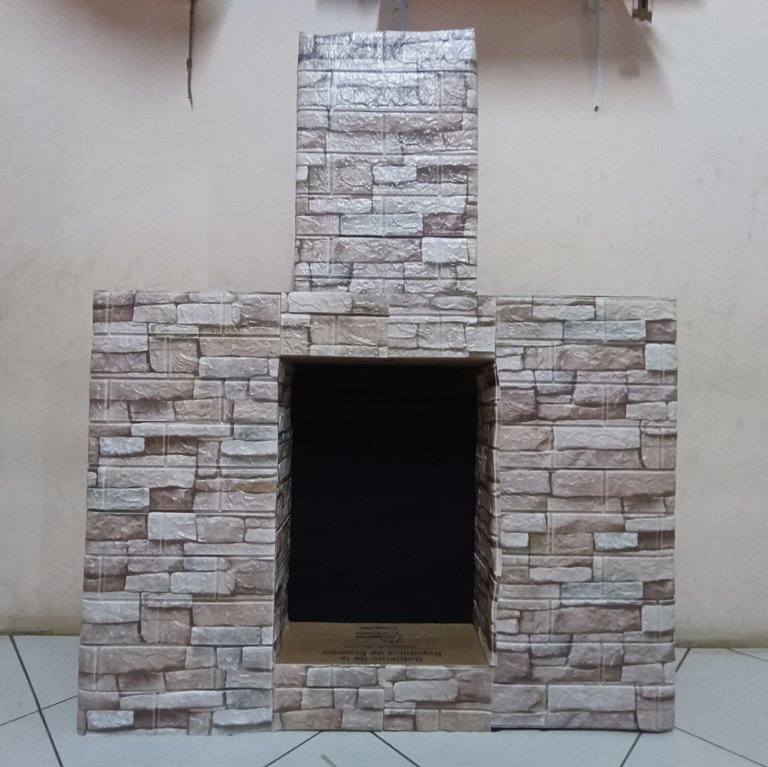
Cabe destacar que en una noche armé la caja y en otra pegué la cambrella y realicé la decoración, ya que es el momento en el que mis hijos duermen. Una vez pegada la cambrella comencé a colocar el papel en forma de ladrillo que ya trae su pegamento y es bastante fuerte y resistente. Esta parte me dió algo de trabajo, pero nada que no se pudiera solucionar. Así que una vez forrada con este papel si tuvo una aspecto real a una chimenea.
I started packing the boxes, there were 17, of which 15 were the same size, so I glued each one with transparent tape and also reinforced them with silicone. After I had them all assembled I began to form my chimney by gluing one box on top of the other with silicone. Leaving the 2 longest ones for the center, one on top and one on the bottom. Once glued and as I had to save money, I glued black cambrella, which is a recycled fabric, on the back and reinforcing the sides.
It should be noted that in one night I assembled the box and in another I glued the cambrella and made the decoration, since it is the time when my children sleep. Once the cambrella was glued, I began to place the paper in the shape of a brick, which already has its glue and is quite strong and resistant. This part gave me some work, but nothing that could not be solved. So once lined with this paper it had a real chimney look.
 |  |  |
|---|
Para la parte blanca de arriba utilice tela nevada y le hice forma como si estuviera caído nieve sobre ella. Para la parte de abajo, dónde va la fogata, también utilicé el papel de ladrillo y cambrella negra, cortes unas ramas secas para los troncos y con papel celofán y de seda hice el fuego. Arriba decoré de forma navideña y lo que no puede faltar son las botas, que las hice con cambrella roja y negra, la tela nevada y el papel sobrante que traía el de ladrillo lo usé para la ebilla del cinturón de las botas.
Comencé a forrar y decorar la chimenea a las 10:00 PM luego que mis hijos se duermen, aunque Joaquín aun estuvo despierto y ayudando un poco. Y terminé a la 1:00 AM. Hoy mi esposo me ayudó a llevar la chimenea a la escuela y todos los niños estaban felices de verla, las maestras y los padres querían una igual jajaja y andan queriendo que la regalemos, pero es algo que no pensamos hacer.
For the white part of the top I used snowy fabric and shaped it as if snow was falling on it. For the bottom part, where the fire goes, I also used brick paper and black cambrella, cut some dry branches for the trunks and with cellophane and tissue paper I made the fire. Above I decorated in a Christmas way and what can not miss are the boots, I made them with red and black cambrella, the snowy fabric and the leftover paper that brought the brick paper I used it for the belt buckle of the boots.
I started to line and decorate the fireplace at 10:00 PM after my kids went to sleep, although Joaquín was still awake and helping a little. And I finished at 1:00 AM. Today my husband helped me take the fireplace to school and all the kids were happy to see it, the teachers and parents wanted one just like it hahaha and they're still wanting us to give it away, but it's something we don't plan to do.


Espero que les haya gustado 😊 y si pueden se animen a hacer una. En mi caso quiero hacer una para mi casa pero de madera y dejarla todo el año.
I hope you liked it 😊 and if you can, I encourage you to make one. In my case I want to make one for my house but made of wood and leave it all year round.

Imágenes de mi propiedad. Imagen principal editada en canva pro. No utilice como tal, una imagen de referencia para realizar este proyecto. Separador cortesía de @mayvil.
For the best experience view this post on Liketu