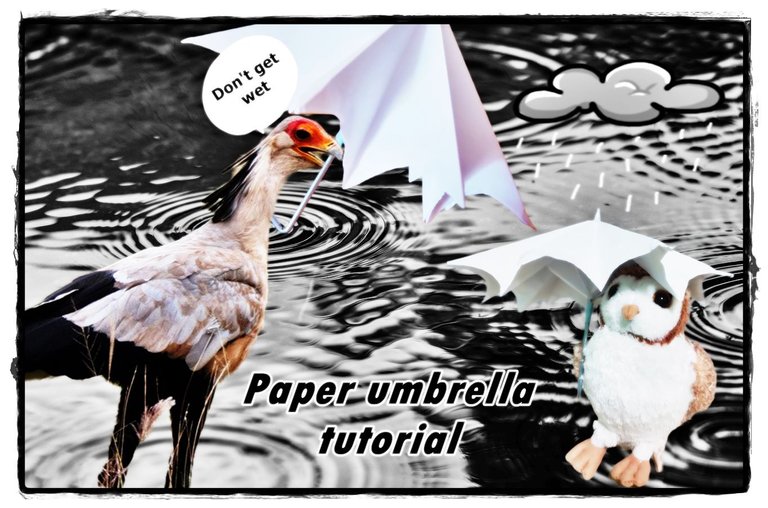
📷 Imagen de mi buhito editada en photoscape: Ave secretaria - Lluvia
Saludo a toda la comunidad de Hive DIY, espero se encuentren de maravilla y estén pasando un día excepcional. Hoy les vengo a compartir otra sección de origami en donde les voy a enseñar el paso a paso para crear un bonito paraguas que se abre y se cierra, ideal para peluches como mi Buhito.
Greetings to all the Hive DIY community, I hope you are feeling wonderful and are having a great day. Today I come to share with you another origami section where I am going to show you the step by step to create a nice umbrella that opens and closes, ideal for stuffed animals like my Buhito.

La idea me surgió al recordar cuando era pequeña que mi hermana tenía una muñeca Barbie que traía un paraguas muy bonito que salpicaba agua para simular lluvia. Me quedo el recuerdo así que busque en internet un tutorial para guiarme de cómo podría hacerlo y me encontré con muchísimos videos para crearlos.
The idea came to me when I remembered when I was little that my sister had a Barbie doll that had a very pretty umbrella that splashed water to simulate rain. The memory stayed with me so I searched the internet for a tutorial to guide me on how I could do it and I found a lot of videos to create them.


Hablando un poco sobre mi experiencia creándolo, vi cada uno de esos videos, porque todos tenían una parte del proceso que se me complicaba y no podía continuar realizándolo. Aquí surgen algunos inconvenientes que les quiero compartir ya que fue el que más trabajo me costó realizar.
Talking a bit about my experience creating it, I watched each one of those videos, because all of them had a part of the process that was complicated and I couldn't continue doing it. Here I had some problems that I would like to share with you, as it was the one that took me the most work to create.
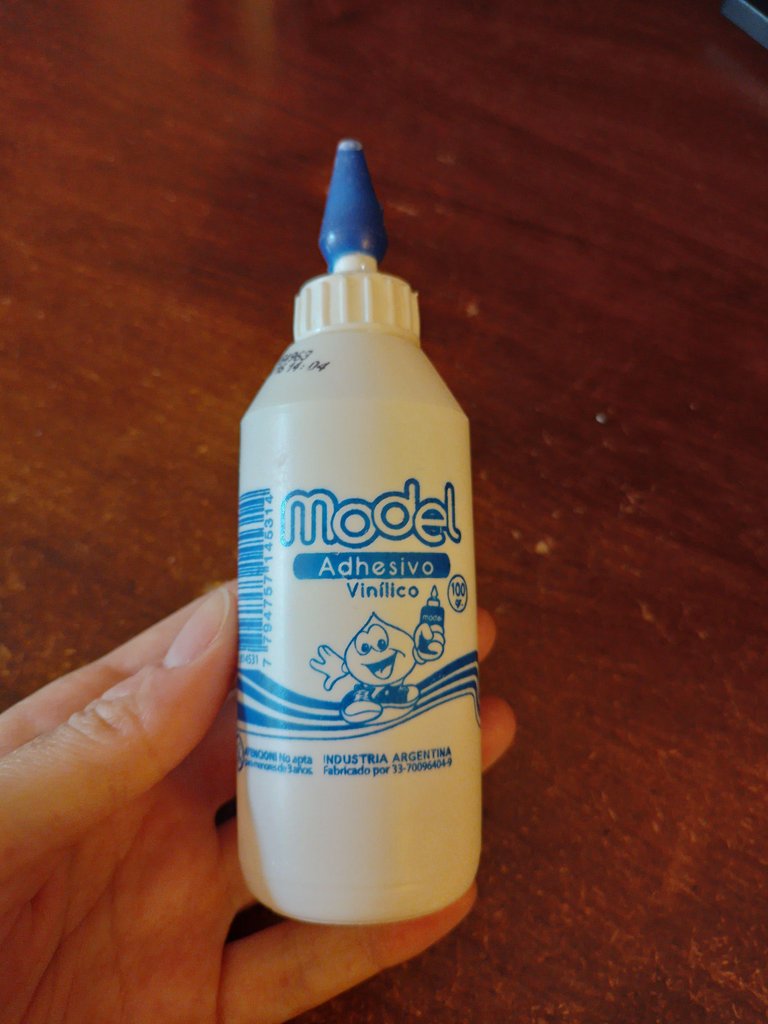
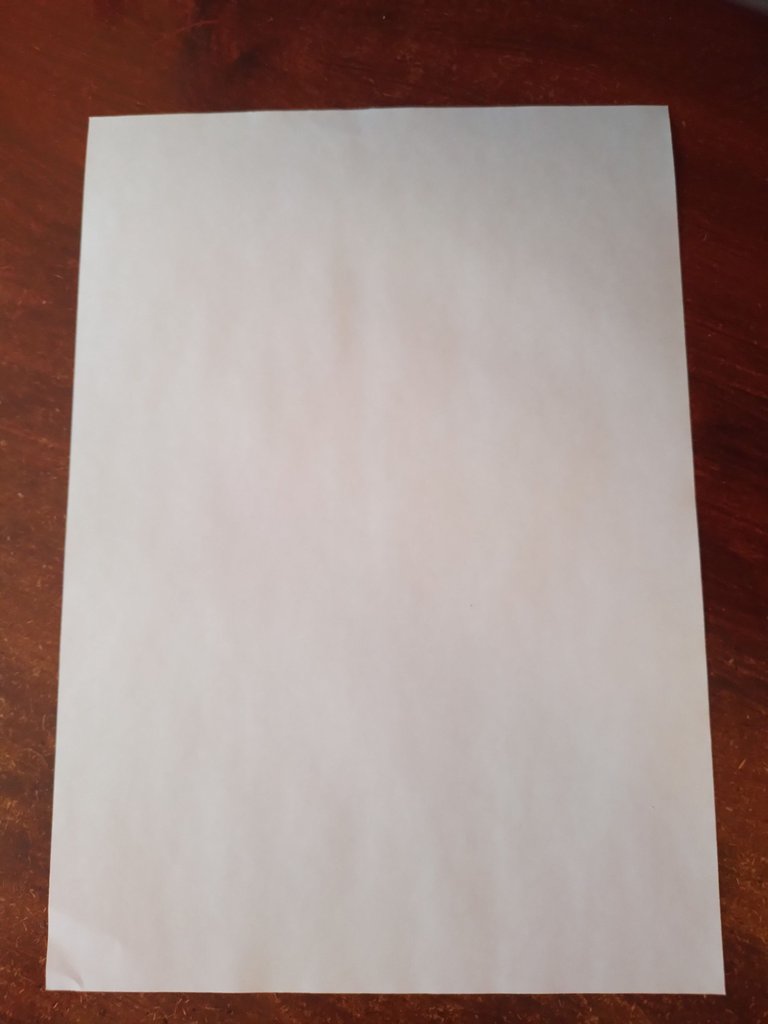
Primer inconveniente: no tenía pegamento adecuado para unir los papeles y se me terminaban humedeciendo y rompiendo, ¡adiós paraguas! Probé cambiando de papel, por una hoja A4 para imprimir ya que es más gruesa que los tacos de colores que suelo usar en cada video y resulto, aunque se me rompió en algunas partes pude unir las piezas y disimularlas cubriéndolas con otro pedazo de papel.

First problem: I didn't have the right glue to join the papers and they ended up getting wet and breaking, goodbye umbrellas! I tried changing the paper, for an A4 sheet for printing as it is thicker than the coloured blocks I usually use in each video and it worked, although it broke in some parts I was able to join the pieces together and hide them by covering them with another piece of paper.

Solucionado el tema del papel, surgió el segundo inconveniente: el palillo que simula el bastón que sujeta las pestañas para que este se cierre y se abra. Utilice primero un escarbadientes, pero se me trababan dichas pestañas y además era muy pequeño y casi no podía manipularlo: ¡descartado!

Having solved the paper issue, the second problem arose: the stick that simulates the cane that holds the tabs so that it closes and opens. I first used a toothpick, but the tabs got stuck and it was too small and I could hardly manipulate it: discarded!
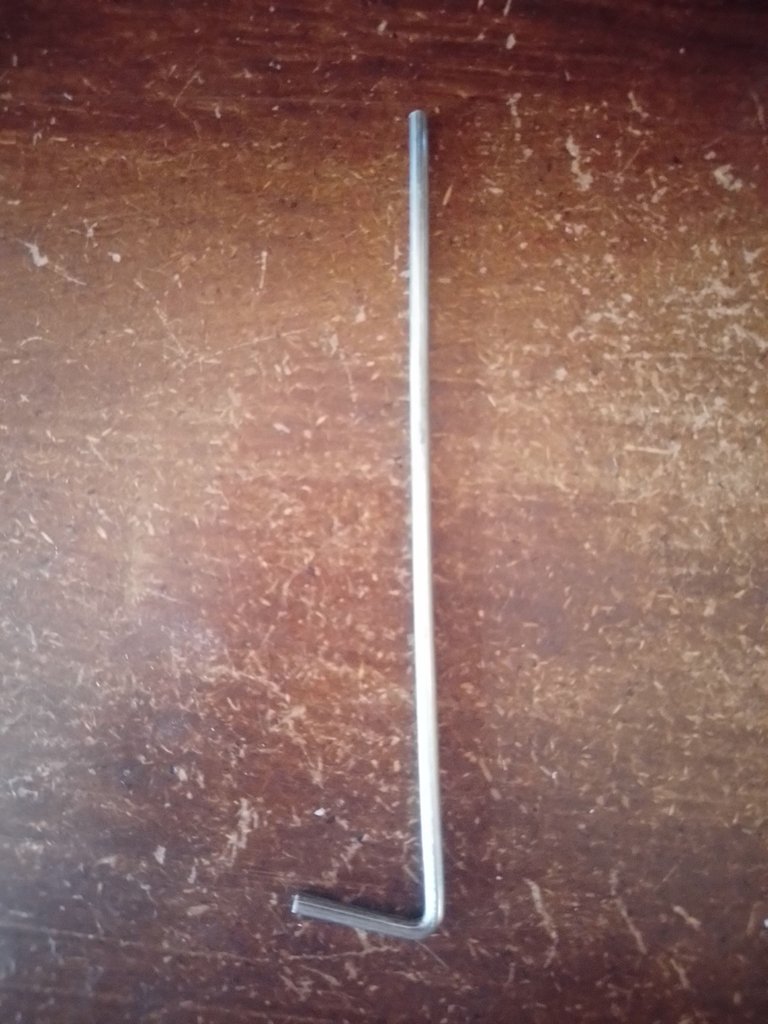
Busque por mi hogar si encontraba algo que me fuera útil, hasta que milagrosamente encontré estas varillas metálicas que utilizo en el video que además de que resultaron útiles, tienen un doblamiento que simula el puño.
I looked around my home to see if I could find anything useful, until miraculously I found these metal rods that I use in the video, which besides being useful, have a bend that simulates a fist.

Siguiente inconveniente: se me caía el papel que simula la tela del paraguas porque al realizarle dos agujeros para poder incrustar la varilla, fácilmente se deslizaba por este. Tampoco tenía pegamento especial para unir las piezas y así evitar ese desliz. La solución que encontré fue sencilla, utilizar cinta adhesiva, de las comunes que sujetaran el papel contra la varilla. No quedaba muy estético pero funcionaba.
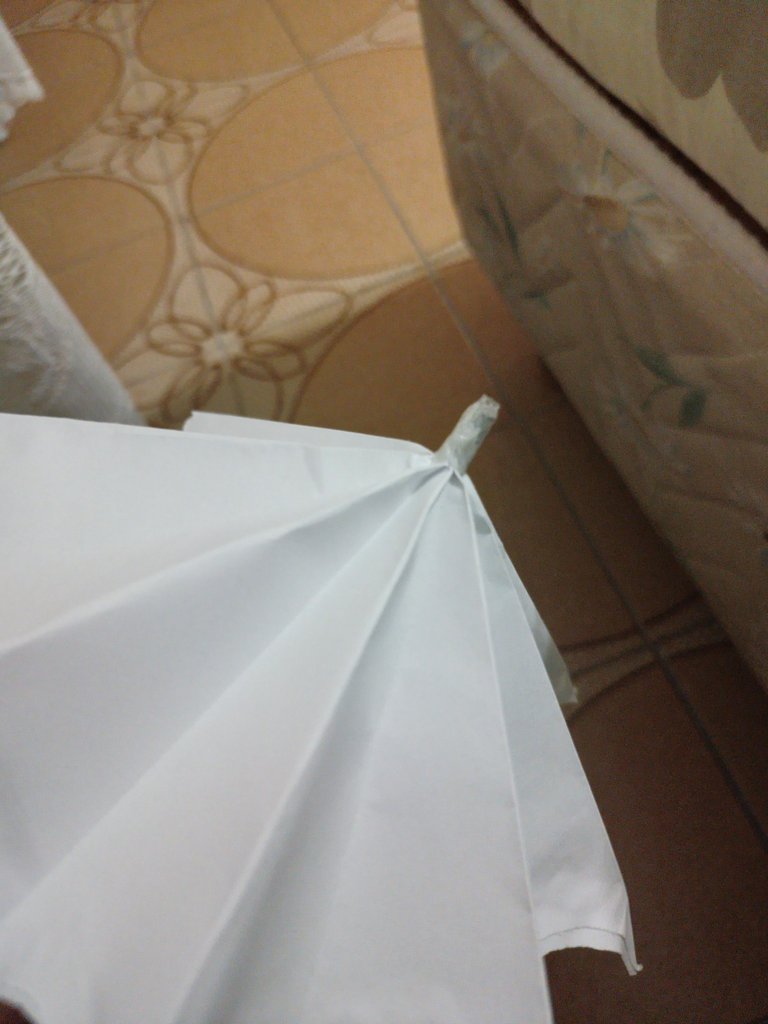
Next drawback: the paper that simulates the umbrella's fabric fell off because when I made two holes to embed the rod, it easily slipped through the umbrella's fabric. I also didn't have any special glue to join the pieces together to avoid this slipping. The solution I found was simple, to use adhesive tape, the common ones to hold the paper against the rod. It didn't look very aesthetic but it worked.

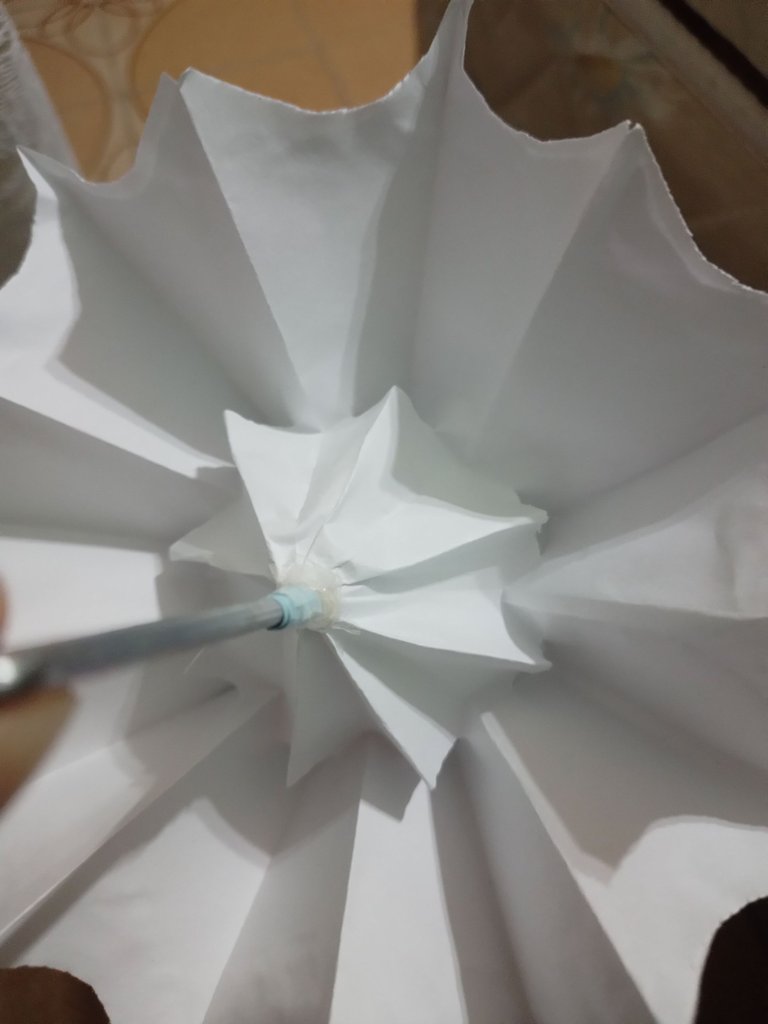
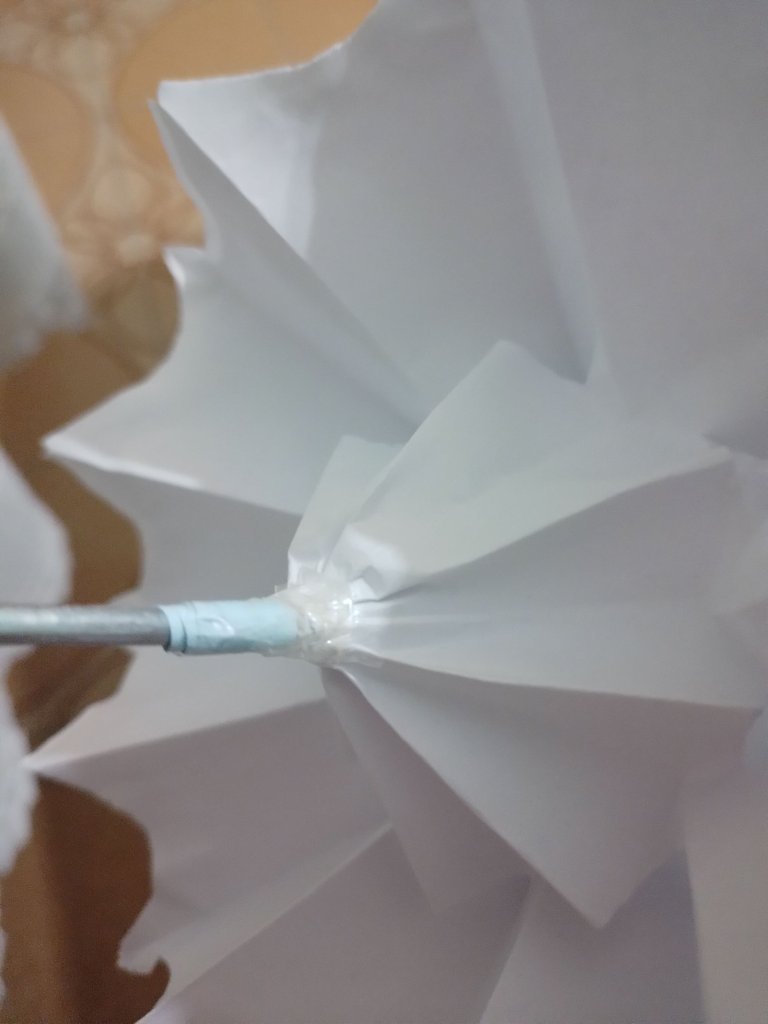

Y así después de varios intentos y varios paraguas rotos y escarbadientes desperdiciados, logre encontrar algunos materiales a mi alcance para poder realizar un bonito paraguas más o menos decente para Buhito aunque me hubiese gustado que fuera de distintos colores, el blanco no quedo para nada mal.
And so after several attempts and several broken umbrellas and toothpicks wasted, I managed to find some materials within my reach to make a more or less decent umbrella for Buhito, although I would have liked it to be in different colours, the white one was not bad at all.
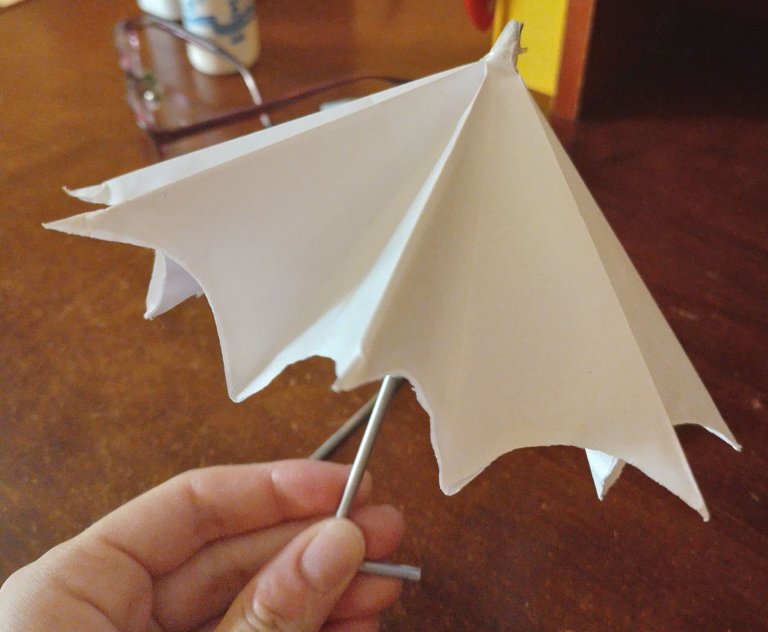

Eso es todo, una breve descripción de mi experiencia realizándolo que de hecho me llevo varias semanas poder hacerlo bien y aunque no me quedo como esperaba estoy conforme con el resultado y espero les guste a ustedes también. ¡Gracias por ver el video y muchas gracias por el apoyo que siempre me dan, volemos con este paraguas como Mary Poppins!
That's all, a brief description of my experience making it which actually took me several weeks to get it right and although it didn't turn out as I expected I'm happy with the result and I hope you like it too, thank you for watching the video and thank you for the support you always give me, let's fly with this umbrella like Mary Poppins!

📷 Imagen de mi buhito editada en Canva: Plantas

📷 Fotos tomadas desde mi Samsung A03
📷 Imagenes PNG creadas con Adobe Express
📷 Nubes creadas por mi en Paint
✏️ Texto escrito por mi traducido con DeeplTranslate versión gratuita
✏️ Letras creadas con el Conversor de letras online
🎙️ Música Sin copyright de Filmora Wondershare
🎙️ Efecto de sonido BEEP de Filmora Wondershare
🎙️ Sound Effect by JuliusH from Pixabay
▶️ 3Speak


