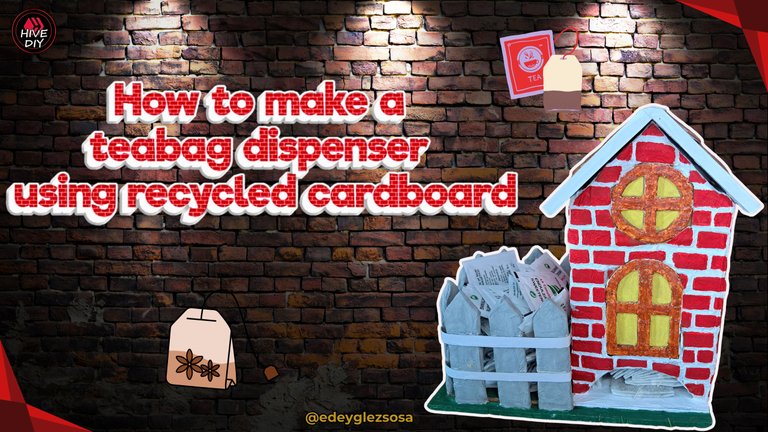
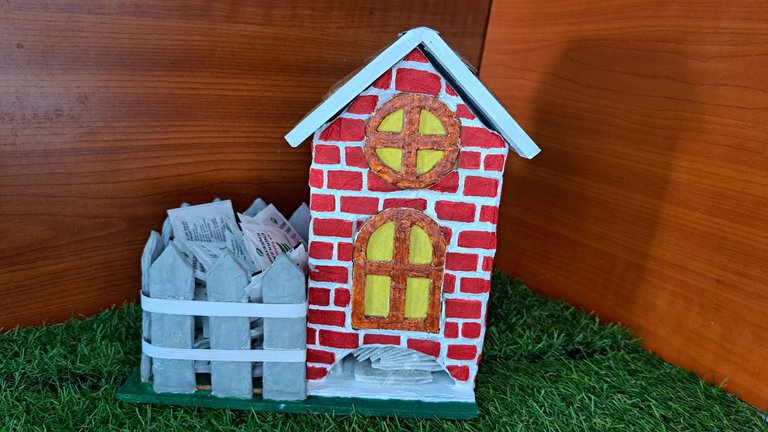
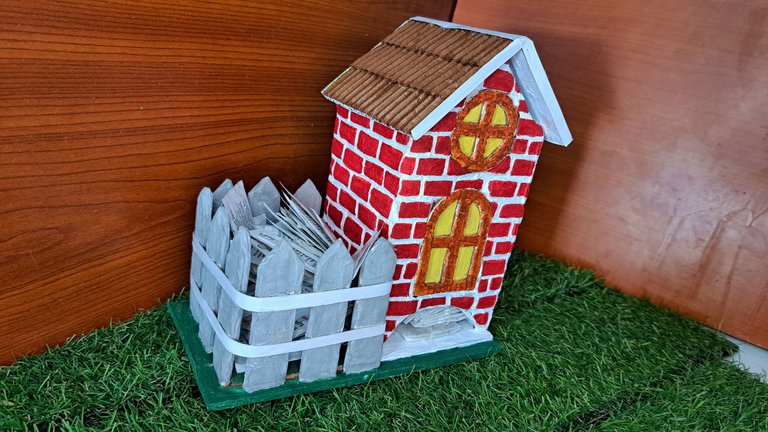
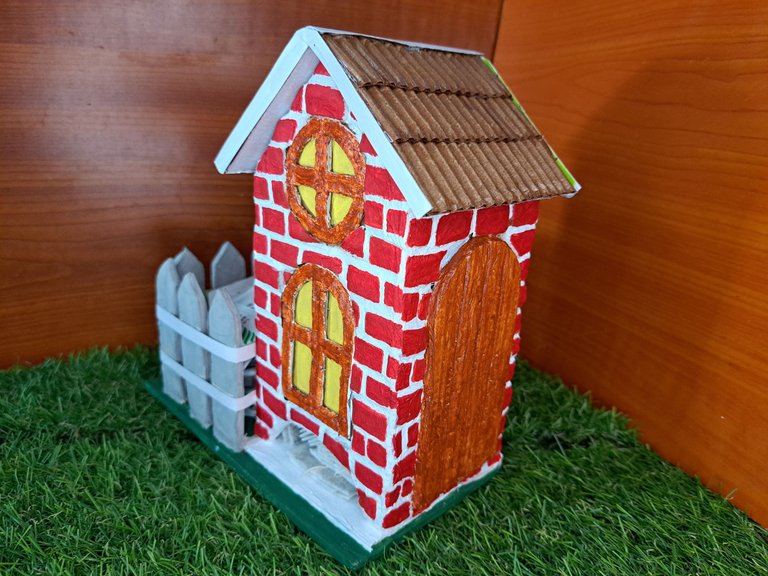
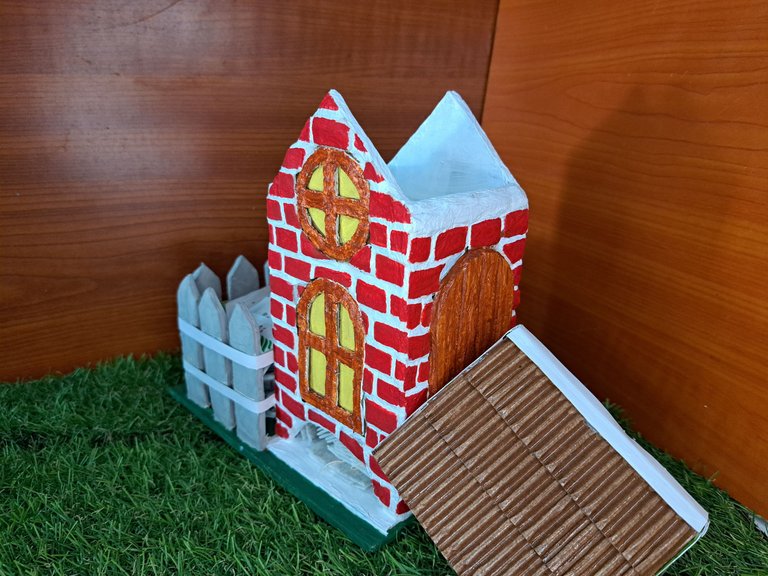
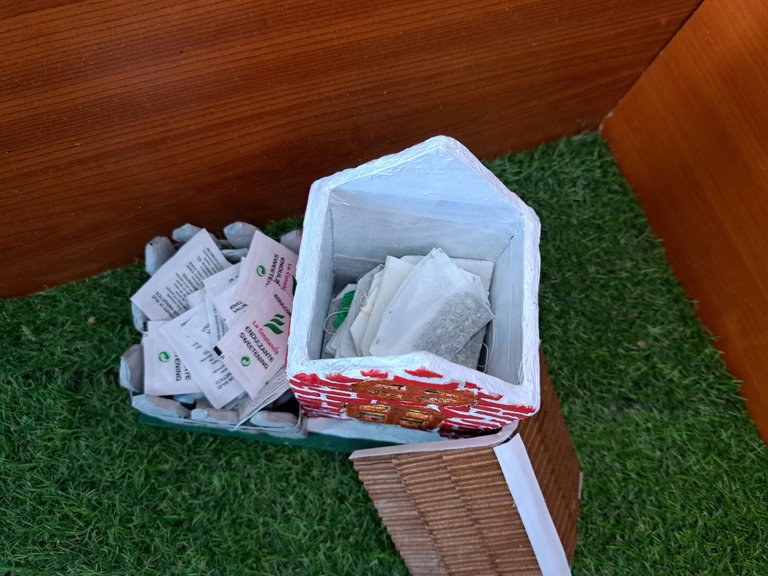
A tea bag dispenser is one of those things that you don't know what you want until you see it, especially if you are like me, who enjoys a good cup of green tea every now and then. Taking advantage of the fact that I am recently introducing my wife to the world of tea drinking, I came up with the idea of creating a tea bag dispenser that is not only very useful for organizing the tea bags, but also adds an aesthetic touch to the kitchen at home.
For its elaboration I used 100% recycled materials and acrylic paint in different colors. The dispenser has two storage sections in which the tea bags and some sweetener sachets will be stored. The standard size of the dispenser is designed for the paper sachets that contain the tea bags, but it still works perfectly with the tea bags alone.
Un dispensador de bolsitas de té es una de esas cosas que no sabes qué quieres hasta que la ves, y más si eres como yo, que a cada rato disfruta de una buena taza de té verde. Aprovechando que recientemente estoy introduciendo a mi esposa en el mundo del consumo de té, se me ocurrió la idea de crear un dispensador para bolsas de té que no solo es muy útil para organizar las bolsitas, sino que también aporta un toque estético a la cocina de la casa.
Para su elaboración utilicé 100% materiales reciclados y pintura acrílica de diferentes colores. El dispensador cuenta con dos secciones de almacenamiento en las cuales se almacenarán las bolsitas de té y también algunos sobres de edulcorante. La medida estándar del dispensador está pensada para los sobres de papel que contienen las bolsitas, pero aun así funciona a la perfección con las bolsitas solas.
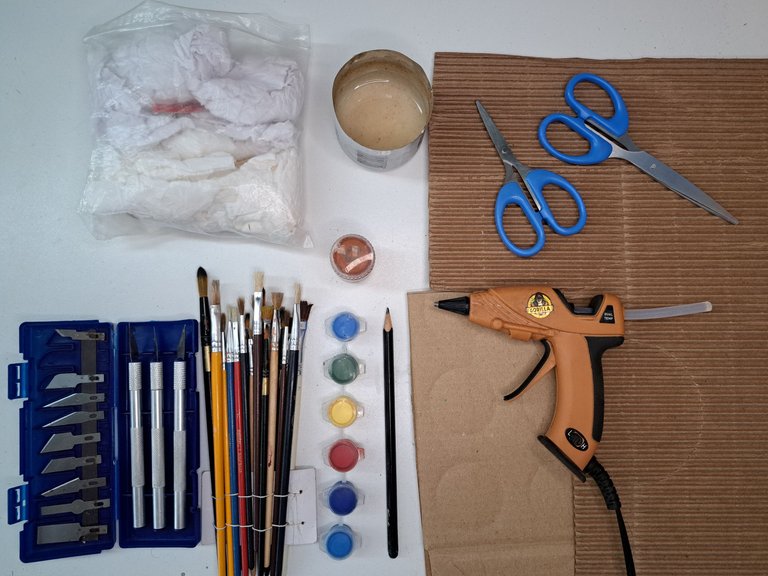
Materials // Materiales
| ✔️ Recycled cardboard | ✔️ Cartón reciclado |
| ✔️ White poster board | ✔️ Cartulina blanca |
| ✔️ Kitchen paper | ✔️ Papel de cocina |
| ✔️ Flour glue | ✔️ Pegamento de harina |
| ✔️ Acrylic paint | ✔️ Pintura acrílica |
| ✔️ Brushes | ✔️ Pinceles |
| ✔️ Cutting and milling set | ✔️ Set de corte y tallado |
| ✔️ Pencil | ✔️ Lápiz |
| ✔️ Hot Silicone | ✔️ Silicona Caliente |
Step by step // Paso a paso
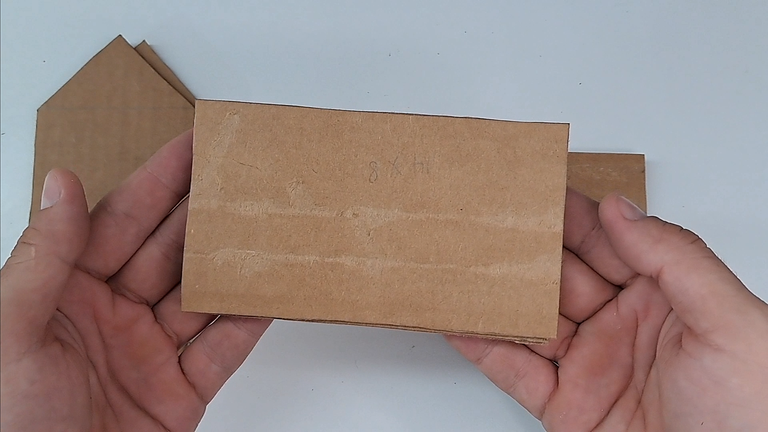
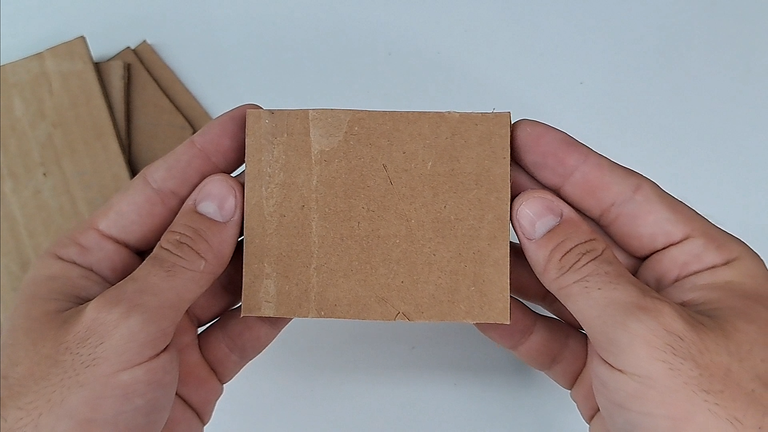
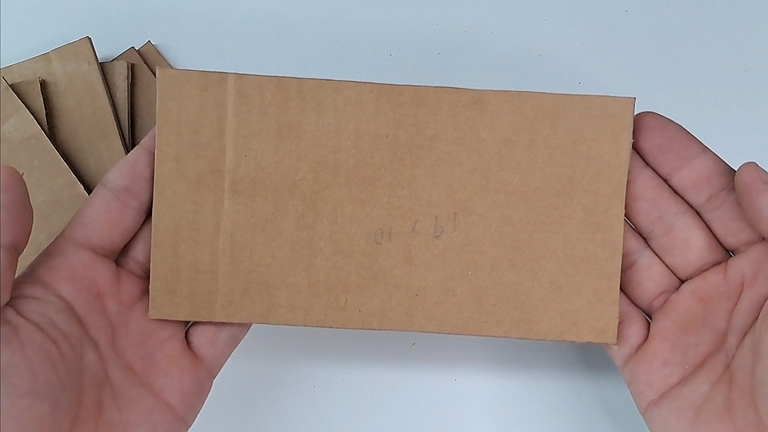
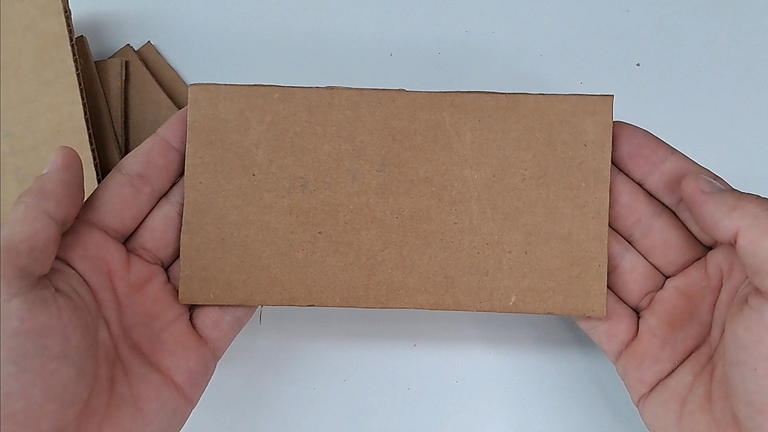
1️⃣ Cut out the cardboard pieces that make up the floor, walls and roof of the house according to the following measurements:
- Front and back walls: 18 cm x 8 cm.
- Side walls: 14 cm x 8 cm.
- Ceiling: 9.5 cm x 7.5 cm.
- Lower floor: 19 cm x 10 cm.
- Upper floor: 17.5 cm x 9 cm.
Recortas las piezas de cartón que conforman el piso, paredes y techo de la casa siguiendo las siguientes medidas:
- Paredes frontal y trasera: 18 cm x 8 cm.
- Paredes laterales: 14 cm x 8 cm.
- Techo: 9.5 cm x 7.5 cm.
- Piso inferior: 19 cm x 10 cm.
- Piso superior: 17.5 cm x 9 cm.
 |
 |
 |
 |
 |
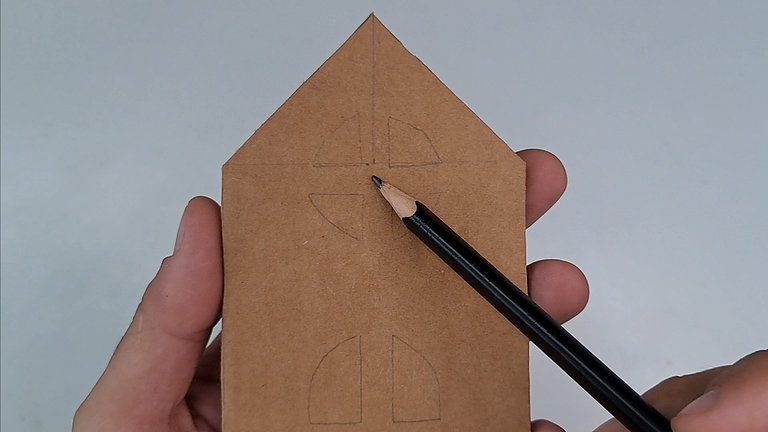
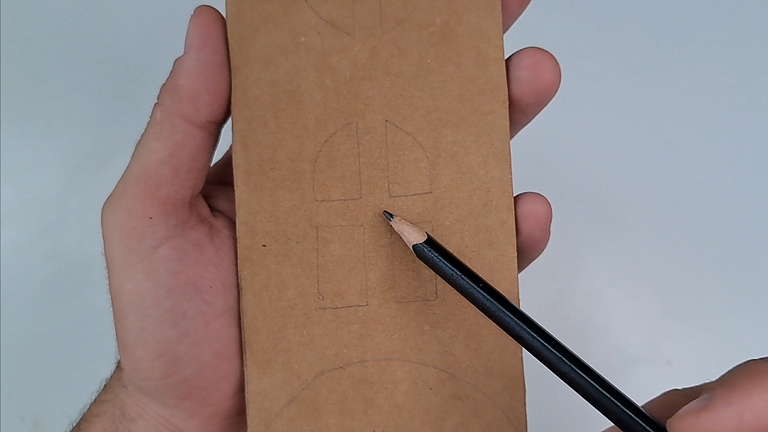
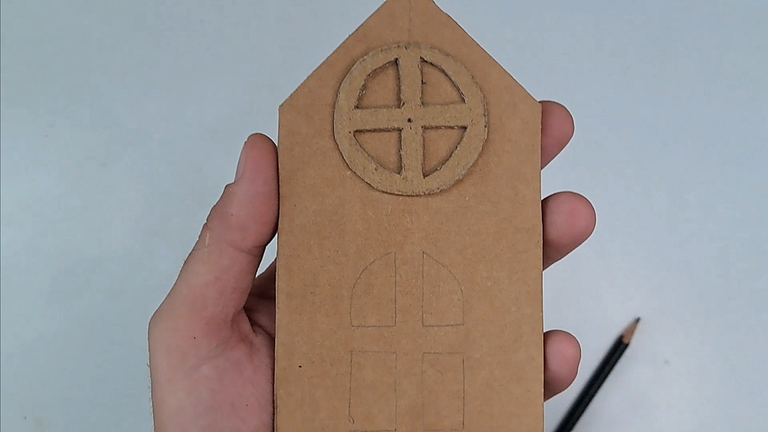
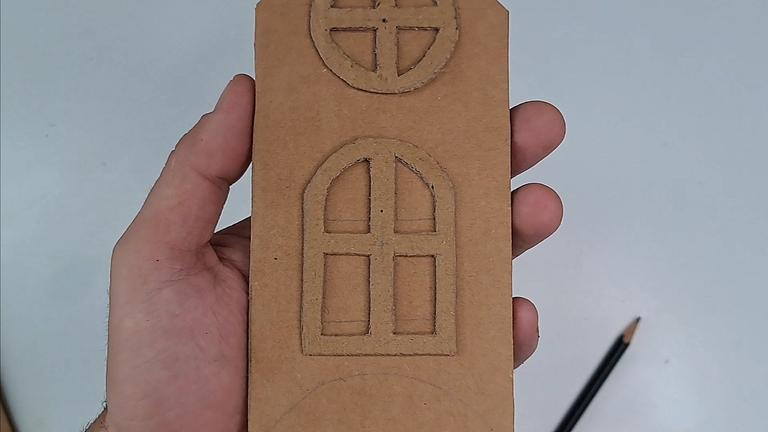
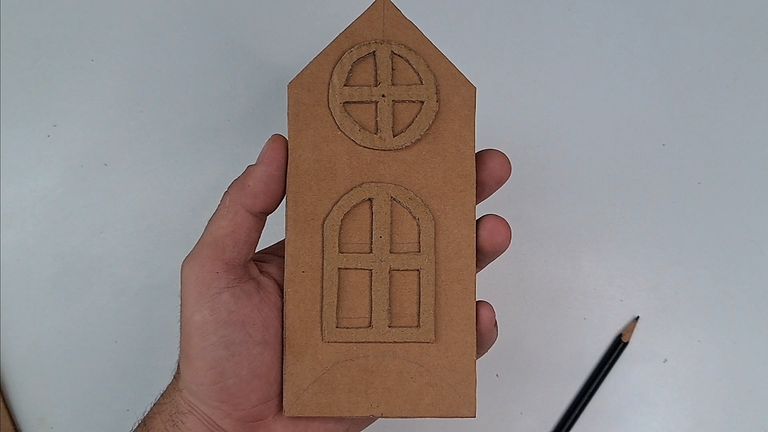
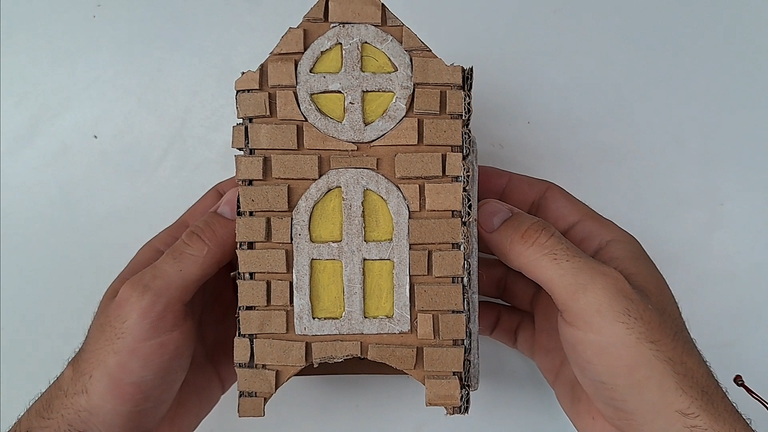
2️⃣ Mark the silhouettes of the windows on the front wall. Paint the marked silhouettes yellow to make it look like a light shining from inside. Paper the windows before gluing them.
Marca las siluetas de las ventanas en la pared frontal. Pintas de amarillo las siluetas marcadas para que parezca una luz que brilla desde dentro. Empapelas las ventanas antes de pegarlas.
 |
 |
 |
 |
 |
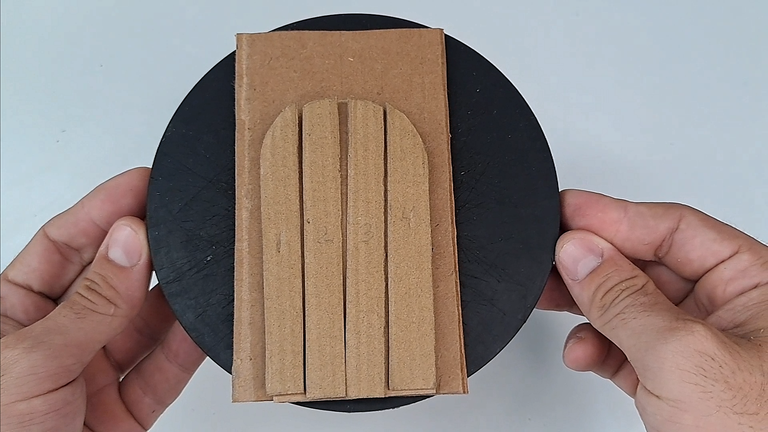
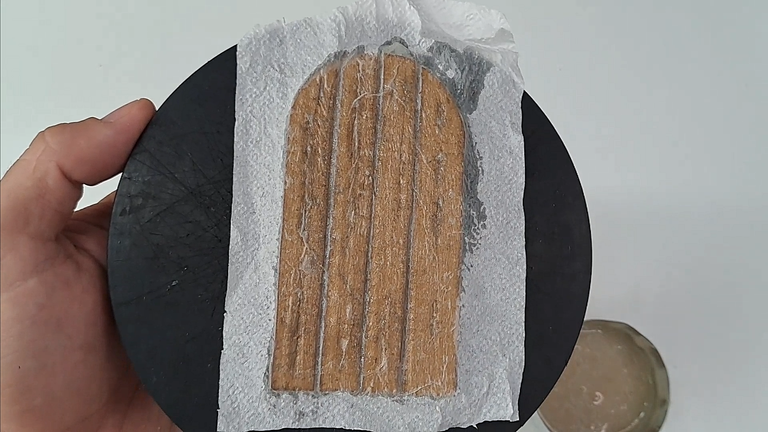
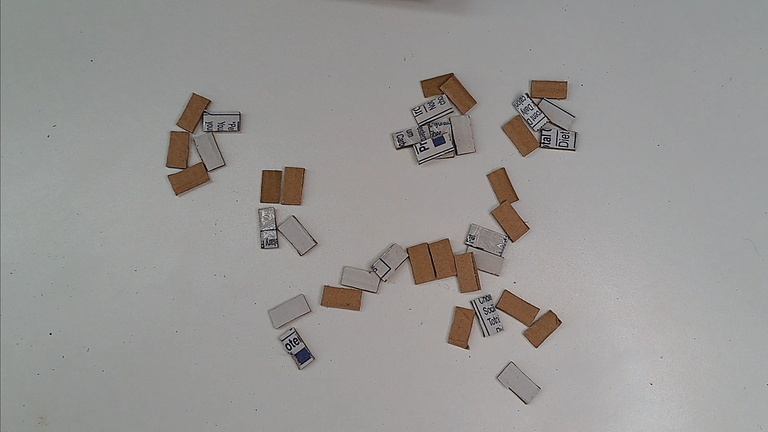
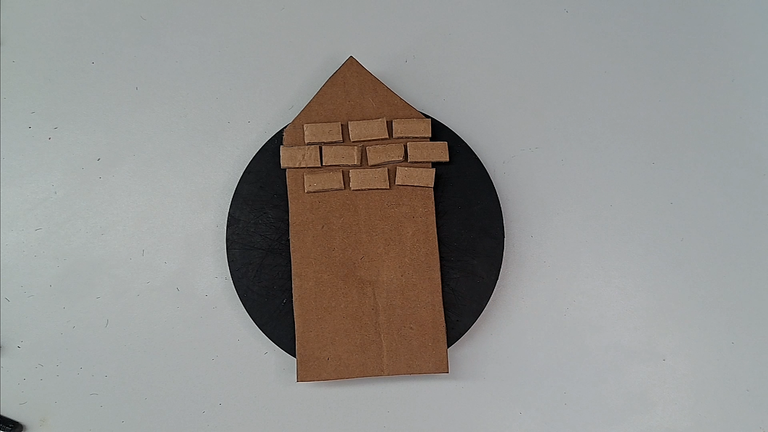
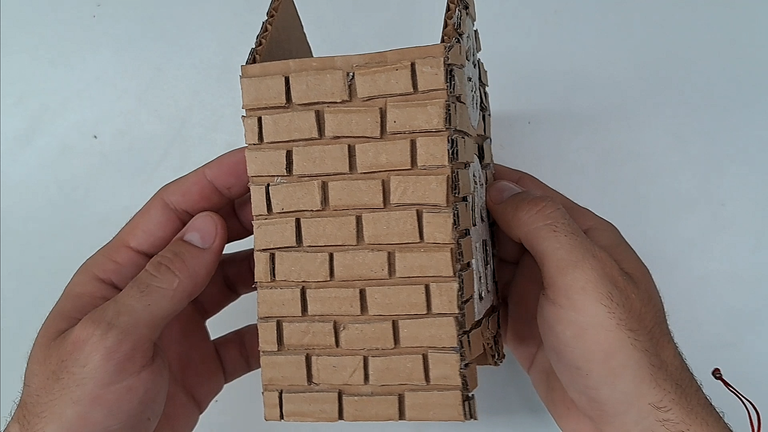
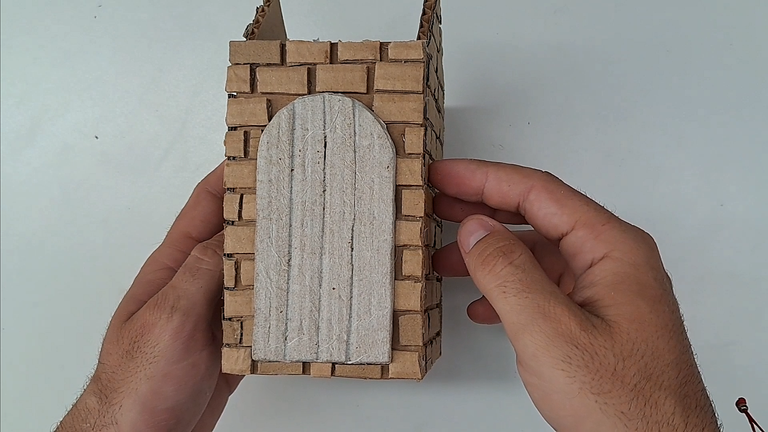
3️⃣ Mark and cut out the silhouette of the door, which you then paper before gluing the outer side wall. Next, cut out several cardboard rectangles that you will glue around the entire structure to simulate brick walls.
Marca y recorta la silueta de la puerta, la cual luego empapelas antes de pegar la pared lateral exterior. Seguidamente, recortas varios rectángulos de cartón que pegarás alrededor de toda la estructura simulando paredes de ladrillos.
 |
 |
 |
 |
 |
 |
 |
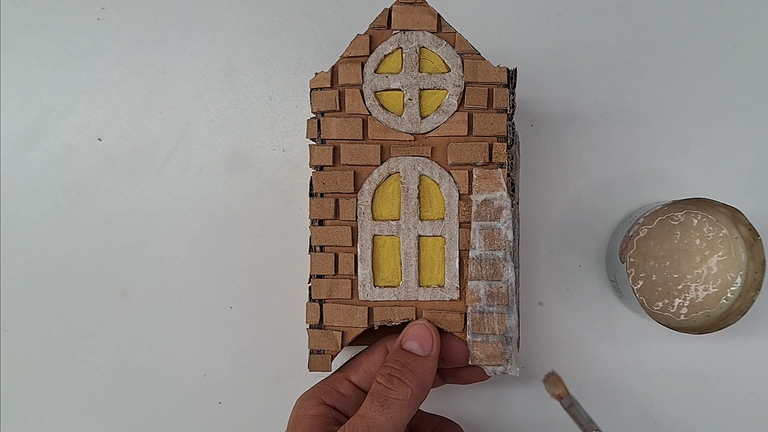
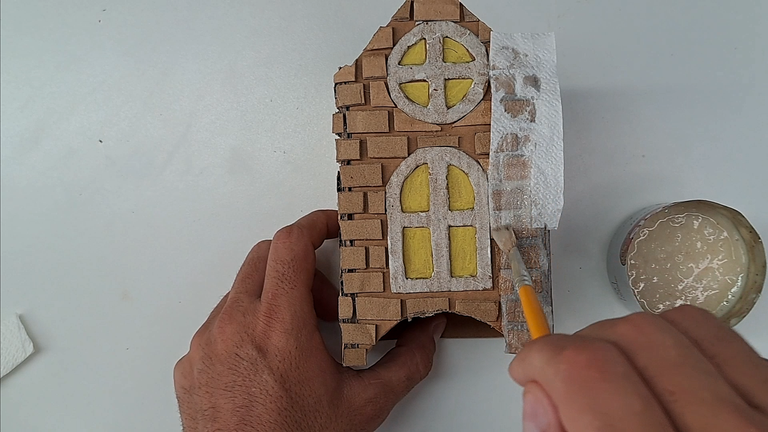
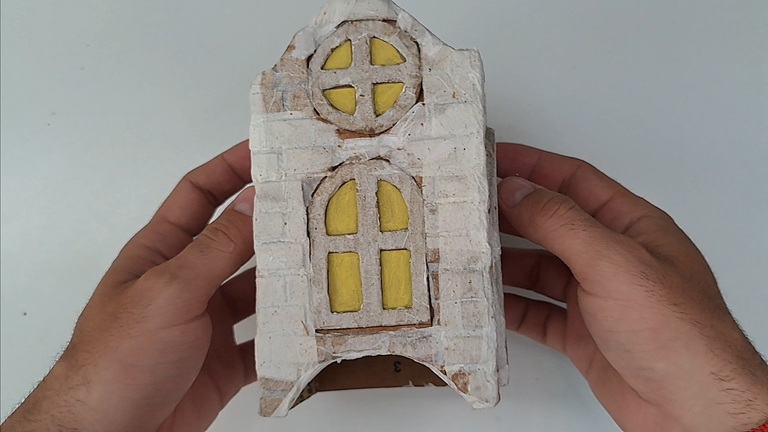
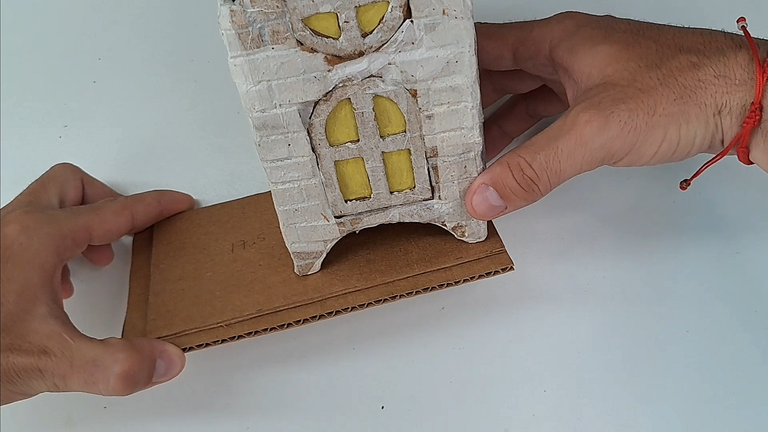
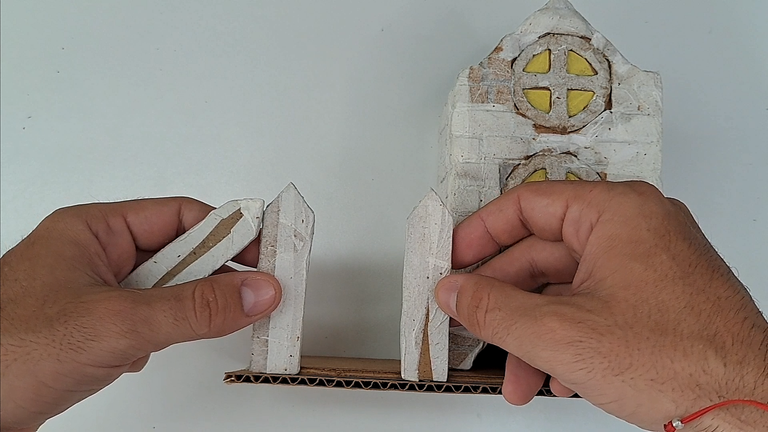
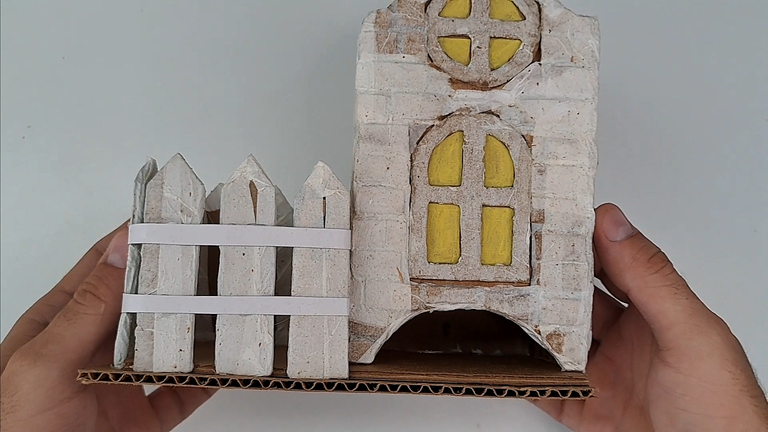
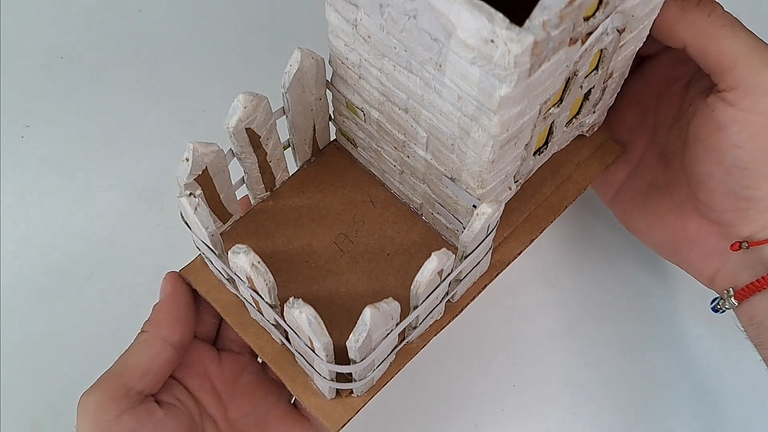
4️⃣ Paper the entire structure and once dry, glue it to the base. Next, you will cut out rectangles of 2 cm x 7 cm to form a fence, which will be held by two strips of white cardboard.
Empapela toda la estructura y una vez seca la pegas a la base. A continuación, recortarás rectángulos de 2 cm x 7 cm para conformar una cerca, la cual, estará sujeta por dos tirillas de cartulina blanca.
 |
 |
 |
 |
 |
 |
 |
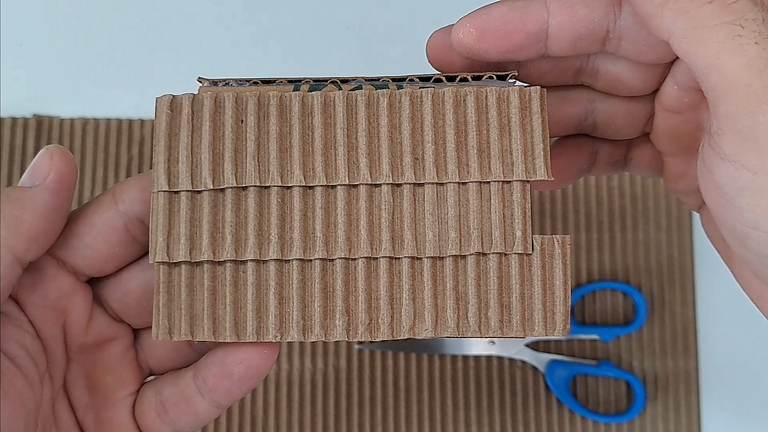
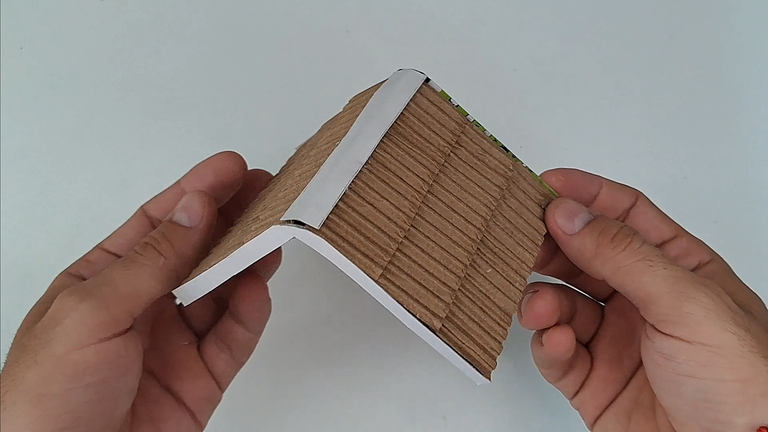
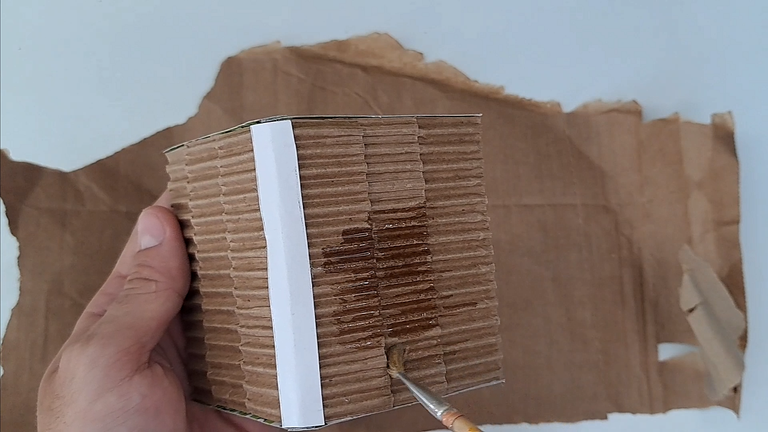
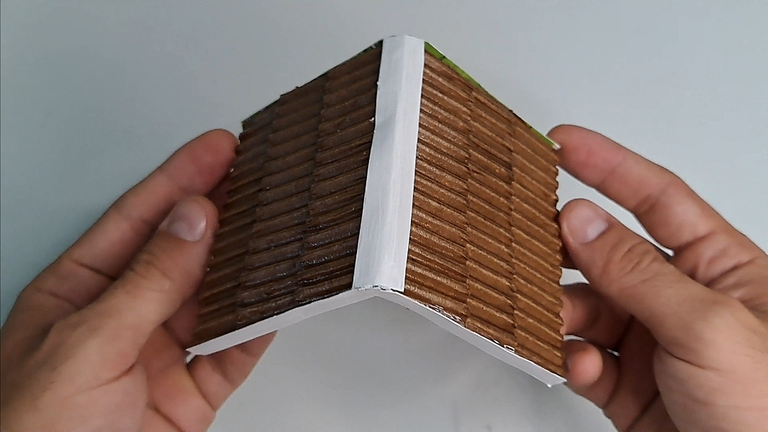
5️⃣ Using a triangular piece, you will glue the two sections of the roof together. The tiles are made from a piece of cardboard from which one side is removed. For a better finish, glue around the edge of the roof some strips of white cardboard and paint the top of the varnish or carmelite paint.
Haciendo uso de una pieza triangular, pegarás las dos secciones del techo. Las tejas se elaboran a partir de una pieza de cartón a la cual se le retira una de sus caras. Para un mejor acabado, pegar por todo el borde del techo unas tirillas de cartulina blanca y pintar la parte superior del barniz o pintura carmelita.
 |
 |
 |
 |
 |
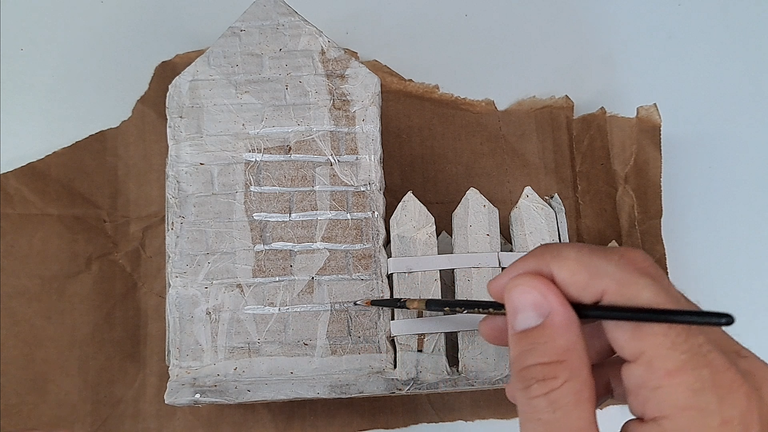
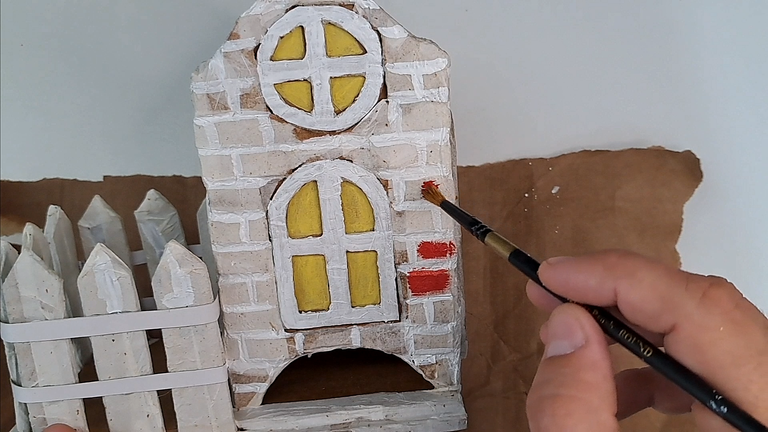
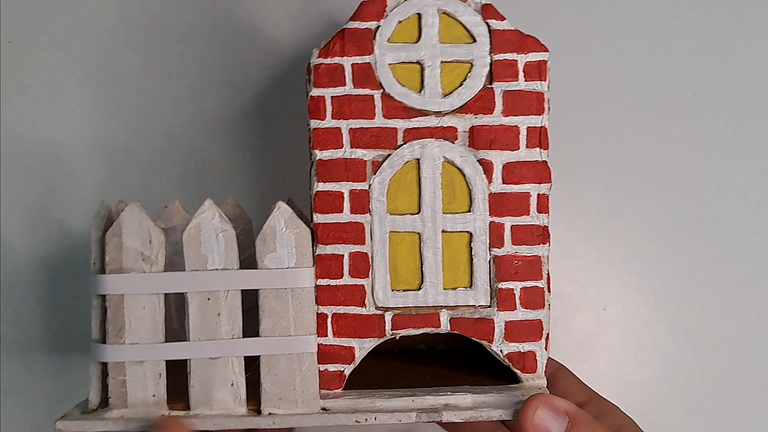
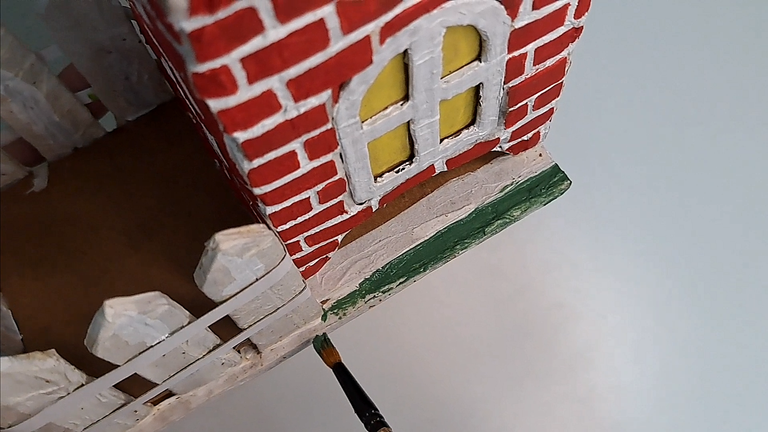
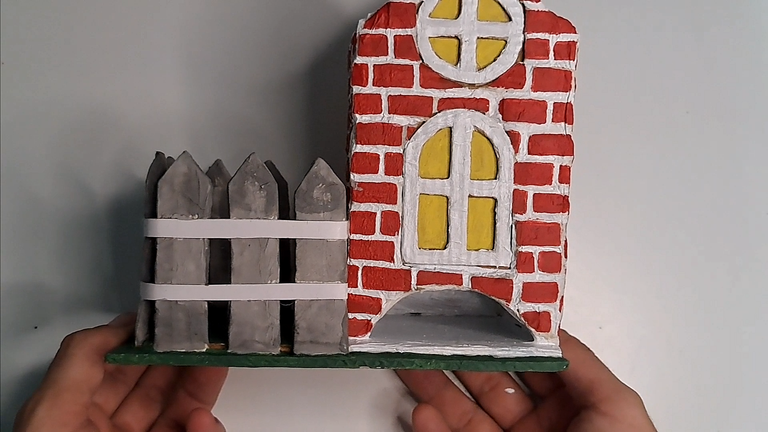
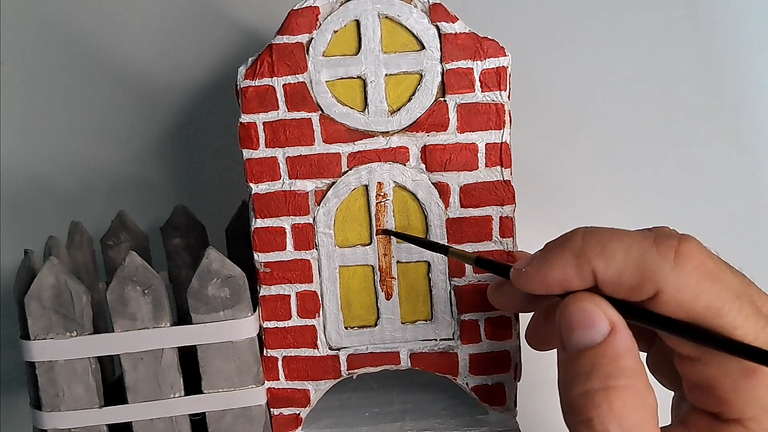
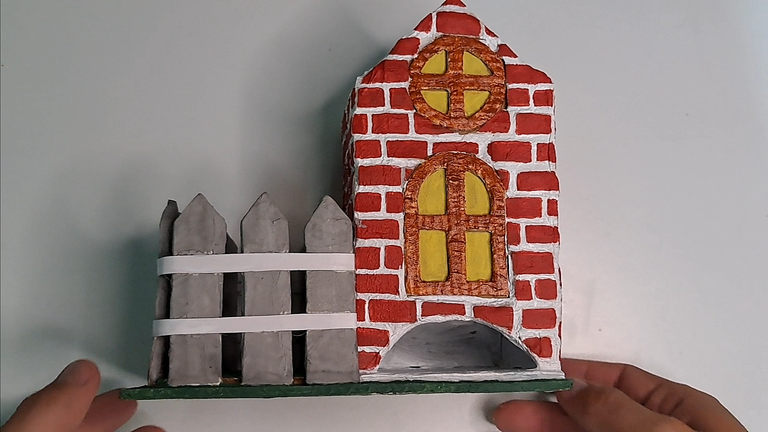
6️⃣ Use a fine brush to paint the joints of the bricks white. Then paint each of the bricks red, the entire floor green and the interior white. Finally, paint the fence in gray and the doors and windows in brown.
Utiliza un pincel fino para pintar de blanco las uniones de los ladrillos. Luego pinta de rojo cada uno de los ladrillos, de color verde todo el suelo y blanco el interior. Para finalizar, pinta de gris la cerca y carmelita las puertas y ventanas.
 |
 |
 |
 |
 |
 |
 |
Hasta aquí el tutorial de hoy, espero que haya sido de su agrado. No quiero despedirme sin antes comentarles que este dispensador también puede ser utilizado como organizador o incluso para guardar golosinas, así que no duden en intentar hacer el suyo propio, pues estoy seguro de que quedará muy hermoso. Ahora sí, me despido hasta una próxima ocasión en la cual les estaré trayendo otro pedacito de mi mundo creativo. Chao…
Finished Work // Trabajo Terminado
 |
 |
 |
 |
 |

Thank you very much for reading my post. If you liked it, please leave a comment and consider following me so you don't miss my next posts. I'd love to know your opinion and your thoughts about the topic I discussed in this post, see you in the next one!

Credits and Resources // Créditos y Recursos
Cover page created in Canva
Translated by DeepL
Video and images captured with my Samsung Galaxy A53 5G
Edited in Wondershare Filmora 13


▶️ 3Speak

