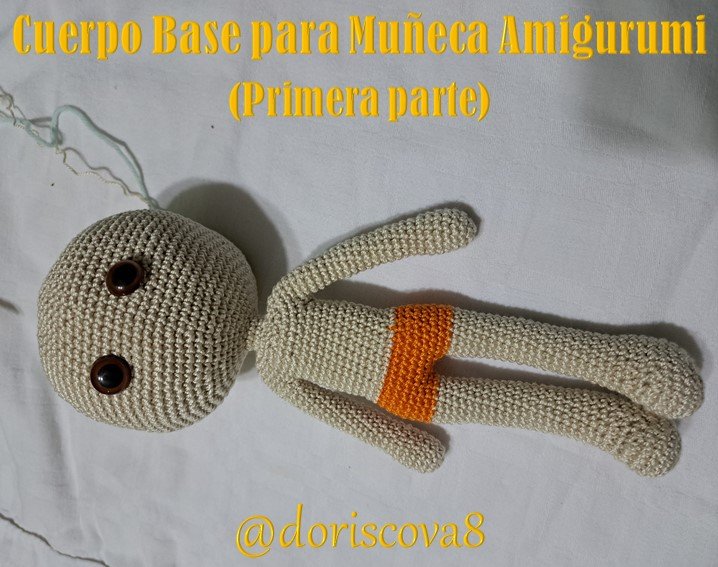
Estimada comunidad de NeedleWorkMonday les cuento que revisando las redes sobre cuestiones de manualidades sobre todo sobre tejidos, estuve viendo una serie las bellísimas muñecas tejidas con la técnica de amigurumi y la verdad me parecieron espectaculares y allí decidí hacerles unas a mis nietas, y la verdad este estilo de muñecas no la he tejido.
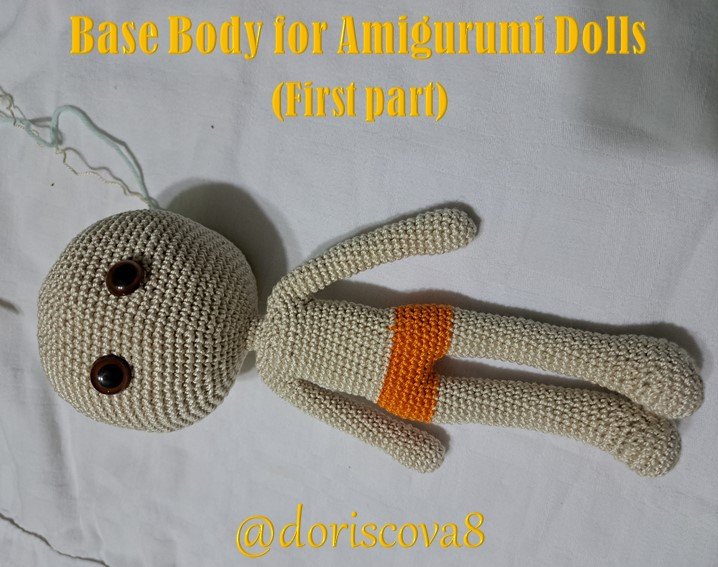
Pero bueno estamos por acá precisamente para enseñarles cómo se realiza el cuerpo base, ya que luego ese cuerpo lo podemos convertir en el de una princesa de acuerdo a el vestuario y peinado que le realicemos; este trabajo se los voy a presentar en dos partes, la primera parte les enseñare como se realizan los brazos y piernas y en la segunda parte el cuerpo y la cabecita.
Estuve que tejer el cuerpo con hilo de color hueso ya que no conseguí en el mercado local hilos de tejer color carne.
Materiales
- 1 madeja de hilo de tejer crochet color hueso
- 1 aguja de tejer crochet de acuerdo al hilo
- Marcadores de tejido
- Contador de vueltas
Procedimiento
Brazos
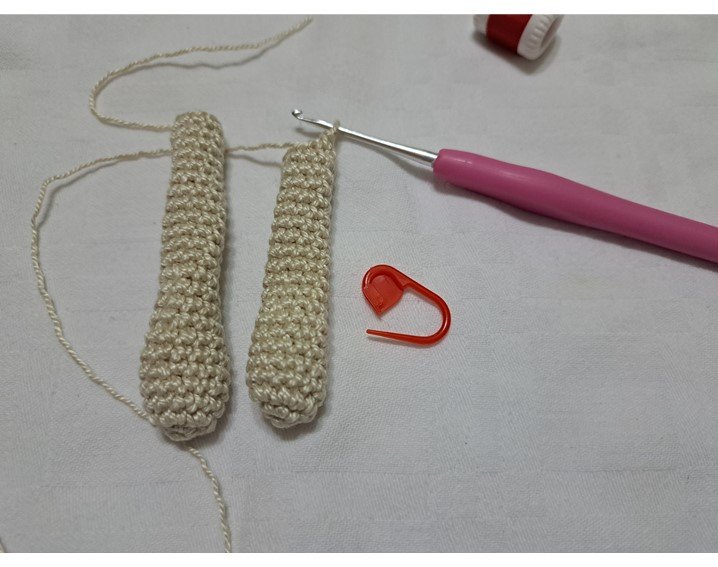
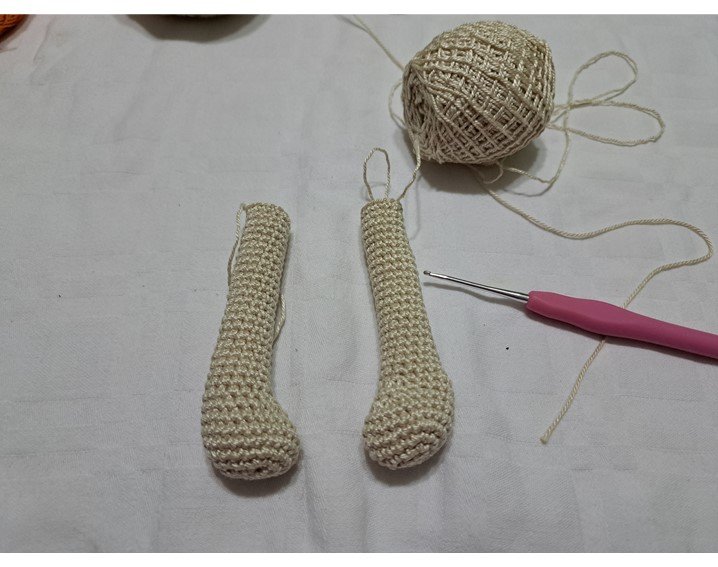
Para el tejido de los brazos empezamos realizando un anillo mágico y vamos a tejer 6 puntos bajos y cerramos el anillo.
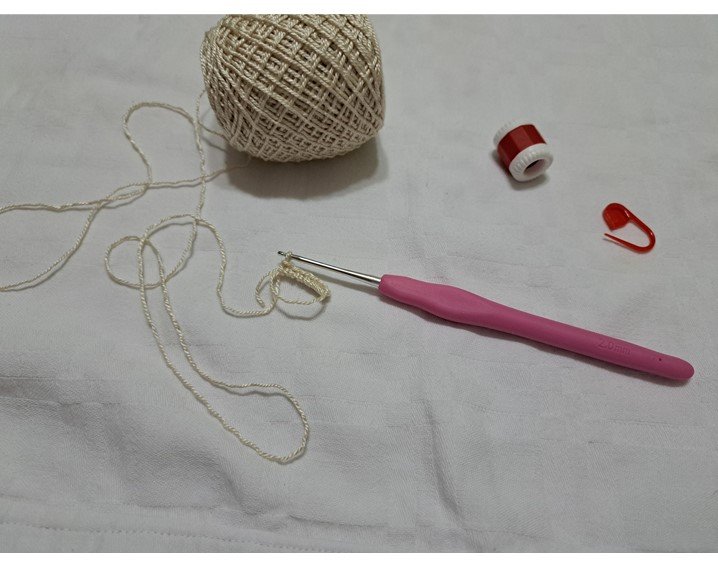
La segunda vuelta vamos a realizar un aumento en cada uno de los puntos bajos para tener un total de 12 puntos al terminar esa vuelta, debemos tener el marcador para ir marcando el inicio de cada vuelta y no confundirnos.
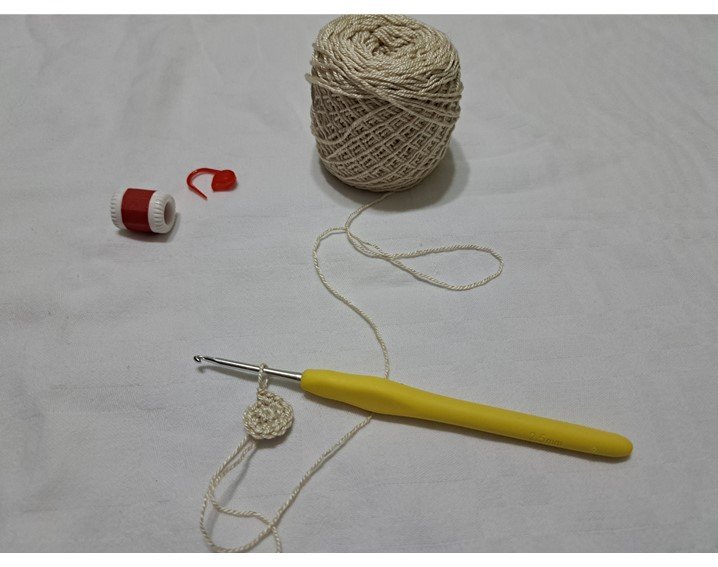
De la vuelta 3ra la vuelta 7ma vamos a tejer sin aumentos puros puntos bajos en cada una de las vueltas.
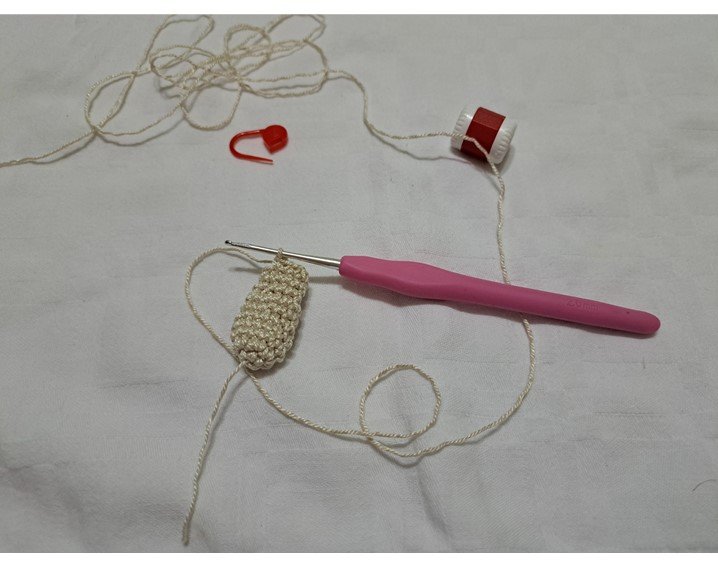
En la vuelta 8va vamos a iniciar con 4 puntos bajos, hacemos una disminución, luego 4 puntos bajos y finalizamos la vuelta con una disminución, teniendo 10 puntos al terminar la vuelta.
De la vuelta 9 a la 24 vamos a tejer un punto bajo en cada punto de las vueltas, es decir 10 en cada vuelta.
Así terminamos el brazo, luego tejemos el segundo brazo de la misma forma y sin dejar muy largo el hilo.
Piernas
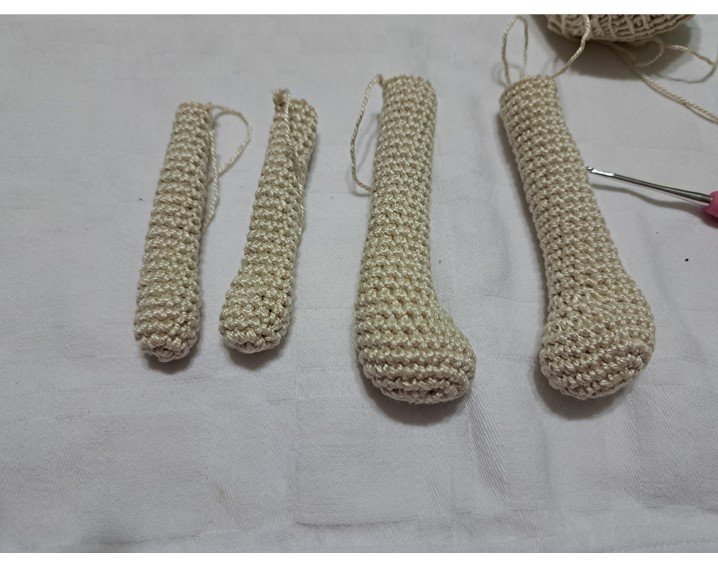
Empezamos tejiendo 4 cadenetas(c), y en la primera vuelta empezando desde la segunda cadeneta vamos a realizar 2 puntos(p) bajos(b) y en la última cadeneta hacemos un aumento triple de puntos bajos, seguimos tejiendo en redondo, hacemos 2 puntos bajos y en la cadena que dejamos sin tejer realizamos un aumento triple, para terminar la vuelta con 10 puntos; coloque entre paréntesis las iniciales de las palabras cadeneta, punto y bajo, para adelante y simplificar la compresión estaré colocando esas letras para indicar como ya explique.
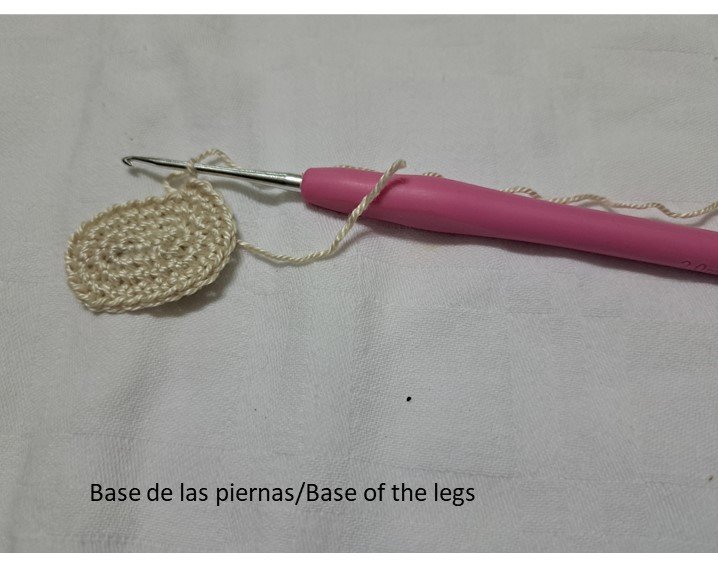
2da vuelta: 2 pb – 3 aumentos – 2 pb – 3 aumentos
3ra vuelta: 3 pb – 4 aumentos (a) – 4 pb – 4 a – 1 pb
4ta a la 6ta vuelta: 24 pb
7ma vuelta: 6 disminuciones (d) – 12 pb
8va vuelta: 18 pb
9na vuelta: 3 d - 6 pb - 1 d - 4 pb
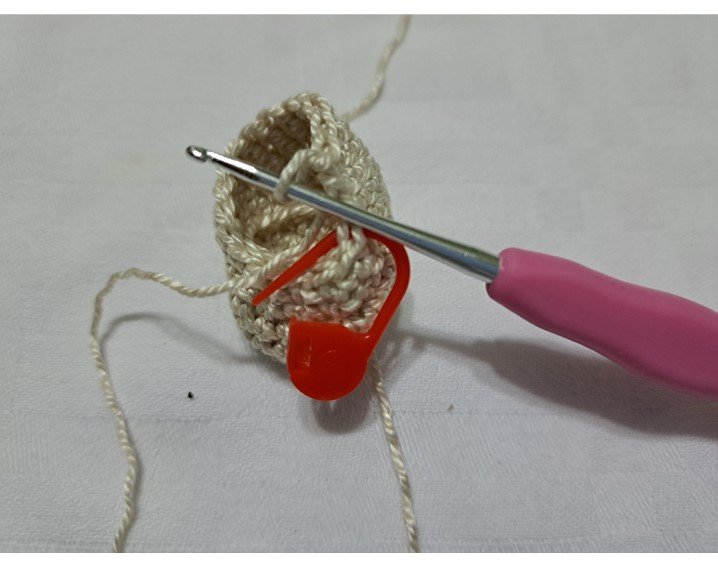
10ma a la 30: 14 pb
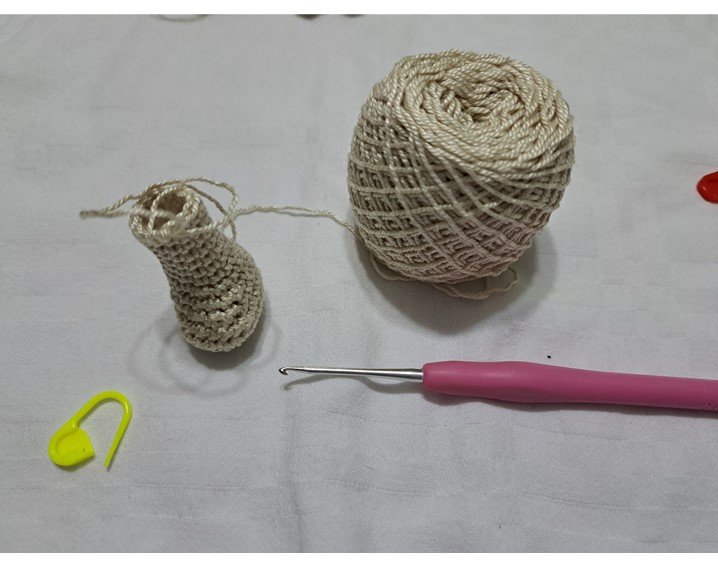
Así culminamos la pierna cortando el hilo no tan largo, y luego tejemos la otra pierna sin cortar el hilo al terminar la segunda ya que luego viene la unión de ellas.
La próxima entrega estaré mostrándoles como se realizan el cuerpo y la cabecita, además como vamos a unir los brazos al cuerpo.
English
Dear NeedleWorkMonday community I tell you that reviewing the networks on issues of crafts especially on fabrics, I was watching a series of beautiful dolls woven with the amigurumi technique and the truth seemed spectacular and there I decided to make some for my granddaughters, and the truth is that I have not knitted this style of dolls.
But well we are here precisely to show you how to make the base body, because then we can turn that body into a princess according to the costumes and hairstyle that we make; this work will be presented in two parts, the first part I will show you how to make the arms and legs and in the second part the body and the head.
I had to knit the body with bone colored yarn since I did not find any flesh colored knitting yarn in the local market.
Materials
- 1 skein of off-white crochet knitting thread
- 1 crochet knitting needle according to the yarn
- Knitting markers
- Twist counter
Procedure
Arms
To knit the arms we start by making a magic ring and we will knit 6 single crochet stitches and close the ring.

The second row we are going to make an increase in each of the single crochet stitches to have a total of 12 stitches at the end of this row, we must have the marker to mark the beginning of each row and not get confused.

From the 3rd row to the 7th row we are going to knit without increases, just single crochet in each of the rows.

In the 8th row we will start with 4 single crochet stitches, make a decrease, then 4 single crochet stitches and finish the row with a decrease, having 10 stitches at the end of the row.
From the 9th to the 24th row we will knit a single crochet in each row, that is, 10 in each row.
This way we finish the arm, then we knit the second arm in the same way and without leaving the yarn too long.

Legs
We start knitting 4 chains(c), and in the first row starting from the second chain we will knit 2 single crochets(b) and in the last chain we make a triple increase of single crochets, we continue knitting in the round, we knit 2 single crochets and in the chain we left without knitting we make a triple increase, to finish the row with 10 stitches; place between brackets the initials of the words chain, stitch and single crochet, to simplify the compression I will be placing those letters to indicate as I already explained.

Row 2: 2 bp - 3 increases - 2 bp - 3 increases
Row 3: 3 bp - 4 increases (a) - 4 bp - 4 a - 1 bp
4th to 6th round: 24 stitches
7th row: 6 decreases (d) - 12 stitches
8th row: 18 sts
Row 9: 3 d - 6 pb - 1 d - 4 pb

10th to 30th st: 14 sts

This way we finish the leg by cutting the yarn not so long, and then we knit the other leg without cutting the yarn at the end of the second leg because then comes the joining of them.

Next time I will show you how to knit the body and the head, and how to join the arms to the body.

Translated with www.DeepL.com/Translator (free version)
Fuente de imágenes: Archivo Personal.



MIS REDES SOCIALES

