Hola amigos, reciban un cordial saludo.
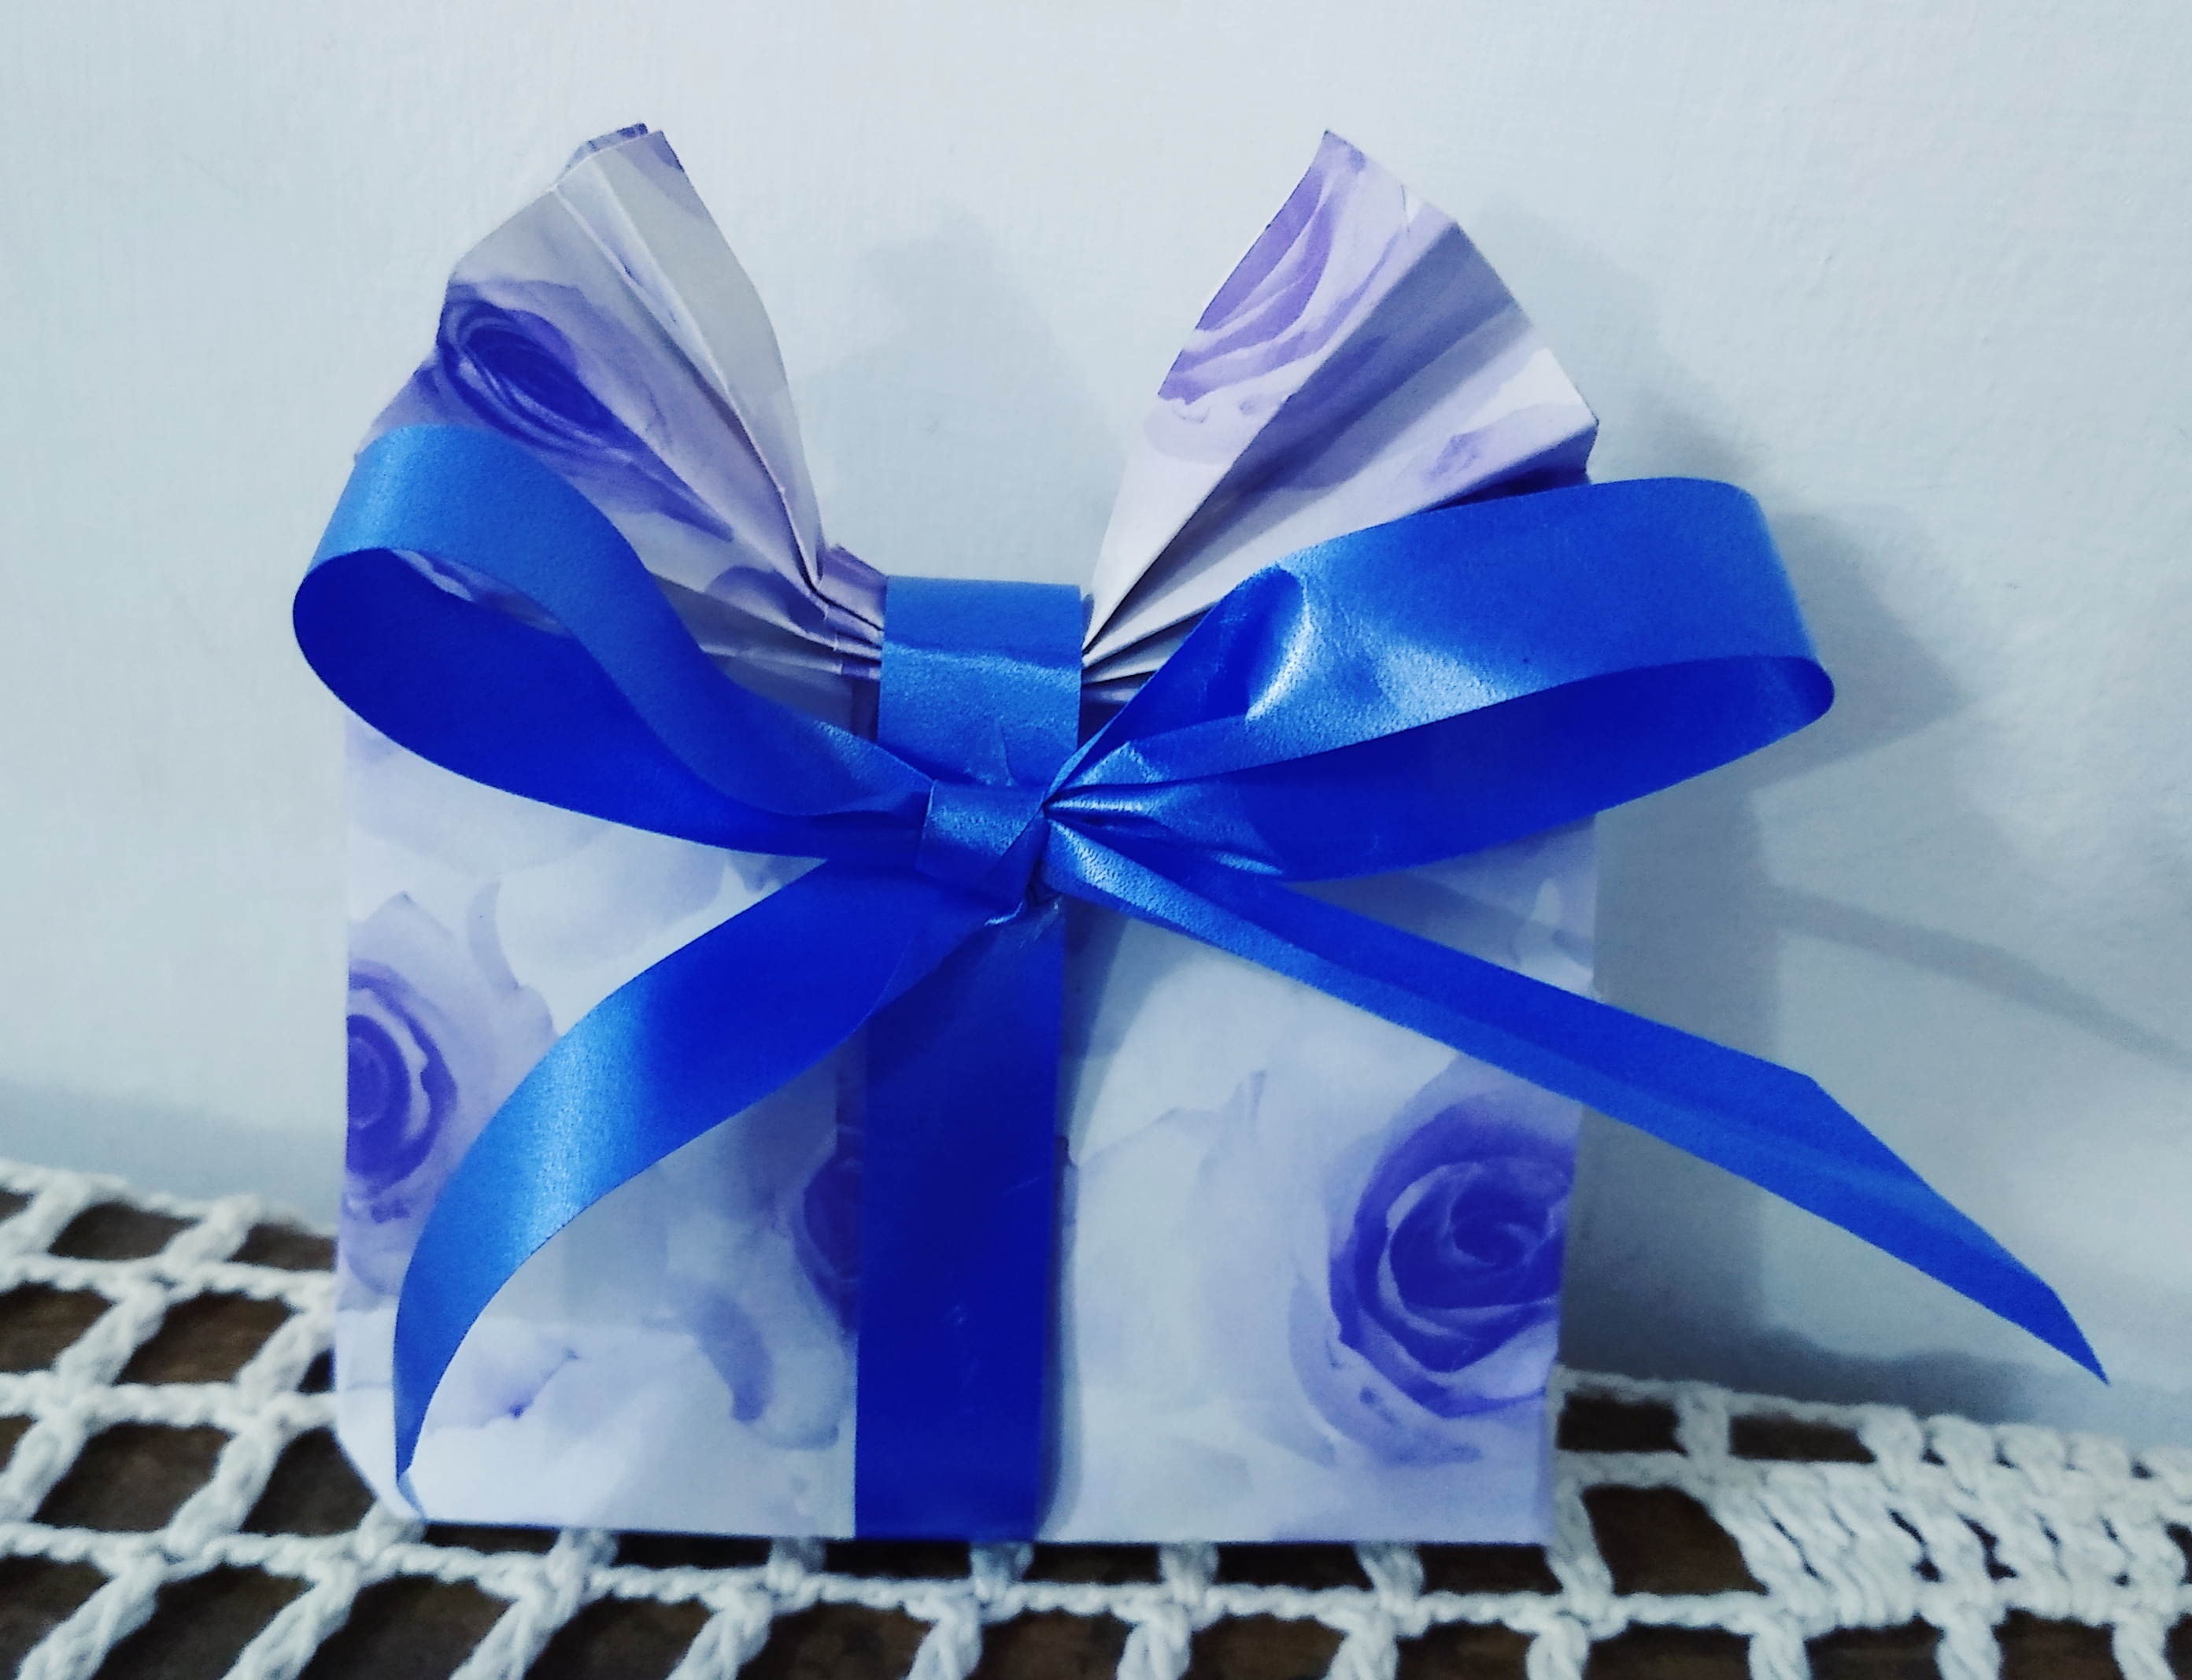
Hoy comparto con ustedes una linda bolsa de regalo, la cual es muy fácil de realizar. Es ideal para obsequiar algún detalle, en pocos minutos podemos obtener una envoltura diferente para nuestros regalos. Espero que les guste.
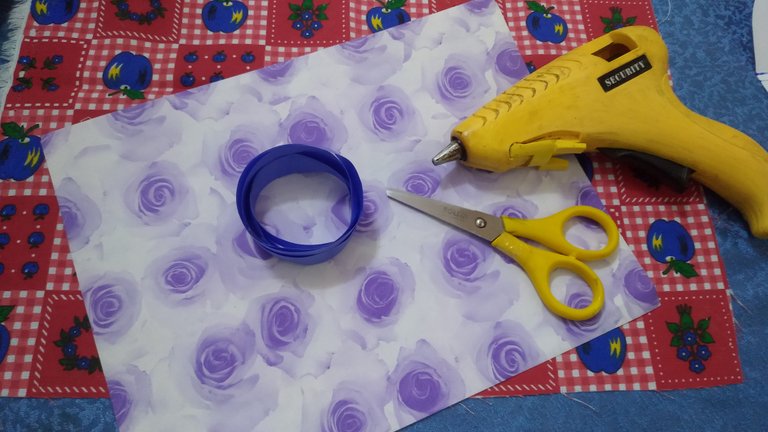
Materiales:
Hoja de papel Bond estampada
Pegamento blanco o Silicon
Cinta de lazo
Tijera
Elaboración Paso a Paso.
Paso 1.
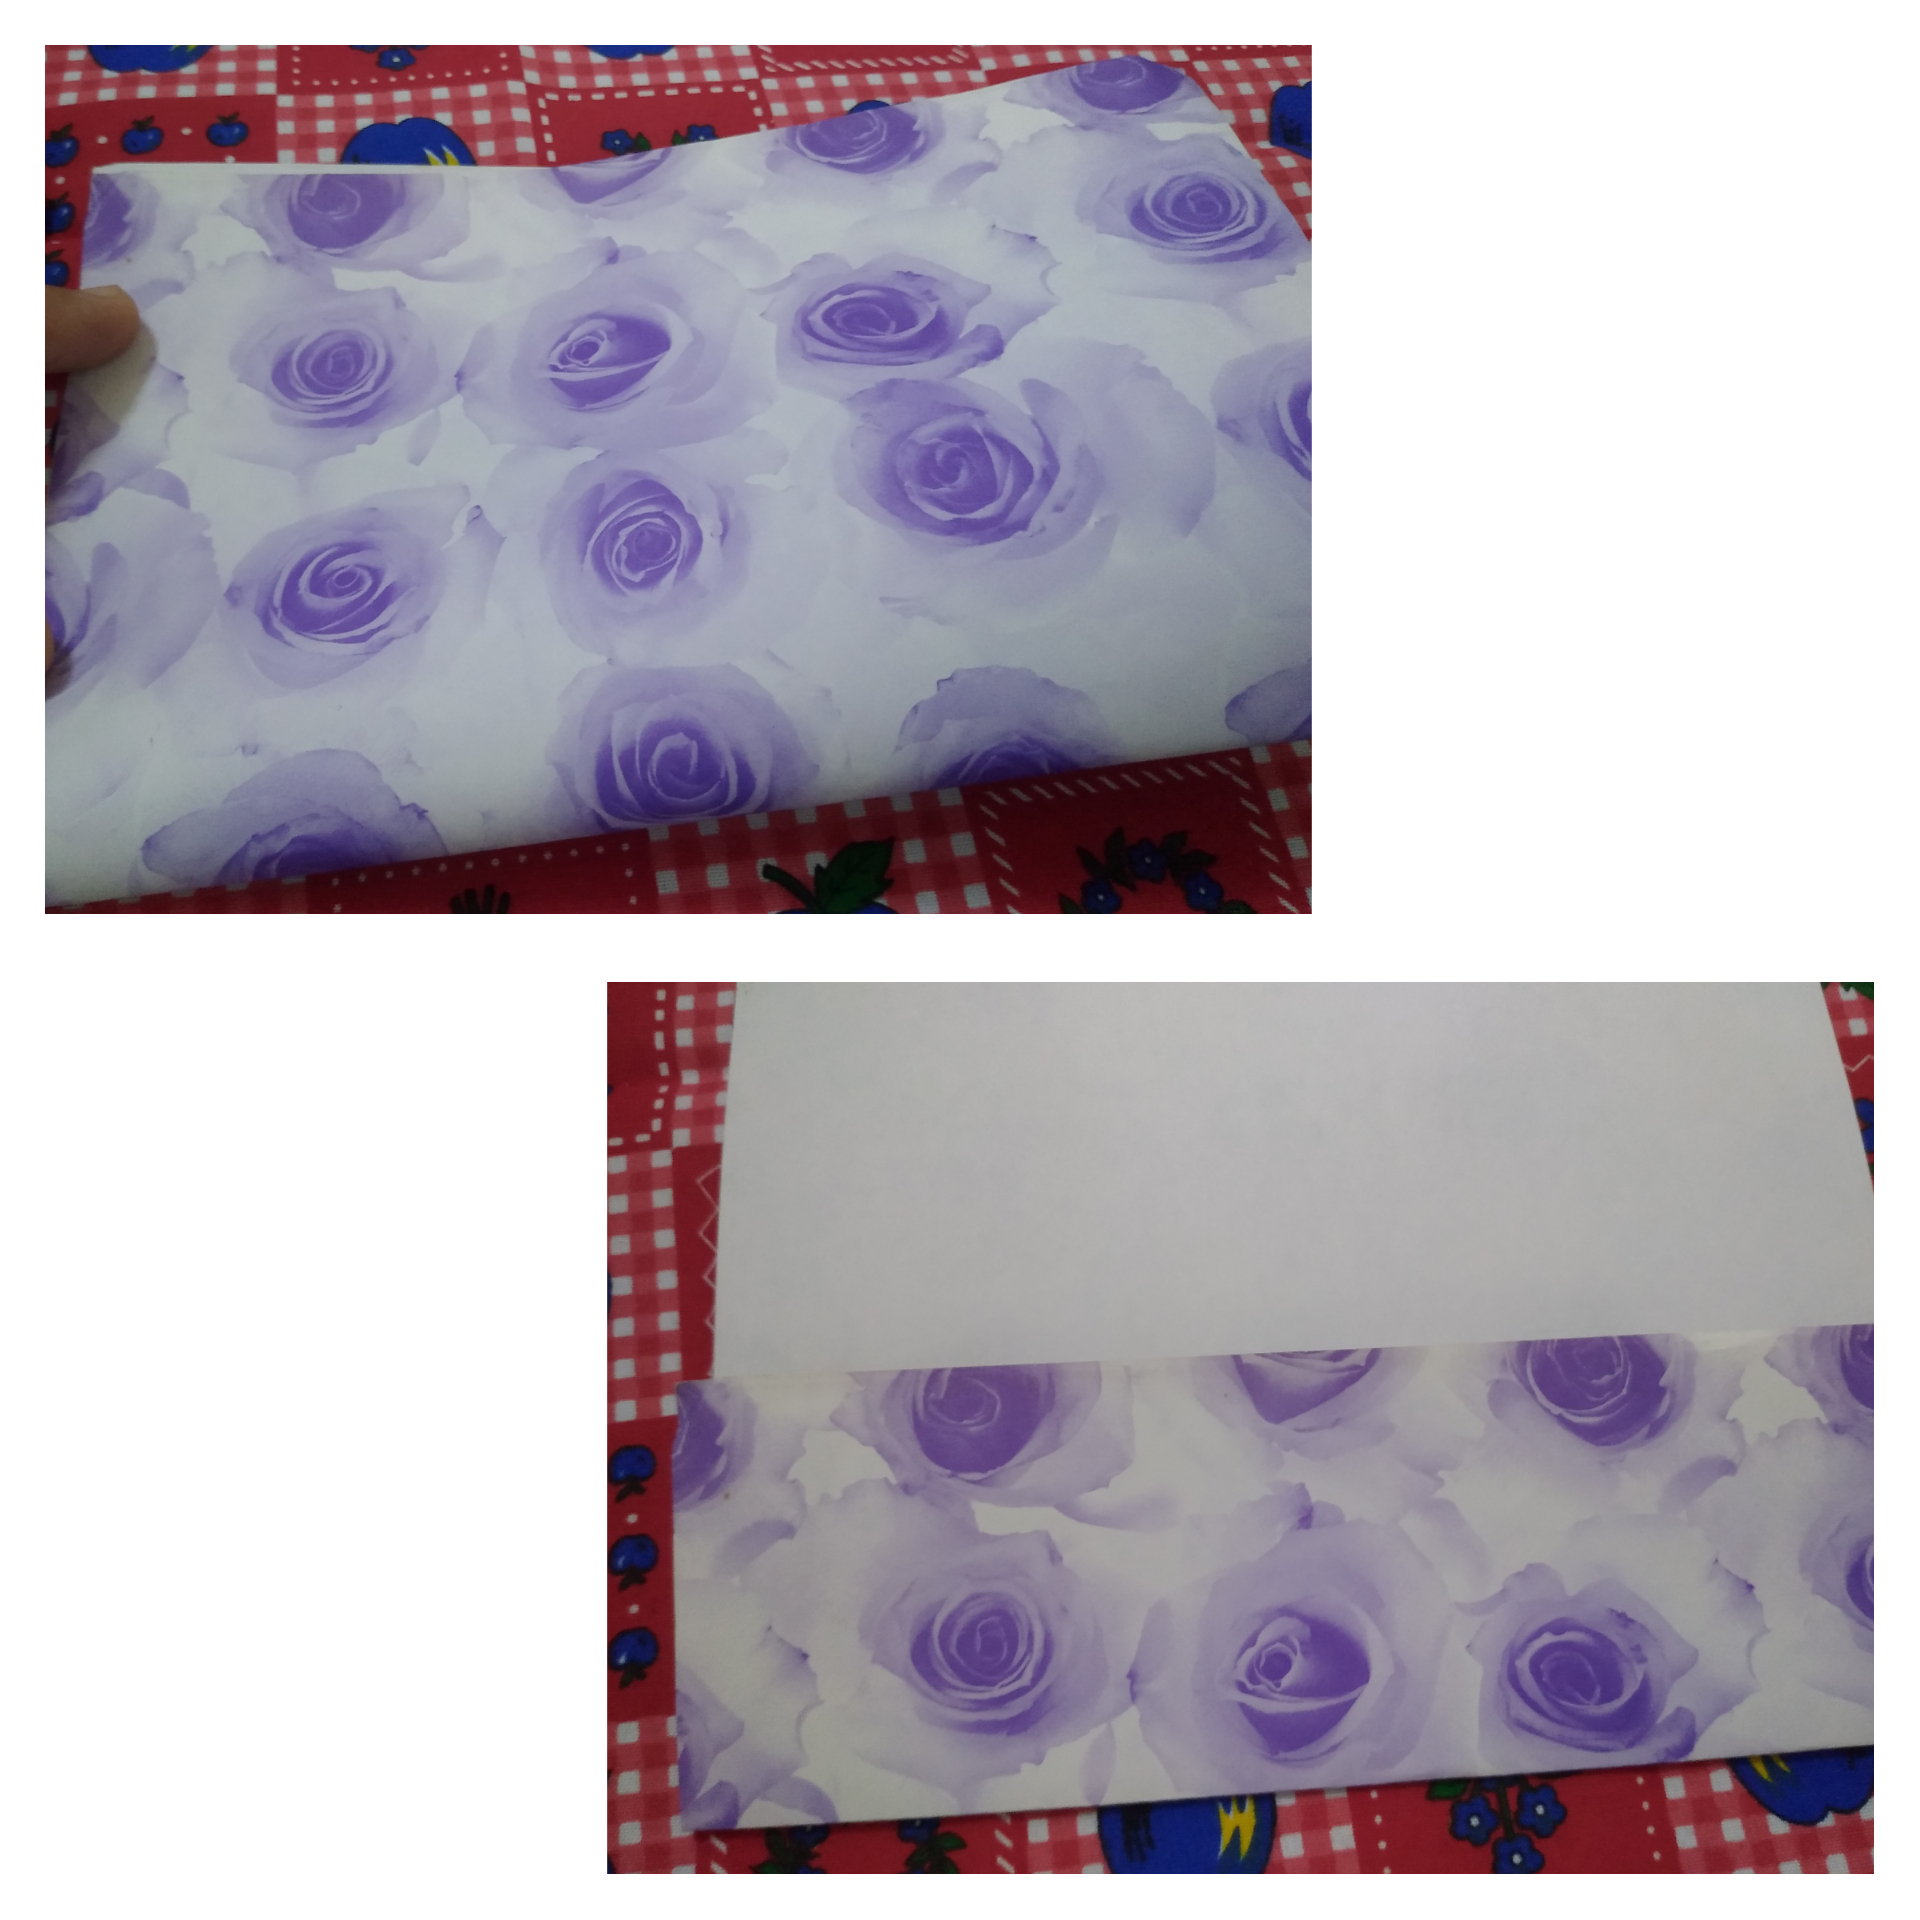
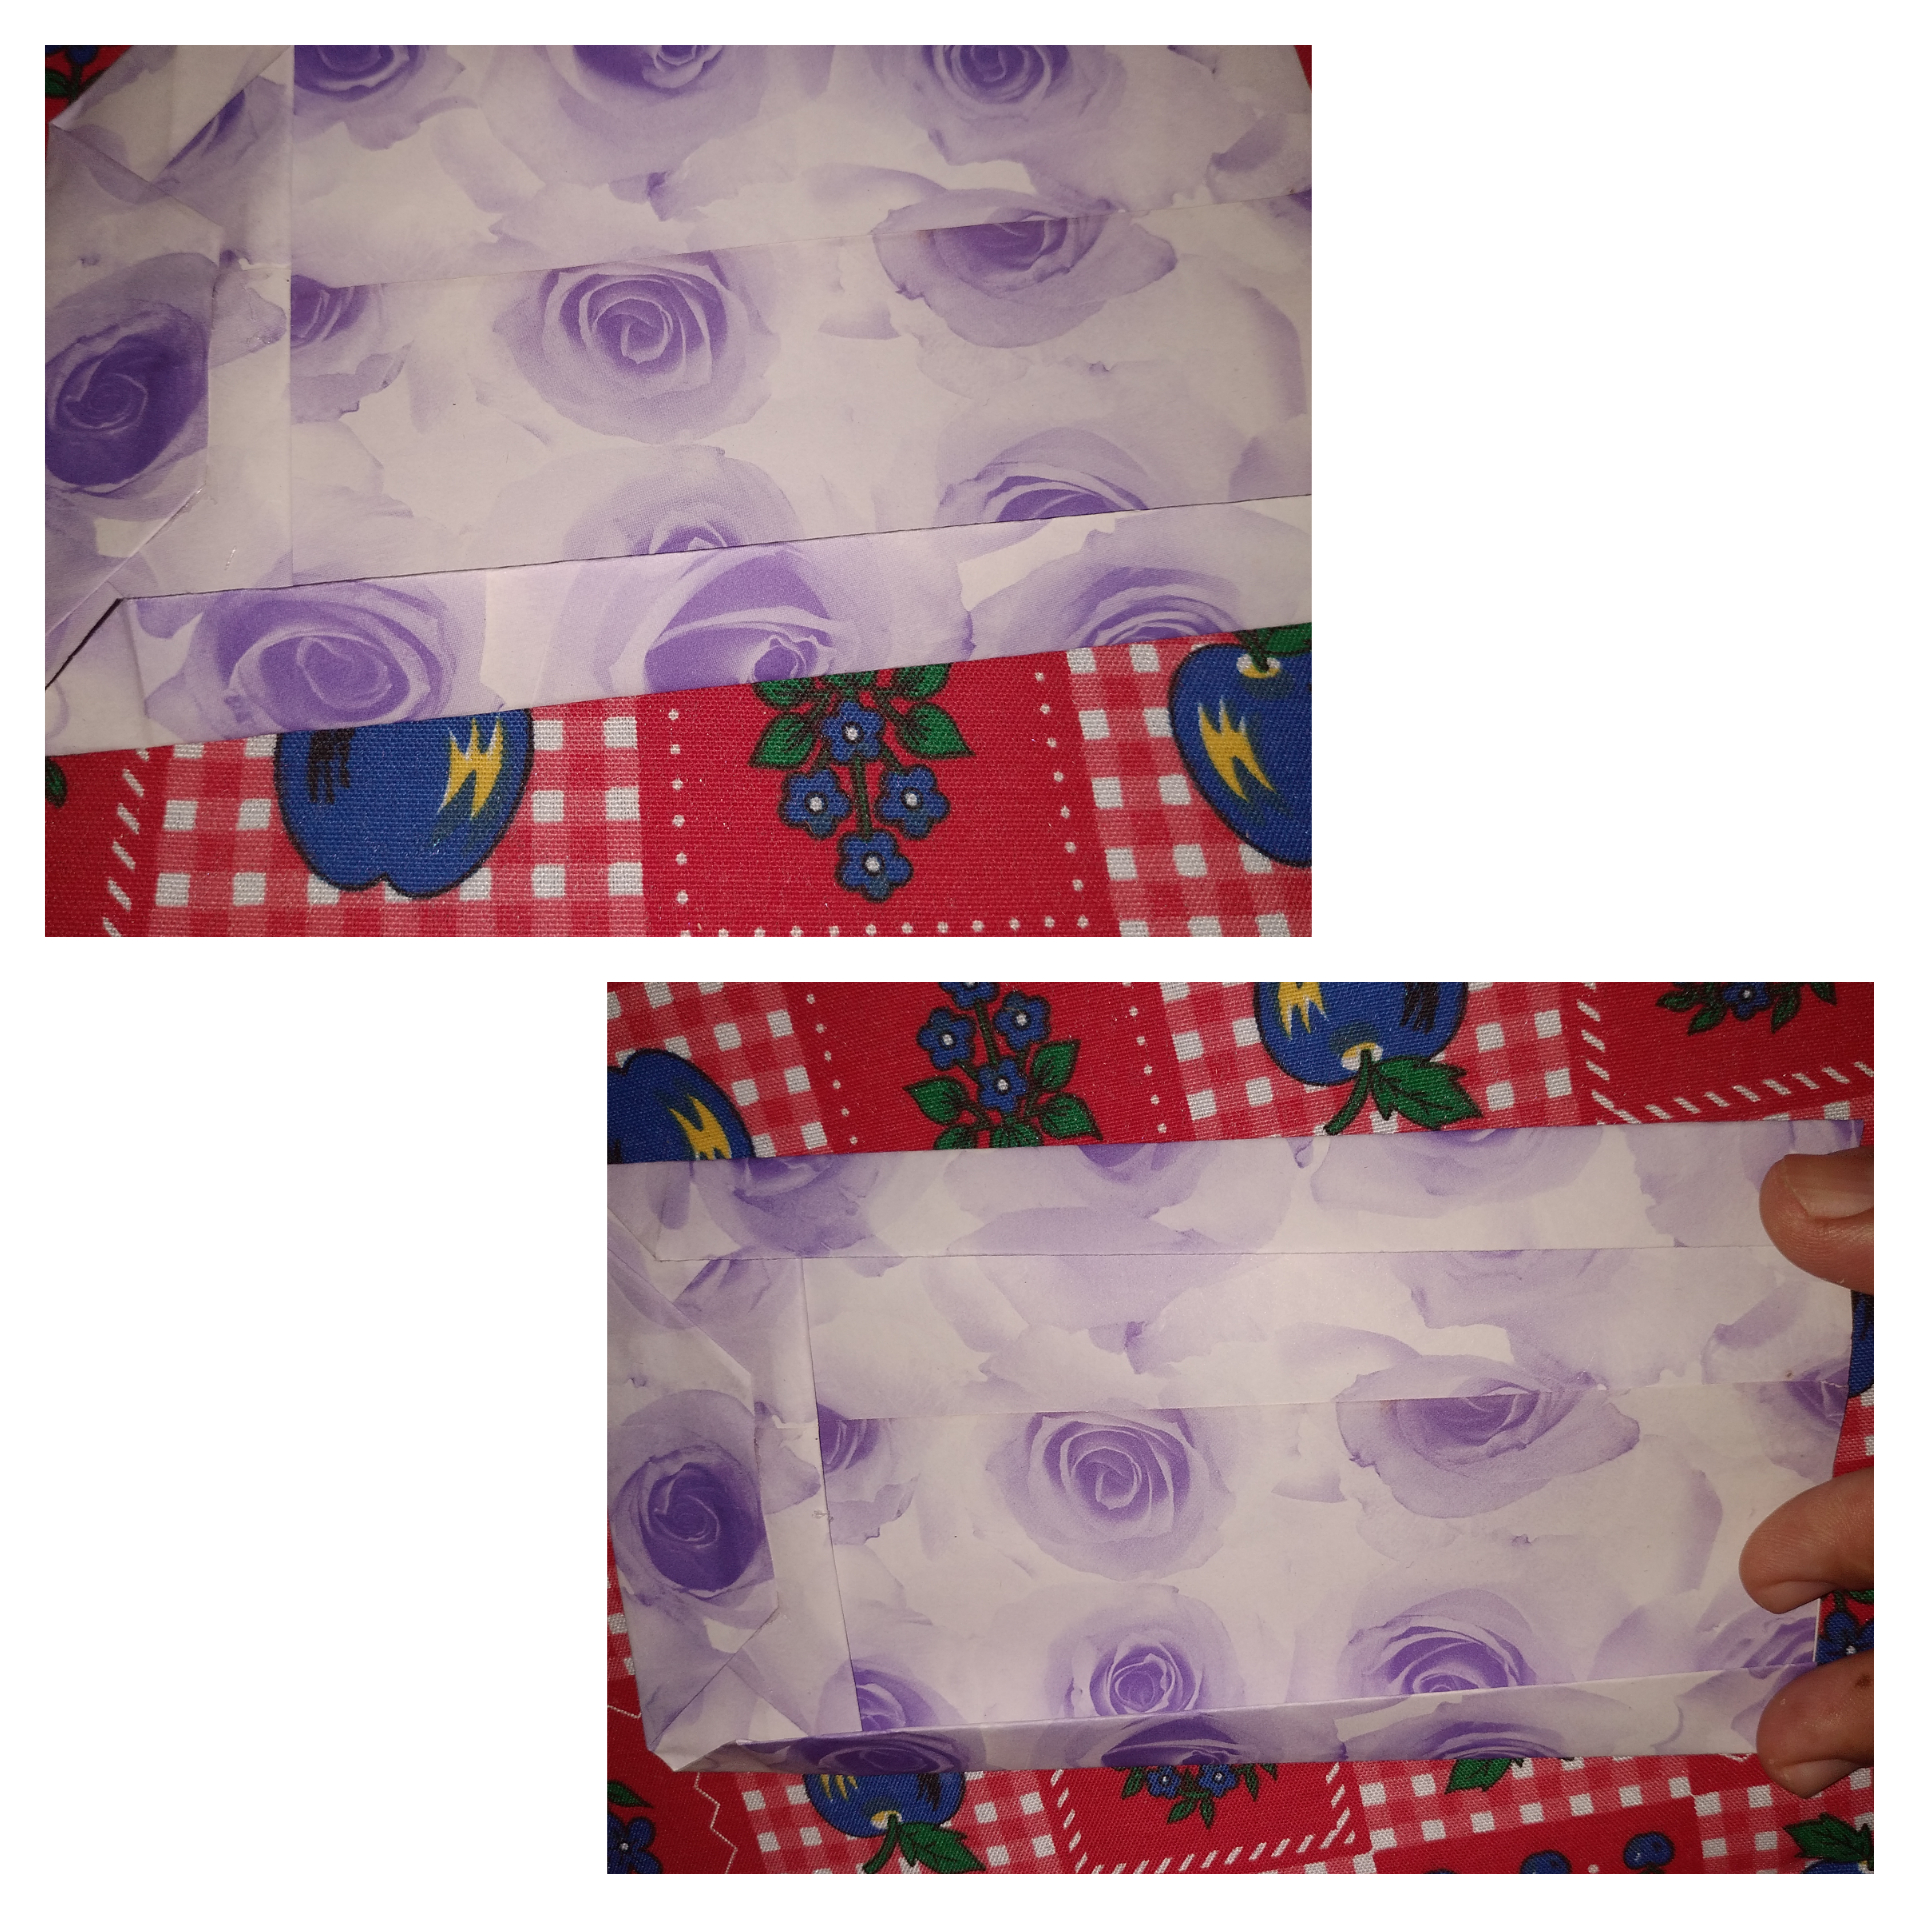
Comienzo doblando la hoja de forma horizontal por la mitad, luego realizo siguiendo esta linea, un doblez de cada lado hacia adentro, de un lado dejé aproximadamente un centímetro más de diferencia.
Paso 2.
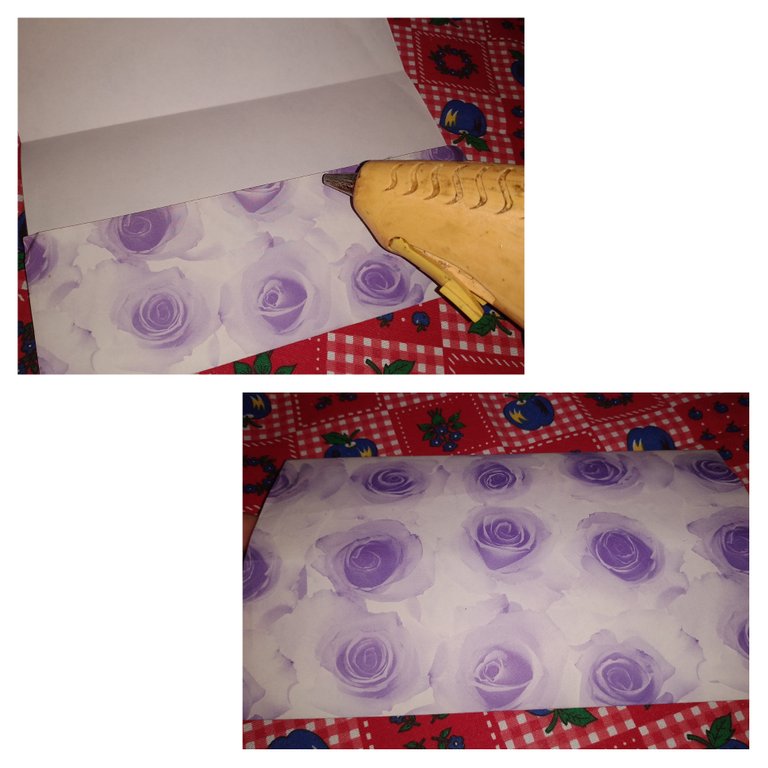
En este paso procedo a pegar para cerrar la bolsa. Yo utilicé silicón pero igualmente se puede utilizar pegamento blanco y se deja secar por unos minutos.
Paso 3.
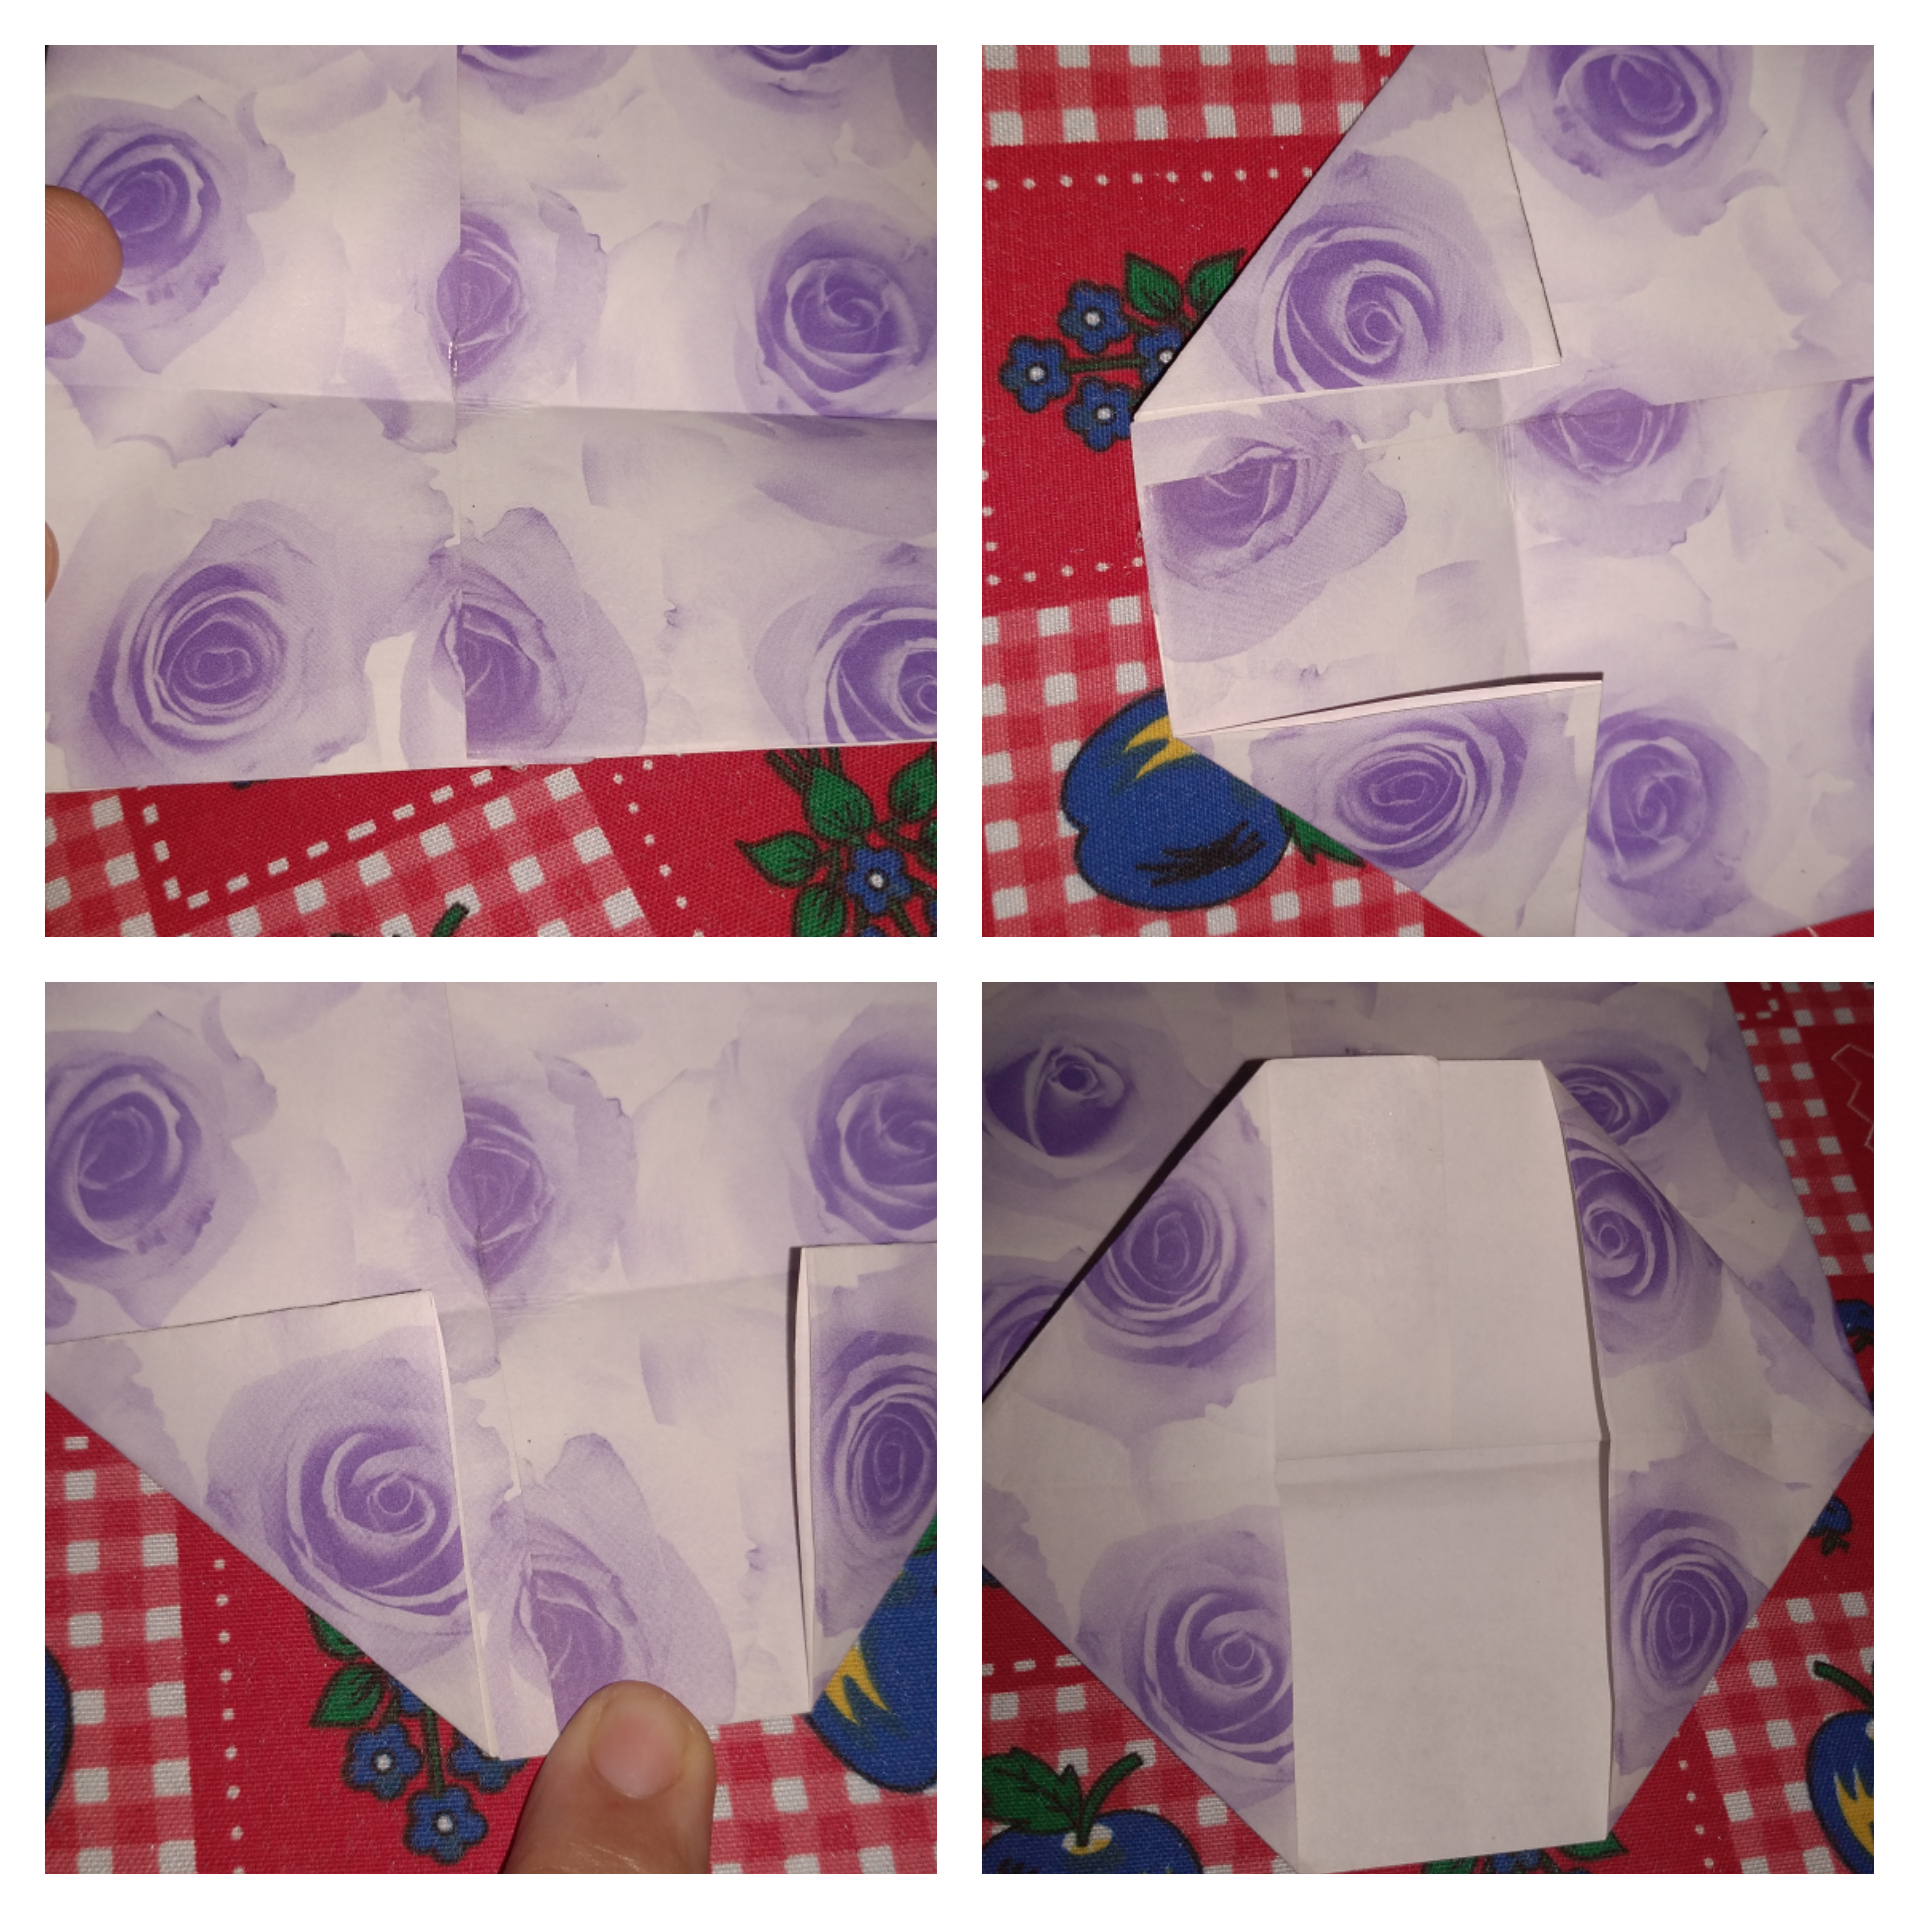
Aquí realizo el doblez para obtener el fondo de la bolsa, inicialmente doblé 4 cm hacia arriba y luego se realiza un doblez triangular en cada extremo, a continuación se abre para doblar las pestañas.
Paso 4.
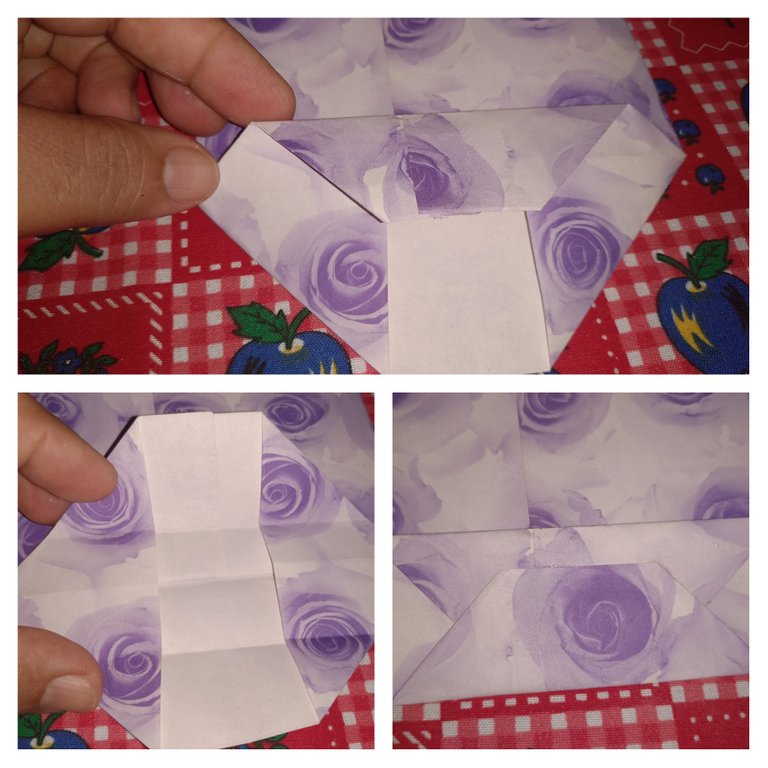
Se doblan las pestañas del fondo y se procede a pegar.
Paso 5.
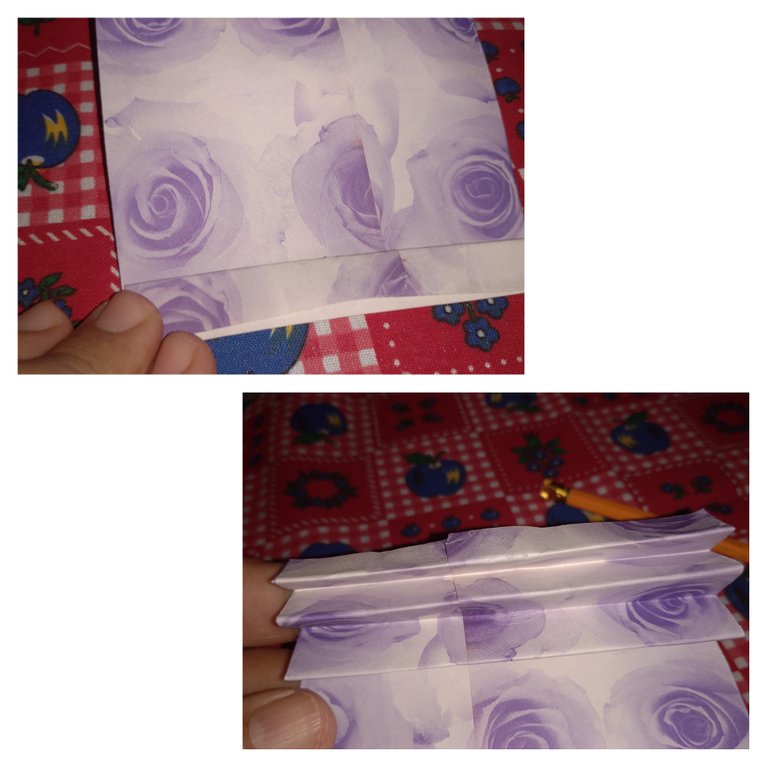
Luego se realiza un doblez de forma vertical para formar los laterales, luego se abre la bolsa y se remarca ese doblez.
Paso 6.
Se introduce el obsequio dentro de la bolsa y se procede a realizar un doblez en forma de abanico en la parte superior.
Paso 7.
Finalmente se decora con la cinta de lazo.
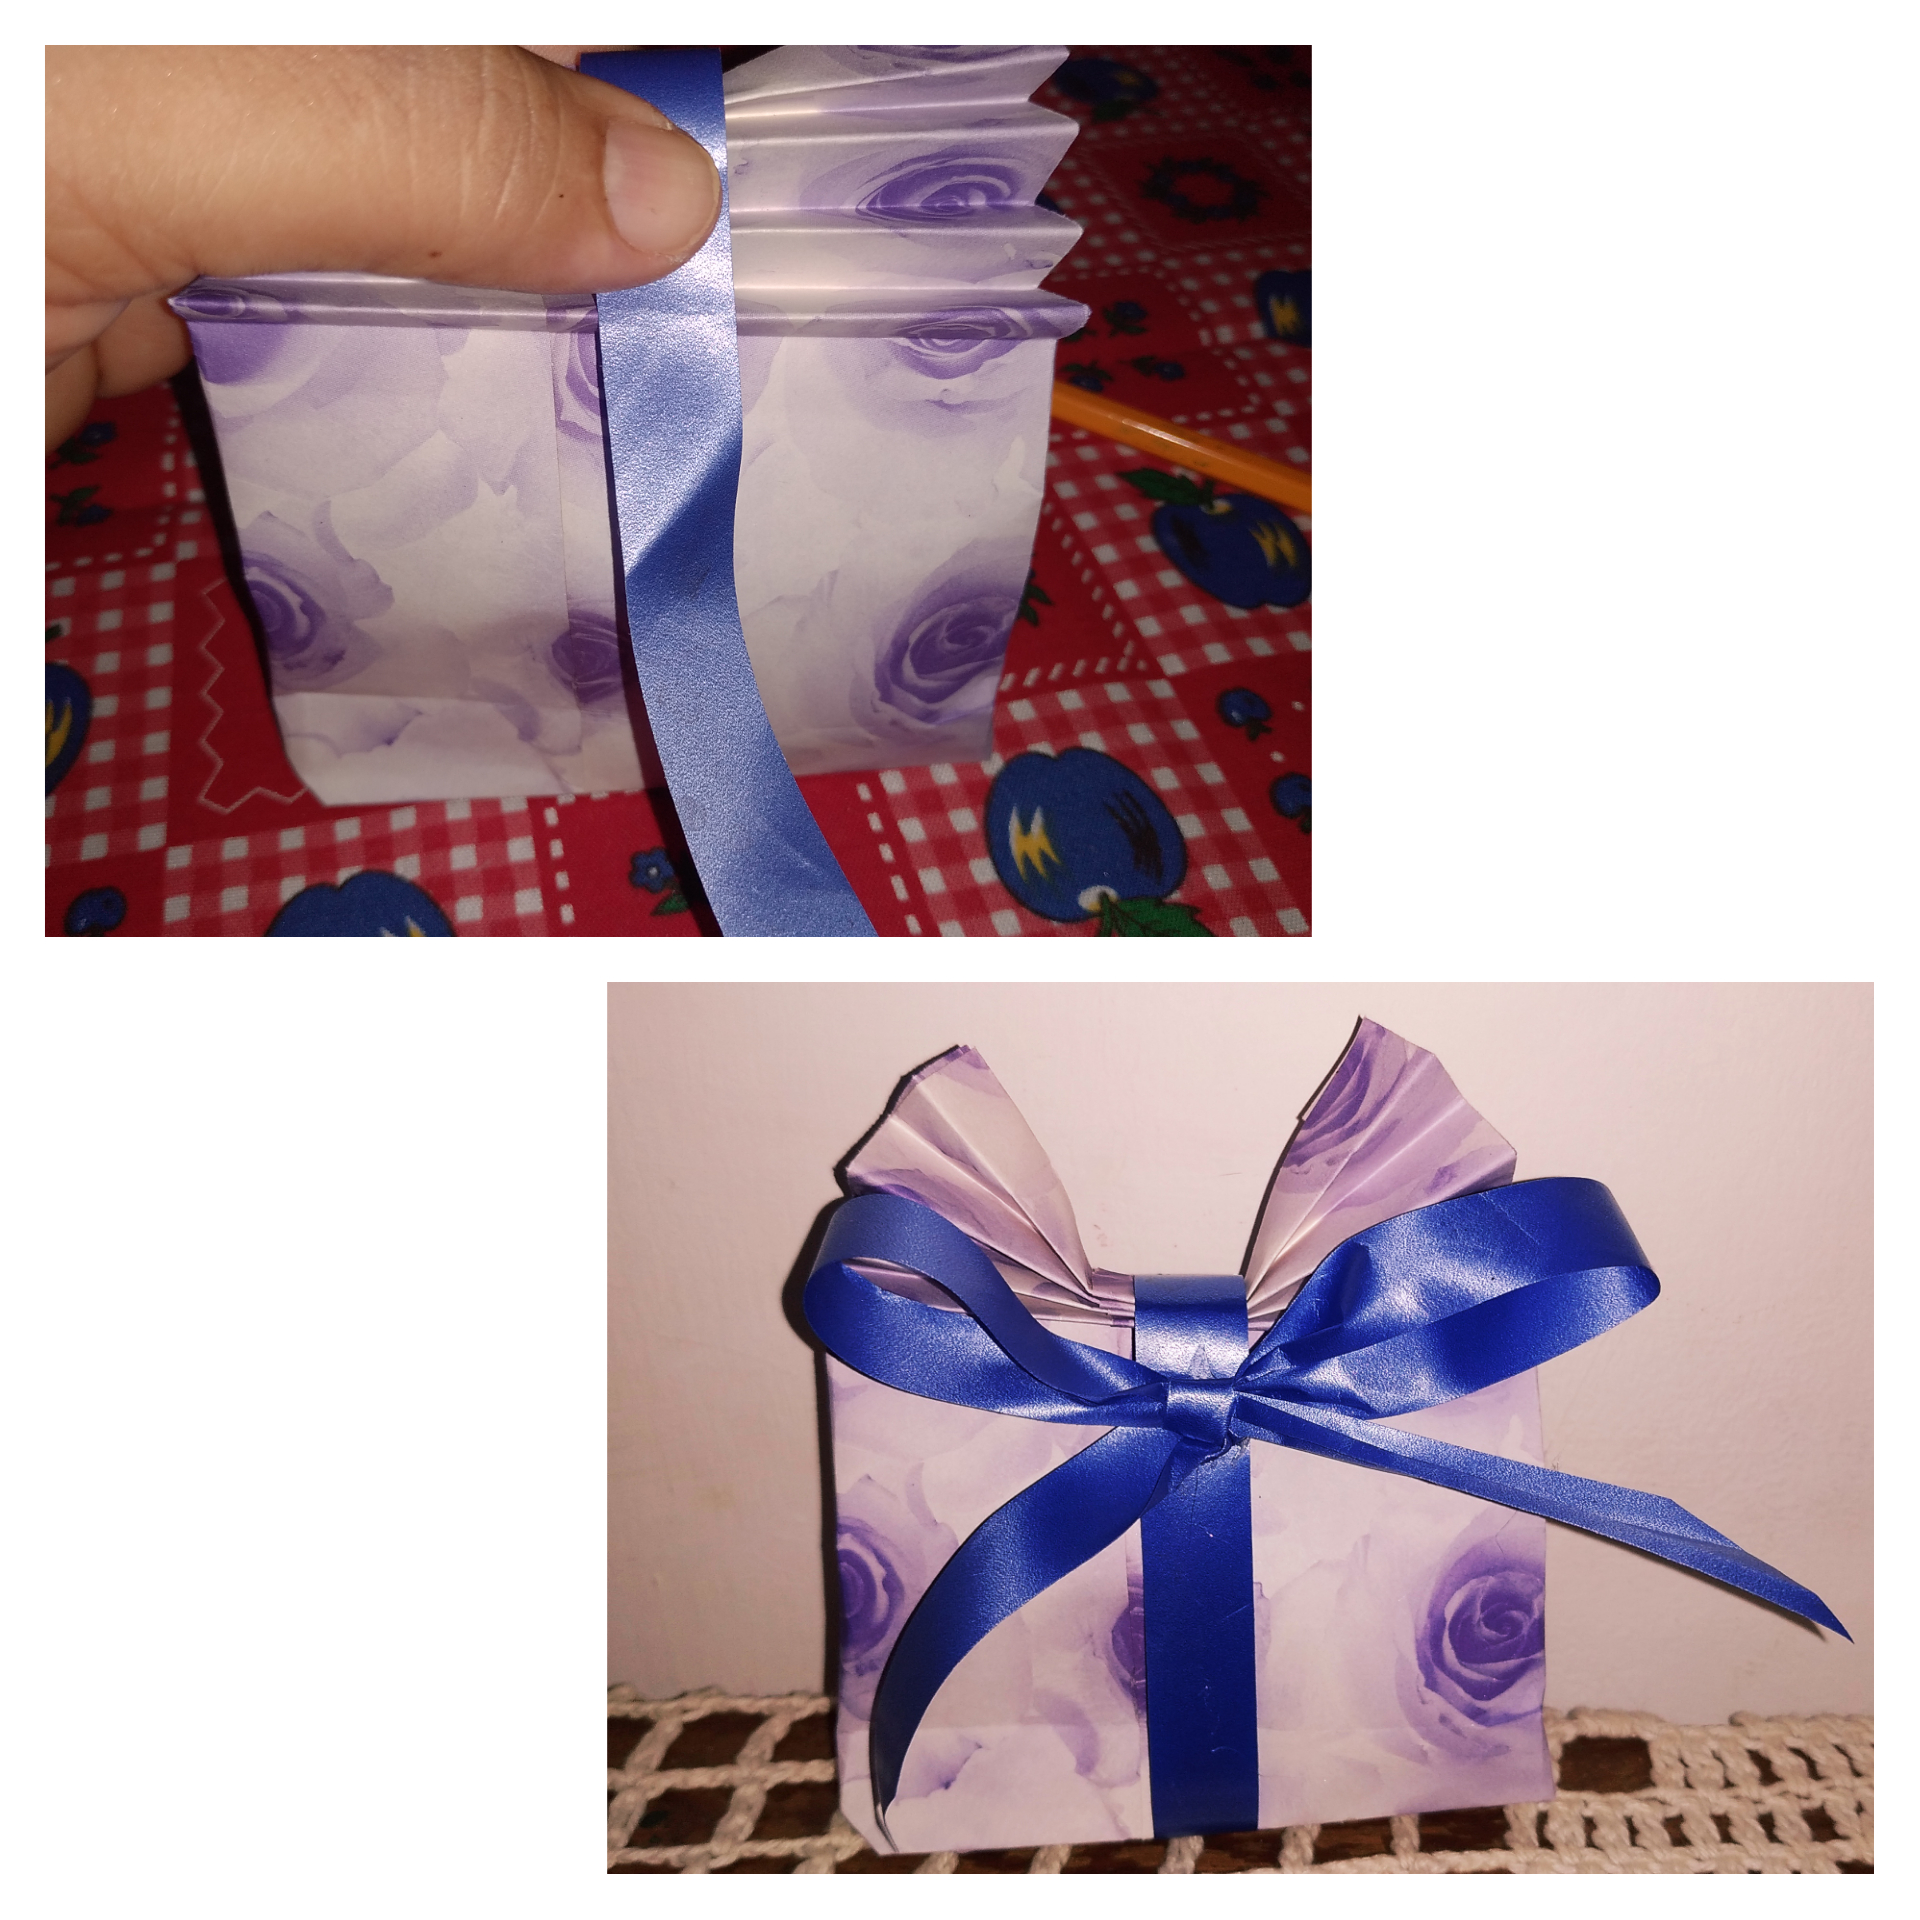
Está culminada mi bolsa para regalos...

La Vida es Arte...
Gracias por leerme! Nos encontraremos en el próximo Post @dorada.
Nota: fotos de mi autoría capturadas con dispositivo móvil Redmi 8.
English Versión
Hello friends, receive a warm greeting.
Today I share with you a nice gift bag, which is very easy to make. It is ideal to give some detail, in a few minutes we can get a different wrapping for our gifts. I hope you like it.

Materials:
Stamped Bond paper sheet
White glue or silicon glue
Ribbon ribbon
Scissors

Step by Step.
Step 1.
I start by folding the sheet horizontally in half, then I make following this line, one fold from each side inwards, on one side I left about one centimeter more difference.

Step 2.
In this step I proceed to glue to close the bag. I used silicone but you can also use white glue and let it dry for a few minutes.

Step 3.
Here I make the fold to get the bottom of the bag, initially I folded 4 cm up and then a triangular fold is made at each end, then it is opened to fold the tabs.

Step 4.
Fold the background tabs and proceed to glue.

Step 5.
Next, make a vertical fold to form the sides, then open the bag and mark the fold.

Step 6.
Insert the gift inside the bag and make a fan fold at the top.

Step 7.
Finally decorate with the ribbon bow.

My gift bag is finished....

Life is Art...
Thanks for reading me! See you in the next Post @dorada.
Note: photos of my authorship captured with Redmi 8 mobile device.