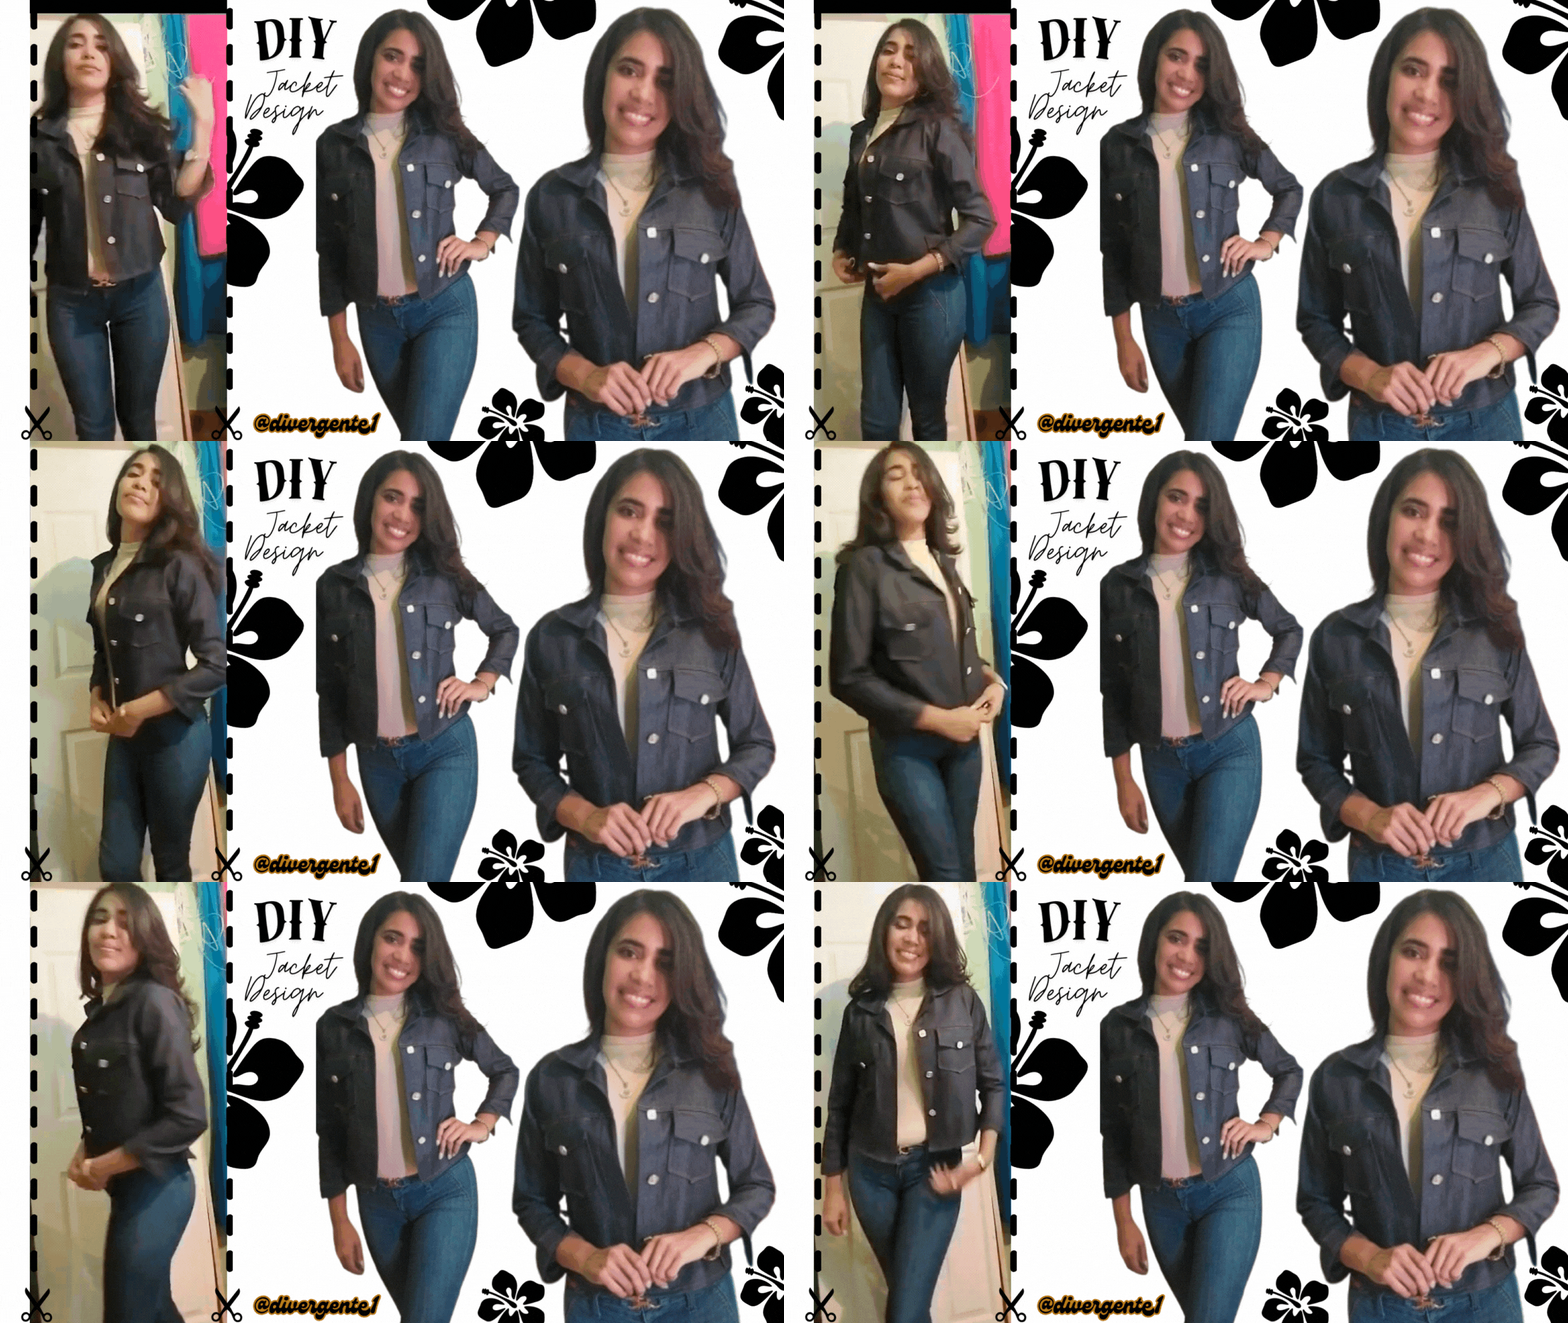
How are you my dear Hive friends? I hope you are doing well. I would like to present you the first part of a new design that I have made.

It is a Jean jacket, in which I have used several patterns to be able to assemble the piece. I had the idea of presenting a video tutorial, however due to some technical failures of the system that is currently presented, I decided to make a post with illustrative images and some gifs that serves as a sample for the tutorial I hope you like it.
These have been the materials used.

Materials:
- Jean fabric 1.50 meters
- Scissors
- Patterns on cardboard
- Buttons (6)
- Thread and sewing machine
- Pins
Step by step
We mainly use the following patterns
1
Front part of the piece.

2
Rear part
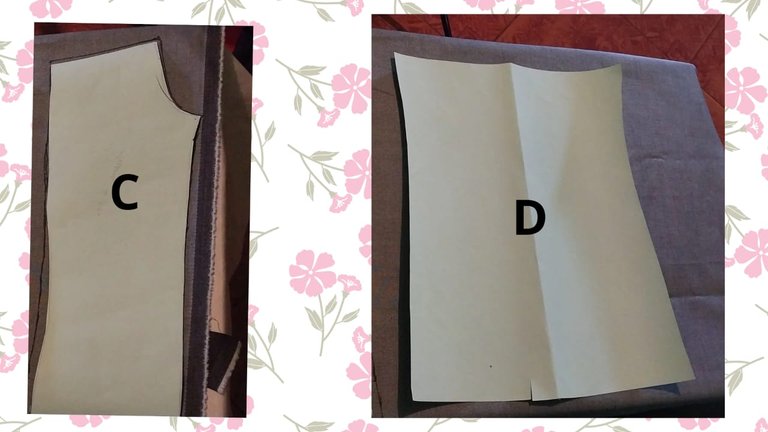
The back part corresponds to pieces C D and E. Of these pieces C and D should be cut out of the fabric in two pairs of each letter or pattern.
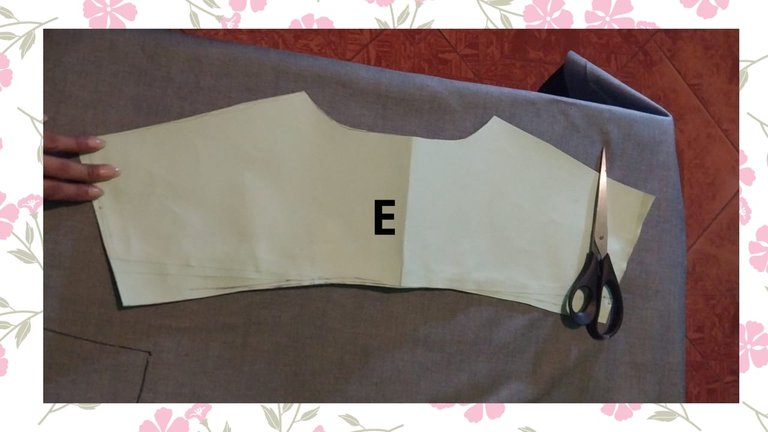
We only cut out a single piece of the letter E.
3
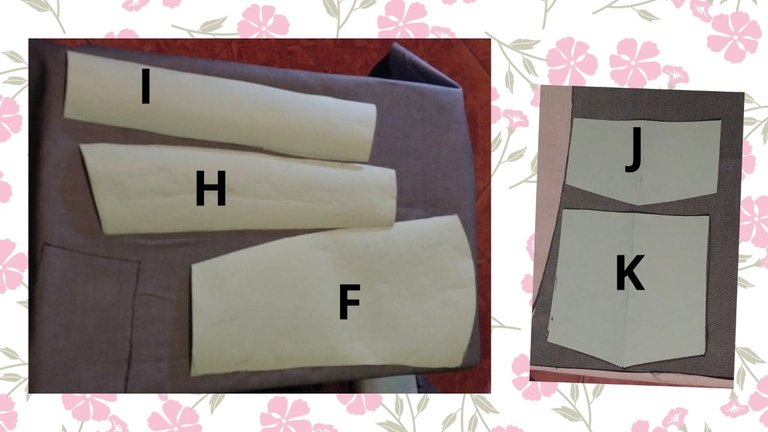
Here we can see the parts that correspond to the sleeves and the pocket. In the second part of this tutorial, I will show you how to sew and join these pieces together.
Neckline
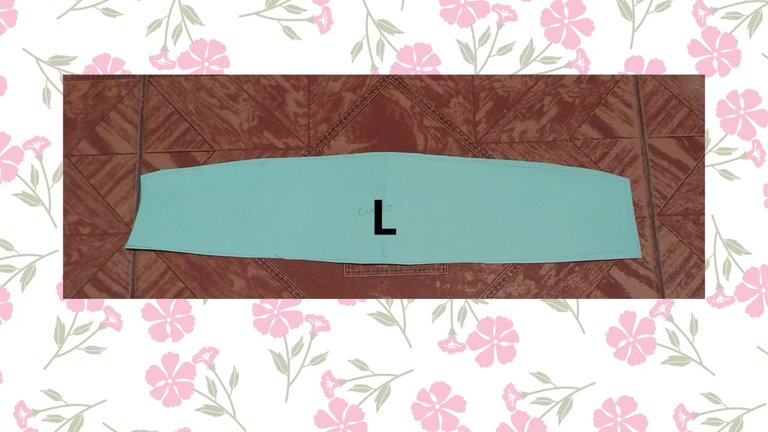
This also needs to be cut out as a single piece.
View of the cut out pieces !
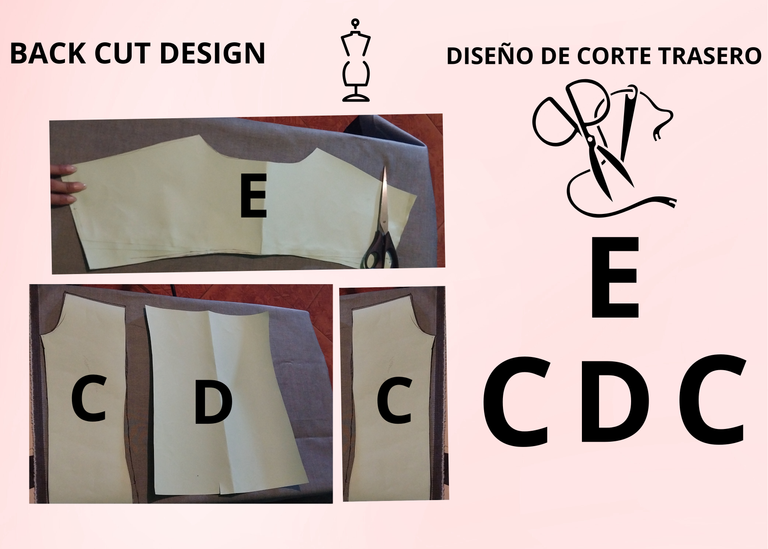
The design shows the way the back of the jacket may be structured, and this is the way the pieces should go. That is; D in the middle, C on both sides and E at the top!
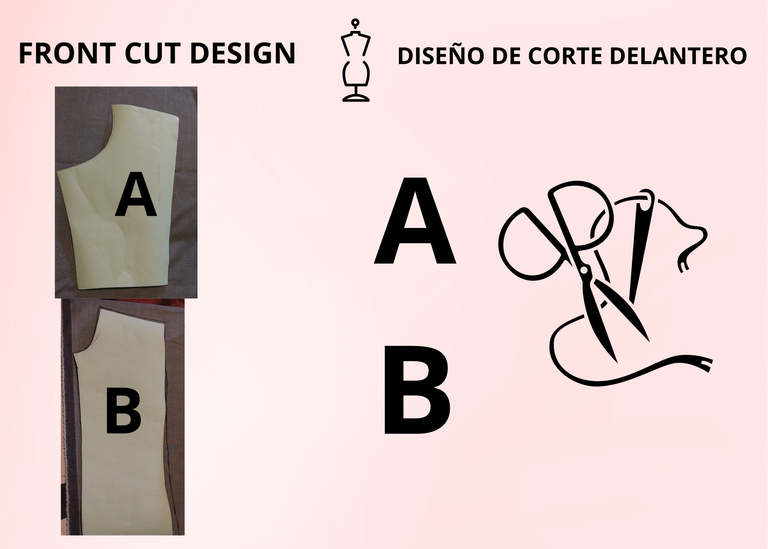
Here we can show you how the design shape of the front area of the jacket is structured where A should be at the top and B fitted to the edge and configured to be the bottom of the piece as a whole.
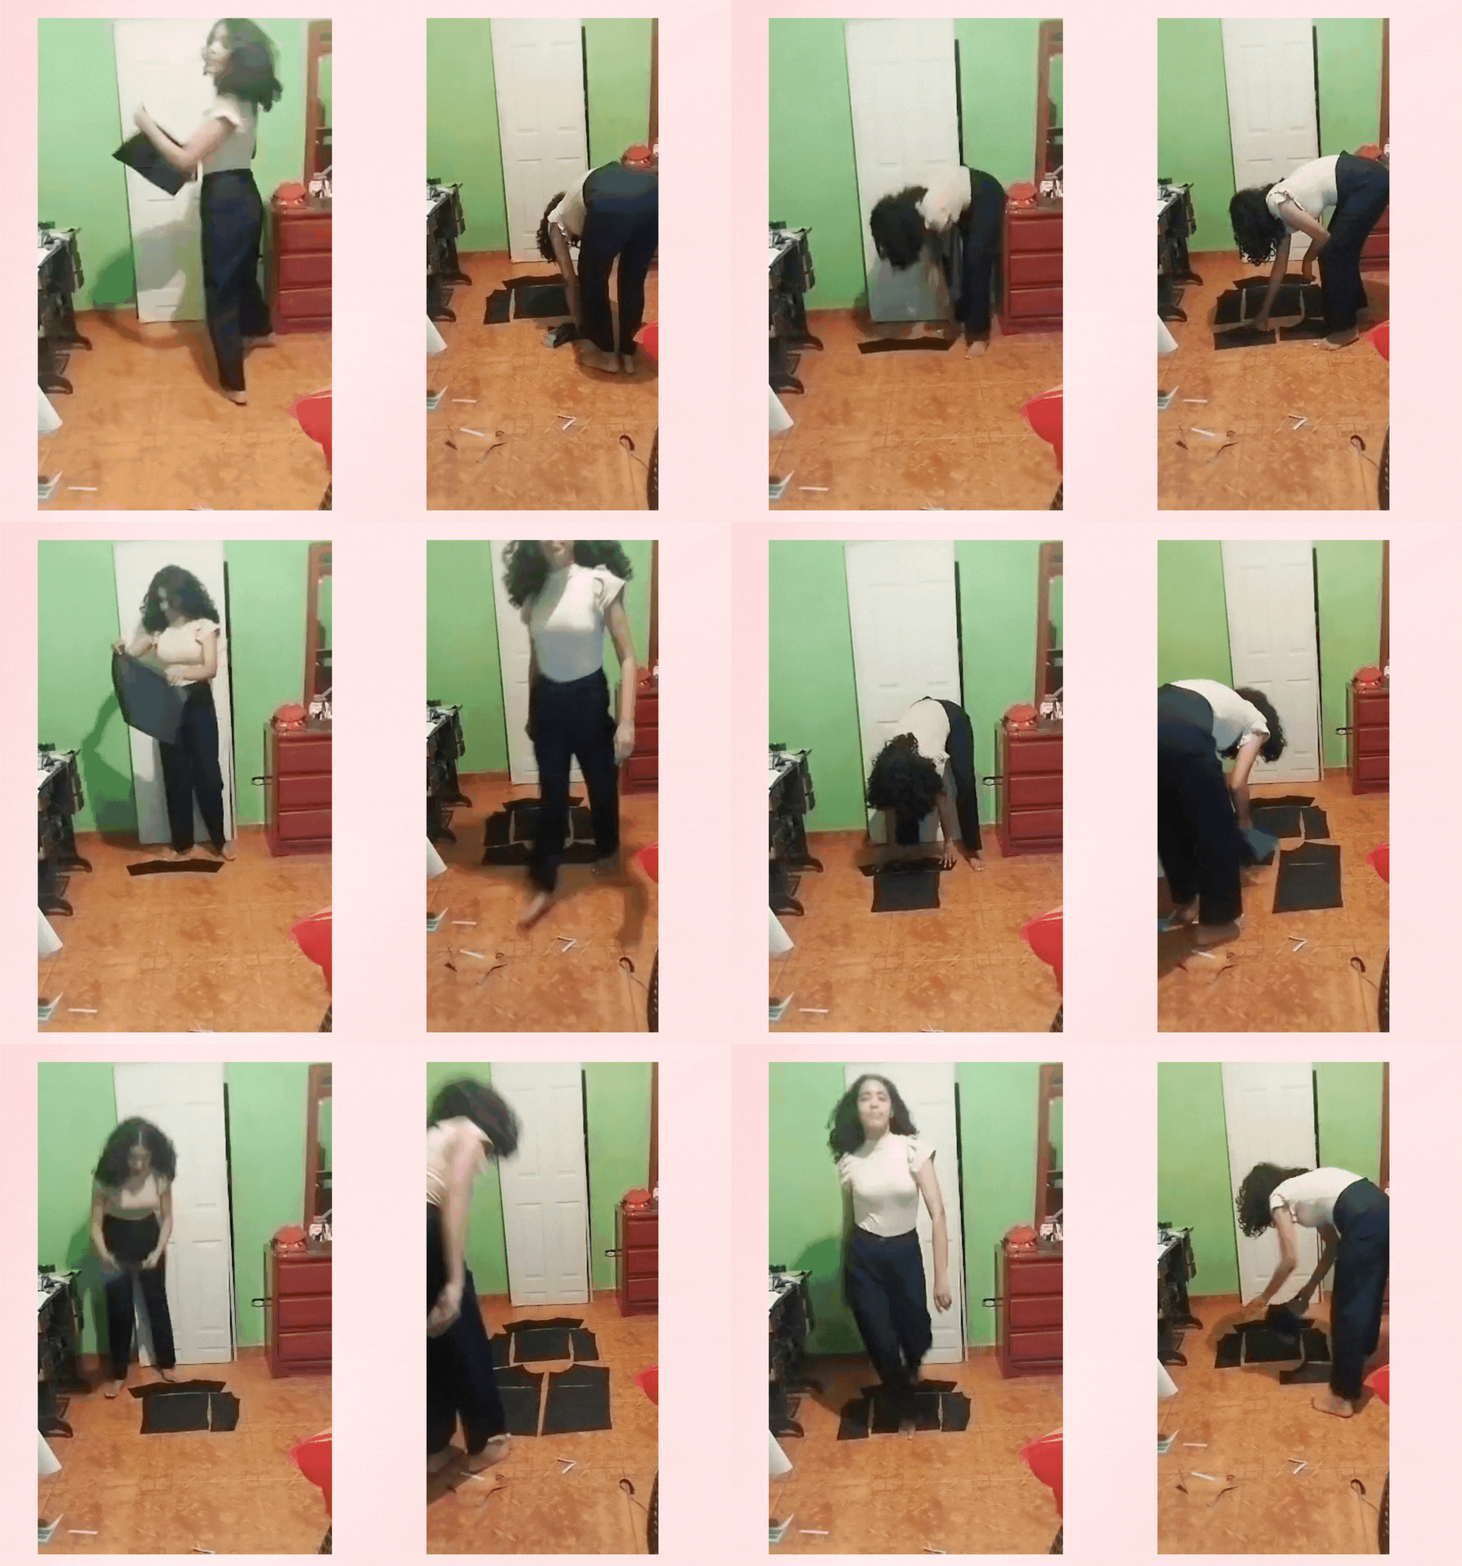
Here we can see in real form the cutout and at the same time the way in which it is given a view of the union of the pieces and the order of these.

Next we can visualize in this Gif the pieces that are configured to create the sleeves, the pockets and the collar (In a second part I will show you how to join the shape of these pieces).
Joining the front and back pieces of the Jacket
Front area
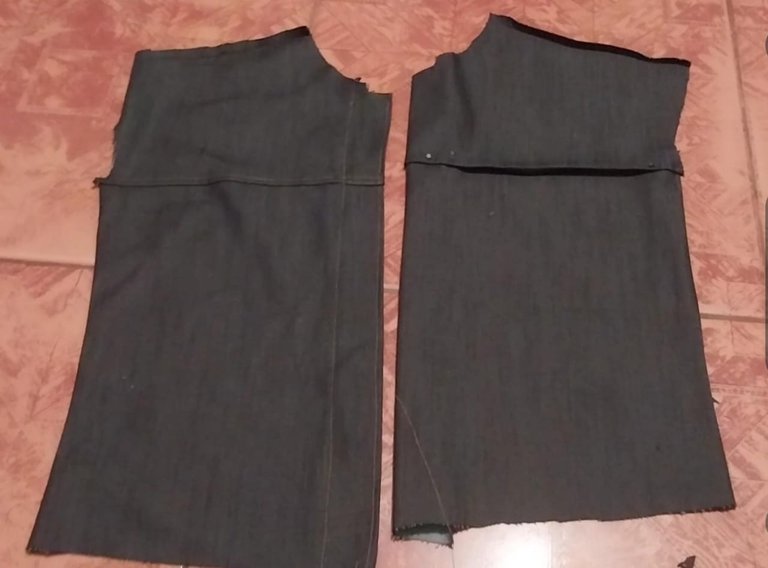
Here you can see the union of the pieces A and B, we make a double to overlap the piece A over the piece B.

Rear Zone !
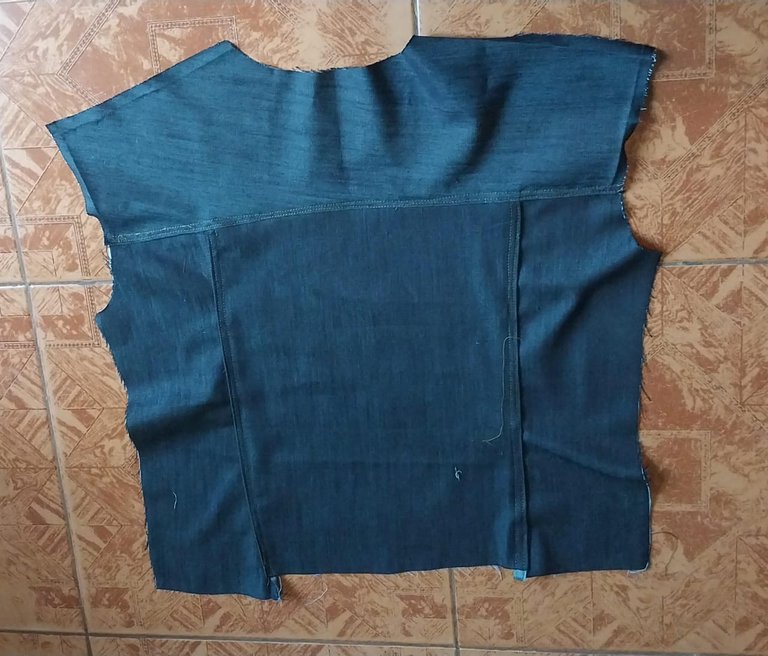
Here we can see how to join the pieces of the rear area.
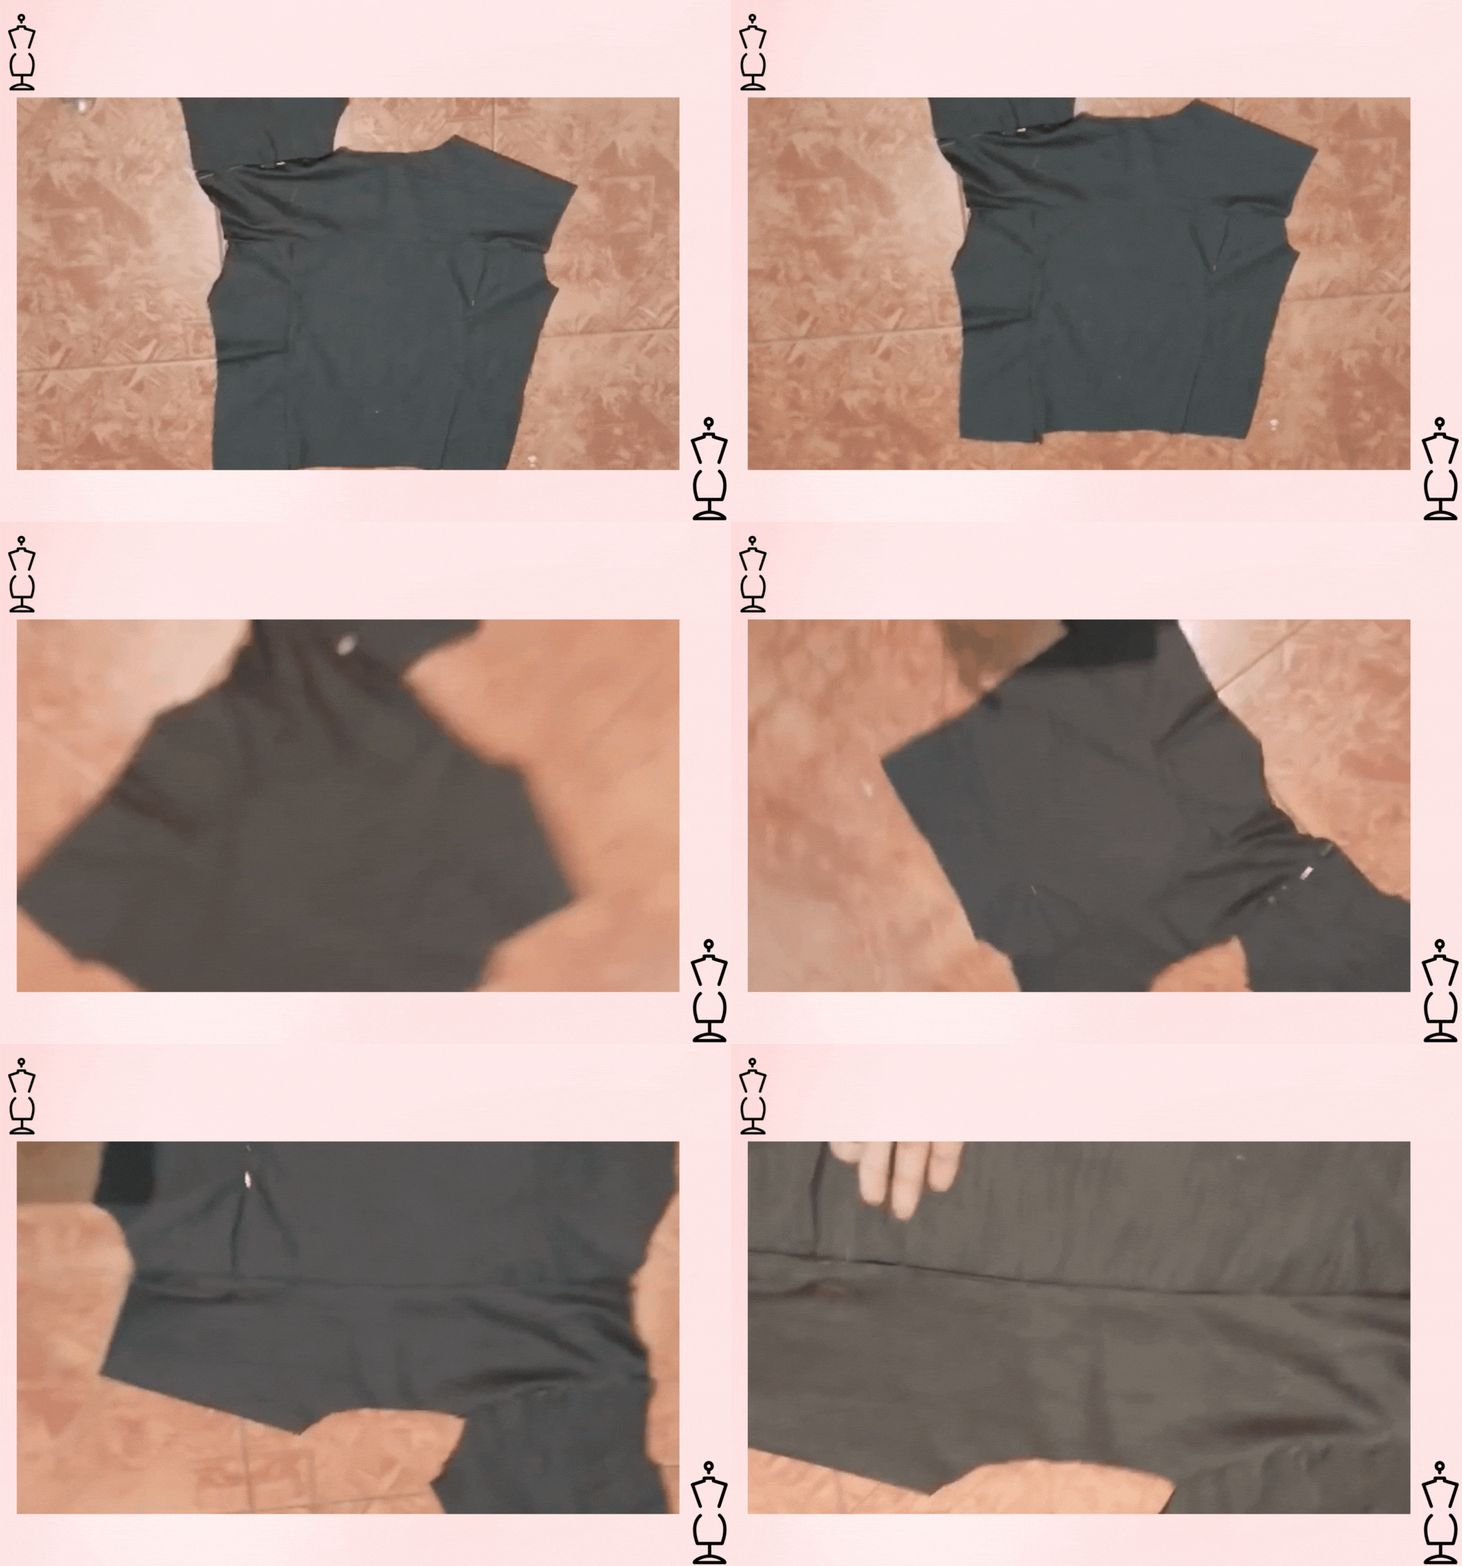
Before taking to the machine area it is advisable to make some stitches to join the three pieces and thus have a better finish.
Joining of the back and front parts.
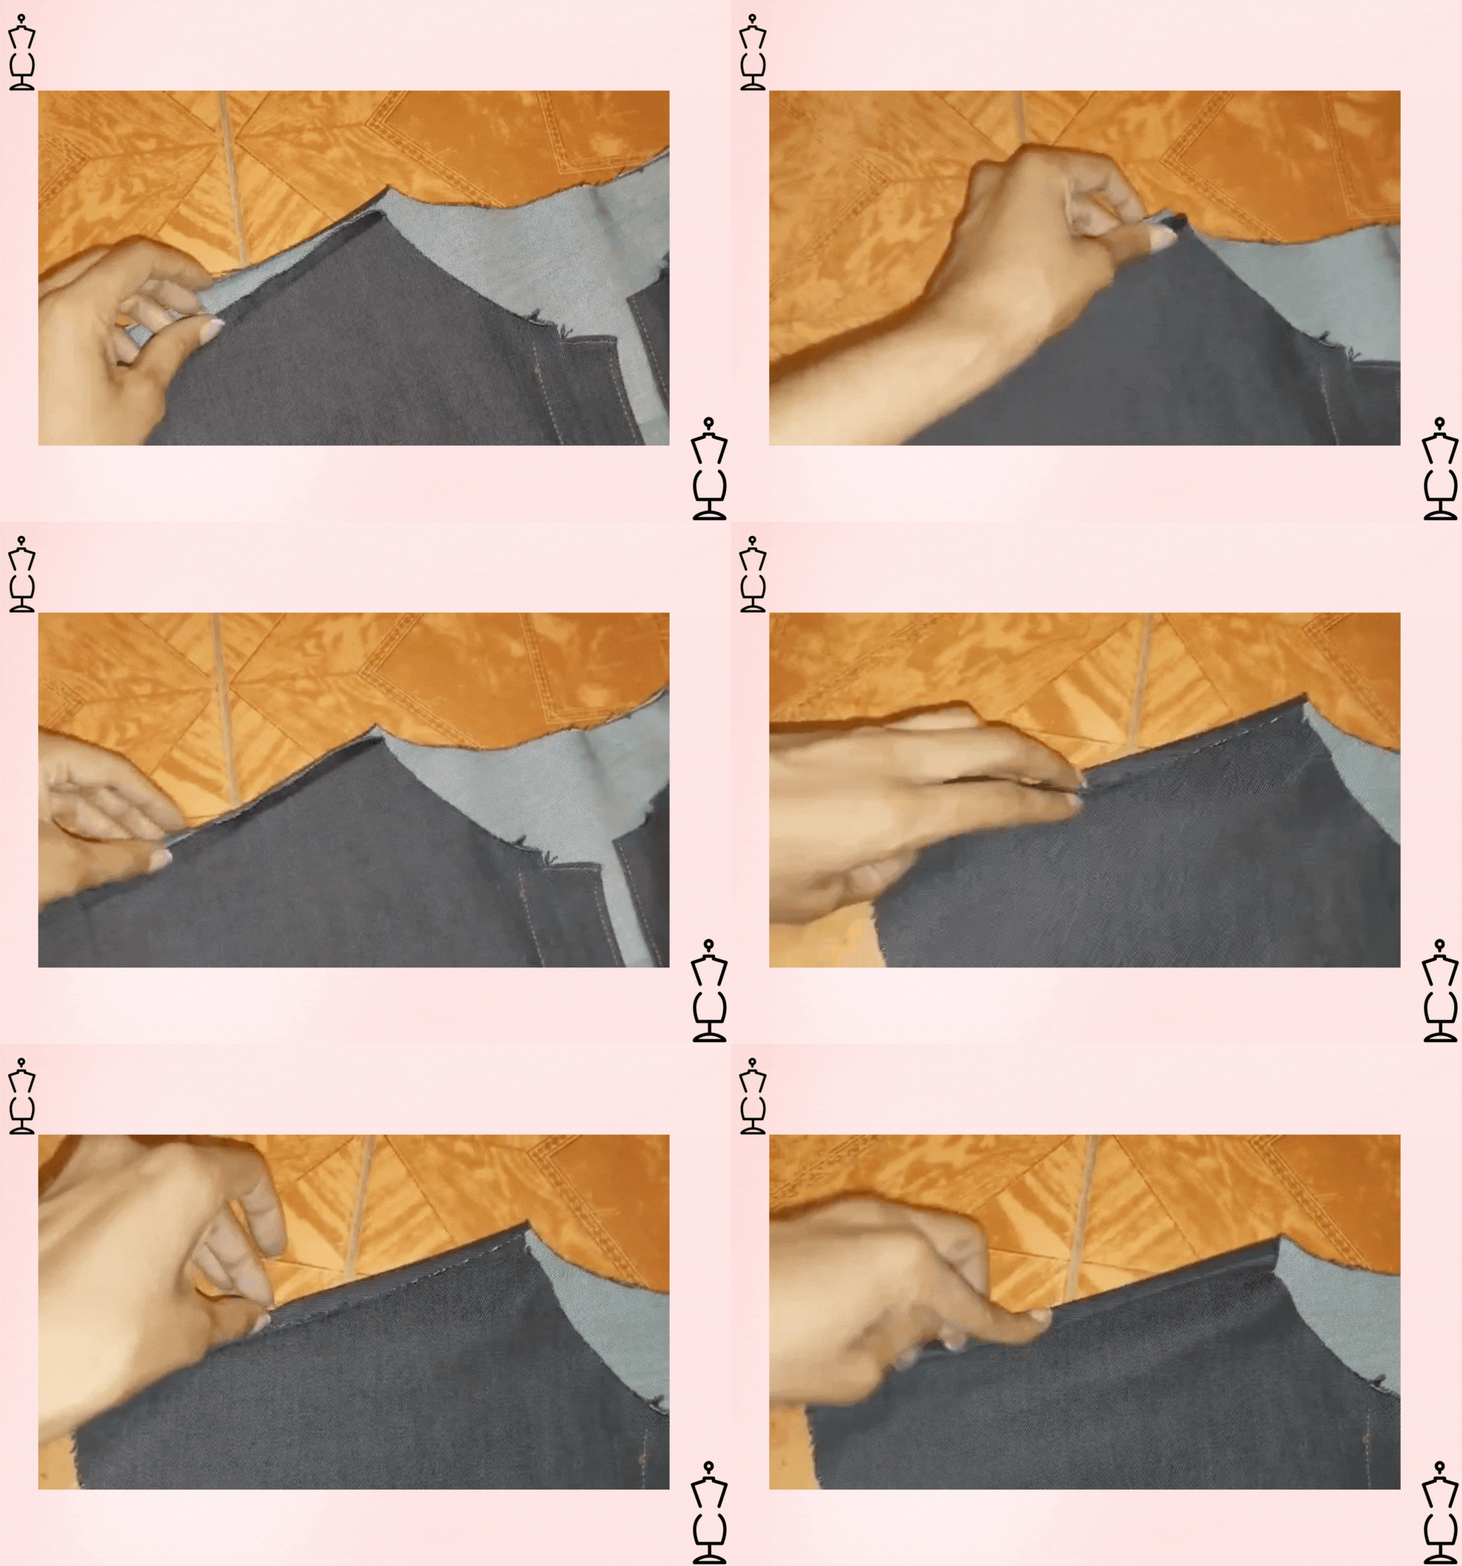
To join the pieces we must make a double, so that we interpose the back piece over the first one and fold towards the front area. We place some pins and then sew.
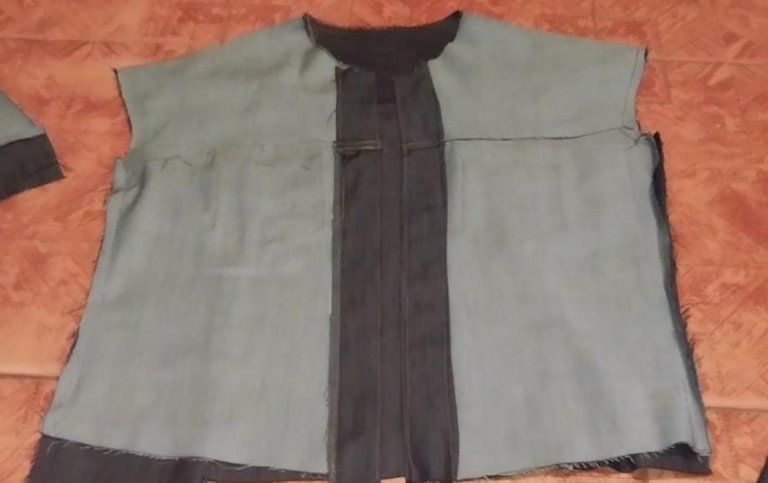
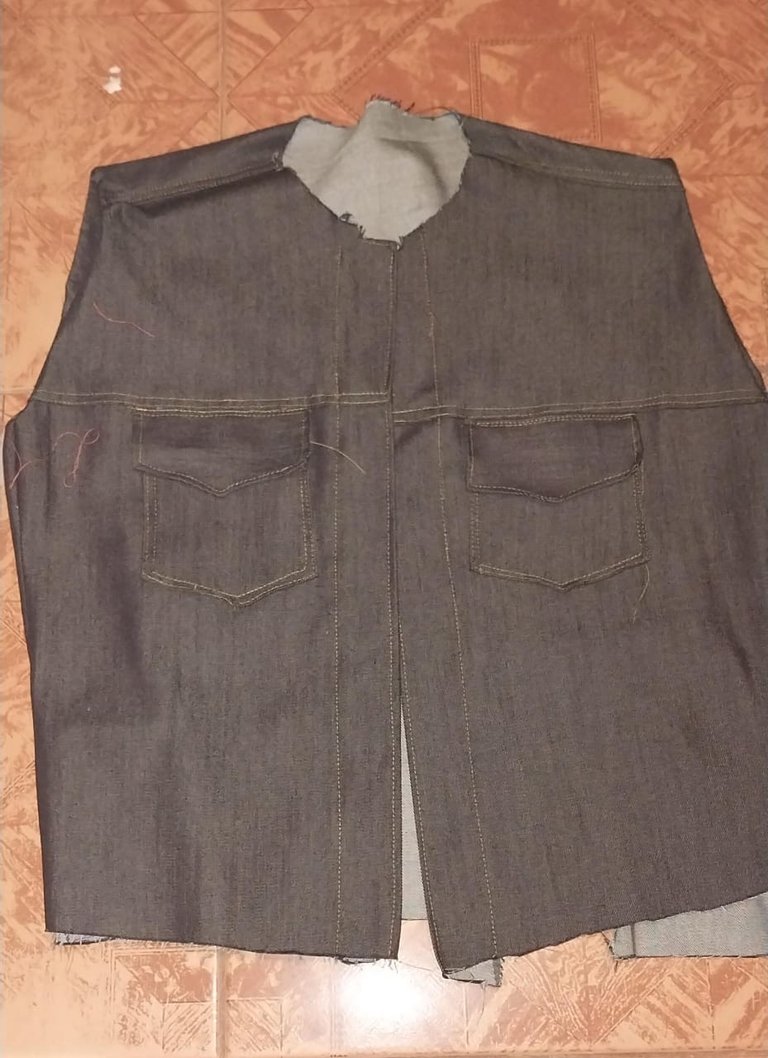
Here you can see how the pieces have been joined. You can also see the shape of the pocket applique. However, I will show you the shape of this process along with the placement of the sleeves and collar in a following post.
Thank you very much for your attention!

- Images belong to me
- Translator: Deepl Traslator
- Editing: Canva

Que tal mis queridos amigos de Hive? Espero que se encuentre muy bien. Quiero presentarles la primera parte de un diseño nuevo que he realizado.

Es un chaqueta de Jean, en la cual he utilizado varios patrones para poder armar la pieza. Tenia la idea de presentar un video Tutorial, sin embargo debido a algunas fallas técnicas del sistema que por ahora se presenta, decidí realizar un post con imágenes ilustrativas y algunos gif que sirve de muestra para el tutorial Espero que les guste.
Estos han sido los materiales utilizados.

Materiales:
- Tela de Jean 1.50 metros
- Tijera
- Patrones en cartulina
- Botones (6)
- Hilo y maquina de coser
- Alfileres
Paso a Paso
Principalmente utilizamos los siguientes patrones
1
Parte Delantera de la pieza.

2
Parte Trasera

La parte trasera corresponde a las piezas C D y E. De estas piezas las C y D se deben recortar en la tela en dos parejas de cada letra o patron.

Solo recortamos una única pieza de la letra E.
3

Aqui podemos apreciar las partes de corresponden a las mangas y el bolsillo. En la segunda parte de este tutorial, les mostraré como coser y unir estas piezas.
Cuello

Este también se debe recortar una sola o única pieza.
Visión del recorte de las piezas

El diseño muestra la forma en la que puede estar estructurado la parte trasera de la chaqueta, y esta es la forma en la que deben ir las piezas. Es decir; D en el medio, C en ambos lados y E en la parte superior!

Aquie podemos mostrarles como esta estructurado la forma de diseño de la zona delantera de la chaqueta donde A debe estar en la parte superior y B ajustada al borde y configurándose para ser la parte baja de la pieza en su conjunto.

Aquí podemos ver en forma real el recorte y a la vez la forma en la que se le da una visión de la unión de las piezas y el orden de estas.

Seguidamente podemos visualizar en este Gif la piezas que se configuran para crear las mangas , los bolsillos y el cuello. ( En una segunda parte les mostraré como se deben unir la forma de estas piezas)
Union de las piezas delantera y trasera de la Chaqueta
Zona Delantera

Aqui pueden observar la union de las piezas A y B, realizamos un dobles para sobreponer la pieza A sobre la pieza B

Zona Trasera

Aquí podemos observar la forma en la que se debe unir la piezas de la zona trasera.

Antes de llevar a la zona de la maquina es recomendable hacer algunas puntadas para unir las tres piezas y asi tener un mejor acabado.
Unión de la parte trasera y delantera.

Para unir las piezas debemos realizar un dobles, de manera que interponemos la pieza trasera sobre la primera y doblamos hacia la zona del frente. Colocamos unos alfileres y luego cosemos.


Aquí pueden ver como se han unido las piezas. También pueden apreciar las forma del aplique de los bolsillos. Sin embargo, les mostraré la forma de este proceso junto a la colocación de las mangas y del cuello en un post siguiente.
Muchas gracias por su atención!

- Las imágenes me pertenecen
- Traductor: Deelp traslator
- Edicion: Canva
