There are things that people abandon in a corner of the house, and we completely forget they spend years in that little hole and when they remember them they think they are no longer useful and we throw them away.

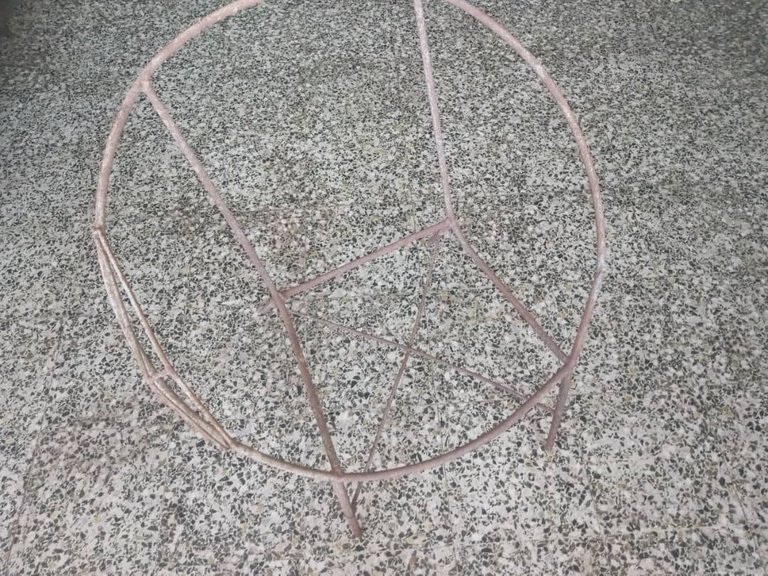
My grandmother had this chair in oblivion and since my room is being remodeled I want a chair to sit and read, I asked her to give it to me and she said yes, but I got it very deteriorated, so I decided to restore it.

The chair used to have armrests on its sides, but I don't want them, besides, since it is missing one on the right side of the chair, I decided to remove them and asked my dad for help.
.jpeg)
So, I am left with my chair, now I am ready to restore it and I show you the materials I use.
Sandpaper number 80
To be able to remove all the lumps that the iron when rusting reflection.
brush number 10
For a delicate finish when passing the bristles. But if you wish, you can use a fine brush, although its bristles are thicker and the paint would be much more marbled.
- painting
Use white because my room is going to be lilac and the fabric that I will put on it is all different from pink with its flower patterns. The paint can be oil or cold puncture and then seal it with an enamel or varnish, I used oil paint because it was what I had at home.
- cloth
One meter of fabric with the color or pattern you prefer, you like or have available. The fabric must be 0% stretch.
Step one.
.jpeg)
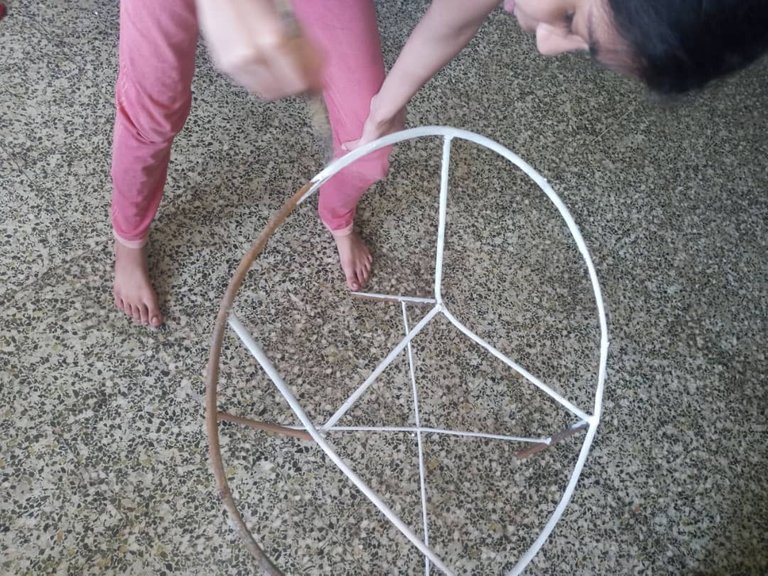
Sand very well all the angles of the chair, it must be as smooth as possible, to prevent the waste of material that the sandpaper expels from falling into our eyes, we can also protect ourselves with glasses a trick is to wet the area where we are sanding, so we also avoid inhaling the dust that we are raising.
.jpeg)
So it would be all sanded. It looks darker because it is wet. Now let's hope it dries to continue.
Two passed.

We paint the entire chair very carefully, and delicately so that things are beautiful.
Remember that you must wait for the iron to dry well, because if you paint directly with the wet iron, the paint can bulge.
.jpeg)
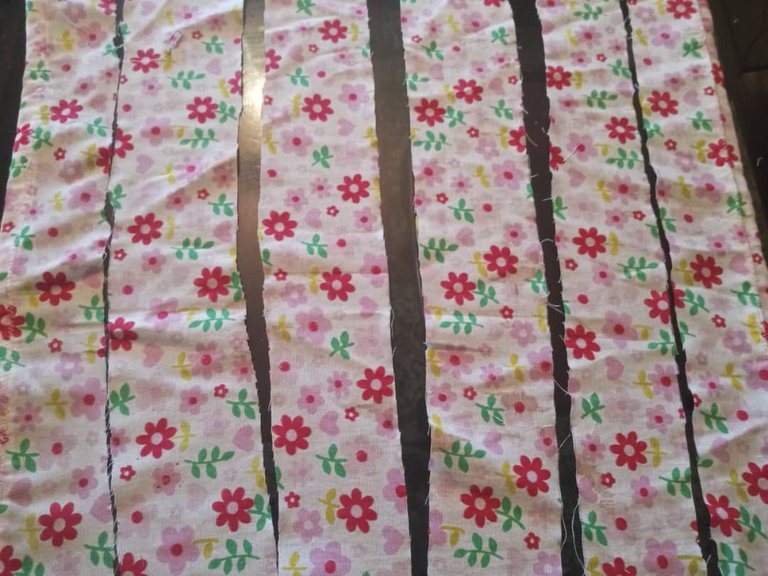
My chair is ready, I let it dry and I am going to cut the fabric and then place it on it.

I cut it this way because I want to make a fabric at the bottom of the chair and leave the strips 70 cm long by 8 cm wide, so I will form several strips of fabric and tie them to the seat of the chair.
Step three
.jpeg)
They tie the slats 5 cm apart each, to later intertwine the following slats.
.jpeg)
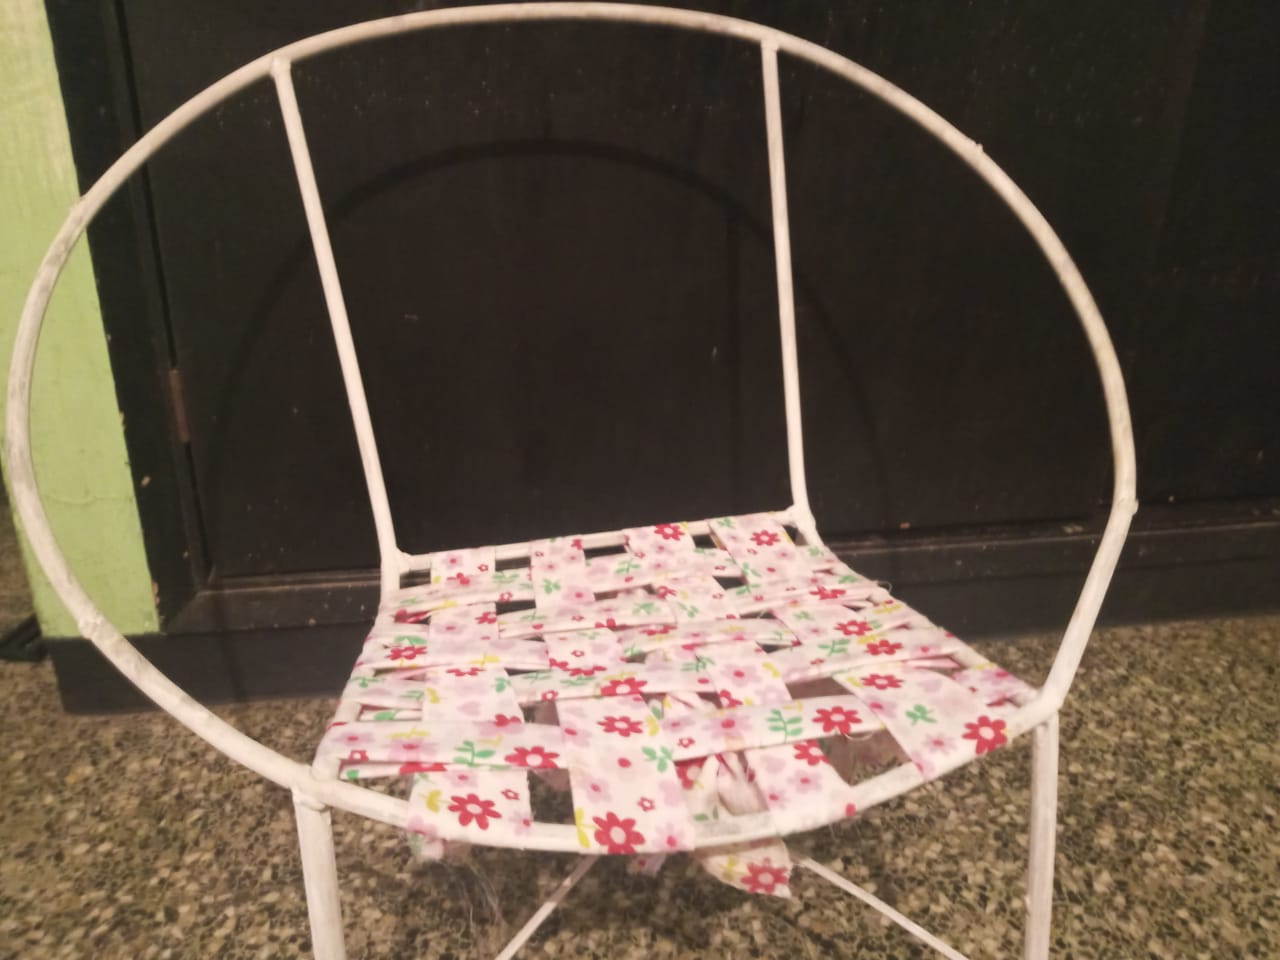
And so I finish my chair that from now on will accompany me in a corner of my room.
Do not put a backrest on him because I have a very large stuffed animal that I can accommodate very well in this chair and he will serve as a backrest to accompany me in my readings. I don't show them because my mom still has it packed for the remodel. But I promise in my next posts to introduce them to you.
Thanks for reading this post, I hope you liked it there. Bye bye.
.jpeg)
I invite my friend @razielmorales to share with us in An iron heart you will love it.


