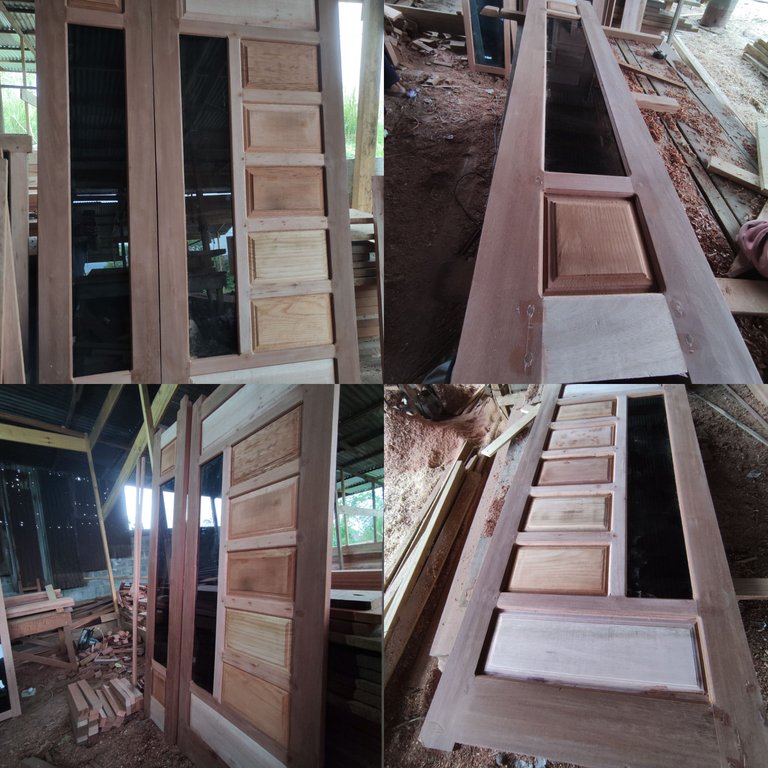

Welcome to October, hopefully this will be a good month for all of us and greetings furniture design architecture.
I'm @deltasteem who is a furniture builder who works at one of the furniture cvs in central aceh, indonesian province and in the last few days before the end of September I just got a house door project which was ordered by the local community and this time I'm back again to order a pair of main doors with a fairly simple design.
And in my area, in general, for ordering doors and windows, local people are more interested in ordering each of their orders with the basic material of meranti wood, which is a wood that has a distinctive brown color texture with white fiber:
This meranti wood is one of the types of wood that many people like today for the basic material for frames, doors, windows and other furniture and the wood is only available in the form of a beam with a width of 15cm x 7cm thick which we generally use as a frame and window series material followed by a plank beam with a width of 24cm x 4 cm thick which we usually use as the basic material for processing the main circuit material House door and for the door design that I'm working on this time you can see in the picture below and this is the door design that was given by my customer.
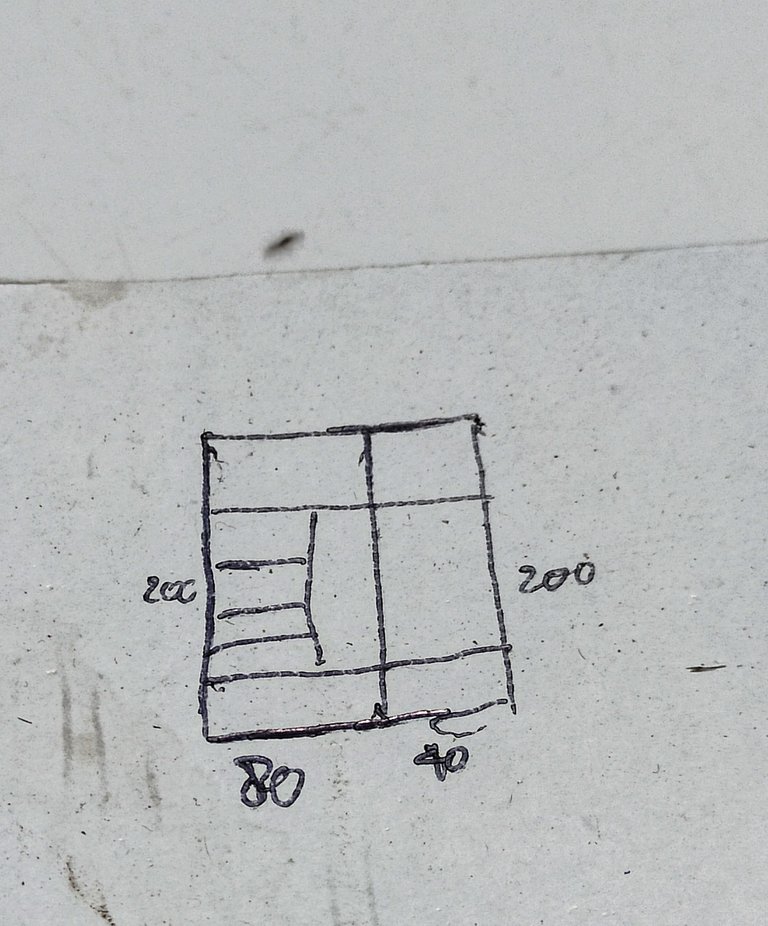
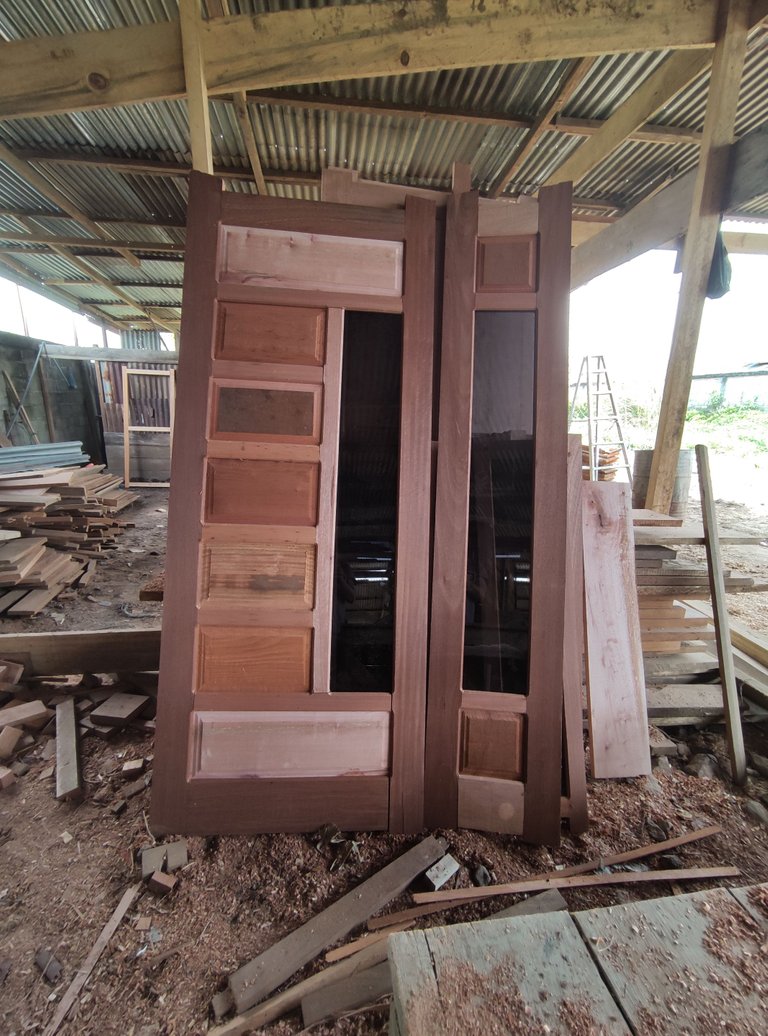
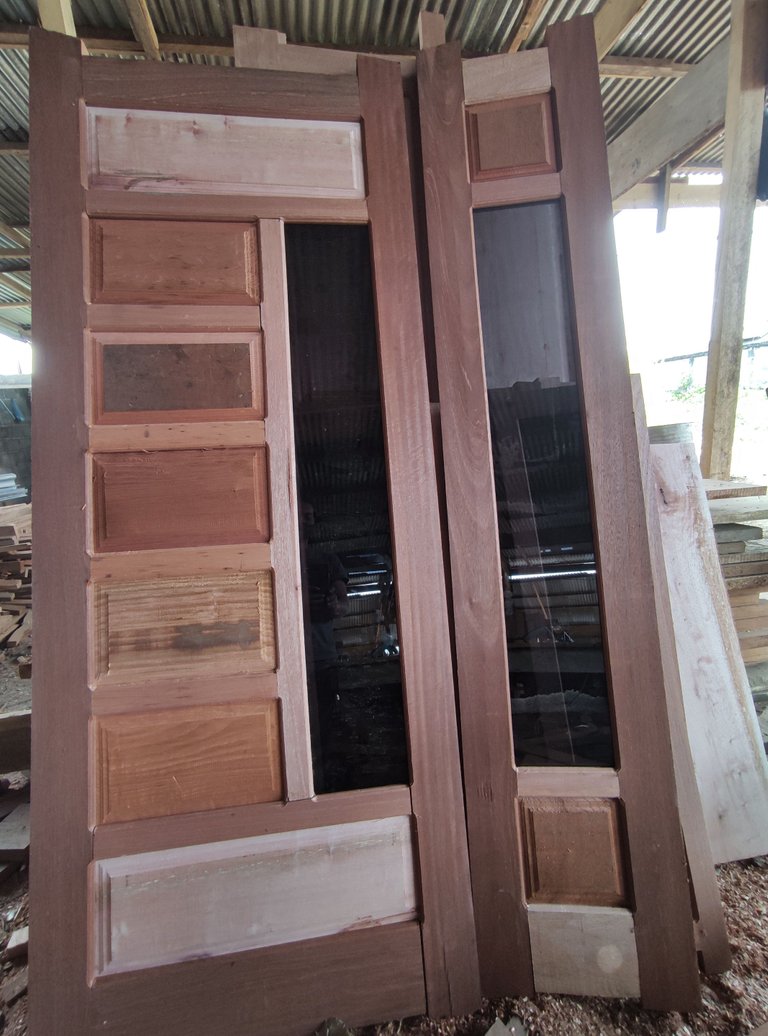
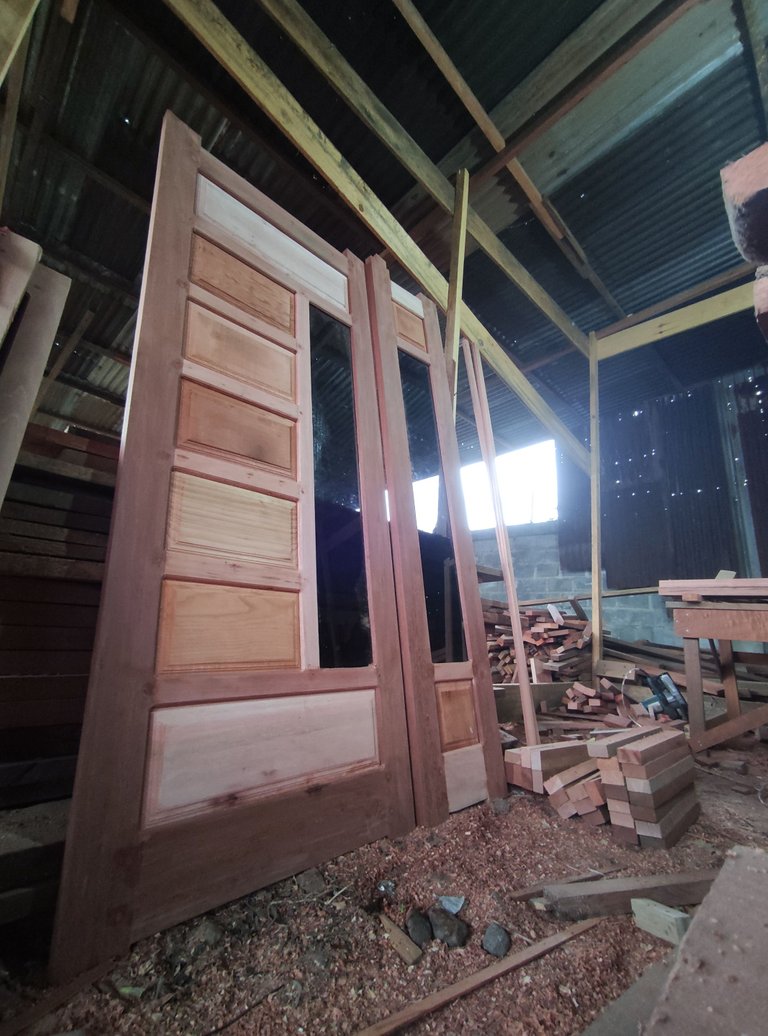
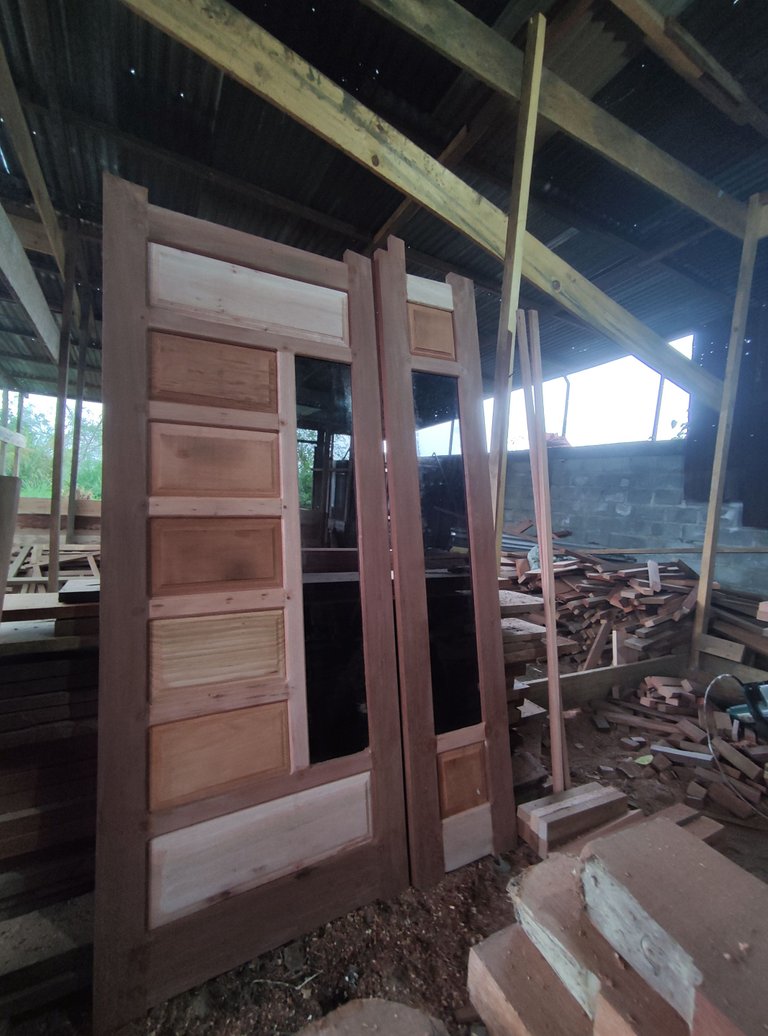
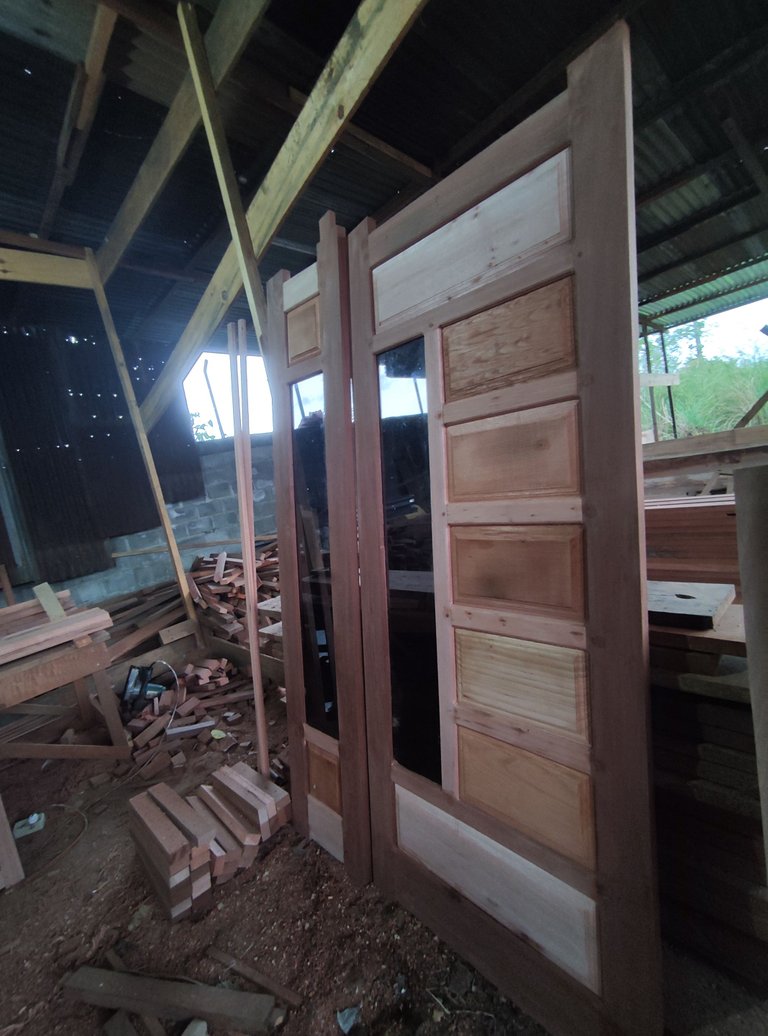
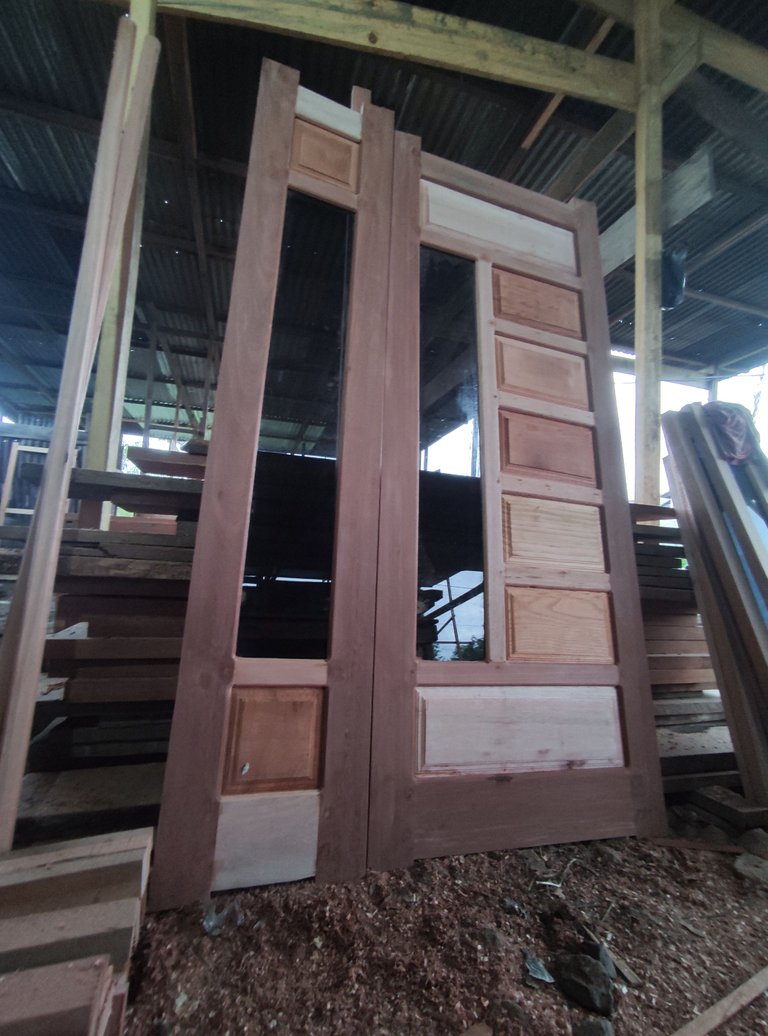
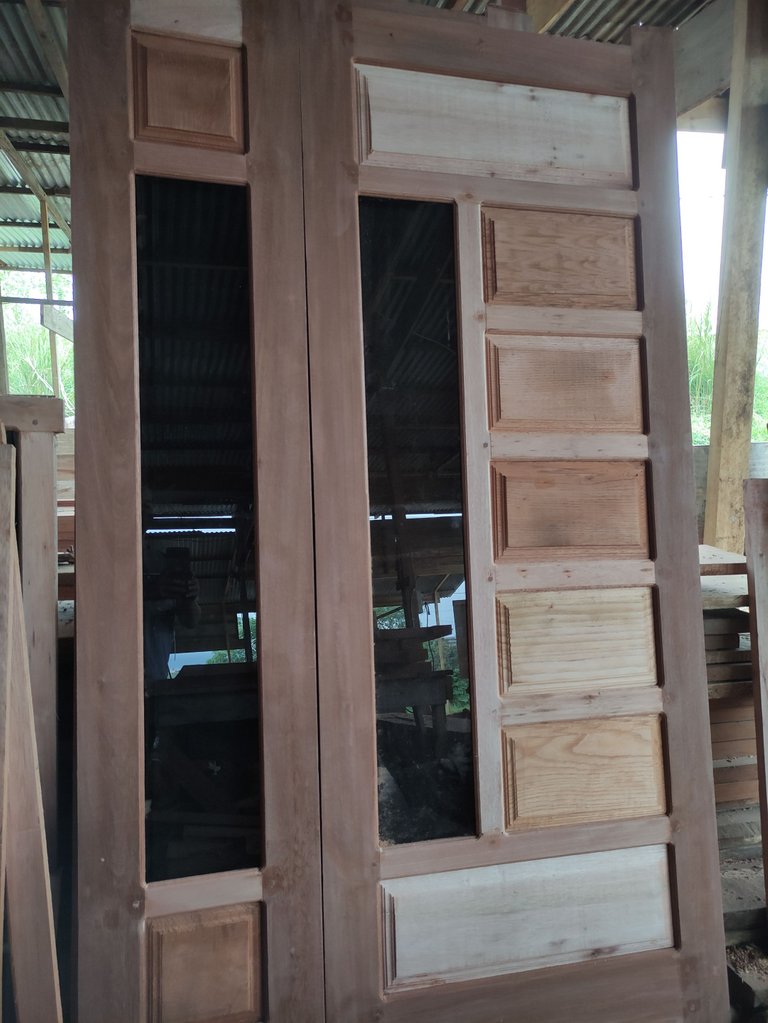
The length and width of the entire door are 200 x 120 and the door is reserved in the form of two faces and the doors have different widths, namely 1 door unit measuring 80cm x 200cm and 1 door unit measuring 40cm x 200cm and my customer asked for my order to do it with a meranti wooden door frame and a semi meranti door leaf followed by the provision of glass on two sets of doors with a width of 20cm.
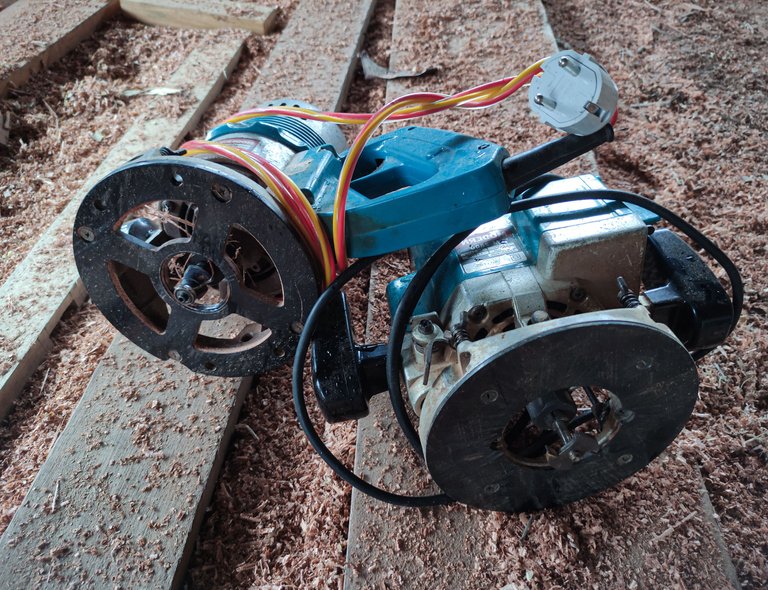
The machine tools I use in every architectural design furniture project I work on.
•Wood cutting machine to cut all wood materials for door materials.
•Shaving machine to flatten the entire surface of the series connection and make leaf comb carvings.*
•Hand drill(to make holes in the wood when installing the pegs) and sit drill(to make holes in the bulkhead of the top and bottom of the dors).
•Meter and hammer
•Router machine(for making flowers on the inside corners of doors and making leaf holder holes of doors).
•Meter (measuring instrument)and elbow.
•Smoothing machine .
•Panel machine (to make nipple pegs on frame sets) and for door leaf flower panels and.
•Manual iron press to the door series during the process of installing the pegs.
And to complete the project, of course, I have to complete several stages in sequence, starting from the first stage, namely the preparation of materials and several other stages and now we enter the first stage, namely.
1.Material preparation.
In the CV where I work for the main ingredients, the process of making door and window orders, of course, has been done by workers at the basic beam processing level and for the size of the basic material we use in the manufacture of doors, we usually use 3 different sizes of wood with the same thickness of wood, which is 3.5 cm and for the main frame size, we use wood measuring 10.5cm wide and 3.5cm thick and for the main circuit material for the process of making the door, I had to provide 4 wooden sticks with a length of 210 cm , the owner of the order also requested the door with a 5mm transparent black glass combination design.
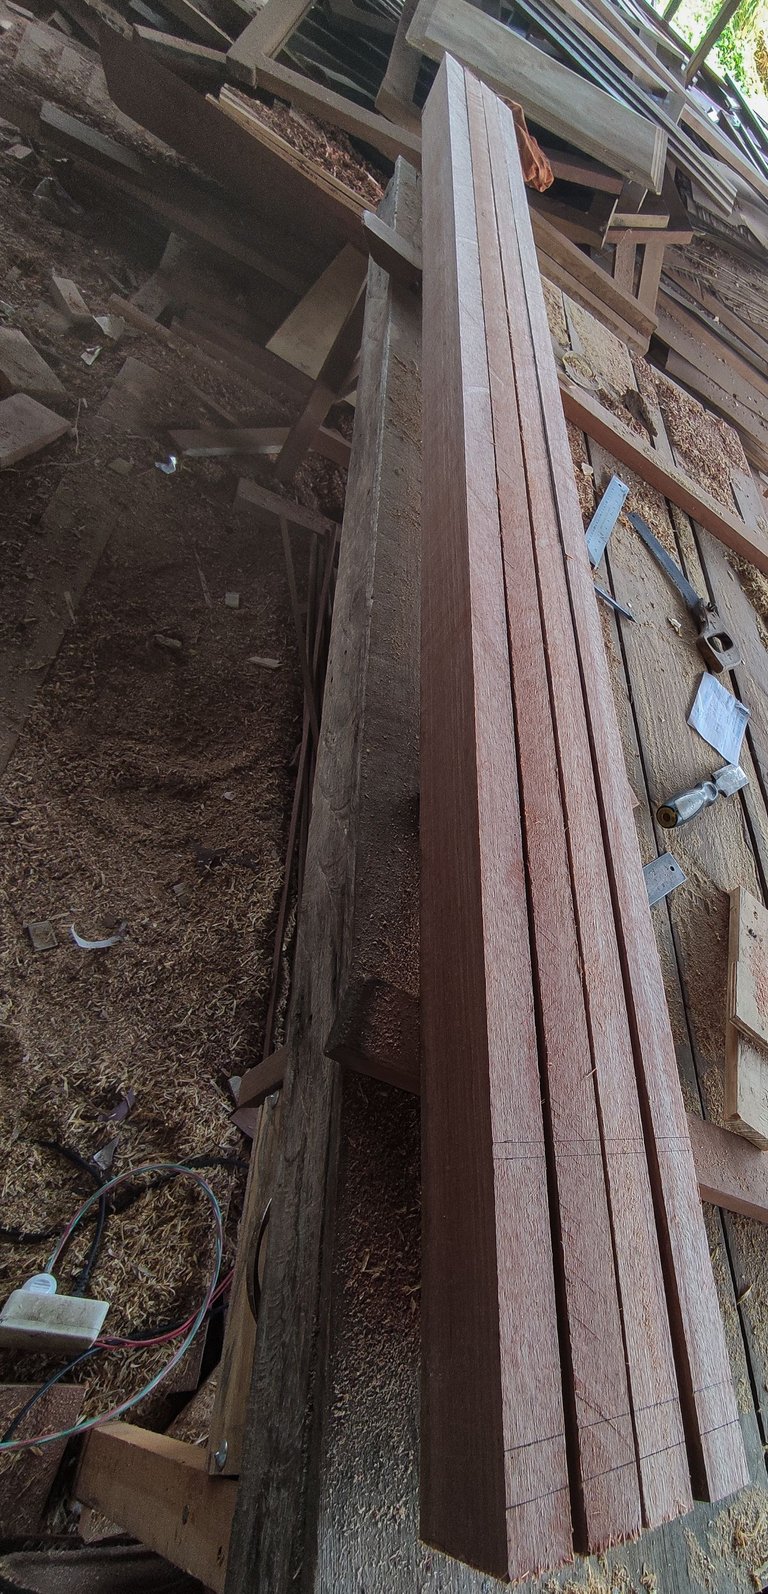
The main wooden beam from the trimmed series, I continued with the outline of the drilling area for the placement of the door width peg connection and for the series screen (bottom) width of the door we use wood measuring 16 cm wide and for the main bulkhead of the upper series of door we use wood measuring 10.5cm wide and is the same size of wood as the size of the left and right door frames.
For the arrangement of the bulkhead drilling of the bulkhead mount in the series, of course we follow the series of pictures which means that the main pole (left) of the door measuring 80cm x 210cm has several bulkheads.
And after the outline process is complete, then I continue the process of drilling the door width bulkhead holder at all the marking line points that I have given to the door main series bulkhead and followed by the outline on the center bulkhead of the door pattern with the same drill bit holder as the line in the main series.
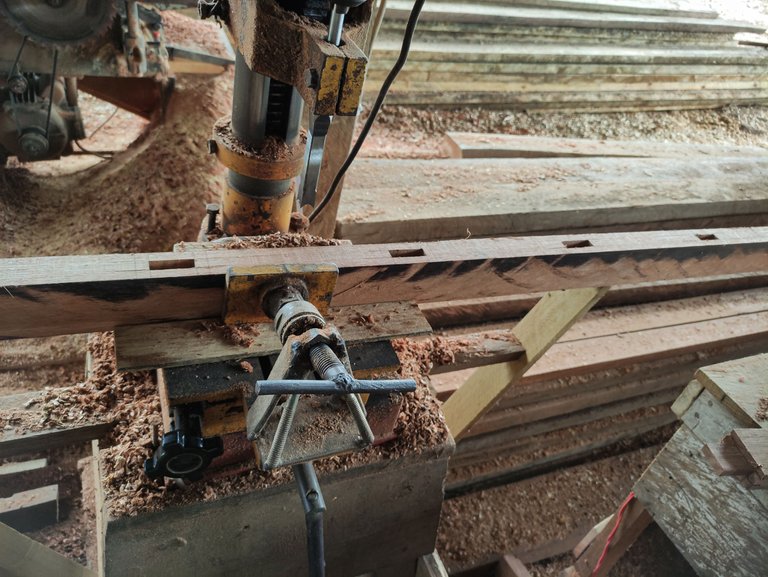
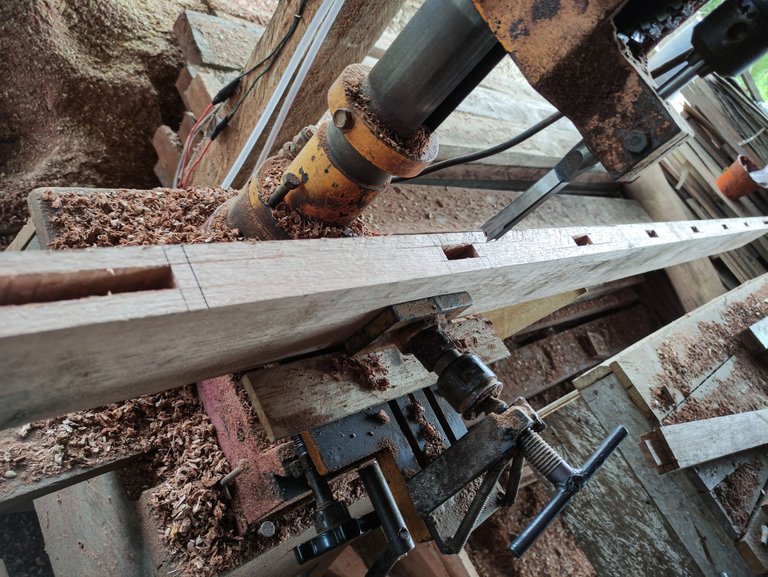
The width of the drill bit is 1.5cm and the depth of the driller in the main series doors is 4cm, for the size of the drilling area, of course, it follows the size of the series bulkhead wood and in the connection peg connection system, of course, we must first reduce the size of the frame width and increase the size of the post nipple which will enter the drill bit holder on the main pole.
2.Preparation of wood for door width bulkheads.
For the main bulkhead, the top, bottom and the series of door patterns of course have different sizes with different lengths of door bulkheads and of course for the type of wood I used in that door project, it was meranti wood and for the first stage I cut the bulkhead for the door which is 80cm wide
And in the connection peg connection system, of course, we must first reduce the size of the frame width and increase the size of the post nipple which will enter the drill bit holder on the main pole and when I'm done I calculate it for the door divider measuring 80cm wide X 200cm high is as follows.
•1 unit of bulkhead measuring 16cm wide (main bulkhead of the bottom series of the door) with a length of 67cm consisting of 4cm left and right nipples.
•1 unit of bulkhead measuring 10,5 cm wide (the main bulkhead of the door-top series) with a length of 67cm consisting of 4cm left and right nipples.
•2 units of wide partitions for the middle of the door with a size of 6cm wide and 67cm long.
•1 bulkhead of the center of the door that extends to the top and after dividing the length of the wood, the width is 6cm x height 129.5 cm which consists of the top and bottom 4cm pegs of the bulkhead and
•4 bulkheads A series of patterns that are attached to the left main pole with a width of 6cm and a length of 47cm consisting of 4cm left and right nipples.
And when finished, I prepared all the bulkheads for the door measuring 80cm wide x 200cm high, then I continued to cut the bulkhead for the door width his partner measuring 40cm wide x 200cm high.
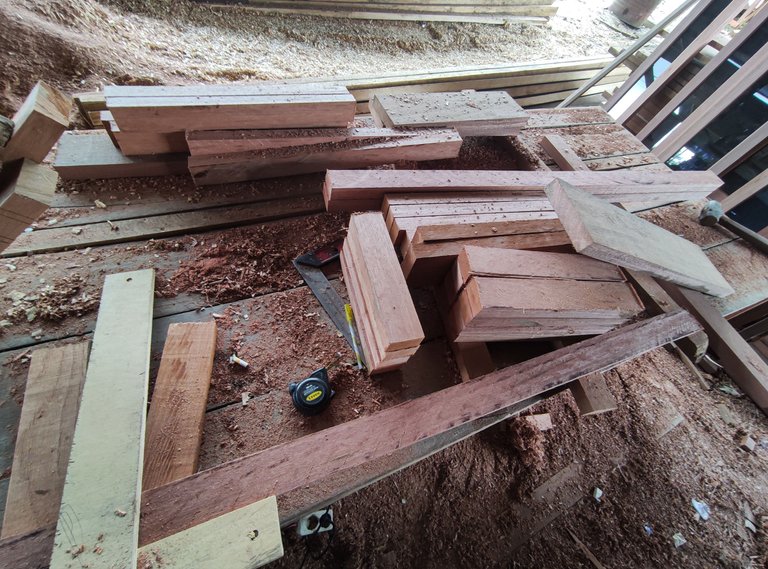
For a door with a width of 40cm, of course, it is quite small and for a door divider, it is certainly not so much and after I calculated it, the length and number of bulkheads that I had to cut for thet door were ..
•1 main bulkhead under the door with a width of 16cm and a length of 27cm consisting of 4cm left and right nipples.
•1 main bulkhead at the top of the door with a width of 10.5cm and a length of 27cm consisting of 4cm left and right nipples and
•2 pattern partitions in the center of the door with a width of 6 cm and a length of 27 cm consisting of 4 cm left and right nipples.
3. Making nipple pegs on all door series bulkheads.
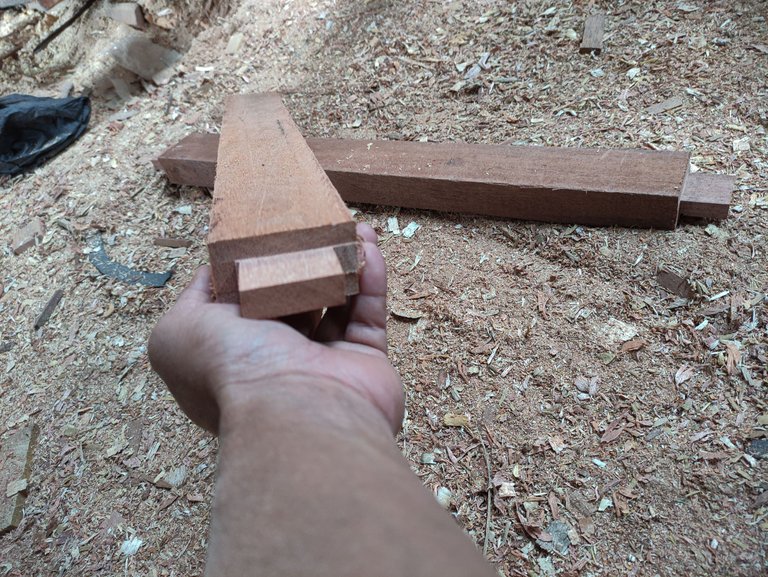
And in this process I use a panel machine so that the process of making the peg nipple bulkhead can be done easily.
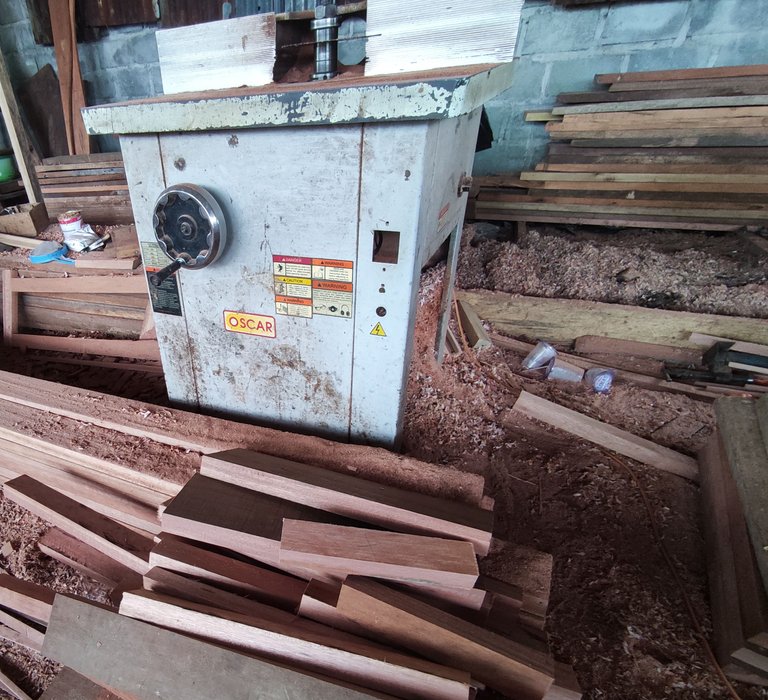
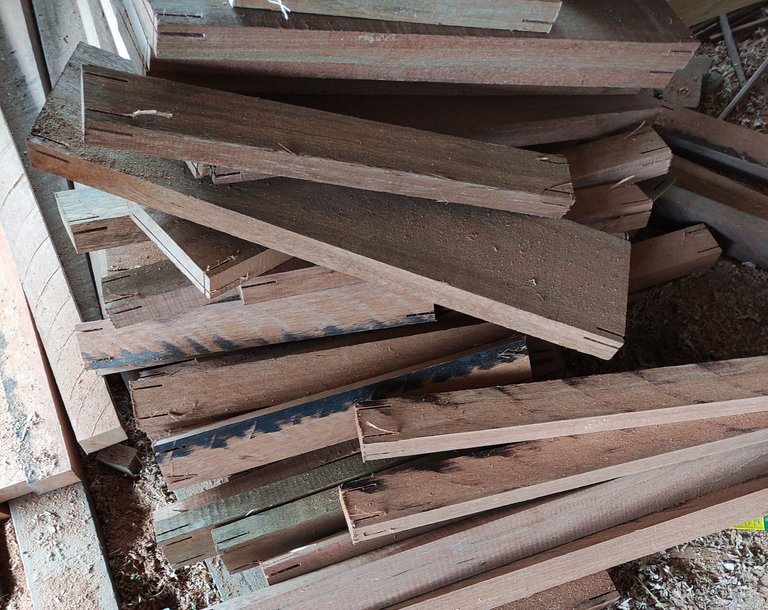
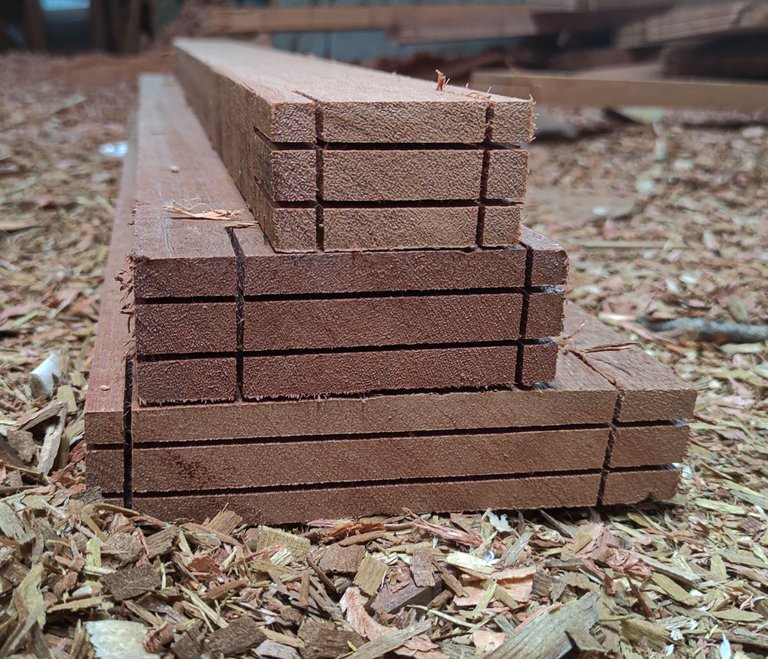
After the completion of the manufacturing process, this is the result and shape of the nipple from the partitions of the door series.
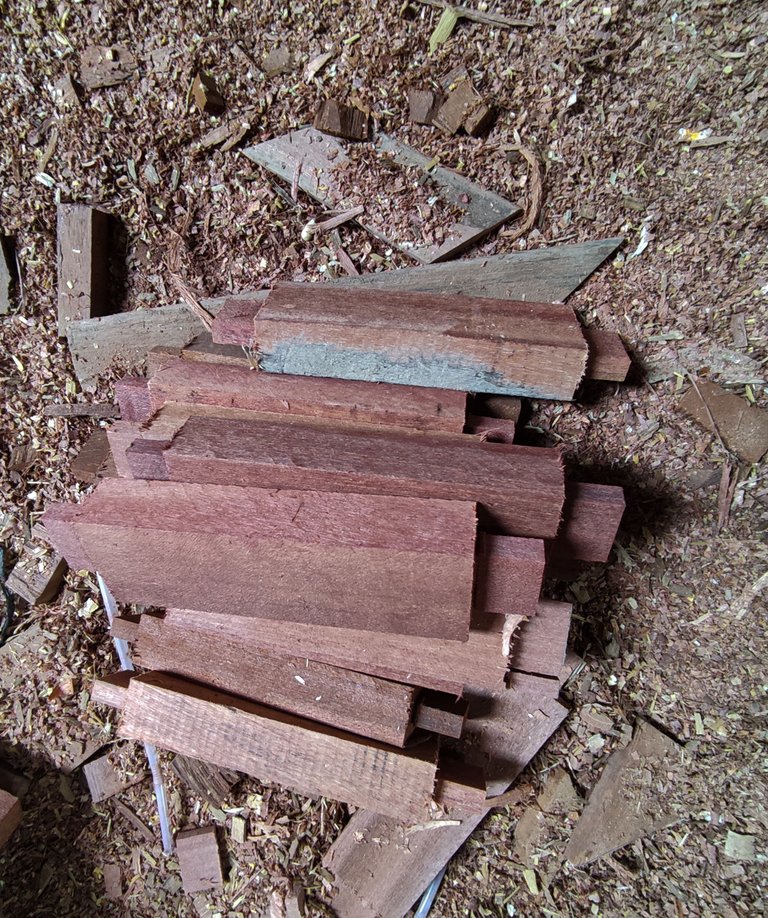
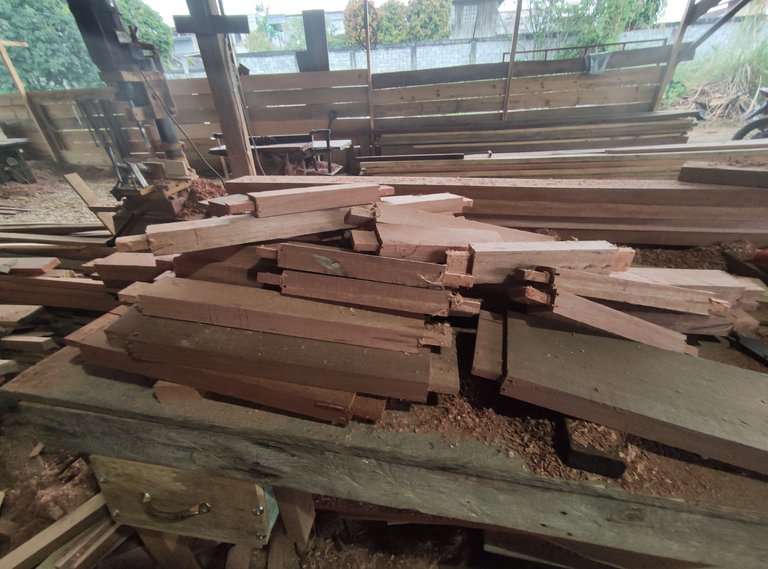
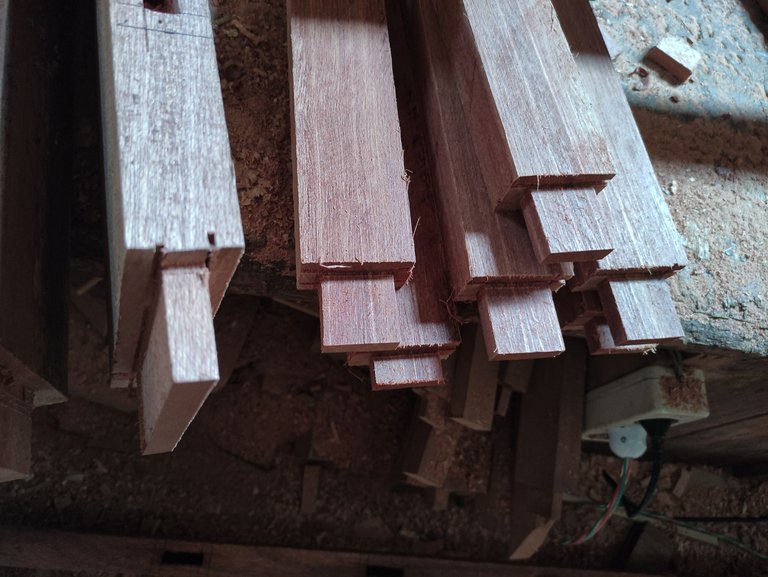
4. Unification of the entire circuit with a peg connection system.
Of course, each wooden bulkhead from the series material must be inserted according to its respective holder and the process goes like this.
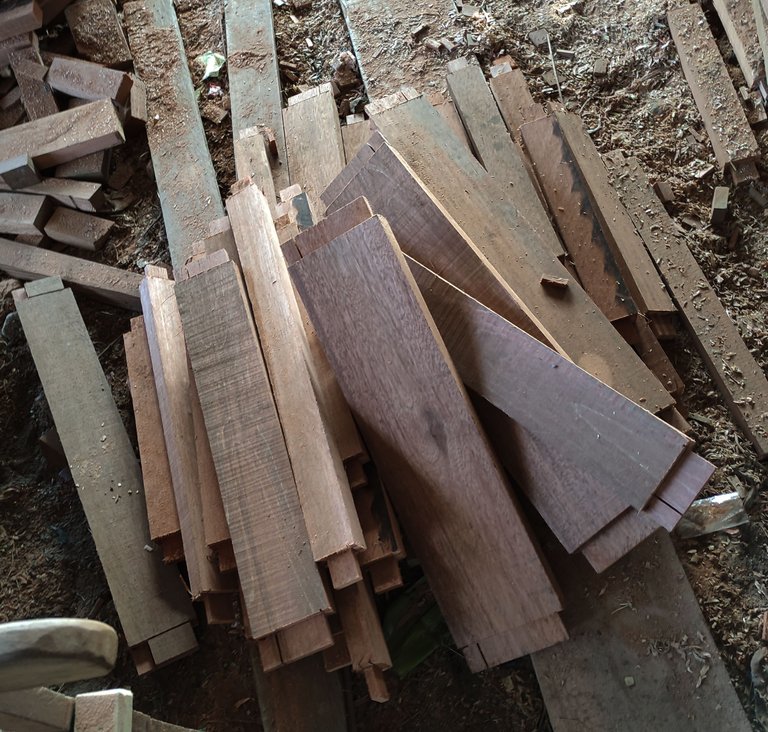
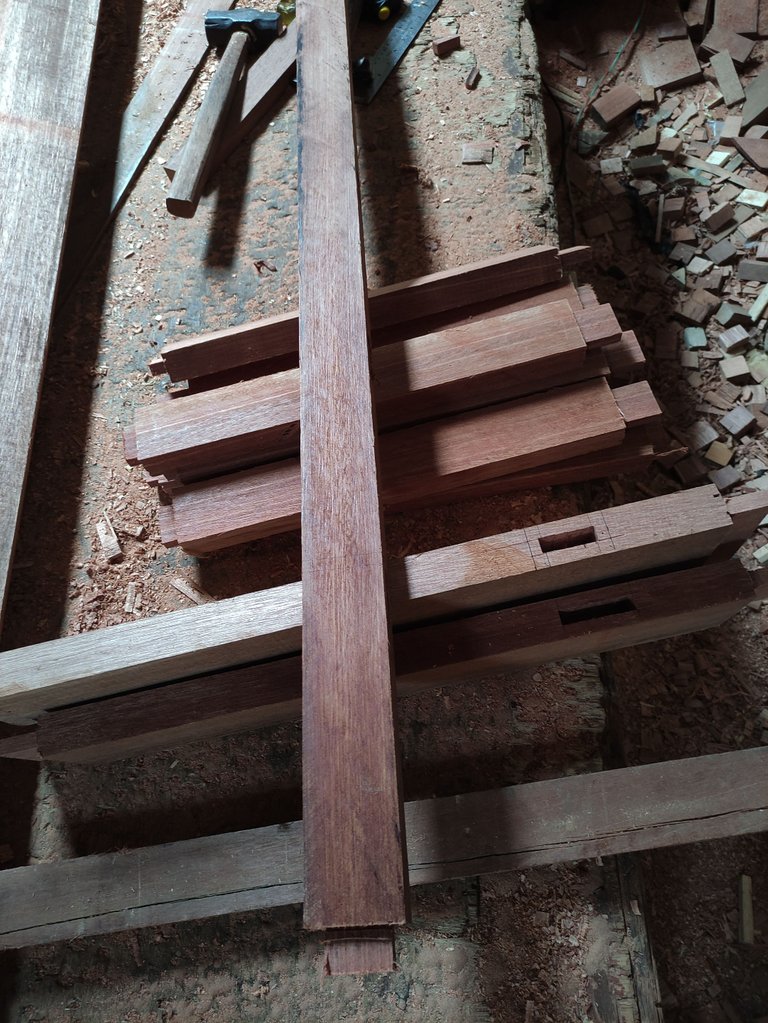
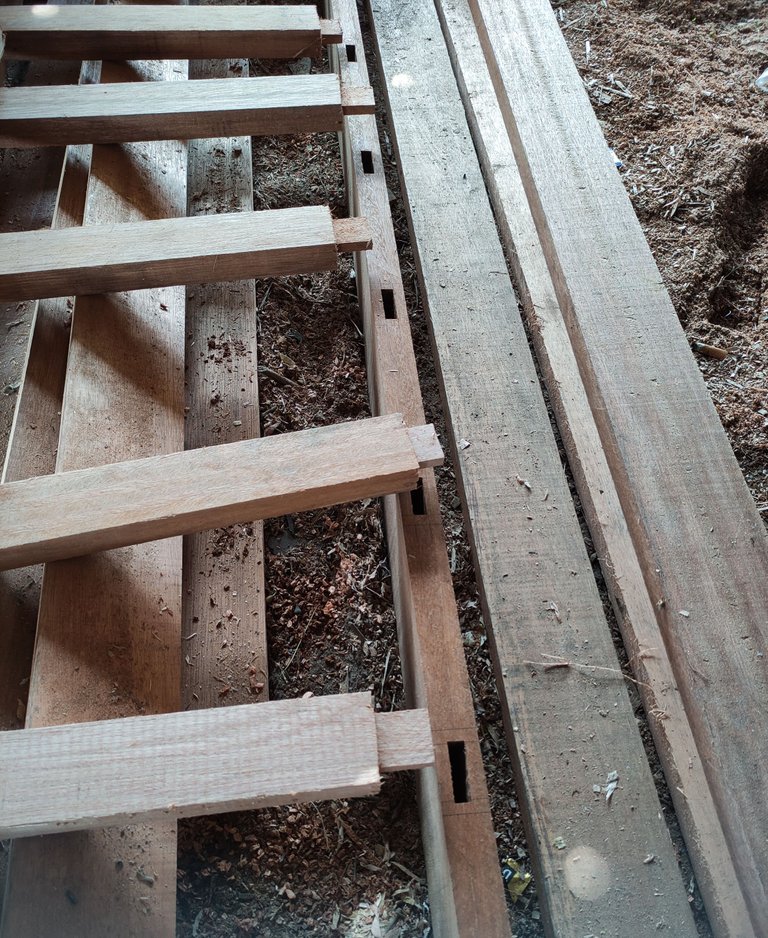
and after the assembly process is complete, I continue the process of trimming the front and rear surfaces of the frame using a drawstring machine and this is how the door series looks after I finish trimming it.
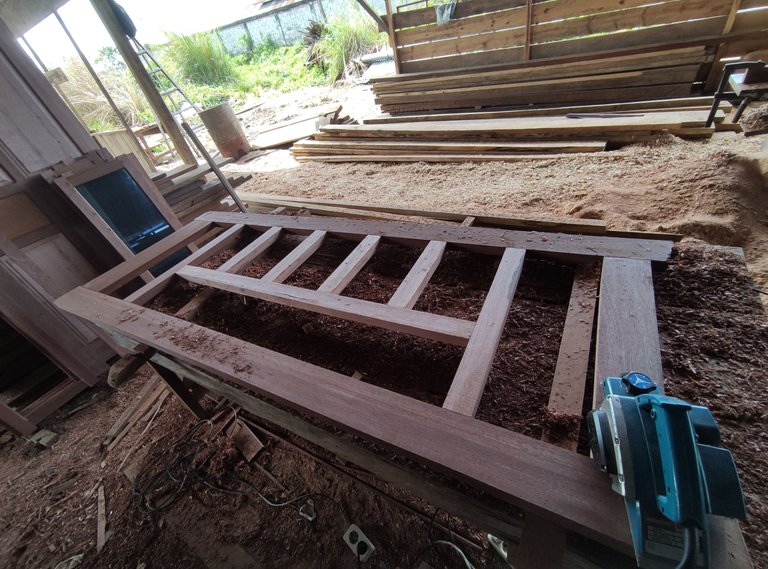
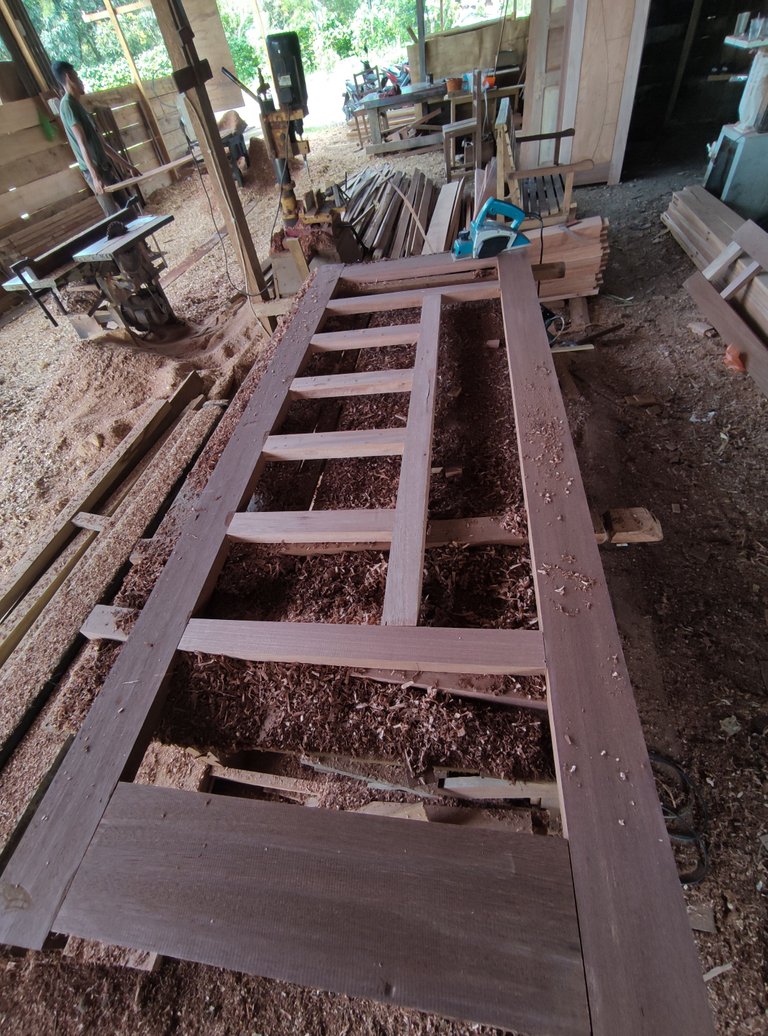
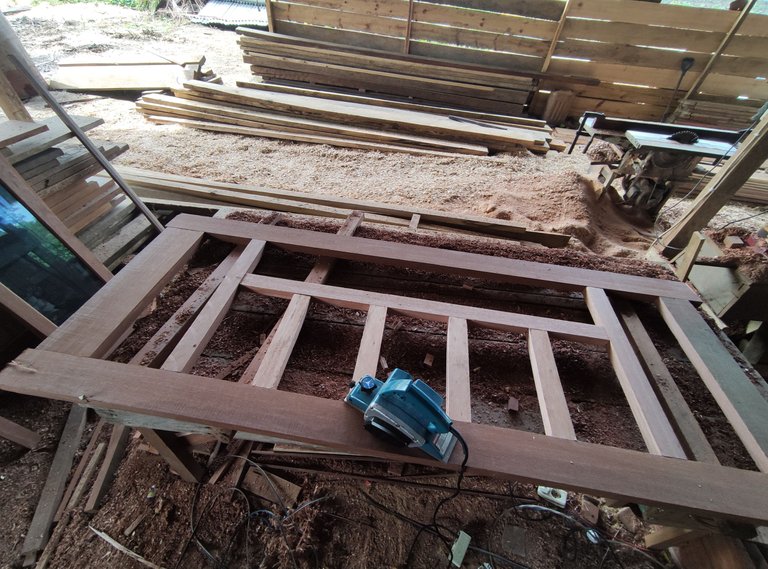
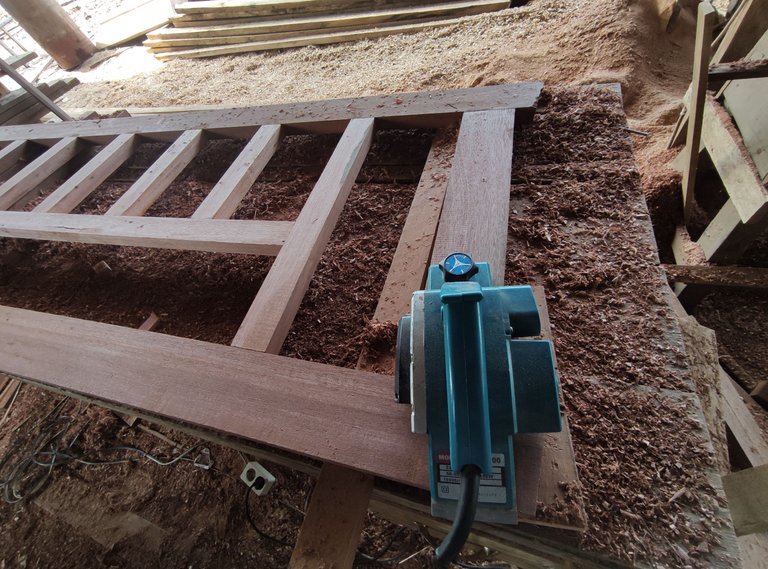

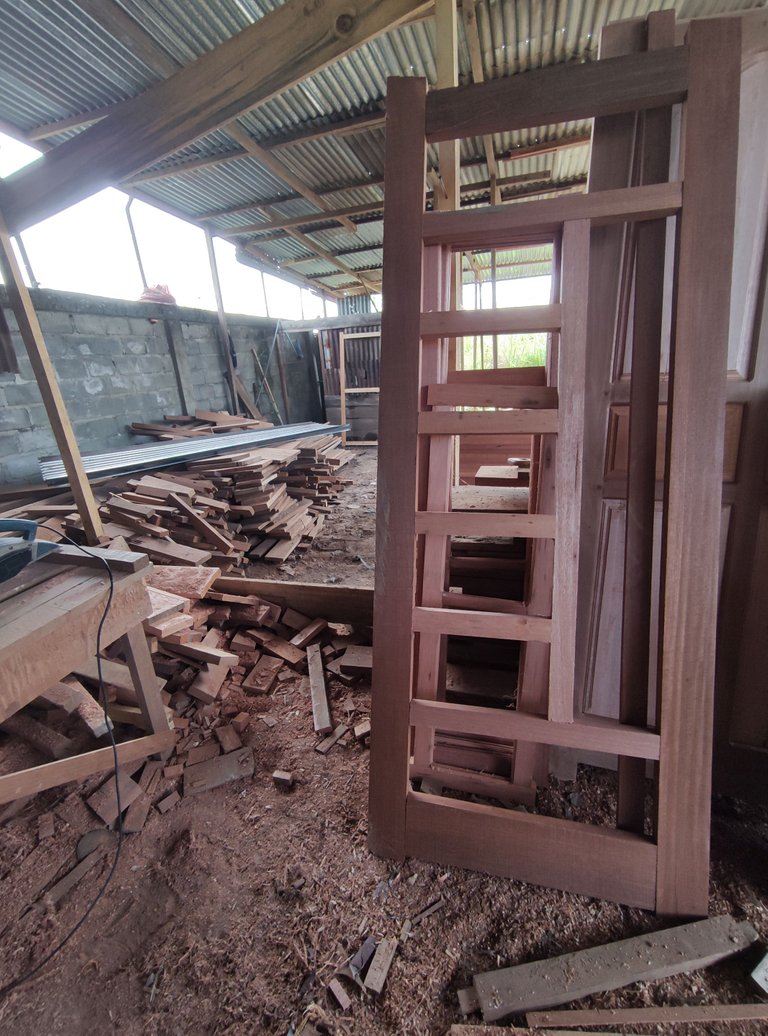
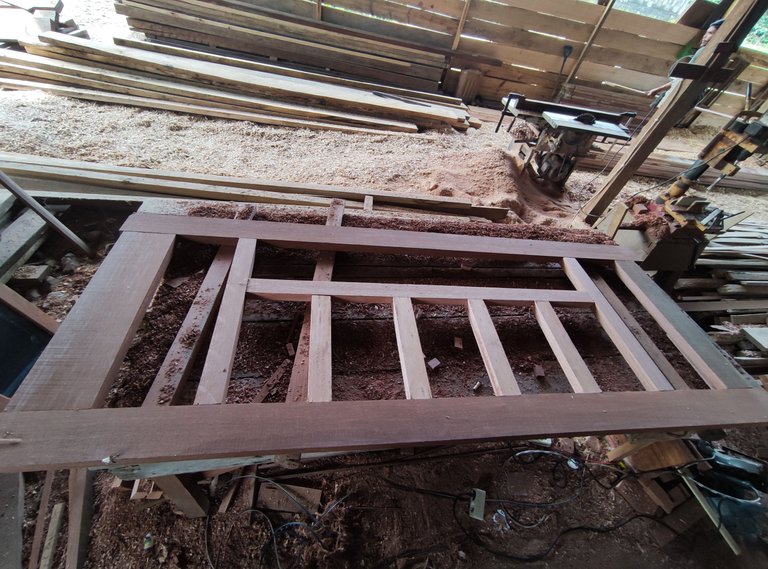
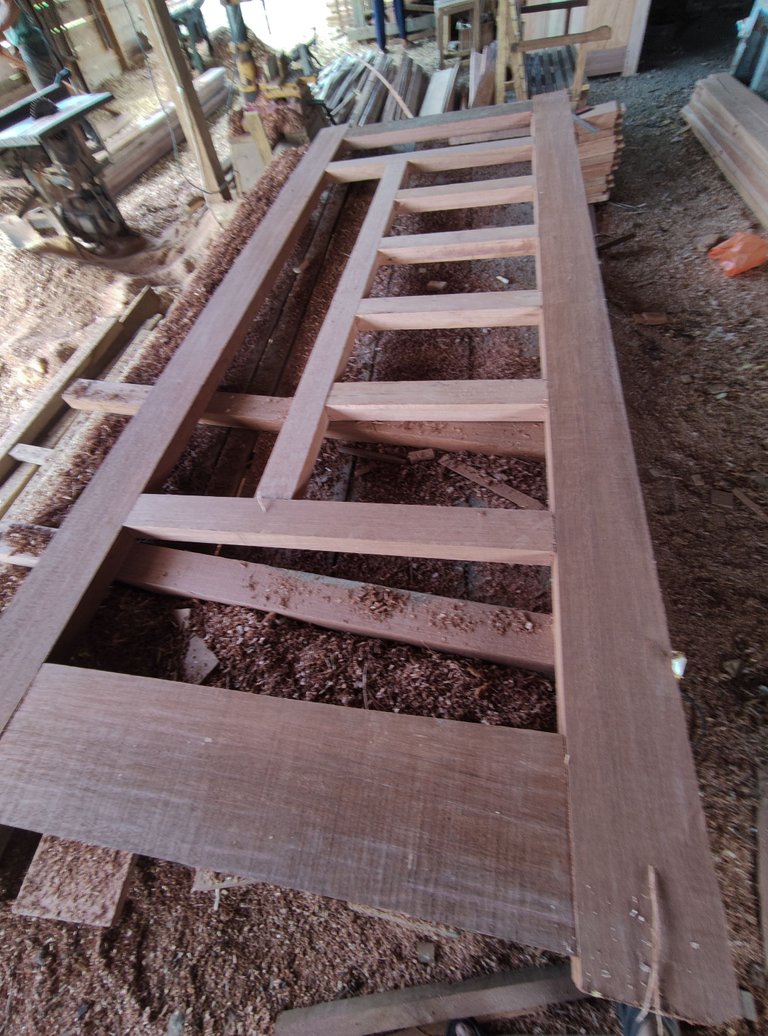
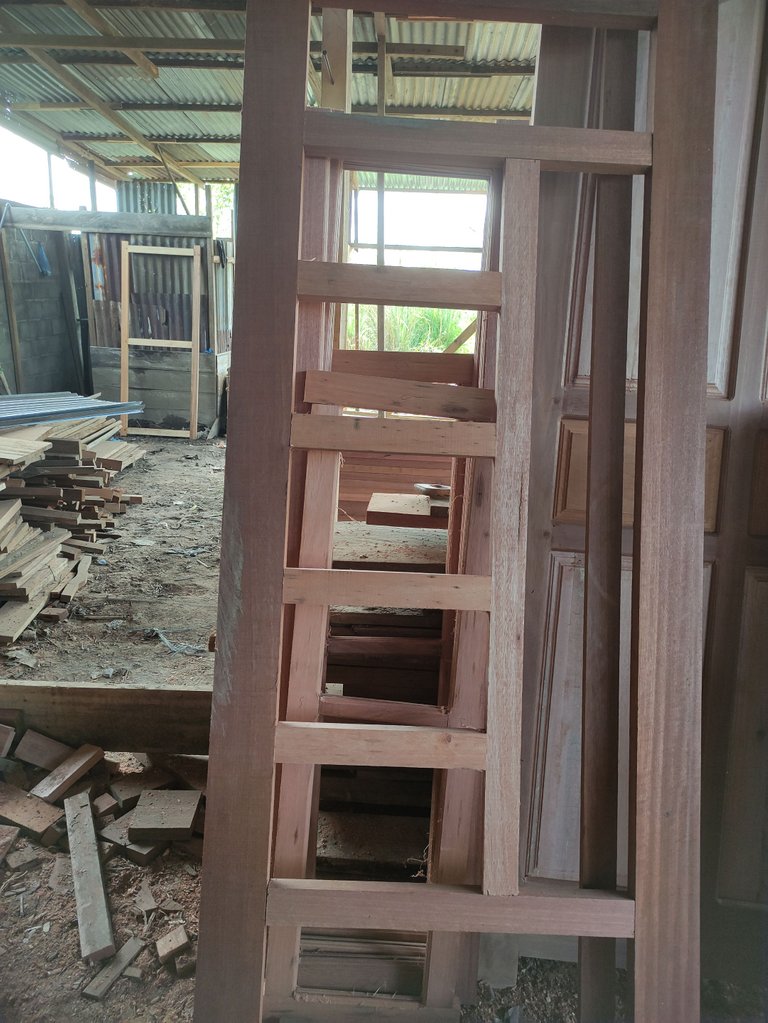
5. The process of giving flowers to the wood of the door chain and scraping the sheet holder of the door leaf board and the glass holder rail on the door series.
To make flowers on all wood surfaces, of course, here we use a router machine and also the process of making door leaf and glass holders using a router machine and to make flowers on all wood surfaces, of course, here we use a router machine and also the process of making door leaf and glass holders using a router machine.
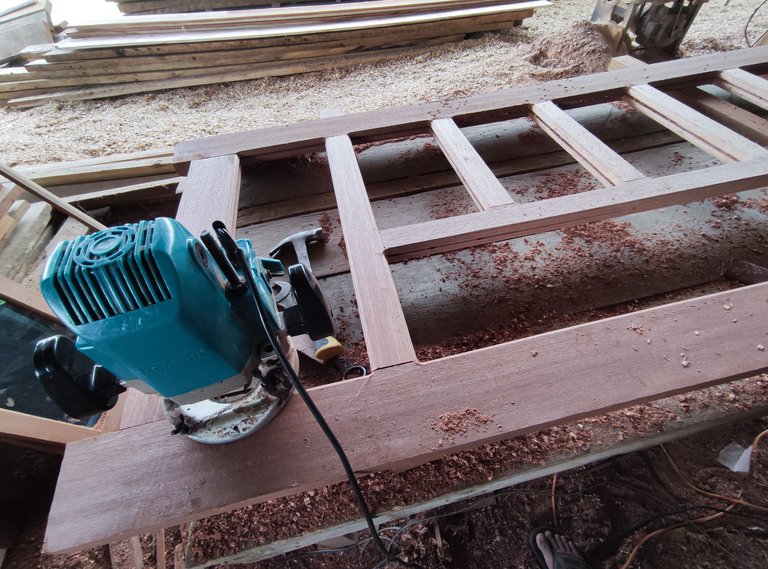
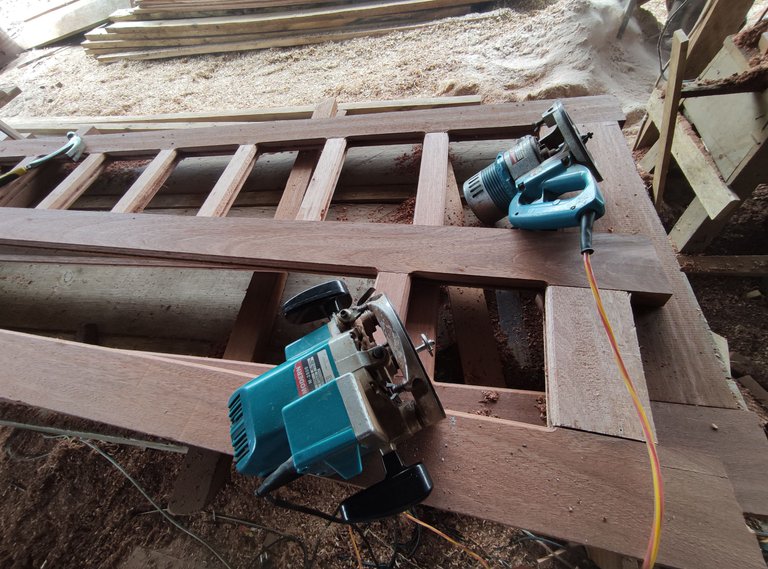
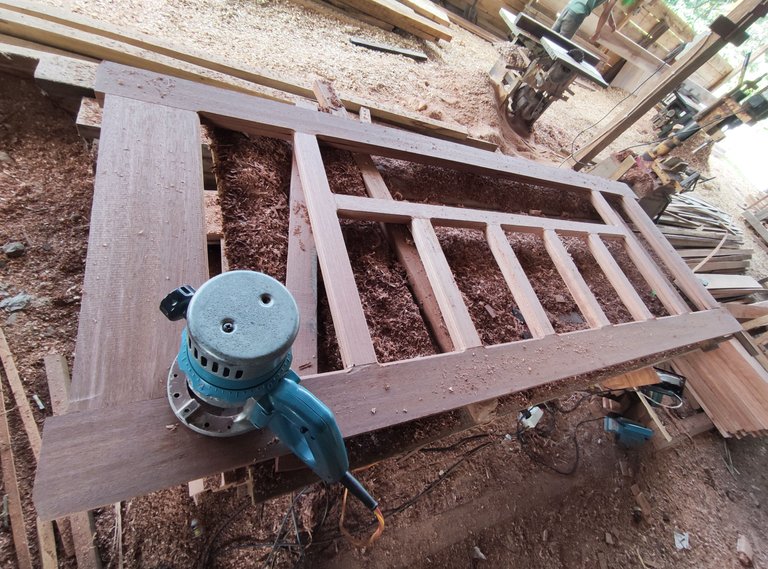
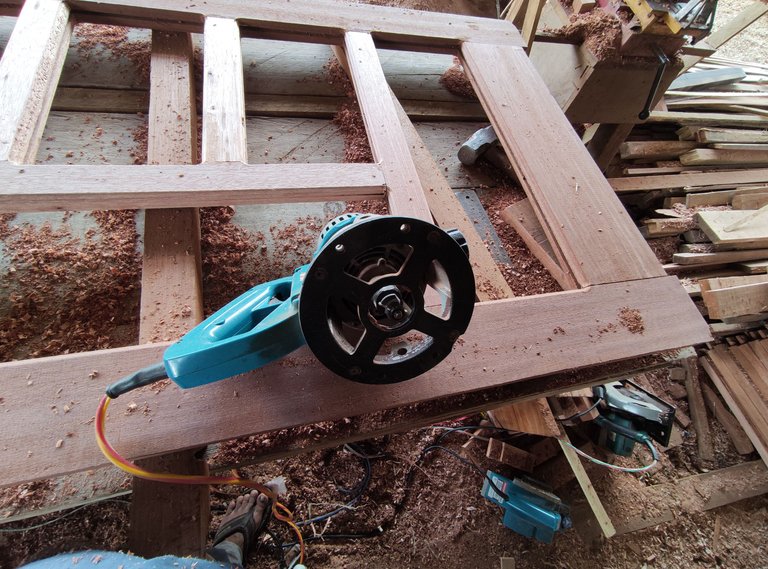
And after the process of giving flowers and giving the door holder is complete, the two door designs will look like this.
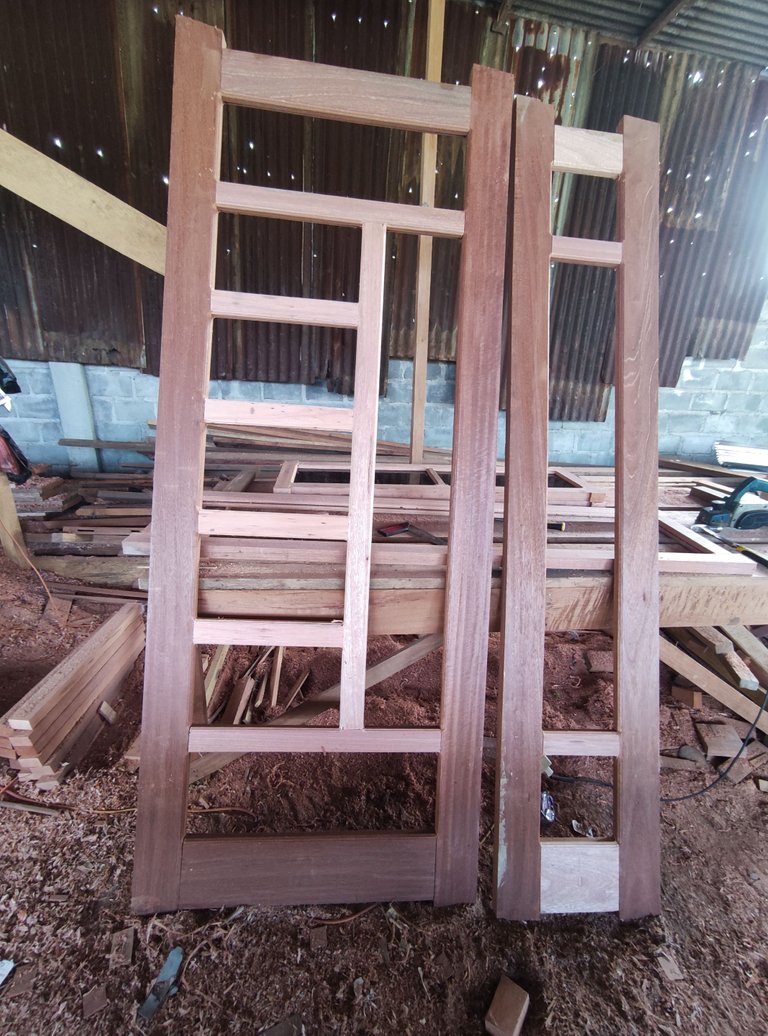
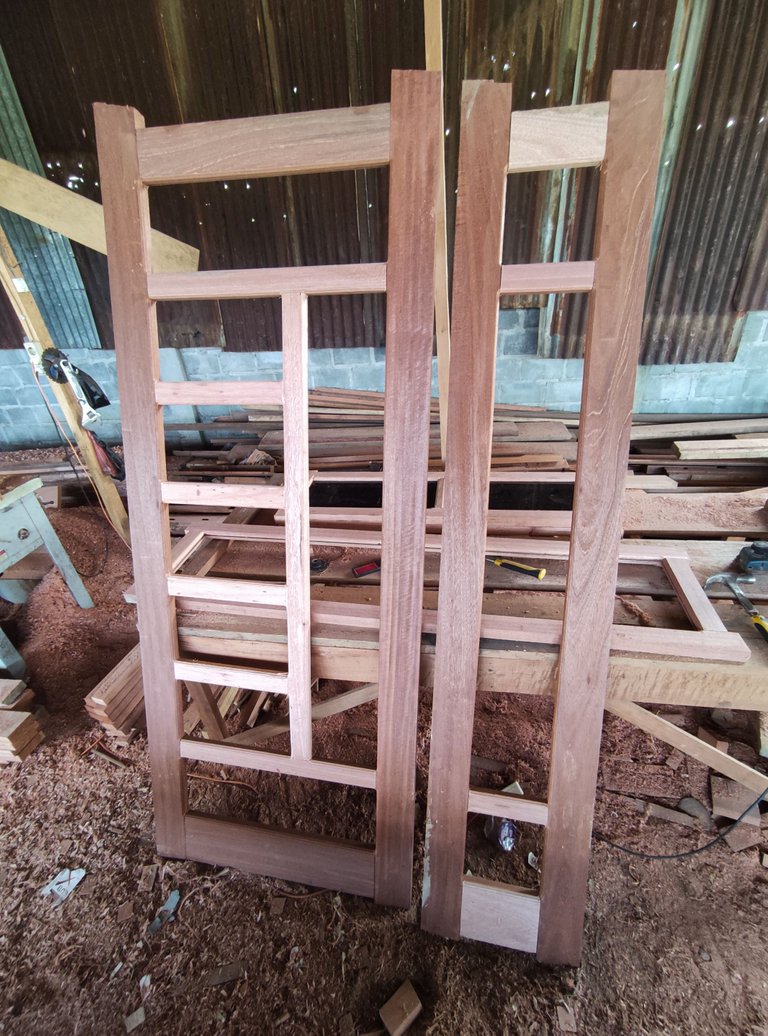
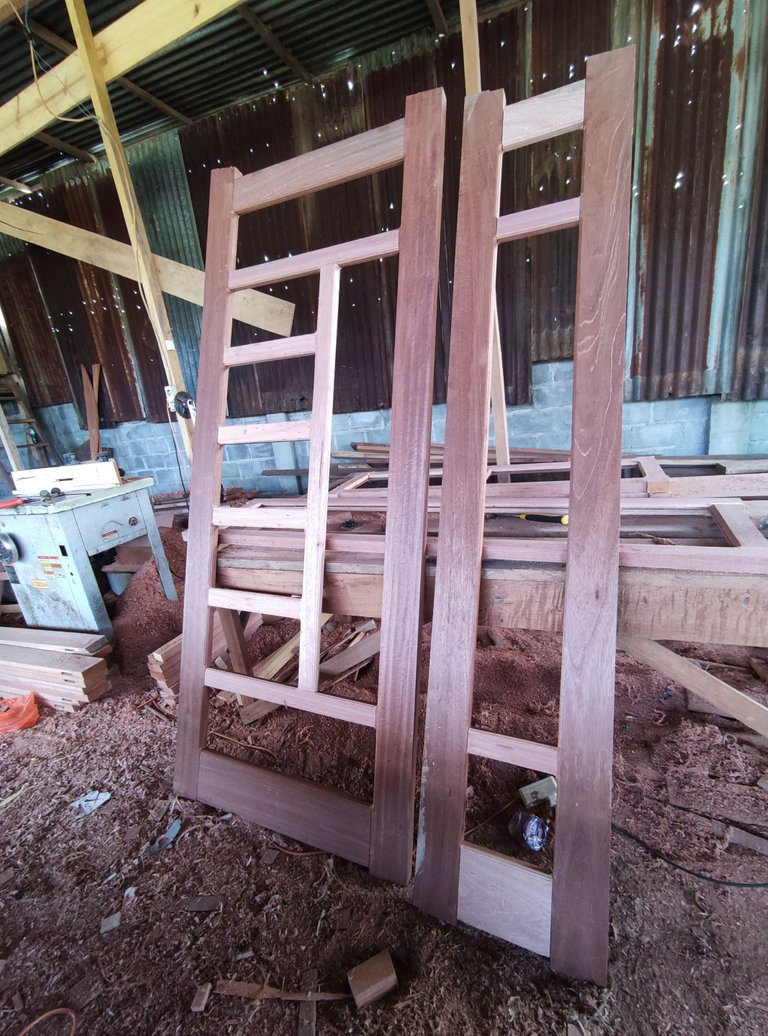
6. The process of making the door leaf.
For the door leaf sheet, the main material we use is pine board with a thickness of 2.5 cm and for the width of the door leaf the board is 22 cm in total with different length and the total board I have to provide is as follows.
•2 boards measuring 22 cm wide and 61 cm long consisting of leaf nipples around 1 cm for doors measuring 80cm x 200cm.
•4 boards measuring 22 cm wide and 21 cm long consisting of leaf nipples around 1 cm for doors measuring 80cm x 200cm and
•The front sheet of the door is 5mm transparent black glass with a width of 18cm.
And for the door leaf measuring 40cm x 200 cm wide is.
•2 boards measuring 22cm wide x 20cm long and for the center leaf of the door is transparent black glass with a width of 20cm x height 121cm
After I have prepared all the board leaf materials, the next step.
6.Leaf panels or the process of giving flowers around the surface of the door leaf board.
and in the process of giving flowers to the door leaf I use a panel machine.
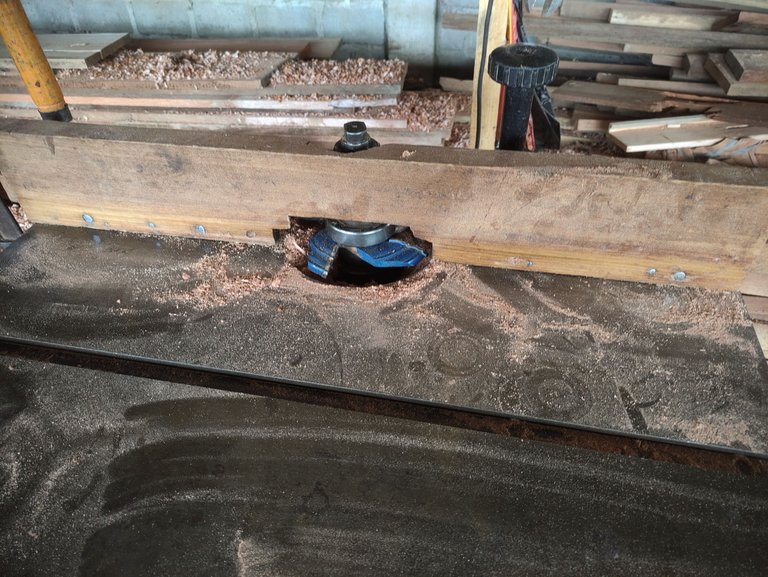
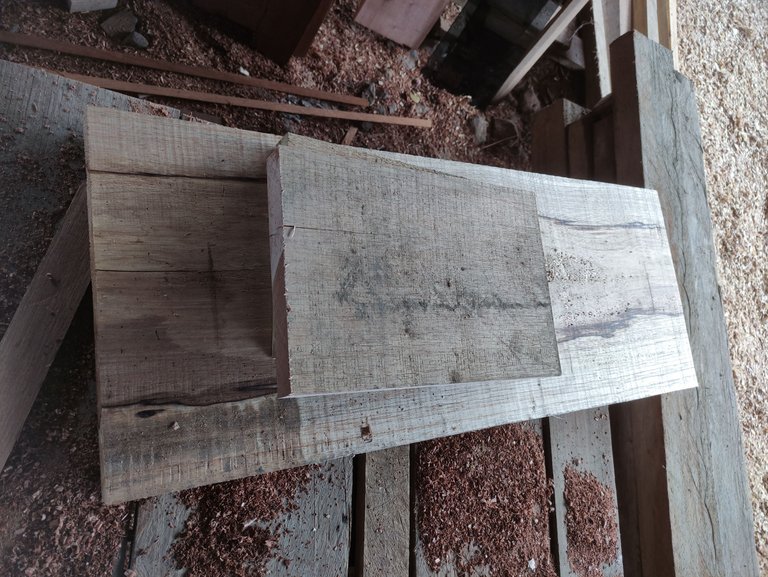
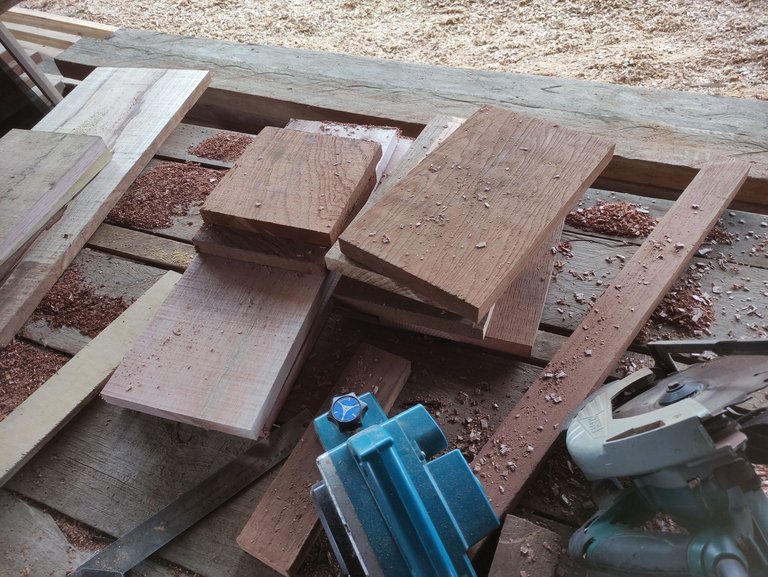
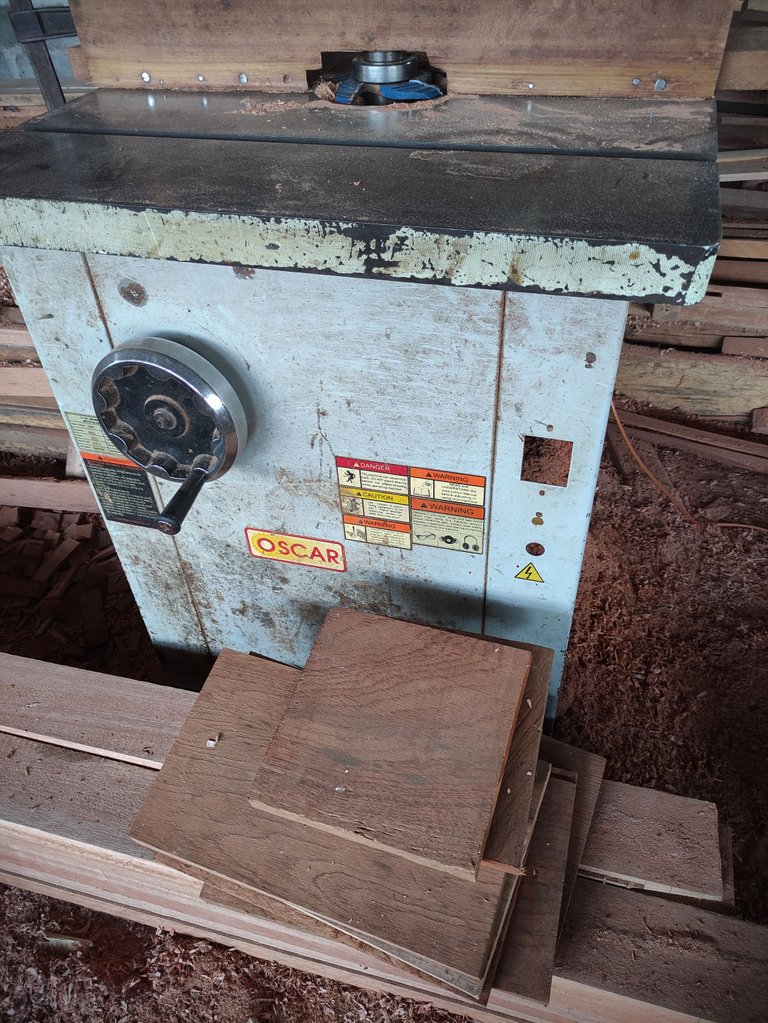
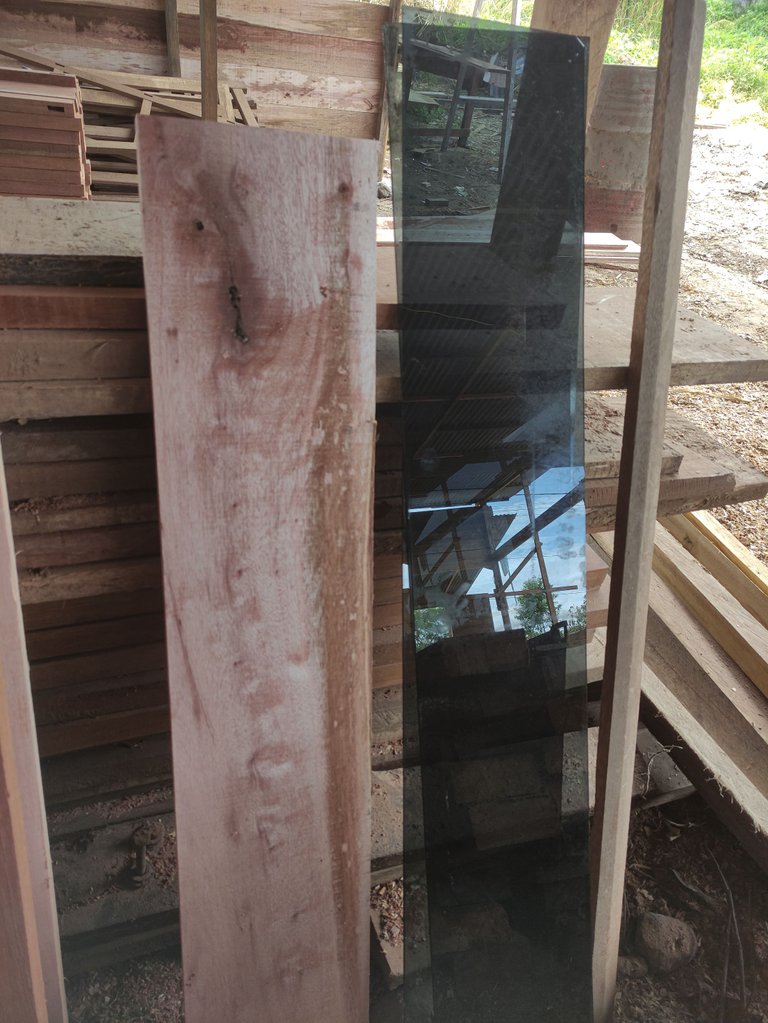
And after the door leaf panel process was finished I worked on and I finished cutting the glass for the next stage, namely the process of installing a series of leaves on a series of doors.
7.Installation of the door leaf.
For the installation of the door leaf sheet, of course, we have to disassemble the entire base of the door and carefully reassemble it together and the process takes place as shown in the pictures below.
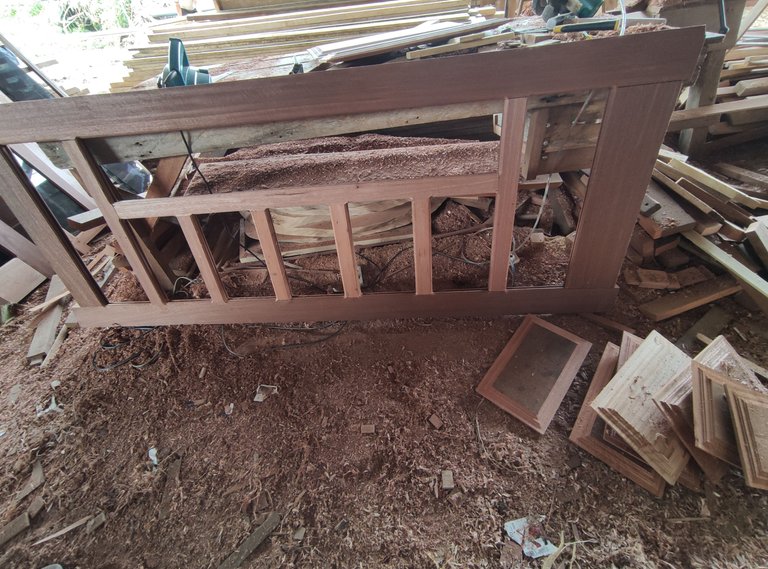
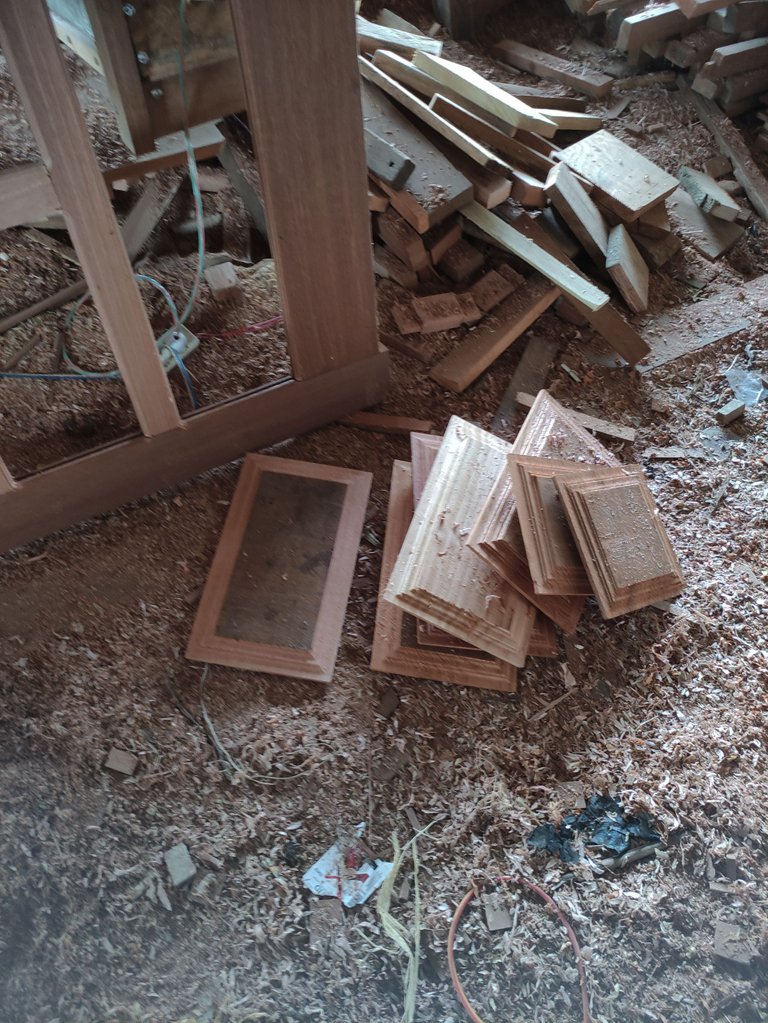
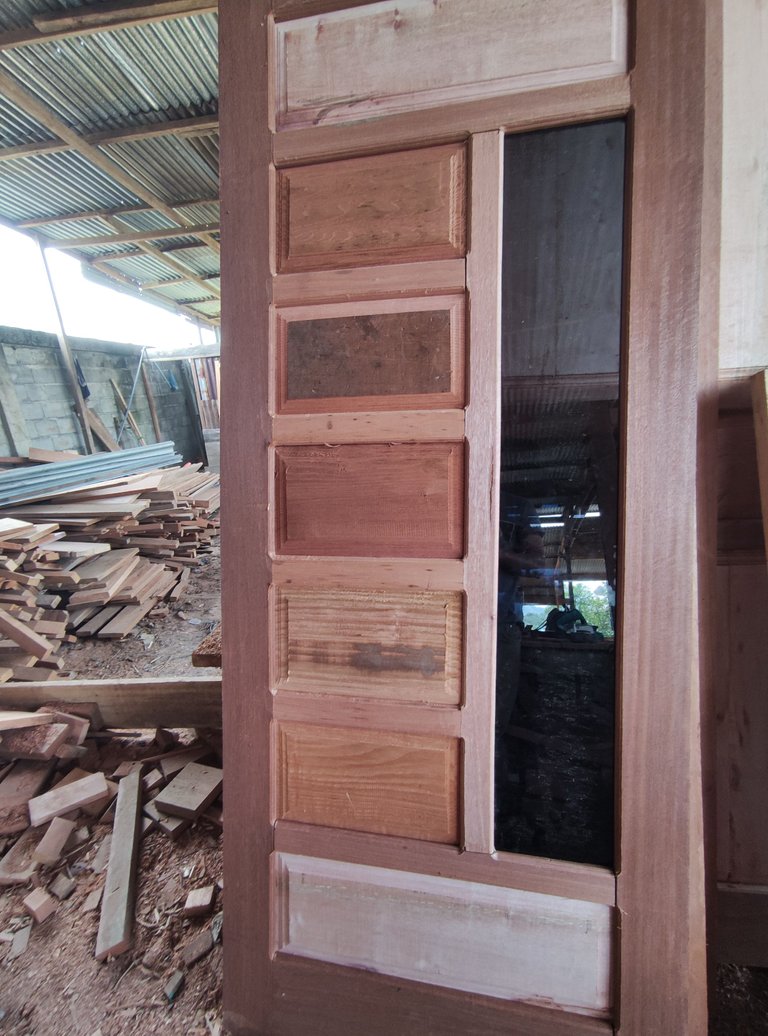
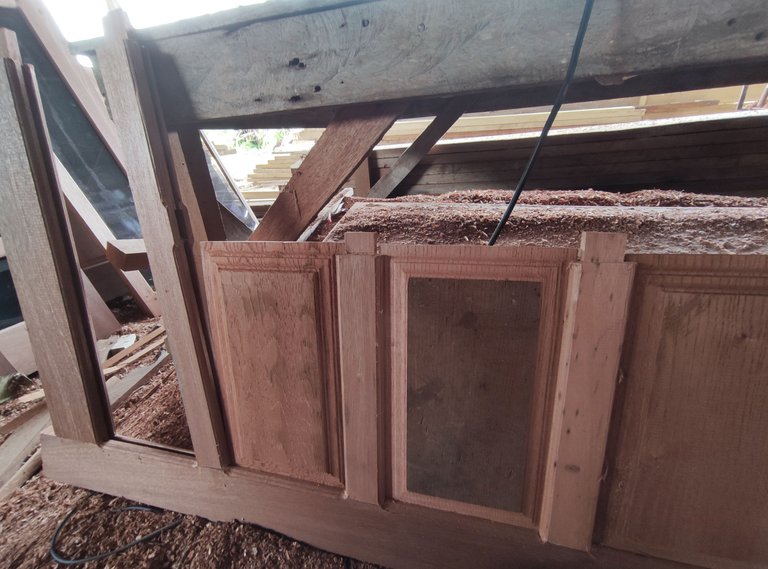
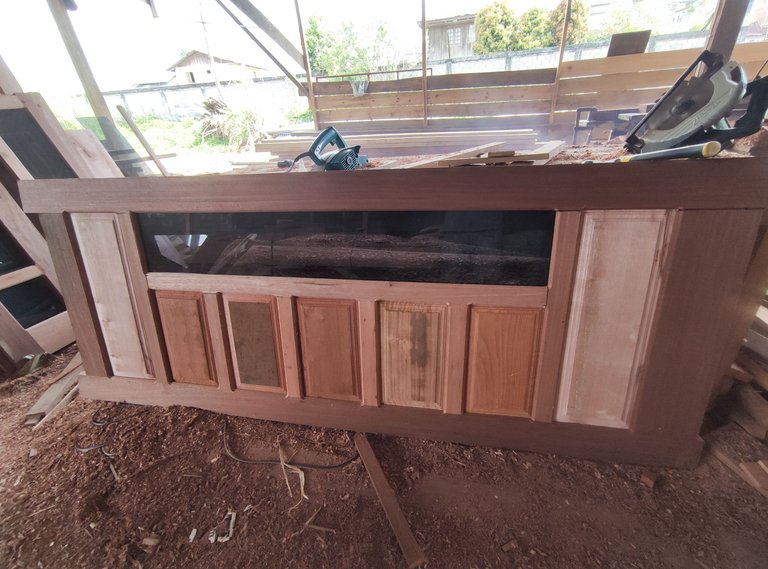
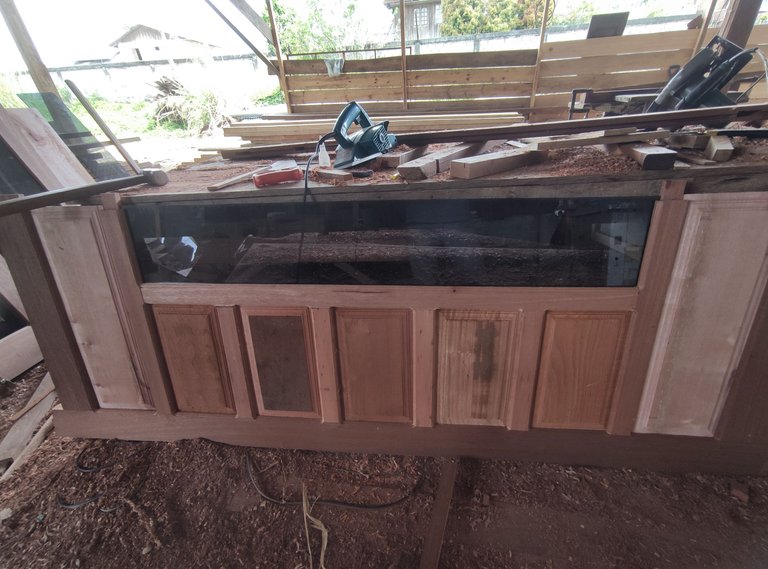
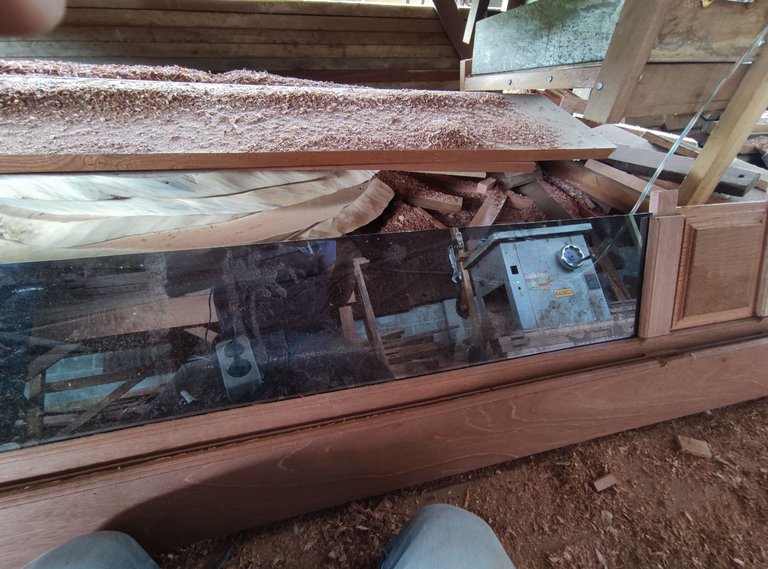
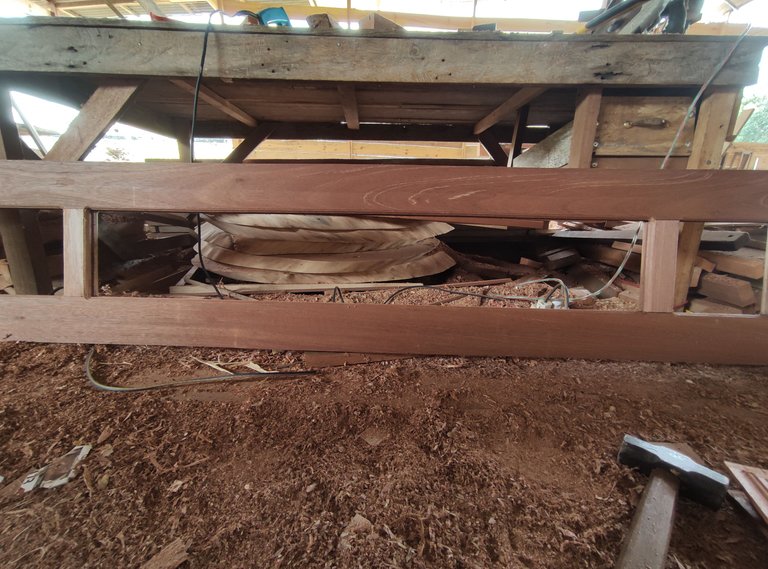
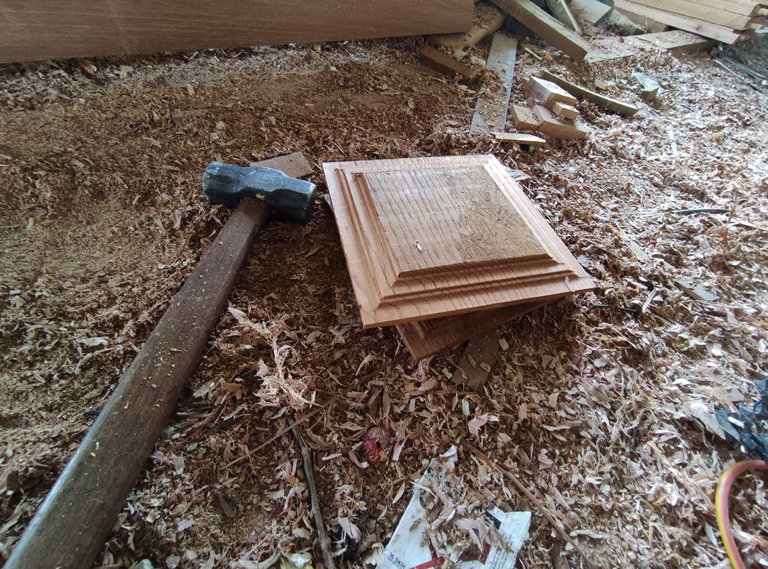
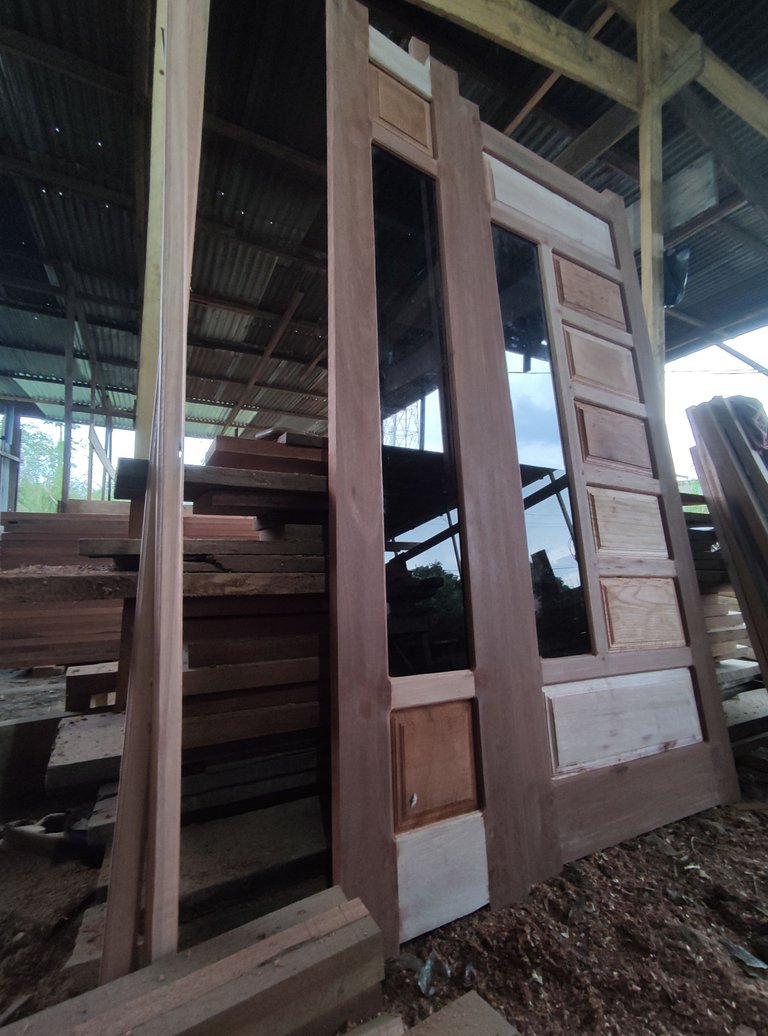
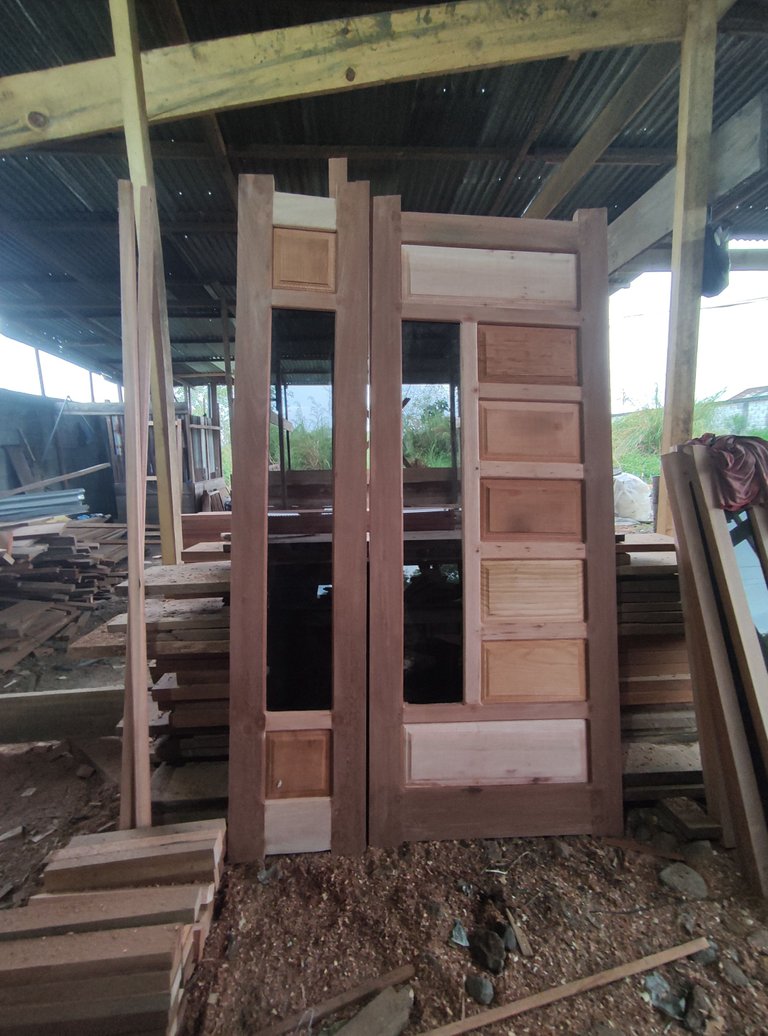
and after the installation process of the door leaf is complete, this is the result of that doors two-faced design.
8. for the next stage, namely the process of locking the door bulkhead pegs.
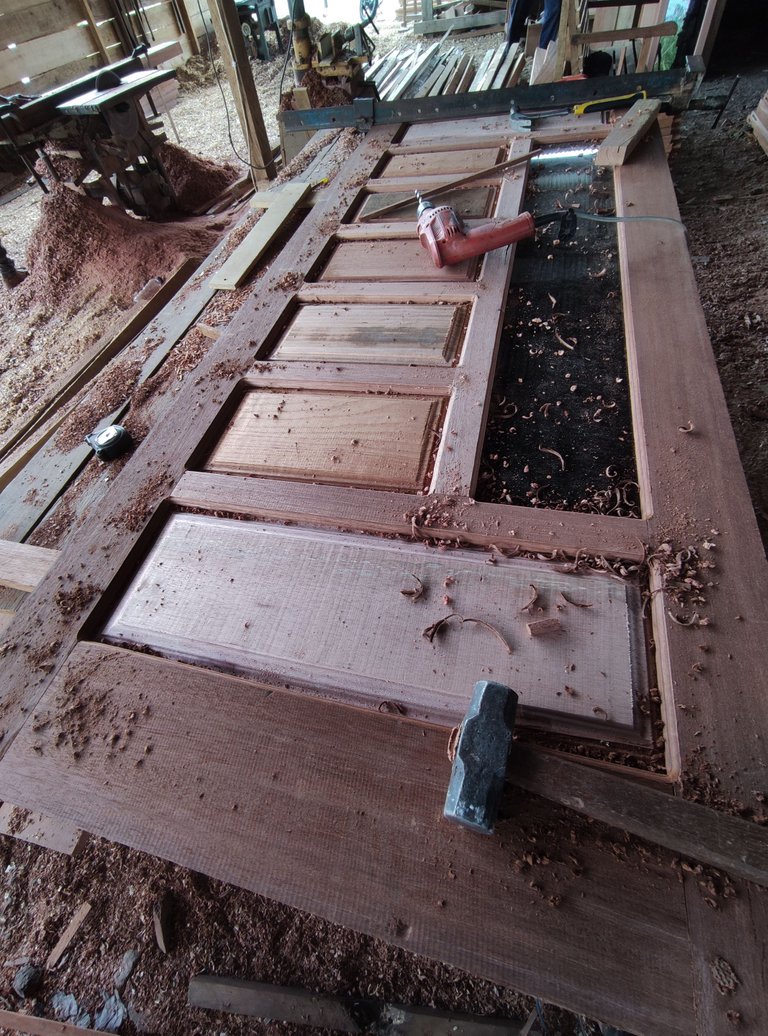
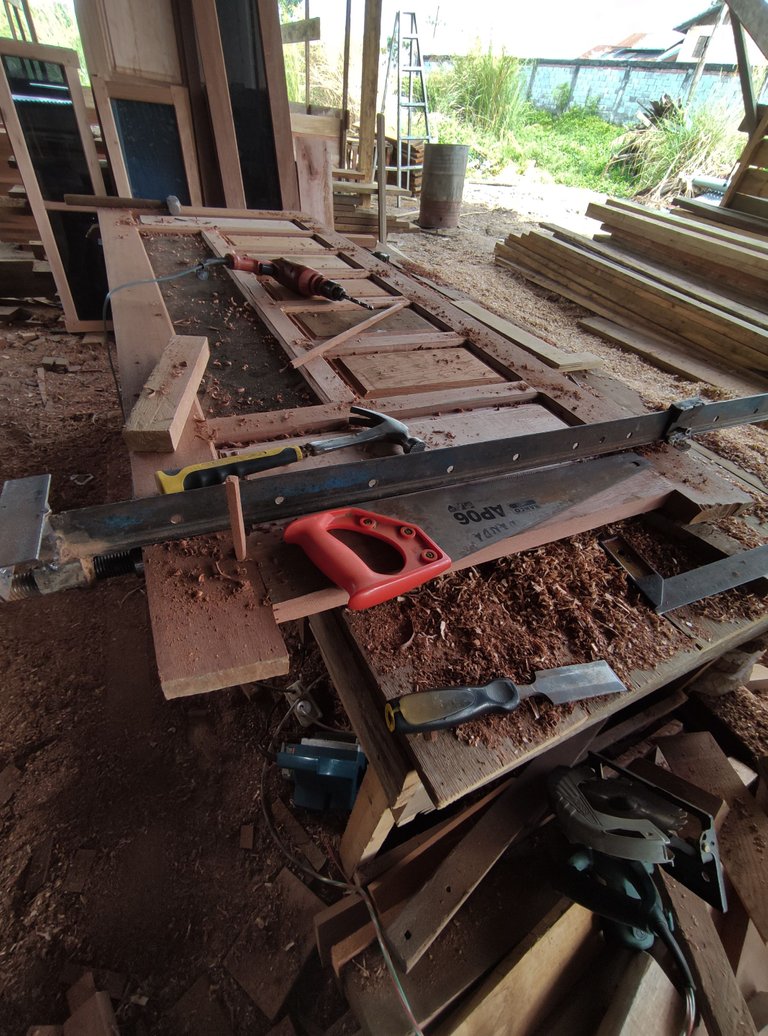
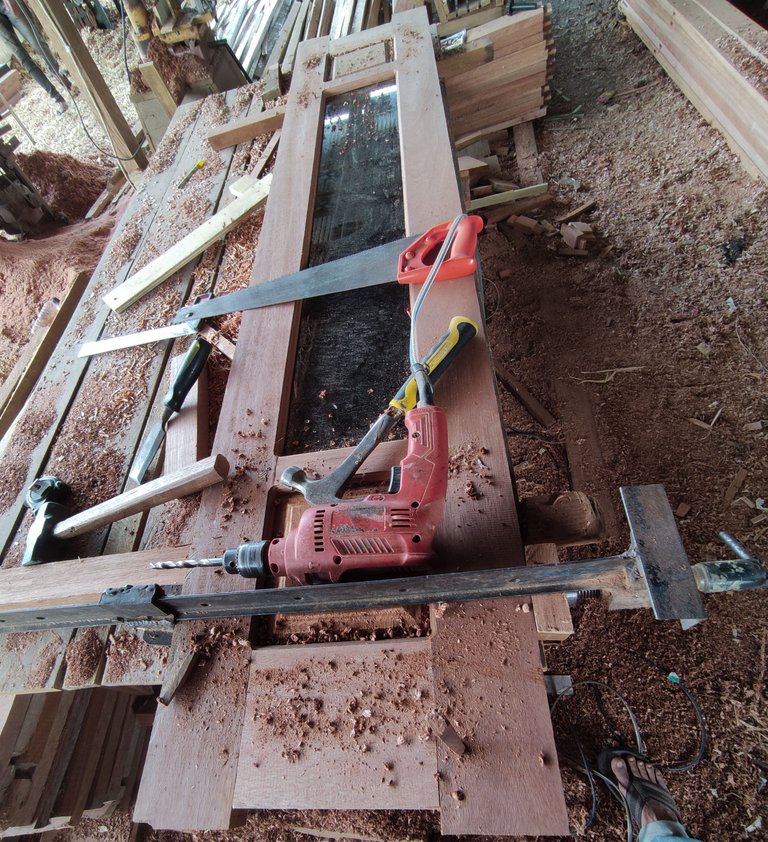
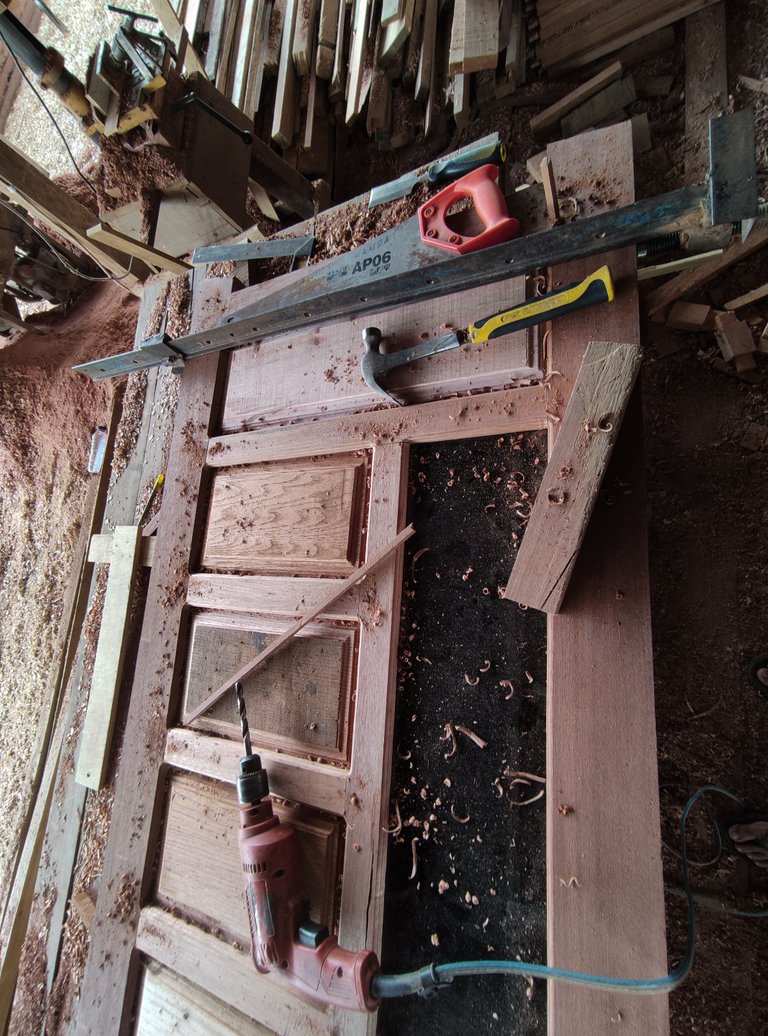
To lock the door joint bulkheads for the first stage we always press and I continue the process of drilling a series of joint bulkhead mounts to punch holes in the peg holder and the size of the stake that we use is 1cm x 1cm and the process goes like this.
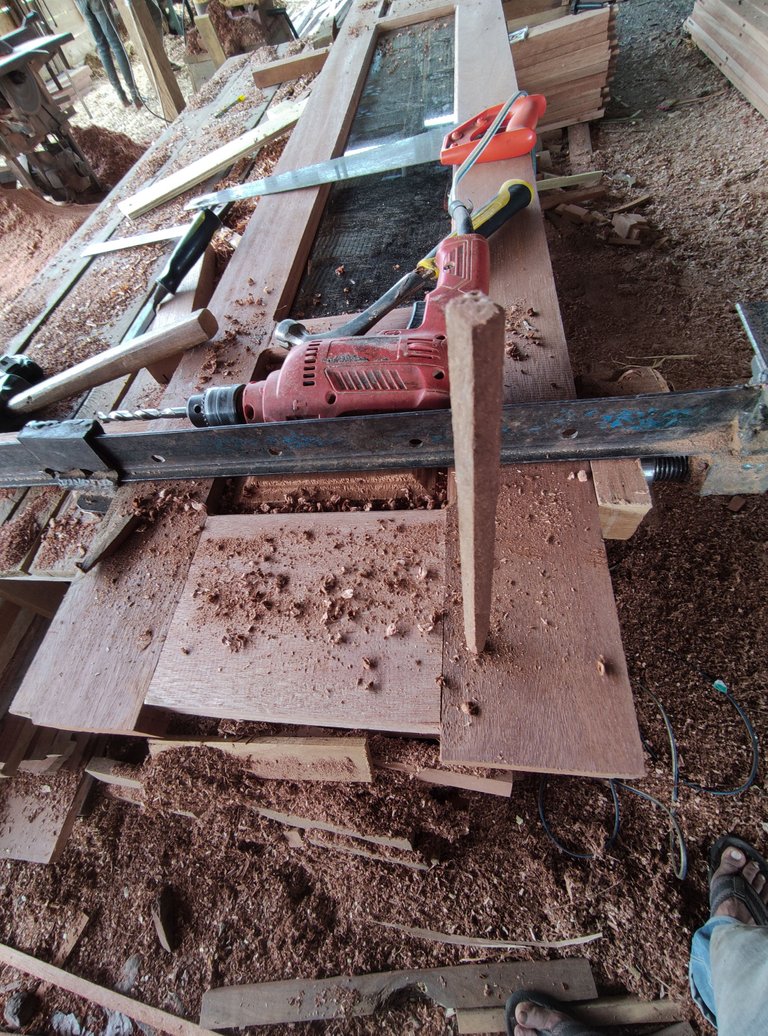
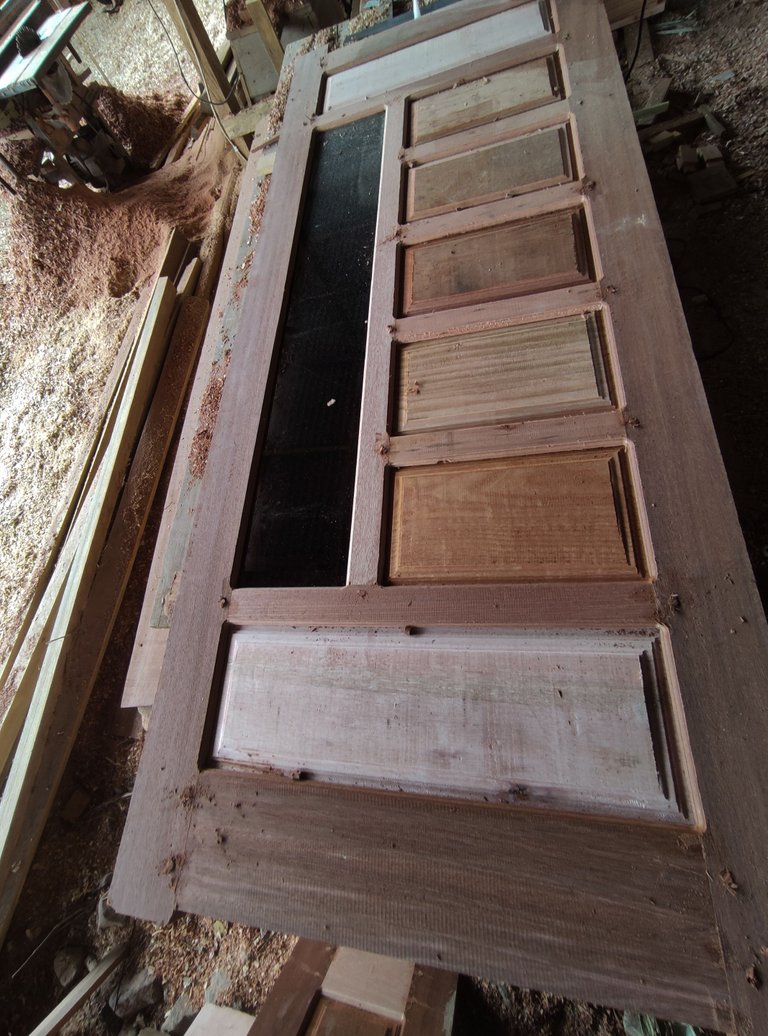
9. sanding or smoothing the front and back surfaces of the door frame.
To sand the front and back surfaces of the door, of course, we use a sanding machine and sand the entire surface of the door until it is completely smooth.
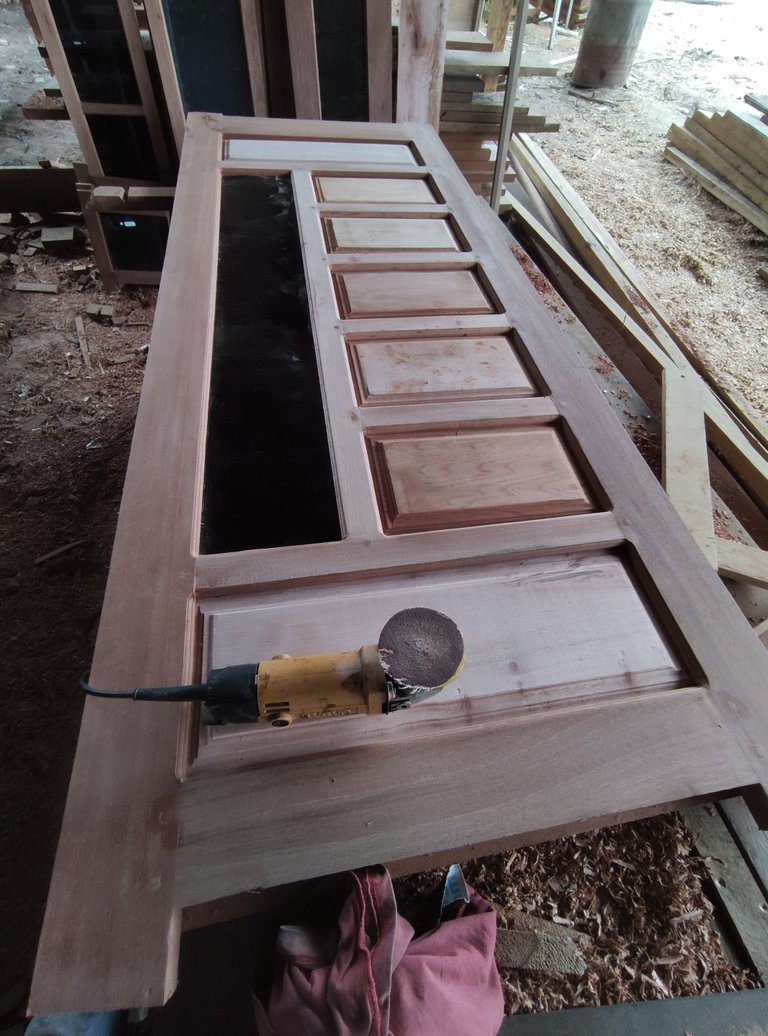
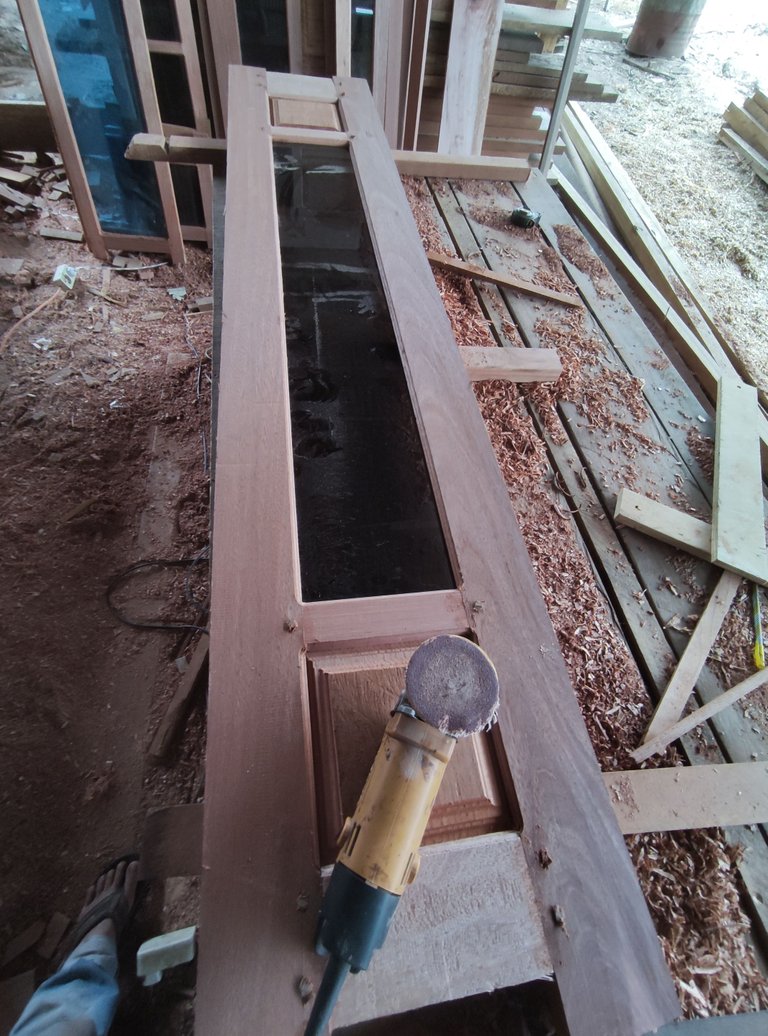
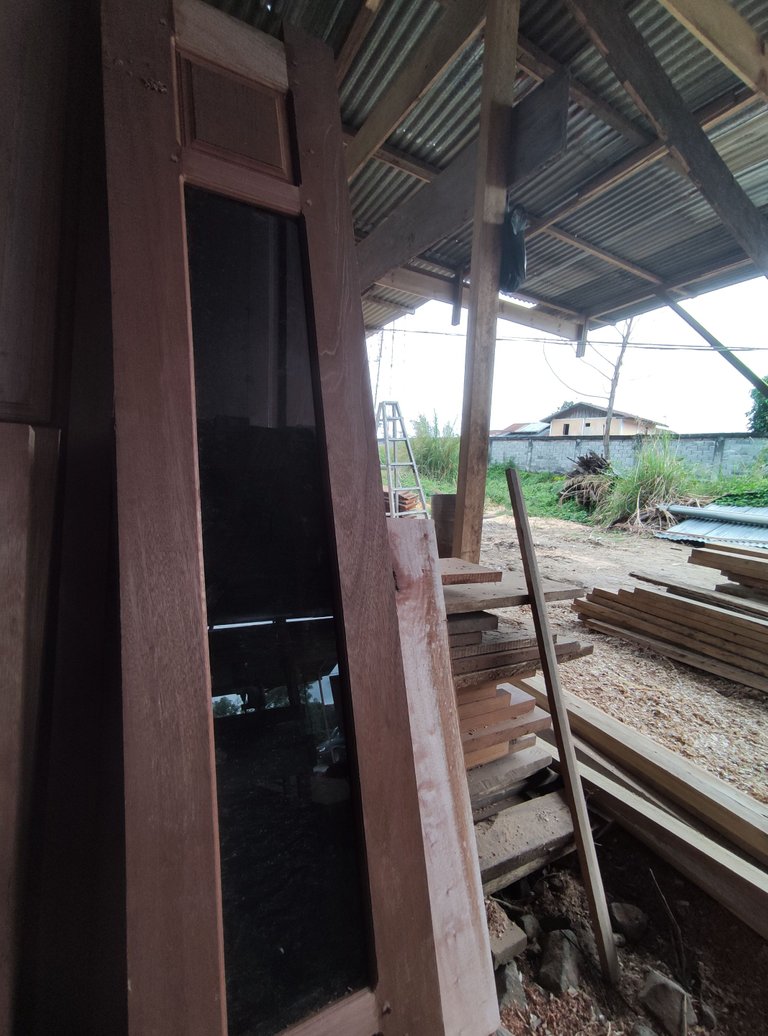
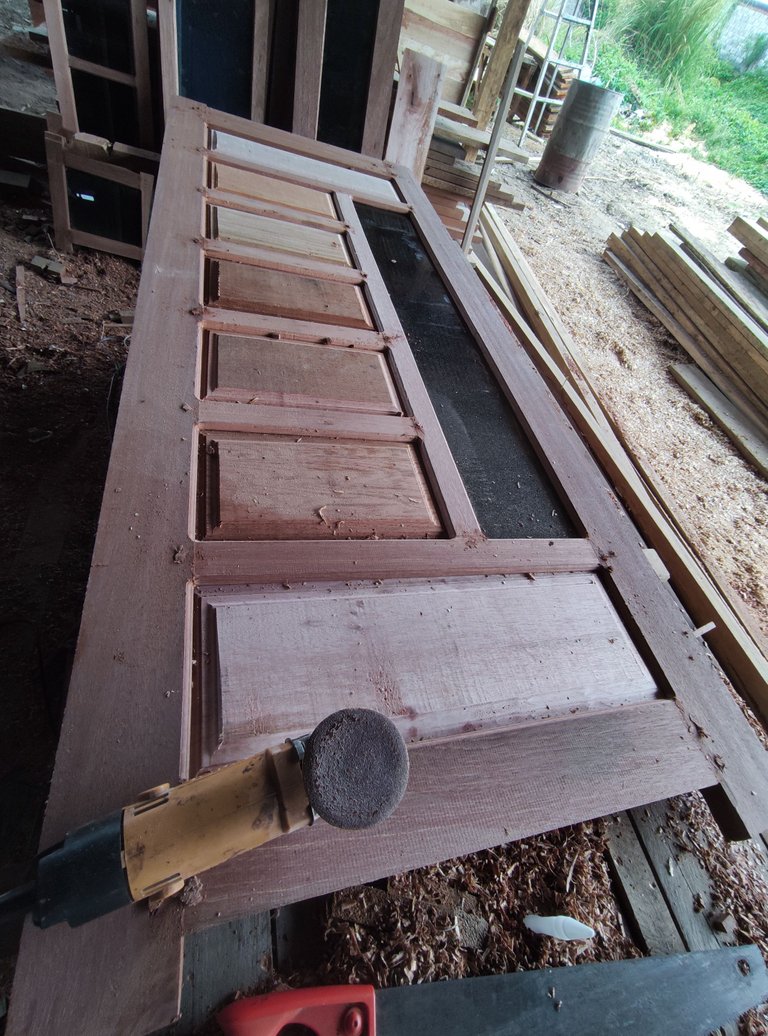
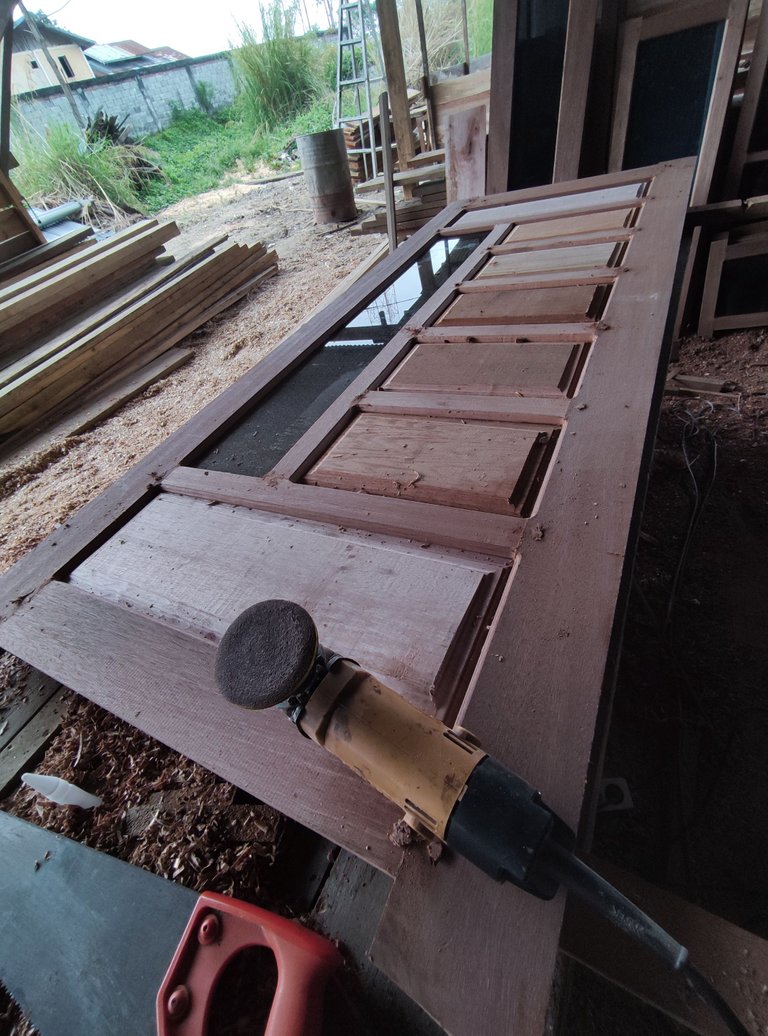
10. And this is the result of the architectural design of a two-door with a width of 80.40cm x height of 200 cm which is an order from the local community which is made from a series of meranti wood.
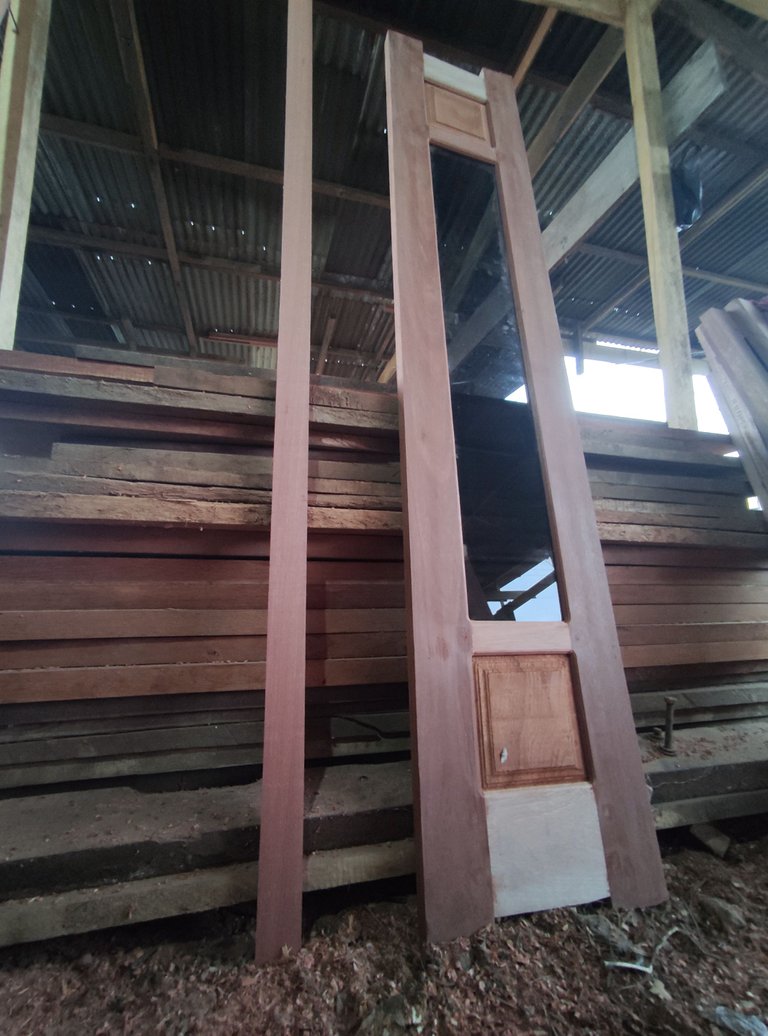
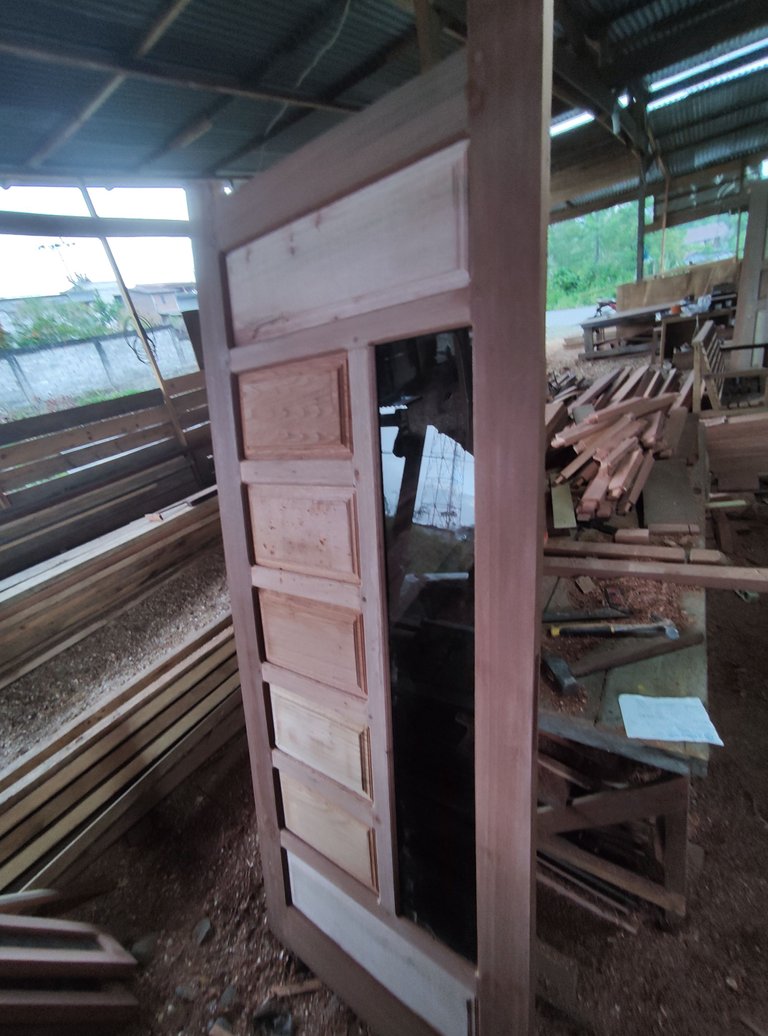
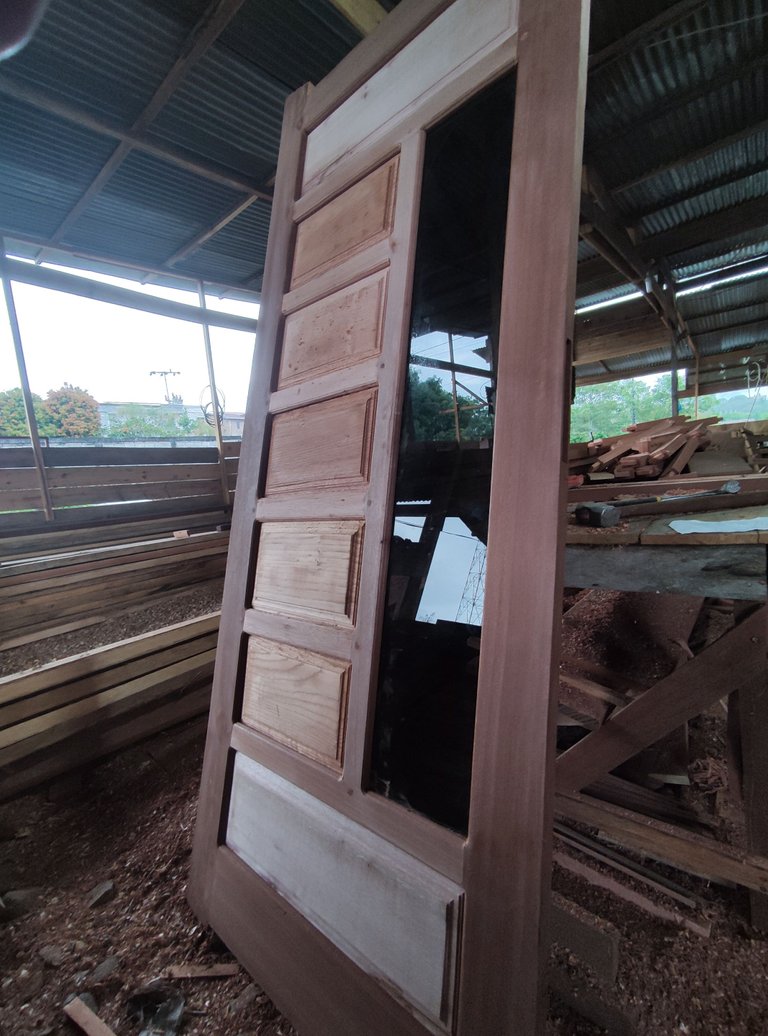
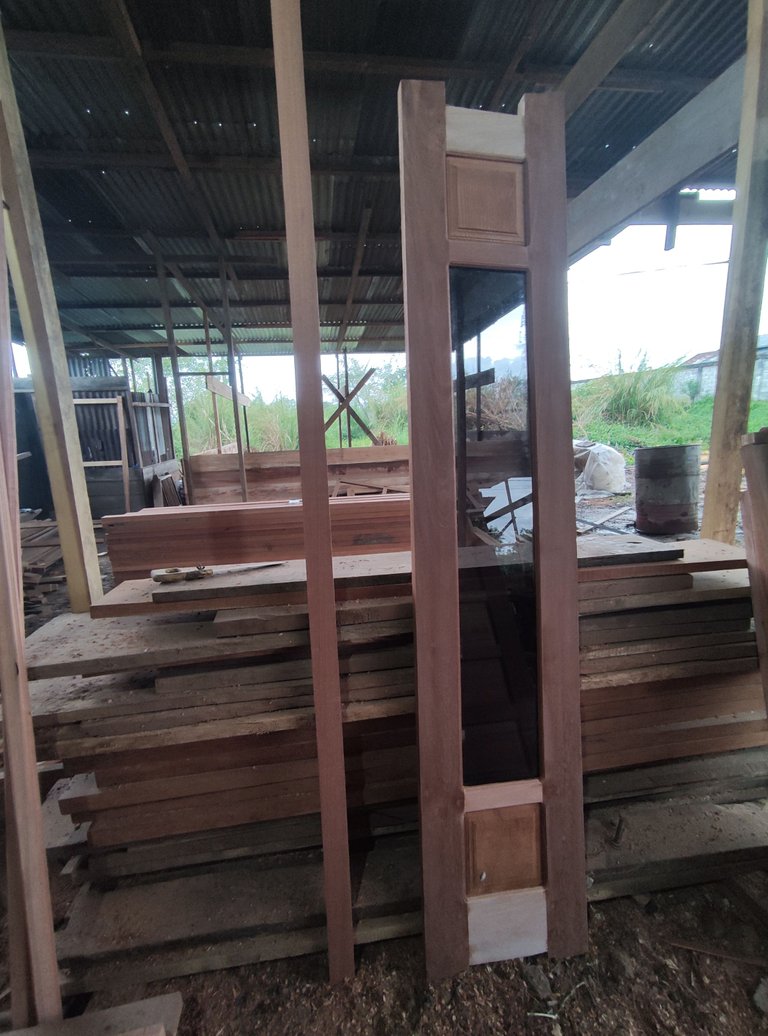
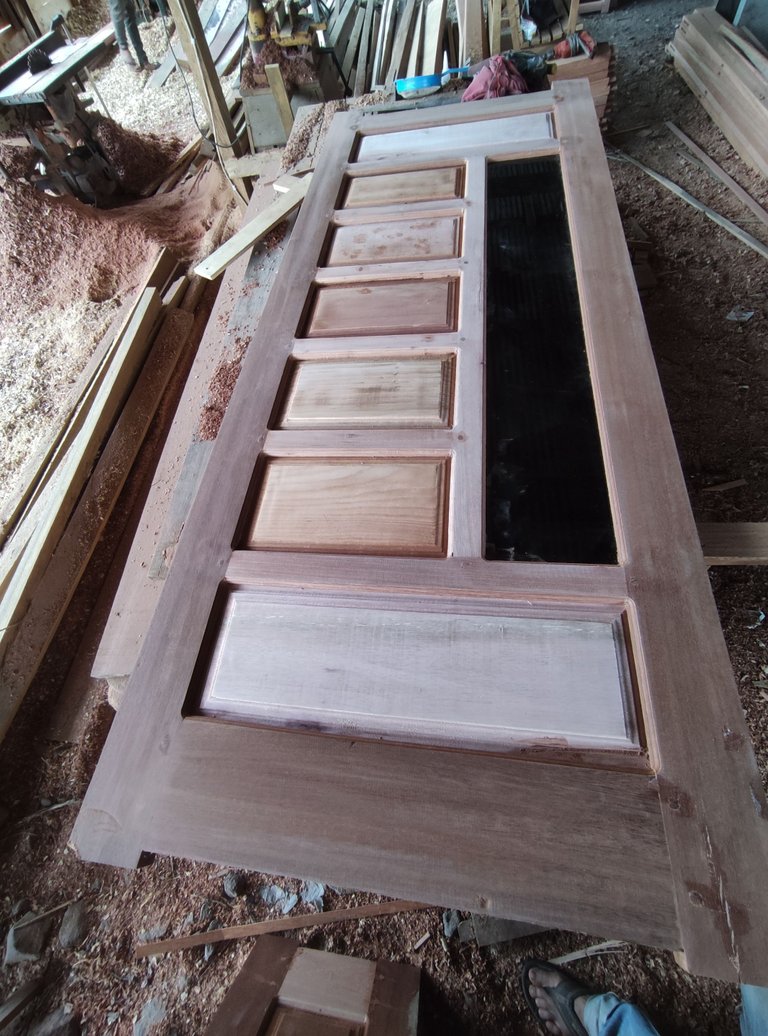
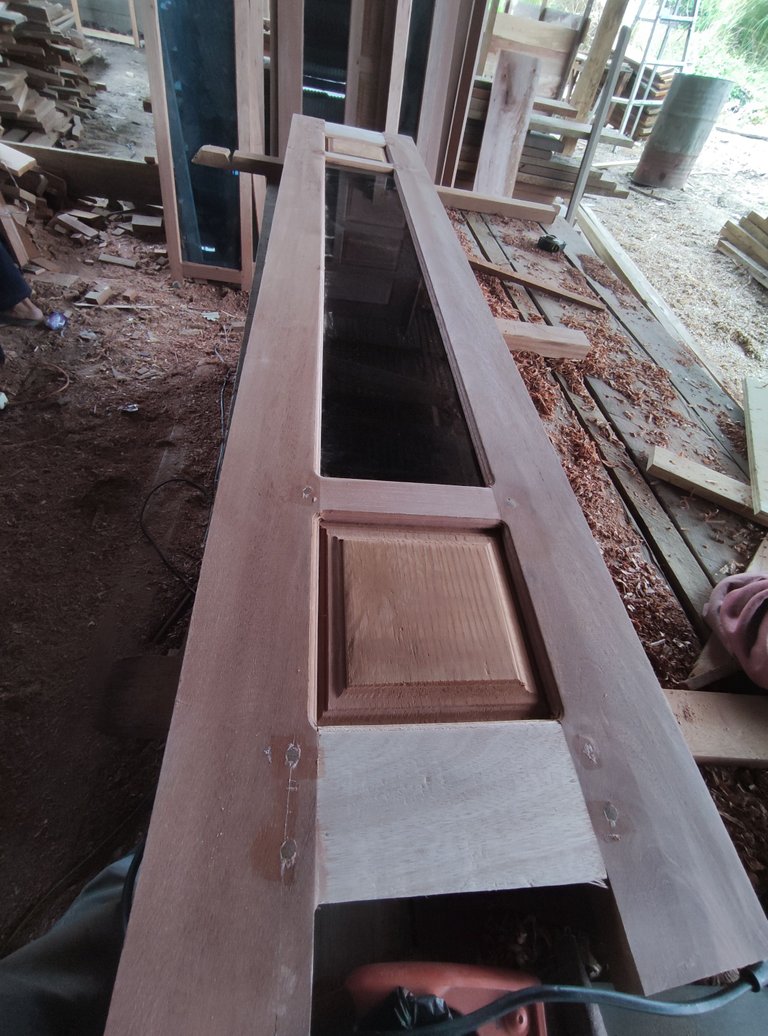
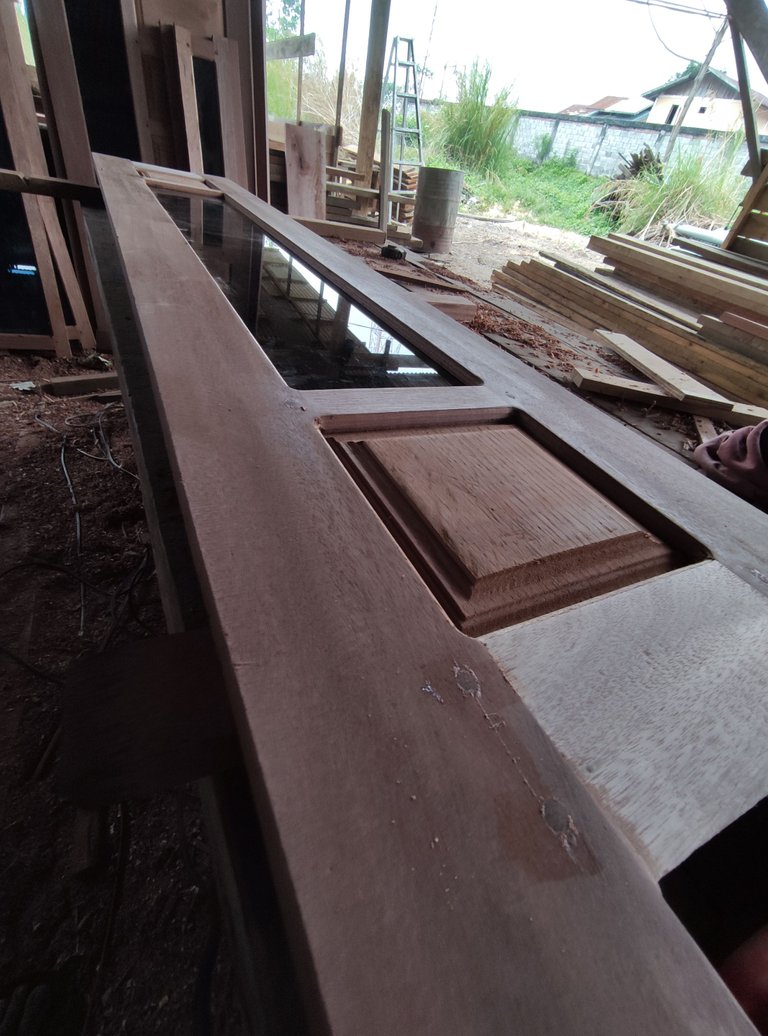
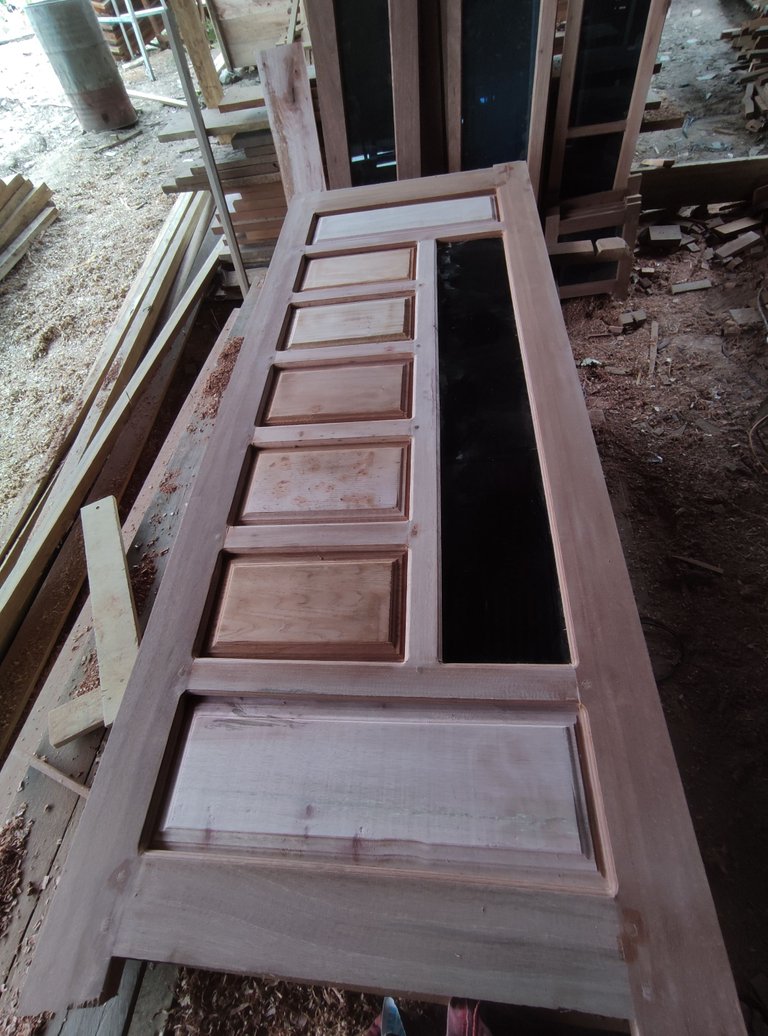
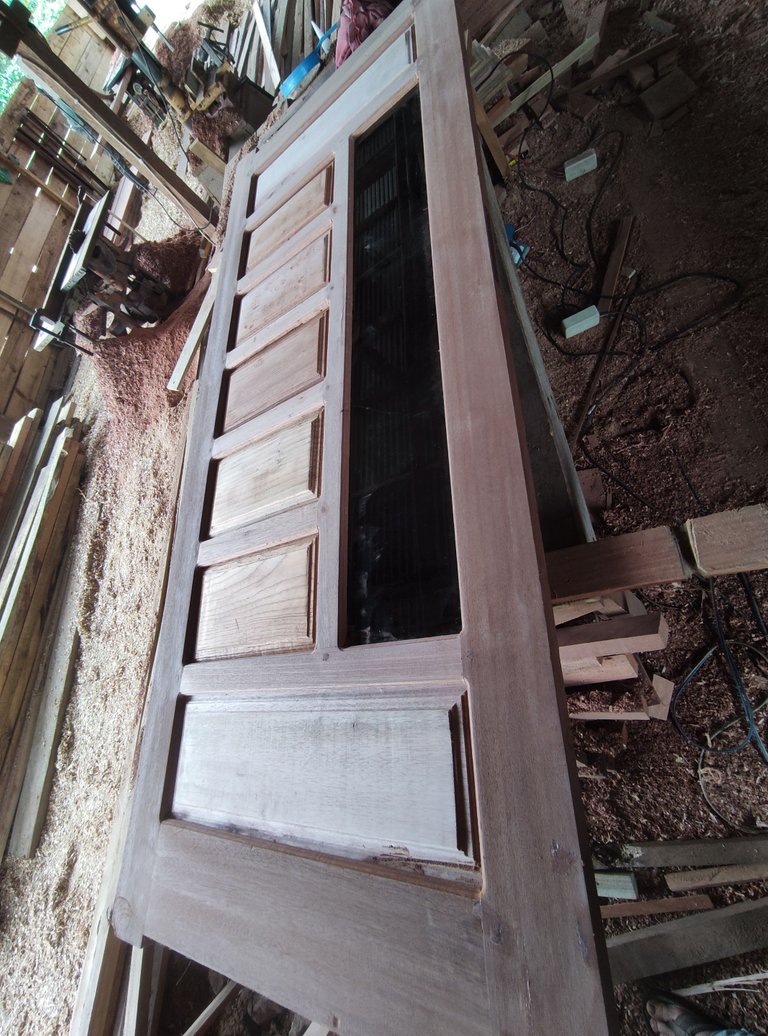
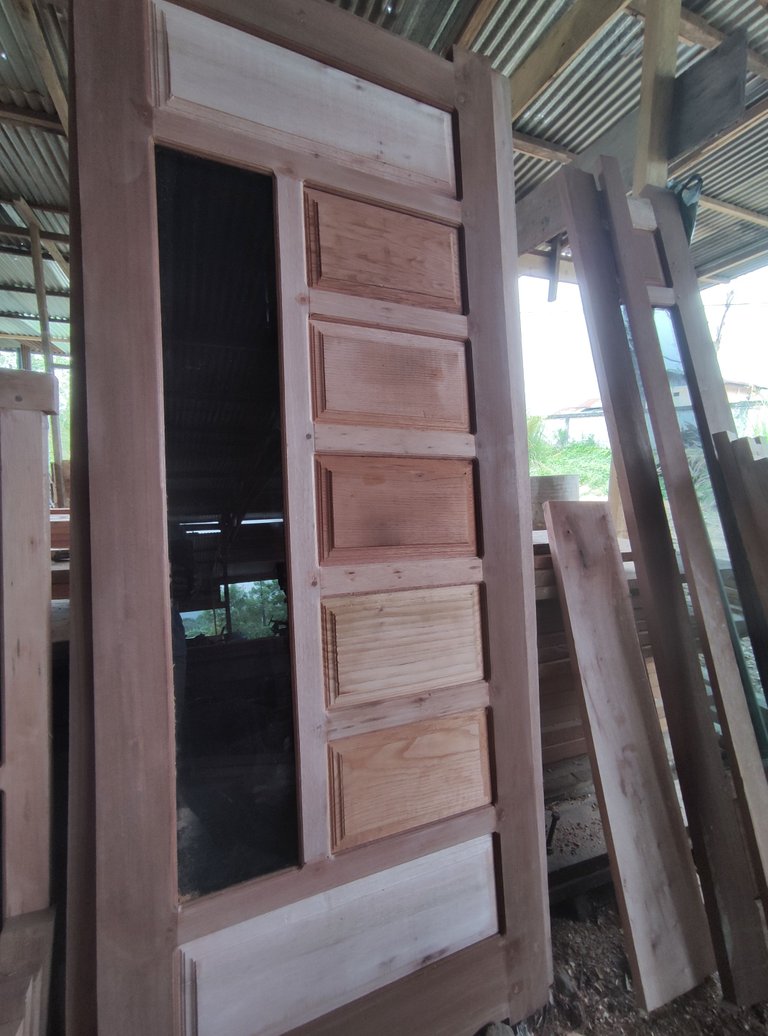
And to finish the two doors, I did it within 1 working day and this is what the door looks like when it is installed in the construction of a house.
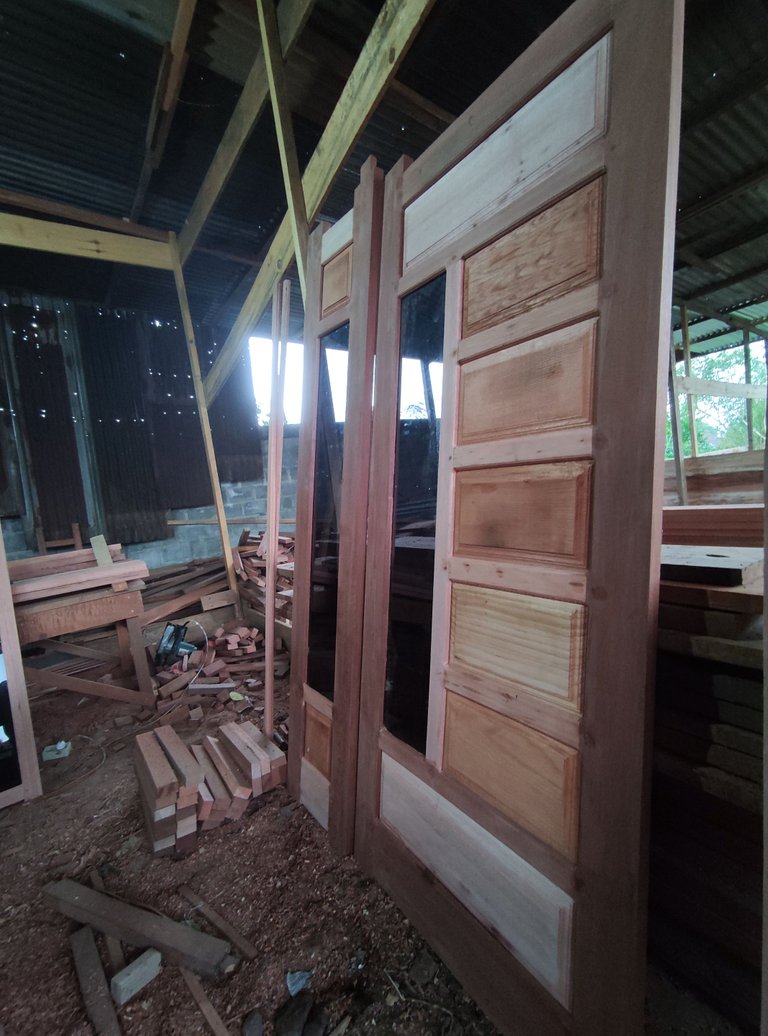
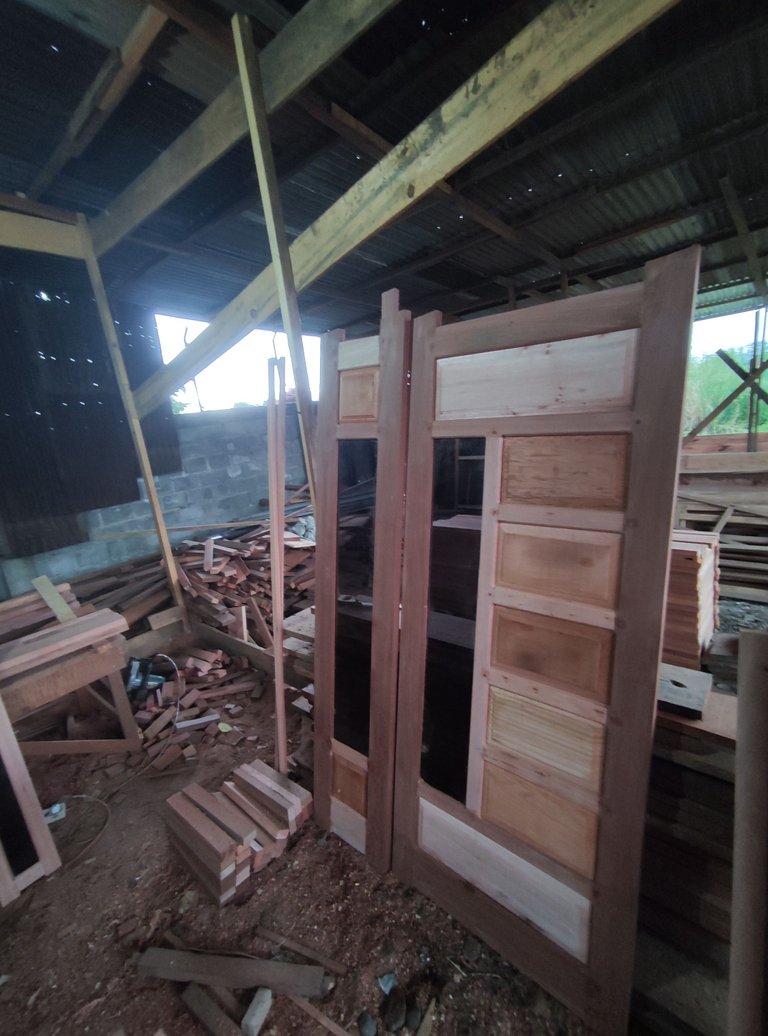
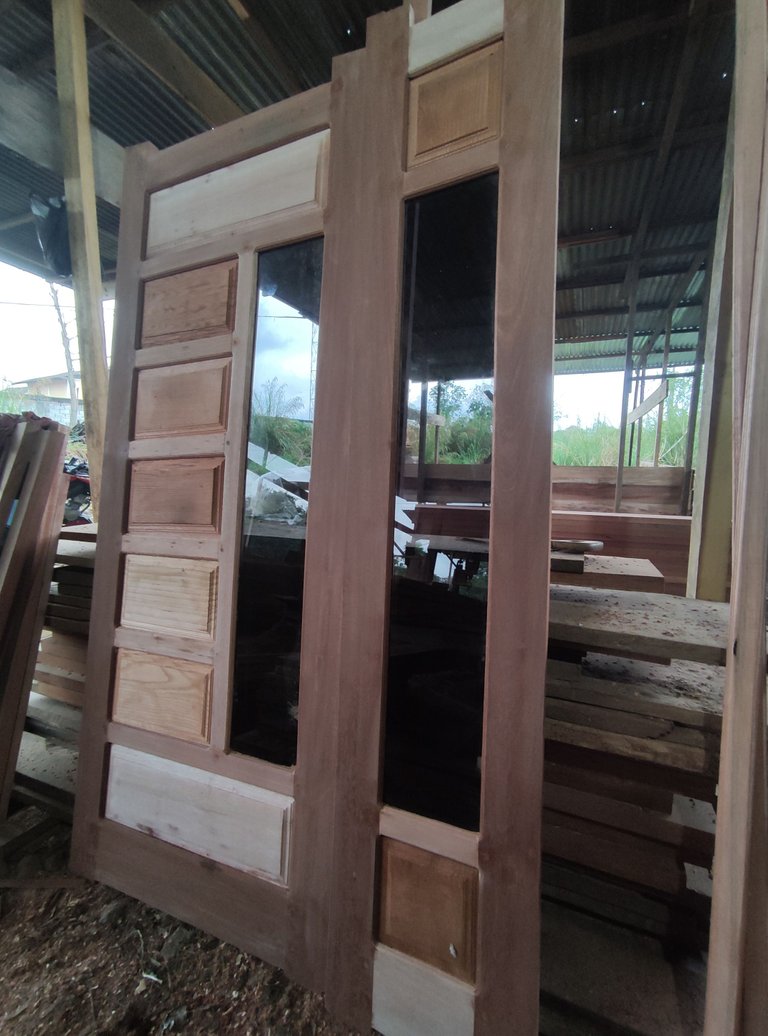


All of these pictures when i was working on that window and jalousie project ,all images were taken using a smartphone camera, if you want to enjoy my previous architectural design works, please visit the post link below.
1.Architectural design- simple cafe bar table
2.Architectural design - Wooden tray with natural wood color combination/utilization of wood waste
3.Architectural design - Flower vases / utilization of wood waste.
4.Architectural design-Simple architectural design of my baby crib basket.
5.Architectural design-Table simple the combination of natural wood colors and classic table tops
6.Architectural design- Shophouse frame jalousie
7.simple-minimalist-mini-wall-shelf-architectural-design-to-decorate-your-home-room
8.architectural-design-of-the-ventilation-jalousie - part 1
9.architectural-design-of-windows-house -part 1
10.interior-design-architecture-simple-makeup-mirror-frame.
11.architectural-design-simple-minimalist-wooden-window -part 2
12.architectural-design-window-designs-that-are-in-great-demand-by-local-residents
13.architectural-design-of-a-mini-table-and-a-simple-photo-frame
14.architecturaldesign-of-glass-windows-and-jalousies - house
15.Architecture + door design of local people's houses.
16.Furniture design architecture || Making multiplex doors for motorcycle workshops.
17.Architecture+furniture design || Simple comb design house door.
18.Architecture + furniture design || A pair of doors home belonging to local residents.
20.Architecture + Design || Double-faced house door part ll.
21.Architecture + design || Making window for villagers' houses.
22.Architecture+furniture design || Two-faced house door part III
23.Architecture+furniture design || Multiplex door
24.Architecture + Design || Work on minimalist house doors local residents.
25.Architecture + door design of regional community houses part II.

.jpg)
.jpg)


