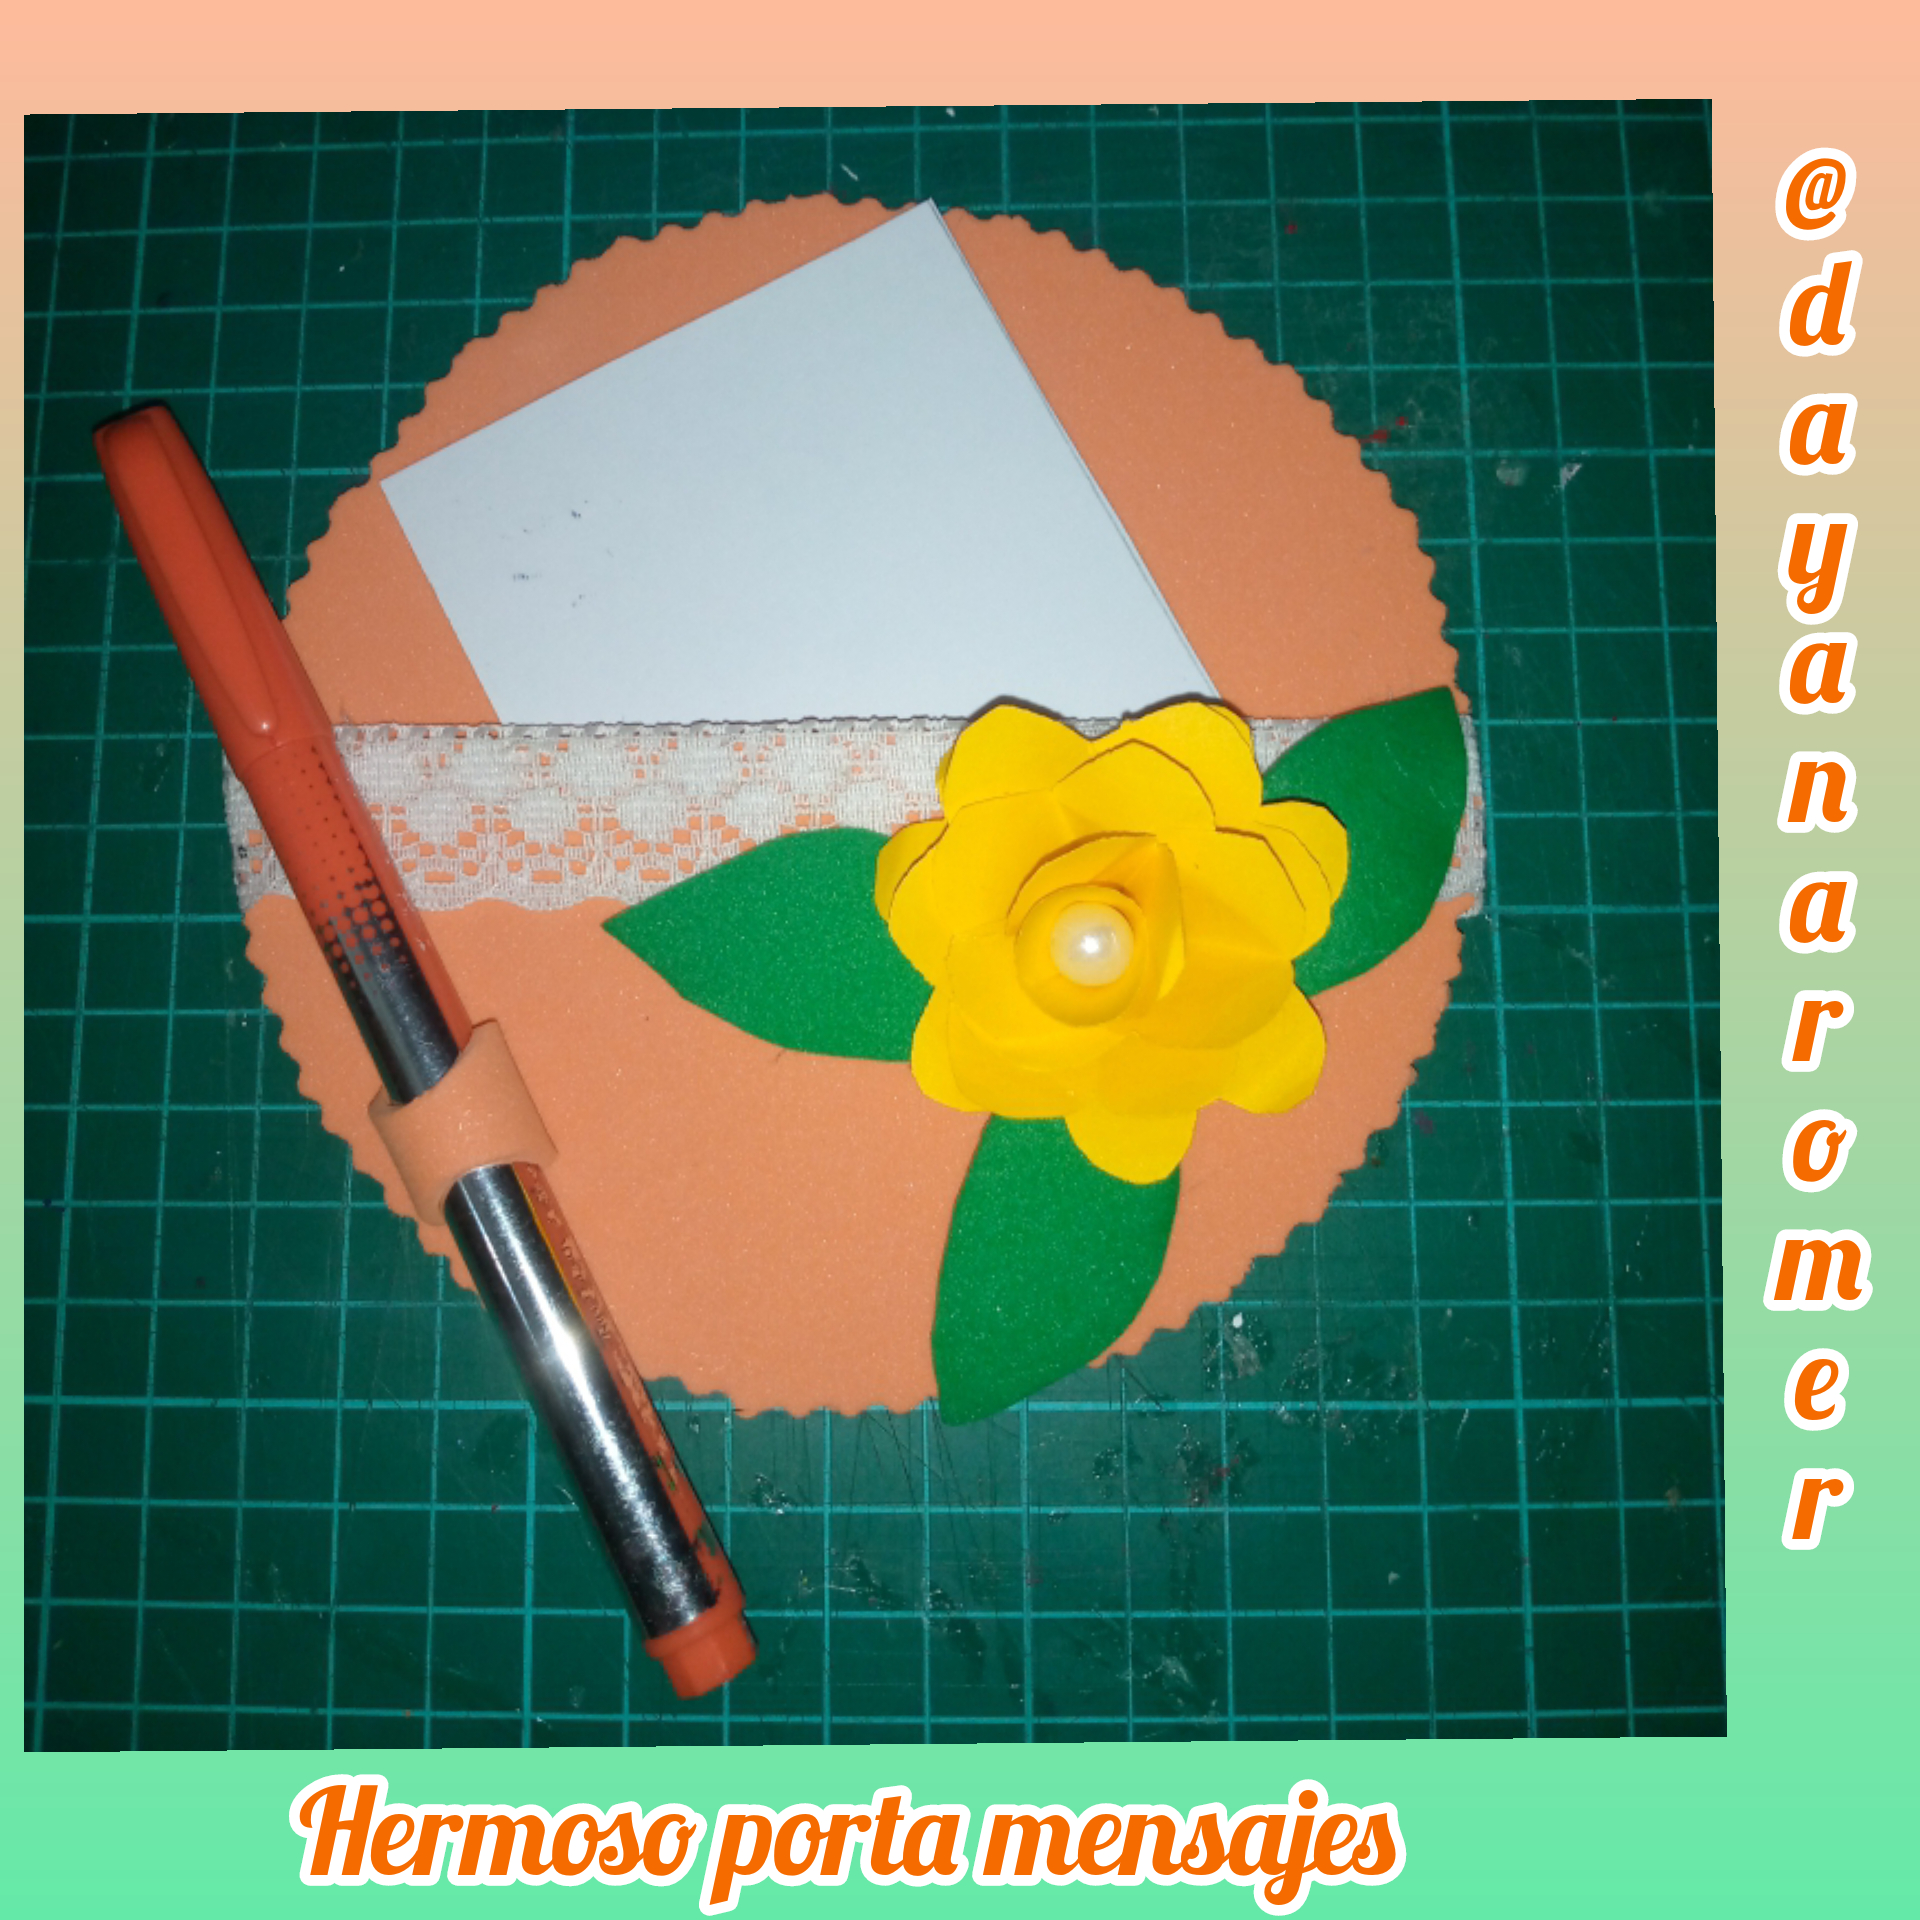
Saludos gente creativa, es un placer estar nuevamente compartiendo con ustedes a través de esta hermosa comunidad, hoy les mostraré como realizar un porta mensajes hecho con un Cd.
Greetings creative people, it is a pleasure to be sharing with you again through this beautiful community, today I will show you how to make a message holder made with a CD.
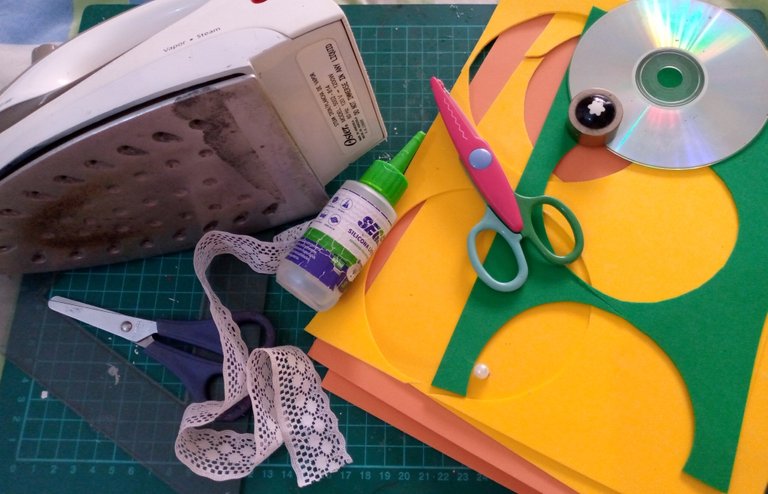
Materiales
- Cd
- Foami color naranja u verde
- Hoja de papel color amarillo
- Cinta de encaje
- Perla
- Silicón liquido
- Tijera de figuras
- Tijera
- Plancha de ropa
Materials
- cd
- Orange or green foami
- Sheet of yellow paper
- lace ribbon
- Pearl
- Liquid silicone
- Scissor figures
- Scissor
- Clothes iron
Paso a paso
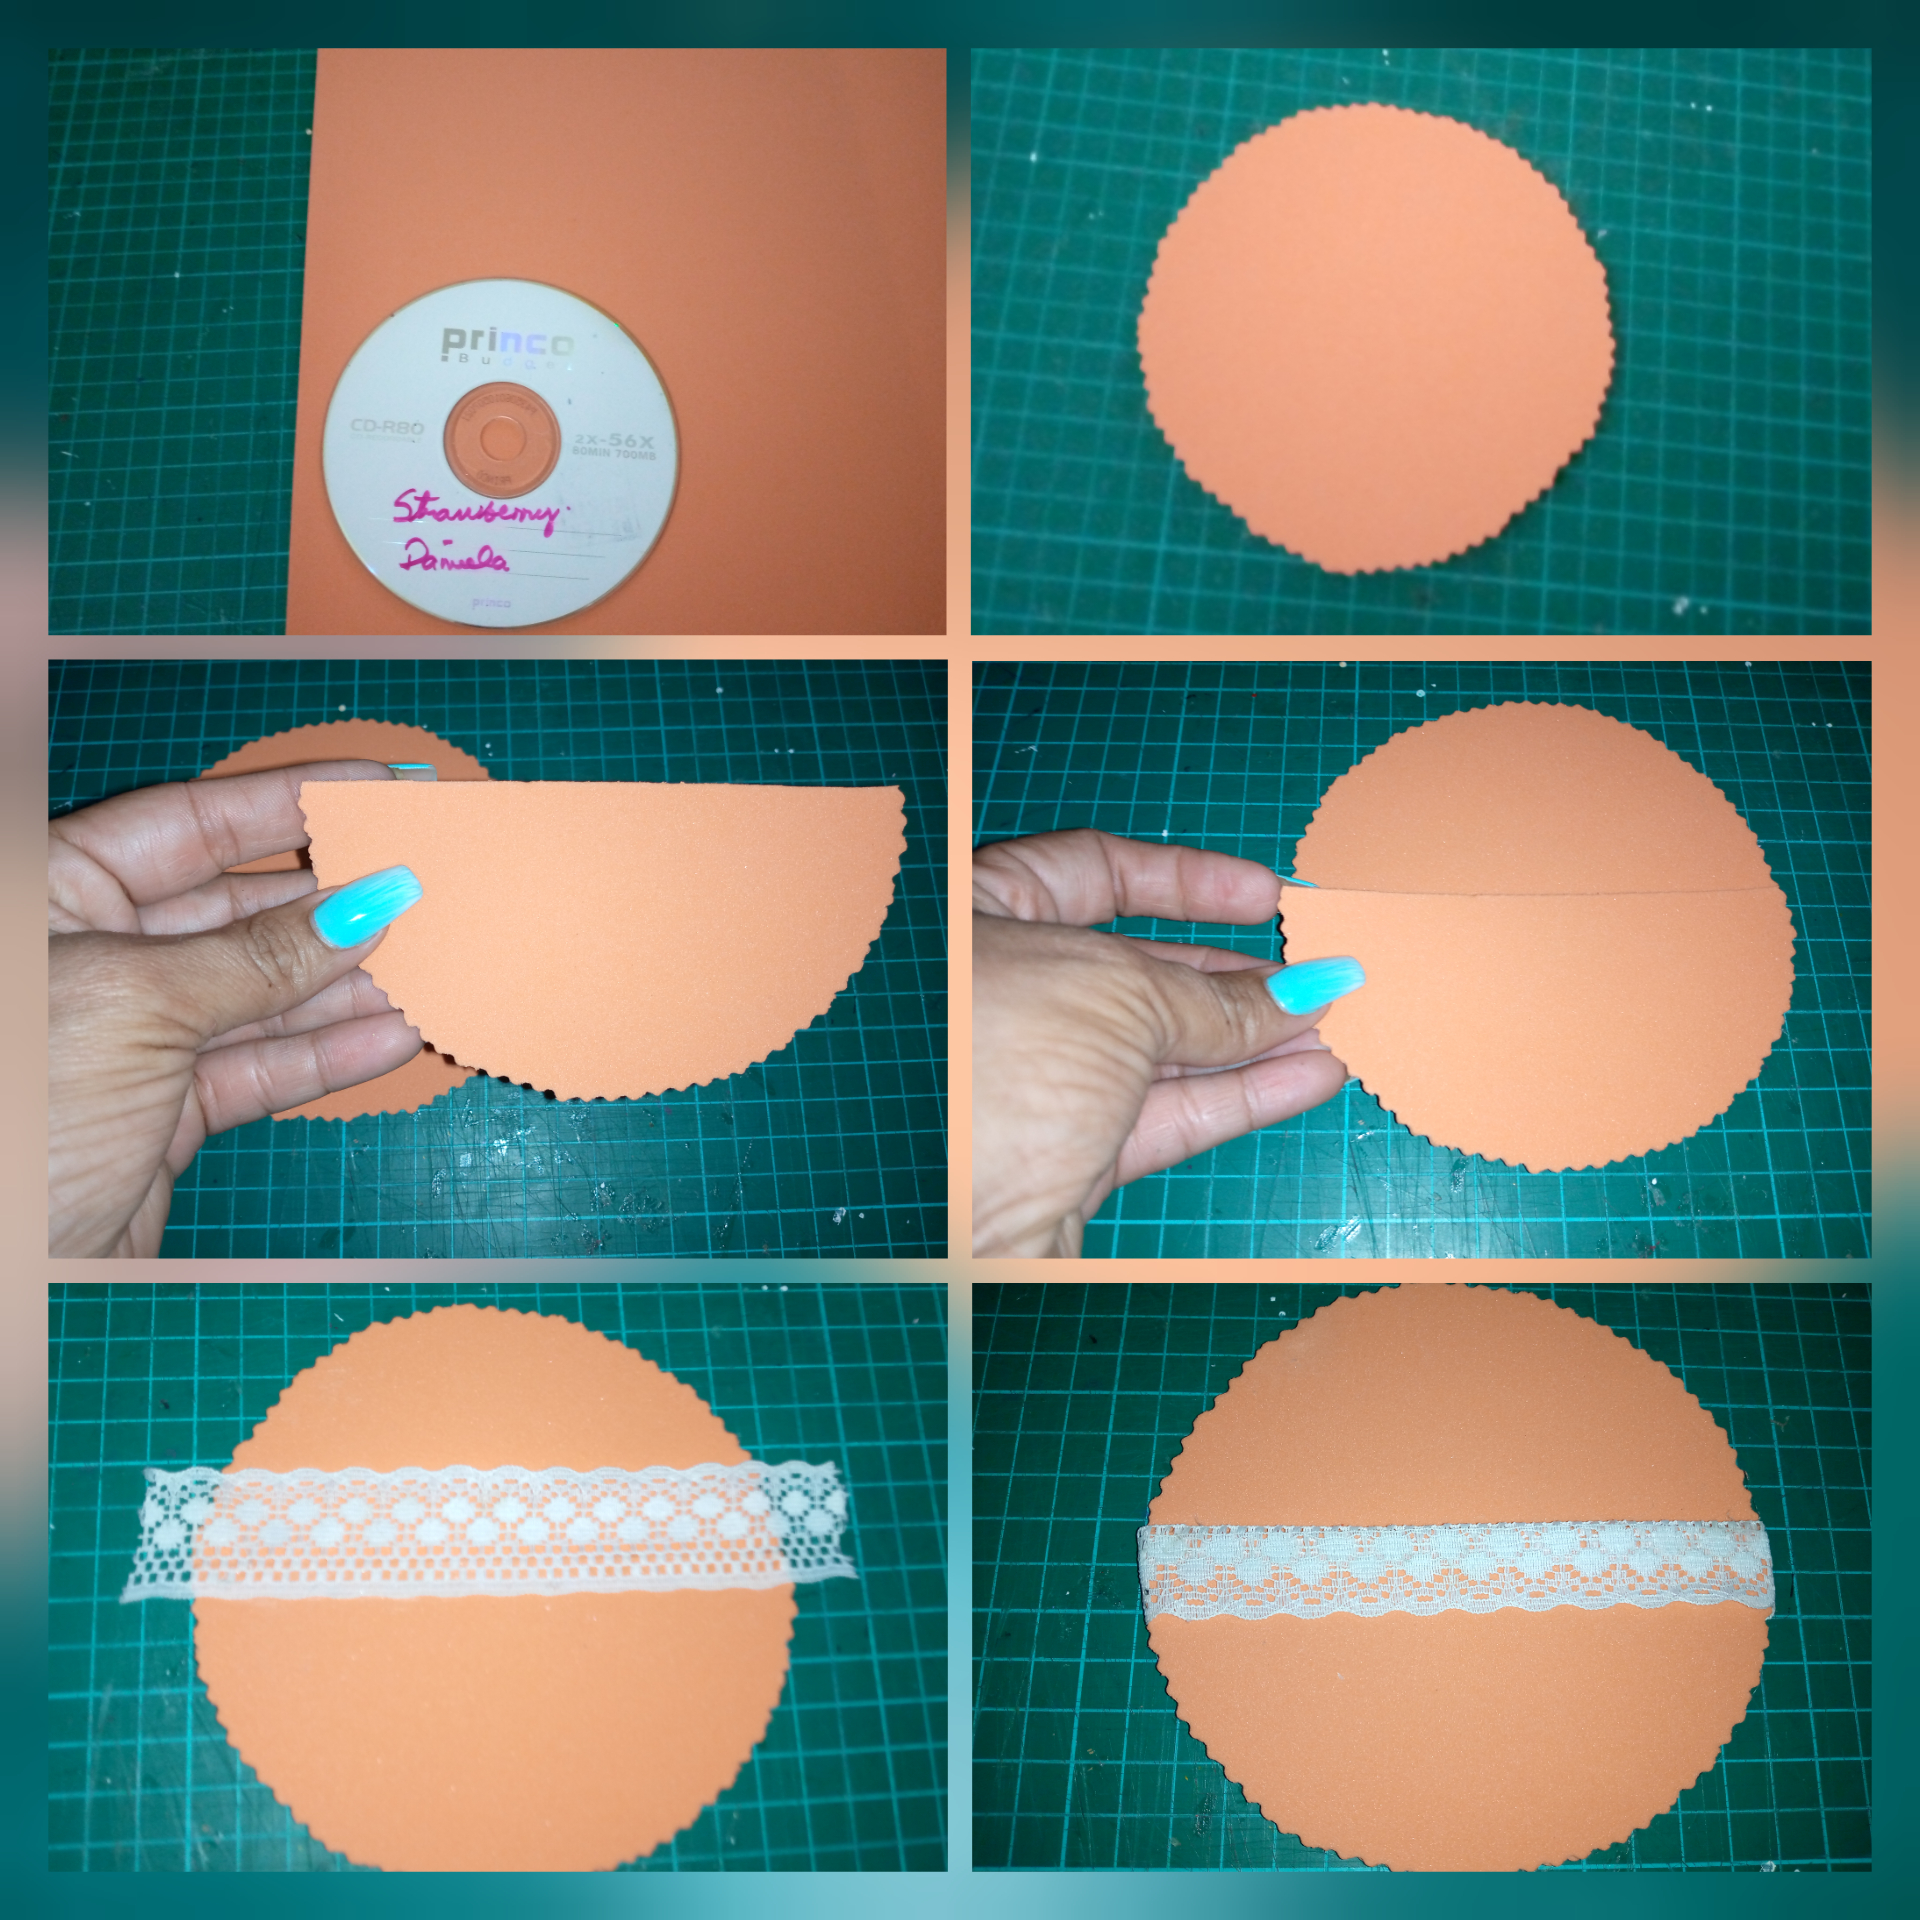
1- Pega el cd sobre el foami naranja y recorta con la tijera de figuras, recorta un semicírculo de la medida del cd y pega en la parte de abajo sin pegar la parte superior, decora con la cinta.
Step by Step
1- Paste the cd on the orange foami and cut it out with the figure scissors, cut out a semicircle the size of the cd and paste it on the bottom part without gluing the top part, decorate with the tape.
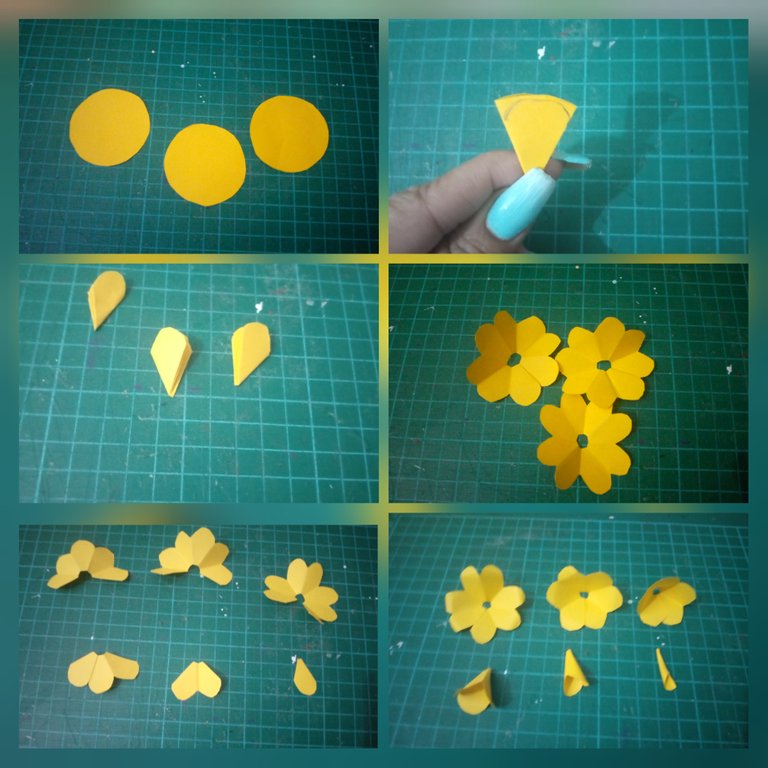
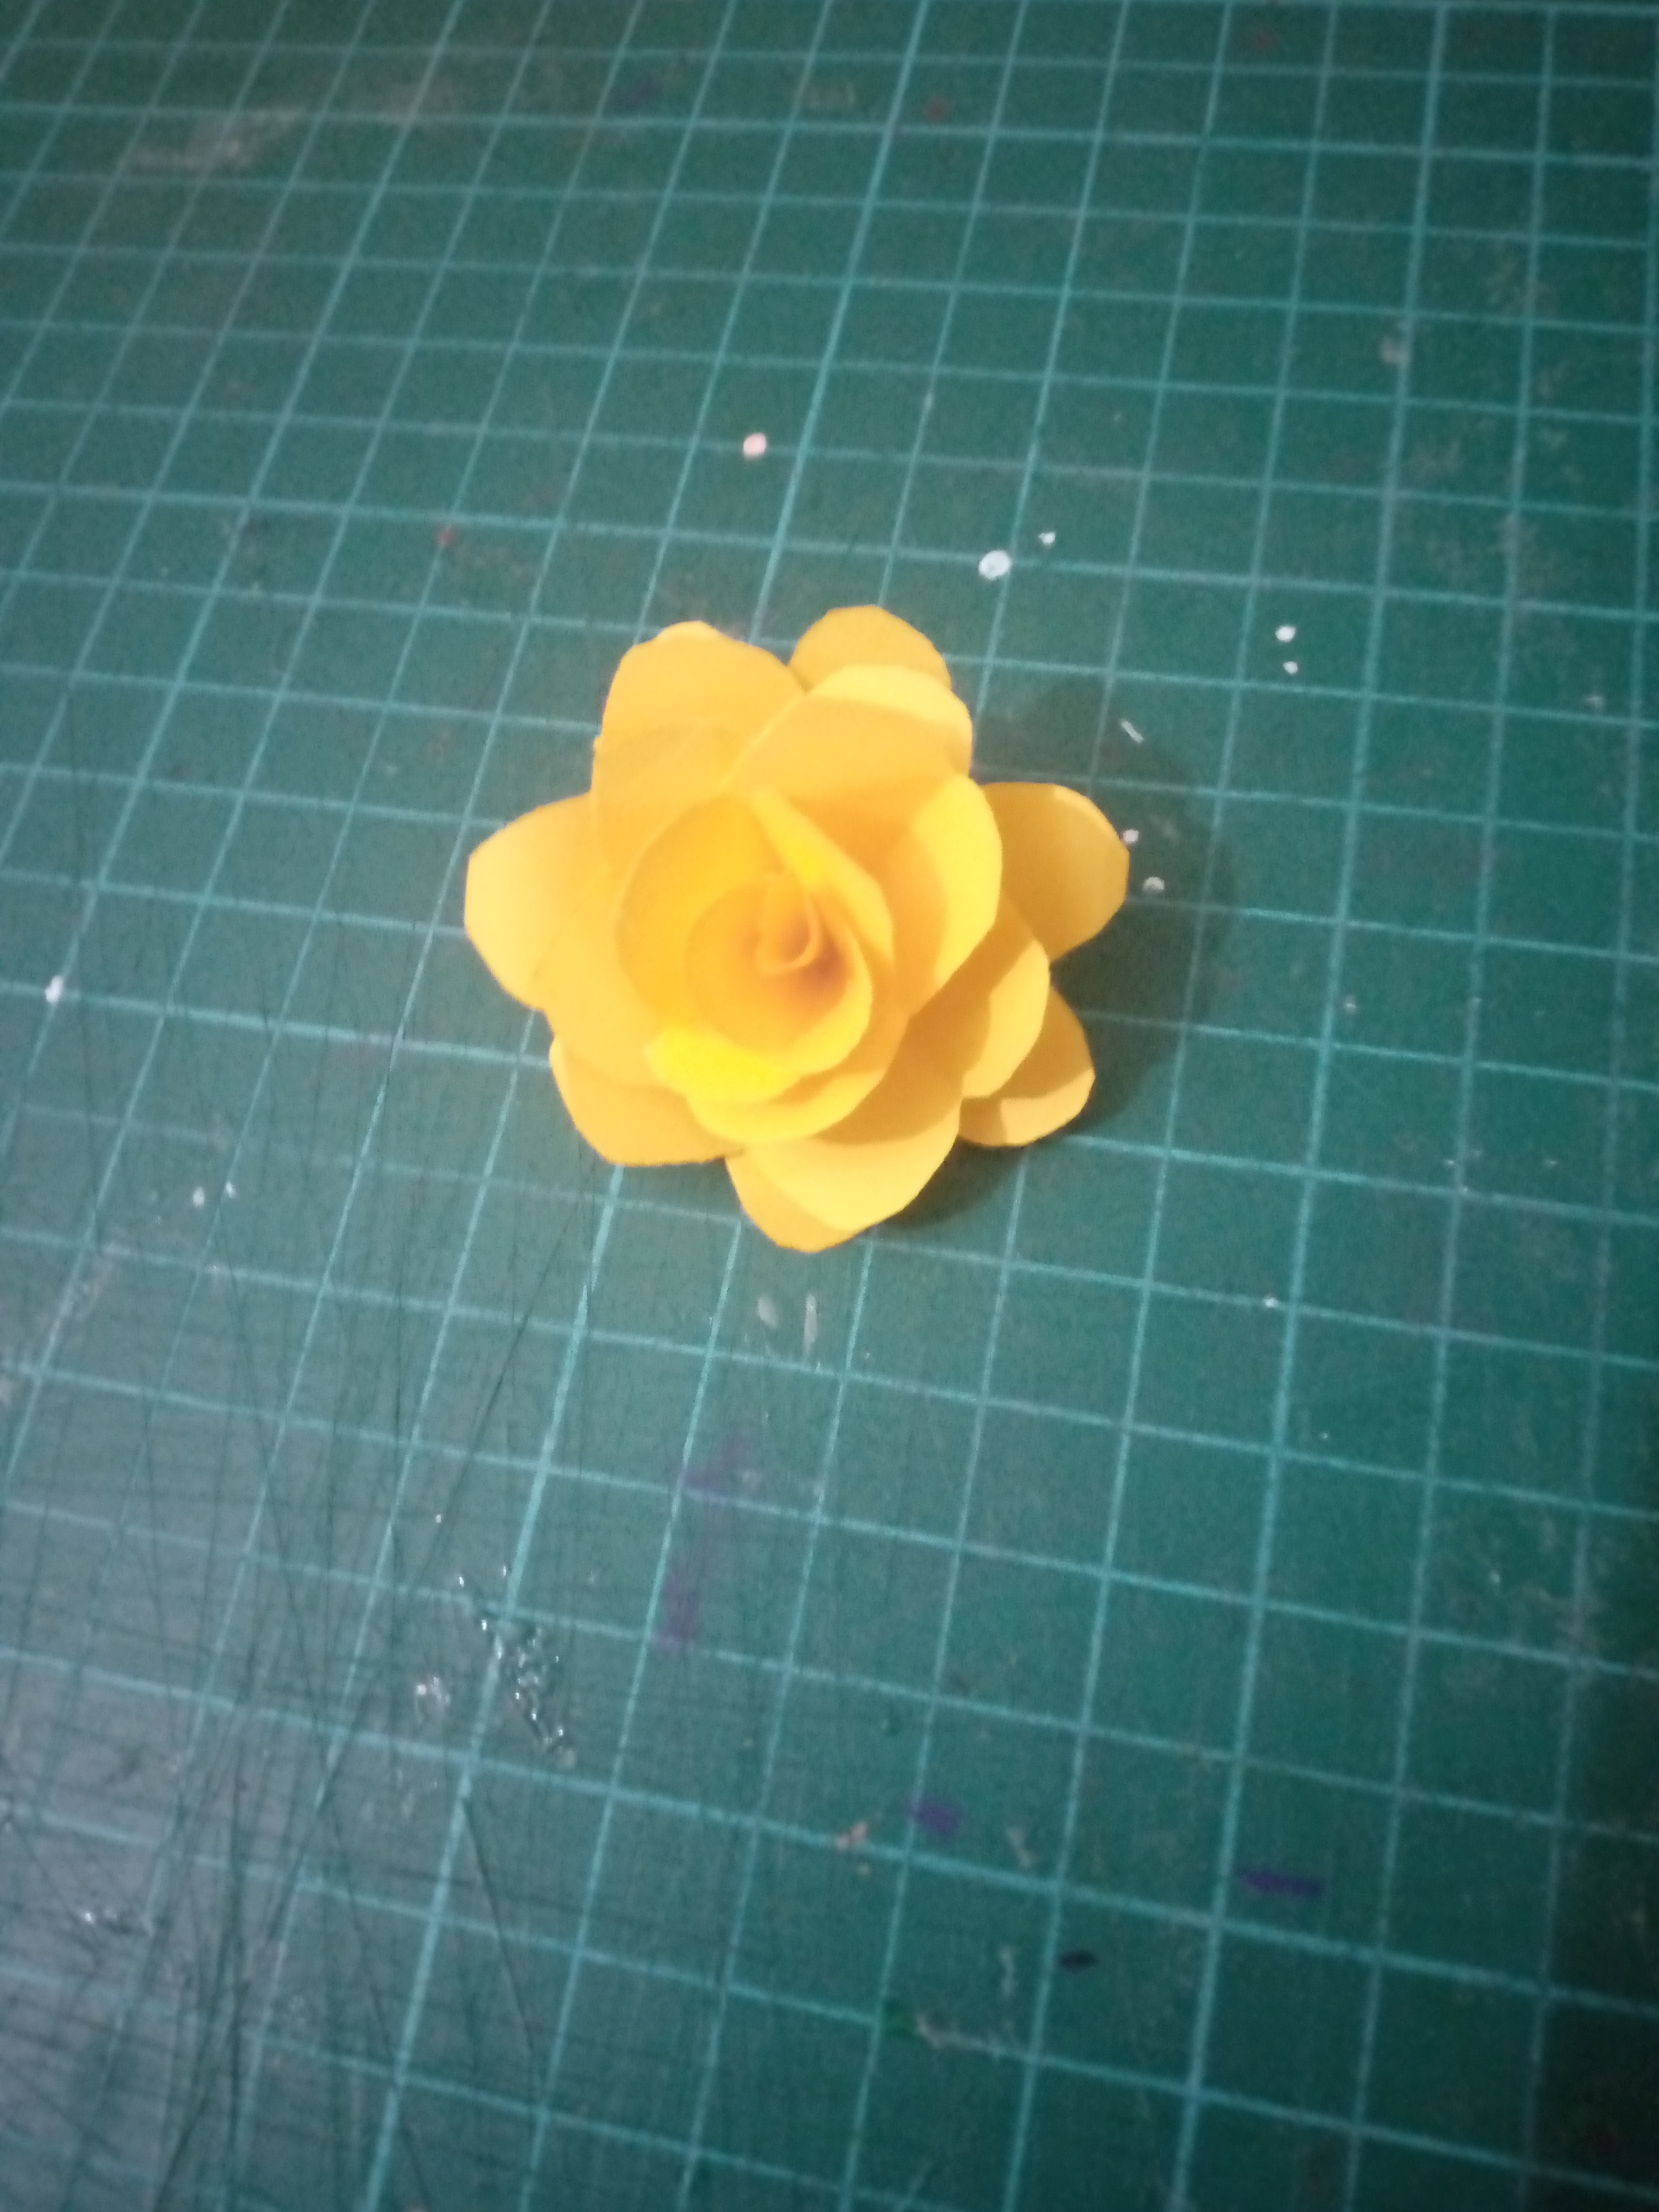
2- Recorta 3 circulos con la hoja de papel amarilla y arma una linda flor, dobla 3 veces a la mitad, recorta la parte superior de forma redondeada y la punta inferior, luego abre y corta un pétalo de una flor, dos de otra y 3 de la otra, pega los extremos de cada una y pega de mayor a menor.
2- Cut out 3 circles with the yellow sheet of paper and make a pretty flower, fold it in half 3 times, cut off the upper part in a rounded shape and the lower point, then open and cut one petal from one flower, two from another and 3 of the other, glue the ends of each one and glue from largest to smallest.
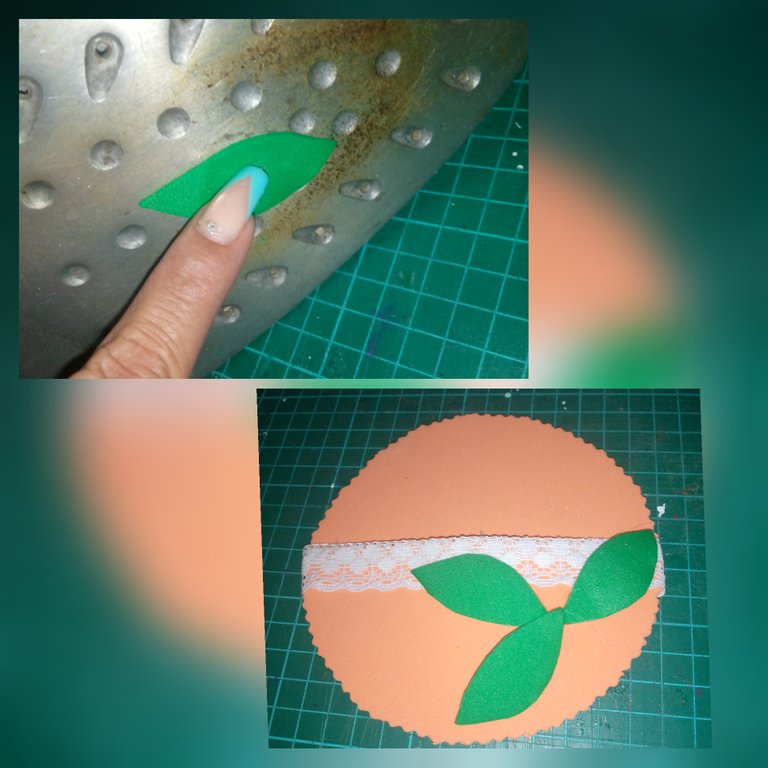
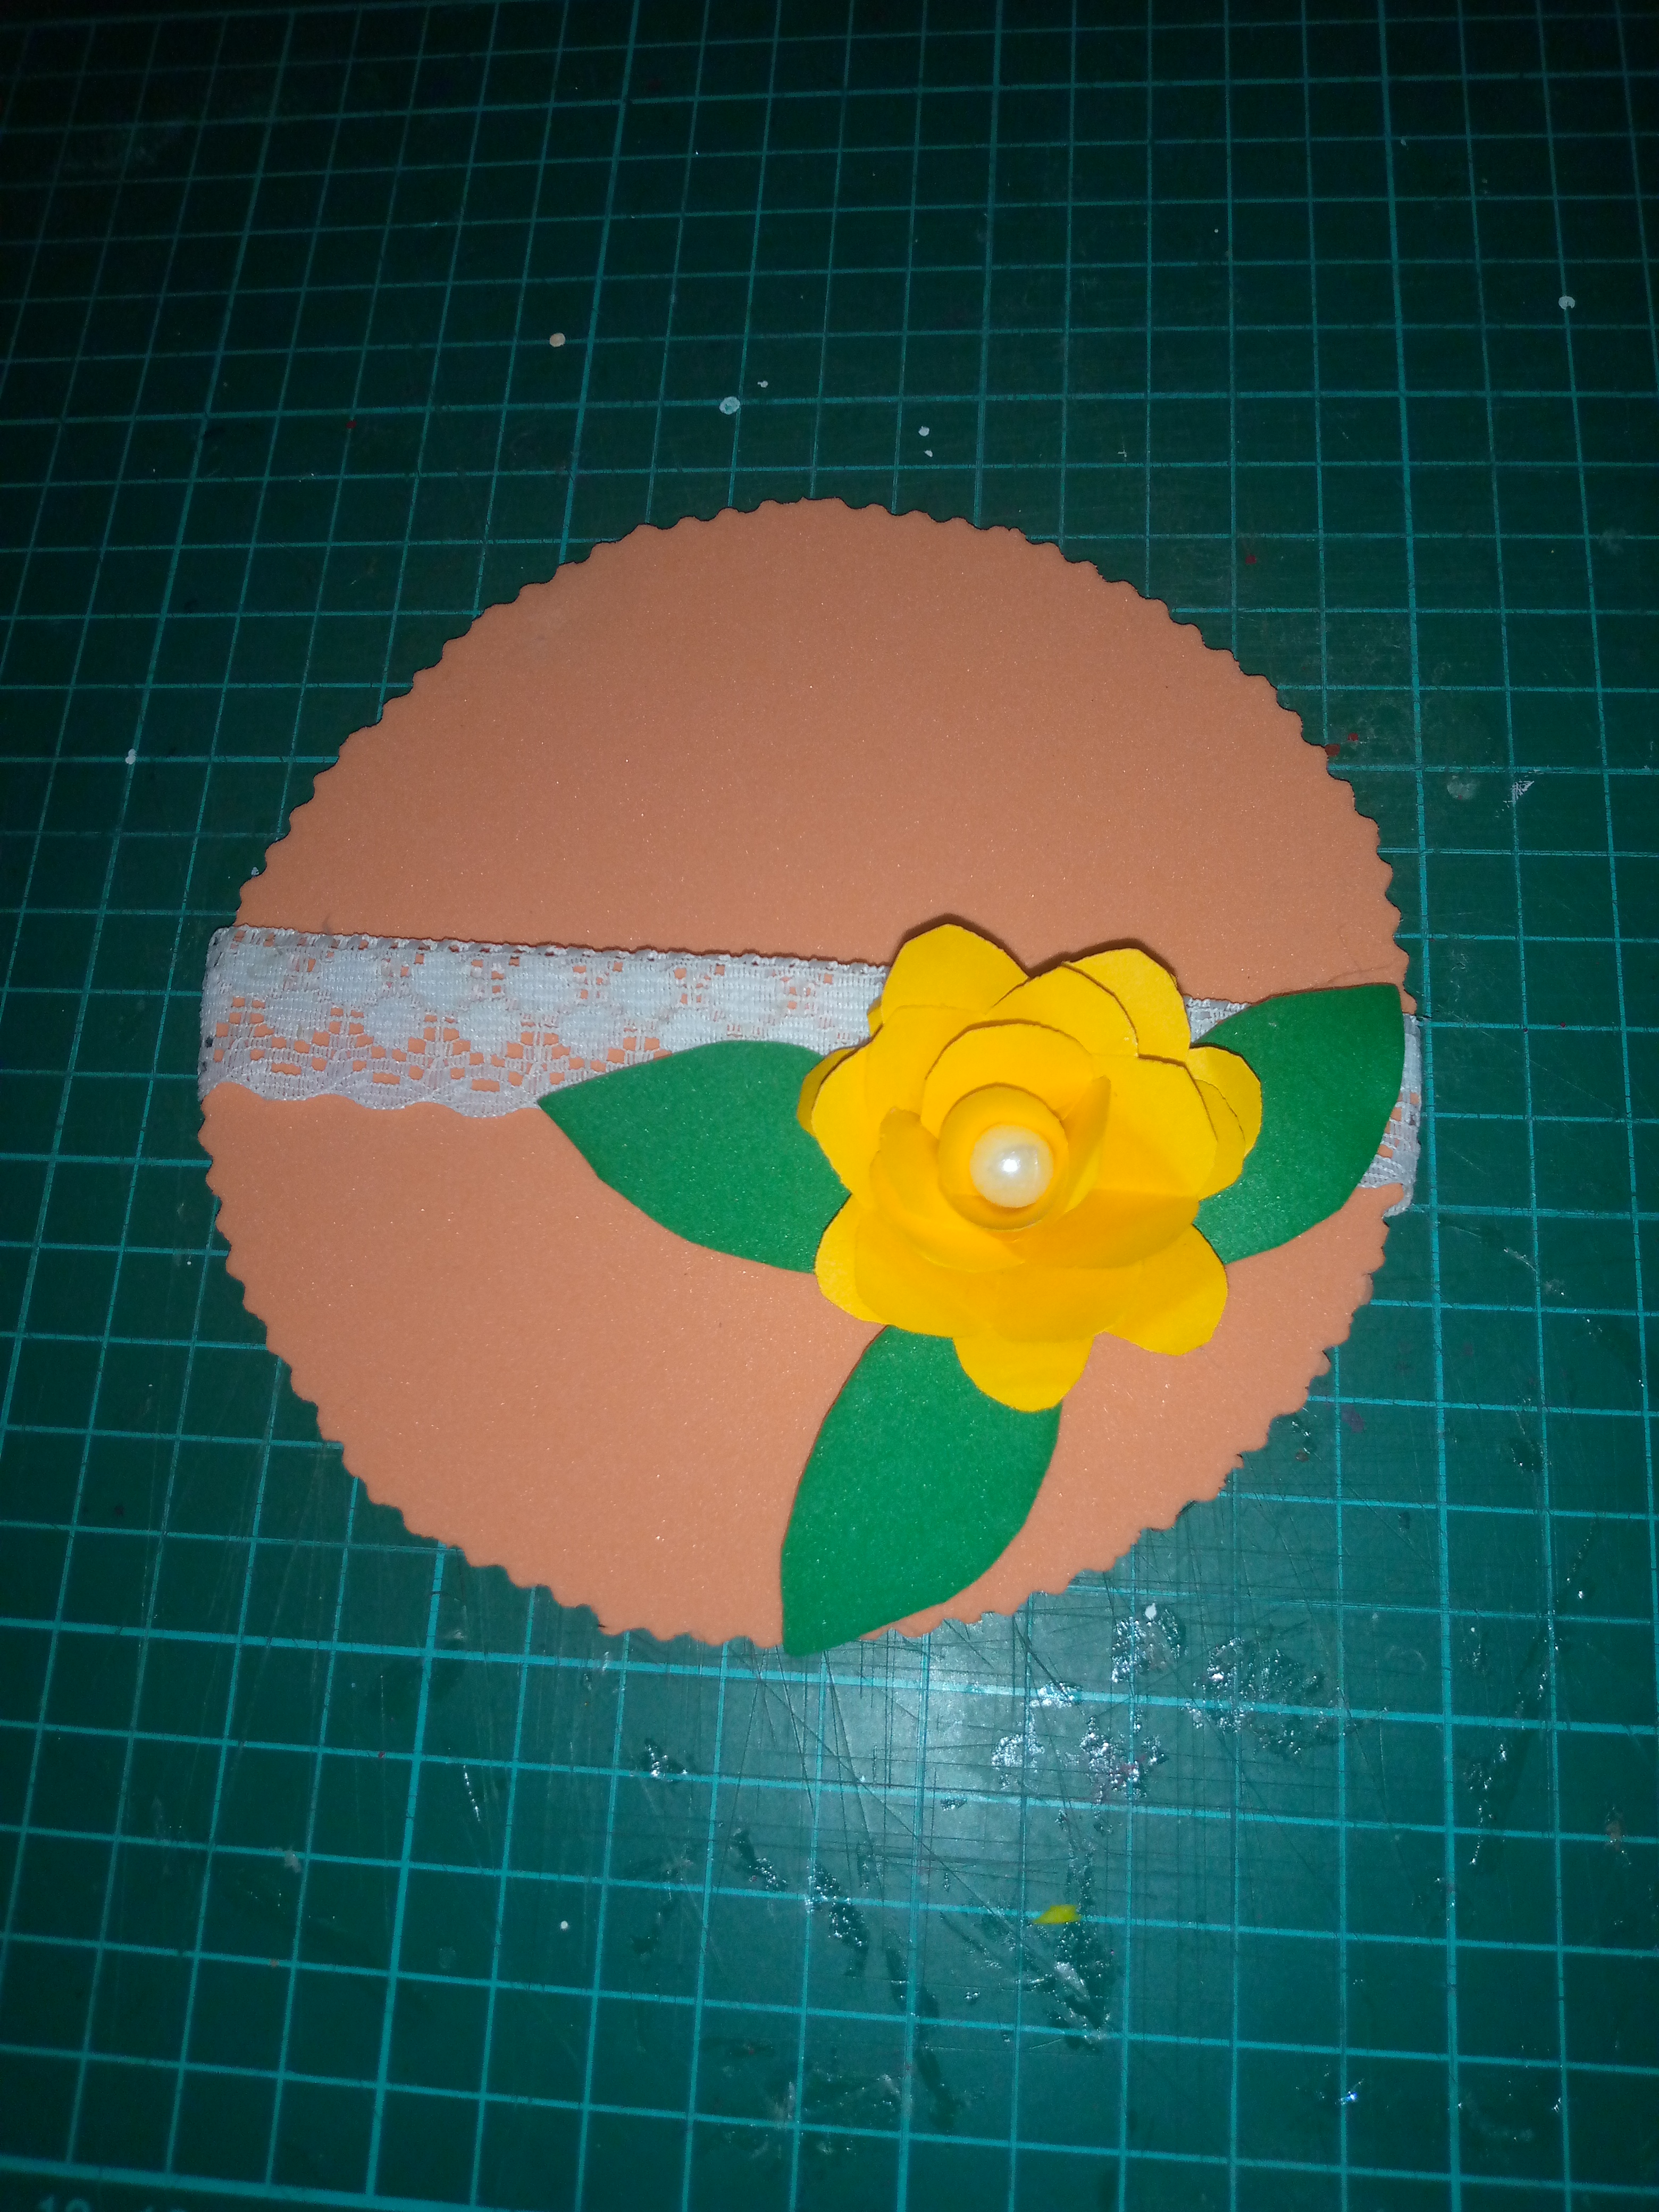
3- Con el foami verde recorta unas hojas, colócalas sobre la plancha de ropa y dale forma, luego pega sobre el Cd y posteriormente la pega la flor y decora con la perla en el centro.
3- With the green foami, cut out some leaves, place them on the clothes iron and shape it, then paste it on the CD and then paste the flower on it and decorate it with the pearl in the center.
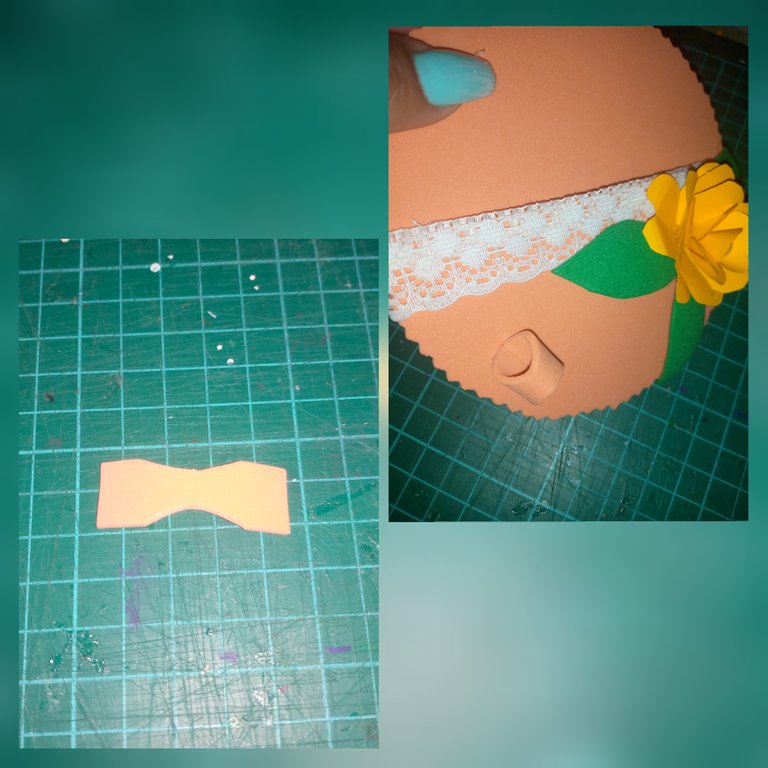
4- Por último recorta una pequeña tira del foami naranja y pega en un extremo del cd de forma redondeada, será el lugar del lápiz o bolígrafo.
4- Lastly, cut out a small strip of the orange foam and stick it in a rounded shape at one end of the CD, it will be the place for the pencil or pen.
5-Coloca el bolígrafo, hojas y tú mensaje.
5- Place the pen, sheets and your message.
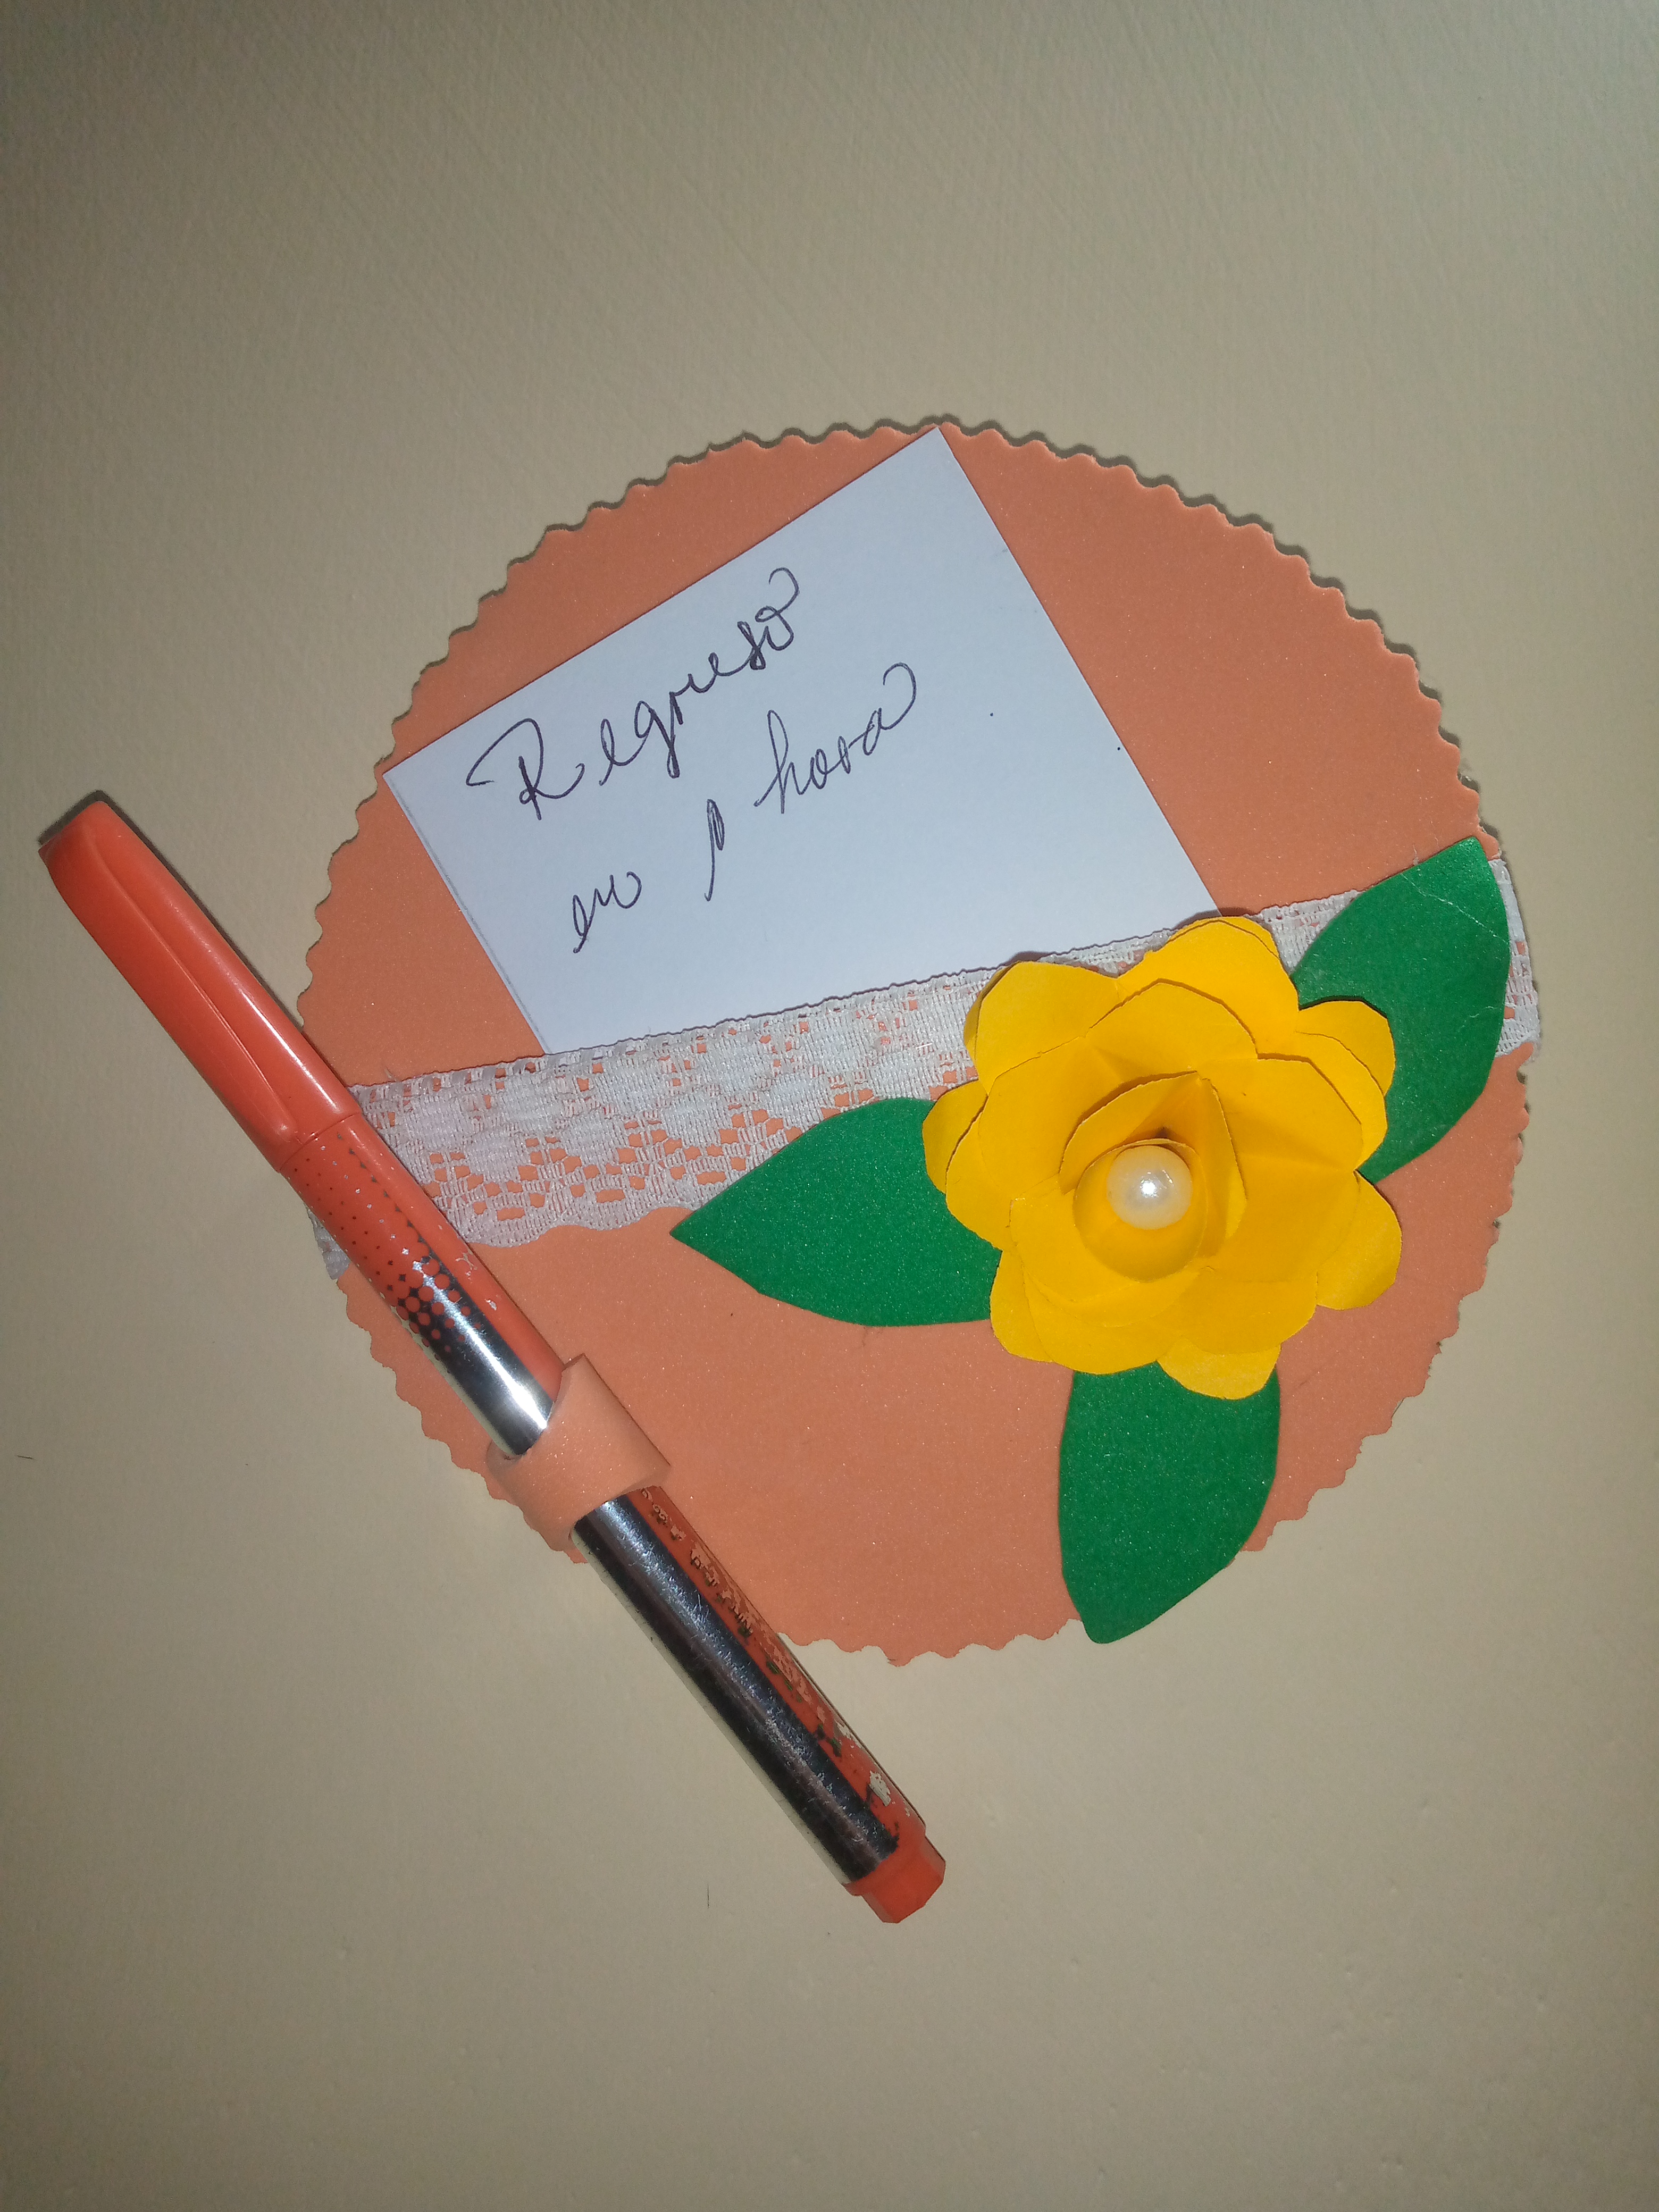
Hemos terminado está linda y útil manualidad, espero les haya gustado amigos, muchas gracias por visitar mi blog, nos vemos pronto!
We have finished this beautiful and useful craft, I hope you liked it friends, thank you very much for visiting my blog, see you soon!