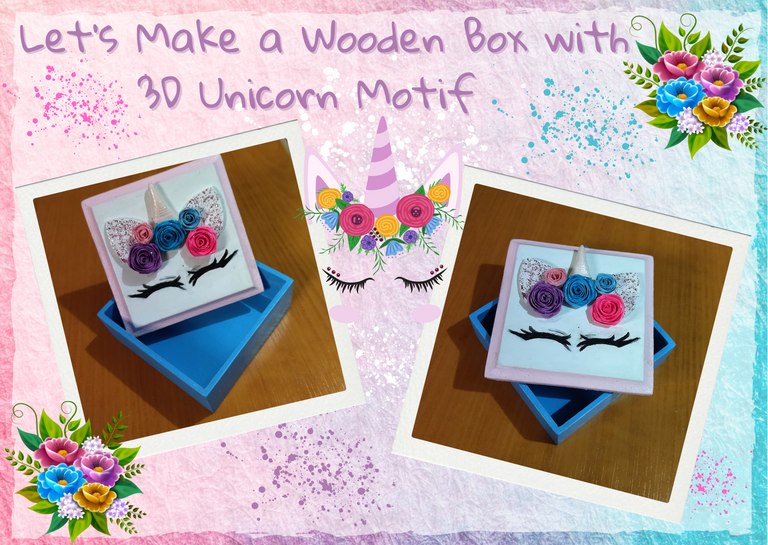
Hello everyone...🐱🐾🌈
Hello my dear Hiver and the dear community of artists #HiveDiy, as always very pleased and excited to be here again, showing you my work made with love and especially for you.
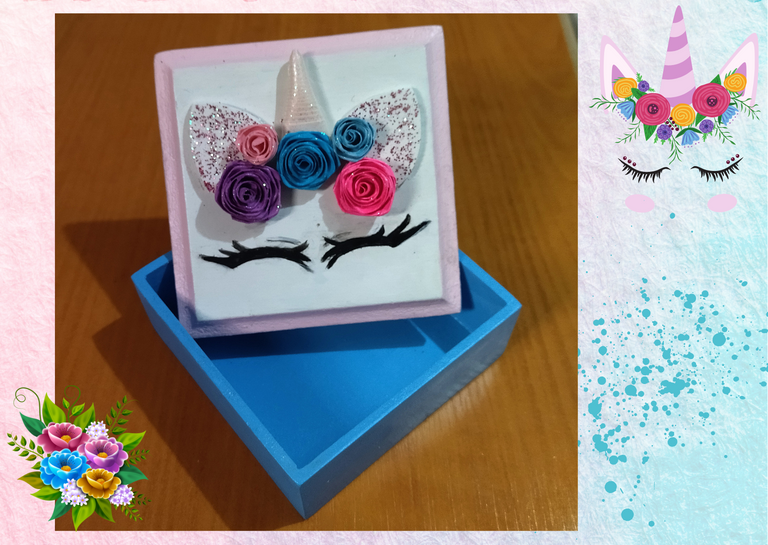
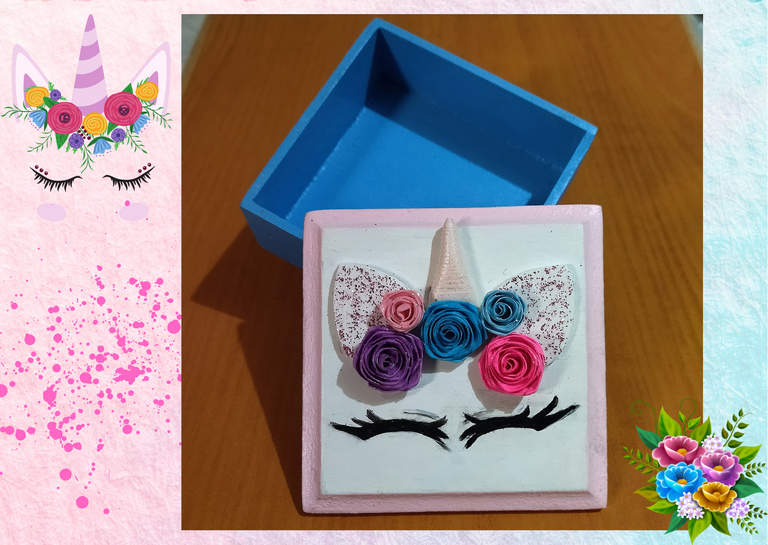
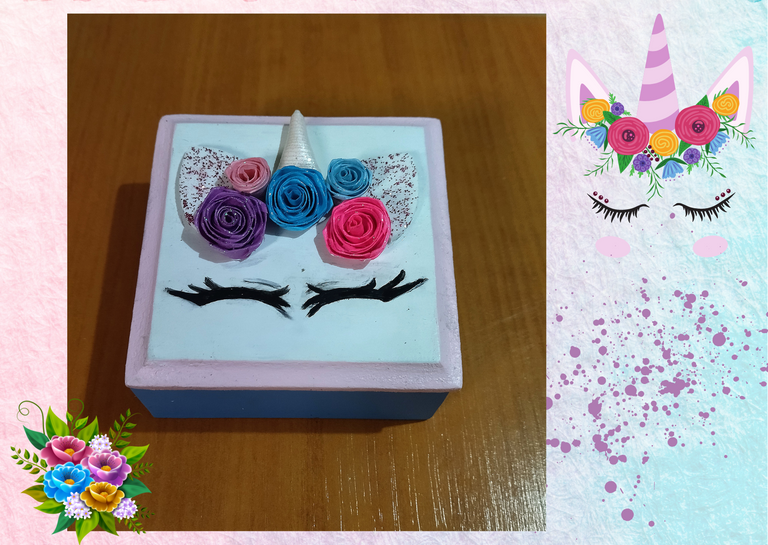
For today I bring you a nice little wooden box painted and decorated with foami and some appliques in the quilling art technique with a "Unicorn 🌈" motif. This little box can be used as a jewelry box, a small candy box, for a cotillion for a children's party, and much more, we can give it multiple uses, it's all in letting your imagination fly. We hope you like it:
Let's get started: 😃

Hola a todos... 🐱🐾🌈
Hola a mis queridos Hiver y a la querida comunidad de artistas #HiveDiy, como siempre muy complacida y emocionada de encontrarme por acá nuevamente, mostrándole mi trabajo hecho con mucho amor y especialmente para ustedes.
Para hoy les traigo una bonita cajita de madera pintada y decorada con foami y algunos apliques en la técnica de quilling art con motivo de "Unicornio 🌈". Esta cajita la podemos utilizar como un joyero, un pequeño dulcero, para un cotillón de una fiesta infantil, y mucho más, le podemos dar múltiples usos, todo está en dejar volar tu imaginación. Esperando sea de tu agrado:
Comencemos:😃

(Para trabajar la caja de madera):
• 1 caja cruda de MDF de 3 mm, de 10 x 10cms de largo x 3cms de ancho.
• Pinturas al frio, color blanco, rosadito y azul bebé.
• Gel disco.
• Cera o brillo sellador de madera.
• Pincel punta gruesa.
• Pincel punta mediana.
• Lija gruesa N• 280 y lija fina N• 180.
(Para el adorno con quilling y foami):
• Quilling o cintas de papel de 9mm de diversos colores.
• Aguja para quilling.
• Lápiz.
• Trozo de hoja blanca.
• Pega blanca extra fuerte.
• Tijera.
• Foami blanco.
• Gel disco.
• Escarcha.
(To work the wooden box):
- 1 raw box of MDF of 3 mm, 10 x 10cms long x 3cms wide.
- Cold paints, white, pink and baby blue.
- Gel disc.
- Wax or wood sealer gloss.
- Thick tip brush.
- Medium tip brush.
- Coarse sandpaper N-280 and fine sandpaper N-180.
(For the adornment with quilling and foami):
- Quilling or 9mm paper ribbons of different colors.
- Needle for quilling.
- Pencil.
- Piece of white paper.
- Extra strong white glue.
- Scissors.
- White Foami.
- Gel disk.
- Frosting.

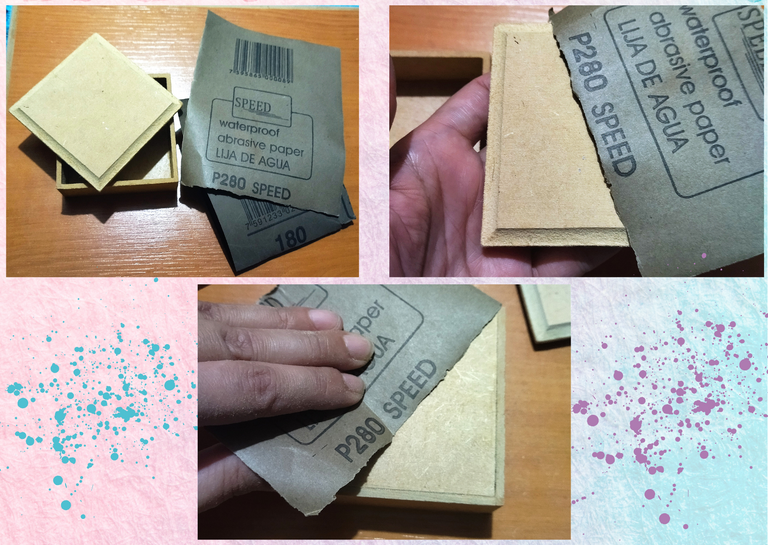
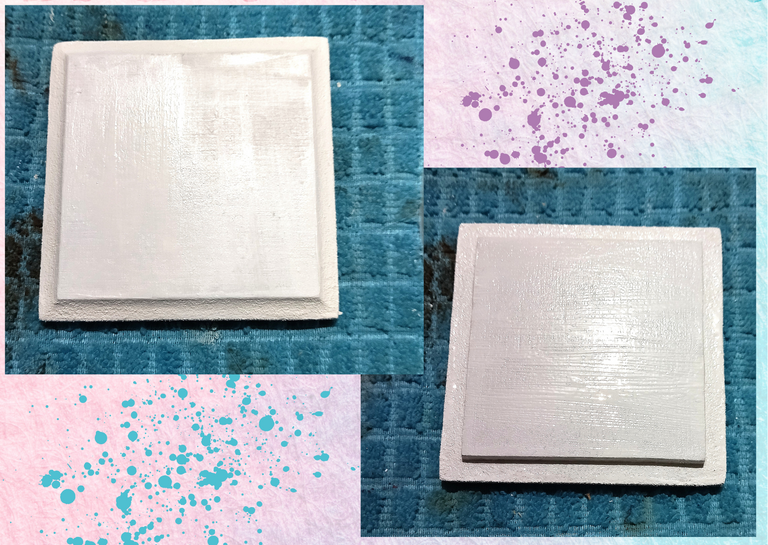
- Working with the wooden box: We take the coarse sandpaper number 280, and proceed to pass it over all internal and external surfaces of the box to remove imperfections, and that at the time of placing the paint our work will be neat.
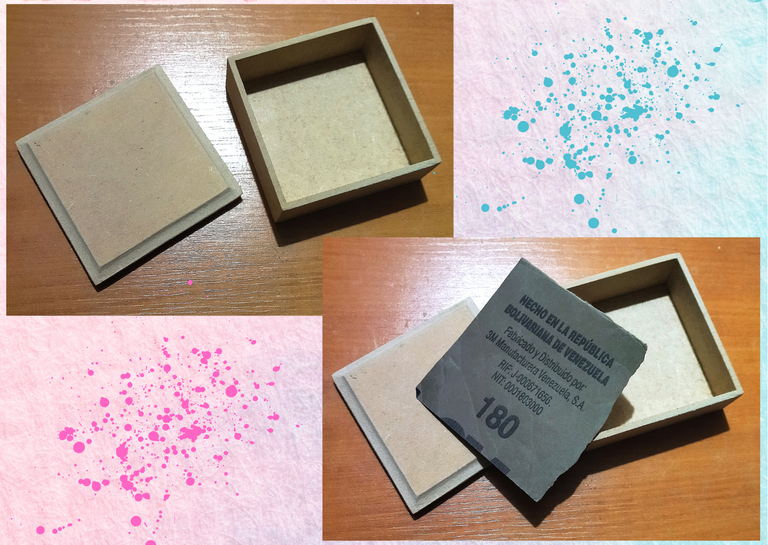
- When we verify that our box no longer has details or imperfections in the surfaces, we take the fine sandpaper number 180, and we pass it through all the surfaces of the box, why is this fine sandpaper? so that our box takes porosity and in this way it can optimally absorb the paint that we are going to apply. Now our box is ready to apply the paint.
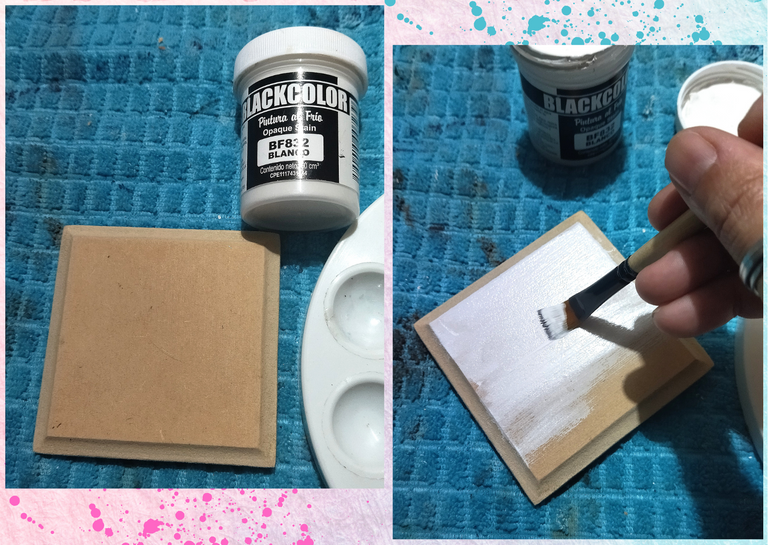
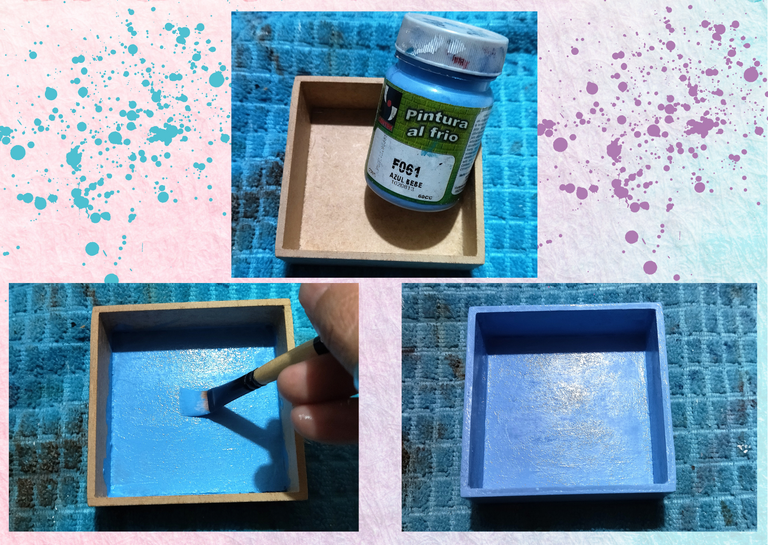
- For the lid we take the white paint, paint all the surfaces of the same, apply a coat and let it dry. For the base of the box, we take the baby blue paint and also paint all surfaces, let it dry.

• Trabajo con la caja de madera: Tomamos la lija gruesa número 280, y procedemos a pasarla por todas las superficies internas y externas de la caja para eliminar las imperfecciones, y que a la hora de colocar la pintura nuestro trabajo quedé prolijo.
• Al verificar que nuestra caja ya no tiene detalles ni imperfecciones en las superficies, tomamos la lija fina número 180, y la pasamos por todas las superficies de la caja, ¿para que está lija fina? para que nuestra caja tome porosidad y de esta manera pueda absorber óptimamente la pintura que le vamos a aplicar. Ya nuestra caja está lista para aplicarle la pintura.
• Para la tapa tomamos la pintura color blanca, pintamos por todas las superficies de las misma, aplicamos una mano dejamos secar. Para la base de la caja, tomamos la pintura azul bebe y también pintamos todas sus superficies, dejamos secar.
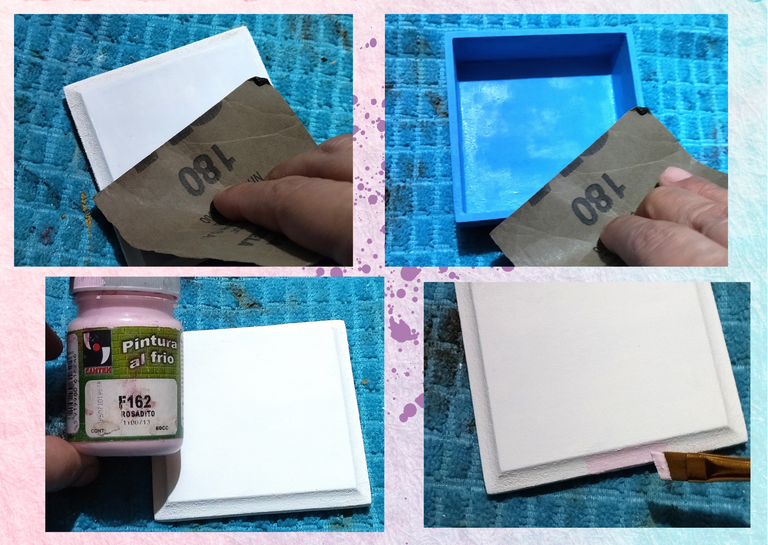
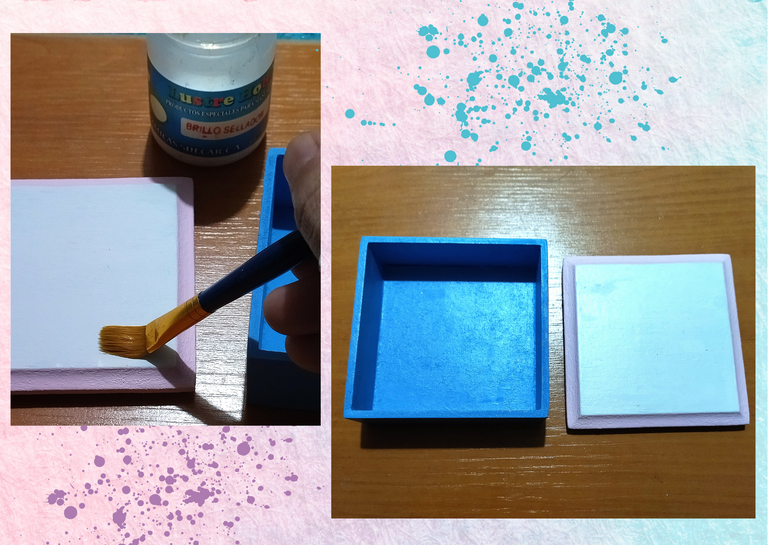
- When the lid and the base are dry, we take the fine sandpaper number 180 and very carefully we pass it over all the surfaces of both (lid and base), this we do to create some porosity in the paint and when applying a second coat, the paint will be completely uniform. For the second coat I painted the edges of the lid of the box with pink paint, leaving the base and the back in white.
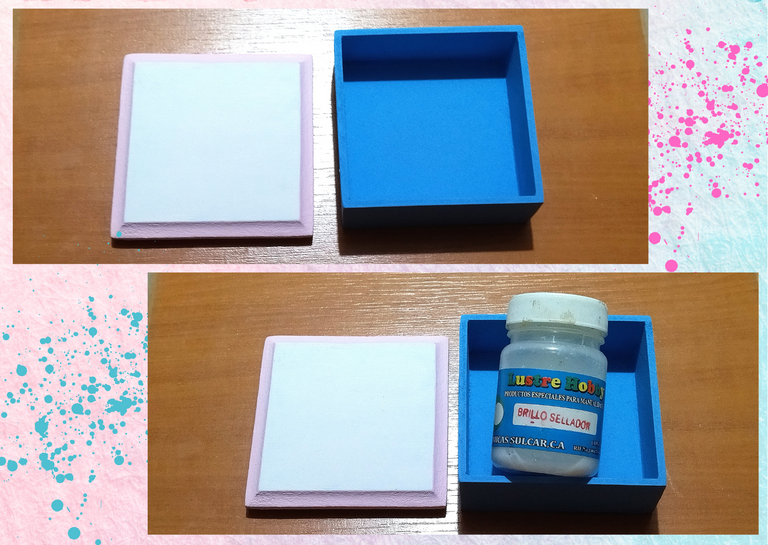
- As a last step, we proceed to take a brush and apply the gloss dryer on all surfaces of the box (lid and base), let it dry, then take a clean and dry piece of cloth and gently pass over all surfaces to seal the paint and give shine to our box.
- In my case I only seal the paint, I like a less shiny and more matte effect in the paint on wood, so I only apply a single coat of gloss dryer and skip the step of passing a clean and dry cloth to the box, if in your case you like a glossy effect you can pass several coats of gloss dryer to the surfaces, let dry between coats, then pass your cloth as if you are polishing and you have a completely glossy effect, so we have our box ready.

• Al estar secas la tapa y la base, tomamos la lija fina numero 180 y con mucho cuidado pasamos la misma, por todas las superficies de ambas (tapa y base), esto lo hacemos para crear algo de porosidad en la pintura y al aplicar una segunda mano, la pintura quedé totalmente uniforme. Para la segunda mano pinte los bordes de la tapa de la caja con pintura color rosadito, dejando la base y la parte de atrás en color blanco.
• Como último paso, procedemos a tomar un pincel y aplicar el brillo secador en todas las superficies de la caja, (tapa y base), dejamos secar, luego tomamos un trozo de tela limpio y seco y pasamos con suavidad por todas las superficies para sellar la pintura y dar brillo a nuestra caja.
• En mi caso solo selle la pintura, me gusta un efecto menos brillante y más mate en la pintura sobre madera, por ello solo aplicó una sola mano de brillo secador y omito el paso de pasarle un paño limpio y seco a la caja, si en tu caso te gusta un efecto brillante puedes pasar varias manos de brillo secador a las superficies, dejas secar entre manos y mano, luego pasas tu paño como si estás puliendo y te queda un efecto totalmente brillante, de esta manera ya tenemos lista nuestra caja.
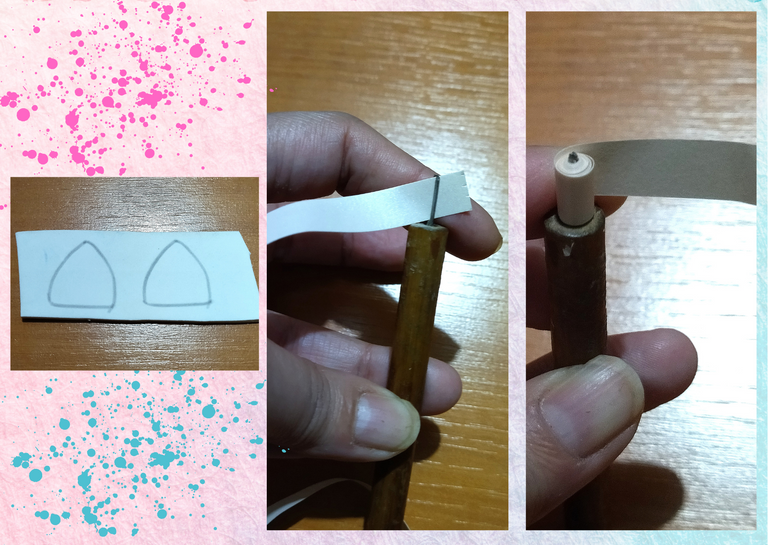
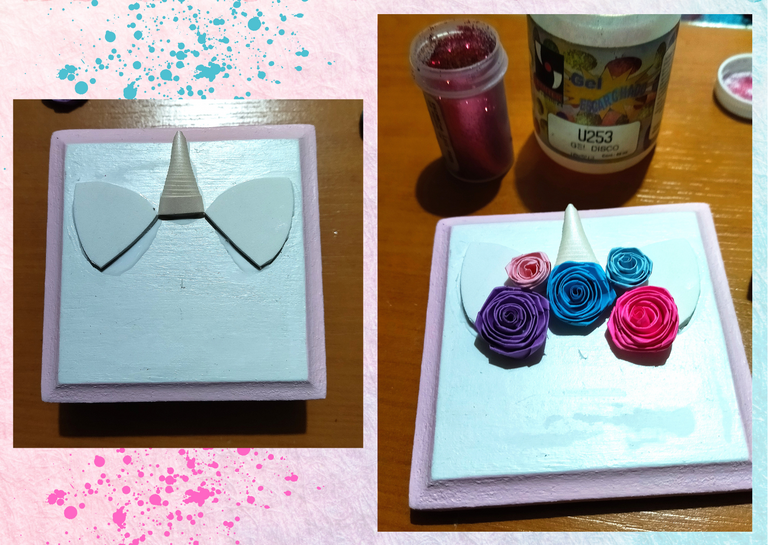
- Let's make the ornament for the box: we are going to take a piece of white foami, with it we are going to draw two ears with a pencil, cut out and set aside.
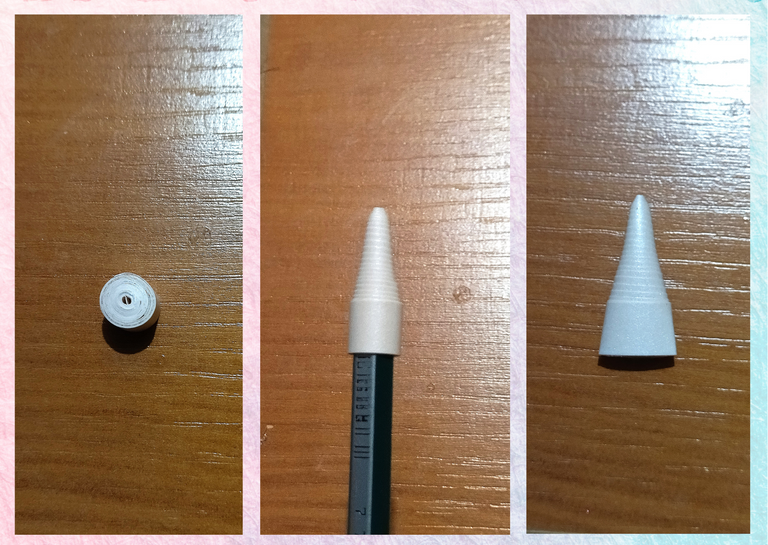
- Let's make the horn of the unicorn, we take a quilling ribbon of 9mm wide x 25cms long bright melon color, we roll with the quilling needle until the end of the ribbon, seal with glue, we take a pencil and we will push the ribbon out of the circle to form a horn, we remove the pencil and flatten a little the bottom of the piece, set aside.
- Now we are going to make 4 roses, 3 large and two medium, we will do it with 9mm wide quilling ribbons, you can choose the colors you want, I will make them, dark blue, light blue, fuchsia, pink and purple. If you want to see the detailed tutorial on how to make the roses click here

• Realicemos el adorno para la caja: vamos a tomar un trozo de foami color blanco, con el vamos dibujar en el con un lápiz dos orejas, recortamos y reservamos.
• Hagamos el cuerno del unicornio, tomamos una cinta de quilling de 9mm de ancho x 25cms de largo color melón brillante, enrollamos con la aguja para quilling hasta terminar con la cinta, sellamos con pega, tomamos un lápiz y vamos a empujar la cinta hacia afuera del círculo para formar un cuerno, sacamos del lápiz y aplanamos un poco la parte de abajo de la pieza, reservemos.
• Ahora vamos a realizar 4 rosas, 3 grandes y dos medianas, lo haremos con cintas de quilling de 9mm de ancho, pueden escoger los colores que deseen, yo las haré, azul oscuro, azul claro, fucsia, rosado y morado. Ya en una oportunidad había realizado rosas, Si quieres ver el tutorial detallado de cómo hacer las rosas has clip aquí
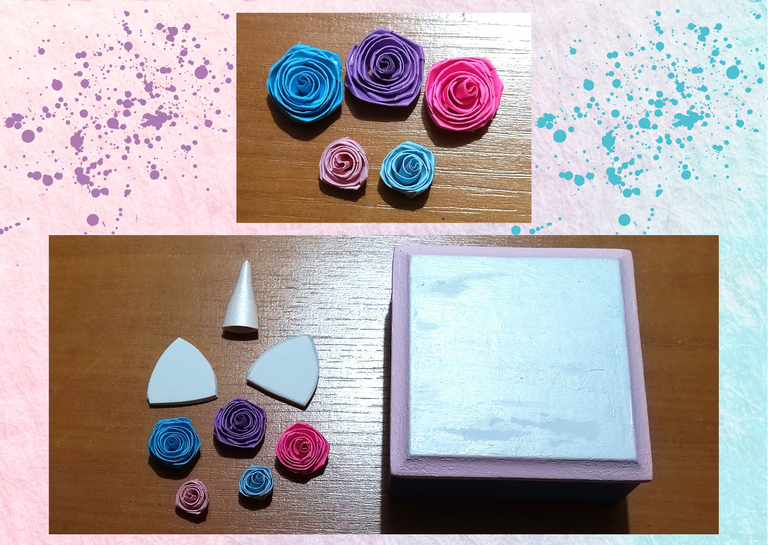
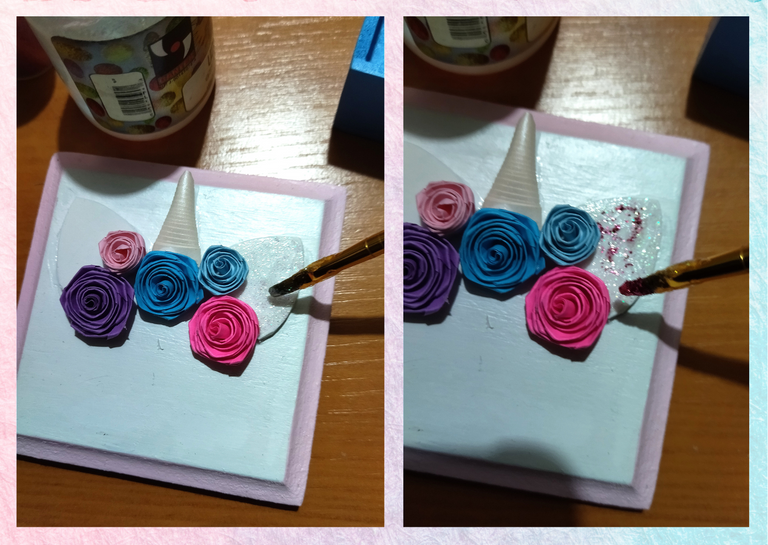
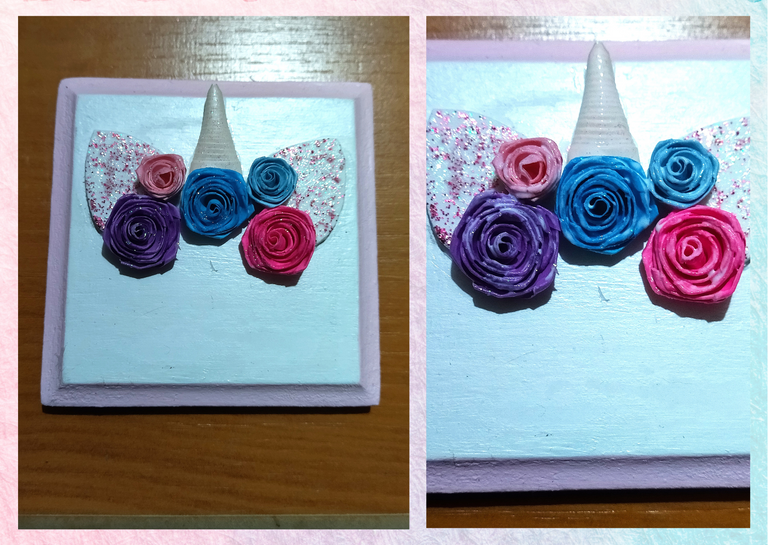
- Now we have the pieces ready, we are going to glue the ears, the horn, and the roses on the lid of the box with extra strong white glue, to the ears I put some frosting gel to give it a shiny touch and mix it with some pink frosting, and to the roses I added with a brush some extra strong white glue to give them shine and protection.
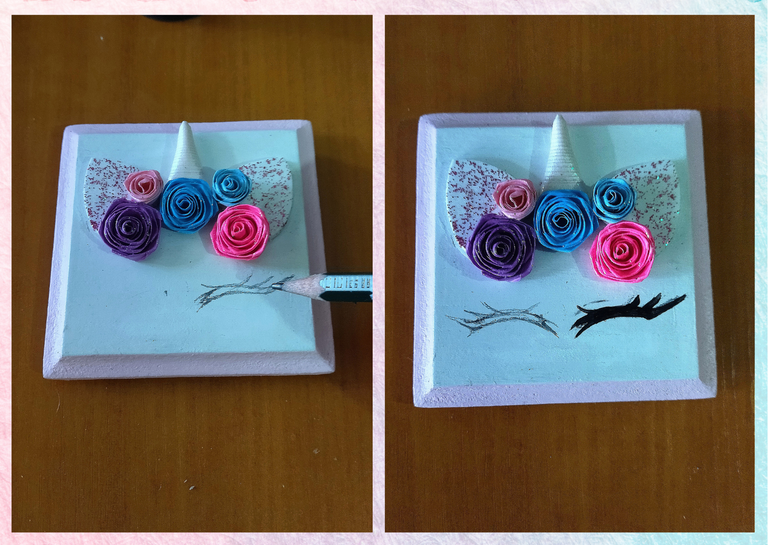
- Finally with a pencil we are going to draw the eyes of the unicorn, we go over them with cold black paint with the help of a brush or we can also do it with a black fine tip marker.
In this way we have a wooden box with a 3D unicorn motif, ready for use 🌈

• Ya tenemos las piezas listas, vamos a pegar en la tapa de la caja las orejas, el cuerno, y las rosas con pega blanca extra fuerte, a las orejas le coloque un poco de gel escarchado para darle un toque brillante y lo mezcle con un poco de escarcha rosada, y a las rosas le agregué con un pincel un poco de pega blanca extra fuerte para darles brillo y protección.
• Por último con un lápiz vamos a dibujar los ojos del unicornio, los repasamos con pintura negra al frío con la ayuda de un pincel o también podemos hacerlo con un marcador punta fina negro.
De esta manera tenemos una cajita de madera con motivo de unicornio en 3D, listo para su uso 🌈

What did you think, did you like it?
I hope you did, I hope you liked my explanation, procedure and photos, I made them with love for you.
"Let out that muse that inspires you, and let your imagination fly".
Thank you all, see you next time. 🐾🐱💕

¿Que les pareció, les gustó?
Espero que sí, que les haya gustado mi explicación, procedimiento y fotos, los hice con mucho cariño por y para ustedes.
"Deja salir esa musa que te inspira, y deja volar tu imaginación".
Gracias a todos, nos vemos en la próxima. 🐾🐱💕

Todas las fotos usadas en este post son de mi autoría y han sido sacadas en mi celular personal un Redmi 9T y editadas Canva Banner y separador hecho por mí en Canva Traducido con la ayuda de DeepL


