Hello everyone... ✨
Hello to my dear Hivers and the beloved community of artists #Jewelry, as always very pleased and excited to be here again, showing you my work made with love and especially for you.
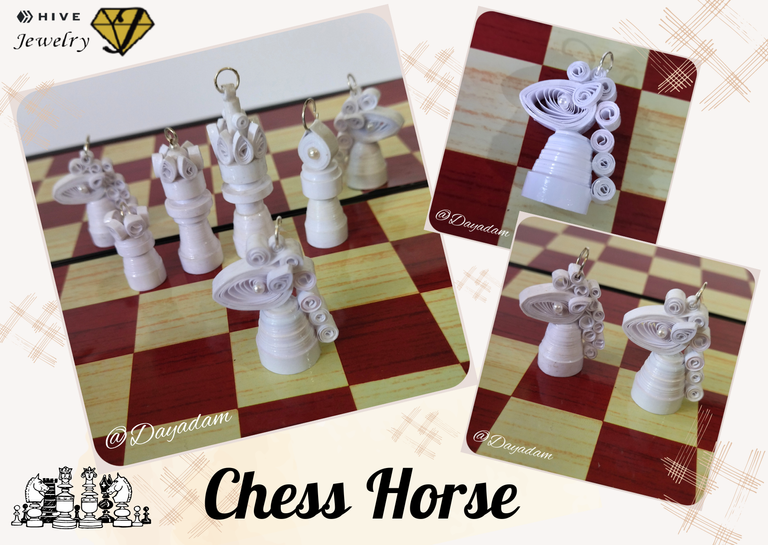
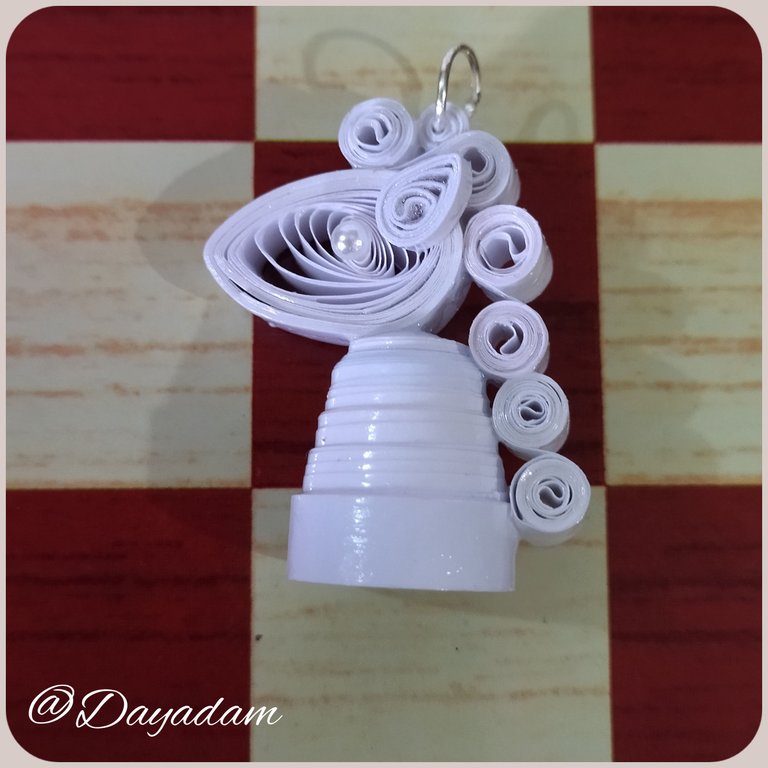
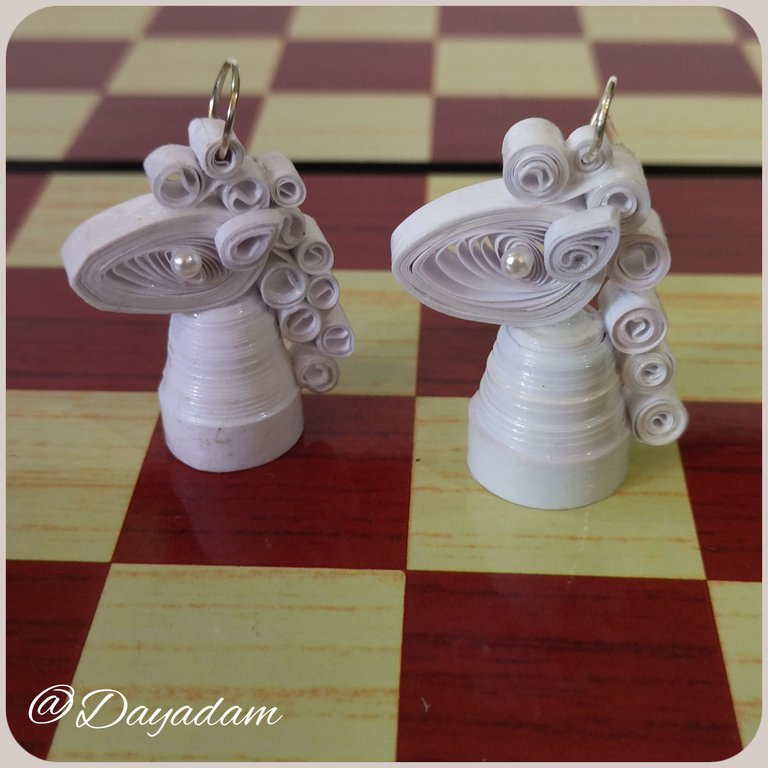
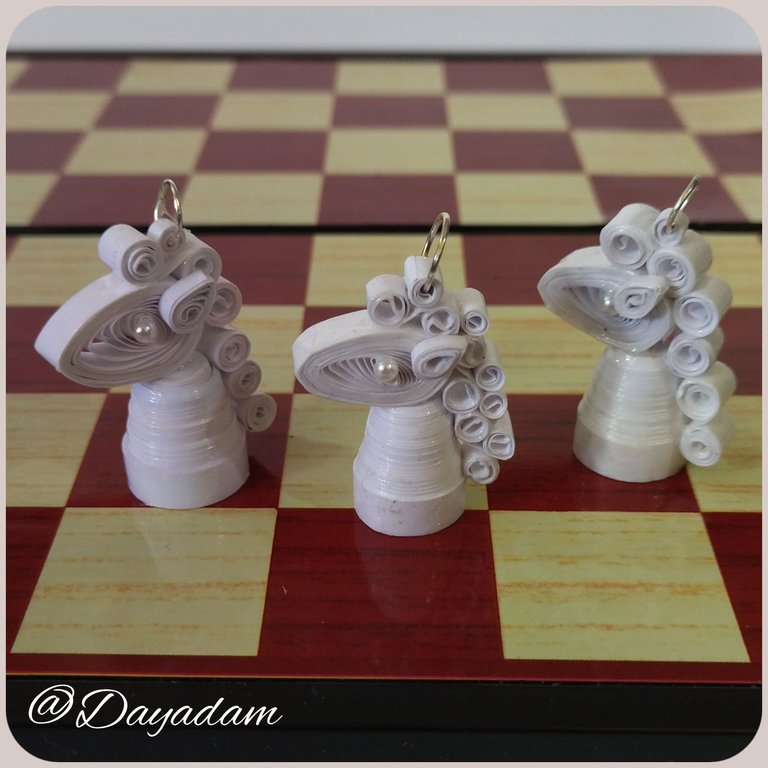
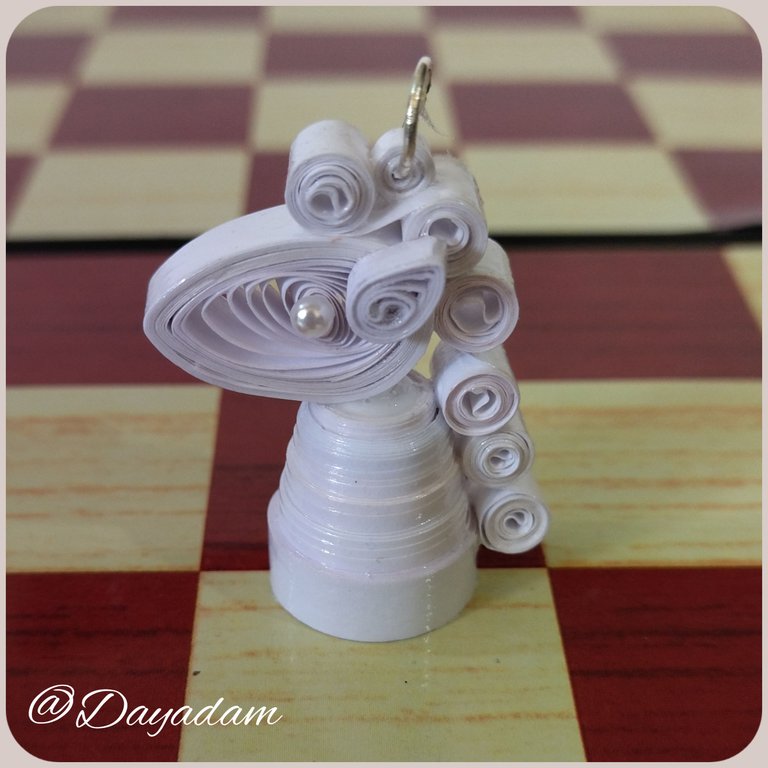
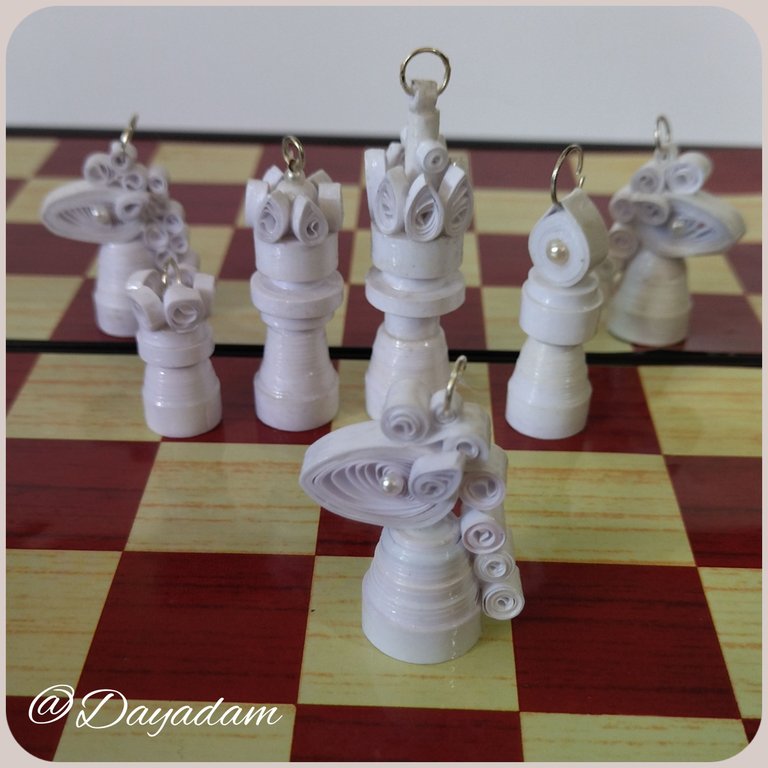
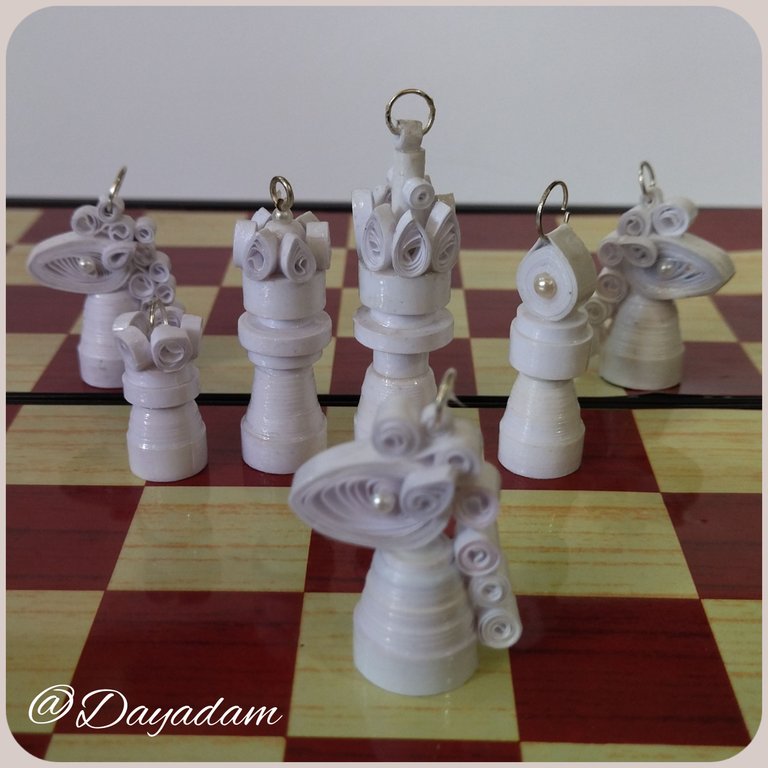
This time I bring you to continue with the series of chess pieces, "The Horse in 3D " made in the quilling technique. I started making the Queen to make a gift to a beautiful friend, and by multiple requests I was making more pieces and there is little to complete all that carries an interesting chess board, once I finish I will make a collection to have all the post ordered for all those who are interested in materializing the idea.💕
If you want to see how I made the other chess pieces in 3D, here are the posts so you can see the step by step:
Chess Queen: https://peakd.com/hive-189641/@dayadam/a-queen-for-another-queen
Chess King: https://peakd.com/hive-189641/@dayadam/a-queen-needs-a-king
Chess Tower: https://peakd.com/hive-189504/@dayadam/small-3d-chess-tower-charm
Chess Bishop: https://peakd.com/hive-189504/@dayadam/3d-chess-bishop-necklace-pendant-quillig-technique-engesp
Hoping you like it, I leave you my creative process:
Let's get started:😃

Hola a todos... ✨
Hola a mis queridos Hivers y a la querida comunidad de artistas #Jewelry, como siempre muy complacida y emocionada de encontrarme por acá nuevamente, mostrándole mi trabajo hecho con mucho amor y especialmente para ustedes.
En esta oportunidad les traigo para seguir con la serie de piezas de ajedrez, "El Caballo en 3D" elaborado en la técnica de quilling. Comencé realizando la Reina para realizar un obsequio a una bella amiga, y por múltiples peticiones fui elaborando más piezas ya falta poco para completar todas las que lleva un interesante tablero de Ajedrez, una vez que finalice realizare una colección para que tengan todos los post ordenados para todos aquellos que se interesen en materializar la idea.❤️
Si quieres ver como elabore las demás piezas de ajedrez en 3D, por aquí te dejo los post para que veas el paso a paso:
Reyna de Ajedrez: https://peakd.com/hive-189641/@dayadam/a-queen-for-another-queen
Rey de Ajedrez: https://peakd.com/hive-189641/@dayadam/a-queen-needs-a-king
Torre de Ajedrez: https://peakd.com/hive-189504/@dayadam/small-3d-chess-tower-charm
Alfil de Ajedrez: https://peakd.com/hive-189504/@dayadam/3d-chess-bishop-necklace-pendant-quillig-technique-engesp
Esperando que sea de su agrado, les dejo mi proceso creativo:
Comencemos:😃

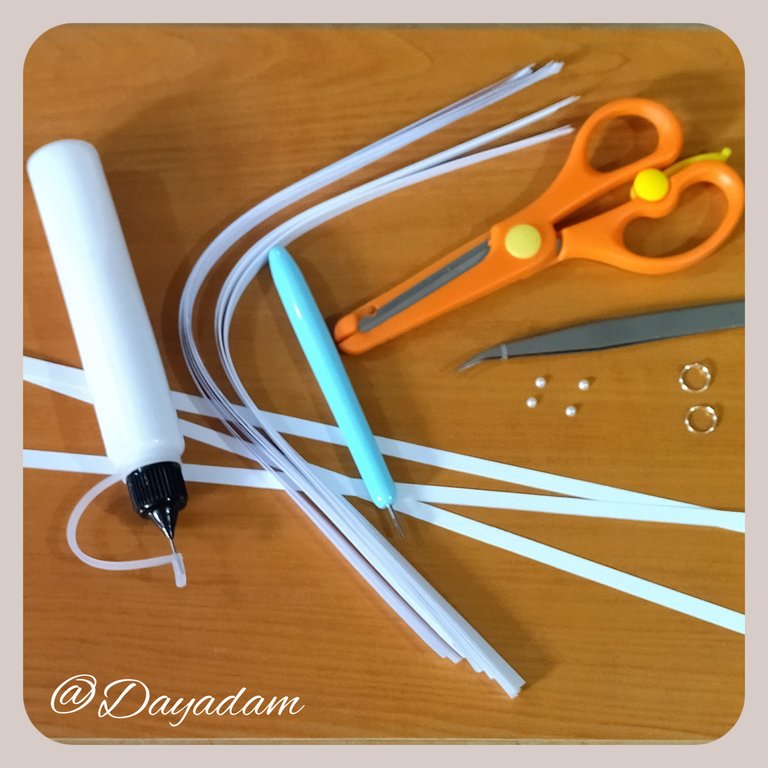
• Cintas de quilling de 3 y 6mm de ancho blancas.
• Pega blanca extra fuerte (de carpintería).
• Tijera.
• Palillo de altura.
• Perlas blancas de bisutería.
• Argolla mediana de bisutería.
• Regla.
• Alicate punta fina.
- 3 and 6mm wide white quilling ribbons.
- Extra strong white glue (carpentry glue).
- Scissors.
- Height toothpick.
- White costume jewelry beads.
- Medium size costume jewelry ring.
- Ruler.
- Fine nose pliers.

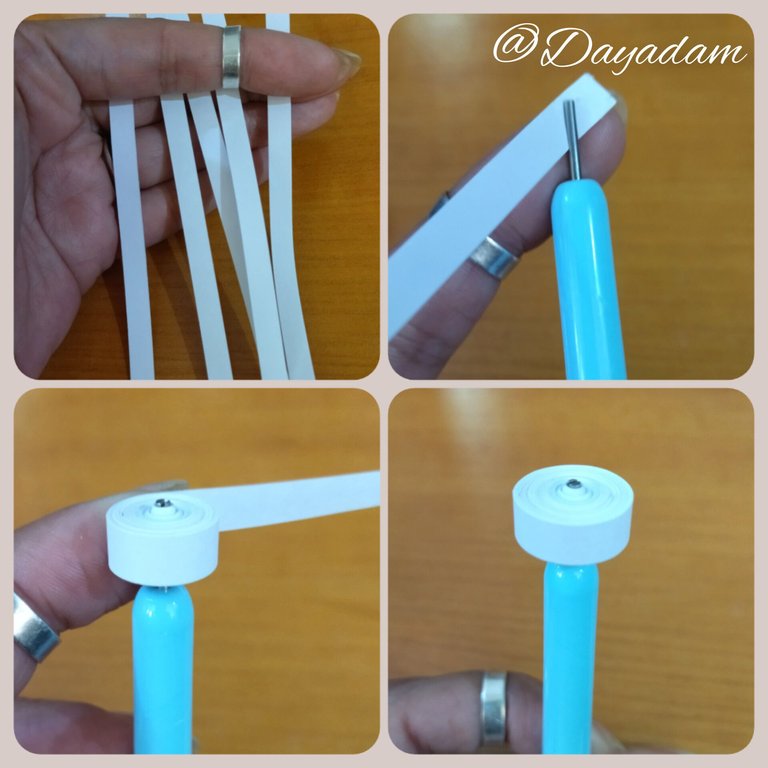
- We will start by taking 6mm wide white quilling ribbons, we will join several of them with a touch of extra strong white glue, to form a single ribbon of 150cms long.
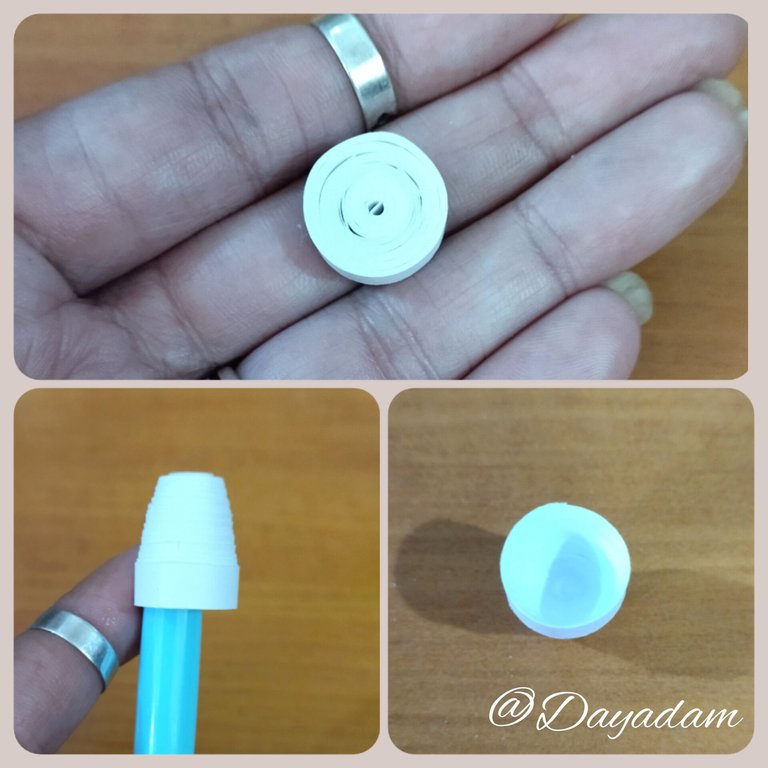
- With the help of the quilling needle we will roll the ribbon until we reach the end of it, we will seal it with extra strong white glue (carpentry glue), to form a closed circle.
- We are going to mold this closed circle, the finger or with some object we will raise the circle to form a kind of cone.
- When we finish molding the piece, we will put a little bit of glue on the hollow part with a brush so that it does not move or deform, and we will let it dry very well.

• Vamos a comenzar tomando cintas para quilling color blanco de 6mm de ancho, uniremos varias con un toque de pega blanca extra fuerte, para formar una sola cinta de 150cms de largo.
• Con la ayuda de la aguja para quilling enrollaremos la cinta hasta llegar al final de la misma, sellaremos con pega blanca extra fuerte (de carpintería), para formar un círculo cerrado.
• Vamos a moldear este círculo cerrado, el dedo o con algún objeto subiremos el circulo para formar una especie de cono.
• Al terminar de moldear la pieza, por la parte hueca colocaremos un poco de pega con un pincel para que la misma no se mueva o se deforme, dejaremos que seque muy bien.
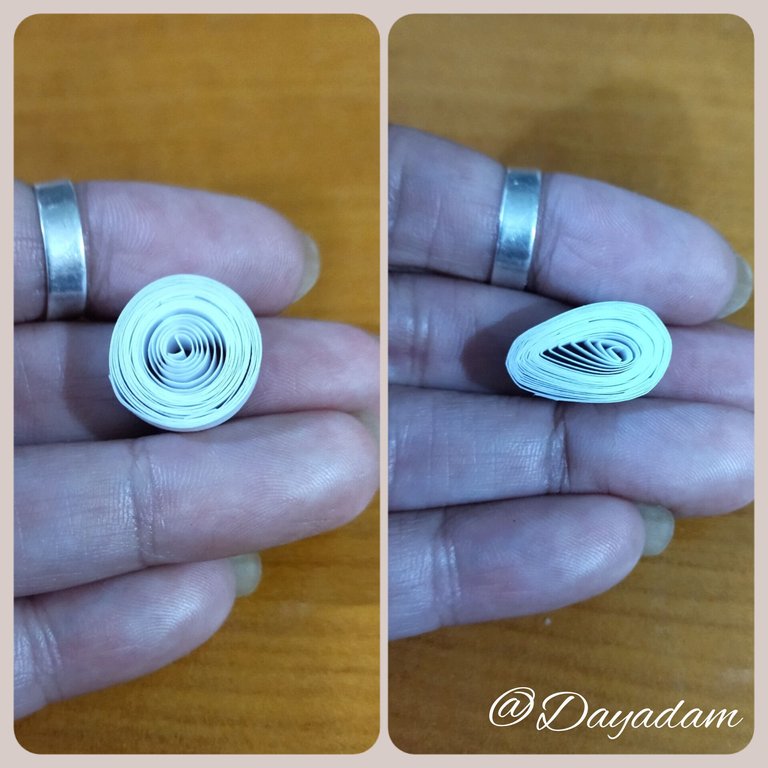
- For the horse's head take a 6mm wide x 90cms long ribbon and make an open circle that will fit the base of the pendant, and mold it flattening the circle a little bit in an irregular way to resemble the same.
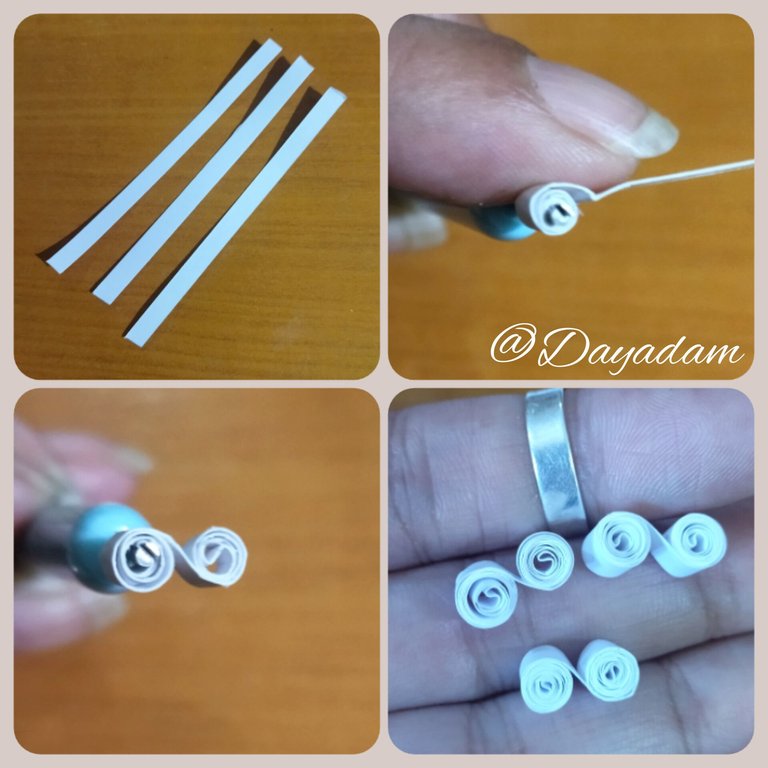
- To make the horse's hair take 6mm pieces of white ribbon, and make with the help of the quilling needle reverse spirals.
- For the ears take a piece of white ribbon 3mm wide x 6cm long, make two open circles, which mold in the shape of a leaf.

• Para la cabeza del caballo tome una cinta de 6mm de ancho x 90cms de largo y realice un circulo abierto que se ajustara a la base del dije, y moldee aplanando un poco el círculo de manera irregular para asemejar la misma.
• Para realizar el cabello del caballo tome trozos de cinta blanca de 6mm, y realice con la ayuda de la aguja para quilling espirales inversos.
• Para las orejas tome un trozo de cinta blanca de 3mm de ancho x 6cm de largo, realice dos círculos abiertos, los cuales moldee en forma de hoja.
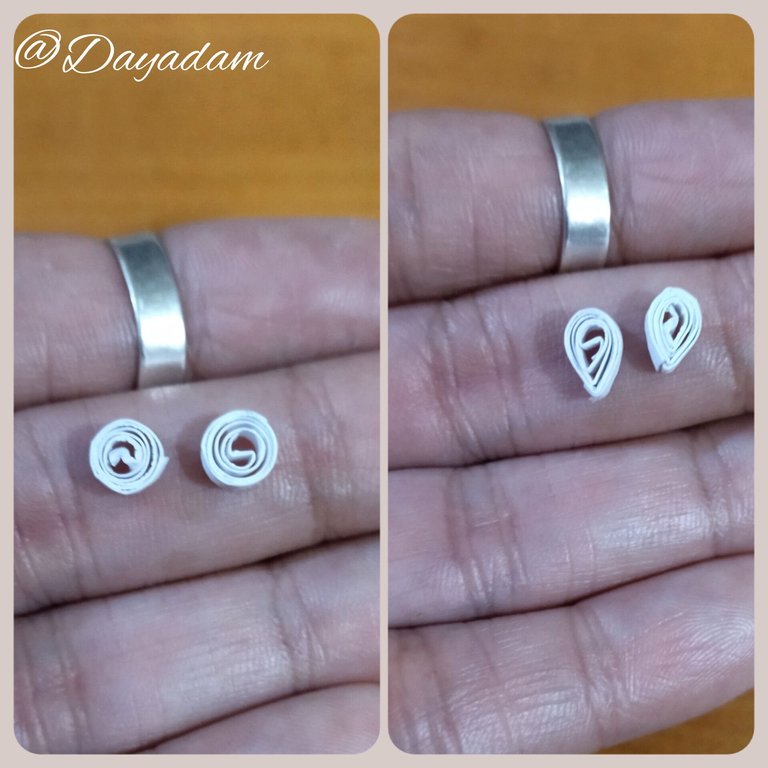
- To finish with the elaboration of the pieces, make a small circle closed with a 3mm wide white ribbon to which I put a medium size costume jewelry ring.
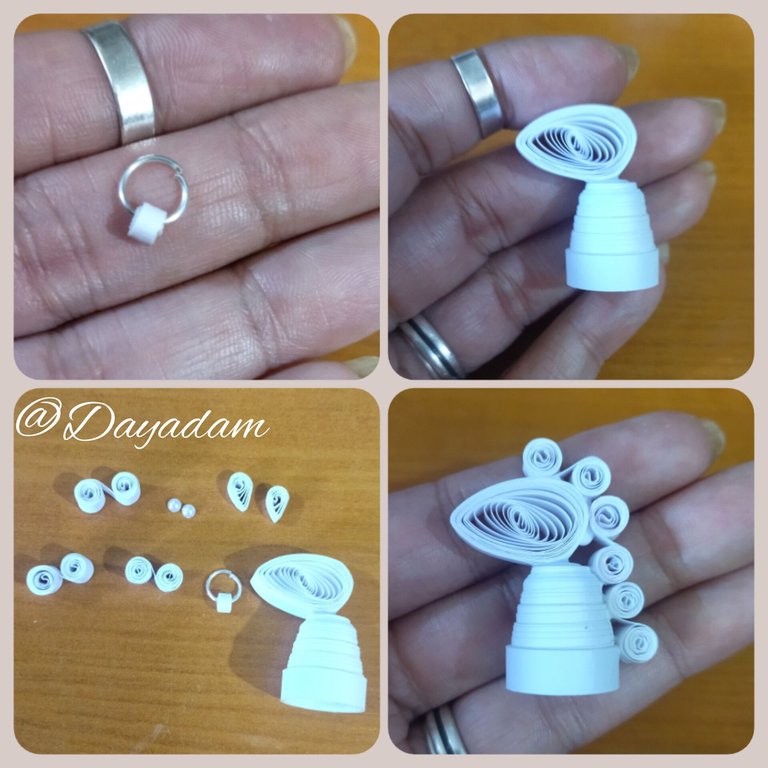
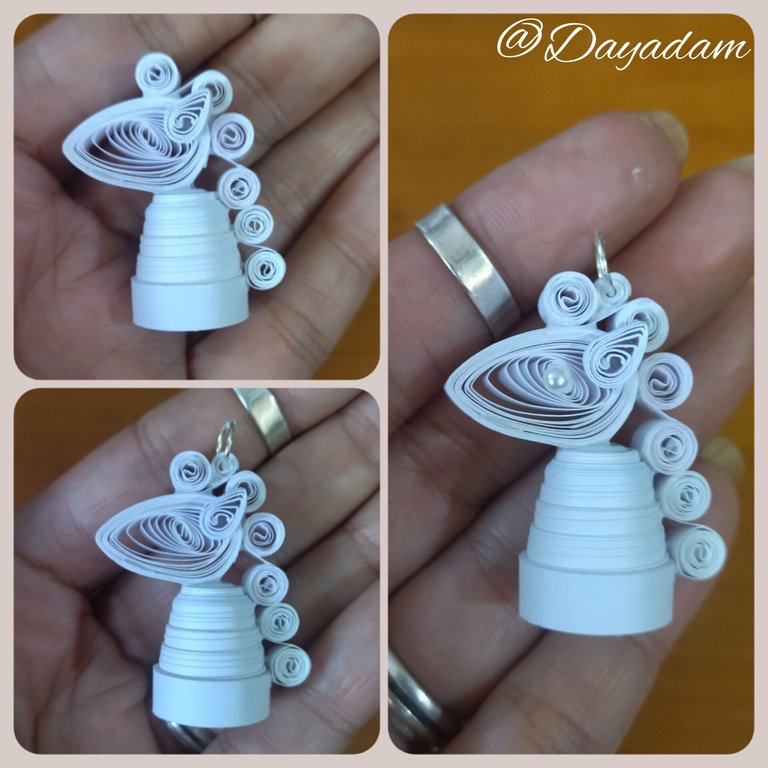
- We are going to assemble our horse joining piece by piece in a harmonic way as shown in the images.
- To decorate, I placed a couple of pearls on the horse's face to resemble eyes.
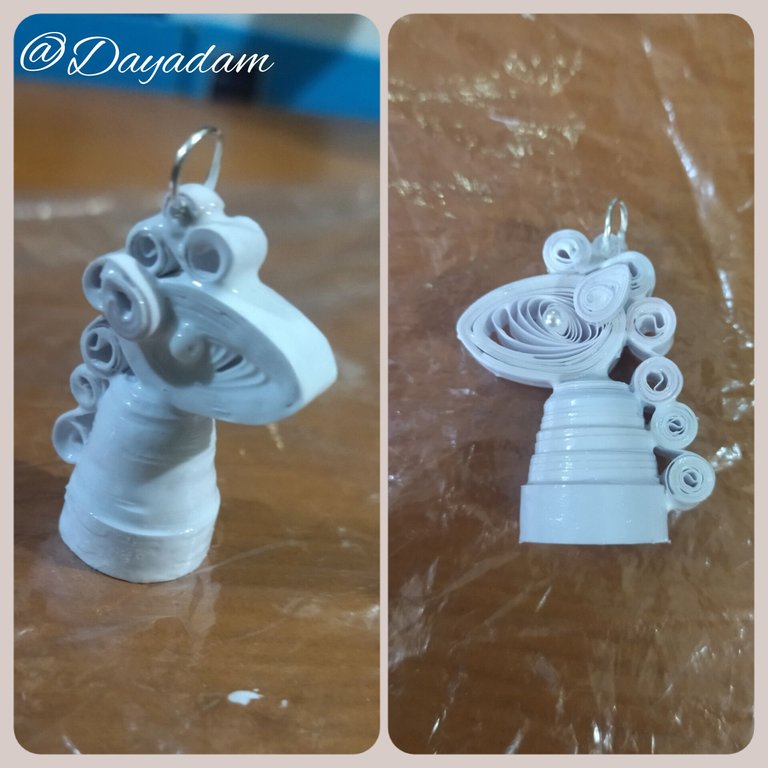
- To finish put the liquid protection to the piece (plasticized), with a brush apply several layers of extra strong white glue letting it dry between one layer and another.
In this way we have ready, our piece or pendant for necklace, of a chess horse.💕

• Para finalizar con la elaboración de piezas, realice un pequeño círculo cerrado con cinta color blanca de 3mm de ancho al cual le coloque una argolla mediana de bisutería.
• Vamos a armar nuestro caballo uniendo pieza por pieza de manera armónica tal como indican las imágenes.
• Para decorar coloque un par de perlas en la cara del caballo para dar semejanza a unos ojos.
• Para finalizar colocare la protección liquida a la pieza (plastificado), con un pincel aplique varias capas de pega blanca extra fuerte dejando secar entre una capa y otra.
De esta manera tenemos listo, nuestra pieza o dije para collar, de un caballo de ajedrez.💕



What did you think, did you like it?
I hope you did, I hope you liked my explanation, procedure and photos, I made them with love for you.
"Let out that muse that inspires you, and let your imagination fly".
Thank you all, see you next time. ✨

¿Que les pareció, les gustó?
Espero que sí, que les haya gustado mi explicación, procedimiento y fotos, los hice con mucho cariño por y para ustedes.
"Deja salir esa musa que te inspira, y deja volar tu imaginación".
Gracias a todos, nos vemos en la próxima. ✨

Todas las fotos usadas en este post son de mi autoría y han sido sacadas en mi celular personal un Redmi 9T y editadas Canva Banner y separador hecho por mí en Canva Traducido con la ayuda de DeepL

