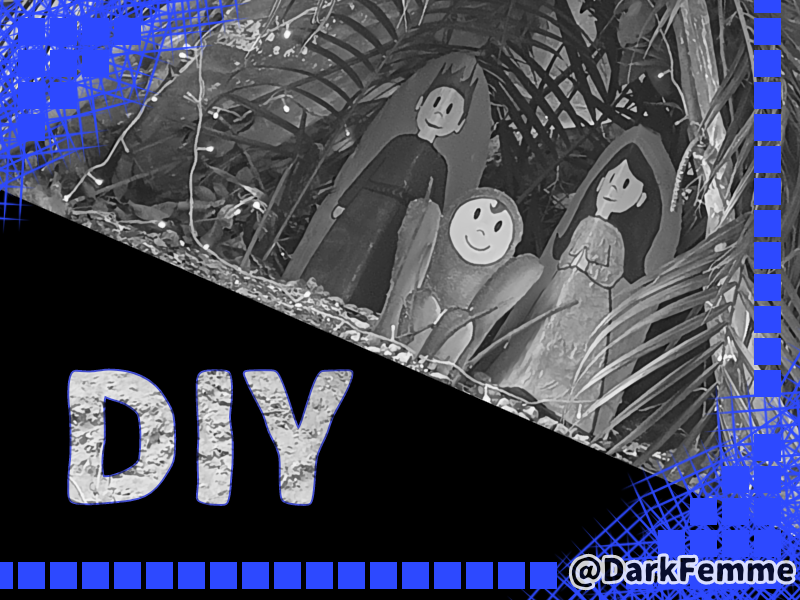
Be quiet!… Not it's other post about christmas 🤭
/
Tranquilos, tranquilos!... Esta no será una publicación de navidad jijiji
Post in english down 👇👇👇

Estuve esperando a desmontar el nacimiento para poder realizar este post, ya que esta manualidad la realicé a última hora y como para dar un poco de esperanza y luz a nuestro pedacito de la calle que estaba tan abandonado.
No es que tuviera mucha colaboración de los vecinos, pero poco a poco los fuí involucrando. El día 21 de diciembre realicé el montaje, lo hice con los materiales que tenía disponible y luego unos dos o tres vecinos me colaboran con ciertas cosas como una extensión de luces y unas palmeras.
Ahora les mostraré el paso a paso:

PASO 1
Lo primero fue quedar como quería que fueran las imágenes, aquellos que se ven la pieza central de todo y que simbolizarían el nacimiento tan típico en navidad.
Así que tomé un lápiz de grafito B2 y comencé a trazar líneas rápidas en cómo me imaginaba que podrían ser las opciones para las imágenes. Como primera opción lo hice un poco más infantil y sencillo y como segunda opción estaba algo más estilizado.
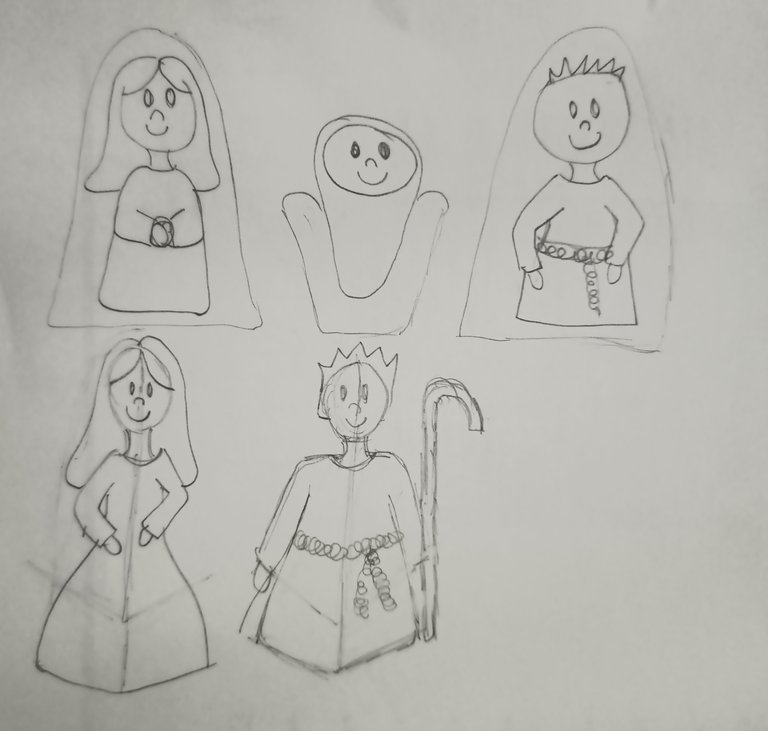
Luego de someter la votación con mi mamá y mi hija, te dije que vivía la versión más sencilla.
PASO 2
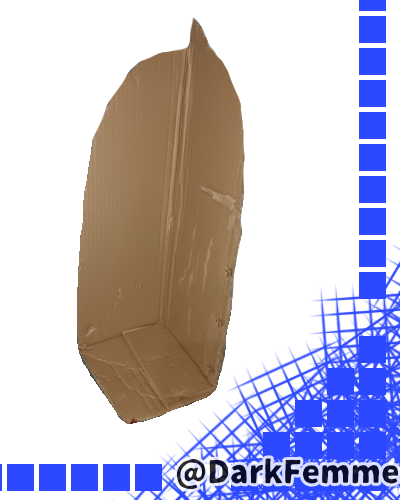 Pero las esquinas fueron perfectas para no tener que realizar bases súper trabajadas para las siluetas que representarían a San José y la virgen.
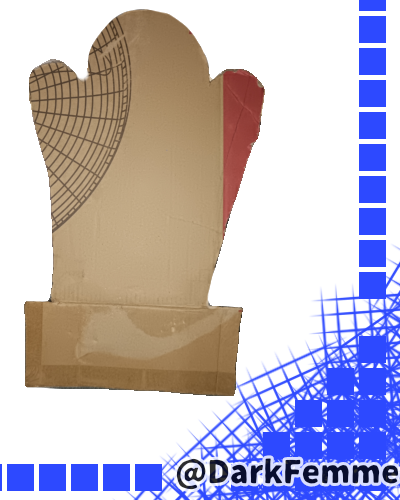 Teniendo en mente ya los borradores ya me imaginé pues tomé una caja que mi papá tenía por allí guardada y que fue su donación para mi invento, tracé en las esquinas la silueta exterior de lo que sería la pieza de cada muñeco, aunque comencé con la parte central que era lisa para el niño Jesús.

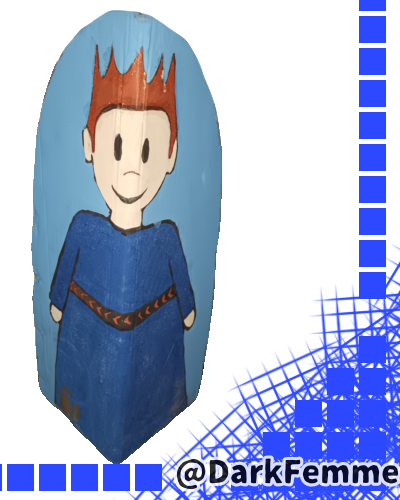 A San José de sí solo realizarlo con pintura al frío que tenía por ahí guardada, la verdad que el color fue determinado simplemente por la disponibilidad que tenía.
Incluso tenía por allí guardada una pintura que se llama "discoteca" y decidí que le agregaría ese toque de brillo a ciertos sectores de las siluetas, ya que es toda la sensación de tener muchas escarchas en la pintura.
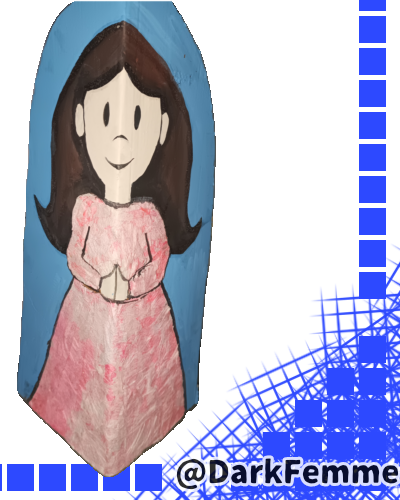 Para María, con ella intenté no tener que pintarla también de azul porque era uno de los pocos colores que tenía disponibles. Así que recordé una técnica que apliqué para cierto trabajo en papel maché cuando mi hija quería una chupetera muy original para su cumpleaños, fue mujer de mis recortes de papel crepé y un poquito de pega blanca que me quedaba. Realicé un estilo de cartapesta donde el papel crepé dio el color fucsia al vestido, aportando incluso la textura que cubriría lo que tenía por defecto impreso en la caja.

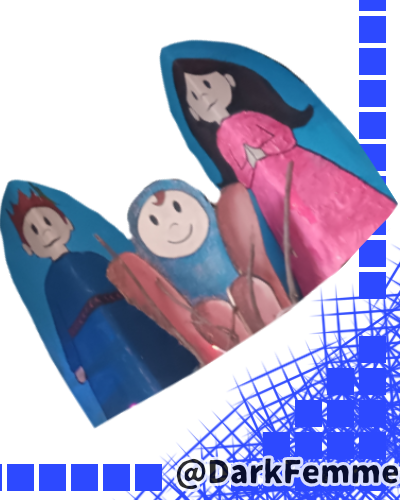 En general, así fue como utilicé el azul para unificar la serie de los tres muñecos y que todo se viera acorde.
Ahora ya con los muñecos hechos pues me tocó ocuparme de la zona donde pondría el nacimiento.
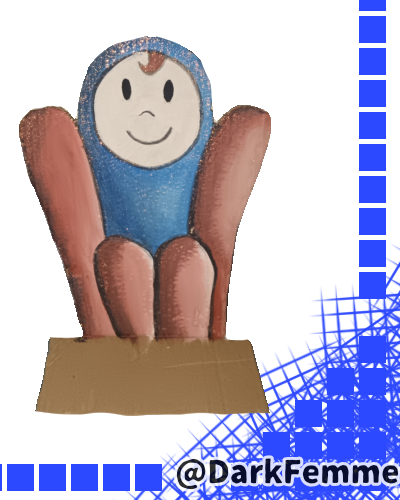 Para el niño eso solo me imaginé unos palos un poco caricaturescos para su cuna e insistí en agregarle sombras con la pintura negra, trabajando con la técnica de mojado sobre mojado porque la verdad es que no tenía marrón y tuve que combinar colores para rellenarlo y que justo me alcanzara para la zona que debería llevar este color.

PASO 3
Con la escalera como ayuda, me monté a un terreno bastante arcilloso, el lugar en el que había planeado realizar el nacimiento, y lo primero que hice fue recolectar ramas largas que pudieran servirme para recordar mis viejos tiempos como Scout, para realizar un refugio que si hubiera de pesebre y resguardo de la lluvia para la silueta. Así tomé tres ramas y le hice un amarre redondo para formar un trípode que eso estuviera el pesebre, luego un pedazo de plástico para podernos cubrir con ramas y que evitar a que se dañan tan rápido los muñecos.
Con el mismo pabilo decidí hacer algunos anclajes para que las fuertes brisas características de estos días no lo tumbaron antes de que yo lo pudiera recoger en enero.
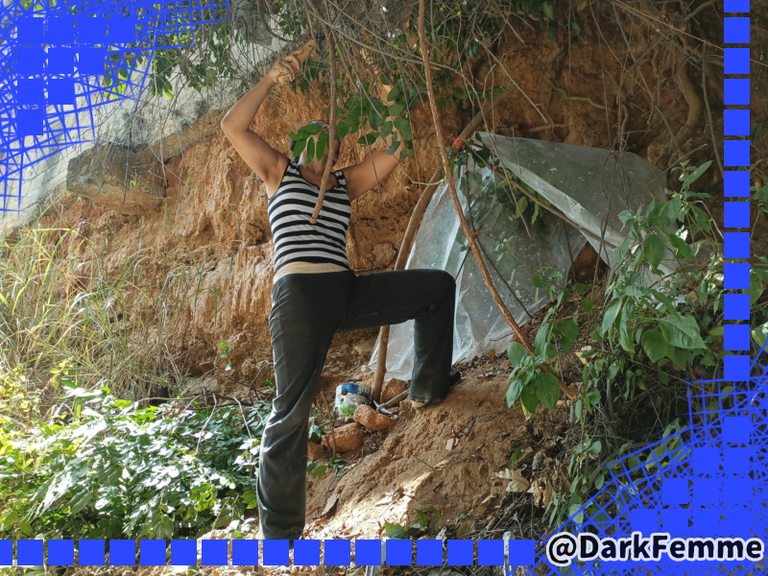
Luego tomé una tijera de podar que me prestó un vecino y comencé a limpiar la zona para tener también con qué cubrir el techo del pesebre. La verdad es que pudar se ve como una actividad muy fácil pero es muy complicado porque requiere de mucha fuerza y cierta técnica, como nadie me enseñó pues tuve que ir descubriendo la manera más eficiente de realizarlo.
Al principio mis manos me dolieron bastante porque tuve que aplicar muchísima fuerza para cortar una liana.
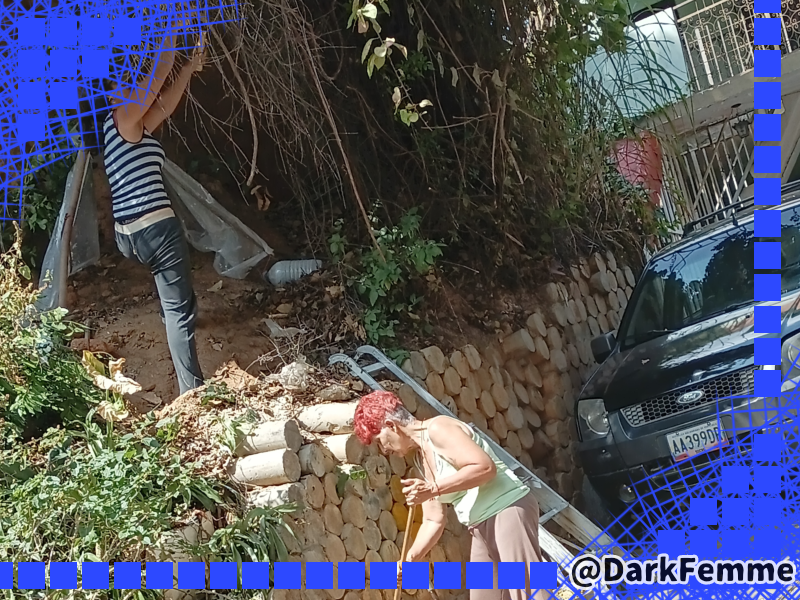
Poco a poco, las ramas fueron cediendo y capté que había que lanzar el cierre con fuerza y rápido para poder cortar lo más difícil.
Mi recomendación es que, si van a podar algún arbusto, no dejen que las ramas crezcan demasiado gruesas porque es un tormento intentar cortarlas de un solo golpe.
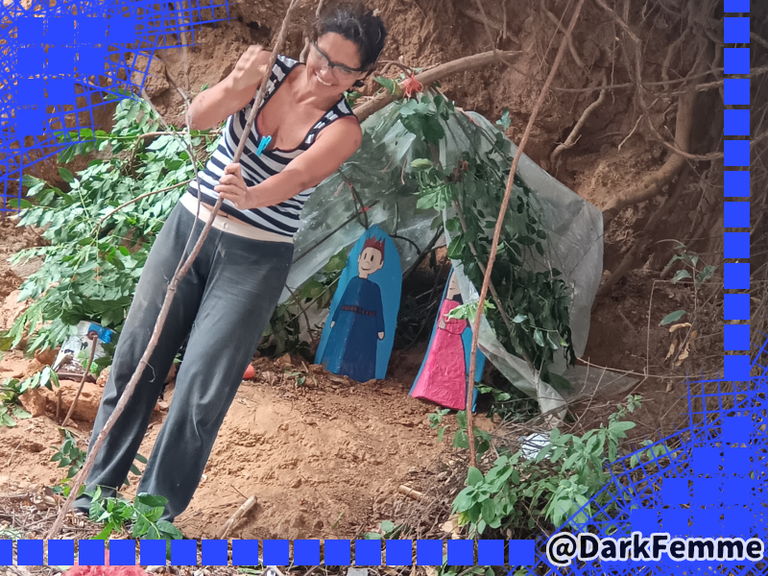
Incluso, a veces tuve que colgarme como Tarzan para lograr que una liana fresca se cortará definitivamente jijiji
PASO 4
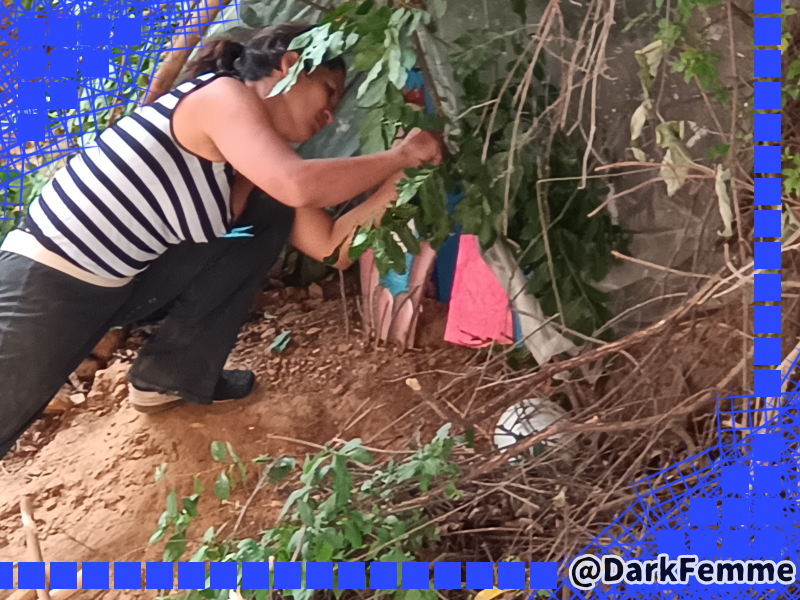
Esas ramas que corté, las terminé amarrando al palo principal para darle algo de verdor al techo del pesebre. Instale las siluetas, colocando piedras en la base sobresaliente que deje detrás de cada una de ellas -asi los gatos no las tumbarían tan facil.
Y este fue el resultado del primer día:
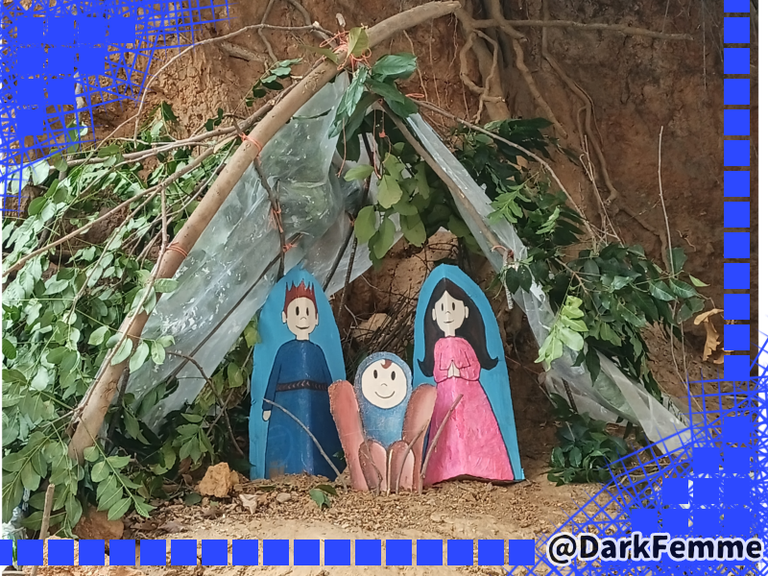
Una vecina, al ver mi trabajo del día anterior me dio unas hojas de palmeras de su patio, las cuales amarren entre sí y las coloqué sobre todo el plástico para que diera un mejor acabado. También coloqué algunas en la parte interna para que visualmente no se hubiera solo el plástico.
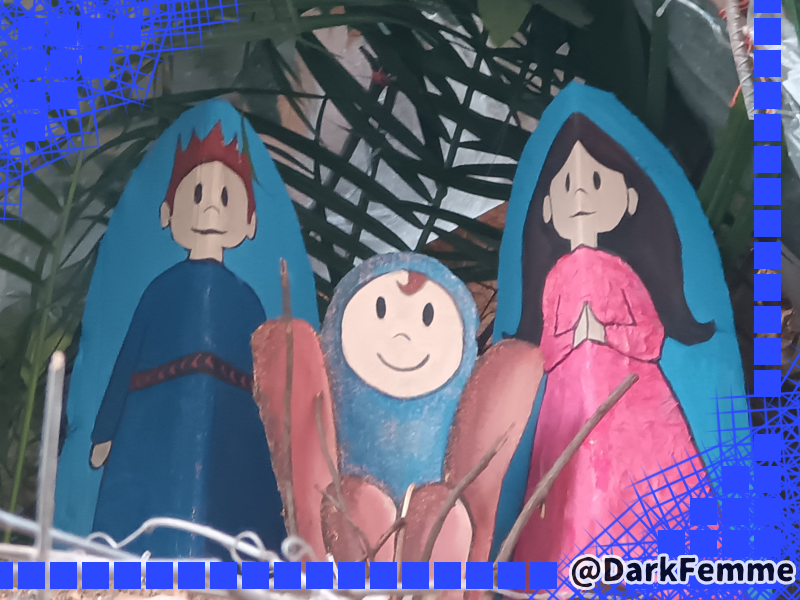
Otro vecino me donó unas luces LED de 100 bombillos pequeños y la instalé en el pesebre, pero es una zona donde no hay lugar de donde sacar conexión eléctrica y tuve que tomar cable y unirlo a un trozo más para completar la distancia, lo lancé por encima de unos cables de luz. Luego puse en un extremo un conector y en el otro extremo tuve que dividir cada polaridad y conectarla al enchufe de las luces. Aislé con teipe negro y lista la electricidad.

PASO 5
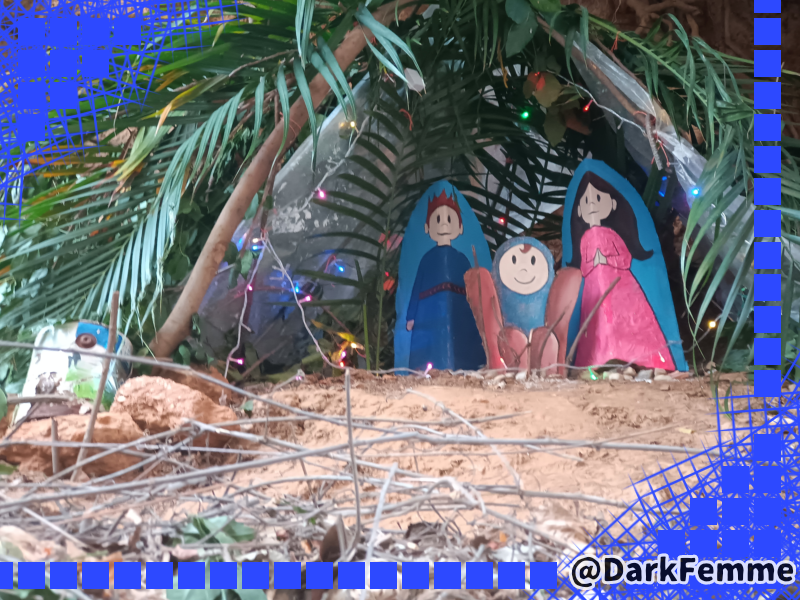
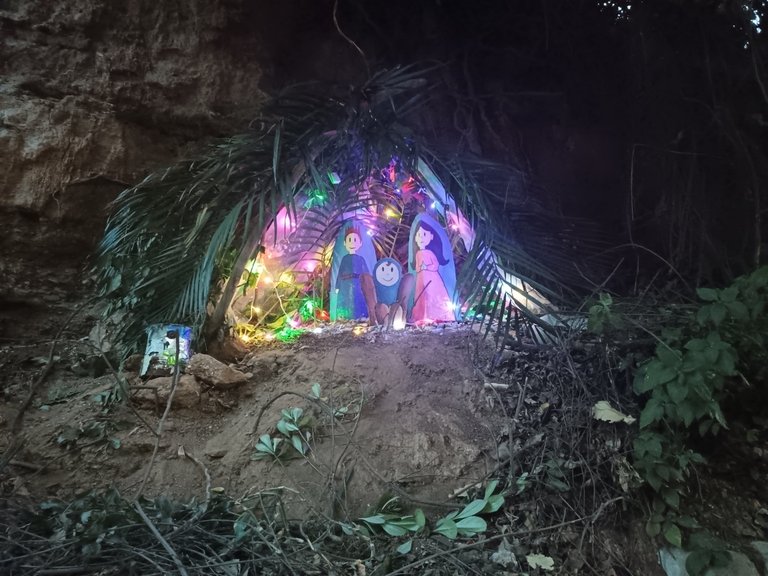
Ahora les muestro cómo quedó, espero que les guste y se puedan apreciar el cariño con que se hizo.
Así se veía de día:
Así se veía de noche:
¡Gracias por tomarse el tiempo de Leer!

 |  |  |
|---|---|---|
| On X |
 & Telegram as @DarkFemme
Todos los separadores, la portada y la firma son de mi autoría, realizados con la app de ibispaint.
Las fotos fueron tomadas con mi INFINIX HOT 11 PRO.
La imagen de mi avatar es de una app llamada bitmoji.
Contenido original que será publicado en varias redes con el mismo nombre de usuario para mayor promoción.


ENGLISH VERSION


I was waiting to dismantle the nativity scene to make this post, since I made this craft at the last minute and as to give a little hope and light to our little piece of the street that was so abandoned.
I didn't have much collaboration from the neighbors, but little by little I uñgot them involved. On December 21 I made the assembly, I did it with the materials I had available and then some two or three neighbors collaborated with certain things like an extension of lights and some palm trees.
Now You can see the step by step:

STEP 1
The first thing was to get how I wanted the images to be, those that look like the centerpiece of everything and that would symbolize the nativity so typical at Christmas.
So I took a B2 graphite pencil and started drawing quick lines on how I imagined the options for the images could be. As a first option I made it a little more childish and simple and as a second option it was a little more stylized.

After submitting the vote with my mom and daughter, I told you I lived the simpler version.
STEP 2
 But the corners were perfect for not having to make super elaborate bases for the silhouettes that would represent St. Joseph and the Virgin.
 With the drafts already in mind, I took a box that my father had in storage and that was his donation for my invention, I traced in the corners the outer silhouette of what would be the piece of each doll, although I started with the central part that was smooth for the baby Jesus.

 San José itself was done with cold paint that I had in my stash, the truth is that the color was determined simply by the availability I had.
I even had a paint called "disco" and I decided that I would add that touch of brightness to certain sectors of the silhouettes, since it is all the sensation of having a lot of frost on the paint.
 For the Virgin Mary, I tried not to paint her also in blue because it was one of the few colors had available. So I remembered a technique I used for a certain paper mache work when my daughter wanted a very original lollipop holder for her birthday, she was a woman with my crepe paper cutouts and a little bit of white glue that had left. I made a cartapesta style where the crepe paper gave the fuchsia color to the dress, even providing the texture that would cover what was printed on the box by default.

 In general, the color blue was the color I used to unify the series of the three dolls and to make everything look consistent.
Once the dolls were done, I had to take care of the area where would put the nativity.
 For the child I just imagined some cartoonish sticks for his crib and insisted on adding shadows with the black paint, working with the wet-on-wet technique because the truth is that I had no brown and I had to combine colors to fill it and just enough for the area that should have this color.

STEP 3
With the ladder as an aid, I mounted a rather clayey ground, the place where I had planned to make the nativity scene, and the first thing I did was to collect long branches that could serve to remind me of my old days as a Scout, to make a shelter that would serve as a manger and shelter from the rain for the silhouette. So I took three branches and made a round tie to form a tripod that would be the manger, then a piece of plastic to be able to cover us with branches and to prevent the dolls from being damaged so fast.
With the same wick I decided to make some anchors so that the strong breezes characteristic of these days did not knock it down before I could pick it up in January.

Then I took a pruning shears that a neighbor lent me and began to clean the area to also have something to cover the roof of the crib. The truth is that pruning looks like a very easy activity but it is very complicated because it requires a lot of strength and a certain technique, as no one taught me, I had to discover the most efficient way to do it.
At first my hands hurt quite a bit because I had to apply a lot of force to cut a vine.

Bit by bit, the branches gave way and I realized that had to throw the fastener hard and fast to be able to cut the most difficult part.
My recommendation is that, if you are going to prune any shrubs, don't let the branches grow too thick because it is a torment to try to cut them off in one fell swoop.

Sometimes I even had to hang myself like Tarzan to get a fresh vine to cut it off for good jijiji.
STEP 4

Those branches I cut, ended up tying them to the main pole to give some greenery to the crib's roof. I installed the silhouettes, placing stones on the protruding base that I left behind each of them - so the cats wouldn't knock them over so easily.
It's all for this day, I was tires. This is the work at that moment:

A neighbor, upon seeing my work the day before, gave me some palm leaves from her yard, which I tied together and placed them over the plastic to give a better finish. I also placed some on the inside of the plastic so that visually it would not be just the plastic.

Another neighbor donated me some LED lights of 100 small bulbs and I installed it in the crib, but it is an area where there is no place to get electrical connection and I had to take cable and join it to a longer piece to complete the distance, I threw it over some light wires. Then I put on one end a connector and on the other end had to split each polarity and connect it to the plug of the lights. I insulated with black teipe and the electricity was ready.
Translated with DeepL.com (free version)

STEP 5
Maked with love, this is the final DIY...
Look this, with he light of the sun:

At the night:

¡Tks for read it!

 |  |  |
|---|---|---|
| On Twitter |
 & Telegram as @DarkFemme
All the dividers, the cover and the sign are my authorship, made with the ibispaint app.
The image of the pencil was created by bitmoji app.
The photos were taken with my INFINIX HOT 11 PRO.
Original content that will be published on several networks with the same username for more promotion.
